All day and that's all you got done? Good thing nobody was paying you. 
Good job bro!
Good job bro!

All day and that's all you got done? Good thing nobody was paying you.
Thanks!Good job bro!
All day and that's all you got done? Good thing nobody was paying you.
¡Golpearé su asno con el pie para eso!
:finger:
I don't speak French, but I believe you are telling me I have a big dick and I should go use it. THANKS! :clapping:
Thanks!Good job bro!
You are most welcome.
I see you still have that quote-back thing to work on.All day and that's all you got done? Good thing nobody was paying you.
¡Golpearé su asno con el pie para eso!
:finger:
I don't speak French, but I believe you are telling me I have a big dick and I should go use it. THANKS! :clapping:
Thanks!Good job bro!
You are most welcome.


Don't you have something to do out in the garage?I see you still have that quote-back thing to work on.
That looks more like David humping Goliath's foot.
[SIZE=12pt]noooooooooooooooooooooooooo...[/SIZE]
[SIZE=18pt]more like 100% Certified David slaying Goliath[/SIZE]


That looks more like David humping Goliath's foot.
[SIZE=12pt]noooooooooooooooooooooooooo...[/SIZE]
[SIZE=18pt]more like 100% Certified David slaying Goliath[/SIZE]

Funny you should ask.....Don't you have something to do out in the garage?
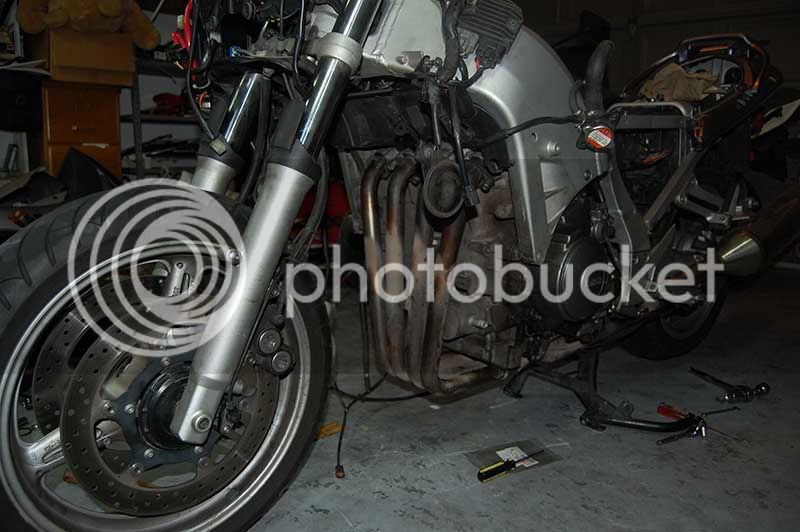
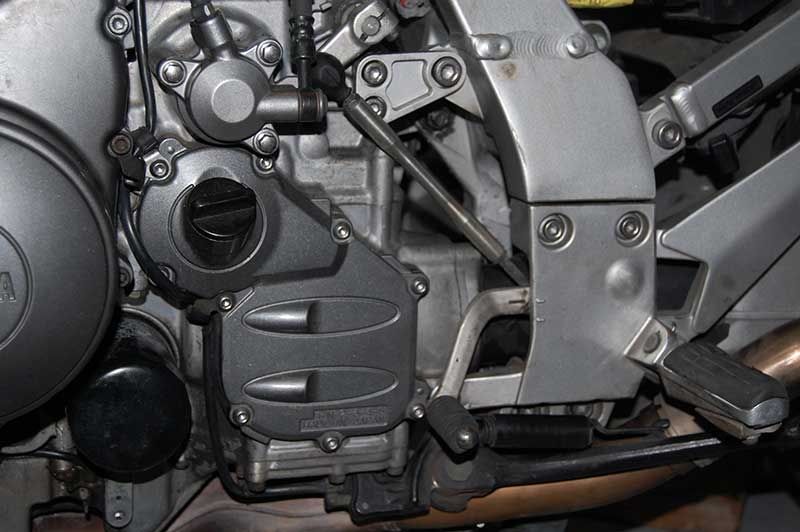
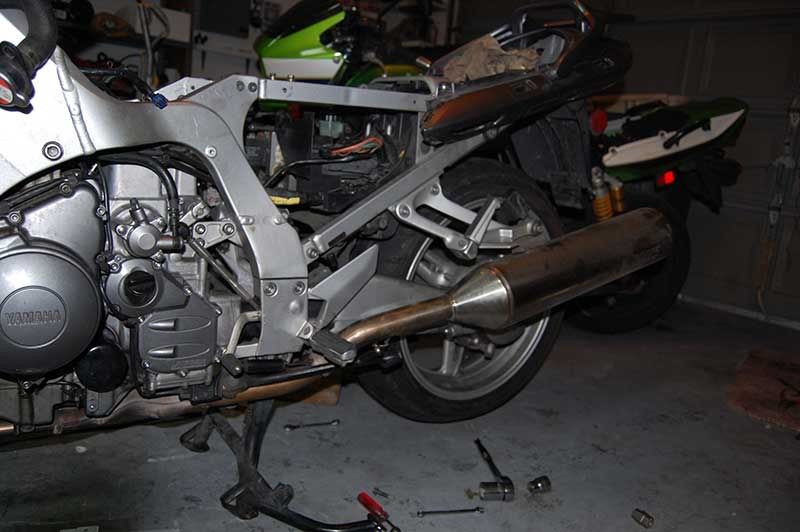
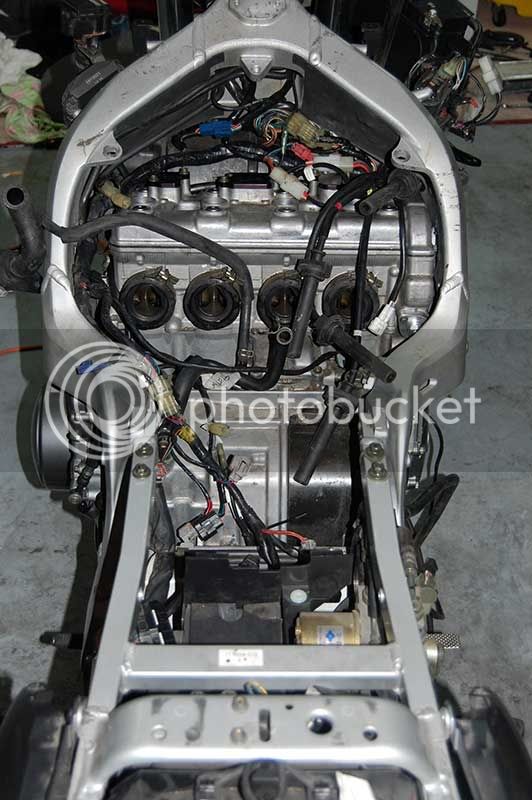
Note my reply to El Grande in the above thread.I'm thinkin you should just leave her nekked for when you do this again.
Nice picture of Mizz Bust Howie! :lol: She was drinking pretty good that morning when I asked her for sex.. Typical response..
so... it will be running Wednesday?Ridable by Saturday?
More like "Bad TOOTH day!"
Bad hair day Howie?
You be nice to her, GoatBoy.....she was worried about you.Nice picture of Mizz Bust Howie! :lol: She was drinking pretty good that morning when I asked her for sex.. Typical response..
Oh and I guess I'll forget about changing the splooge guard on me scoot. It's had a hairline crack since day one, but isn't getting any worse
:jester:
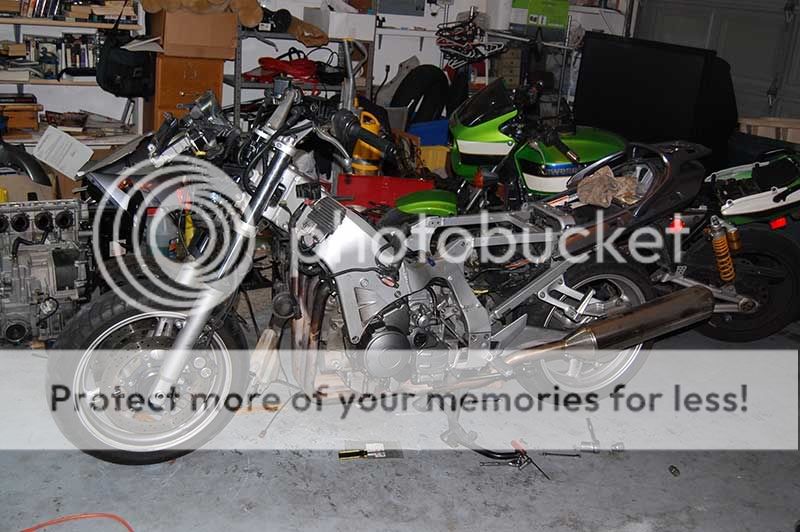
Ideal way to re-install the motor would be to use a hoist/sling arrangement, as you noted, with the motor securely mounted on a platform around waist high. Then you'd swing the frame in from the rear of the motor, with the back end of the frame lower then the front.Way to go Howie. Lots of progress, and now for some real fun on the next day's work.Good job thinking outside the box on the R&R of the motor the second time.
Already done when chasing poor running issues BEFORE the valve train collision. Turned out to be fuel pump clogged by rust, but all connectors are cleaned and greased.I know this is a small fish to fry in the overall scheme of what you're doing, but I'm just wondering if it is worth it to service all the hard to get to electrical connections in the harness now (ala the Brodie thread) while the harness is exposed, as opposed to later?