dcarver
Well-known member
Glad I'm not the only Bozo on the forum!
Sorry, Twigg, but you deserve the Bozo comment..
Sorry, Twigg, but you deserve the Bozo comment..

... and then some!Glad I'm not the only Bozo on the forum!
Sorry, Twigg, but you deserve the Bozo comment..
What John said. The Power Ball (or cone) works really well (I've got hours of use on mine). As long as you clean them once in a while afterwards with a PLASTIC (ahem) cleaner/polish (Plexus, etc.), you'll be fine as far as any hazing returning. I'm a fan of the 3M stick on clear film as well.The Novus products are excellent, and I've saved some pretty scratched up Acrylic windshields with some time, a lot of elbow grease and the three grades of Novus polish. Working for Memphis Shades at various Rally's has given me a fair bit of windshield restoration experience.
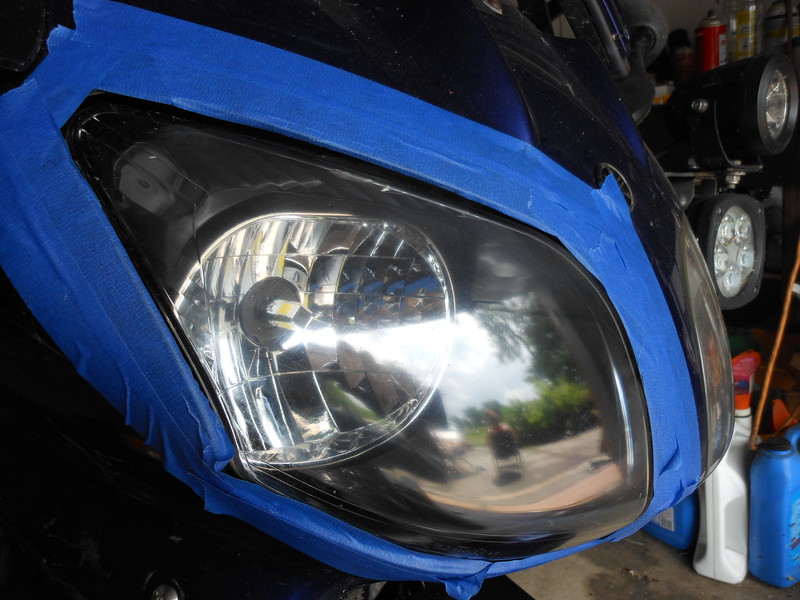
That said, what you have done is chemically etch the surface of the headlight lens. You will need to start with some wet/dry sandpaper, I'd start with #800, then go to #1200, followed by #2000. Do your wet sanding with a little soapy water for a lubricant, rinse frequently and change paper often.
By the time you have worked your way down to the #2000 wet/dry paper the lights will feel smooth but be hazy from the sandpaper scratches.
Then use the Power Ball and the Polish in whichever headlight kit you choose.
In lieu of a Headlight restoration kit you could use Novus 3 followed by Novus 2 and a Power Buffer once the sanding has been completed.
I've used https://www.autozone.com/wash-cleaners-and-exterior-care-products/headlight-lens-restorer/meguiar-s-headlight-restoration-kit/218632/?_requestid=4609632 with good success.
Plan on investin a couple of hours in sanding, and another 30 minutes in power buffing and final polishing.
I'll post a tracking link before I go, and a Ride Report when I get home.Quick thread drift then back on topic.Good luck on the 48/10 and please post a ride report hen done.


![fjackets Real Lambskin Leather Biker Jacket — Quilted Cafe Racer Zip Up Moto Leather Jackets For Men | [1100085] Johnson Brown, XL](https://m.media-amazon.com/images/I/41I7Pm1f+vL._SL500_.jpg)


Soap & water? Lead a better life through chemicals? Did you polish off that job? Why that buffed right out didn't it! Congratulations.I've seen the light!

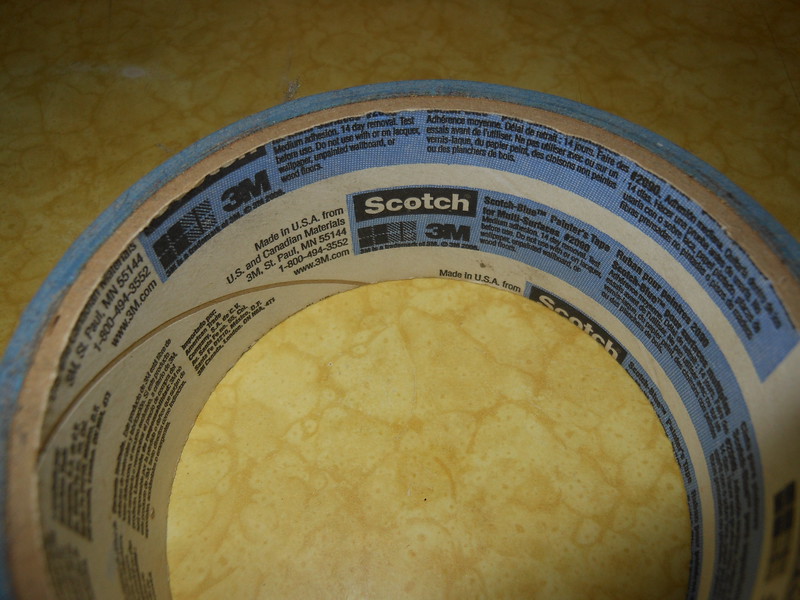
Guys I think you may be missing the point hereWell I am hoping that the blue tape was a 3M product.
Poor Graler. Way to hose a friend. That's why I only use 3M products...Guys I think you may be missing the point hereWell I am hoping that the blue tape was a 3M product.
but to satisfy all y'alls curiosity ... It is Blue Hawk painter's tape.
I do love 3M too

You can jest, but the reality is that I spent 35 years avoiding riding at night unless it was some kind of emergency.I don't understand why you need to waste all this time and money. Just don't ride at night.
This does work really well, but the one thing is that with those kits, you get that buffing ball...Warpdrv said it in post #2Toothpaste ---- has worked well for me on numerous clear plastic bits and pieces. And it's cheaper than the kits.
Enter your email address to join: