Heli does it again!

Yamaha FJR Motorcycle Forum

Help Support Yamaha FJR Motorcycle Forum:

This site may earn a commission from merchant affiliate links, including eBay, Amazon, and others.

PA1195

Well-known member
Joined
Jul 1, 2006
Messages
269
Reaction score
1
Location
Fairbanks, AK
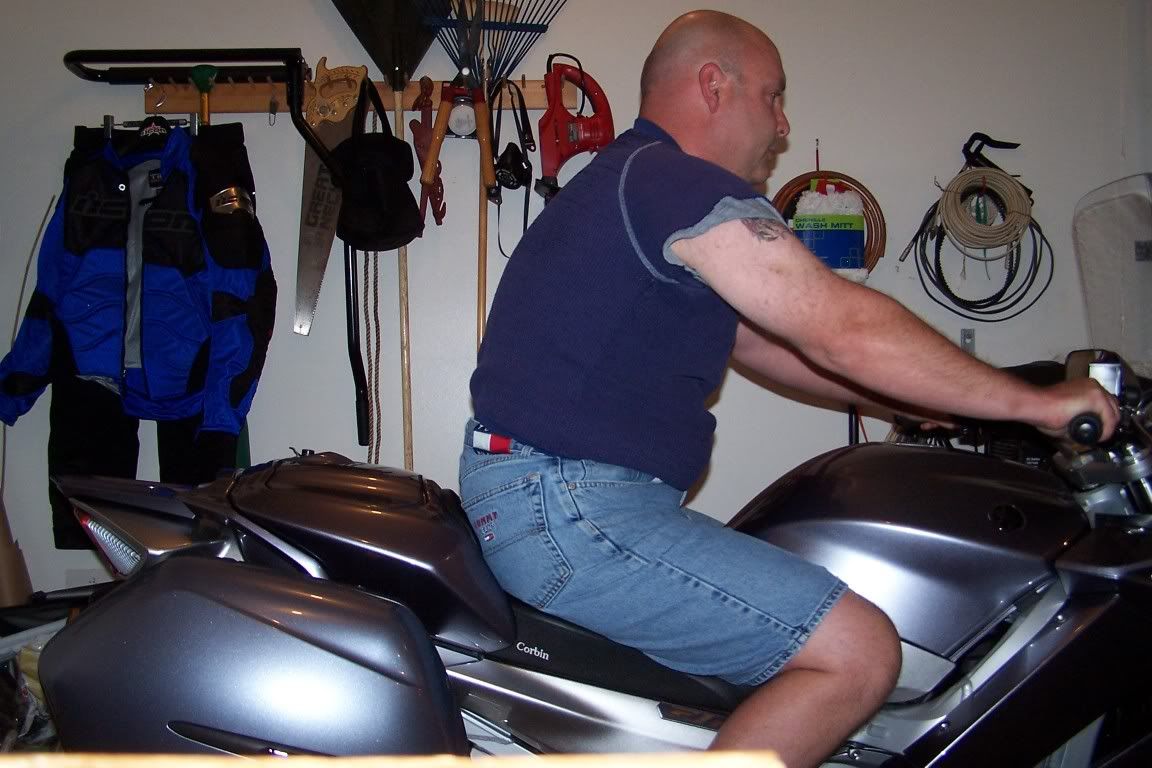
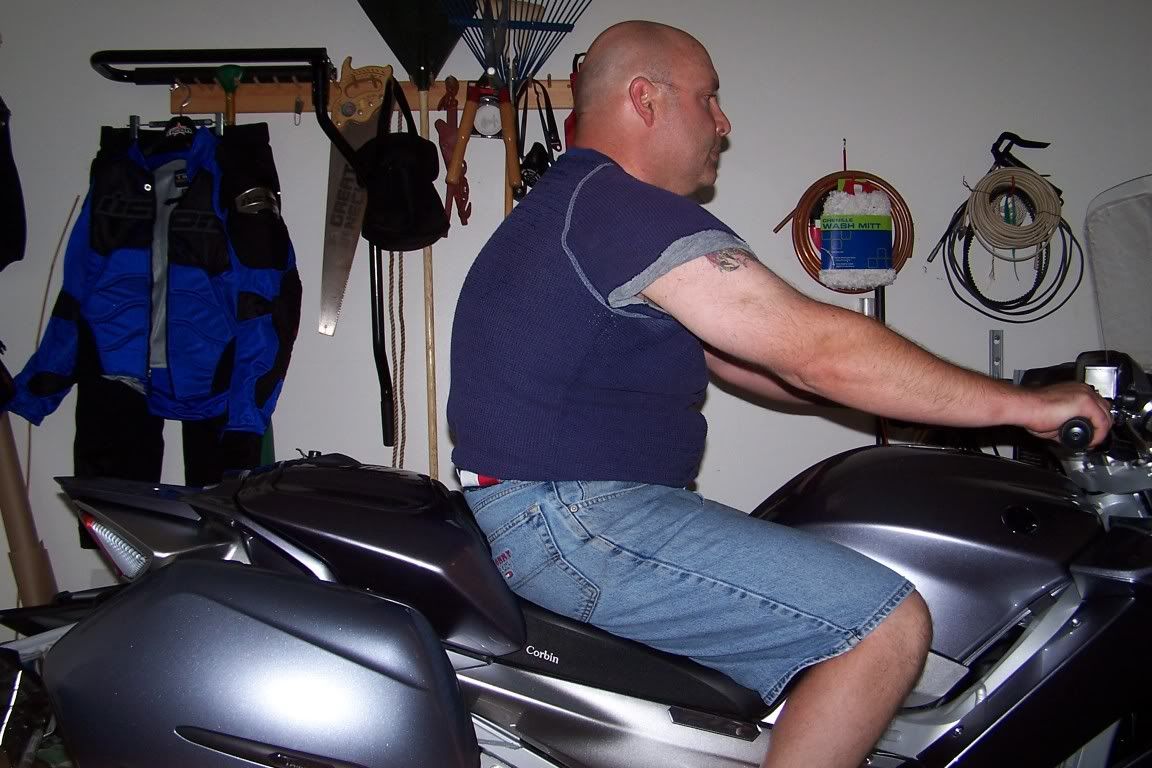
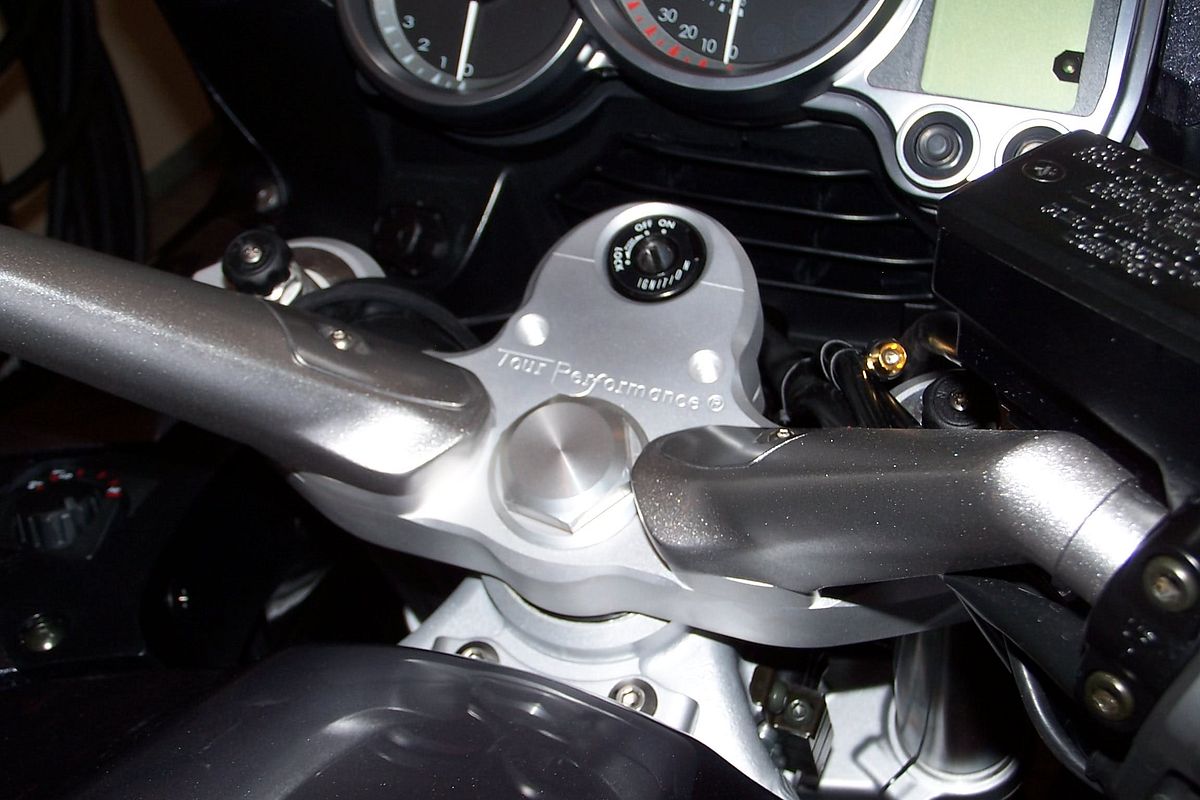
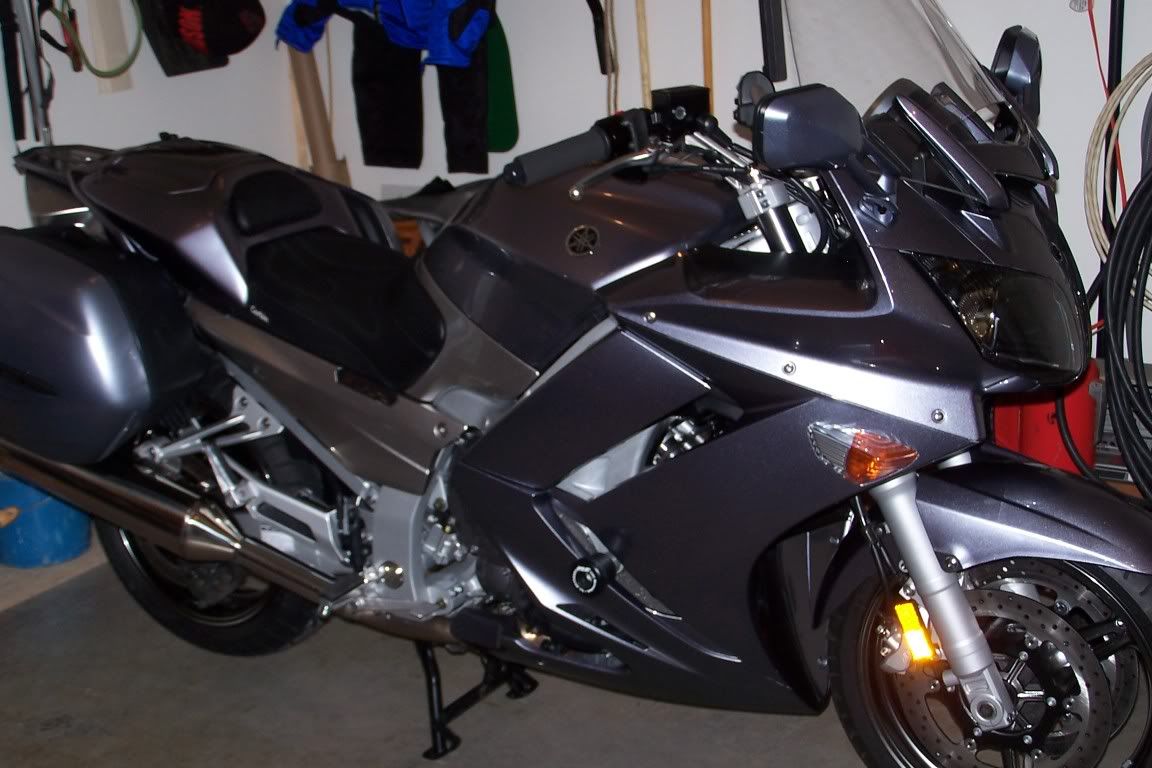
Hello from Alaska. Searched for anything new on the Heli Tour Performance triple-clam replacement, but nothing found, so here's a post. Admins move it as required. Got mine for the '06 Sat and installed today. It performs as advertised...better ergonomics w/arm/back comfort and no driving issues...it's a decided improvement over the stock clamp/bar setup IMHO, and there's NO grip vibration. Drove it ~150mi tonight in light rain and arrived refreshed for a change. No neck/back pain/hand cramps as before. Any higher rise to the bars would have put my hands in the rain and wind stream off the fairing...they stayed dry as could be. Install was relatively easy with the tank off, and was well documented...no suprises. Did tighten up the steering bearing pre-load to factory torque specs, lubed the throttle cables/grip, and ran the TB's at idle and 4K while all was uncovered. The 1/2 and 3/4 TB's took some adjustment at 4K, then the groups were sync'ed to each other. Smoother now. Happy. Also replaced the ass-grabbing, nut-cracking factory seat recently with a Corbin. Now waiting for a Windstream shield, and factory foot/hand fairings from Canada as the money tree grows some more next season. Will scoot while we can...snow here in 4-6 weeks. Gary.

 
Gary..are you using the Heli and Corbin together ?

It wont be long and you'll b riding your snowmobile :(

Ed :D

 
Hello again folks from Fairbanks, AK. To answer the previously posted questions: I'm using both the Corbin seat and the Heli bar adapter upper triple clamp together. The comfort is much better with both. The Corbin seat seems flatter, a bit lower, and doesn't force me to slide into the fuel tank like the factory seat. Plus I can easily move about on the seat...the factory seat grabs your ass...but maybe that's better at speed. I've done 140+ on the track with no issues, however. There's about 1/8" between the triple clamp and the fuel tank when the bars are turned full right or left, so I guess Heli (Harry) did design it for max aft bar displacement. The bars angle a bit more to the rear as well. Very well made BTW...I'm not sure how they do it, but it looks as good or better than anything metal Yamaha put on the bike. As far as the ignition switch, I punched and pilot drilled (with a hand drill) a 1/8" hole 1/4" deep in each original flared attaching bolt end (2) that hold on the switch in the factory clamp, and followed that with a 5/16" bit until the end snapped off at the flare. Not a problem at all, and it's well described in the written instructions and shown in the color photos supplied by Heli. A 36MM (a 1 7/16" may also fit) socket is required to get the big nut off and back on, but not much else besides standard Metric tools, a torque wrench, and a drill/bit are needed. Amazing for comfort what some rear bar displacement and better seating can do (+$$$). I fought the bar reach on my Concours for too long before I sold it. If I had known better, I may have kept it and added Heli bars. But then there was the engine buzz...their replacement model may fix all that. Gary

 
Hello again folks from Fairbanks, AK. To answer the previously posted questions: I'm using both the Corbin seat and the Heli bar adapter upper triple clamp together. The comfort is much better with both. The Corbin seat seems flatter, a bit lower, and doesn't force me to slide into the fuel tank like the factory seat. Plus I can easily move about on the seat...the factory seat grabs your ass...but maybe that's better at speed. I've done 140+ on the track with no issues, however. There's about 1/8" between the triple clamp and the fuel tank when the bars are turned full right or left, so I guess Heli (Harry) did design it for max aft bar displacement. The bars angle a bit more to the rear as well. Very well made BTW...I'm not sure how they do it, but it looks as good or better than anything metal Yamaha put on the bike. As far as the ignition switch, I punched and pilot drilled (with a hand drill) a 1/8" hole 1/4" deep in each original flared attaching bolt end (2) that hold on the switch in the factory clamp, and followed that with a 5/16" bit until the end snapped off at the flare. Not a problem at all, and it's well described in the written instructions and shown in the color photos supplied by Heli. A 36MM (a 1 7/16" may also fit) socket is required to get the big nut off and back on, but not much else besides standard Metric tools, a torque wrench, and a drill/bit are needed. Amazing for comfort what some rear bar displacement and better seating can do (+$$$). I fought the bar reach on my Concours for too long before I sold it. If I had known better, I may have kept it and added Heli bars. But then there was the engine buzz...their replacement model may fix all that. Gary
Gary

I just received mine and I think that I understand all of the installation instructions except 13b concerning "Bring the right control housing wire loom in front of the ignition switch and cable tie it to the ignition wire loom on the left side". Can you clearify this for me? Are they talking about replacing the cable tie that was cut in step 1?

Thanks

AJ

 
Hello AJ (and others). What I did in 13b was remove the ty-rap attaching the ignition wire bundle exiting the lower part of the switch that attaches it to the left (looking forward) side of the switch, wrap the wire harness that goes to the right handlebar as Heli describes from left to right around the front of the switch to take out some slack, and ty-rap them both together to the small slot on the switch provided that held the ty-rap I just removed above. I then put another loose ty-rap around both throttle cables and the wiring harness next to the right fork rebound adjuster knob and let the three of them float together, not tied to anything. That seemed to ensure that the throttle cables wouldn't jump over the adjuster and tighten in a turn. Be sure to check throttle cable tension in a stationary left turn at idle in neutral. Too tight (at the upper pull cable adjuster) and the engine won't return (snap) to idle easily, especially with the center TB spring relieved one turn. Do that with the engine warm as my setting changed and got tighter after it all warmed up. No Digital camera here yet so no pics, SRI. Those wanting to remove the ignition switch and not wanting to drill the whole head off the weird factory bolt head, could either try cutting a slot in them with a hacksaw for a regular screwdriver used to back them out, or drill a smaller hole and use an easy-out bolt/stud remover. However, I followed Heli's instructions and drilled them off as recommended. They're in with blue loc-tite and will likely come out rather easily once you can get a grip on the wierd head. Also carefully heating the head with a small torch or soldering gun would soften the loc-tite on the lower bolt threads if necesary. GL, Gary.

 
Hello AJ (and others). What I did in 13b was remove the ty-rap attaching the ignition wire bundle exiting the lower part of the switch that attaches it to the left (looking forward) side of the switch, wrap the wire harness that goes to the right handlebar as Heli describes from left to right around the front of the switch to take out some slack, and ty-rap them both together to the small slot on the switch provided that held the ty-rap I just removed above. I then put another loose ty-rap around both throttle cables and the wiring harness next to the right fork rebound adjuster knob and let the three of them float together, not tied to anything. That seemed to ensure that the throttle cables wouldn't jump over the adjuster and tighten in a turn. Be sure to check throttle cable tension in a stationary left turn at idle in neutral. Too tight (at the upper pull cable adjuster) and the engine won't return (snap) to idle easily, especially with the center TB spring relieved one turn. Do that with the engine warm as my setting changed and got tighter after it all warmed up. No Digital camera here yet so no pics, SRI. Those wanting to remove the ignition switch and not wanting to drill the whole head off the weird factory bolt head, could either try cutting a slot in them with a hacksaw for a regular screwdriver used to back them out, or drill a smaller hole and use an easy-out bolt/stud remover. However, I followed Heli's instructions and drilled them off as recommended. They're in with blue loc-tite and will likely come out rather easily once you can get a grip on the wierd head. Also carefully heating the head with a small torch or soldering gun would soften the loc-tite on the lower bolt threads if necesary. GL, Gary.

Yep, worked like a charm. Got mine yesterday and the ignition bolts were really not a problem at all.

Just a couple notes and things I would do different...

1. I would have rerouted the throttle cables under the brake lines BEFORE I put the tank back on. A bit tight doing it with the tank installed.

2. Take off the tank overflow drain at the tank instead of pulling the whole thing out (ok I knew better in the 1st place ) Routing it back in was a sumbitch.

3. I had to jack the bike up to relieve pressure in the fork tubes to allow realignment when I put the new clamp on.

4. shoulda had black zip ties instead of white.

This mod was definitely woth the price. NO MORE PAIN!!!!!

 
Is it true the Heli arrangment has no rise? I know they bring the bars back but if there is no riser I would have to pass on this setup. There are other companies tackling this but might be a while. PM. <>< :glare:

 
Hi There!

From Anchorage Alaska! Just installed my Heli triple clamp last night. Just go by the Instructions and pictures.Heli did a great job in a step by step :) I went for short ride after install and I like how it sets me back. If thats not enough,Harry said they would be offering a small riser in the future. But i will Know when it stops raining :( when i go on a long run.

Kent

 
Now waiting for a Windstream shield, and factory foot/hand fairings from Canada as the money tree grows some more next season. Will scoot while we can...snow here in 4-6 weeks. Gary.

Gary, FWIW, I have the second gen V-Strom handgaurds and Yamamama footguards on my '04. The handguards are worth twice the price, the footguards aren't worth half the price. I rode all last winter here in Ohio, at least down into the 20s *F. I can't say I find any detectable functional advantage to the footguards. Cosmetically, they cover up some otherwise unsightly mechanical bits like water pump and hoses, oil filter, etc. If I had asked the price before buying, I probably wouldn't have bought them. Now I just leave them on for looks. I personally wouldn't recomend the footguards to anybody, but that's just my opinion and it's worth exactly what you paid for it.

YMMV,

 
First of all, I am not a mechanic and don't even change my car oil. However, I wanted to do this myself and find working on the bike to be enjoyable. Installation of the Heli triple clamp on my 06 AE took me 5 hours. I want to thank Gary and Bio for their tips...especially routing the throttle cables before reinstalling the tank was very helpful.

Folks...this is a job and a half for a non mechanic. The side panels and tank have to be removed to disconnect the ignition wires. Then the handle bars and factory triple clamp can be removed. The ignition is bolted to the original triple clamp with tamper proof screws...so they must be drilled out. Then the Heli clamp can be installed, the tank, and the handle bars. The throttle cables have to be rerouted between the brake cables and the steering head due to the new configuration of the triple clamp...this was difficult. I even did it with the tank off per Bio's recommendation and it was still a bitch for me.

Well, the bottom line...was it worth it? Absolutely!!! Greatest improvement of all I have added including Corbin seat and Calsci medium windshield. I am 5'10" with 32" inseam. Below are some pics...let me know if you need to see any other parts.

AJ

Before Heli

100_1359.jpg


After Heli

100_1364.jpg


Handle Bars Hanging

100_1361.jpg


Close up

100_1366.jpg


Side View

100_1367.jpg


Completed

100_1365.jpg


PA, Bio, & ajw,

Thanks for the info and pics.

I really like the looks of the Heli clamp. :) Looks like it provides a significant change of riding position. However, I’m kinda concerned about the thought of making a permanent alteration to the ignition switch (drilling out bolts, etc.) on my bike.

In particular, I’m wondering if I bought and installed the Heli, per their instructions, would I be able to return the bike to stock by purchasing and installing OEM bolts in the ignition switch? Will call Heli this week with some questions.

Just went out and looked at the underside of the ignition switch

Are ya’ll are talking about drilling out the two bolts that have conical shaped fastening nuts? If so, are those bolts ribbed and do the nuts fasten by means of an interference fit? If not interference fit, are they screwed on by a specially designed wrench/socket?

After looking at the underside of the switch I’m beginning to think one could go back to stock if desired. May have answered my own question. Still, would appreciate any light that ya'll could cast on the subject.

 
PA, Bio, & ajw,
Thanks for the info and pics.

I really like the looks of the Heli clamp. :) Looks like it provides a significant change of riding position. However, I’m kinda concerned about the thought of making a permanent alteration to the ignition switch (drilling out bolts, etc.) on my bike.

In particular, I’m wondering if I bought and installed the Heli, per their instructions, would I be able to return the bike to stock by purchasing and installing OEM bolts in the ignition switch? Will call Heli this week with some questions.

Just went out and looked at the underside of the ignition switch

Are ya’ll are talking about drilling out the two bolts that have conical shaped fastening nuts? If so, are those bolts ribbed and do the nuts fasten by means of an interference fit? If not interference fit, are they screwed on by a specially designed wrench/socket?

After looking at the underside of the switch I’m beginning to think one could go back to stock if desired. May have answered my own question. Still, would appreciate any light that ya'll could cast on the subject.
Yes...it is the conical head bolts that attach the ignition switch to the stock triple clamp. They are threaded bolts that must have been installed with some type of friction wrench on the conical head (I am guessing). After the head is drilled off and the ignition removed, I backed out the threaded bolt remaining in the stock triple clamp with no problem.

So...to answer your question, I see no problem in returning this to the stock triple clamp. Probably could order replacement bolts either with the conical head or just a standard hex head. The only other part that would have to be replaced is the steel wire cable holders that are on either side of the stock clamp. These have to be cut during the installation of the Heli.

AJ

 
Thanks ajw,

You answered my question and put my concern to rest. :)

Just took a quick look at those bolts on Yamaha’s website. Not much detail on the specs of the bolt there; however, they did have a decent pictograph of the assembly. Also, I took a look at the cable holder.

Maybe I do need one of those Heli’s. Sure looks good! :thumbsupsmiley: Gonna check into it tomorrow.

Thanks again,

shokdimn

 
AJ, The before and after pictures with you on the bike tell the tale. Your head position relative to the tools on the wall really demonstrates how much more upright you sit with the Heli risers. Thanks!

 
Last edited by a moderator:
As far as I can determine, Heli only make risers for the '03 - '05 models.....no triple tree/ bar replacements like these. Is this correct or am I missing something?

 
As far as I can determine, Heli only make risers for the '03 - '05 models.....no triple tree/ bar replacements like these. Is this correct or am I missing something?
Heli just came out with a triple clamp replacement for the 06 FJR's that is not a riser but a whole new triple clamp that moves the handle bars back 1-1/2". Only available for the 06 model.

AJ

 
Top