


user 28803
Ridin' and smilin'
- Joined
- Apr 21, 2012
- Messages
- 592
- Reaction score
- 30
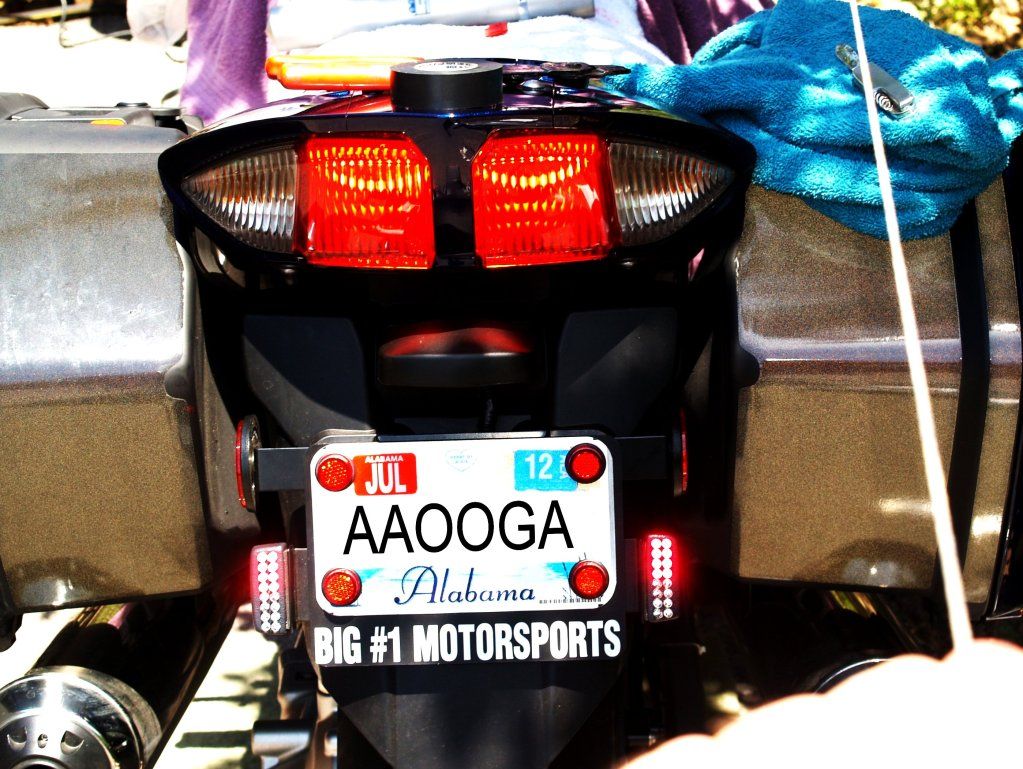
A few weeks ago I added Hyperlites to the back of my bike. The better they see me, the happier I am :thumbsup:
I did get the mounting bracket but did NOT add the flashing option. Instead I added a brake light flasher from www.3rdbrakeflasher.com to the stock tail light. That install is really very easy, and I didn't take many photos, so I haven't covered it here.
Here is my Hyperlites install:
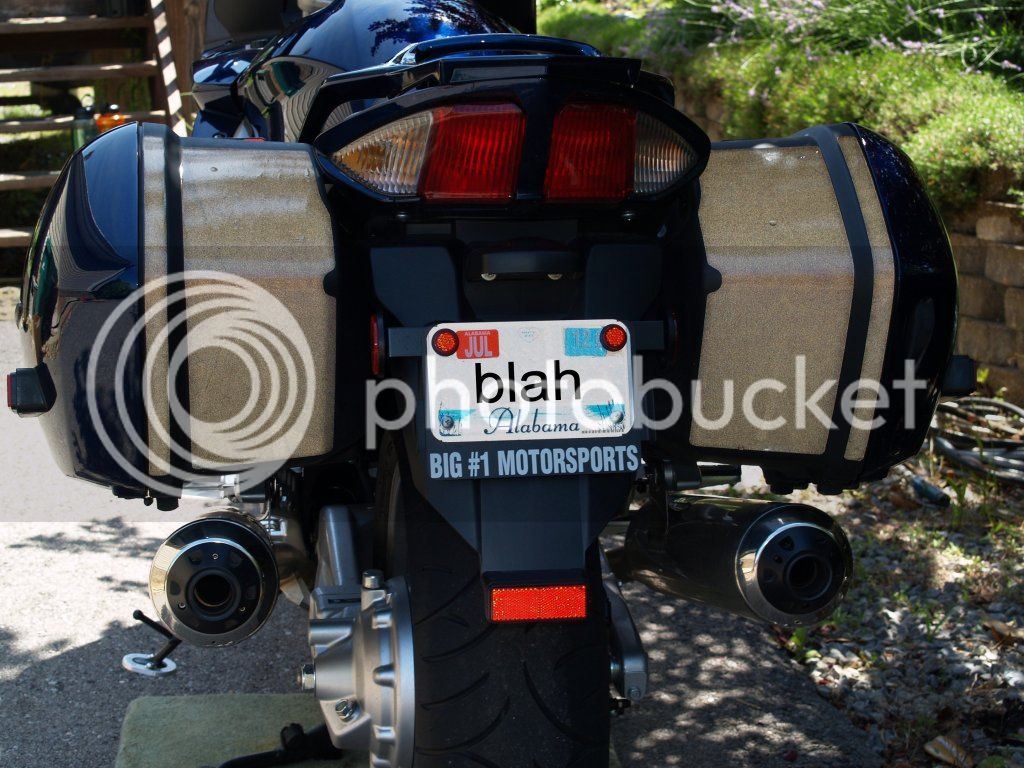
Before:
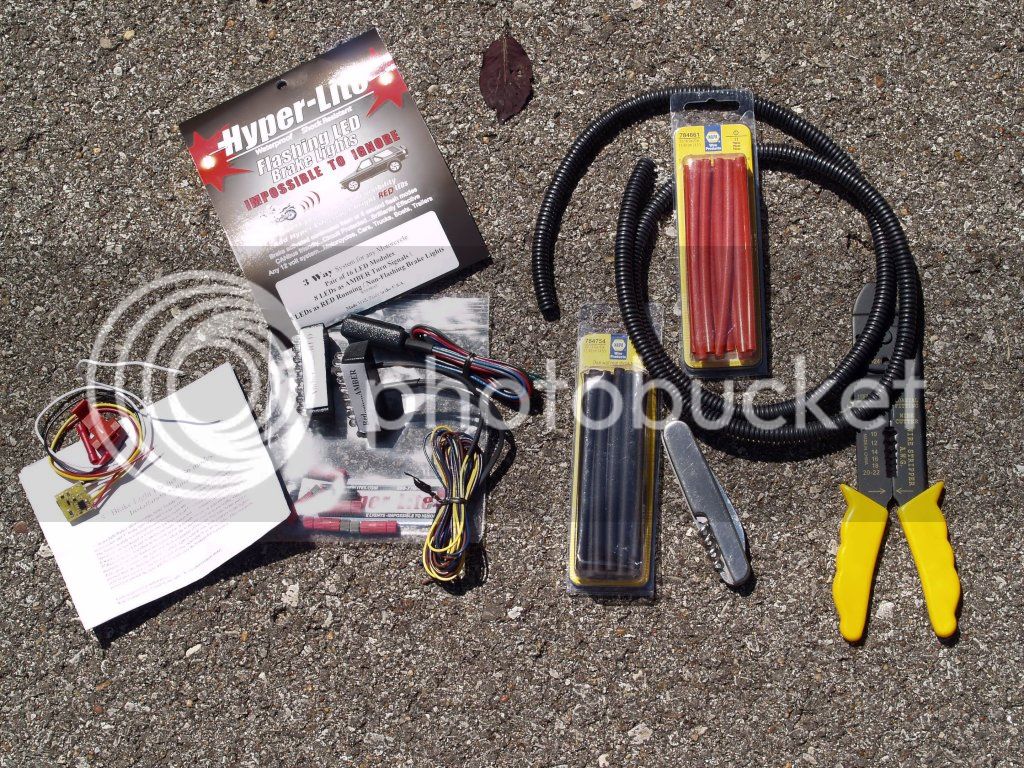
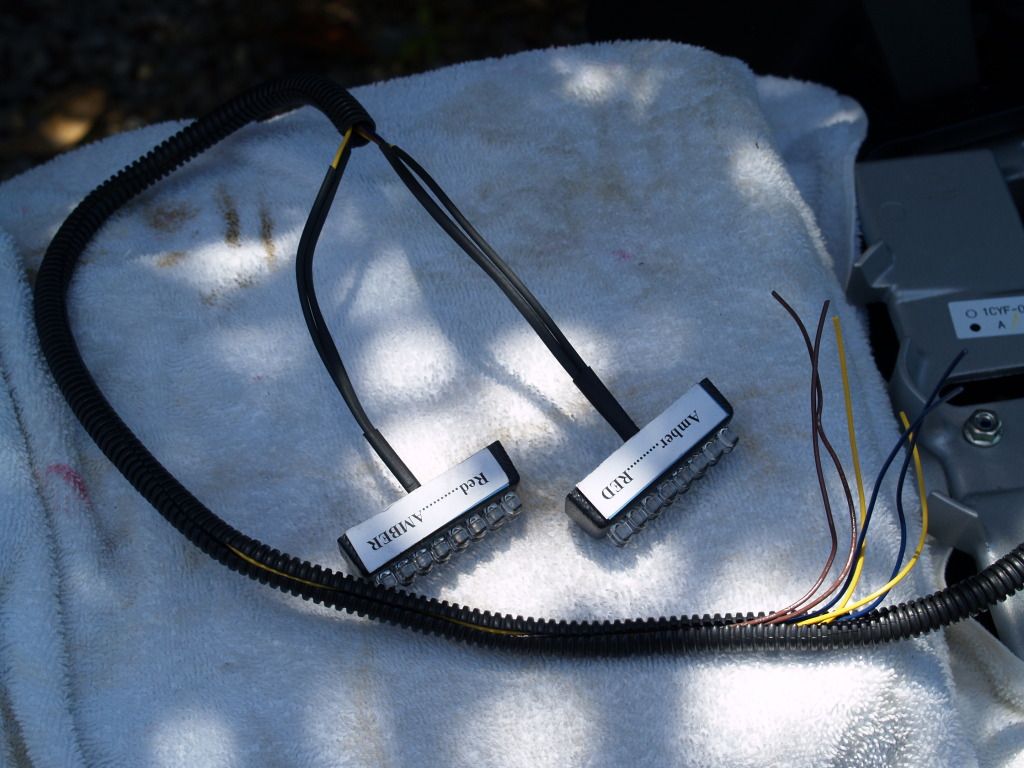
The parts and bits I used including 1/4" plastic wire loom (needed about 3 feet). On the left is the brake light flasher. Some of the shrink wrap on the right was used for that, not for the Hyperlites. The Hyperlites come with all the Posi-Taps and -Locks (link) you need.
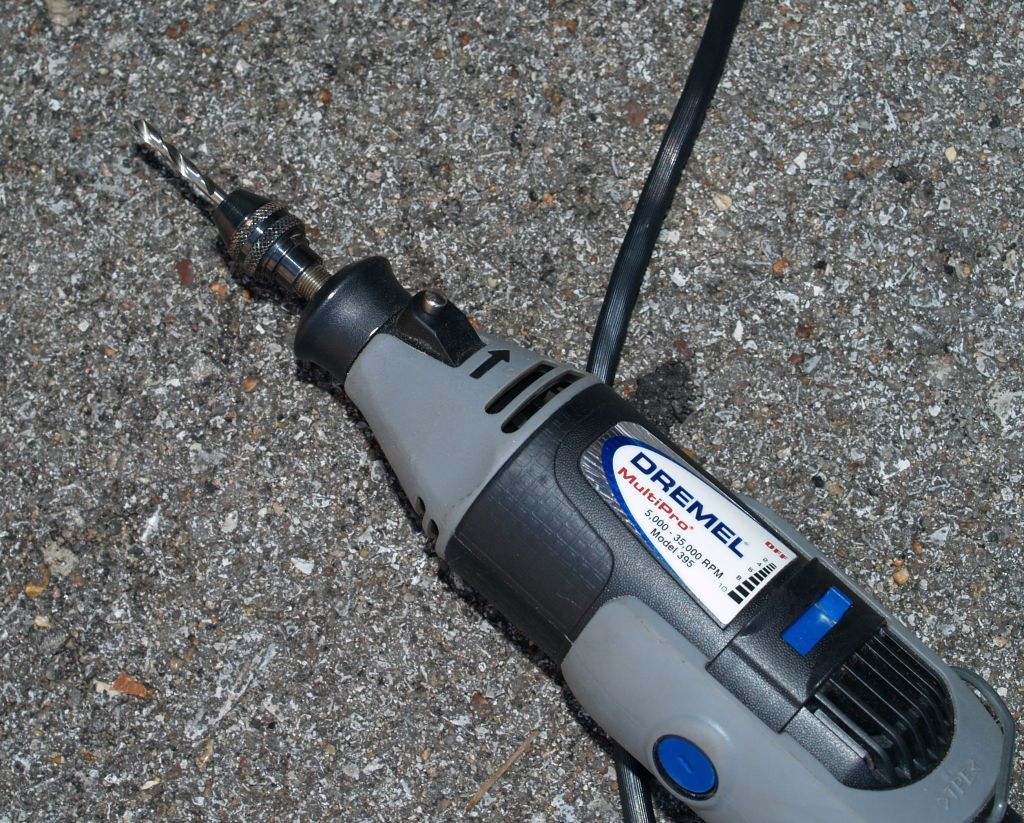
Other Tools:
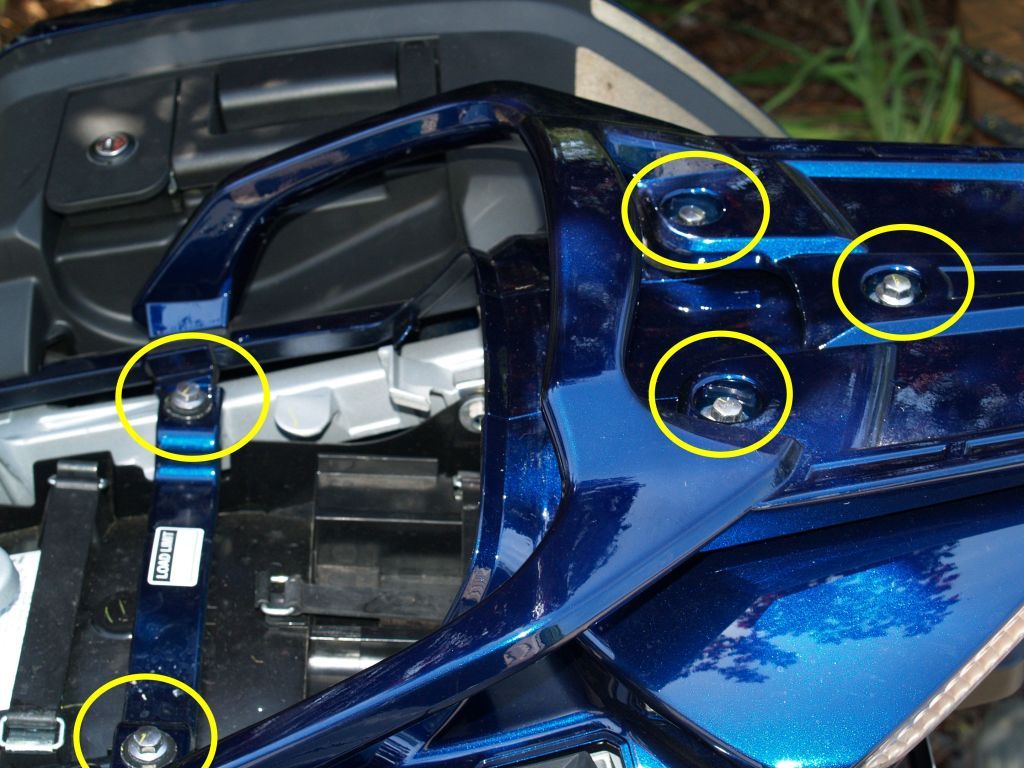
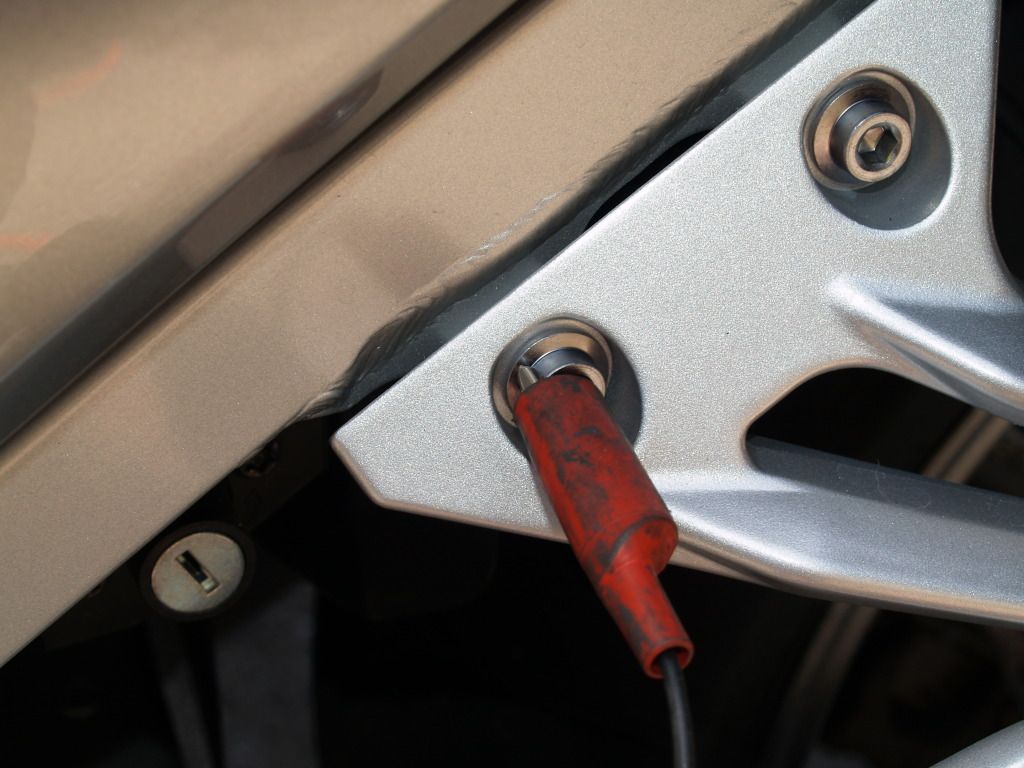
First, remove the rear rack by removing these bolts:
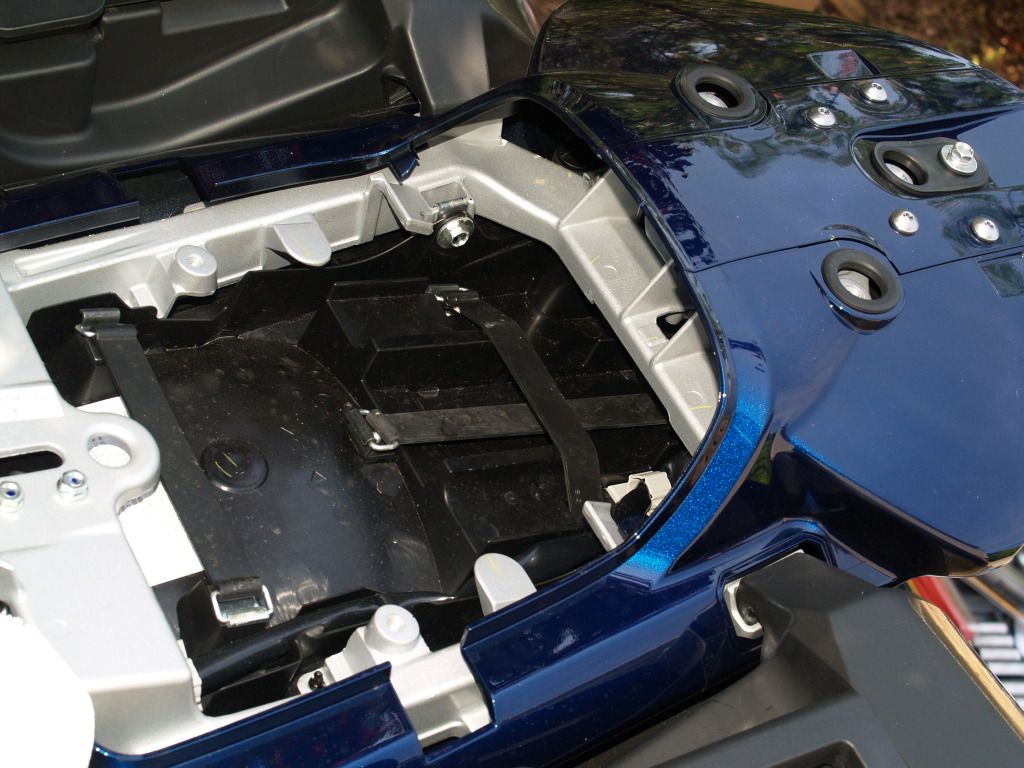
Checking out the inside to decide where to run the wires... on the right you can see a stock wire loom.
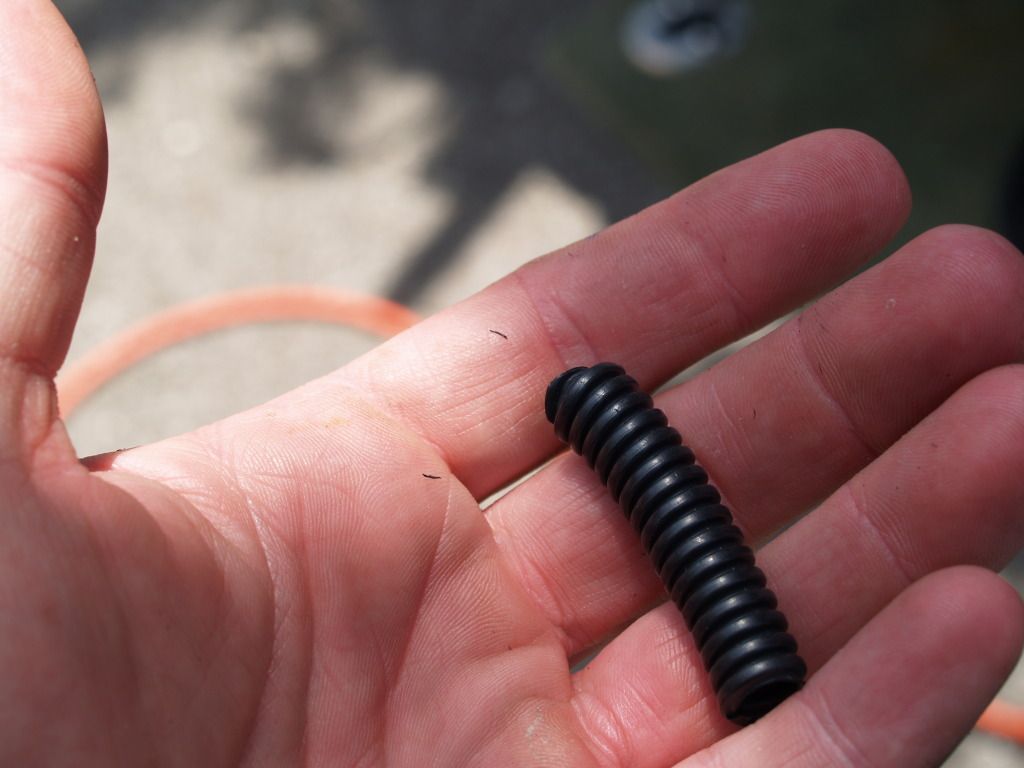
Once I decided where to drill the holes for the wires I cut a small piece of the plastic wire loom. I used this to check the size of the holes through the fender so I wouldn't drill the holes too big. The drill bit in the Dremel as maybe 1/3 the size of the loom.
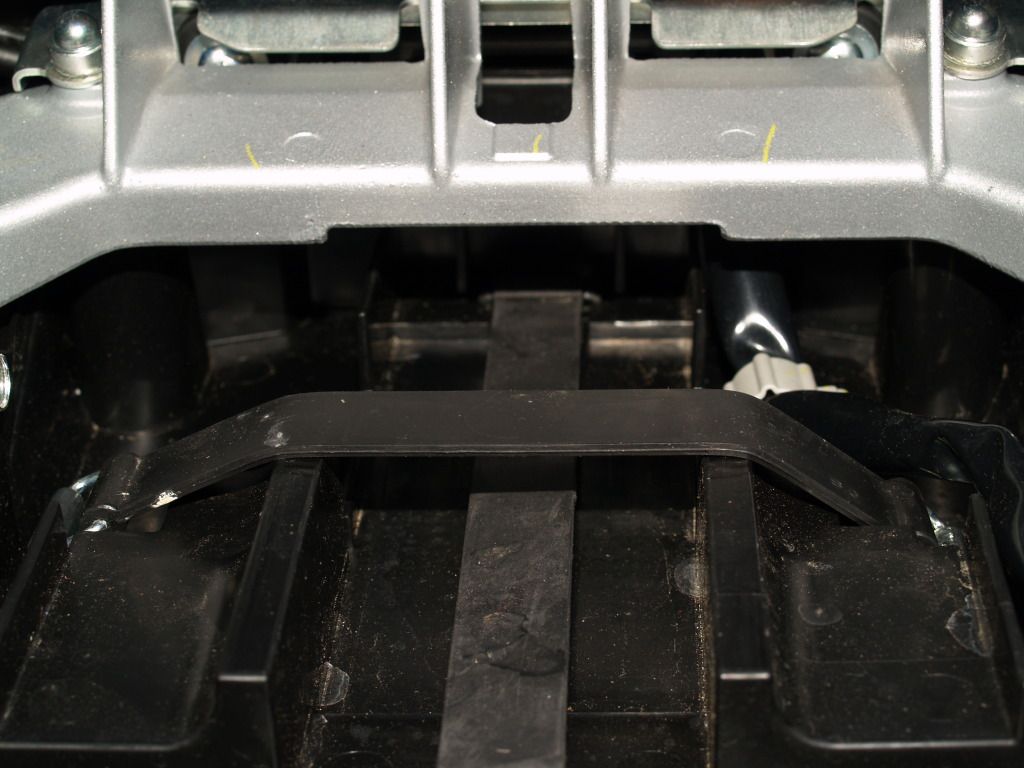
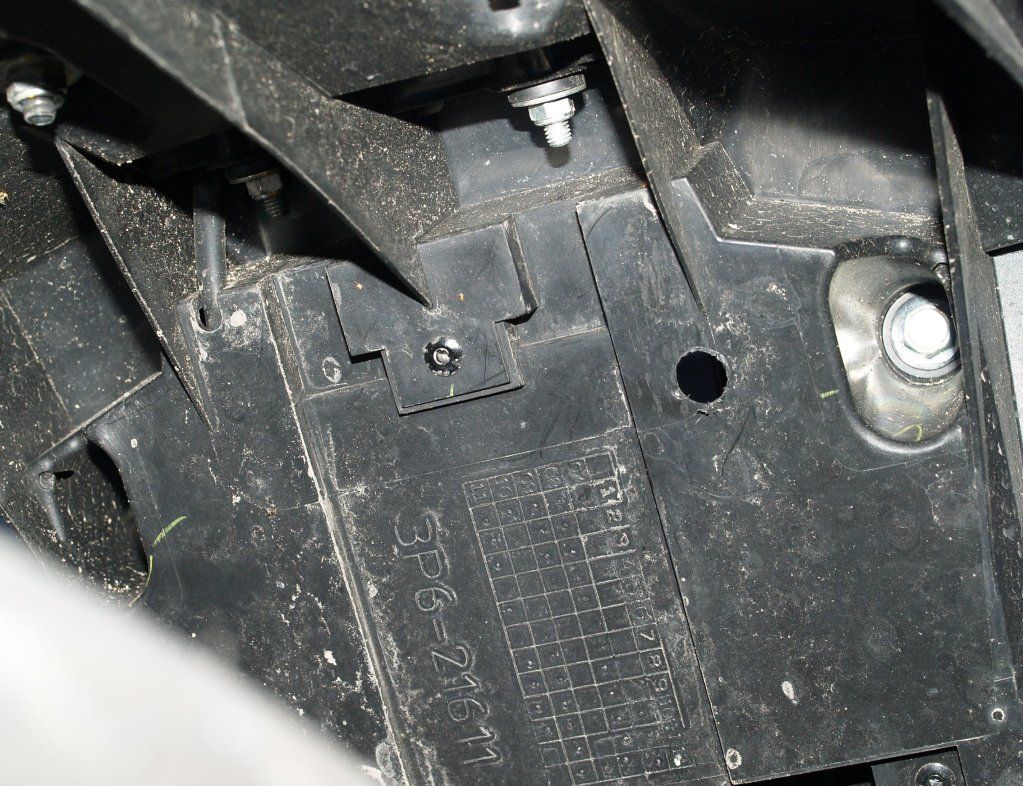
Underneath the pillion area, looking up from the rear tire:
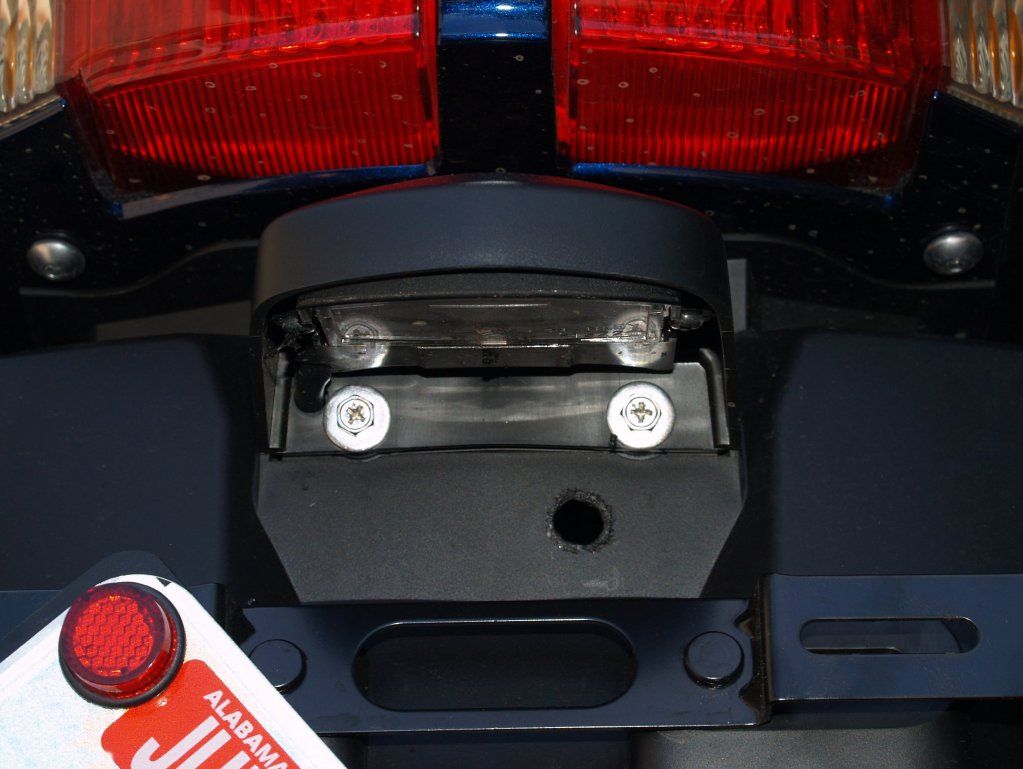
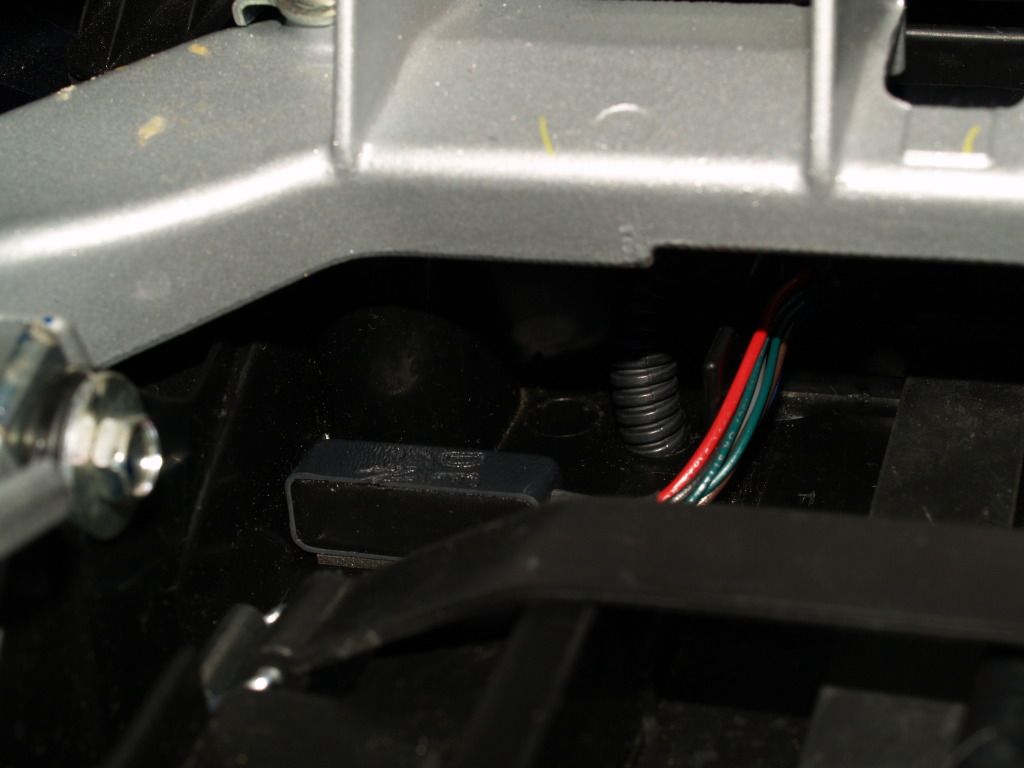
And just above the license plate. I could have drilled it lower but there aren't any good places to secure the wires under the fender so I wanted as little of it under there as possible. I wanted this hole and the other as close together as I could get them without messing anything else up:
Then I put the Hyperlites wires into the loom:
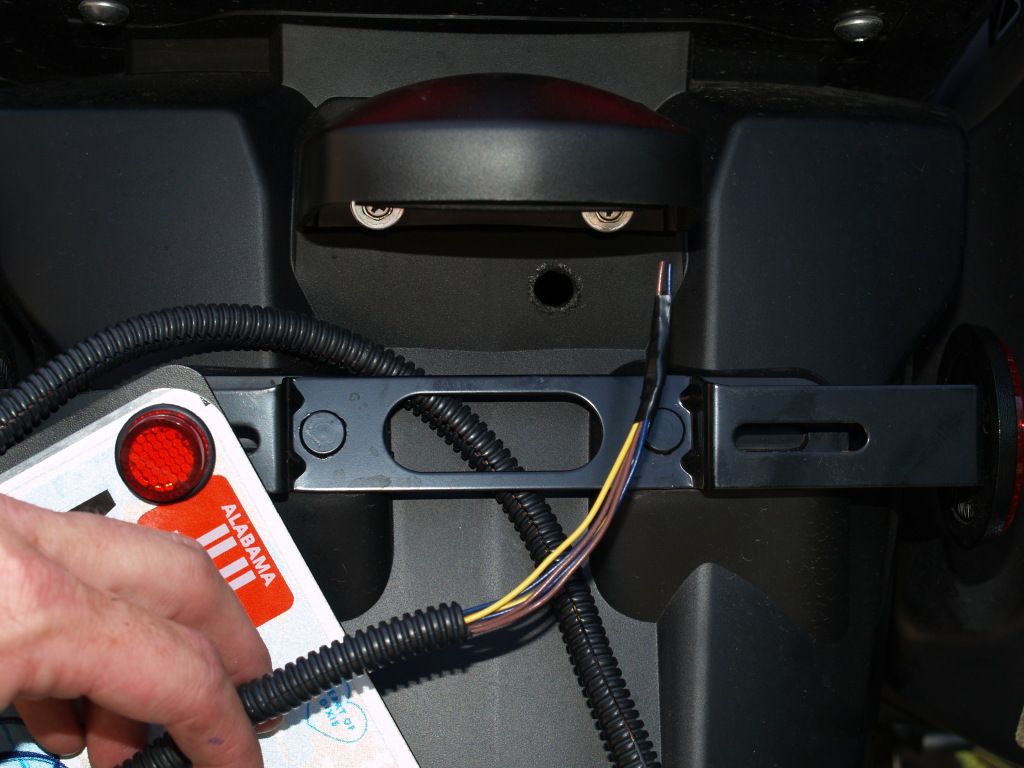
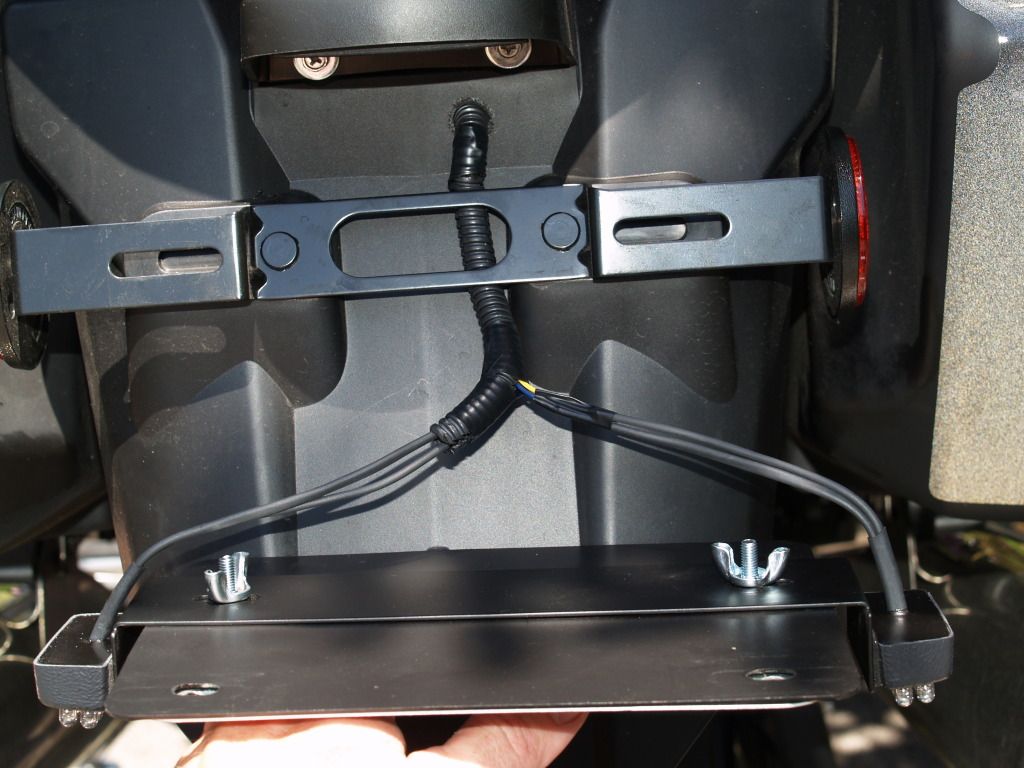
I taped the end of the wires with electrical tape then ran the loom/wires UNDER the plate bracket. The mounting bracket for the lights is attached to the bottom of the license plate so running the loom and wires behind that piece is necessary. Once it was through that hole I ran it up into the pillion area.
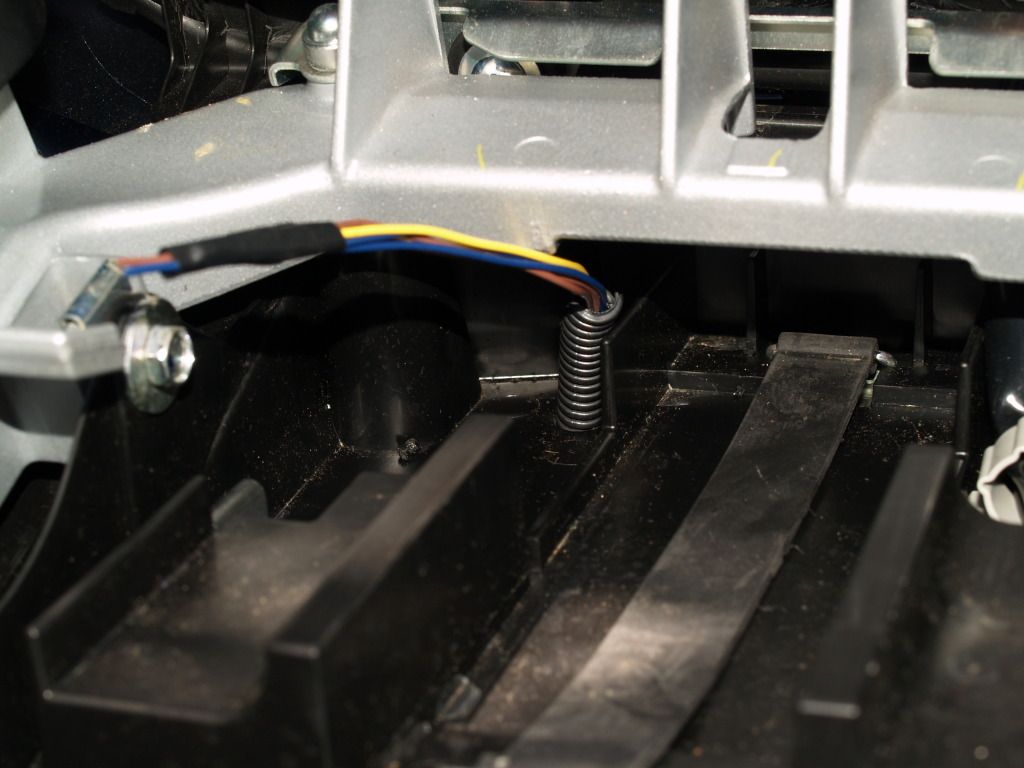
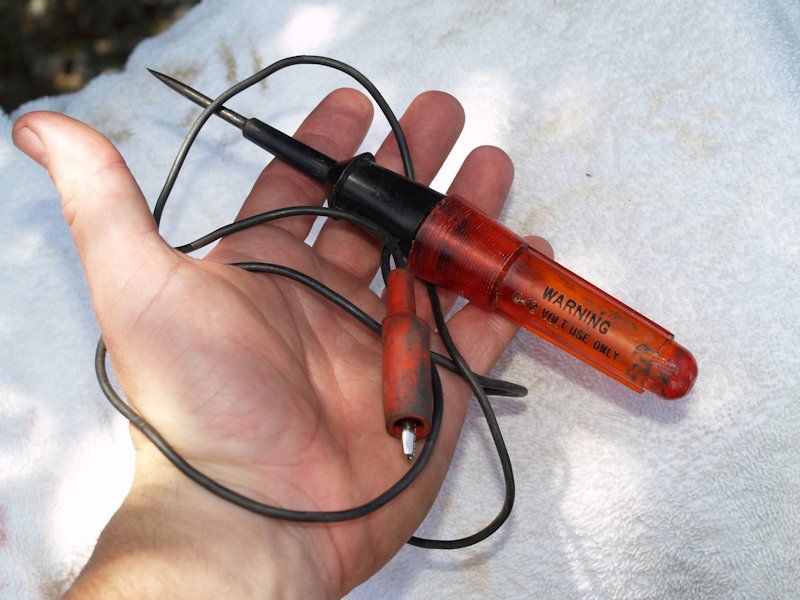
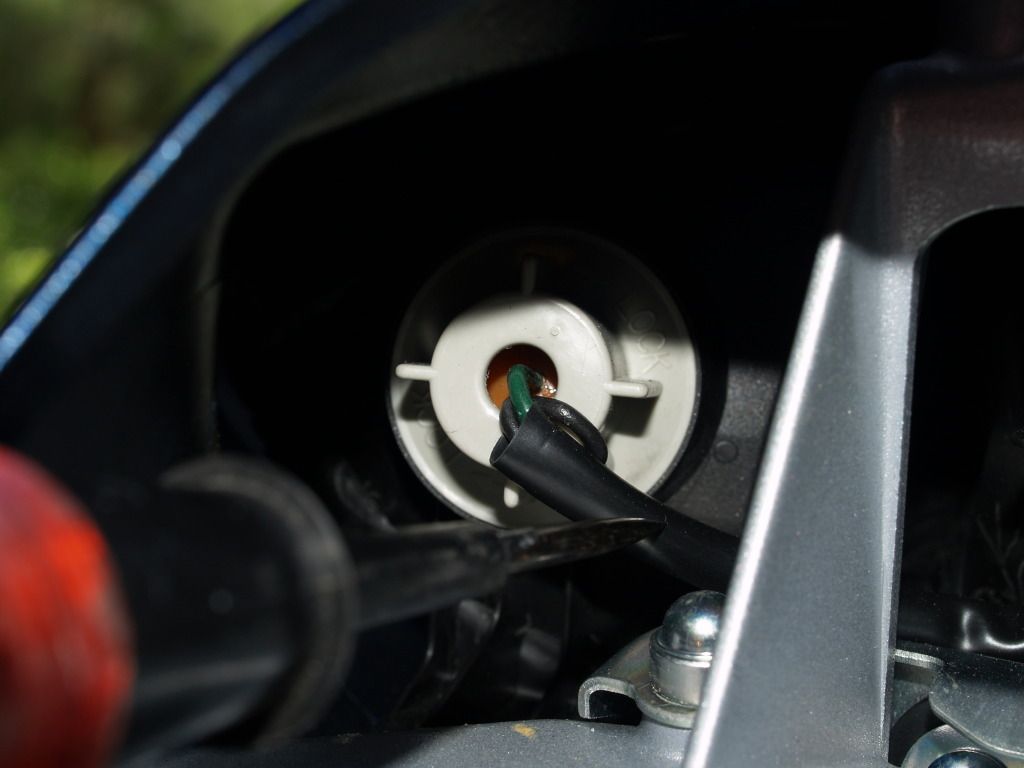
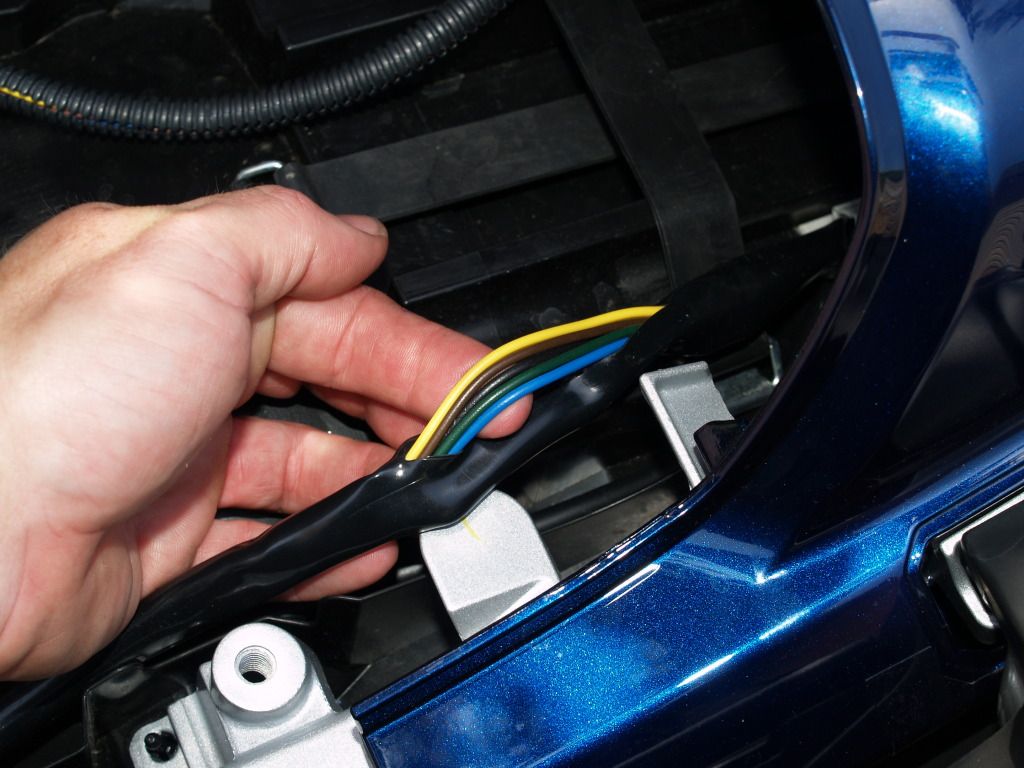
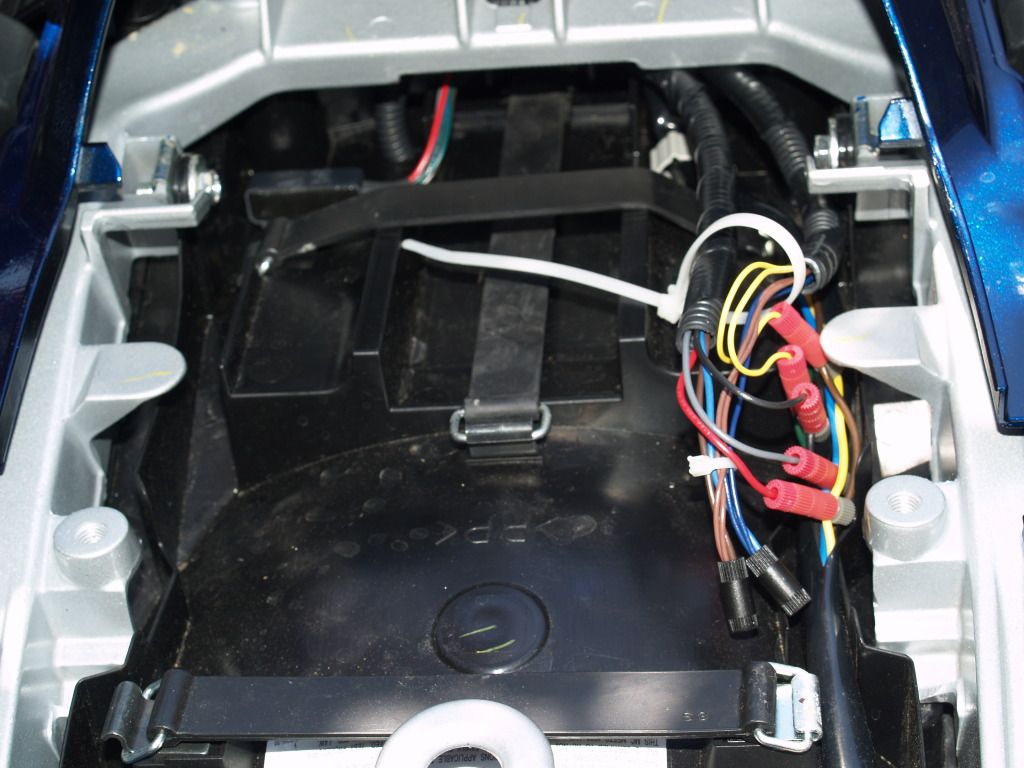
Next I grounded the tester and checked the wires going to the stock lights. I wanted to verify wire colors and actions and this is what I got:
Green= Right turn signal
Brown= Left turn signal
Blue= Running lights
Yellow= Brake lights
Black= Ground
(The photos of the probe are not me checking power but just holding the wire looms to the side so we can see the wires to the stock lights)
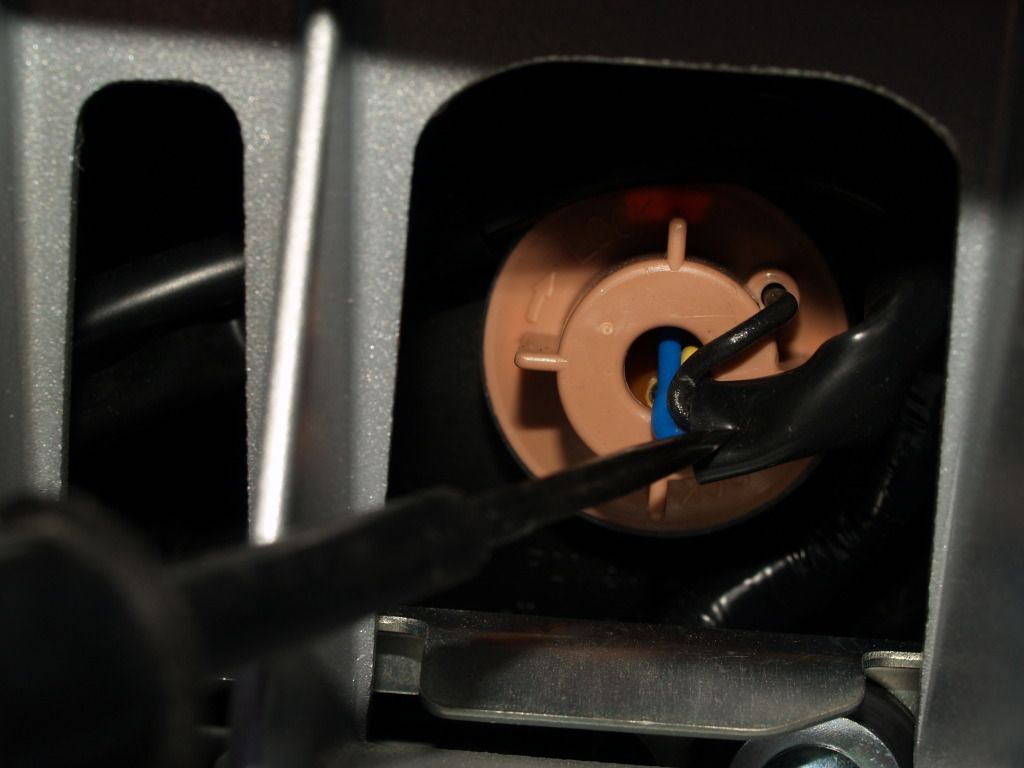
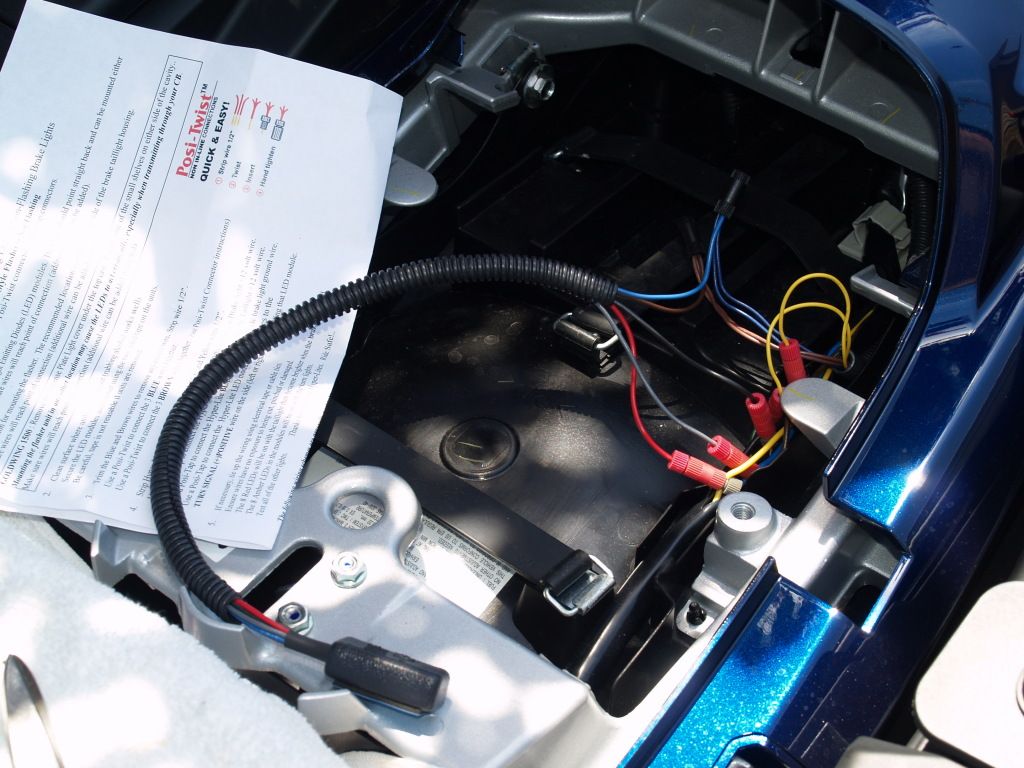
Then I split the loom at the stock light wires so I could tap into them.
The Posi-Taps and Posi-Locks are pretty slick. They make for a very easy, clean install and I don't worry about wires breaking over time. My only complaint is that in a tight area like this I think they take up too much space. At least when you have several of the in a small area. I may come back later and clean these up and install a harness or something. We'll see.
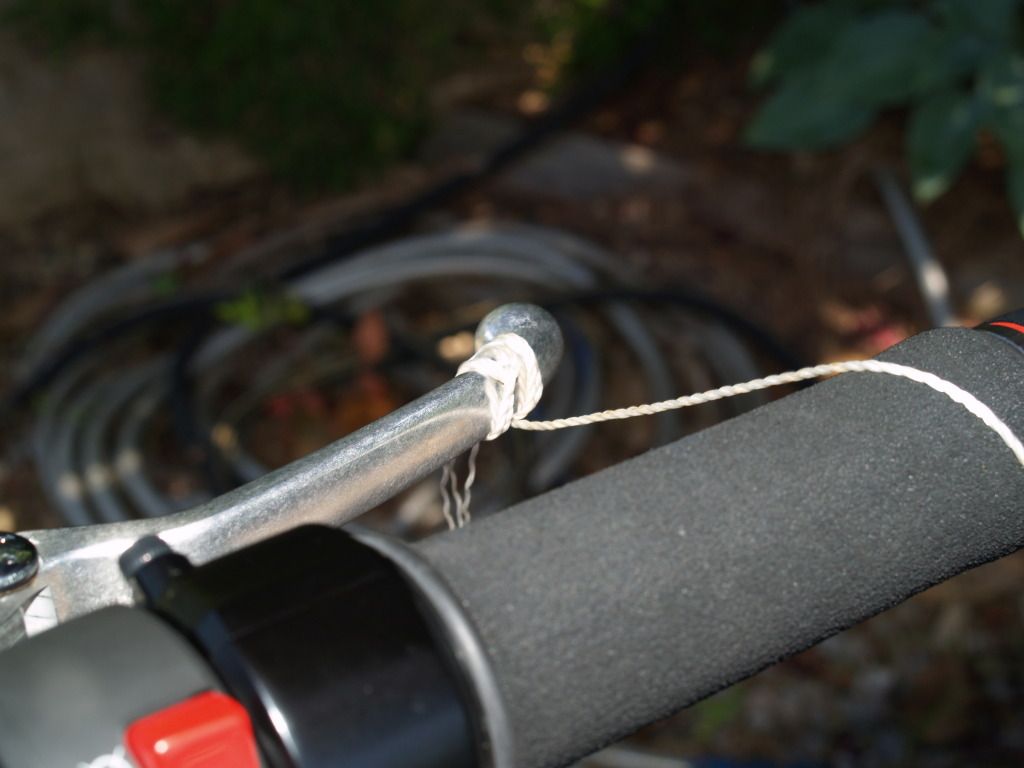
And, of course, I tied some string to the front brake lever so I could test them. You can't really see as much in a photo but these LEDs are definitely brighter than the stock lights. More photos and videos can be found at the Hyperlites website and likely on YouTube as well.
That's all folks. I hope this post is helpful - ride safe!
I did get the mounting bracket but did NOT add the flashing option. Instead I added a brake light flasher from www.3rdbrakeflasher.com to the stock tail light. That install is really very easy, and I didn't take many photos, so I haven't covered it here.
Here is my Hyperlites install:
Before:
The parts and bits I used including 1/4" plastic wire loom (needed about 3 feet). On the left is the brake light flasher. Some of the shrink wrap on the right was used for that, not for the Hyperlites. The Hyperlites come with all the Posi-Taps and -Locks (link) you need.
Other Tools:
First, remove the rear rack by removing these bolts:
Checking out the inside to decide where to run the wires... on the right you can see a stock wire loom.
Once I decided where to drill the holes for the wires I cut a small piece of the plastic wire loom. I used this to check the size of the holes through the fender so I wouldn't drill the holes too big. The drill bit in the Dremel as maybe 1/3 the size of the loom.
Underneath the pillion area, looking up from the rear tire:
And just above the license plate. I could have drilled it lower but there aren't any good places to secure the wires under the fender so I wanted as little of it under there as possible. I wanted this hole and the other as close together as I could get them without messing anything else up:
Then I put the Hyperlites wires into the loom:
I taped the end of the wires with electrical tape then ran the loom/wires UNDER the plate bracket. The mounting bracket for the lights is attached to the bottom of the license plate so running the loom and wires behind that piece is necessary. Once it was through that hole I ran it up into the pillion area.
Next I grounded the tester and checked the wires going to the stock lights. I wanted to verify wire colors and actions and this is what I got:
Green= Right turn signal
Brown= Left turn signal
Blue= Running lights
Yellow= Brake lights
Black= Ground
(The photos of the probe are not me checking power but just holding the wire looms to the side so we can see the wires to the stock lights)
Then I split the loom at the stock light wires so I could tap into them.
The Posi-Taps and Posi-Locks are pretty slick. They make for a very easy, clean install and I don't worry about wires breaking over time. My only complaint is that in a tight area like this I think they take up too much space. At least when you have several of the in a small area. I may come back later and clean these up and install a harness or something. We'll see.
And, of course, I tied some string to the front brake lever so I could test them. You can't really see as much in a photo but these LEDs are definitely brighter than the stock lights. More photos and videos can be found at the Hyperlites website and likely on YouTube as well.
That's all folks. I hope this post is helpful - ride safe!
Last edited by a moderator: