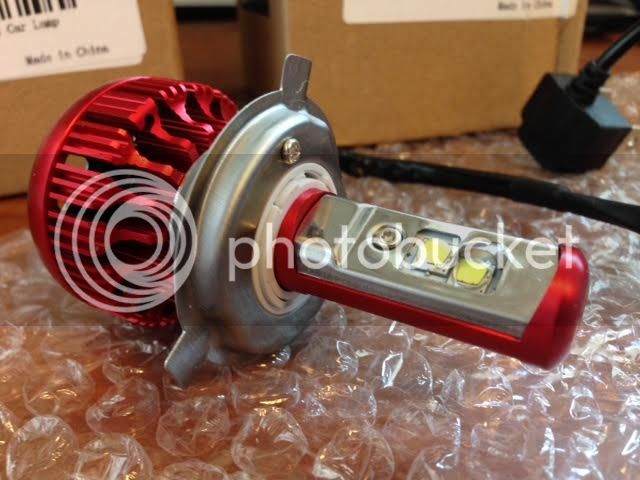
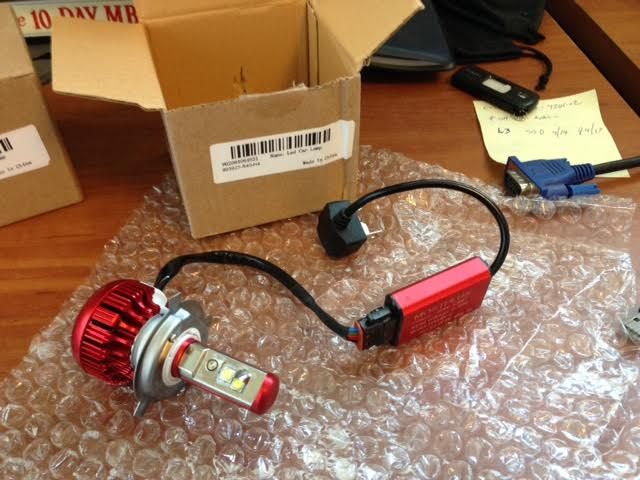
LED Headlights

Yamaha FJR Motorcycle Forum

Help Support Yamaha FJR Motorcycle Forum:

This site may earn a commission from merchant affiliate links, including eBay, Amazon, and others.
Next guy just saw that.
Although the lights Rich and I bought are different than those shown in the video, I just checked and they do have that feature. Received my LEDs on Tuesday, so I left my dash panels off after doing my valve check yesterday. Will probably do the swap and photo comparison tonight (if it stops raining).

Thanks, redneckj! You just saved my rubber boots from mutilation. :thumbsup:
Fred,

When you install those lights check to see if that rubber boot seals around them good. Hopefully you can see how I did the boot in my video well enough. I'm wondering if I should order some new boots now that I know this new information. In your opinion do you think there is enough dust and debris to warrant new boots?

 
Next guy just saw that.

Although the lights Rich and I bought are different than those shown in the video, I just checked and they do have that feature. Received my LEDs on Tuesday, so I left my dash panels off after doing my valve check yesterday. Will probably do the swap and photo comparison tonight (if it stops raining).

Thanks, redneckj! You just saved my rubber boots from mutilation.
thumbsup.gif
Fred,

When you install those lights check to see if that rubber boot seals around them good. Hopefully you can see how I did the boot in my video well enough. I'm wondering if I should order some new boots now that I know this new information. In your opinion do you think there is enough dust and debris to warrant new boots?
A little duct tape should seal those modified boots.
smile.png


Last edited by a moderator:
Good question. The boots are only $15 ea. so it wouldn't break the bank to replace them. But I'm not sure it would be absolutely necessary. I cut the boots on my '05 back when I put HIDs in, and didn't have any problems with that. The boot only seals dust from the back side of the light mount, and the H4 mounting ring is relatively tight fit to the back of the headlamp bucket.

 
Next guy just saw that.

Although the lights Rich and I bought are different than those shown in the video, I just checked and they do have that feature. Received my LEDs on Tuesday, so I left my dash panels off after doing my valve check yesterday. Will probably do the swap and photo comparison tonight (if it stops raining).

Thanks, redneckj! You just saved my rubber boots from mutilation.
thumbsup.gif
Fred,

When you install those lights check to see if that rubber boot seals around them good. Hopefully you can see how I did the boot in my video well enough. I'm wondering if I should order some new boots now that I know this new information. In your opinion do you think there is enough dust and debris to warrant new boots?
A little duct tape should seal those modified boots.
smile.png
Unfortunately, the rubber from the boot is not seated around the stem of the light but rather around the heatsink or fan shroud (which ever you want to call it). I couldn't get it tucked in nice and tight behind it. I do believe that it is not sealed real good and since it's around the shroud some I'm afraid it "might" restrict the air flow around it. I don't think duct tape would solve my problem. But, thanks for the input!

Good question. The boots are only $15 ea. so it wouldn't break the bank to replace them. But I'm not sure it would be absolutely necessary. I cut the boots on my '05 back when I put HIDs in, and didn't have any problems with that. The boot only seals dust from the back side of the light mount, and the H4 mounting ring is relatively tight fit to the back of the headlamp bucket.
I went ahead and ordered a new set of rubber boots. I found them on partsfish.com for just over $10ea + a little shipping. The modified ones might have worked just fine but for $28 I will have the peace of mind that everything is right in there. I really didn't want to modify them to begin with but didn't see any way around that before this new enlightening information. Some instructions in the box would have been nice. I can't believe that in all of the research and videos I watched this didn't come up.

 
If the bulbs are really good and last as long as they say, you might have been able to get away with sealing the whole works up with RTV silicone! On the '16 and '17, the LED headlight bulbs are not even user-replaceable.

 
My bulbs disassemble, but I still had to cut my boots - the smallest section that seals against the bulb was too long to fit between the h4 seat plate and the wider part at the back of the bulb. I tried for a while and could understand why they wouldn't lock in place, so I tried off the bike and discovered the issue. Only had to trim off a couple of mm to make it work.

 
Ah, good to know. So the boots may need some trimming, but just in thickness, not the diameter, of the inner hole. I'll be sure to test fit them off the bike.

 
Is that rubber boot really needed?

Maybe if you ride in the rain a lot. I didn't put them back after I put in the LEDs last year.

 
The flange on the bulb presses against the seat on the reflector, that will prevent most dust from getting in there. The boot is really to keep moisture out of the casing..

 
Did the LED upgrade tonight. Spring has sprung in the northeast, so it was a pleasure to go out to the garage and to the upgrade. Sort of.

I've changed the headlight bulbs on 1st and 2nd Gens before, and while it is a little challenging, it can actually be done without removing any dash panels. No such luck on the 3rd Gen, at least not with my ES. The area around those headlight bulbs is very crowded with wiring and the rods that do the vertical headlight adjustment. No bigee... just grab the ****s on the dash and jiggle them off.

What was especially challenging was getting those big rubber boots back on. I did put a light smear of silicone grease on the rim to help it ease on, but you still need to be a double jointed contortionist to get those damn things back in.

Special shout out to eflyguy for the tips on trimming the boot. If you trim the inner diameter back to the first set of ridges inside that diameter it fits perfectly and still allows the two part LED bulb to be inserted and twist lock into position easily.

I took some photos which Ill need to process, and upload in the AM and then will post the beam patterns both before and after as well as with a set of LR4 aux lights used as fillers. More tomorrow...

 
Last edited by a moderator:
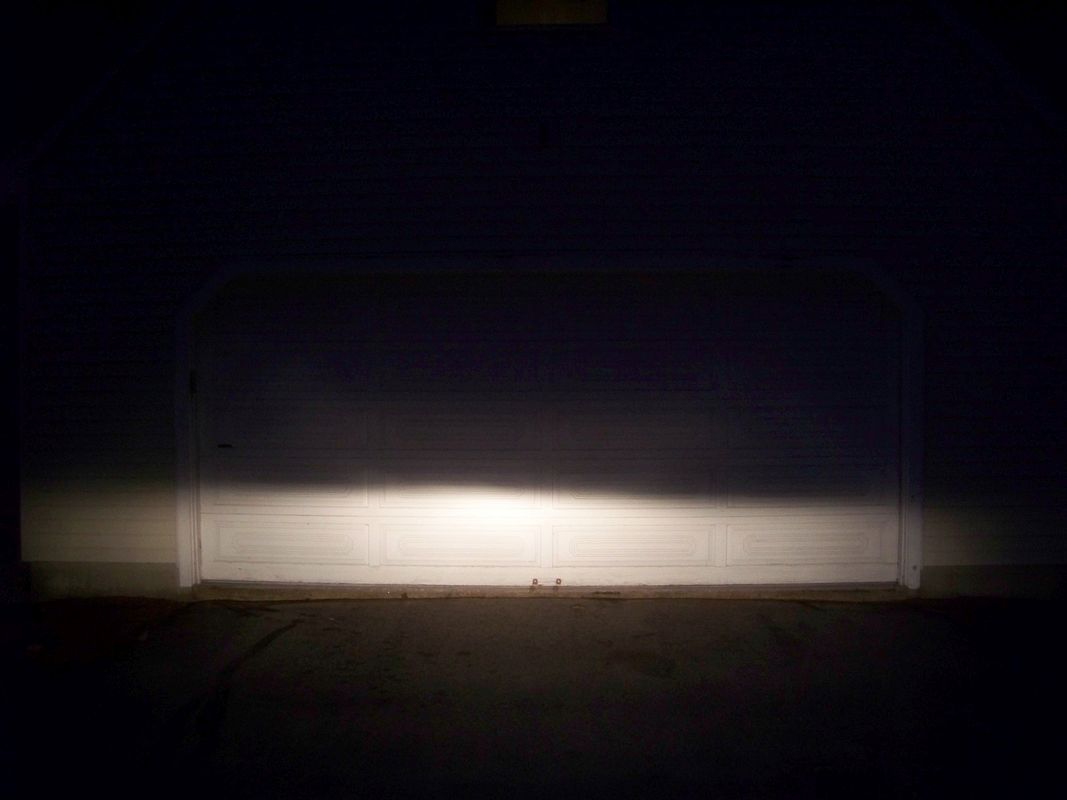
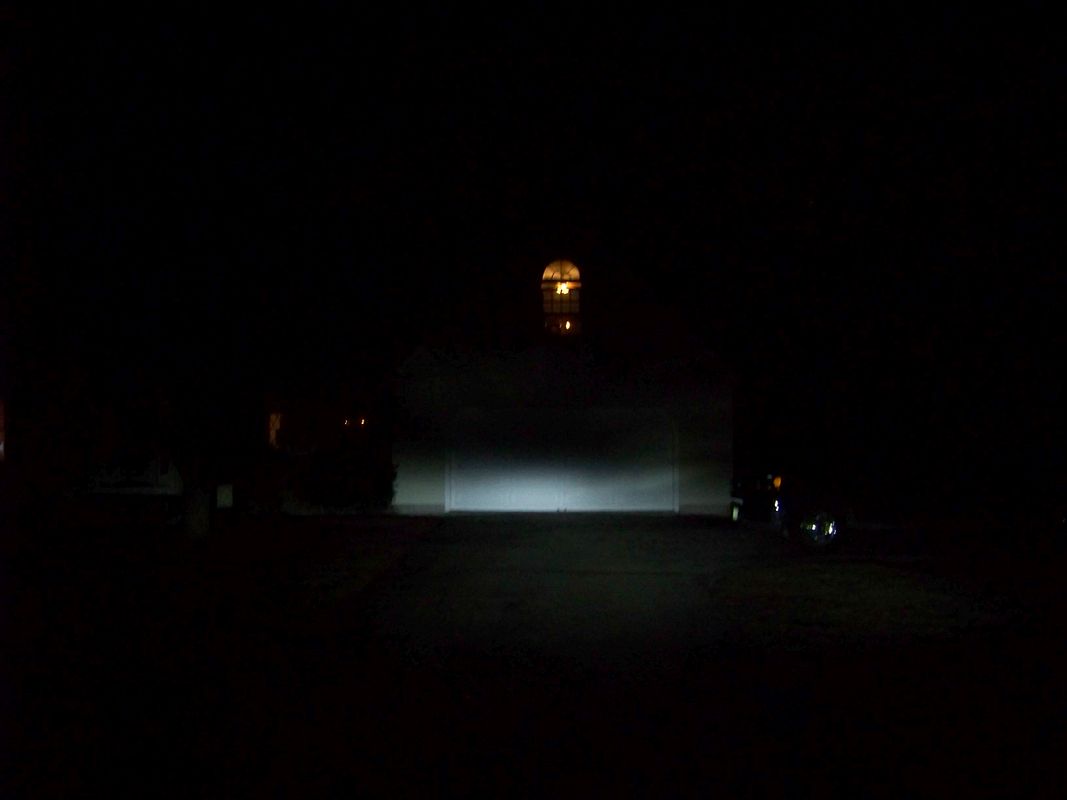
Alrighty then... we'll start by comparing the stock headlights to the H4 LED retrofit bulbs bought from eBay seller "ultimatecomponents" pointed at a white garage door 25 feet away. All photos are un-retouched or gamma corrected other than any auto scaling done by my digital camera. Note when looking at these photos that my driveway path centers more towards the left bay of the garage door.

Stock Halogen Low Beam

001%20Halogen%20Low%20Beam.jpg


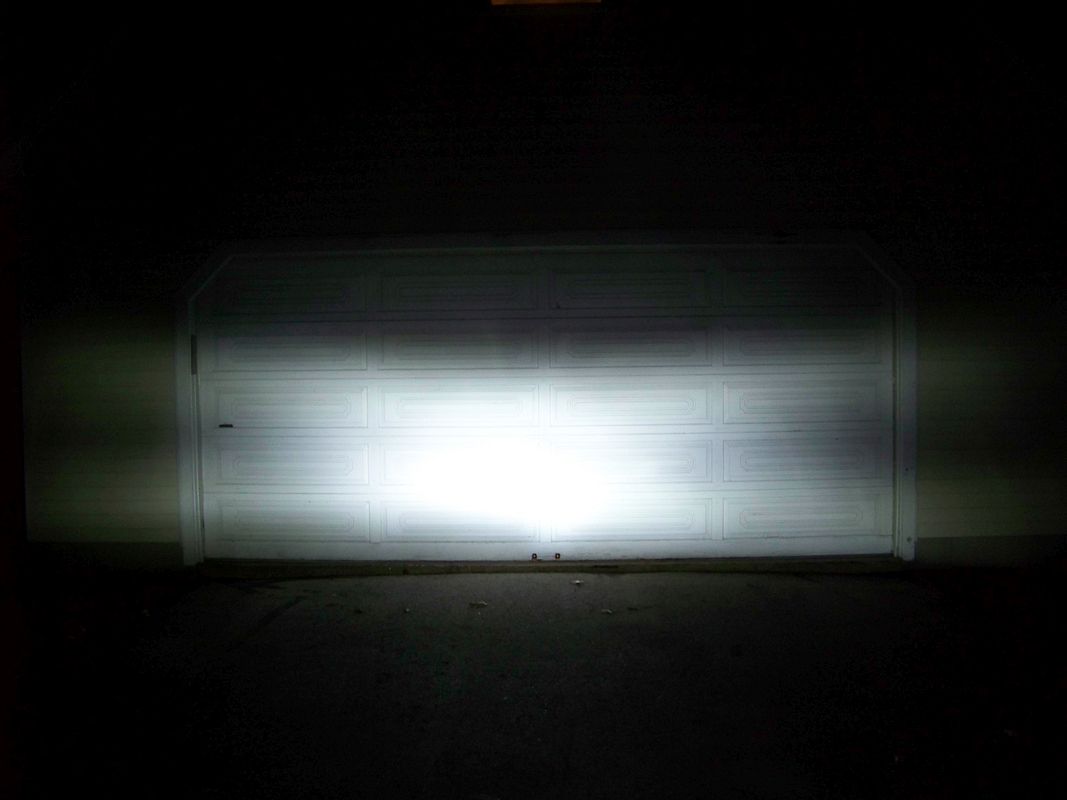
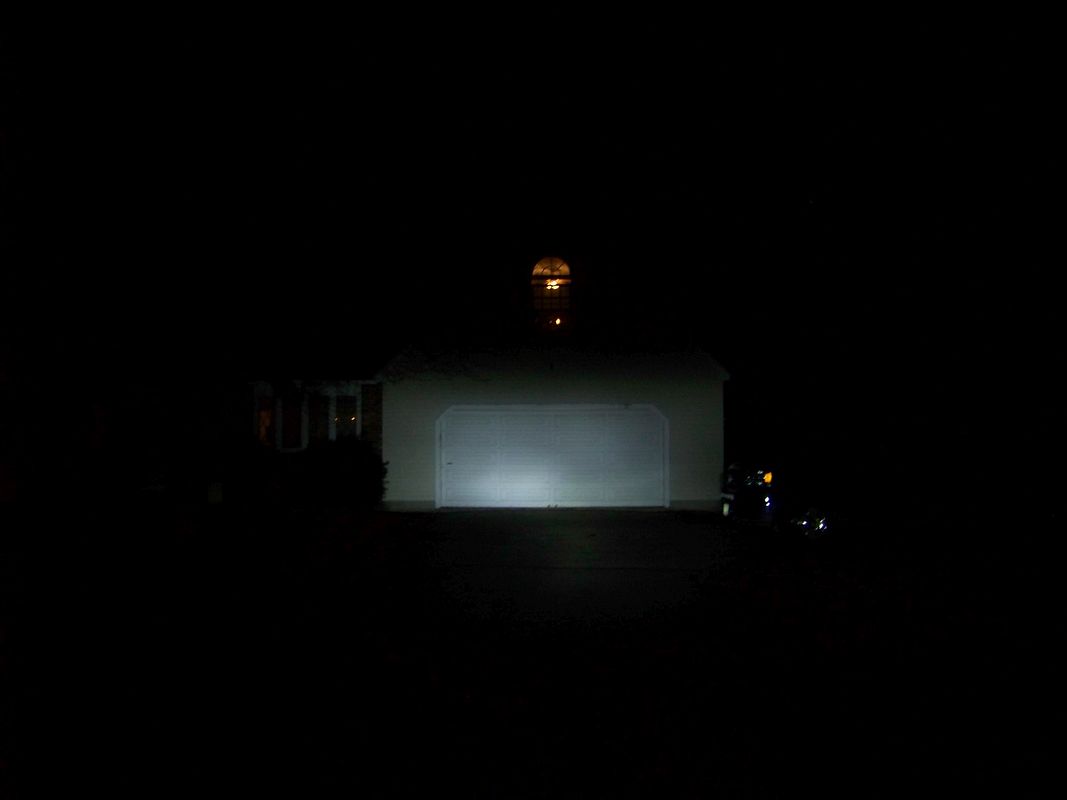
Compare that to the LED Low beam

004%20-%20LED%20Low%20Beam.jpg


It is basically the same beam pattern, but the intensity of the LED light is much greater. Without a lux meter I'd make a guess that they are about twice as bright as the halogen.

The leakage above cutoff is there in both shots, but more obvious due to the pattern in that scatter on the LEDs, and also seems a bit brighter. Maybe that is because the lights themselves are brighter. I do not think that this leakage will be a problem for oncoming motorists at night.

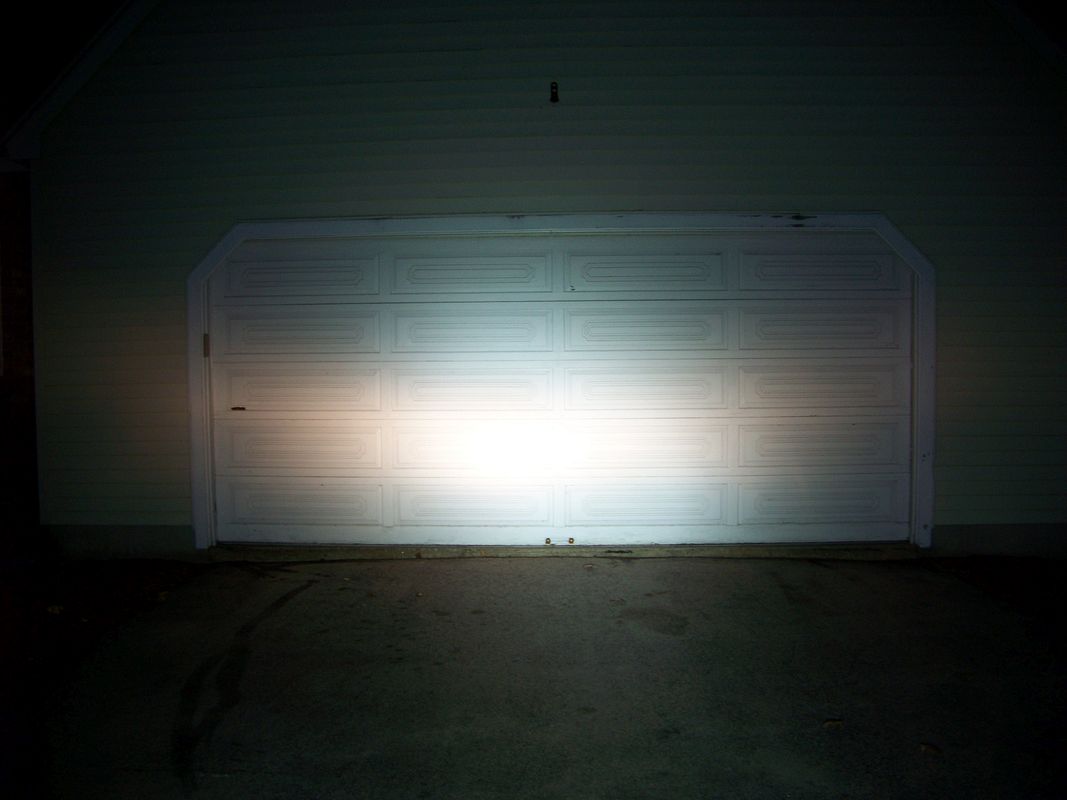
High Beam Halogen

002%20-%20Halogen%20High%20Beam.jpg


High Beam LED

005%20-%20LED%20High.jpg


In the halogen high beam photo you can clearly see the downfall of that headlight as the bright area is high, so as to throw the maximum light down the road, but at the expense of any light down low.

I was surprised to see that the LED high beam has two distinct levels of bright intensity. Flipping between high and low I could see that the low beam spot remained, and when in high it just added a new one higher up.

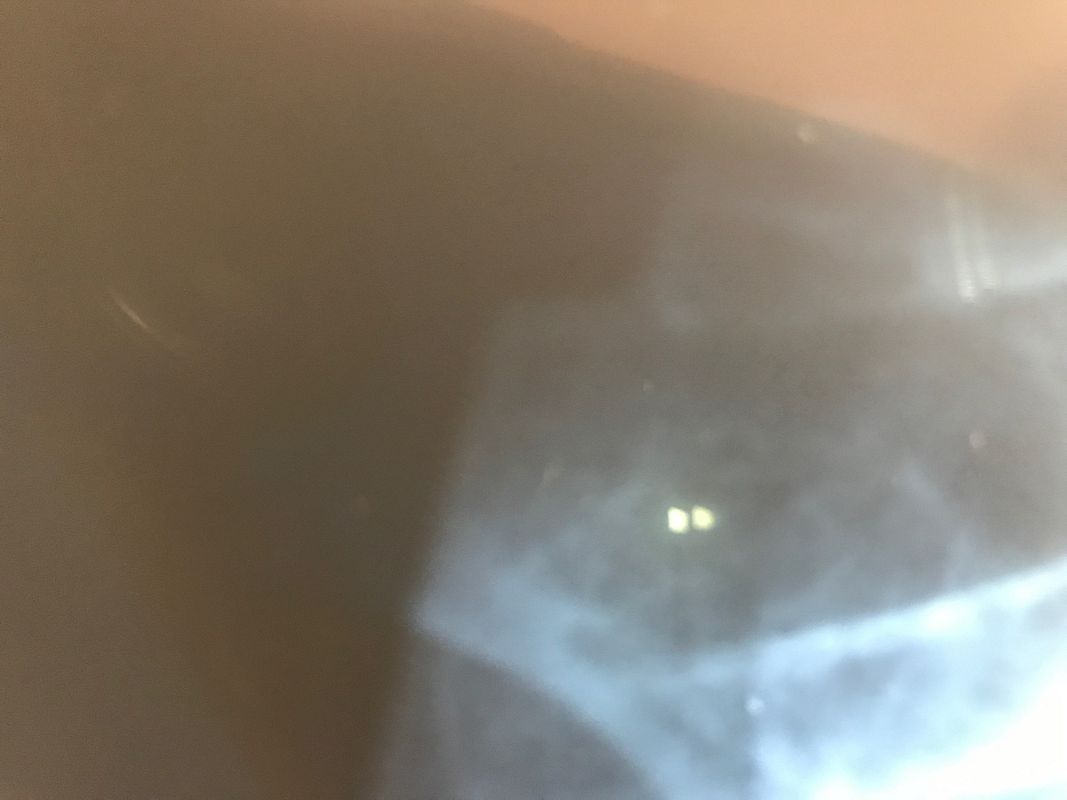
So I held a piece of exposed Xray film in front of the headlight and could clearly see that all 4 LEDs are lit on each bulb when in high beam. Here's a shot looking thru the film on one side of one of the bulbs

IMG_1212%20-%20LED%20High%20Beam%20thru%20film.jpg


This feature must be provided by the small module that is part of the LED upgrade's cable, and is made possible because the wattage of all 4 of the LEDs is less than the wattage of a single halogen filament. You could rewire the halogen lights to do this, but the wattage of having all 4 filaments on would be excessive (210 watts) and the headlight wiring is not sized properly to carry that much current continuously.

To me, this seems like a big win for LED when in high beam.

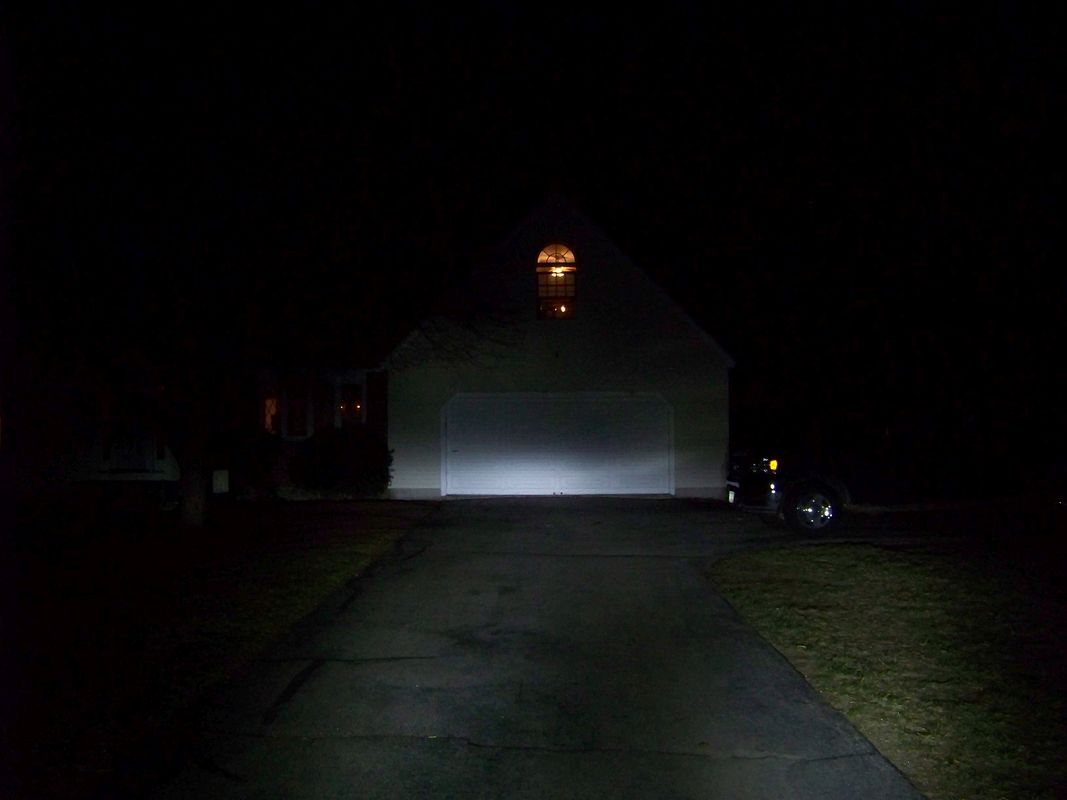
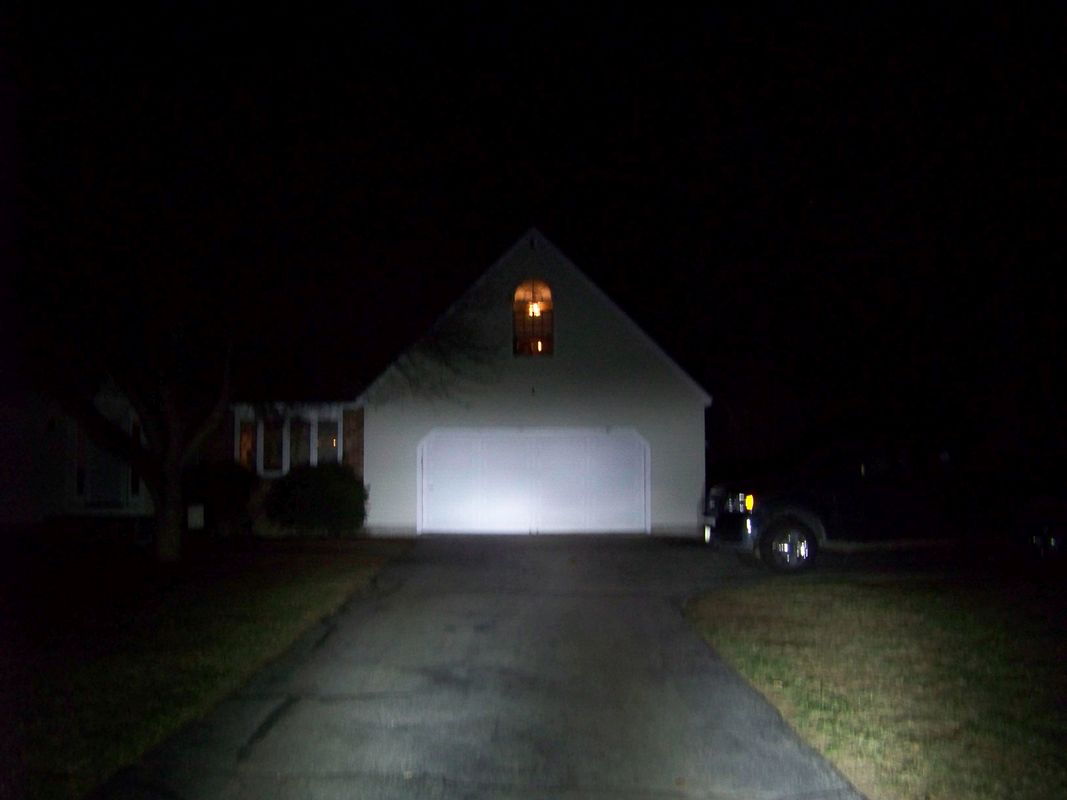
In the past I've found that staring at the bright spots on a wall 25' away shows the beam patterns well, but isn't representative of how well a headlight works out on the road. Typically shots taken from ~75 feet are more representative of how they will work in the real world. Unfortunately I did not take these shots with the halogen lights, only with the LEDs.

Here are the LED low beams from 75'

013%20-%20LED%20low%2075%20ft.jpg


And here are the LED High Beams from 75 feet

012%20-%20LED%20high%2075%20ft.jpg


And just for fun, here are the LED retrofit bulbs plus LEDrider LR4 lights aimed somewhat downward from 75 ft

Low beam w/ LR4 at ~ 30% bright

010%20-%20LED%20Low%20%20LR4%20%2075%20ft.jpg


And LED retrofit highbeams plus LR4 @100%

011%20-%20LED%20High%20%20LR4%2075%20ft.jpg


The LR4's basically improve my foreground illumination in low beam in addition to being attention getting during daylight hours, and add a bunch of forward light in the high beam 100% on position. That's a whole lot of light being cast down the road in that last photo. :thumbsup:

 
I went up and down our neighborhood a bit last night and everything seemed great. I still need to re-adjust their alignment a bit as the beams are a bit higher than they were with the Halogens, and I'd like to try and spread the two beams apart a bit more if I can (not sure if that's possible).

The whiter and brighter light does really light up the retro-reflective road signs, but that's part of why we have headlights, isn't it? I mean, the reflection from the signs don't blind you or anything. I like them enough that I'll be keeping them on the bike.

One other thing I noticed when installing these (and had not previously) is that the two bulbs are slightly clocked, or indexed CCW facing the front of the bike. I assume that has to do with these being headlights for the right side driving part of the world. Having the right side of the bulb rotated down would equal the left side of the beam being down after inversion on the parabolic reflectors.
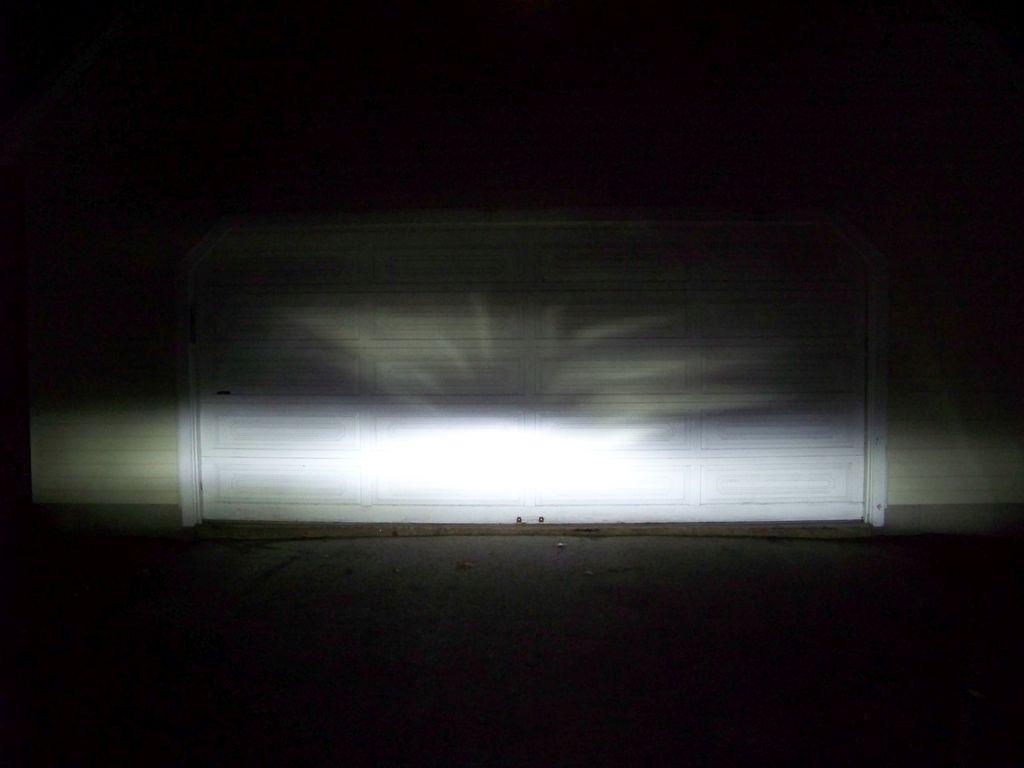
 
Nice report.. My LED's do the same in High beam - low stays on. Actually, all LED H4 bulbs I've used did that.

 
Ordered mine last Friday and they arrived today....I figure at $42 shipped, the risk was low. I've been watching the various LED threads for a while and with the endorsements above, it was time to upgrade my '05!

Regards, Mr. BR


I installed Philips LED light today. I am really happy with results. Small report out from installation and pictures after from the ride:

1. This was in the box:


2. LED looks nice and robust. Easy to remove cooler - better for installation in light and also allow install rubber dust cover:


3. Some covers need to be removed to have an access for installation:


4. Left side (left in riding direction):


5. For demonstration I took photo with dust cup (I installed it after assemble LED to light body, together with cooler):


6. Cables and connectors are robust, with sealing.


7. Right side (right side in riding direction):


8. There is a place in lower part of the fairing exactly for black-box of LED assy. I used cable-tie to secure it in the place:


9. Photos in garage with OEM bulbs:


10. Photos in garage with left one with LED and right one with OEM bulb (sides in riding direction):


Photo with both LED installed:


Comparison photos in garage (high and low beam):


Photos taken outside (with LED installed):


I did 100 km this evening and I am really glad with result. Was afraid of bothering other drivers, but limit of light in low beam is good, did not recognized any issue. I like white light color and visibility is improved too. This LED were a bit expensive, but worth the investment.

 
Last edited by a moderator:
Nice work with all of the pictures.

Are those part number 12953BWX? They are nice, but pricey. I suppose the price doesn't matter if they last the life of the motorcycle.


Latest posts

Top