Mirror Bracket Driving Light Wire Routing Question

Yamaha FJR Motorcycle Forum

Help Support Yamaha FJR Motorcycle Forum:

This site may earn a commission from merchant affiliate links, including eBay, Amazon, and others.

HyperPete

Opinionated curmudgeon
Joined
Dec 8, 2015
Messages
405
Reaction score
90
Location
York County, PA
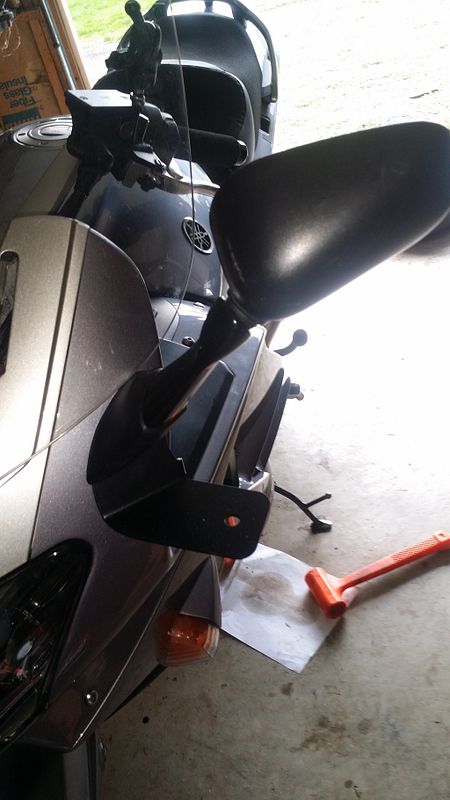
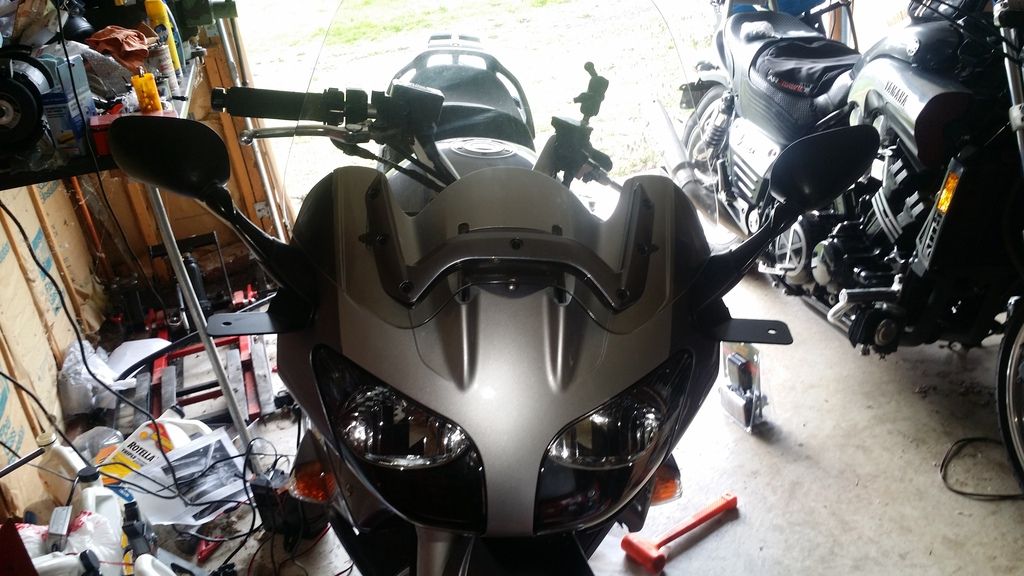
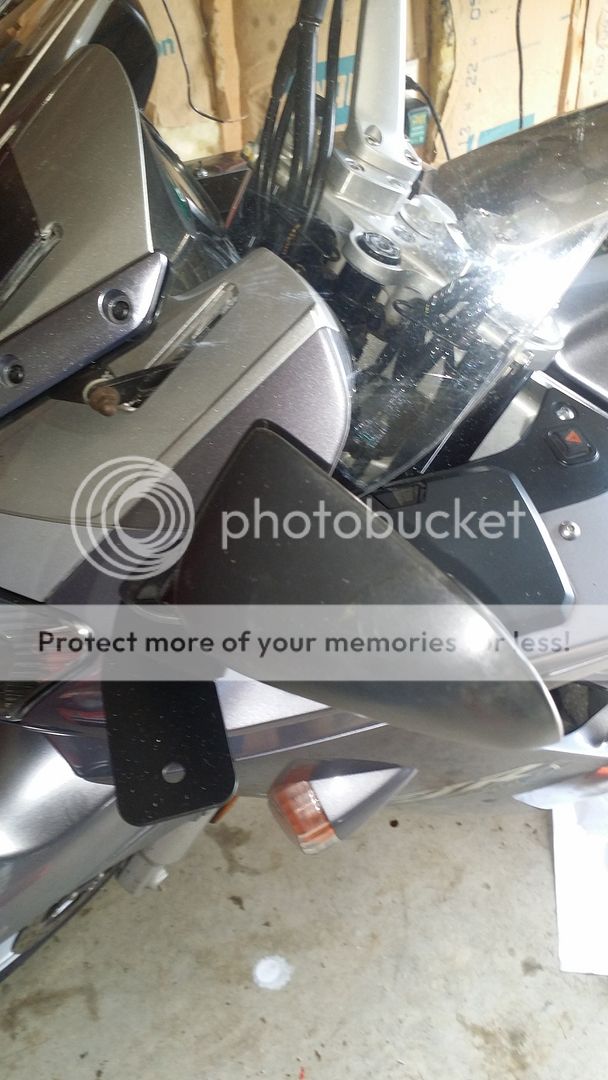
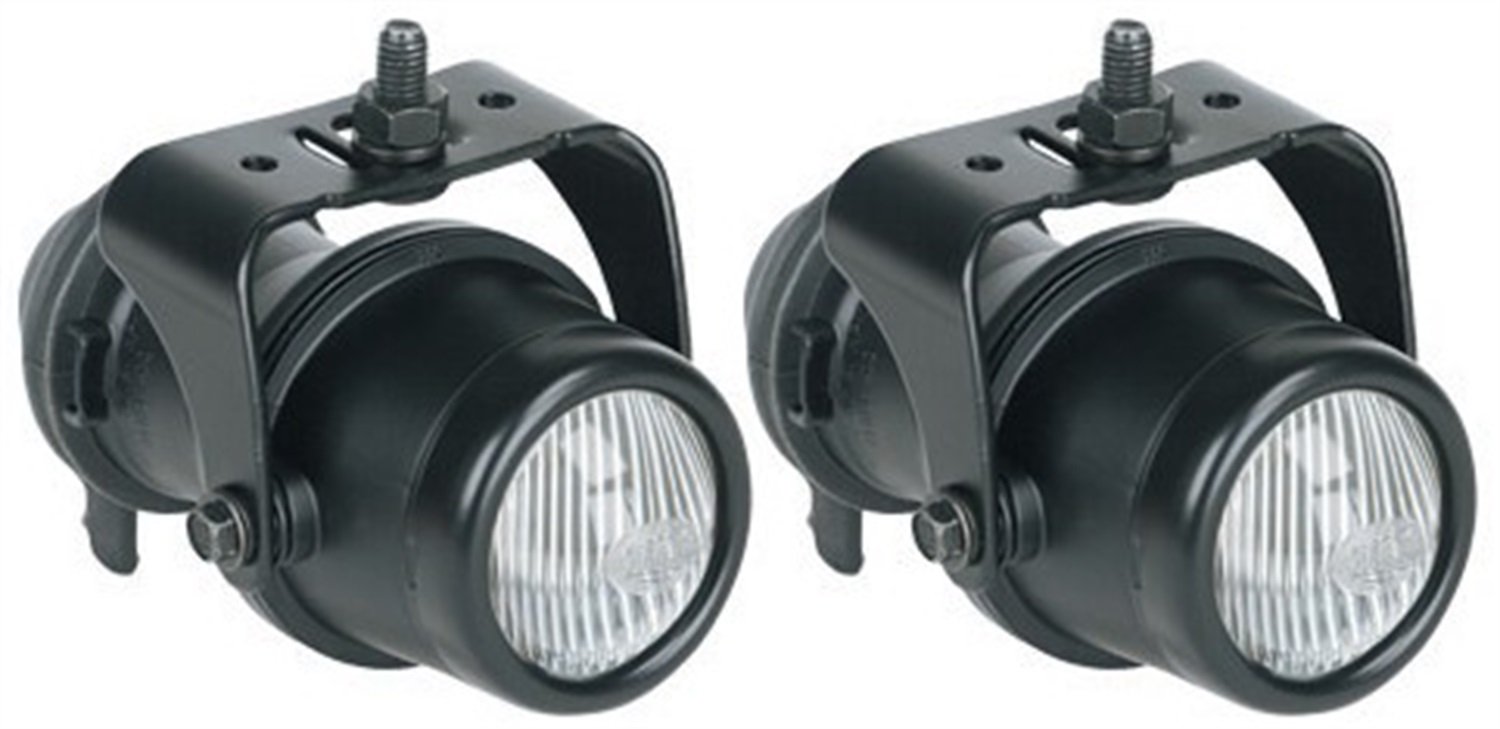
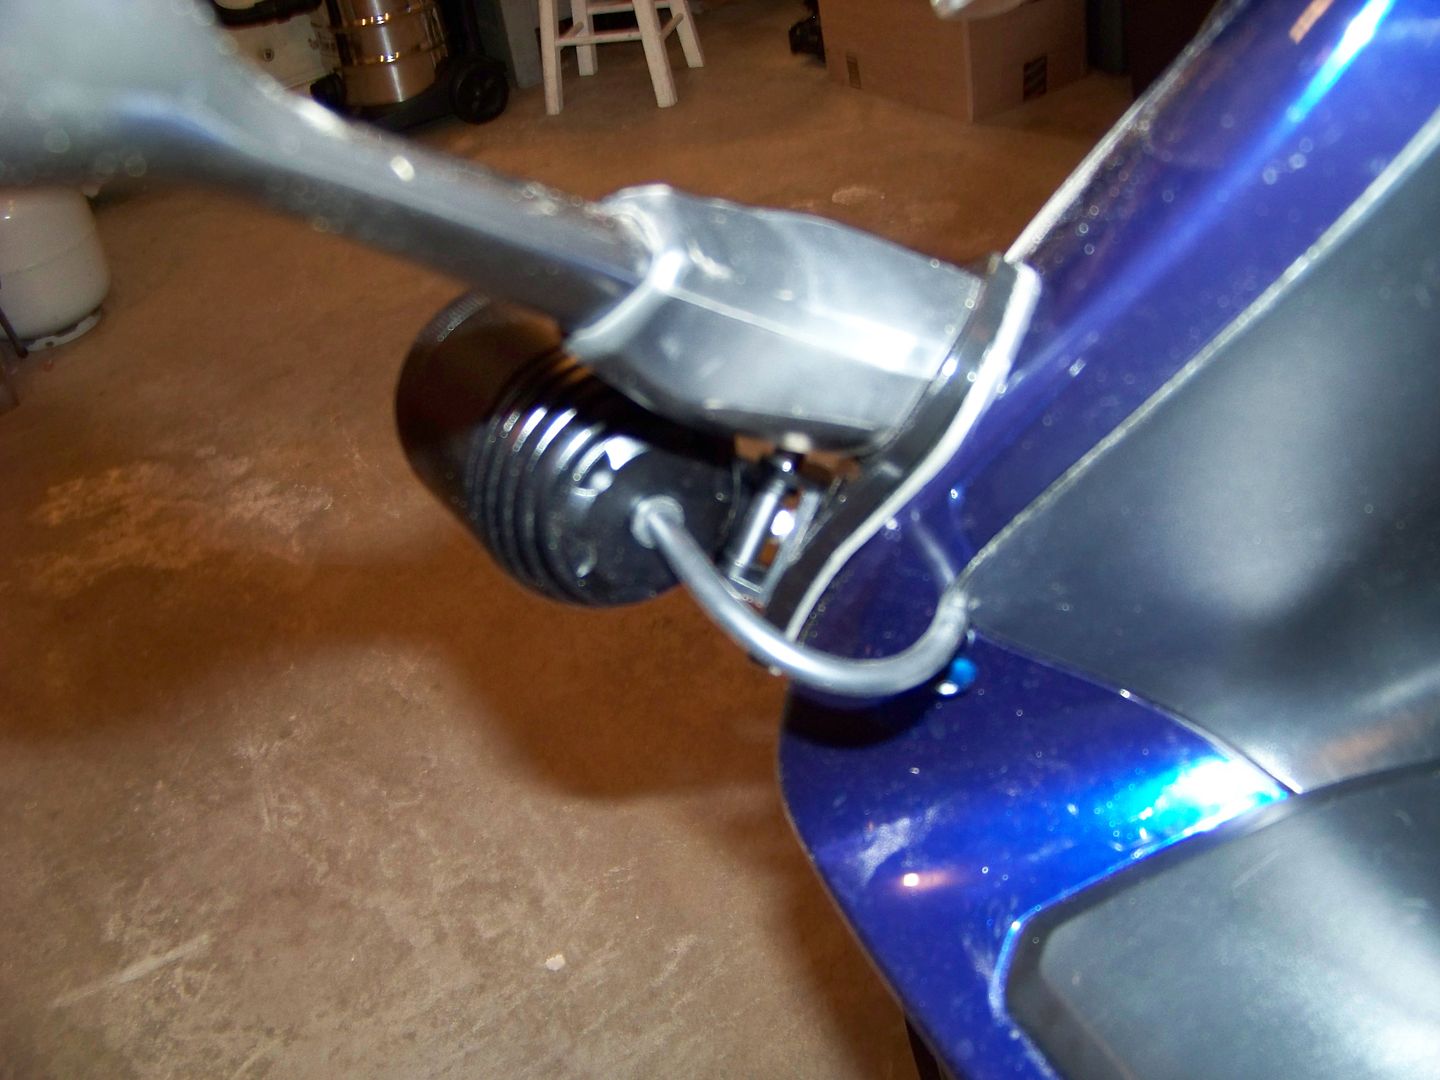
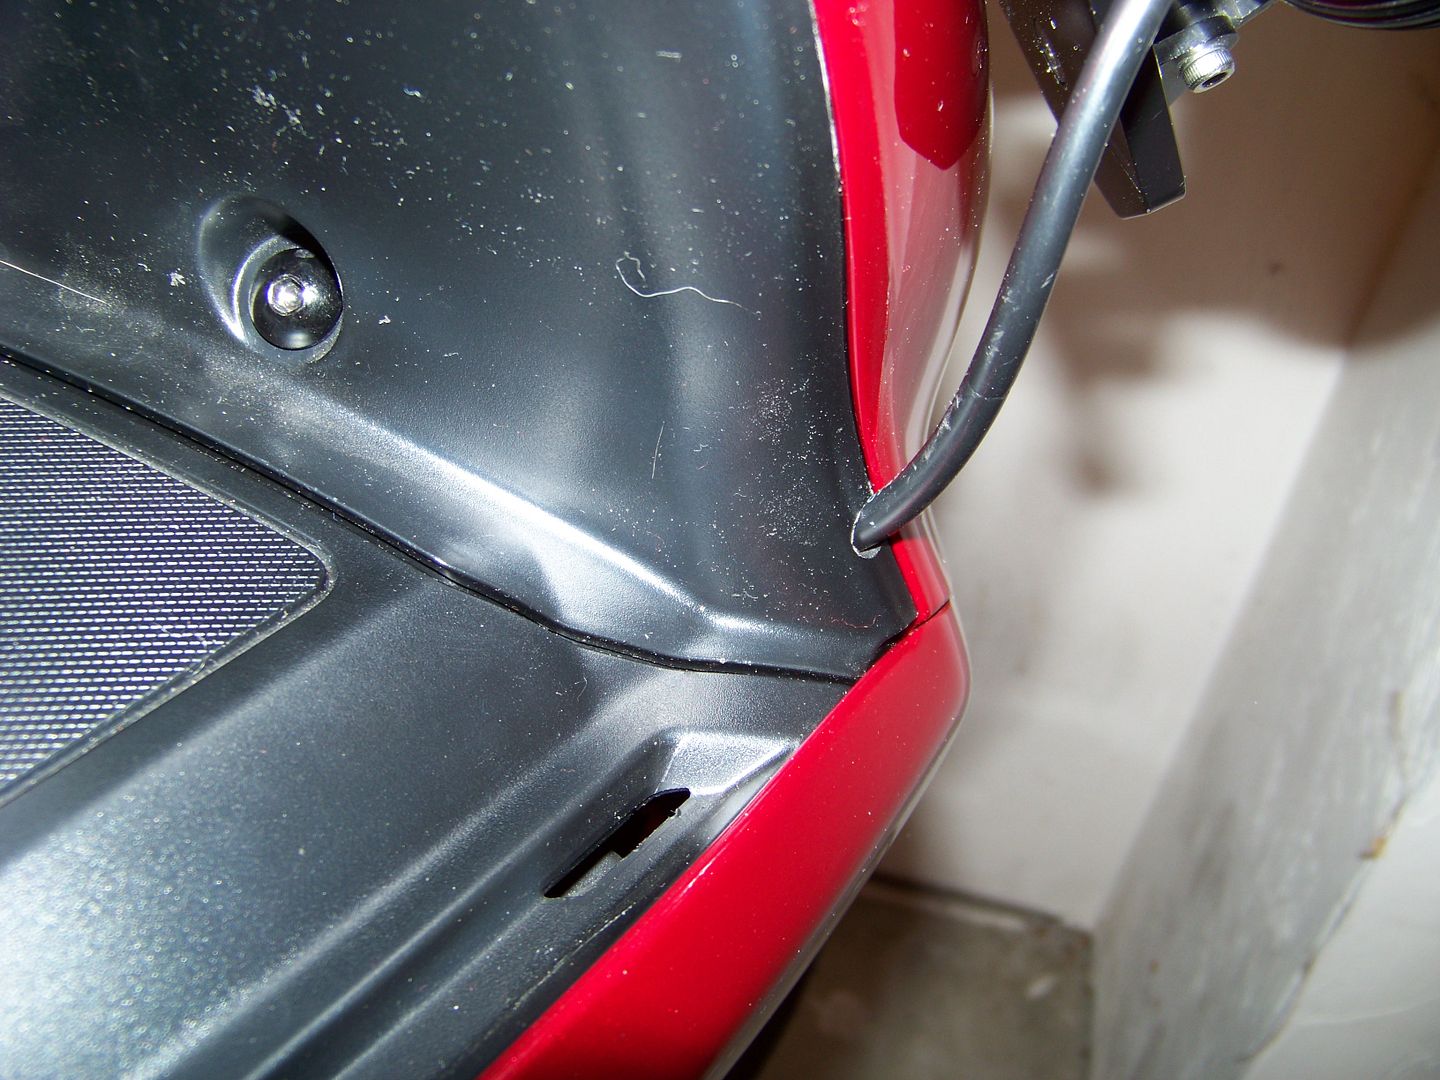
I've mounted under mirror light brackets on my Gen1. For those of you who have done the same, will you please post some photos showing where / how you have run the wires? It would appear that I'll have to drill holes in the cowls (which I am hesitant to do) but I don't want wires flapping in the breeze.

Please excuse my messy garage!

Thank you in advance!

2016-04-08%2009.45.46_zpsm3unimfn.jpg


2016-04-08%2009.45.34_zpswdvofxqb.jpg


2016-04-08%2009.46.01_zpsxr3sfxbo.jpg


Last edited by a moderator:
I haven't done my brackets yet, but I was going to run them through the rubber boot for the mirror.

 
I haven't done my brackets yet, but I was going to run them through the rubber boot for the mirror.
I had considered that, but the bracket under the mirror will block the wires. I guess I could disassemble again and drill a hole in the bracket for the wires.

 
I was able to sneak the wires under the mirror bracket without drilling. I used loctite on the mirror threads and didn't tighten the bejeezus out of the nuts and crush the wires. I used the same type light brackets. It worked reliably for 90k miles with big, heavy PIAA driving lights then another 20k miles with LED lights.

 
Last edited by a moderator:
Rather than drilling a hole and passing the wire through the black plastic A and D panels, I just notched the edge of the panels in the outboard corners so I could sneak the wire in where the panels join. That way the panel can still be removed fully when working in the area. You'll want to just notch the black plastic panel, just in case you ever want to go back to stock, those panels are a lot cheaper than the painted ones.

Here's a (fuzzy) photo of the wire entry on my old 1st Gen

100_4351.jpg


And a better pic of my 2014 with the same kind of dealio

100_4900.jpg


This is similar to how I run my wires.
https://www.fjrforum.com/forum/index.php?showtopic=20767

For easier removal, simply cut in from the edge and use the

rubber grommet to cover it.

Canadian FJR

Rather than drilling a hole and passing the wire through the black plastic A and D panels, I just notched the edge of the panels in the outboard corners so I could sneak the wire in where the panels join. That way the panel can still be removed fully when working in the area. You'll want to just notch the black plastic panel, just in case you ever want to go back to stock, those panels are a lot cheaper than the painted ones.
Here's a (fuzzy) photo of the wire entry on my old 1st Gen

And a better pic of my 2014 with the same kind of dealio

Thank you, gentlemen, exactly what I needed. Yes, the black panels go for about $75 each. Much better than a fairing / cowl!

 
I did too, but . . .

. . . the black panels go for about $75 each. Much better than a fairing / cowl!
$75 bucks per panel? So $150 to replace two panels with a total of about a quarter of a square inch of plastic missing between them?
omg2.gif


Put a decal there. Or electrical tape. Or a rubber plug. Or chewing gum.

Or just run your wires around the panels and connect them someplace near your forks, I suppose. But man . . .

[edit: Just remembered this. I got the first Clearwater lights around here--in fact, they used my bike to test fitment and connections for the FJR market. These lights have a brightness adjustment knob, and since it was the first one they'd done, they asked me where I'd like it. I had them put it on Panel C (3rd from the lower left, starting with A, going clockwise). Terrible idea. The knob was wired in on the back of the panel, of course, so when the panel came off, it was still attached to the bike. Inconvenient and stressful on the wires. I had them move it to just inside the left grip/

Now I've got a little adjuster knob on my Panel C, attached to nothing in the back. They offered to put a plug in it, but I told them to leave it there. When anybody asks me what it does, I tell them it's to adjust the mirror between wide-angle and telescopic. Wish it was.]

 
Last edited by a moderator:
Thank you, everyone. I think the notch in the corner will be the way I route the wires. My bike is not in showroom condition; the tiny notch would not require new panels if/when I were to remove the lights. I agree that a tiny plug or even black tape would be they way to conceal the notch.

SacramentoMike - That knob could also control the Knutson Valve Aperture, or the Flux Capacitor Dwell Cycle, or even the Blinker Fluid Reservoir orifice size!
rolleyes.gif


Hey! I do wash my bikes now and then. I see no problem with doing that contrary to the popular sentiments on this place. But I'm no where near as fastidious as you, Scott. Come to think of it, I don't know anyone that keeps a bike any cleaner than you do! ;)

 
Rather than drilling a hole and passing the wire through the black plastic A and D panels, I just notched the edge of the panels in the outboard corners so I could sneak the wire in where the panels join. That way the panel can still be removed fully when working in the area. You'll want to just notch the black plastic panel, just in case you ever want to go back to stock, those panels are a lot cheaper than the painted ones.
Here's a (fuzzy) photo of the wire entry on my old 1st Gen

100_4351.jpg


And a better pic of my 2014 with the same kind of dealio

100_4900.jpg

If I may ask, how did you notch the panels? Dremel? Drill? I'm getting close to the point of having to install my lights and doing the proper research.

 
Top