gixxerjasen
Well-known member
Quite a long while ago, Blassoff posted up about a free N-Line shelf. I snagged it up knowing it'd have a few issues. But it was free and I'm a cheap bastard, so who am I to complain. It took some time but I finally got it installed.
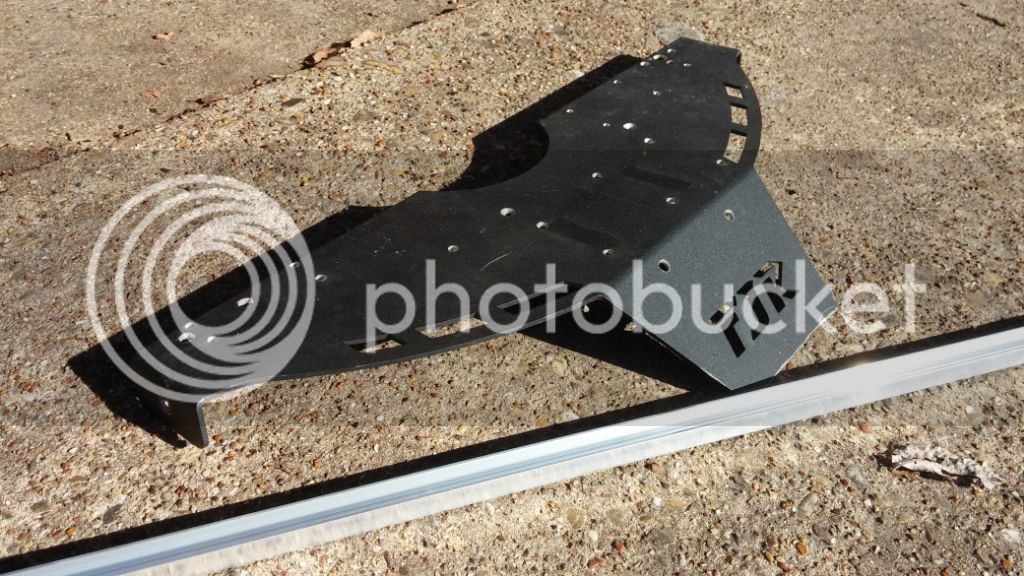
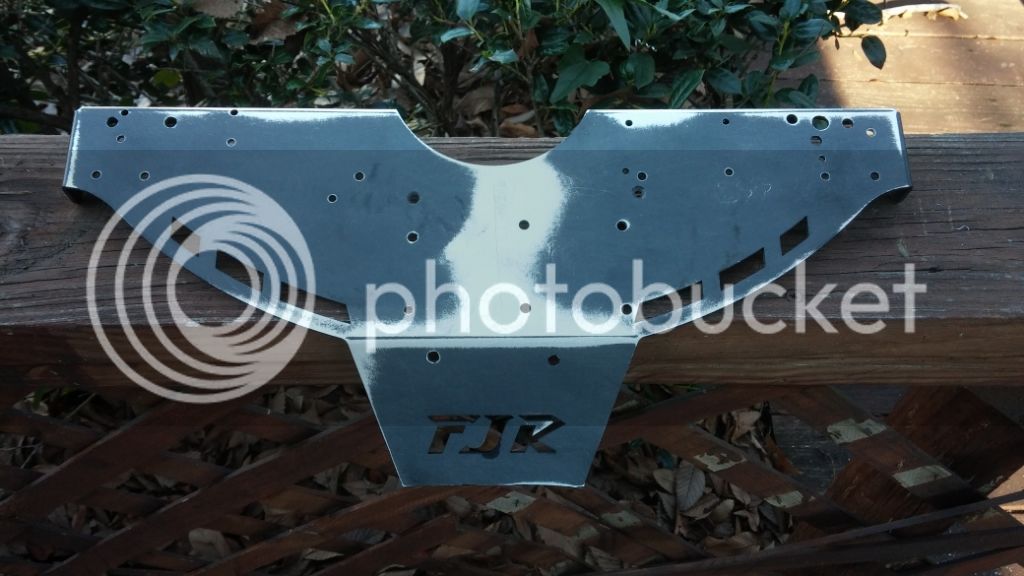
First off, someone had hacked off the nose of the thing, so the steps about drilling into my front fairing wouldn't be happening. Second, the thing was like Swiss cheese. I thought going into this, and was right, that I'd find some holes might just be perfectly spaced for a RAM mount.
Blassoff had said he didn't like it because it had too much movement/vibration. I figured the perfect solution to that would be to drill even MORE holes in the thing. Surely that's gotta make it more stable, right? I ended up drilling SEVEN more holes in the thing!!!
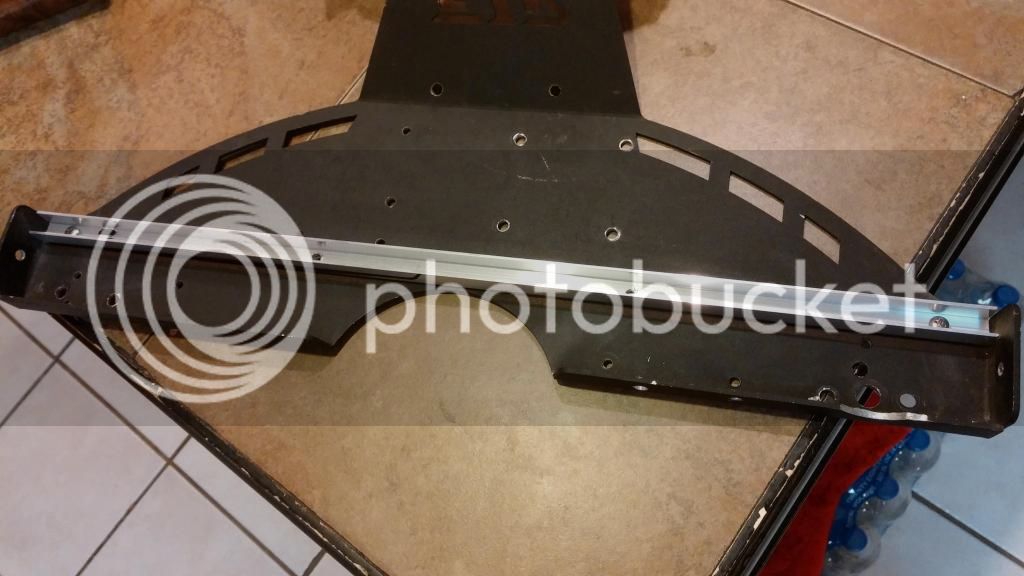
Ok, so I'm drilling holes with a purpose here. I'm installing a home made stiffener kit on this thing. N-Line sold such a thing and mine will be very similar.
At Lowes me and the wife pawed through the metal bin where they have rebar and stuff. I was settling for an angle bit of aluminum as I couldn't find my U-Channel stuff I wanted when my wife spotted exactly what I needed. Grabbed the bit of U shaped aluminum and went home.
So, after some drilling and installing screws to test for fit, it's all ready to come back apart and be painted. I wanted to clean it up and put some nice Krylon hammered finish black paint on it.
Now, those who have installed an N-Line shelf on their bikes will notice that I'm quite the fan of the "Measure once cut twice" philosophy. Actually, I thought I had it all figured out, except the legs that go on either end come back at a pretty severe angle. So while I'd given room for where the legs mount, I hadn't accounted for the angle that they come back and the stiffener was definitely in the way. I'd already painted it too. Sigh.
Take it apart, cut the stiffener, drill two more holes (up to six now) on either end and then double test fit everything. All good now. I did screw up my fresh paint job on it though as it had dried but didn't have time to cure. Eff it, out comes the sander.
Here it is all painted up with the stiffener and legs installed with brand new stainless bolts and stainless nylock nuts.
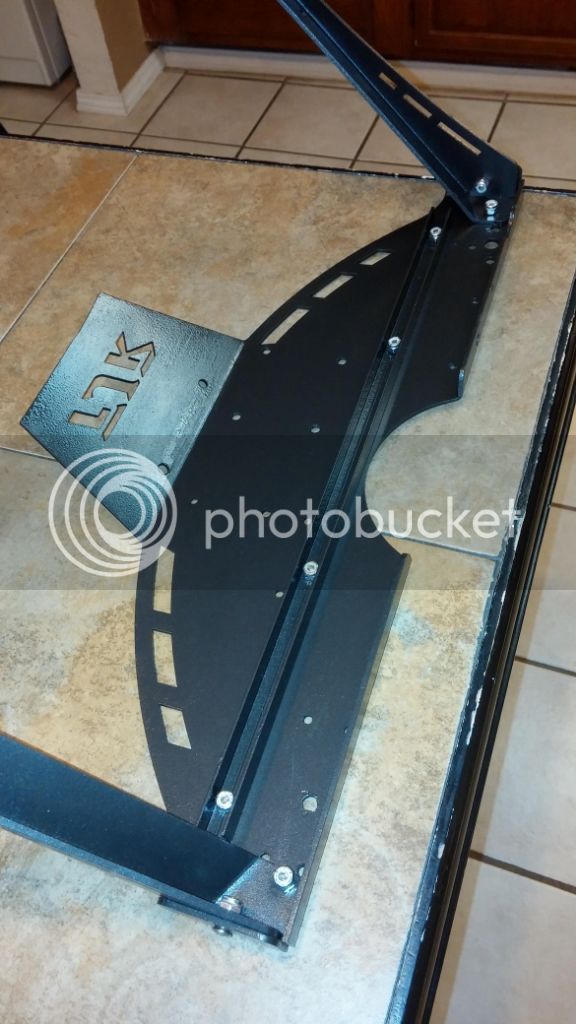
I noticed that the legs simply attach with bolts on the sides. On one side though, there was a hole lined up going through the leg mount and the top of the shelf. I added another hole on the other side in a similar place so that the leg mounts to the side AND the top. That's hole number 7 and should help in the rigidity of the shelf from translating movement from the legs into the shelf...I hope.
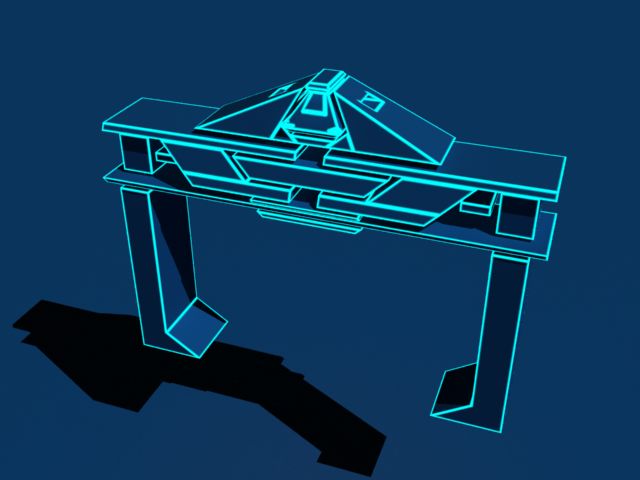
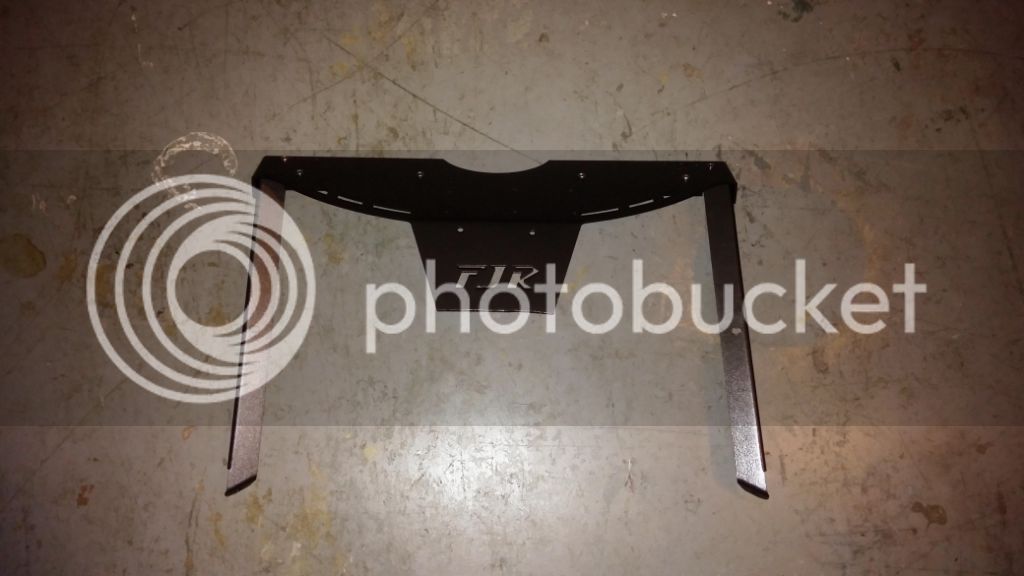
Kinda looks like an FJR Recognizer. That's a geek check by the way, let me know if you got it.

And here we go, finally on my AE I can attach more than one device. My phone will be playing double duty as traffic map and media player for my commutes and long rides. The GPS won't be with me on my commute as I already know how to get to work and home. Hrm, I need to invent a GPS that gets you lost on the way to work but gets you right home, bet I could make a fortune.
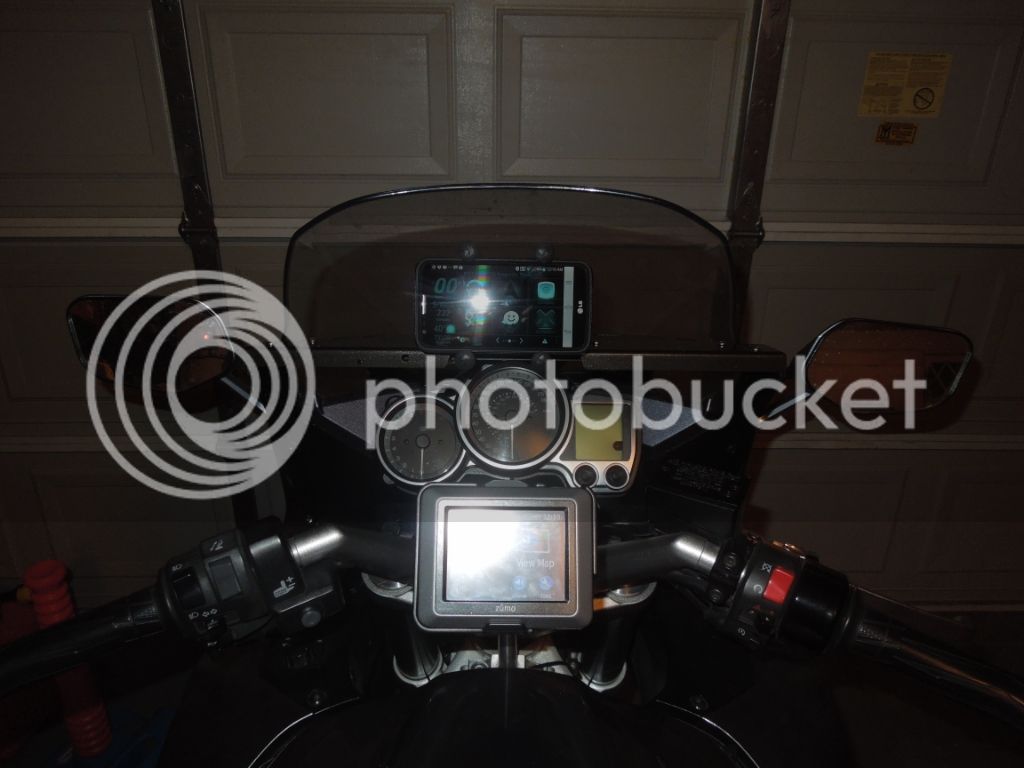
I'm eager to try it out, thanks to Blassoff for the steal of the century on this no longer produced product!!!
First off, someone had hacked off the nose of the thing, so the steps about drilling into my front fairing wouldn't be happening. Second, the thing was like Swiss cheese. I thought going into this, and was right, that I'd find some holes might just be perfectly spaced for a RAM mount.
Blassoff had said he didn't like it because it had too much movement/vibration. I figured the perfect solution to that would be to drill even MORE holes in the thing. Surely that's gotta make it more stable, right? I ended up drilling SEVEN more holes in the thing!!!
Ok, so I'm drilling holes with a purpose here. I'm installing a home made stiffener kit on this thing. N-Line sold such a thing and mine will be very similar.
At Lowes me and the wife pawed through the metal bin where they have rebar and stuff. I was settling for an angle bit of aluminum as I couldn't find my U-Channel stuff I wanted when my wife spotted exactly what I needed. Grabbed the bit of U shaped aluminum and went home.
So, after some drilling and installing screws to test for fit, it's all ready to come back apart and be painted. I wanted to clean it up and put some nice Krylon hammered finish black paint on it.
Now, those who have installed an N-Line shelf on their bikes will notice that I'm quite the fan of the "Measure once cut twice" philosophy. Actually, I thought I had it all figured out, except the legs that go on either end come back at a pretty severe angle. So while I'd given room for where the legs mount, I hadn't accounted for the angle that they come back and the stiffener was definitely in the way. I'd already painted it too. Sigh.
Take it apart, cut the stiffener, drill two more holes (up to six now) on either end and then double test fit everything. All good now. I did screw up my fresh paint job on it though as it had dried but didn't have time to cure. Eff it, out comes the sander.
Here it is all painted up with the stiffener and legs installed with brand new stainless bolts and stainless nylock nuts.
I noticed that the legs simply attach with bolts on the sides. On one side though, there was a hole lined up going through the leg mount and the top of the shelf. I added another hole on the other side in a similar place so that the leg mounts to the side AND the top. That's hole number 7 and should help in the rigidity of the shelf from translating movement from the legs into the shelf...I hope.
Kinda looks like an FJR Recognizer. That's a geek check by the way, let me know if you got it.
And here we go, finally on my AE I can attach more than one device. My phone will be playing double duty as traffic map and media player for my commutes and long rides. The GPS won't be with me on my commute as I already know how to get to work and home. Hrm, I need to invent a GPS that gets you lost on the way to work but gets you right home, bet I could make a fortune.
I'm eager to try it out, thanks to Blassoff for the steal of the century on this no longer produced product!!!