Replaced my totaled bike

Yamaha FJR Motorcycle Forum

Help Support Yamaha FJR Motorcycle Forum:

This site may earn a commission from merchant affiliate links, including eBay, Amazon, and others.
[SIZE=12pt]Gratz on the new bike!! GR8 to see you're back at it! We will chalk up the goober first pic to being sooo damn happy at getting the beauty new bike. [/SIZE]
 
Wow,splicing into the ECU harness looks a little scary, and restoring to original sometime down the road won't be a simple plug 'n play.

Curious,what does the Motty give you that something like a Power Commander does'nt?

 
Wow,splicing into the ECU harness looks a little scary, and restoring to original sometime down the road won't be a simple plug 'n play.
As long as you do the wiring correctly, the bike can be restored to original by plugging a small adapter into the Motty's wiring harness to pass the fuel injection signals through as usual. If you get a new bike someday, you can cap off the wiring harness on the old bike, order a new wiring harness for the new bike, and take the Motty unit itself to your new bike.

Curious,what does the Motty give you that something like a Power Commander does'nt?
Short answer: The Motty continuously tunes itself to account for changes to the bike and the environment, whereas the Power Commander must be tuned on a dyno.

Long answer follows...

A Power Commander only allows you to specify adjustments to the stock fuel injection amounts. The actual adjustment values must be tuned on a dyno to achieve the desired A/F ratios under different engine conditions (various combinations of throttle position and RPMs). The Power Commander then intercepts the fuel injection signals from the ECU and adjusts them by the amount specified for the current throttle position and RPMs. The adjustment values that are configured in the Power Commander become invalid any time something changes that affects the amount of airflow through the engine. Examples include changing exhaust, modifying air intake, and even more subtle and gradual changes such as seasonal temperature changes and an air filter becoming dirty. These all change the amount of air that goes int the cylinders. The ECU may make adjustments for this stuff, but how much of an adjustment is unknown. The Power Commander knows nothing about these changes at all and keeps on making the same fixed adjustments to whatever fuel injection signals come from the ECU. Any time you change your bike, you must get it re-tuned on a dyno. Your bike will only run perfectly as tuned when the environmental conditions are the same as they were in that dyno room.

The Motty at its core is like a Power Commander - it has a table of fuel injection adjustments that it applies to intercepted ECU signals. However, the Motty also has a corresponding A/F ratio table that allows you to specify the exact A/F ratio that is desired for each throttle position and RPM combination. The Motty uses a wideband oxygen sensor mounted in the exhaust to measure that actual A/F ratio. It then continuously updates its fuel injection adjustments until the actual A/F ratio matches the desired A/F ratio. Never need to get it tuned on a dyno. It'll continuously tune itself as you ride.

The Motty also has a built-in data logger. This is useful for determining which portions of the map are used while cruising so that you can adjust the desired A/F ratio for better fuel economy in those areas.

Wow that's Motty is pretty slick. I will have to research it. You may even be able to get the needed smoothness and maintain the great stock gas mileage. :rolleyes:

 
Wow that's Motty is pretty slick. I will have to research it. You may even be able to get the needed smoothness and maintain the great stock gas mileage. :rolleyes:
Start here: www.afrtuner.com

You can download the user manual as a PDF to read all about the installation and features.

Searching Google for "Motty AFR Tuner" will yield some discussion in the gixxer forums, such is this one.

I'll be posting a more detailed thread about the Motty installation and configuration on the FJR once the snow goes away so I can verify that it is working.

 
I think I've run out of stuff to do to my bike for now! What will I do? I'm ready to put it all back together and there's above-freezing temperatures in the forecast, but I still don't have my headers back from getting ceramic coated. My Remus Hexacones are expanded and patiently waiting to be installed on my Holeshot headers. I'll probably just finish putting it back together for now so I can ride until I get the headers back.

...Remember, if you ain't got pix it didn't happen......

...
Here's the proof you require :D

(sorry for the dark pictures; sunlight doesn't exist this time of year during the week when I'm home from work)

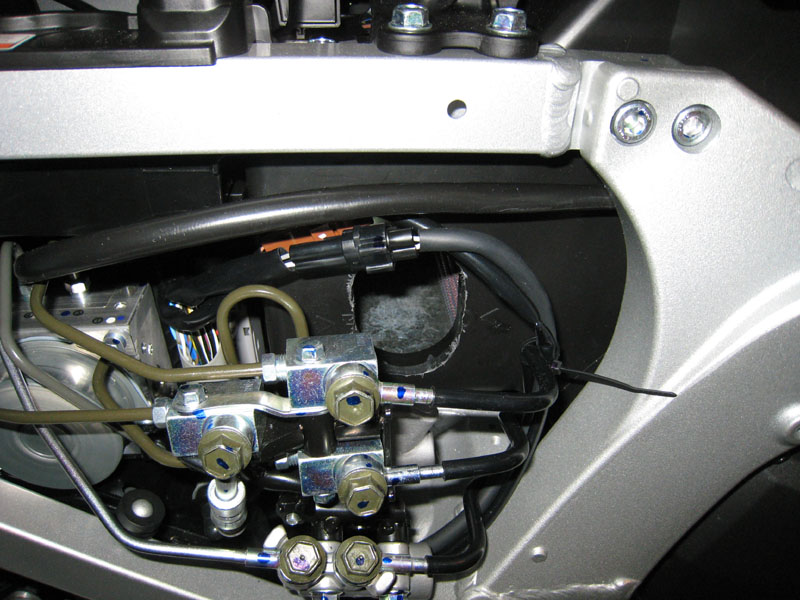
Audiovox Cruise Control:

servo_and_vacuum_lines_redone.jpg


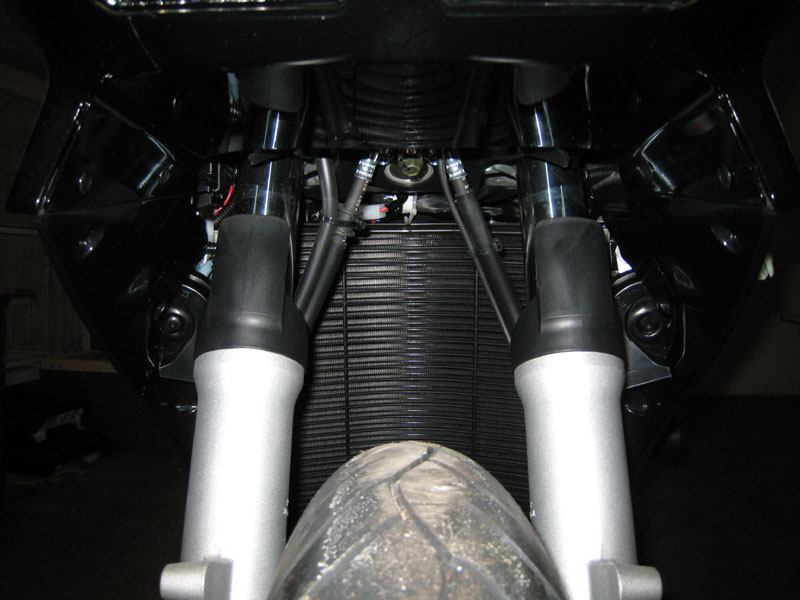
FIAMM Freeway Blasters:

horns.jpg


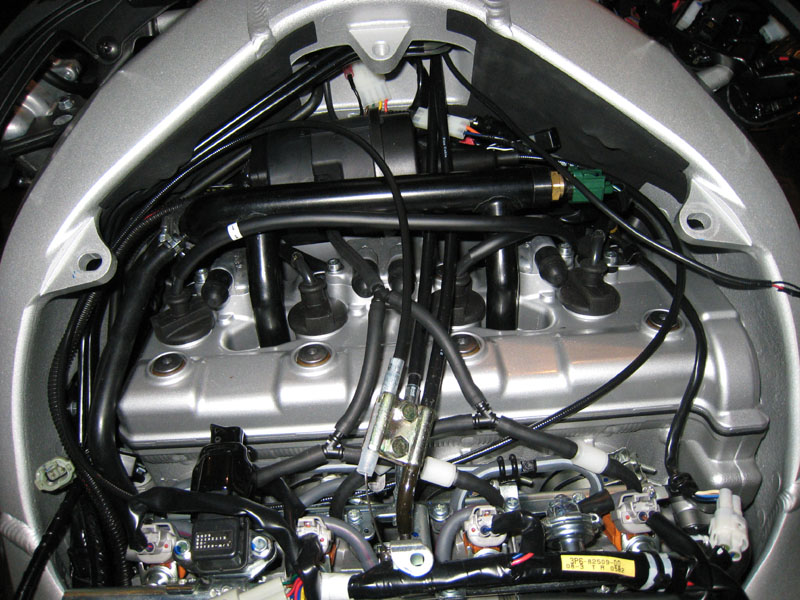
Modded airbox:

airbox_mod.jpg


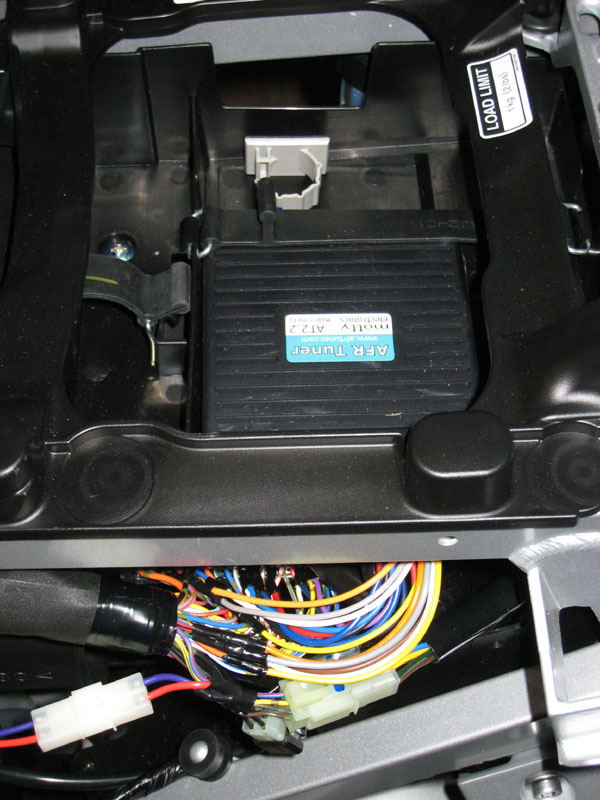
Motty AFR Tuner:

motty.jpg


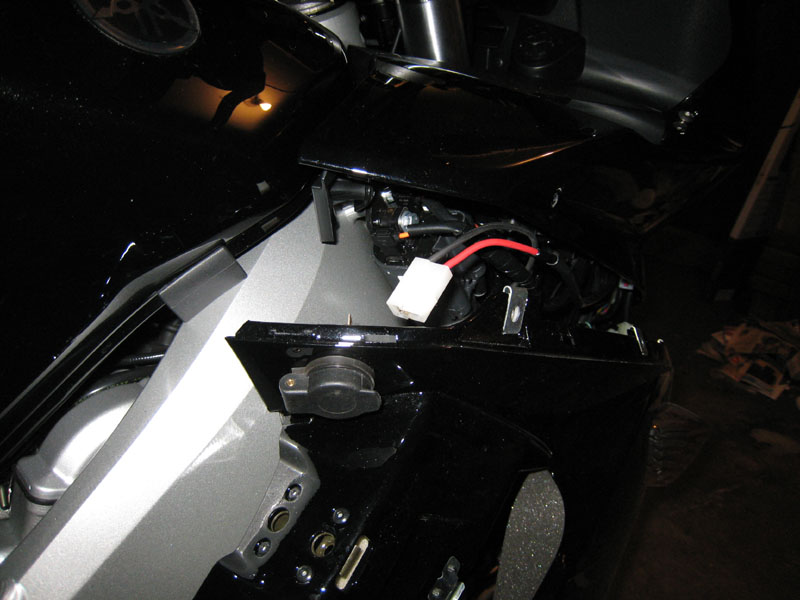
Power outlet on the right side fairing:

powerlet.jpg


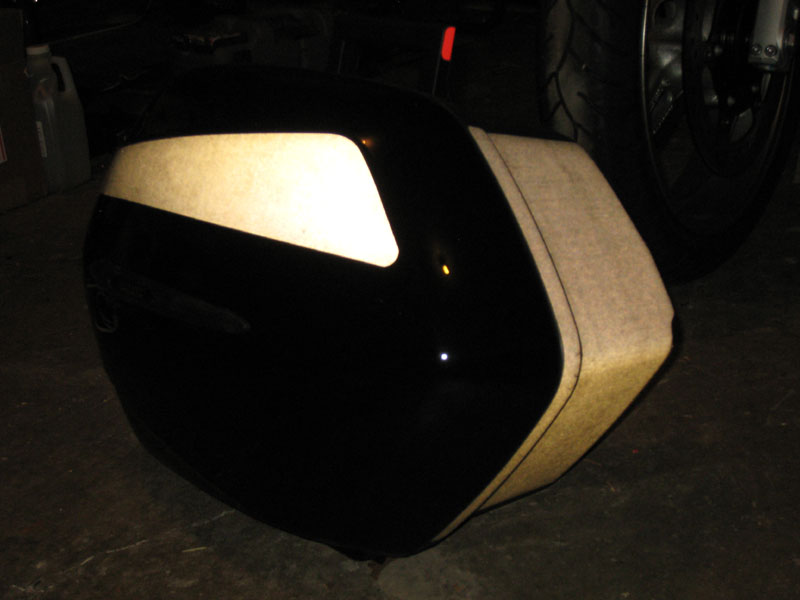
Stock reflectors removed from bags; added black reflective decals:

bag_reflectors.jpg


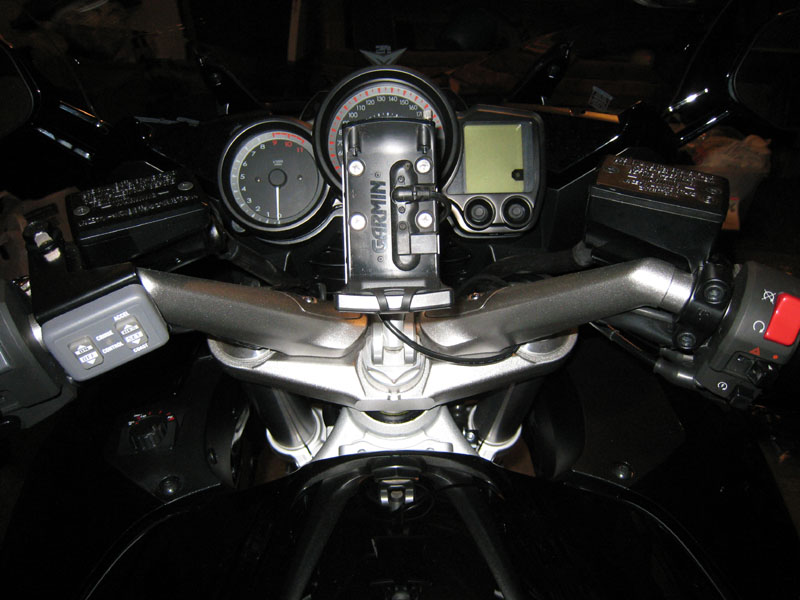
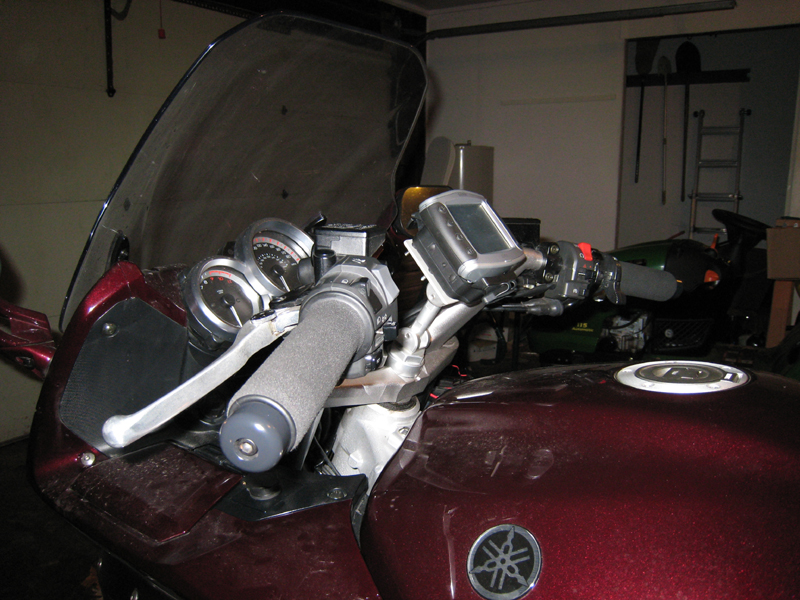
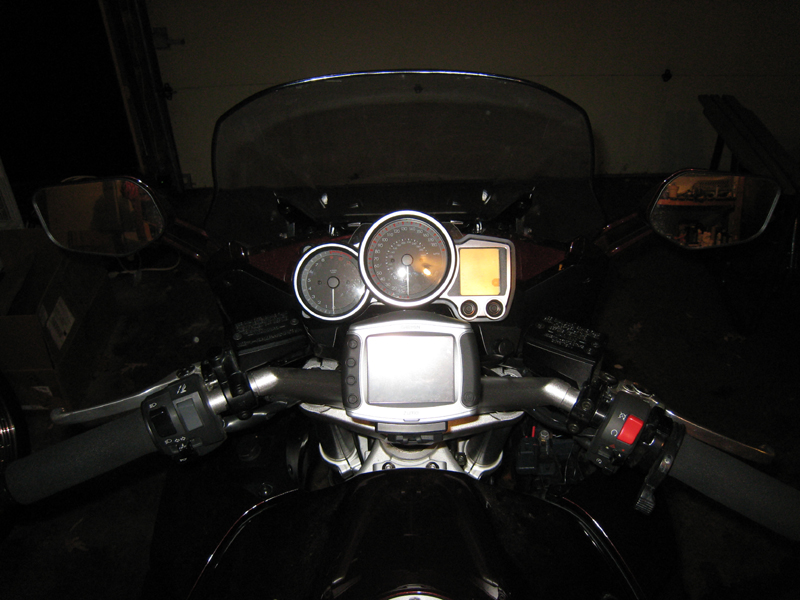
Garmin Zumo cradle, Audiovox control panel and OEM heated grip controller visible here:

handlebars.jpg


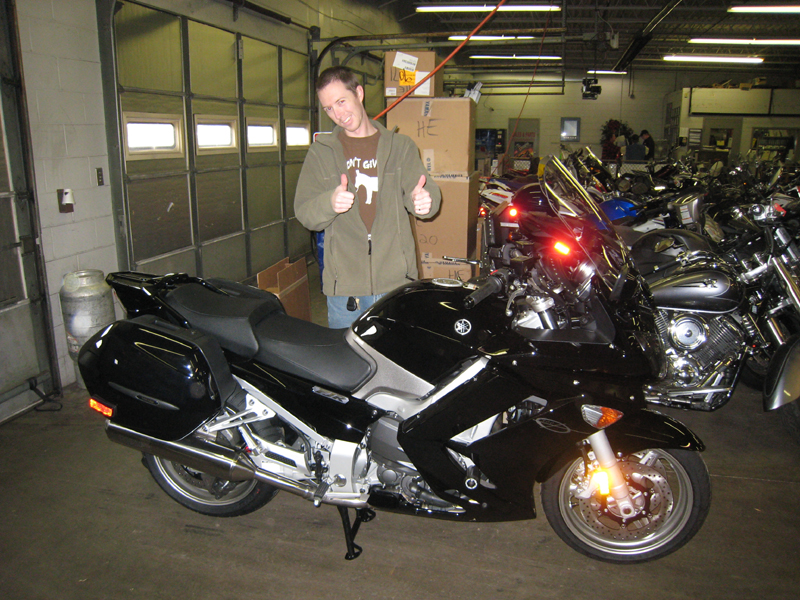
VStream windshield and frame sliders visible in the original picture:

feejer_II.jpg


Dang, nicely done, UselessPickles! Especially the airbox, now meeses can go home, no matter what side of the street they live on! :rolleyes:

 
Thats a nice neat job on the cruise control. :construction: Did you use a vacuum canister? If so I'm not seeing it in your photos. By the way, how much time do you have tied up all these farkles? Just asking cause I've gone and ordered the Vstream and blasters already, thinking real hard on the CC.

 
Thats a nice neat job on the cruise control. :construction: Did you use a vacuum canister? If so I'm not seeing it in your photos. By the way, how much time do you have tied up all these farkles? Just asking cause I've gone and ordered the Vstream and blasters already, thinking real hard on the CC.
Thanks :) I only re-did the wiring twice to get it that nice. I hate wiring. I have a hard time deciding exactly how short to cut stuff, how to bundle wires together, when they should split up and go their separate ways, etc. Here's more details on my install: https://www.fjrforum.com/forum//index.php?showtopic=114094

No vacuum canister yet. I'm using all 4 cylinders as the vacuum source and will try it this way for a while. If it has a hard time maintaining speed or if it's slow to engage, then I can easily add another "T" into one of the hoses and mount a canister somewhere later.

Hard to say how much time was spent, because it's been spread over many weeks, just a couple hours at a time on the weekends and some occasional evening work during the week. Even then, it was often less than 30 minutes of work at a time because it's been so frickin freezing here lately.

VStream is easy; about 15 minutes.

Horns take quite a while. Routing the wiring is a pain, even with FJRandy's harnes, due to limited space. Then you'll have to modify the mounting brackets that come with the horns (shorten, drill new hole, bend) and/or trim the black inner fairing pieces on the bike and/or trim part of the trumpet off the horns to make them fit without the possibility of getting hit by the forks with the bars turns and suspension compressed. I did a combination of all 3. Give yourself plenty of time to test fit with mocked-up brackets made out of cardboard, decide what to adjust/trim, test fit again, adjust/trim again, etc. It's worth the time to get it done right. I'd guess it took me a total of about 6-8 hours. I hope you have a dremel :)

Cruise Control is a big job. I made it a bigger job for myself because of the location of the servo and because I'm anal about making the wiring tidy. The link to my install details I provided contains links to good references and some good supplementary info in my post itself. I would guess that you should allow yourself at least a solid weekend so you can take it slowly, one step at a time, without pressure to hurry up and get it done so you can ride.

Good luck!

 
Is it worth it to drill a small hole at the base of the split to keep it from getting worse?
When mounted, a clamp will be squeezing the end of pipe in the opposite direction than what caused it to split. Wouldn't that be enough to keep it from splitting more?

Holes are cheap, and easy..........

I was thinking the same thing, a crack will keep progressing unless it is ended with a drilled hole. The best way is to use an 1/8 drill at the base of the crack then weld the split back to the U shaped cut out. A little smoothing and polishing and you won't even notice it.

Brodie

 
UslessPickles,

I am looking really hard at getting a new '09 or leftover '08 and am curious how you mounted your Zumo where you did?

I also have a 550 and have an extra mount for it so I can move it from my KLR650 to the FJR but HOW to mount it on the FJR has me scratching my head.... :unsure:

$bob$

 
Last edited by a moderator:
UslessPickles,
I am looking really hard at getting a new '09 or leftover '08 and am curious how you mounted your Zumo where you did?

I also have a 550 and have an extra mount for it so I can move it from my KLR650 to the FJR but HOW to mount it on the FJR has me scratching my head.... :unsure:

$bob$
Techmount stem mount, part #10998M: https://www.techmounts.com/products/index.p...p;product_id=53

It replaces the stock stem nut. That mount comes with a 2.5" shaft, but it is also available with a 3.5" shaft (part #10998; may be better if you often use a tank bag so the Zumo can be positioned above the tank bag). I shortened the power cable and wired directly to the battery. The in-line fuse tucks nicely between the 2 fuse boxes next to the battery.

Here's a couple photos of it installed on my previous bike:

rear_left.jpg


rider_view.jpg


Is it worth it to drill a small hole at the base of the split to keep it from getting worse?
When mounted, a clamp will be squeezing the end of pipe in the opposite direction than what caused it to split. Wouldn't that be enough to keep it from splitting more?
No. Hence the hole, a good 'ol trick to stop crack expansion-it's why Odot had a mouth installed.
That's a pretty cheap shot there; Odot wasn't involved in this discussion at all.

...but I don't think holes will help my pipes if they can't even help Odot :eek:

I'll cave in to the peer pressure and try the drilling and welding idea.

 
Top