torch
Well-known member
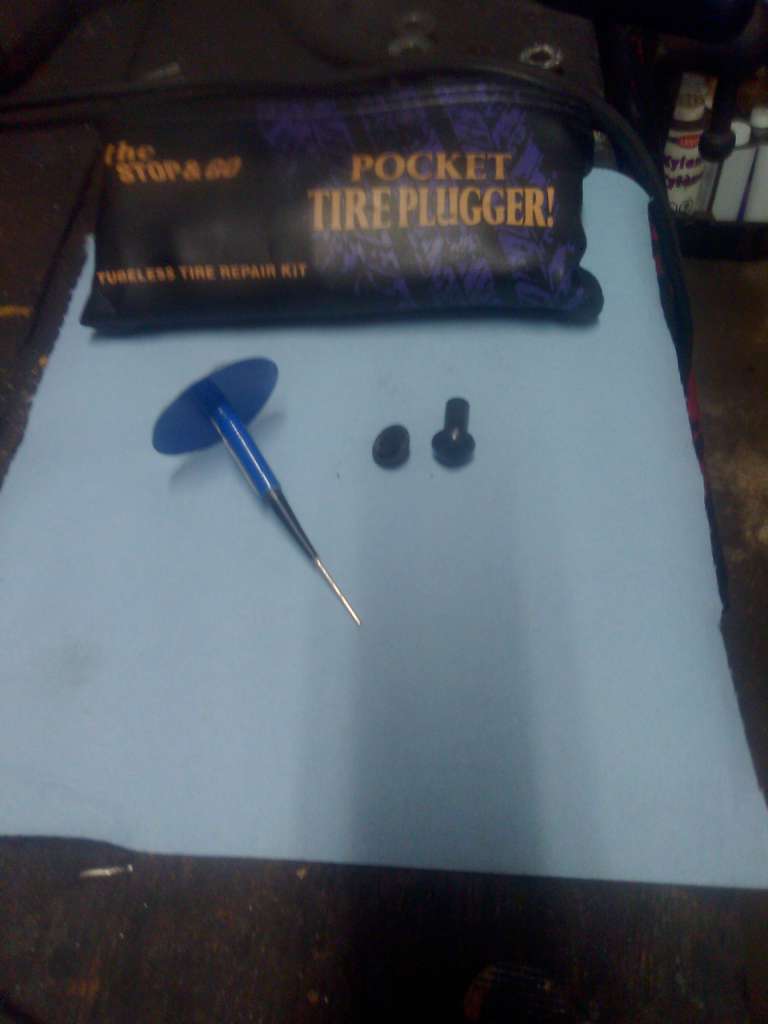
I punctured a tire on the highway the other day. Not the first time, nor likely the last but I got to try out the Stop&Go kit I started carrying about 2 years ago for the first time.
About 15 minutes after stopping for fuel, I noticed something felt odd with the handling, glanced down at the TPMS and discovered the rear was down to 8 psi - no, 7 ps -- no, 5 -- Oh $#!+. Fortunately traffic was light and I knew another gas station was only a minute down the road. So I eased off the throttle, got into the right lane and limped it in to the air pump with 2 or 3 psi to spare.
Dang thing is $2 but only takes Loonies. Into the store I go for change. Once pumped up, I can't find the leak! I can't see it, I can't feel it, I certainly can't hear it over the noise of transports on the highway. So back into the store I go for a bottle of something soapy. One $11 bottle of gas station window cleaner later, I find the tiny little leak. So small I can't believe it's the only one -- but it is. I watch it for a while and discover it's losing less than 1psi per minute.
Hmmm. It's broad daylight, everything is open and there's a gas station every 10 or 15 minutes for the rest of the way home. Make multiple stops or risk an untried repair kit? I decided to start gas station hopping, aired it up to 45 psi, reinstalled the luggage, popped it off the centre stand and headed north.
Not the best decision. It turns out weight and speed make a difference in the rate of leakage so the pressure plummeted. I could see I wasn't going to make it to the next planned stop, so jumped off the highway at the next exit, heading for a less convenient but closer gas station. The kit comes with directions so I won't bore you with the details but I carefully followed them and ended up with a perfect seal, as proven with my expensive glass cleaner:
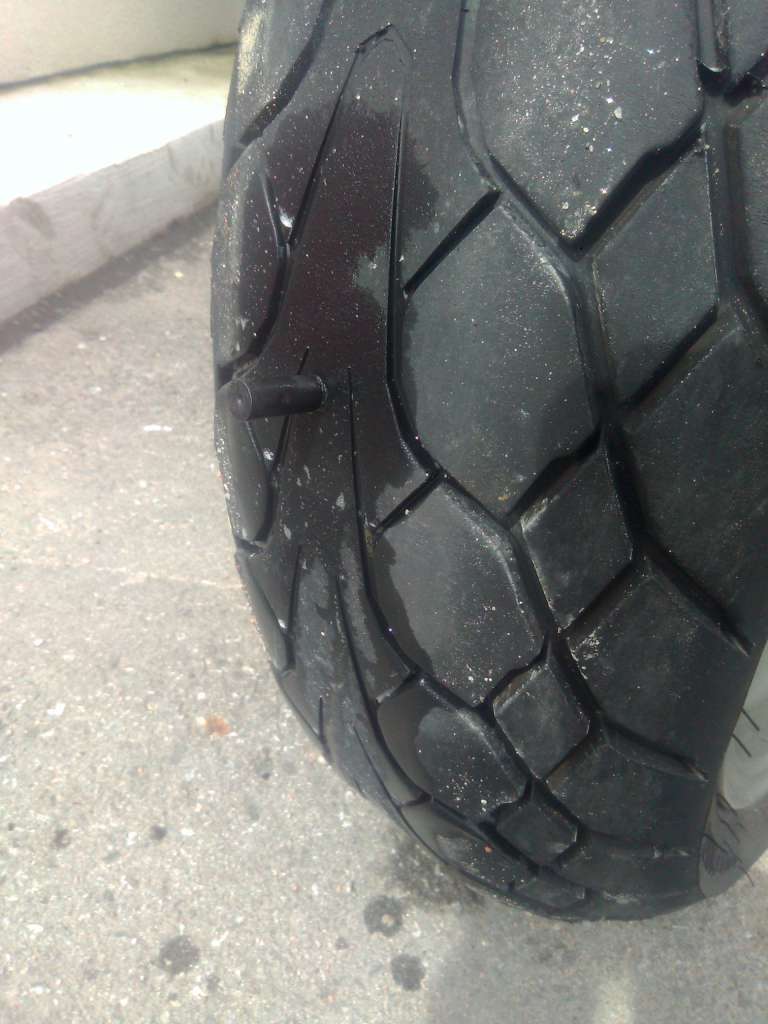
I cut it off flush with the tread as per the instructions, packed everything up and headed north again. It not only held, but the pressure rose to 45psi as the tire warmed back up, getting me home about an hour later. It still seemed to be hard when I kicked it the next day, but I didn't have time to check the actual pressure. I have another bike to ride for most local trips.
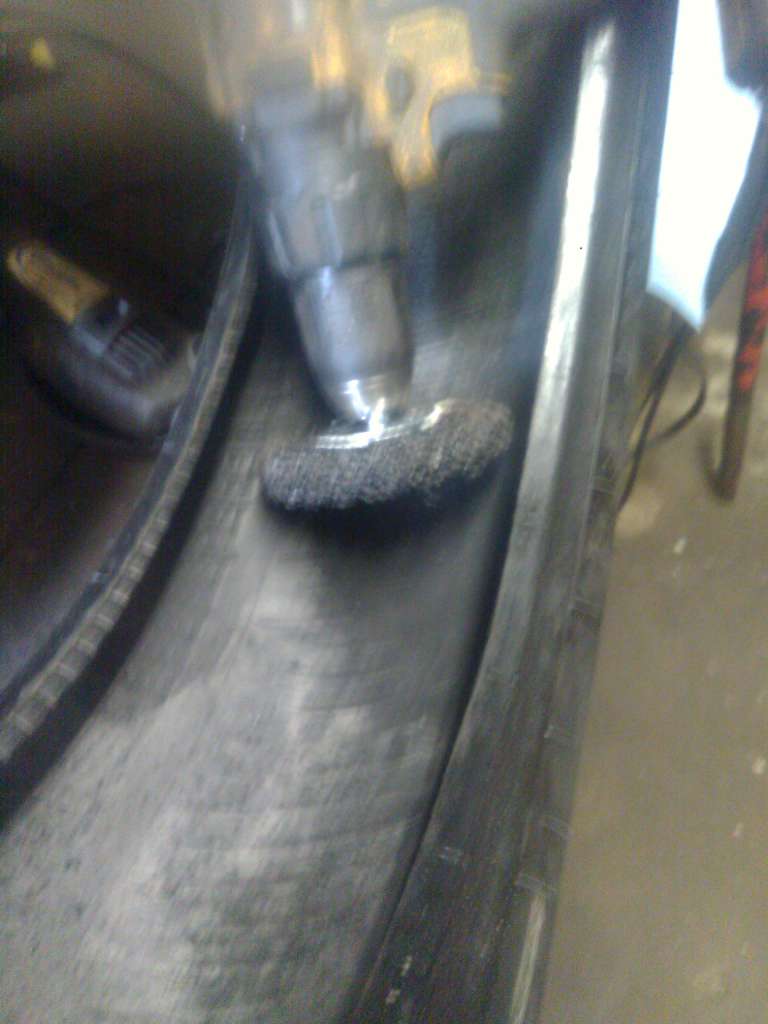
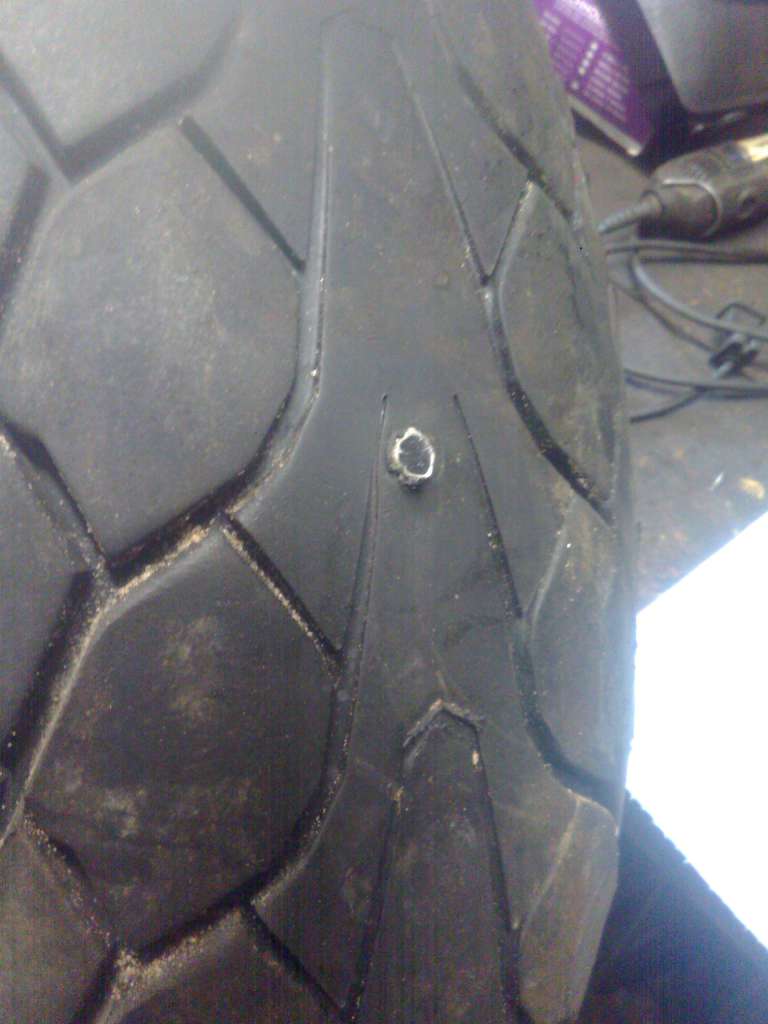
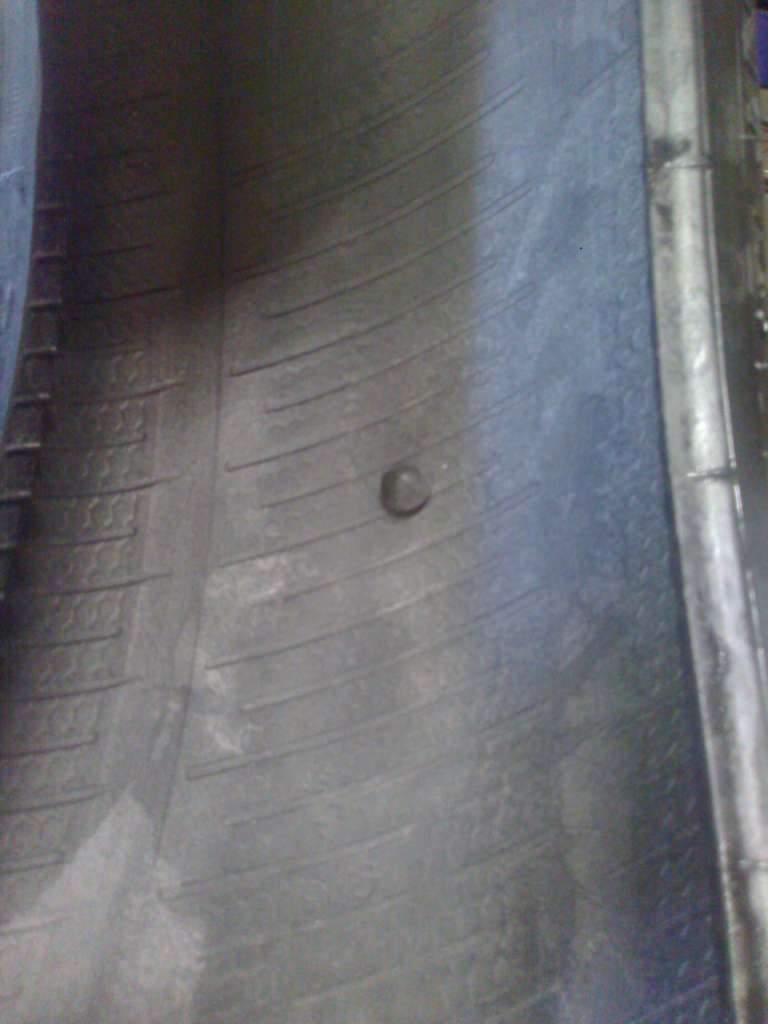
That night it got down to 5°C. I don't know if that was a factor, but the next morning it was flat as a pancake. As in a stiff breeze on the left would have blown it off the sidestand. I rolled it into the garage, aired it up and this is what I found:
Leaking worse than ever. Hard to tell if the plug is even in place -- is that a hole in the plug or did it pop out, or what?:
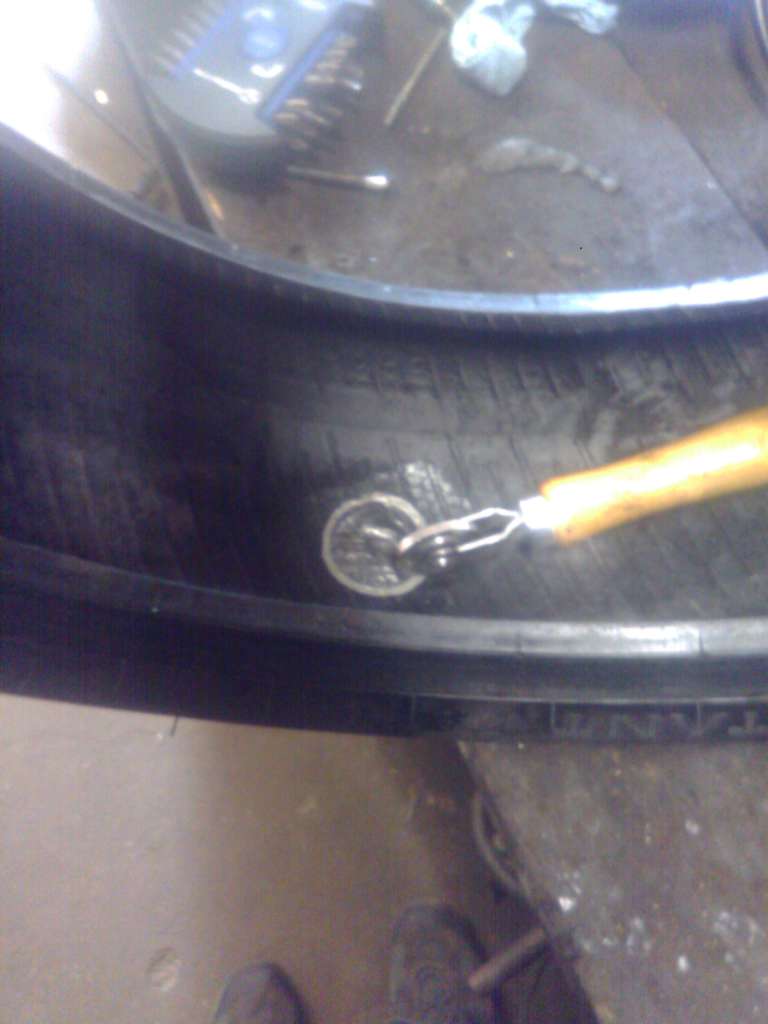
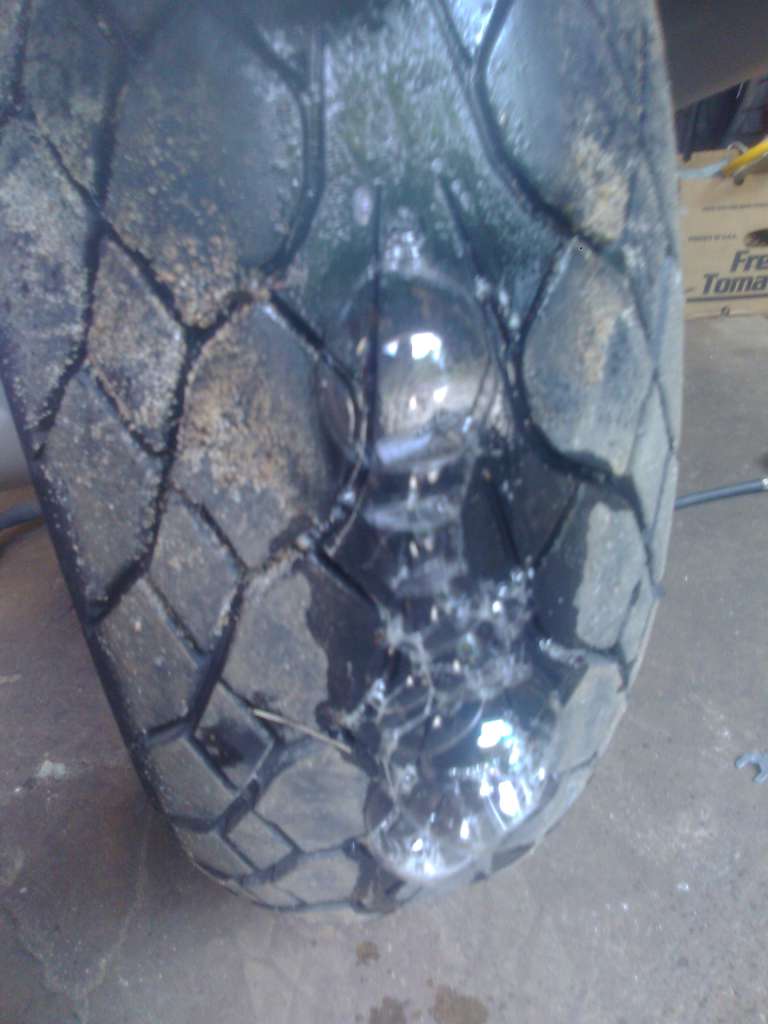
Dismounting the tire shows the plug is still there:
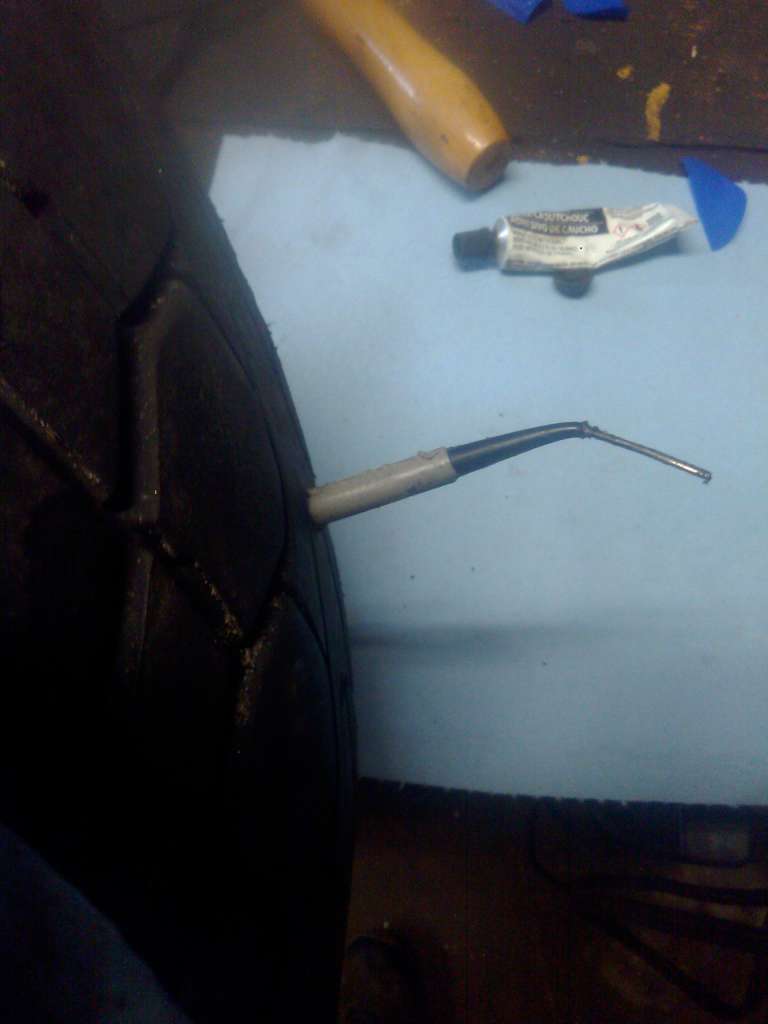
It almost fell out when I touched it. I might have been picking up a dime for all the force it took to remove. And no wonder! There wasn't much holding it in:
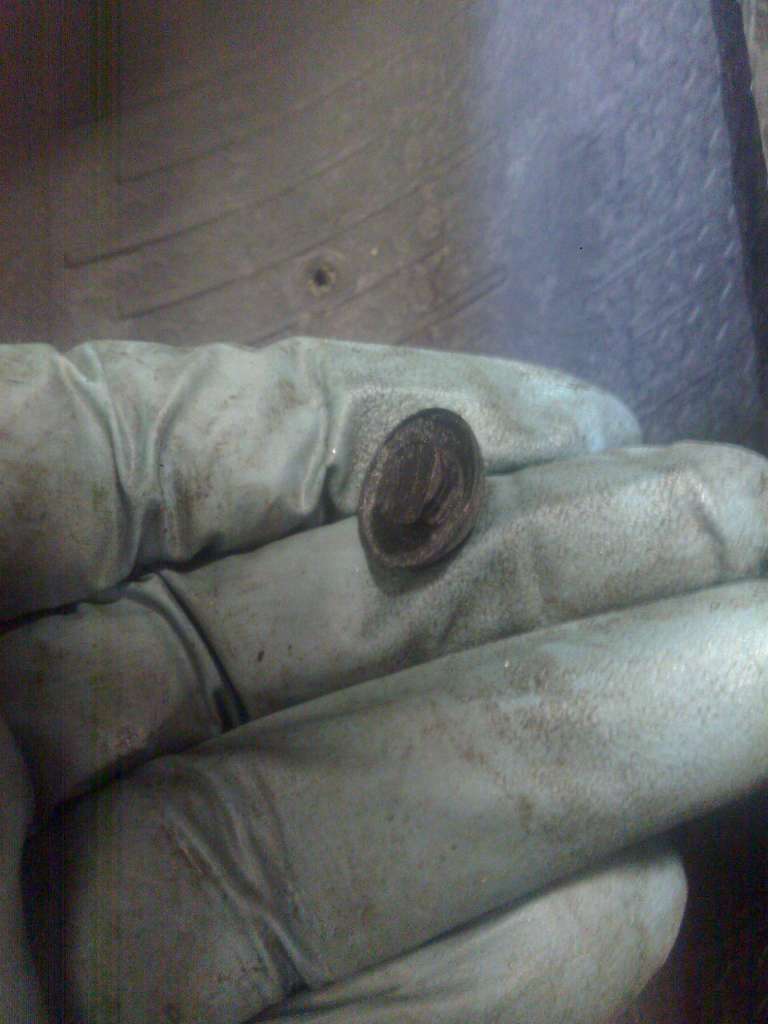
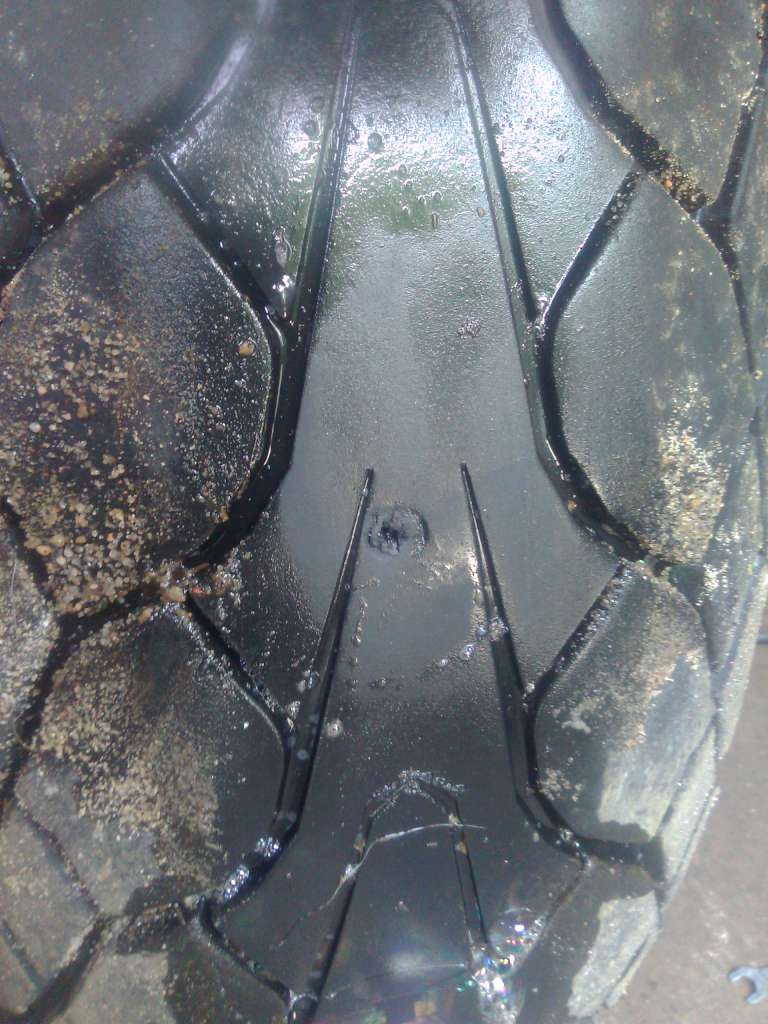
Granted, this particular tire was at the wear bars. And granted, as per the directions, the plug was stretched 2" with pliers after insertion and before cutting flush. But that only left a couple of millimeters of plug. And it's not worn down -- the knife marks are clearly visible from where I cut it off.
As an emergency repair, I have to say it did it's job and got me home. Would I use it again? Probably. But as much as I hate sticky string, I think I'm going to add that back into the emergency kit as a back up. And I don't think cutting it flush (as per the directions) is the best idea. Better to leave it a little proud in case of spring-back.
But to those who have stated they left the thing in there as a long-term solution: you are playing with fire! I strongly recommend a proper repair at the earliest opportunity. I'll demonstrate what I consider a proper repair in the next post.
About 15 minutes after stopping for fuel, I noticed something felt odd with the handling, glanced down at the TPMS and discovered the rear was down to 8 psi - no, 7 ps -- no, 5 -- Oh $#!+. Fortunately traffic was light and I knew another gas station was only a minute down the road. So I eased off the throttle, got into the right lane and limped it in to the air pump with 2 or 3 psi to spare.
Dang thing is $2 but only takes Loonies. Into the store I go for change. Once pumped up, I can't find the leak! I can't see it, I can't feel it, I certainly can't hear it over the noise of transports on the highway. So back into the store I go for a bottle of something soapy. One $11 bottle of gas station window cleaner later, I find the tiny little leak. So small I can't believe it's the only one -- but it is. I watch it for a while and discover it's losing less than 1psi per minute.
Hmmm. It's broad daylight, everything is open and there's a gas station every 10 or 15 minutes for the rest of the way home. Make multiple stops or risk an untried repair kit? I decided to start gas station hopping, aired it up to 45 psi, reinstalled the luggage, popped it off the centre stand and headed north.
Not the best decision. It turns out weight and speed make a difference in the rate of leakage so the pressure plummeted. I could see I wasn't going to make it to the next planned stop, so jumped off the highway at the next exit, heading for a less convenient but closer gas station. The kit comes with directions so I won't bore you with the details but I carefully followed them and ended up with a perfect seal, as proven with my expensive glass cleaner:
I cut it off flush with the tread as per the instructions, packed everything up and headed north again. It not only held, but the pressure rose to 45psi as the tire warmed back up, getting me home about an hour later. It still seemed to be hard when I kicked it the next day, but I didn't have time to check the actual pressure. I have another bike to ride for most local trips.
That night it got down to 5°C. I don't know if that was a factor, but the next morning it was flat as a pancake. As in a stiff breeze on the left would have blown it off the sidestand. I rolled it into the garage, aired it up and this is what I found:
Leaking worse than ever. Hard to tell if the plug is even in place -- is that a hole in the plug or did it pop out, or what?:
Dismounting the tire shows the plug is still there:
It almost fell out when I touched it. I might have been picking up a dime for all the force it took to remove. And no wonder! There wasn't much holding it in:
Granted, this particular tire was at the wear bars. And granted, as per the directions, the plug was stretched 2" with pliers after insertion and before cutting flush. But that only left a couple of millimeters of plug. And it's not worn down -- the knife marks are clearly visible from where I cut it off.
As an emergency repair, I have to say it did it's job and got me home. Would I use it again? Probably. But as much as I hate sticky string, I think I'm going to add that back into the emergency kit as a back up. And I don't think cutting it flush (as per the directions) is the best idea. Better to leave it a little proud in case of spring-back.
But to those who have stated they left the thing in there as a long-term solution: you are playing with fire! I strongly recommend a proper repair at the earliest opportunity. I'll demonstrate what I consider a proper repair in the next post.