Suspension Lube alert

Yamaha FJR Motorcycle Forum

Help Support Yamaha FJR Motorcycle Forum:

This site may earn a commission from merchant affiliate links, including eBay, Amazon, and others.
I don't think I could sleep at night just having my feejer hang like that. :unsure: I would be waiting for the big bang noise.

Is this the first service of the forks at 70K?

Forks are on my list of todo's also.

Dave

 
Last edited by a moderator:
Putting it all back together, I realized I don't know how tight is tight regarding the top bearing nut. It took some firm taps with a screwdriver and hammer to loosen it. I tightened carefully until all noticeable slop was gone and again firmly tightened the nut. The steering head moves freely with no detectable play. Is there a better/proper/more scientific method?

Oh yeah, there is.

The FSM tells you to tighten the first ring nut (lower of the two) initially to 37 ft lbs, with a warning to not overtighten it. This initial torque is to ensure the bearing is seated. Over-tightening may dimple the bearing races. You then loosen that lower nut and retighten it to only 13 ft lbs. This provides the right amount of bearing preload. The top ring nut is then snugged down to the bottom one only finger tight, and then aligned with the lower one so the locking washer will slide on. The idea here is that there is a rubber o-ring between these two ring nuts, and you just want to compress the o-ring some to prevent the lower nut from backing off later, without disturbing the 13 ft lb preload setting.

Performing all of this is the trick. You either need the Yamaha type spanner tool that allows the use of a torque wrench, or else one of the Fjrroy type of special castellated socket tools. I have one of the latter. If you want to borrow mine we'll have to see how we can hook up. If you want to just wing it, I'd err on the "too loose" side for the health of your bearings, until you can get the right tool.

 
This winter I was thinking of drilling the bolts and the inner race. I would then fit a small grease nipple to the end of the bolt head and use a grease gun to pump fresh grease in once a year to save on a strip down.

Andy

 
This winter I was thinking of drilling the bolts and the inner race. I would then fit a small grease nipple to the end of the bolt head and use a grease gun to pump fresh grease in once a year to save on a strip down.
While you're at it, make a bunch of 'em and sell the kits -- you might do okay? :)
I was also thinking about that. It would take some skilled machining. The inner races (Yamaha calls them sleeves) are very hard steel. Made that way to withstand the high contact stresses of the roller (needle) bearings. Therefore the cross drilled holes would probably need to be burned in, possibly could be drilled with carbide drill bits.

And I would think that since the drilling of a grease passageway (and grease fitting)in the mounting bolts would reduce their crossection that one would have to be convinced that the bolts is still strong enough to handle all the possible loads asked of it after the mod.

Do you think Yamaha would let us review their stress analysis on the pivot assembly? Ya, thats what I thought.

I guess that if it was possible to prove that the drilled bolts were still stonger than some other component in the load path then you could make the arguement that drilling is OK. Say that if you proved the tensile strength of the dogbones were less that the shear strength of the 'drilled' mounting bolts. Then it would be OK to drill the mounting bolts for grease passage and Zerk fittings, right?

Who wants to donate some parts for a lab test?

Of course we could just accept that we should take periodic maintenance seriously and drop that pivot for its annual (at least semi-annual) lube service.

Bounce's post (#16)is spot on. don't discount the facotory recommended service intervals.

 
Last edited by a moderator:
I believe the simplest option is to have a complete spare Relay Arm and just swap it out when doing a tyre (tire) change. I know they cost a bit but it's so much easier. Then you can work on the offline unit at your leisure. That's what I do. :rolleyes: If several people live in the same area then you could pool resources.

Don

 
I don't think I could sleep at night just having my feejer hang like that. :unsure: I would be waiting for the big bang noise.

Is this the first service of the forks at 70K?

Forks are on my list of todo's also.

Dave
I know the 'hanging' looks a little shoddy. But I believe it's pretty well thought out and plenty strong enough. It's been hanging for a week now :angry: adn no big bang noise yet. I expect all my parts in this week and should be back on the road by weeks end. But thanks for your concern. ;)

 
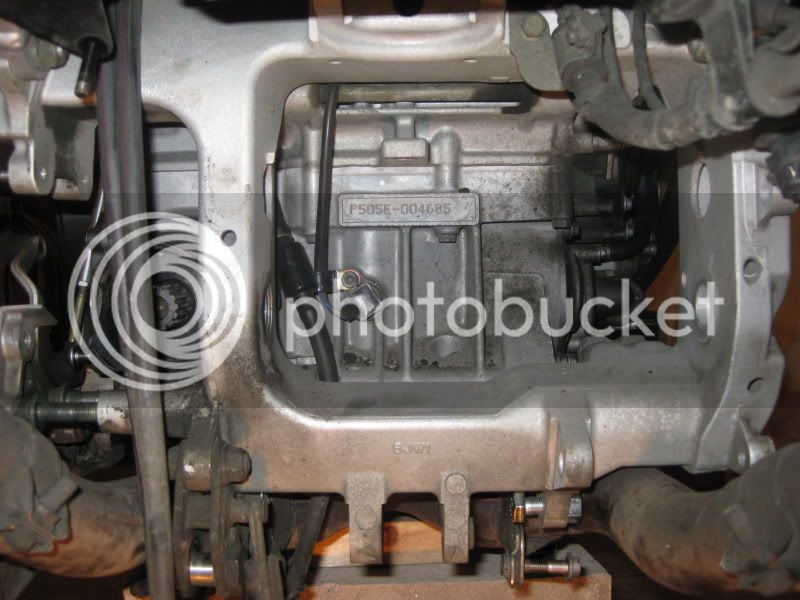
Just pulled my swing-arm off and in the process of removing the complete shock linkage. This is the first time that these parts have been removed in 147,000 km and no big surprises. Since it is now all apart I think that I'll replace all bushings, bearings and seals. I can't see me needing to do this job again.

Canadian FJR

 
Putting it all back together, I realized I don't know how tight is tight regarding the top bearing nut. It took some firm taps with a screwdriver and hammer to loosen it. I tightened carefully until all noticeable slop was gone and again firmly tightened the nut.
Process, torque specs, and pics/diagrams are in the maint section of FJR-tips.org

 
Final Update: Thanks to some good tech info and spanner tool from Fred W, I got the steering head bearings properly torqued.

Also got the forks back in alomg with the rest of the front stuff like brakes and wheel/tire, etc.

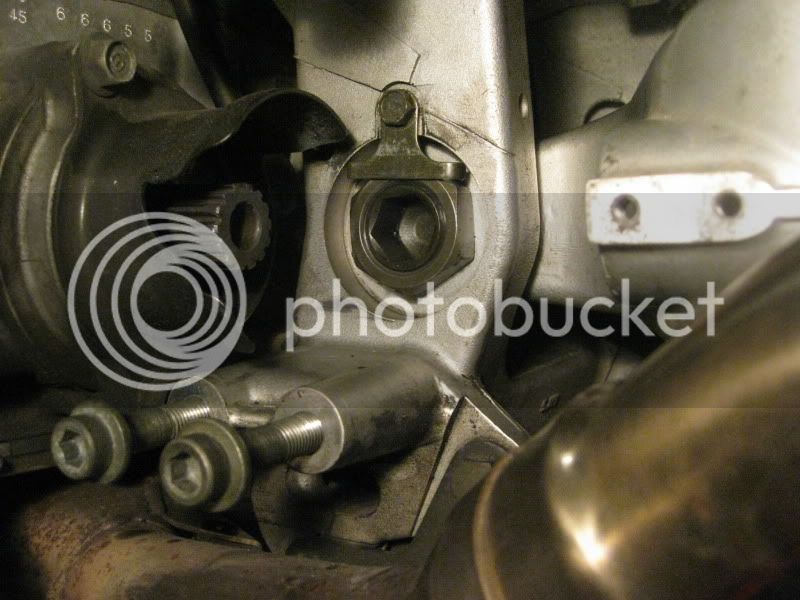
While the forks were out I had time to service the swing arm bearings, driveshaft splines, u-joint, etc. Many thanks again to Mark for excellent reference material at www.fjr-tips.org

IMG_4269.jpg


IMG_4270.jpg


IMG_4275.jpg


I left the front fork settings as they were before the fluid change just to compare. I can't say the front end feels 'like new' but I can say it feels newer. The old oil had 70K on it and wasn't real ugly. Some grayish sediment in the bottom, but not crud. I sprung for the $35 Ohlin fork oil at my mechanics recommendation. It's what Yamaha calls for. Good for another 50K maybe!! ;)

No other issues on post 'lube' road test. I guess I put everything back where it belongs. Feels good to do a complete front and rear suspenders lube job.

Thanks again to all who offered their advice and tips. the fjrforum rocks.

 
I lubed my dogbone pivot points at 21000 mi at the PNW Tech Meet in October. The lower pivot point was corroded and seized and the upper was starting to corrode. We lubed it with some of AuburnFJR's synthetic racing grease which is more resistant to water washout than the recommended lithium soap grease.
That would be Silkolene's full synthetic race grease

 
That would be Silkolene's full synthetic race grease
Ahhh Silkolene.... Silkolene Pro RG2 and Honda's Promoly are the only two types of grease that usually make it to my FJR. Silkolene seems to have some pretty good water repellent properties. I use it regularly around my lower pivot points, wheel bearing seals, under my throttle tube, in the steering head bearings, and at upper lever pivot points.

 
Last edited by a moderator:
I lubed my dogbone pivot points at 21000 mi at the PNW Tech Meet in October. The lower pivot point was corroded and seized and the upper was starting to corrode. We lubed it with some of AuburnFJR's synthetic racing grease which is more resistant to water washout than the recommended lithium soap grease.
That would be Silkolene's full synthetic race grease
Thanks, Bryan. I gotta get some.

 
For those considering drilling the pivot linkage casting and placing grease fittings, there's something you should know...

Those bearings have separators that are part of the lubrication. It would be extremely difficult to force grease into the bearing itself, without possibly forcing the delicate separators out of position and ruining the bearing(s). And if a bearing replacement was ever needed, it would be extraordinarily difficult to align a pre-drilled hole in the new bearing to the already-placed grease fitting. I'm not saying that adding grease fittings won't work, but there's much to consider beyond simply drilling a hole and installing a grease fitting.

I prefer to keep a rebuilt pivot linkage assembly around. Swap it out, then clean, re-grease and replace the seals on the old unit. If you keep some fresh grease in the assembly AND replace the seals periodically, the bearings and sleeves will last forever. It's degradation of the seals that's instantly destroys everything, not lack of grease.

 
Last edited by a moderator:
I agree with HA on this. Now that I've removed the right centerstand bracket once, it will be a snap next time. Servicing all eight pivot seals will be relatively easy from now on. They cost about $4 each. (cheapcycleparts.com) once you have the pivot out on the bench, replacing the 6 seals there plus the two in the swing arm will take 15 minutes, including repacing the 8 bearings. Good advice.

 
I repacked my rear end bearings this week...got them all except the dogbone that's between the center stand. I had no lift to hold the bike, but all my bearings looked good, but were almost dry. My question is how are you guys getting the spacer out of the swing are where the long bolt is? I got the little one inch spacer out on the left side, but without pulling that seal, that longer spacer is in there. I just shoved a ton of grease in it and called it Government ready and certified. Will tacked the head set in the coming weeks.

 
HeUeR,

I'm a little lost in your terminology.

My definitions: Each of the pivot bearings have a sleeve in them that act as the bearing inner race.

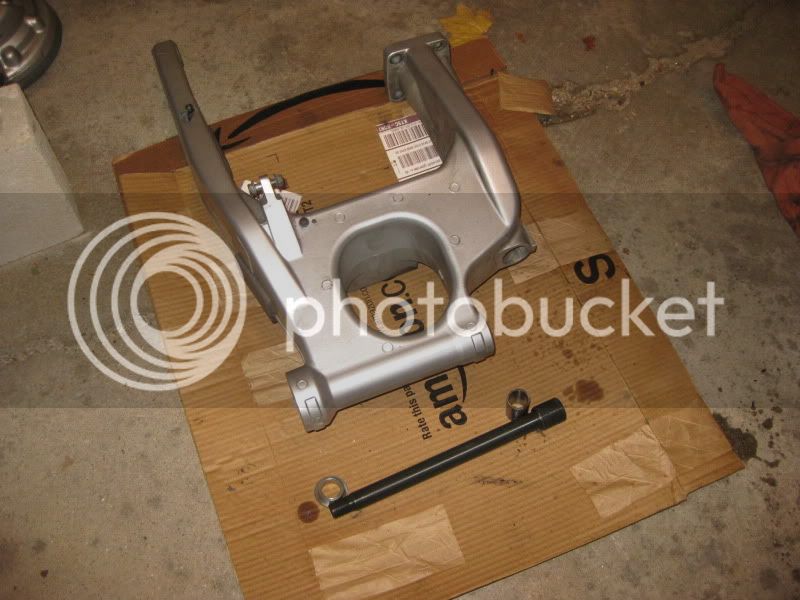
Th pivot arm has six bearings. One (front)connects to the bikes frame, close to the swing arm mounting points. The rear one connects to the lower shock absorber mount. The middle two bearings are located on a common sleeve which is through-bolted to the lower end of the dog bones.

The last two remaining bearings are located in the swing arm. Those two bearings also have a common sleeve that rides in both bearings. This pair is through-bolted to the upper end of the dog bones.

In order to grease any of the bearings the bearing sleevs need to be pushed out of the bearing far enough to expose the bearing rollers. For the swing arm pair, you just have to remove the upper bolt holding the dog bones on. Then the sleeve can be pushed out the left side of the bike. (it can also be pushed out half way toward each side to expose the individual bearings)

In order to service all of the bearings in the pivot arm you have to remove the pivot arm from the bike. This is a pain in the arse due to the right side centerstand mount. But you have to get the mount off in order to remove the forward pivot arm bolts that holds the front sleeve in place. well documented here:pivot arm removal Near bottom of page.

Once you have the pivot arm out, greasing those bearings is easy. If your seals are original, I highly recommend replacing them.

I don't know which 'little one inch spacer' you're refering to.

Hope this was helpful.

 
Top