Trailer Build - hopefully in improvement to my current one

Yamaha FJR Motorcycle Forum

Help Support Yamaha FJR Motorcycle Forum:

This site may earn a commission from merchant affiliate links, including eBay, Amazon, and others.
You could possibly save more weight by lowering your longitudinal runners on the sides down and using them to cap the lateral supports. Right now you have a framework on top of a frame; try to combine them into one piece.
You got me re-thinking a few things to help lighten it up.
Update: After some re-design work (thanks to Snowman for the ideas). As it sits, the whole thing weighs in at 170 lbs. I have about 15 pounds of side and lid panels to add. That will bring it in 120 lbs lighter than the first version and 20 lbs heavier than the bushtec. Right in my target area. Here are pictures of where I am at so far.

The outside trailer dimensions are 26" wide at the front, widens out to 41" at the wheels, then goes back into 25" at the rear. The space inside from the cooler back is 14" x 24" which will allow me to carry a spare front wheel, rear wheel and trailer wheel (all with tires mounted) standing vertically for the. The space in front of the cooler is 30" deep 25" at the front x 41" at the rear. Overall inside height is 26". The cooler is 14" x 24". The plywood on the bottom and sides is 3mm baltic birch and is 3 ply, very lite and very strong. The fenders over the wheels is 20 gage steel.

The trailing arms could be lighter, but I erred on the side of strength by using 3/8" x 1.5" flat bar stock instead of tubing. I could save another 5-7 lbs here if I switched to tubing. I also made them about 1 foot longer than before to give them a better angle to work within.

LZNadqU.jpg


Top view with the lid up (lid weighs 12 lbs). The bare frame without the wood, tires, lid, or shocks weighed 75 lbs.

28pnj7V.jpg


Here is a shot with the ice chest in place. The wood box under the cooler is for my tools to keep them all in one place. I also have a pocket built into it that carries a Yusua battery for the FJR and use it to power the cargo light when the lid is up. It gets charged by the bike going down the road.

O2BdIeq.jpg


Over head shot of the main cargo area with cooler out.

nWcrTXC.jpg


Cooler in

KlJ13Qh.jpg


Last edited by a moderator:
Revision looks good! If you build another revision I have a couple suggestions for you to consider:

You can actually have STRONGER and lighter trailing arms by using tubing. The strength of the steel is primarily in the outside surfaces as this has the highest tensile and compression loads under bending; the metal in the middle doesn't resist bending as it's at the neutral axis so it's just extra weight. Think of an I-beam. The taller it is the stronger; all the load in carried in the top and bottom and the web is mostly just a stiffener to support the top and bottom to keep them from buckling. Even angle iron is stronger than flat bar because flat bar can bend relatively easily across it's thickness.

You have a lot of cross braces through the middle of your side panels, presumably to support the plywood on the sides and strengthen the whole structure. The rest of your frame looks strong enough that I think you could get away without having them in there for structural support and if you want rigidity for the side panels you could use some thin angle to support it and it would be lighter.

And on a side note, I used some of these brackets from Harbor Freight (but they are available all over the place) in my trailer and they work nice if you need to strap something down. I hauled a 6" jointer back home 600 miles in August and they proved invaluable to keep everything in place where I loaded it. https://www.harborfreight.com/2-pc-14-in-cargo-d-ring-anchor-62756.html

 
Last edited by a moderator:
Revision looks good! If you build another revision I have a couple suggestions for you to consider:
You can actually have STRONGER and lighter trailing arms by using tubing. The strength of the steel is primarily in the outside surfaces as this has the highest tensile and compression loads under bending; the metal in the middle doesn't resist bending as it's at the neutral axis so it's just extra weight. Think of an I-beam. The taller it is the stronger; all the load in carried in the top and bottom and the web is mostly just a stiffener to support the top and bottom to keep them from buckling. Even angle iron is stronger than flat bar because flat bar can bend relatively easily across it's thickness.

You have a lot of cross braces through the middle of your side panels, presumably to support the plywood on the sides and strengthen the whole structure. The rest of your frame looks strong enough that I think you could get away without having them in there for structural support and if you want rigidity for the side panels you could use some thin angle to support it and it would be lighter.

And on a side note, I used some of these brackets from Harbor Freight (but they are available all over the place) in my trailer and they work nice if you need to strap something down. I hauled a 6" jointer back home 600 miles in August and they proved invaluable to keep everything in place where I loaded it. https://www.harborfreight.com/2-pc-14-in-cargo-d-ring-anchor-62756.html
Doubt there will be another trailer build. But revisions to the trailing arms is a fairly easy thing to do. What wall thickness on the tubing would you use? I am thinking 3/4" square in .060". But I will wait to prove this one tows correctly first. I had some 1/2" angle, but is was heavier than the 1/2" square tubing I had, so I used the square tubing for the plywood supports in the middle. A lot of the internal 1/2" tubing is to keep things in place so I don't have to do a bunch of strapping down.

 
Saturday update:

Finished all the welding, got the latch system installed, lid is done. New set of lid struts coming. the ones I have before are 120 lb force each. way too heavy for this lid. Getting 60 lb force struts, as one of the others could hold the lid up.

Got the sides on, and fenders cut out with supports.

Weather was nice, so took outside to photograph.

XYq1oP2.jpg


K4ZRsHU.jpg


slam latch system

A9OaKRf.jpg


k4m4fMn.jpg


dogPZrz.jpg


the 1/2" x 1" tubing laying flat is to give a surface for the gasket to seal out dust, dirt, and rain.

SbYF4jw.jpg


bCxaWj5.jpg


Last edited by a moderator:
Revision looks good! If you build another revision I have a couple suggestions for you to consider:
You can actually have STRONGER and lighter trailing arms by using tubing. The strength of the steel is primarily in the outside surfaces as this has the highest tensile and compression loads under bending; the metal in the middle doesn't resist bending as it's at the neutral axis so it's just extra weight. Think of an I-beam. The taller it is the stronger; all the load in carried in the top and bottom and the web is mostly just a stiffener to support the top and bottom to keep them from buckling. Even angle iron is stronger than flat bar because flat bar can bend relatively easily across it's thickness.

You have a lot of cross braces through the middle of your side panels, presumably to support the plywood on the sides and strengthen the whole structure. The rest of your frame looks strong enough that I think you could get away without having them in there for structural support and if you want rigidity for the side panels you could use some thin angle to support it and it would be lighter.

And on a side note, I used some of these brackets from Harbor Freight (but they are available all over the place) in my trailer and they work nice if you need to strap something down. I hauled a 6" jointer back home 600 miles in August and they proved invaluable to keep everything in place where I loaded it. https://www.harborfreight.com/2-pc-14-in-cargo-d-ring-anchor-62756.html
Doubt there will be another trailer build. But revisions to the trailing arms is a fairly easy thing to do. What wall thickness on the tubing would you use? I am thinking 3/4" square in .060". But I will wait to prove this one tows correctly first. I had some 1/2" angle, but is was heavier than the 1/2" square tubing I had, so I used the square tubing for the plywood supports in the middle. A lot of the internal 1/2" tubing is to keep things in place so I don't have to do a bunch of strapping down.
I built mine out of 1x2 tubing and I think it was 16 gauge. I used 14 gauge for the main frame tube, and 16 gauge for everything else if I remember right. They way you have your trailing arms setup right now with the flat bar vertically out to the wheels, I'd be curious to know how easy it is to twist the wheels about a vertical axis. Seems like you may get more deflection that you would like when hitting pot holes and such that create some horizontal force in addition to vertical. The thing to keep in mind that that the larger dimension the tubing, the thinner wall you can run because it will be more rigid. 3/4 would be too small; too close to the flat bar. I set mine up with the 2" vertical to carry the main load and the 1" horizontally to give the wheel rigidity and it seems to work very well. I probably had 250 lbs in the trailer going to Colorado and it held up just fine. Realistically I probably could have gone with 1.5" and been totally okay, but I like to minimize the material I have to buy and I prefer to over build things a little too.

 
Last edited by a moderator:
UPDATE: so the trailer concept is great, but still too heavy. So I scraped it for another day when I have time to work that out.

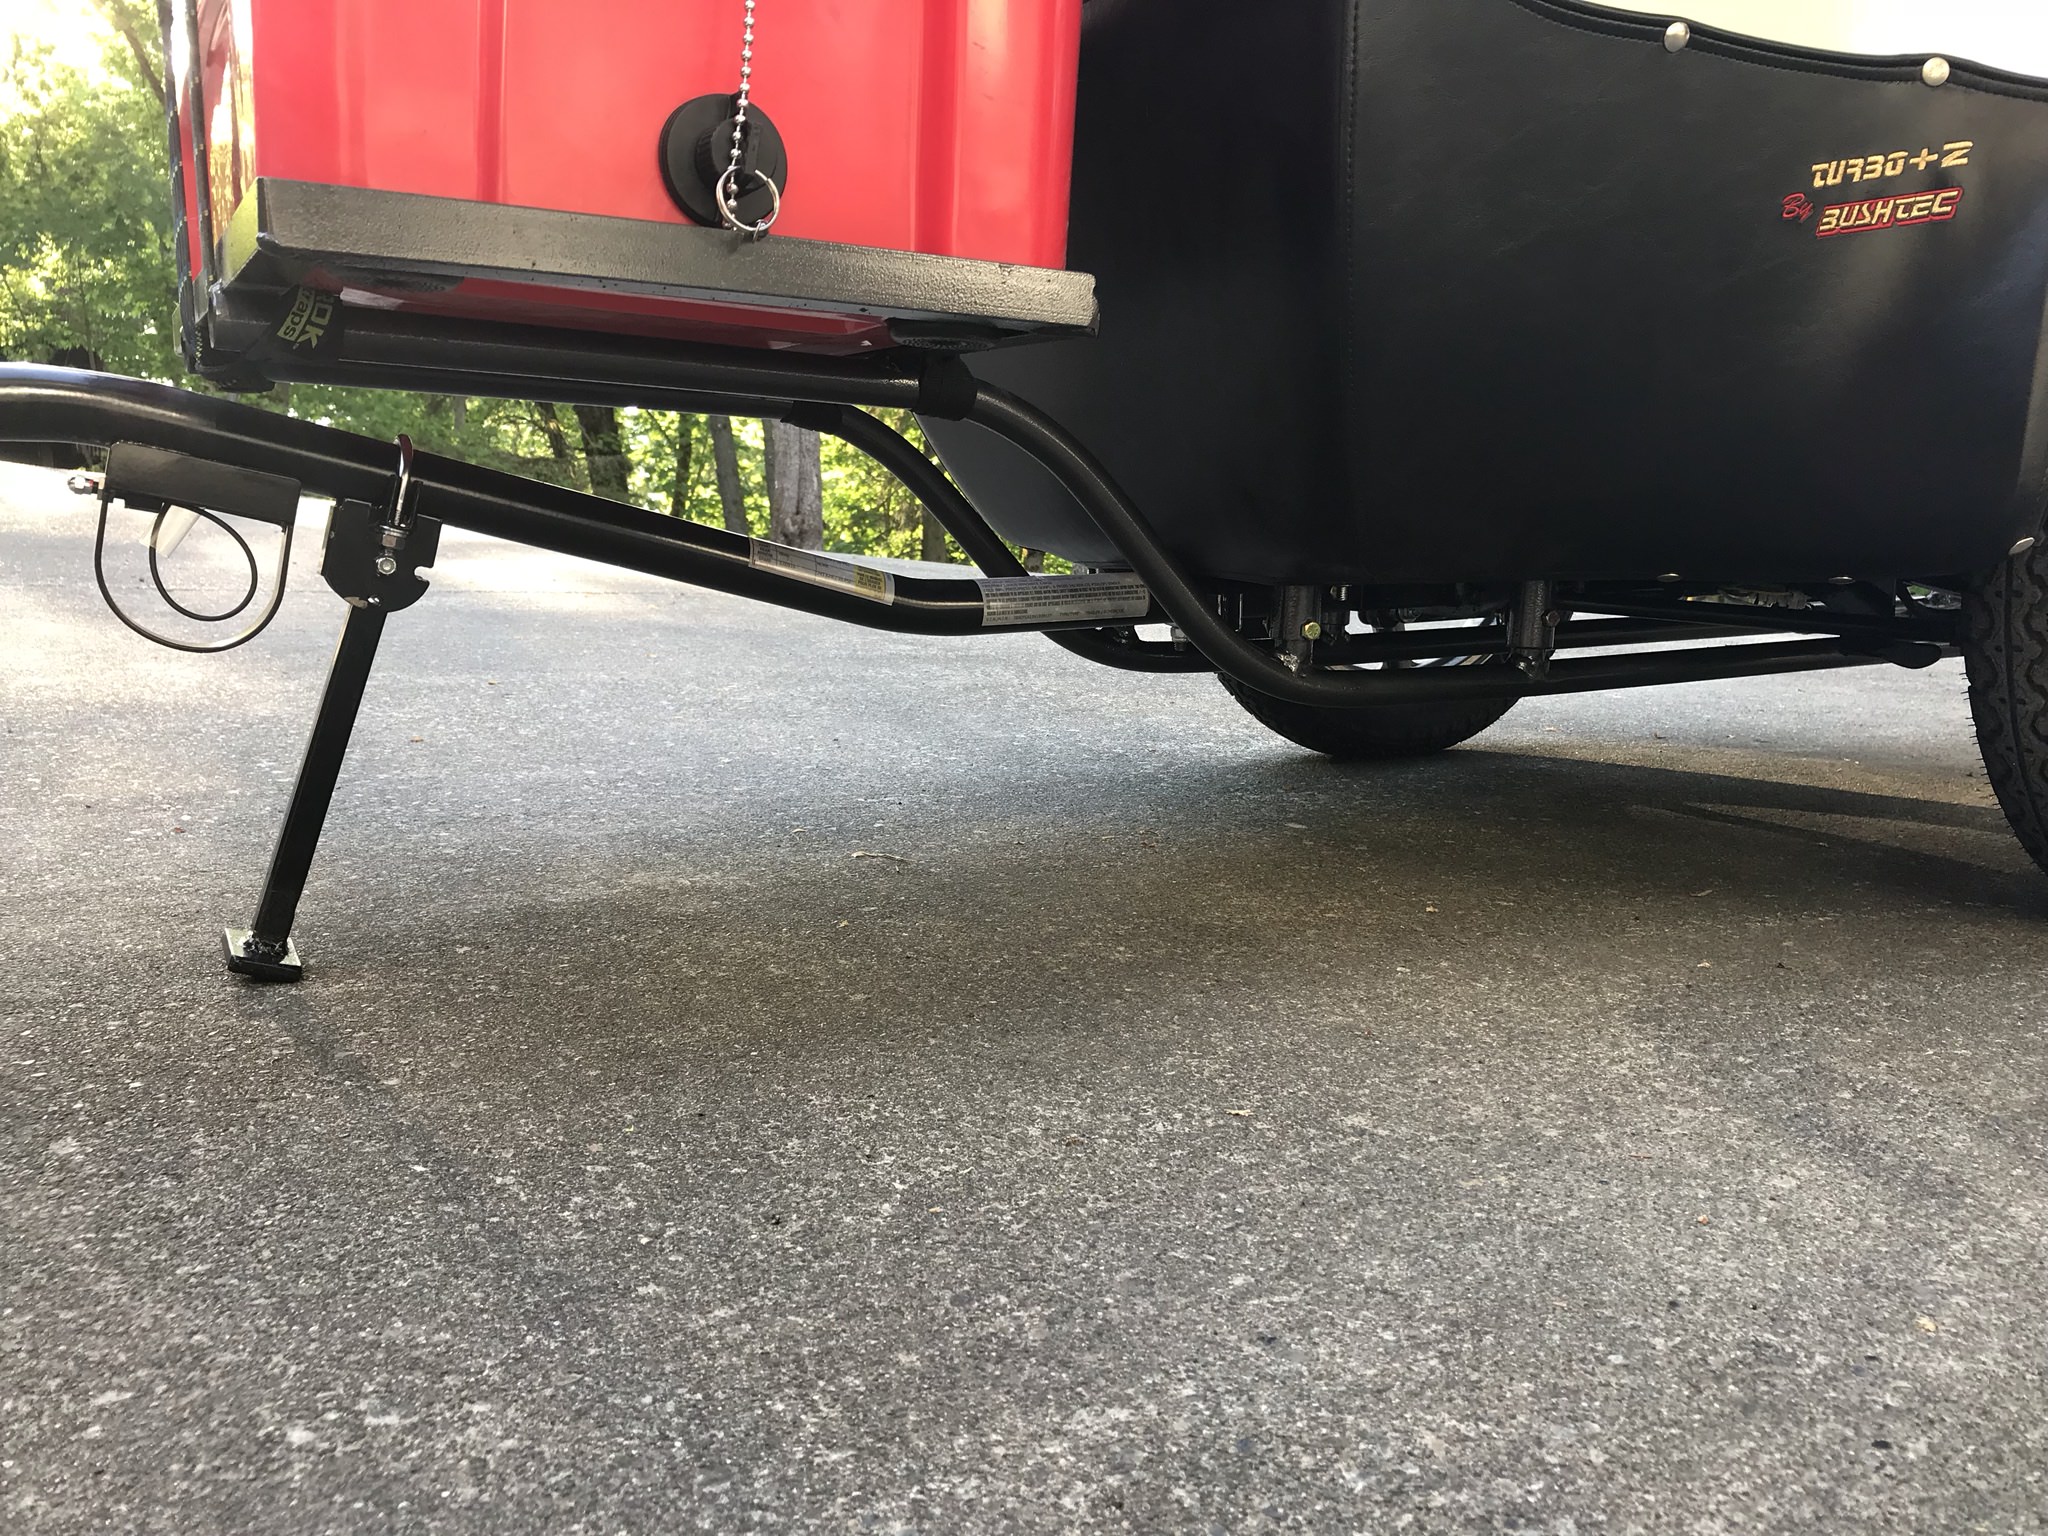
I bought another Bushtec trailer and while I was uncrating it, I had to roll it over on it's back to undo the bolts from the pallet that it was shipped on. I discovered that there were three angle bars underneath the trailer. I used 1" .120 DOM tubing and being an electrician, I have conduit benders to bend it with. I also wanted to carry a better ice chest and a way to carry the spare trailer tire, and front and rear tires for the FJR for our upcoming trip to Alaska in a couple of weeks. Under the tire cover is a front and rear Michelin PR2, and a mounted up spare tire for the trailer.

Oddly enough, the tires and spare weigh almost exactly the same as the ice chest. So the stuff in the ice chest gives me my tongue weight.

We are headed out tomorrow morning to the Olympic Peninsula to do a test run and see if we need to do any changes before we head out on the 24th for Alaska.

I got thinking, what if I weld a pipe to each and use them to mount a removable rack system. like this:

uonnhUy.jpg


eHJ214J.jpg


pzWwTwi.jpg


xYIgJ6i.jpg


Nice. I would recommend doubling the weight in the cooler and tire rack and give it a hard shake down for as many miles as you can. Even with 1/8 wall tubing, that's a lot of leverage and you could see cracks develop at the welded joints over time; would suck to stop for gas and find your spares gone! If it survives a few hundred miles with twice the expected weight for your trip with out any bending or cracking you should be good I would think. Metal fatigue is the concern. Also, check the trailer light laws for where you'll be going, I believe they have to have two visible lights to be legal and it's hard to tell in the picture how much of the OEM trailer lights are visible past the tires. Good work.

 
Nice. I would recommend doubling the weight in the cooler and tire rack and give it a hard shake down for as many miles as you can. Even with 1/8 wall tubing, that's a lot of leverage and you could see cracks develop at the welded joints over time; would suck to stop for gas and find your spares gone! If it survives a few hundred miles with twice the expected weight for your trip with out any bending or cracking you should be good I would think. Metal fatigue is the concern. Also, check the trailer light laws for where you'll be going, I believe they have to have two visible lights to be legal and it's hard to tell in the picture how much of the OEM trailer lights are visible past the tires. Good work.
Posted the test results here

The trailer worked great, no issues with the rack system. I also used a tubing notcher to cut the tubing so I got great surface are to weld to as well. Everything performed as it should, I did have to move the spare tires to the top of the trailer to get the balance right. The third light is like that on a pickup, so you can see at least one of the trailer lights and the back center light too at all times.

 
Last edited by a moderator:

Latest posts

Top