Under the seat fuse block install

Yamaha FJR Motorcycle Forum

Help Support Yamaha FJR Motorcycle Forum:

This site may earn a commission from merchant affiliate links, including eBay, Amazon, and others.

Ijuggle

Well-known member
Joined
Aug 2, 2005
Messages
103
Reaction score
3
Location
Sebastopol, CA
What is the favored spot for installing an Eastern Beaver Fuseblock under the seat of the Gen 3? Photo's?

Favored route to the battery?

 
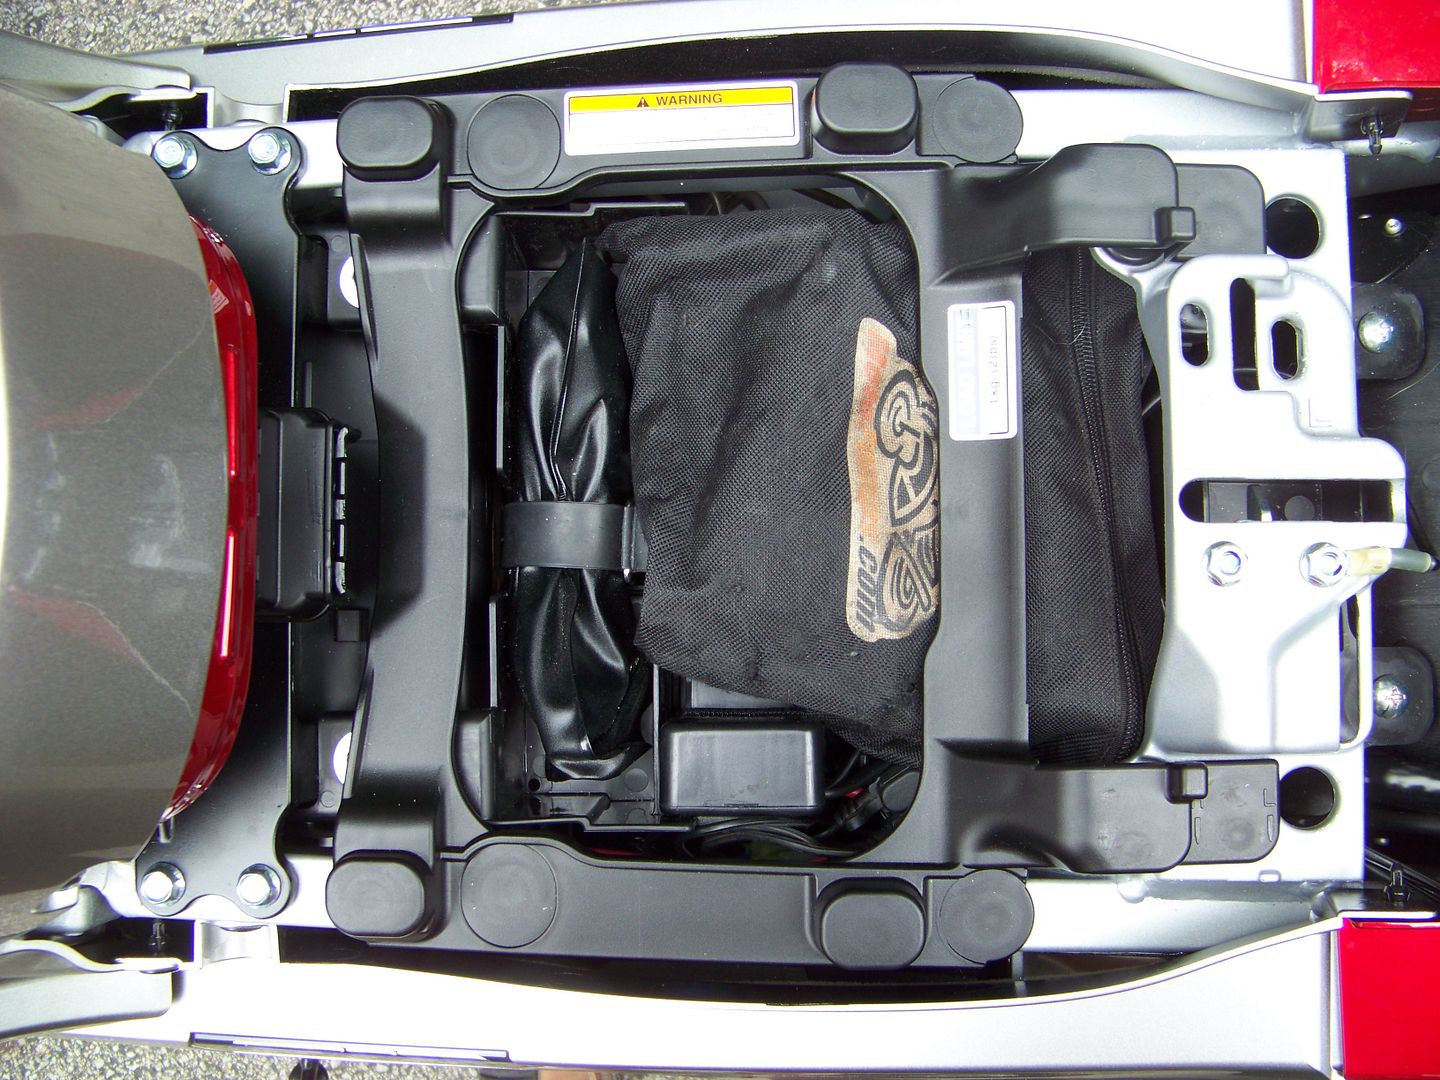
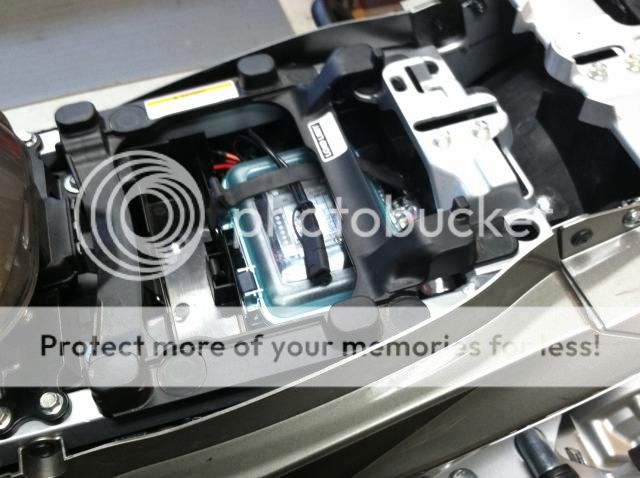
Yesterday I mounted a fuse block picked up at an auto parts store all the way to the rear of the seat compartment. Zip tied it to the aluminum structure back there. Also mounted the relay for switched power next to the fuse block. Takes up very little room. Ran the wires up the left side with the factory harness to the positive post on the fuse block, not the battery. Ran the ground along the same route on down to the connection at the front of the engine. Used Silverhound's jumper solution for the relay trigger.

 
Last edited by a moderator:
Yesterday I mounted a fuse block picked up at an auto parts store all the way to the rear of the seat compartment. Zip tied it to the aluminum structure back there. Also mounted the relay for switched power next to the fuse block. Takes up very little room. Ran the wires up the left side with the factory harness to the positive post on the fuse block, not the battery. Ran the ground along the same route on down to the connection at the front of the engine. Used Silverhound's jumper solution for the relay trigger.
IMG_0756_zps4218b231.jpg


I put my FuzeBlock brand fuse block under the front of the seat. I installed the block in a Pelican case and ran wires into the case through gromets in holes I drilled in he case. The case makes the block very water resistant and protects it from inadverdant contact. It also provides a place to store spare fuses in a small zip lock bag. Wires are run behind the right side cowl and outside the frame. All the wires are bundled in an anti-chaffee, high-temperature wire loom. The Pelican case is held in place by velcro and the existing rubber tie-down strap; the fuse block inside the case is also attached with velcro. Been installed over a year with no issues.
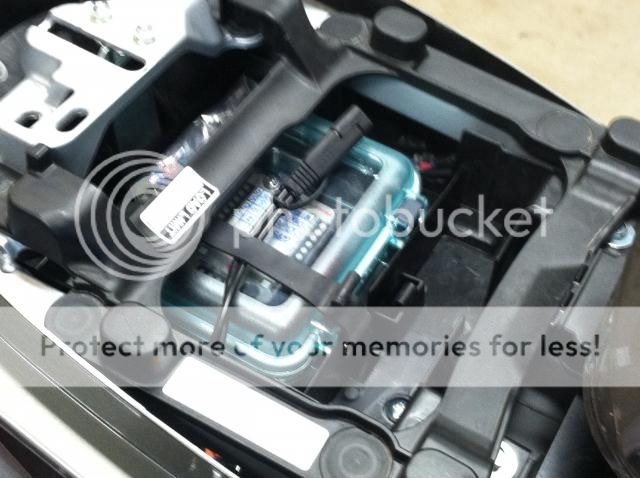
IMG_0811_zps00ea2020.jpg


IMG_0812_zpsed18c556.jpg


Last edited by a moderator:
I put my FuzeBlock brand fuse block under the front of the seat. I installed the block in a Pelican case and ran wires into the case through gromets in holes I drilled in he case. The case makes the block very water resistant and protects it from inadverdant contact. It also provides a place to store spare fuses in a small zip lock bag. Wires are run behind the right side cowl and outside the frame. All the wires are bundled in an anti-chaffee, high-temperature wire loom. The Pelican case is held in place by velcro and the existing rubber tie-down strap; the fuse block inside the case is also attached with velcro. Been installed over a year with no issues.
IMG_0811_zps00ea2020.jpg


IMG_0812_zpsed18c556.jpg
That is way to nice a job. I have spagetti all over the place.

Dave

 
I've posted this elsewhere, but thought it might fit here as well.

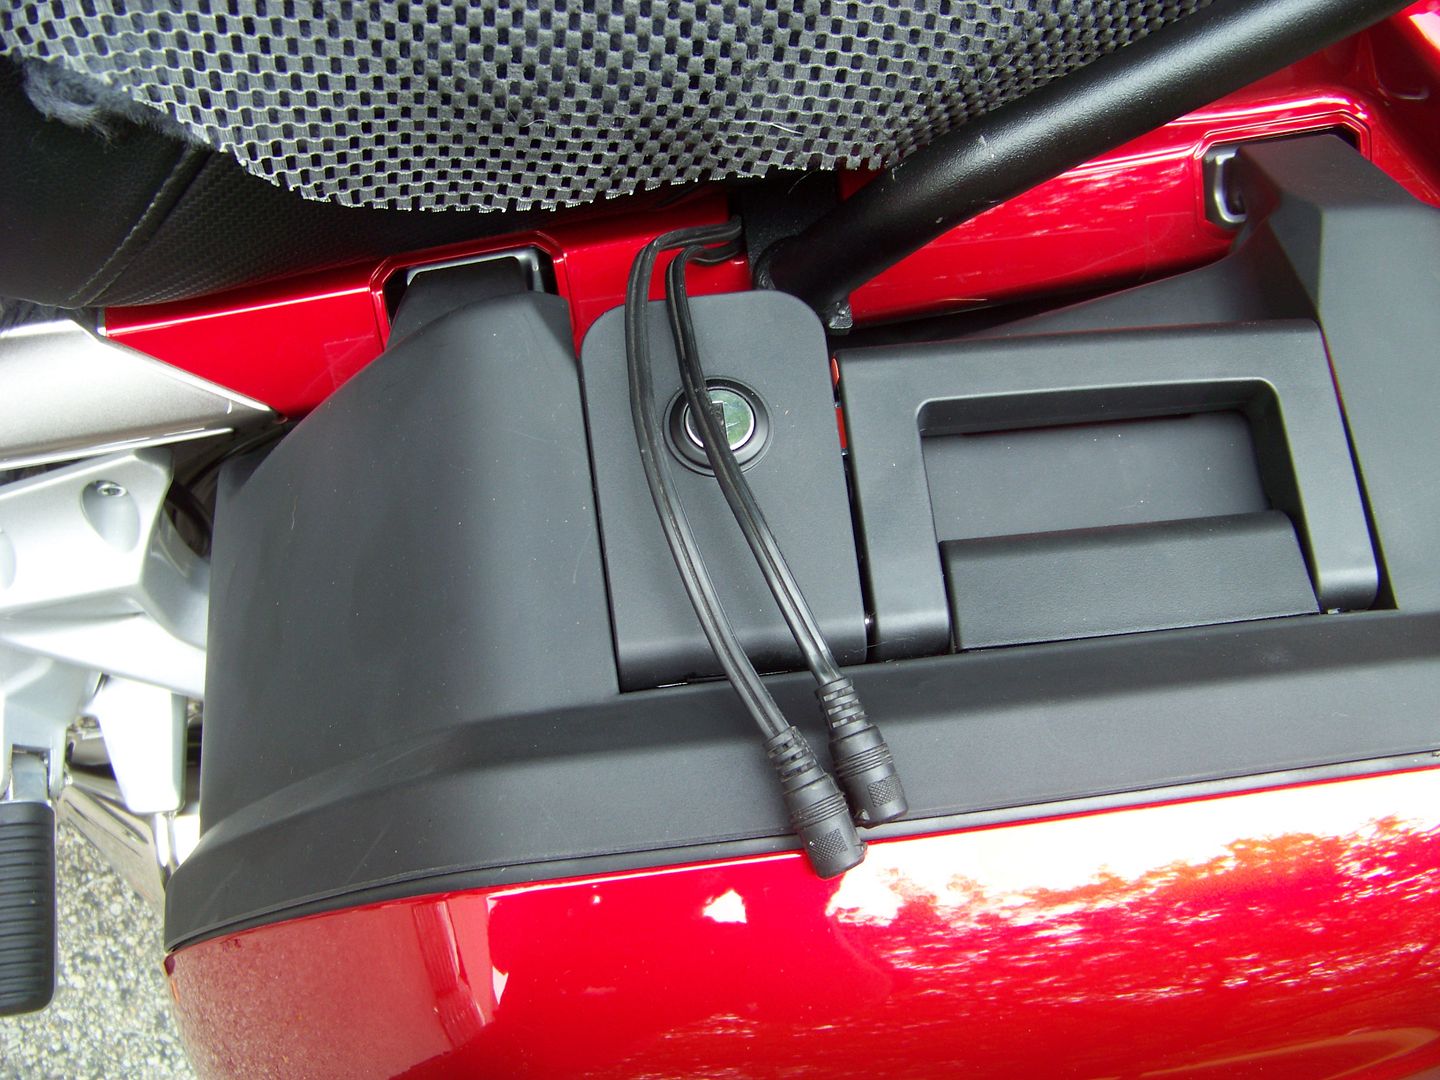
Under the seat I have room for my Motopumps.com tire plug and 12V compressor inflation kit, and also squeezed in my Yankee Frugal PDB (small black box on the left side of the tool tray). The PDB is just an always hot power distribution box for our heated gear. I ran a single 10 gauge wire from the battery to the PDB, and picked up a ground on one of the seat latch nuts. Since this is just for the heated gear, no worries about ground noise issues.

100_4669.jpg


And I brought the two pigtails out from under the seat at the Givi SR Rack penetration. There is enough space around the Givi rack that you can just pull the cables back in and leave them under the seat when not in use during the summer.

100_4668.jpg


I have found from past experience that this is plenty of pigtail to have outside the seat, as the length of cable from the Heattroller is pretty good. We are in the habit of always plugging in after mounting up on the bike.

All of my electronic gadgets (GPS, Starcom1, Radar Detector. etc.) are power out of my Bags Connection Tank bag from a single, always hot, battery tender cable connection to the battery. Of cours ethe tender cable also allows me to charge the battery and will power the MotoPump when needed.

This really simplified the bike wiring and, perhaps more importantly, allows me to transfer all the goodies between multiple bikes just by moving the tank bag over and plugging it in to the tender cables on each of them. I have Bags Connection tank rings on all three bikes and the City Evo tank bag fits well on all three (FJR, VFR, Vstrom)

Whenever I do get a mounting spot for my aux lights worked out, then I'll have to come up with a relay switched power terminal strip somewhere up in the front cowling, but until then I have it all covered with just these two simple power distributions.

 
Last edited by a moderator:
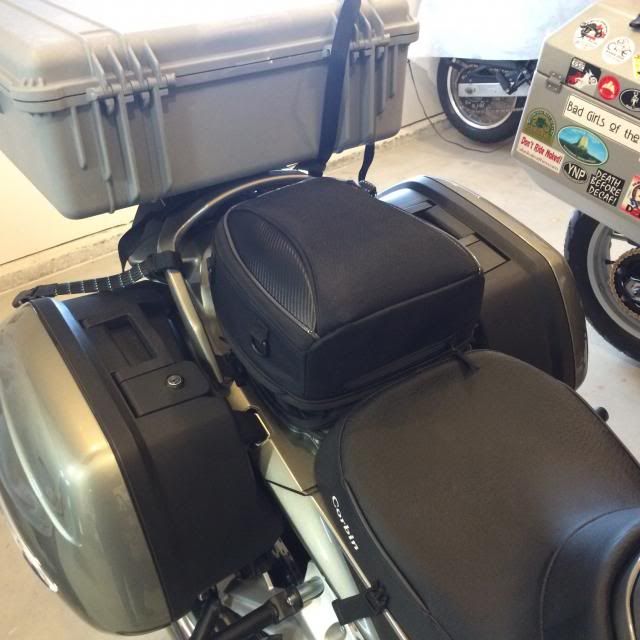
I replaced my rear seat with a tail bag. Seat removed, tailbag installed with a bottom plate installed as a an attachment point. Automotive door gasket installed around the edge of the bag. Holds all my tools, tire repair and first aid kit. Keeps the under seat area as dry as the seat did, I don't ride with passangers (wife has her own bikes) and the weight of the tools is kept on the centerline and relatively low.

It is similar to a Smuggler trunk only the Nelson Riggs bag cost $100 instead of the $800 for the Smuggler. I had a Smuggler on my RT and they are good stuff, but this set-up carries more, is cheaper, is less susceptible to small damage and easily replaceable. The Pelican case as a top box was an experiment that I did not care for. It was relegated to my ATV and replaced by a Shad.

IMG_1135_zps5fb44225.jpg


Last edited by a moderator:
That looks awesome, Kevin. Would you mind posting more details of that home made smuggler setup. Maybe start a separate thread because I know a lot of other folks would be interested.

There was a guy who did the same with an older style Nelson Rigg CS-100 tail bag, but he seems to have taken his roadrunner web site down.

 
Last edited by a moderator:
1.5 X 1.5 X .125 or 2.0 x 2.0 x .125 Al 6061-T6 Angle, some scrap I found laying around. The back plate is Lexan, I think it was 1/4 inch another peace of scrap I found.

Not where I can measure right now but I can later if you'd like.

Hardware stores will have something you can use.

 
Last edited by a moderator:
Top