Valve Check Tips? <Nucking Futs!>

Yamaha FJR Motorcycle Forum

Help Support Yamaha FJR Motorcycle Forum:

This site may earn a commission from merchant affiliate links, including eBay, Amazon, and others.
"

3. Remove the timing cover even for just the valve check. You could turn the wheel with the motor in high gear and rotate the cams, but you won't know EXACTLY where the motor is on TDC without removing the timing cover. I'm still on the fence regarding whether the valve shim gap is actually different between having the lobes straight up and having them at TDC (you are supposedly on the round portion of the lobe for the check), but the book says at TDC, so do it right, I say.

"

Not really necessary to remove timing cover if the camshafts aren't removed.

Don't need to know if the engine is turned exactly to TDC.

In fact the TDC mark can only be used on 1 and 4 cylinders anyway. Maybe the mark opposite the TDC mark can be used for cylinders 2 and 3 but it's overkill.

Bottom Line -- Don't remove the cover if it's not necessary.

 
2018-10-15 Valve Train Clearance Check


2018-10-15 Valve Check Blues

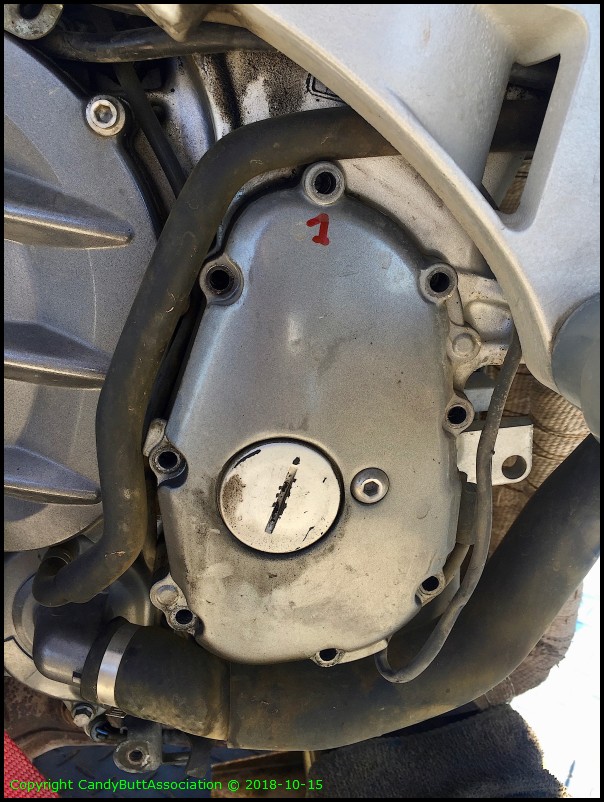
With intrepid visions of success, started by removing the crankcase cover.

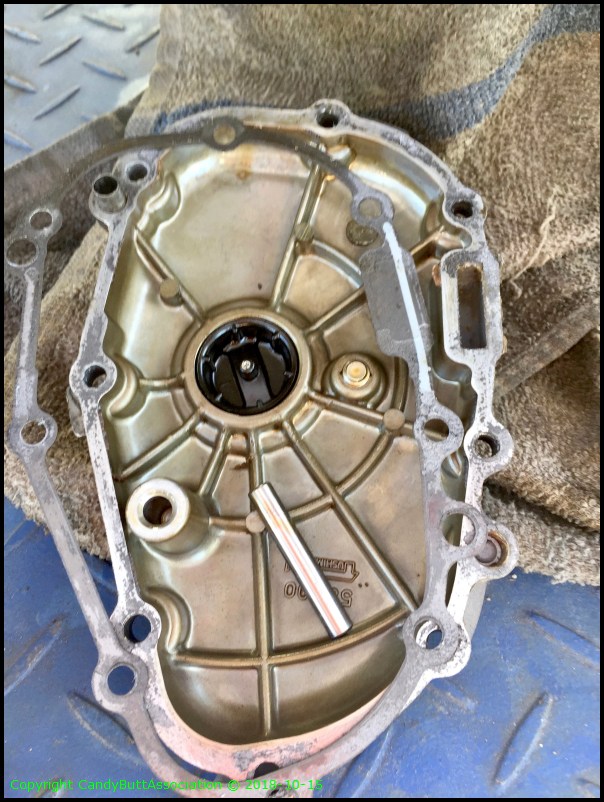
What the hell? Why so hard to remove? Tap tap tap tap with soft hammer. Wiggle Wiggle Wiggle top bottom sides.


Ahh, Nucking Futs. The pivot pin which holds the CCT in place came out too. And of course, the CCT won't allower the slipper or shoe to move upwards so at some time the CCT must be slacked or removed. Which OK as the gasket is leaking any how and needs be replaced.


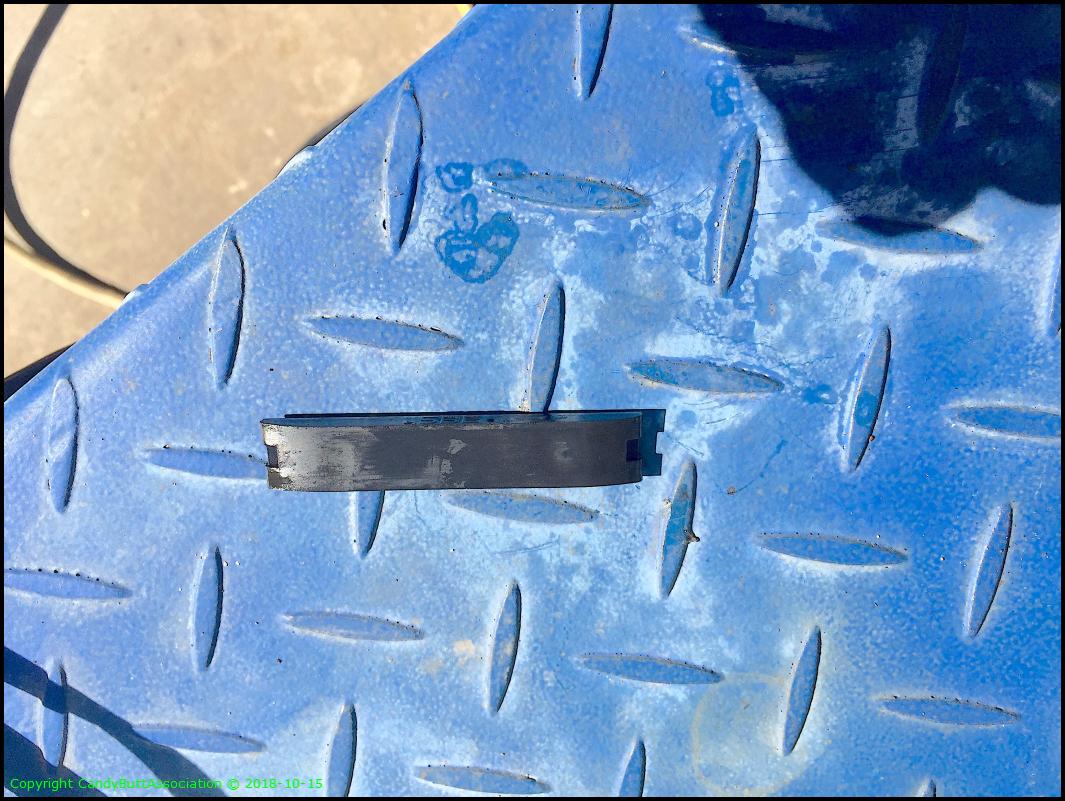
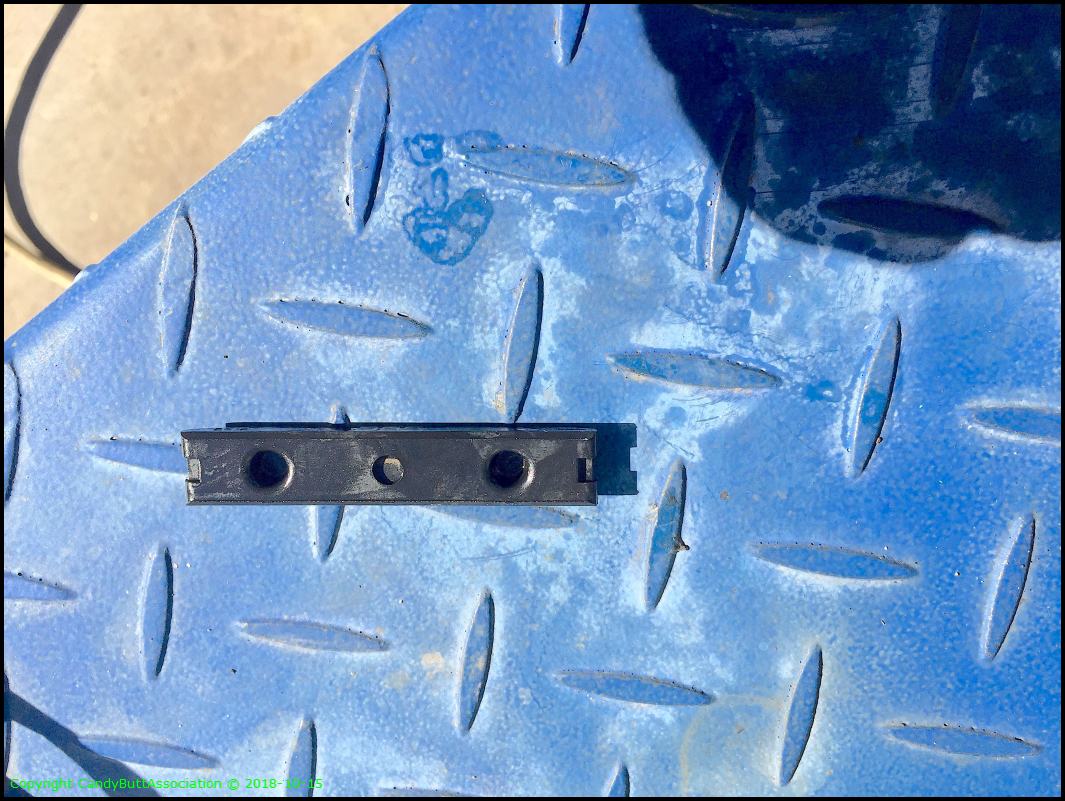
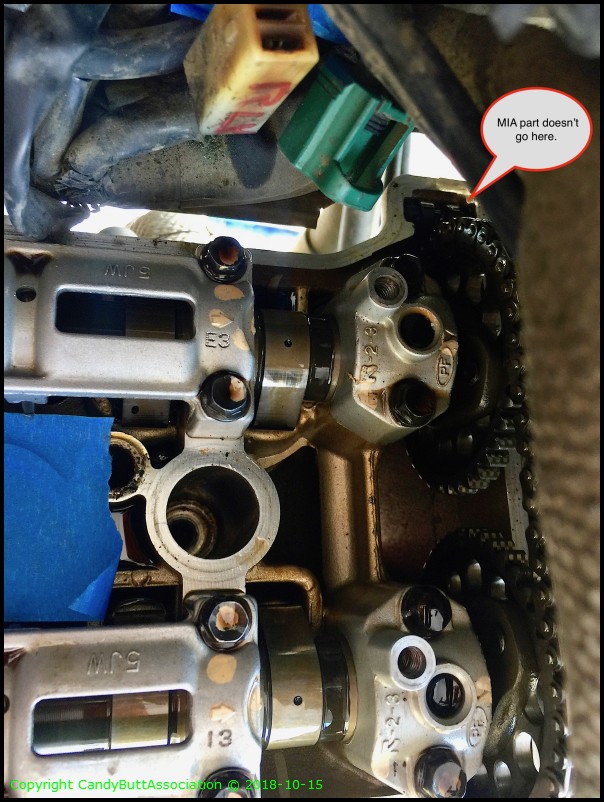
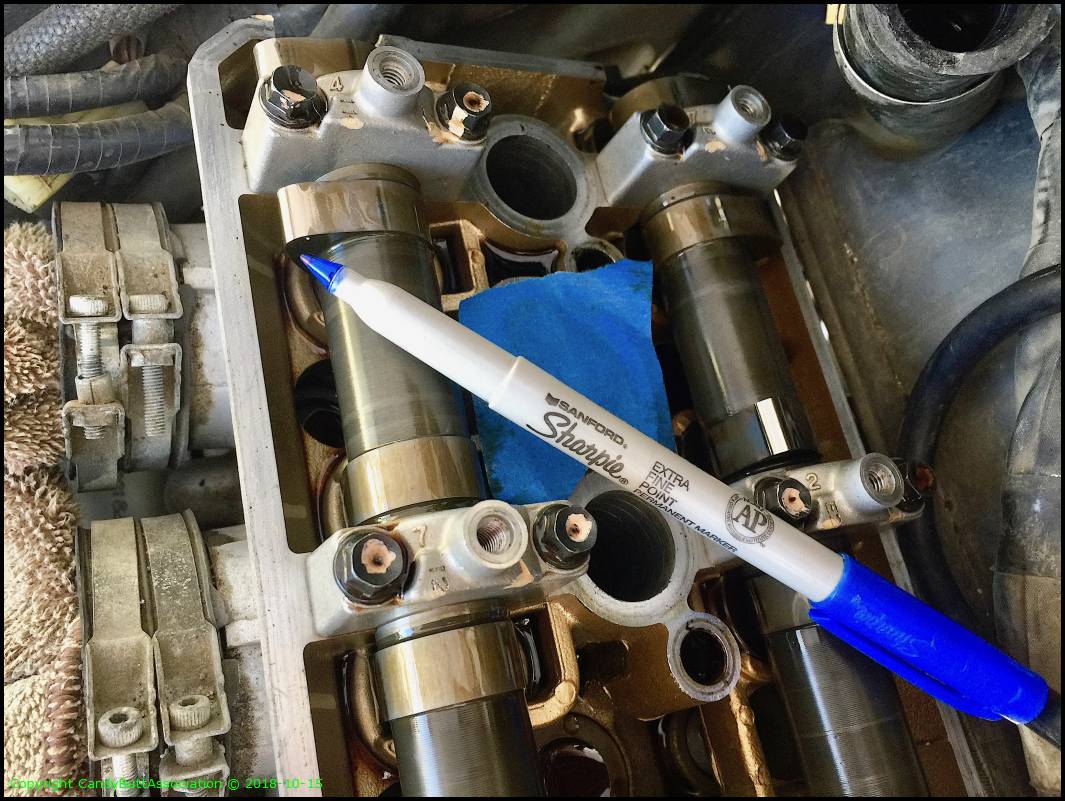
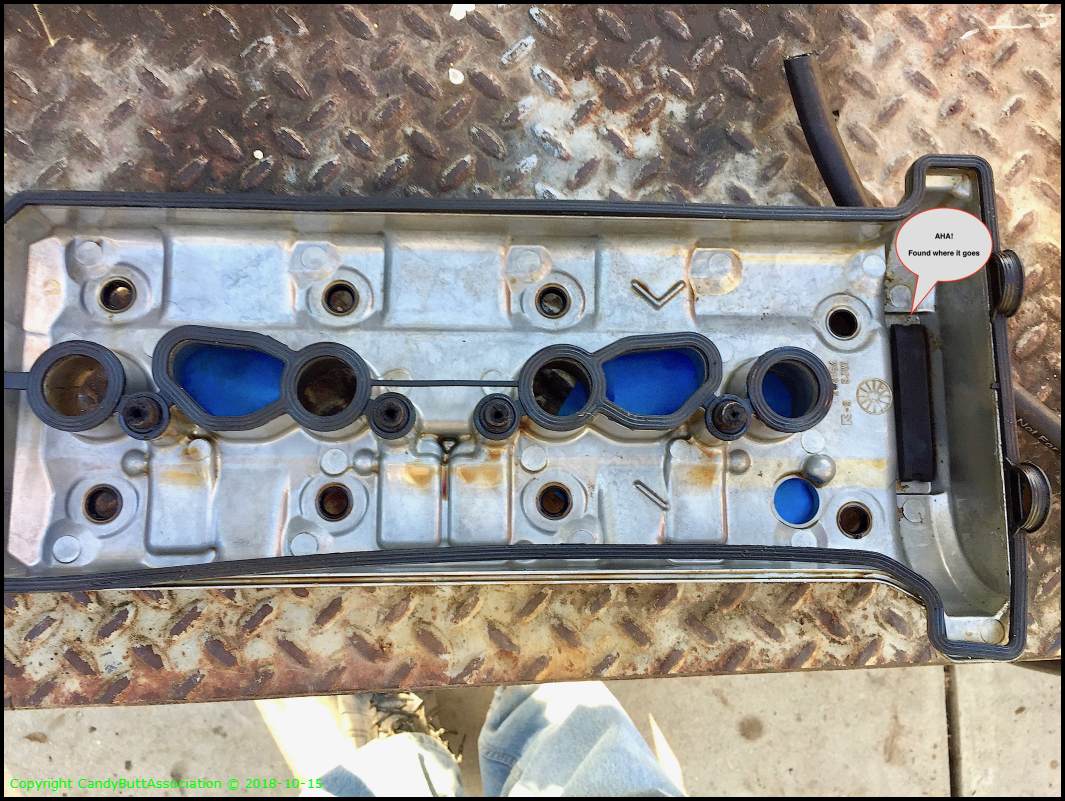
Well, Nucking Futs times2! Found this part on the lift after removing the valve cover. Where does it go? It looks like part of a CCT slipper. But where? It's not torn, or broken, and has only light rub marks so it's not in constant contact like the intake side slipper. At least that's my theory. Looked for about 5 minutes said screw it and continued on. Sometimes the answer is found somewhere else in the journey. But it's bugging me bad.

The other side.


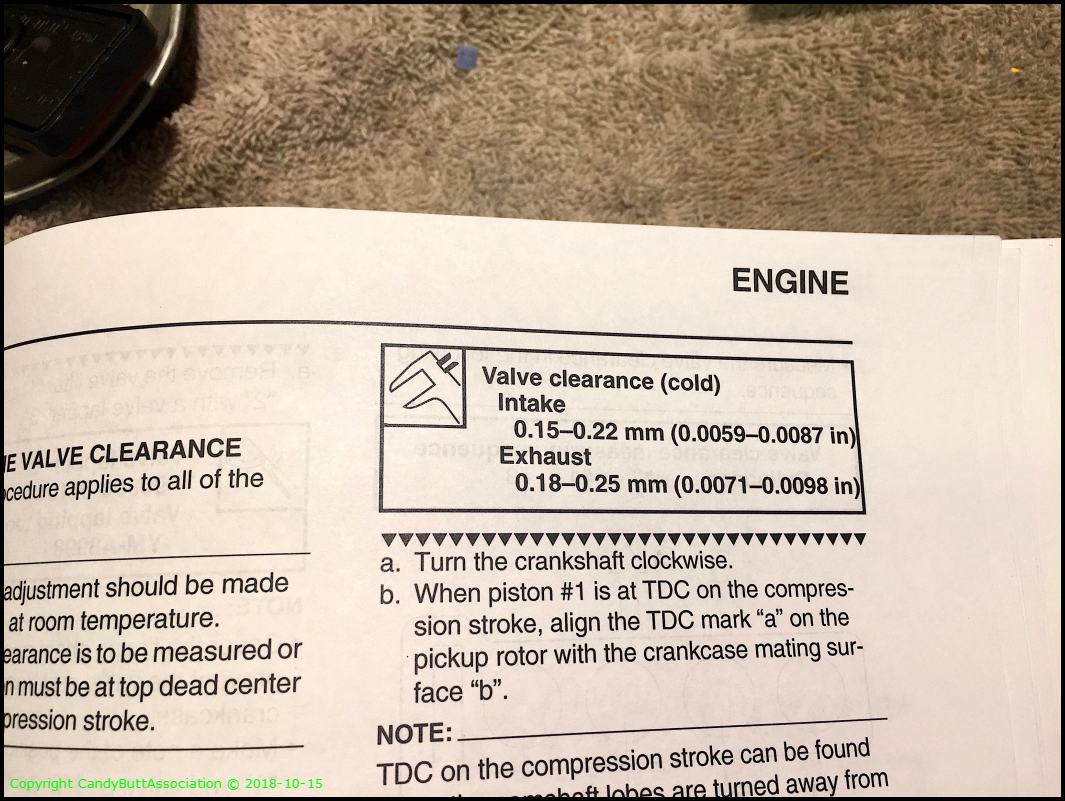
The specs for valve lash.


OK, this MIA part thing is driving me KrZy8. Poking and peeking at various locations.


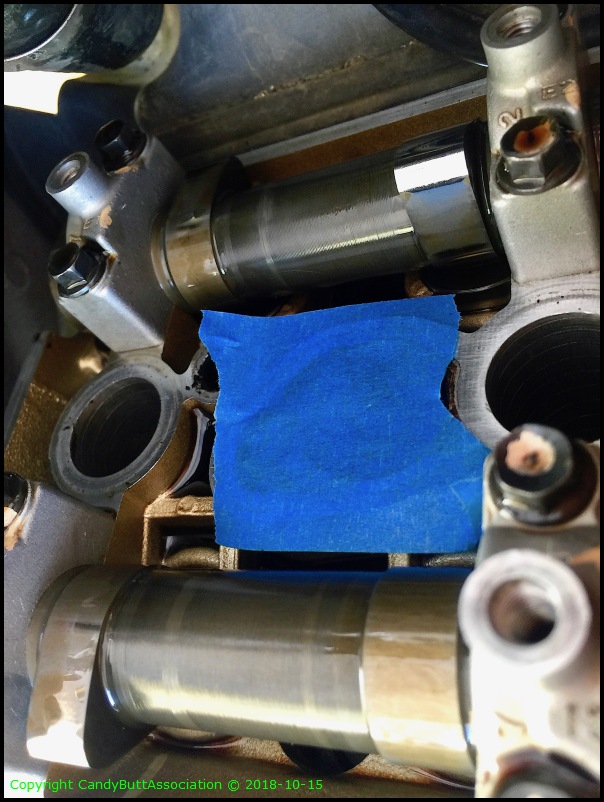
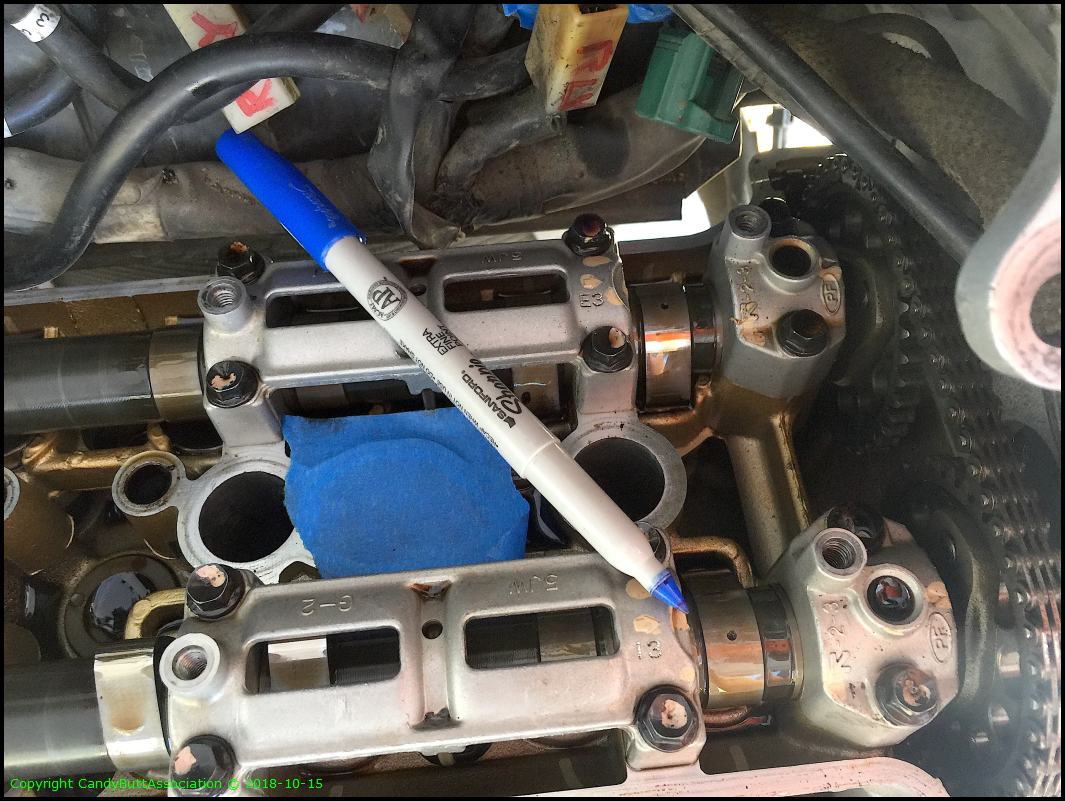
Got smart, Tx for the tip FjrFourm peeps, to cover the water inlet holes. In the nuclear world we called this Foreign Material Exclusion Area.


No joy, so continue on with lash checks. Two holes TDC on #4.


Lobes opposite each other.


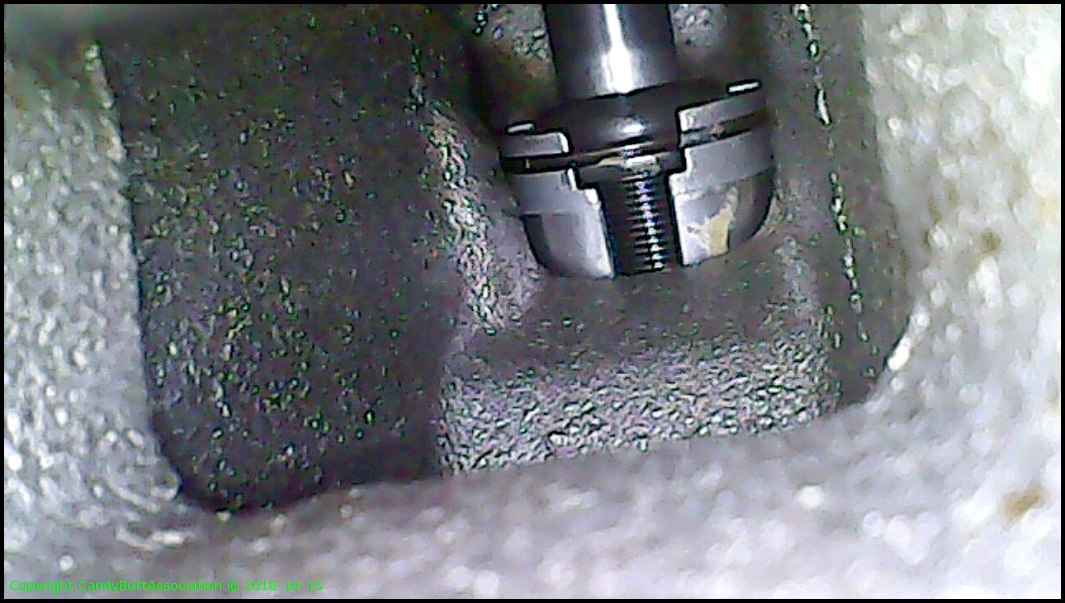
Damn It! Where DOES that MIA part go? Broke out the bluetooth endoscope. Here's the CCT guts.


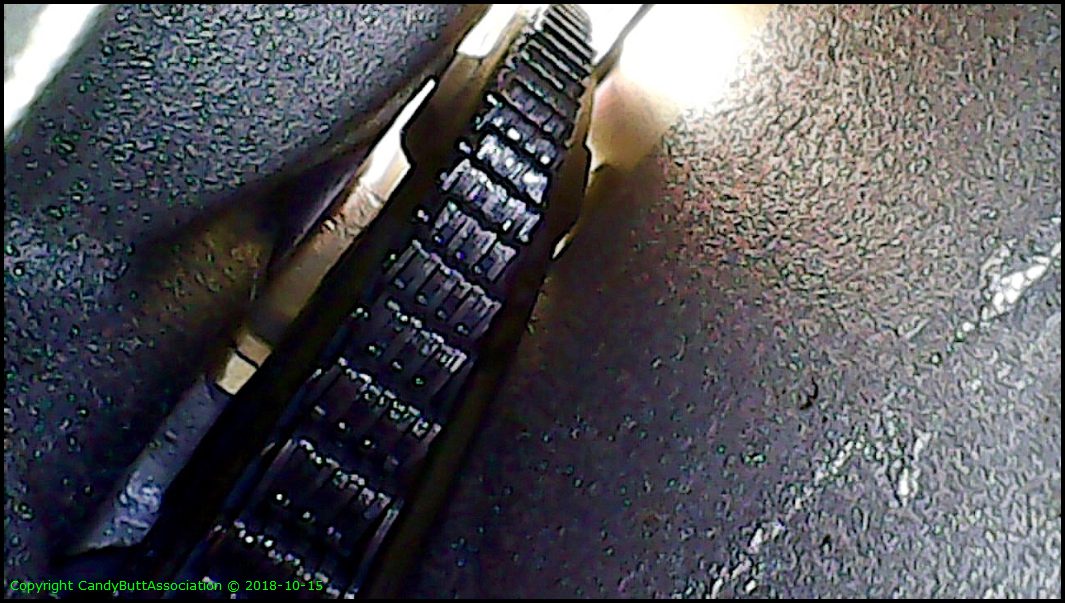
Cam chain tunnel. Doesn't look like MIA part came from here.


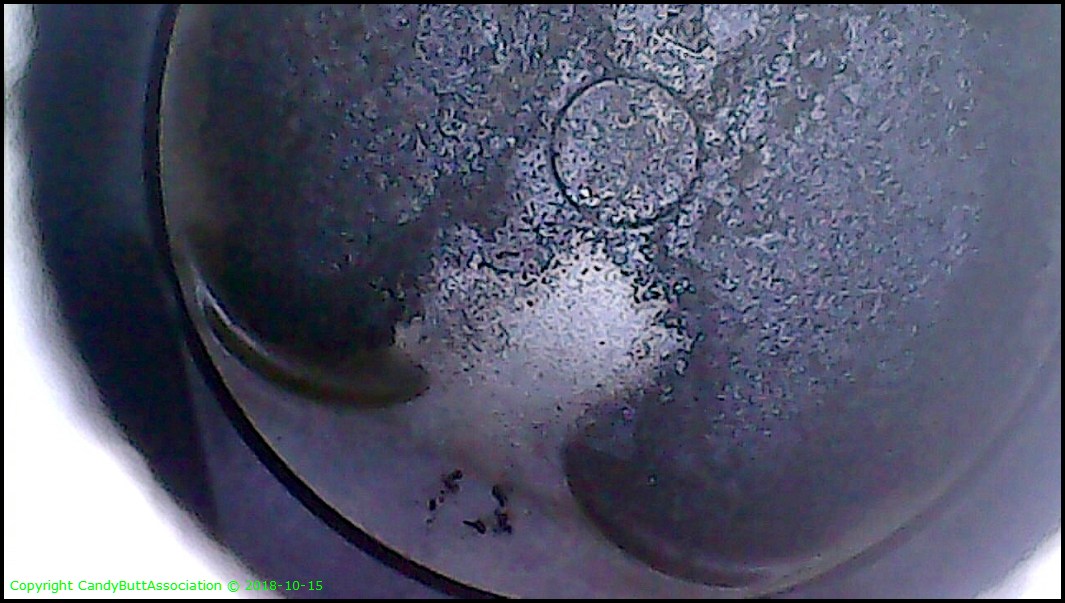
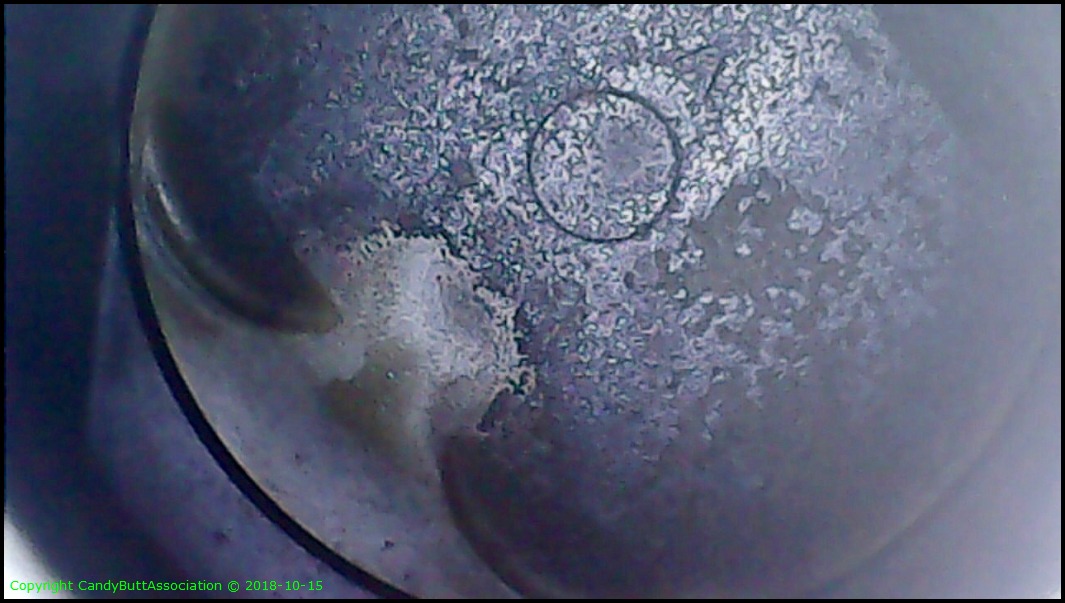
The endoscope is kinda coolio! Here's a piston crown.


And another one. It pays to use top-tier fuel with a dose of SeaFoam every 5 or so tanks.


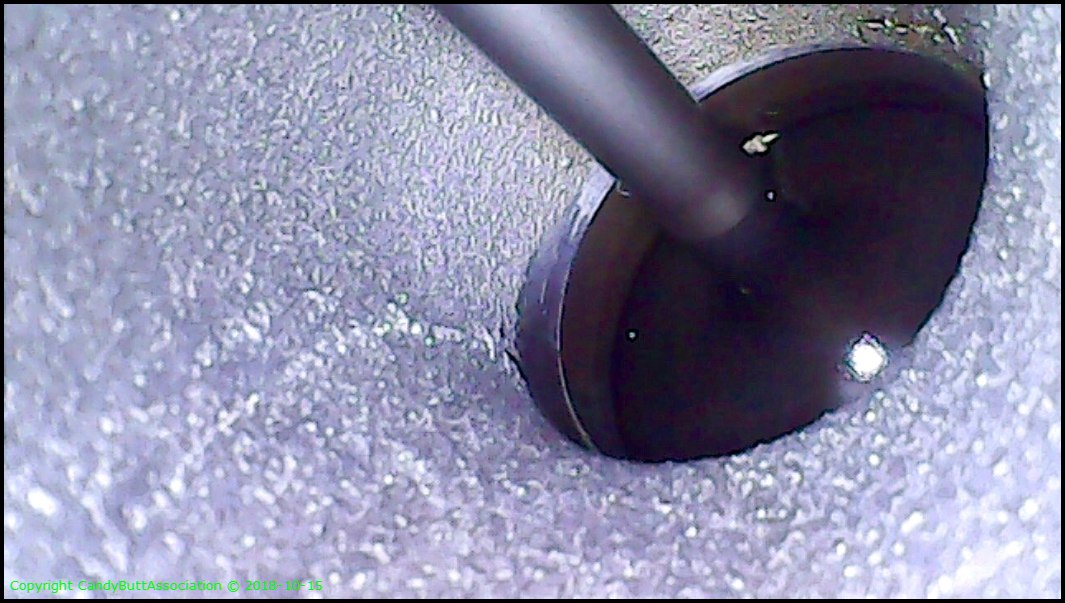
Valves look pretty too!


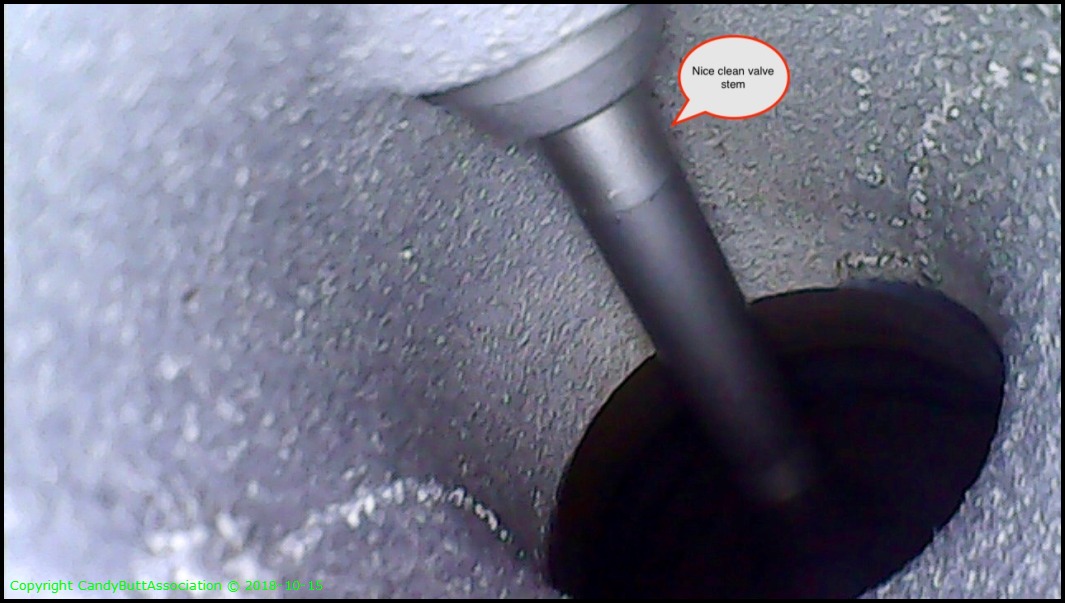
Hey Baby, wanna see my valve stem?


Aha! Found where the PITA MIA part belongs! Joy be to the world! All is good in the dCarver world again!

Sooo then, looks like I'll be lifting cams to make adjustments. Yamafitter used to have a most coolio Xcel spreadsheet. I need to find it.

And I'll deal with the CCT pin later.

Some questions, if I may ask for help?

  1. To release CCT tension, how is that done? Is it by twisting the internal screw? If so, CW or CCW?
  2. Any suggestions on how to get the CCT pin back in place?
 
KrZy8 Valve Clearances In LHS In RHS Ex LHS Ex RHS Cyl 1 .15T .15L .229 .203 Cyl 2 .15 .10L .203 .178 Cyl 3 .15 .10 .203 .203 Cyl 4 .10 .10 .203 .178 Spec .15 to 22 mm
.18 to .25 mm


.
 
Only ride /2 Bmw's that can have a valve adjust done, complete, in 30 minutes?
whistle.gif


'
And cost a fortune at the dealer
rolleyes.gif
rolleyes.gif


Top