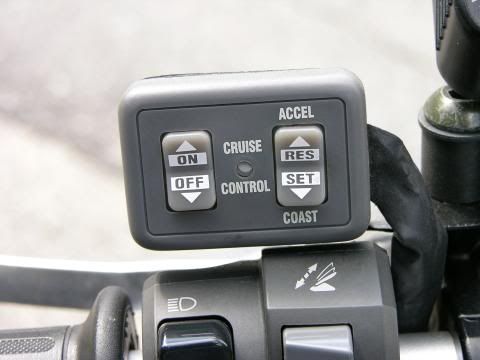
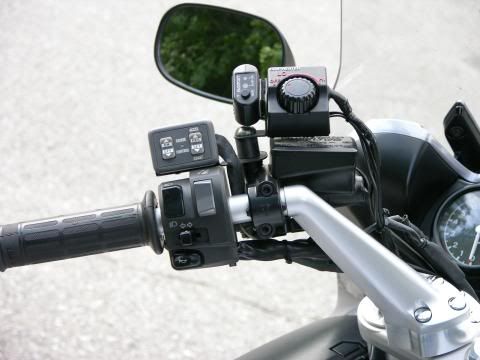
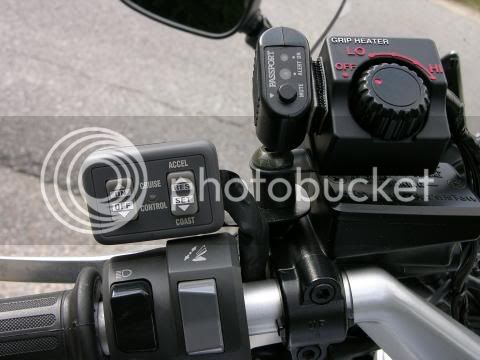
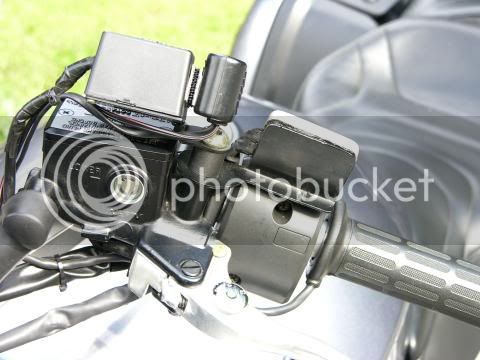
Funny thing. I was on this site and found the link to: https://www.fjr1300.info/howto/audiovox.html
I was reading this person's post and thought it would be awesome to have CC on my trip to alaska. Then sent it to a friend asking if I should do it. We both immediately agreed that I dont want my brand new $14k fjr looking all ghetto-ass with some shelving bracket for mount. (not knocking the author as he did the best with what he had.) Since then I have found Skyway's beautiful mounting bracket, and I am going to go through with this. But before I start tearing into this blue beauty, I would like to get some insights from some folks that have already sailed these waters.
What went good? what went bad? what should be changed?
Any suggestions would be greatly appreciated.
BTW- while you are posting a reply, I think I am going to take the 'ol Iron Stallion out for a gallop!