I halfway installed the telescopic hi-lo head lamps today, just installed the bulbs and wired up the rest temporarily for testing purposes (to make sure I wanted to finish the install) then took some pictures of the head lamp beams. I had also taken some pictures 2 days ago of the halogen beams from the same spot in my driveway. However, be aware that I think the bike was pointing a bit to the right in the HID pictures. Here they are:
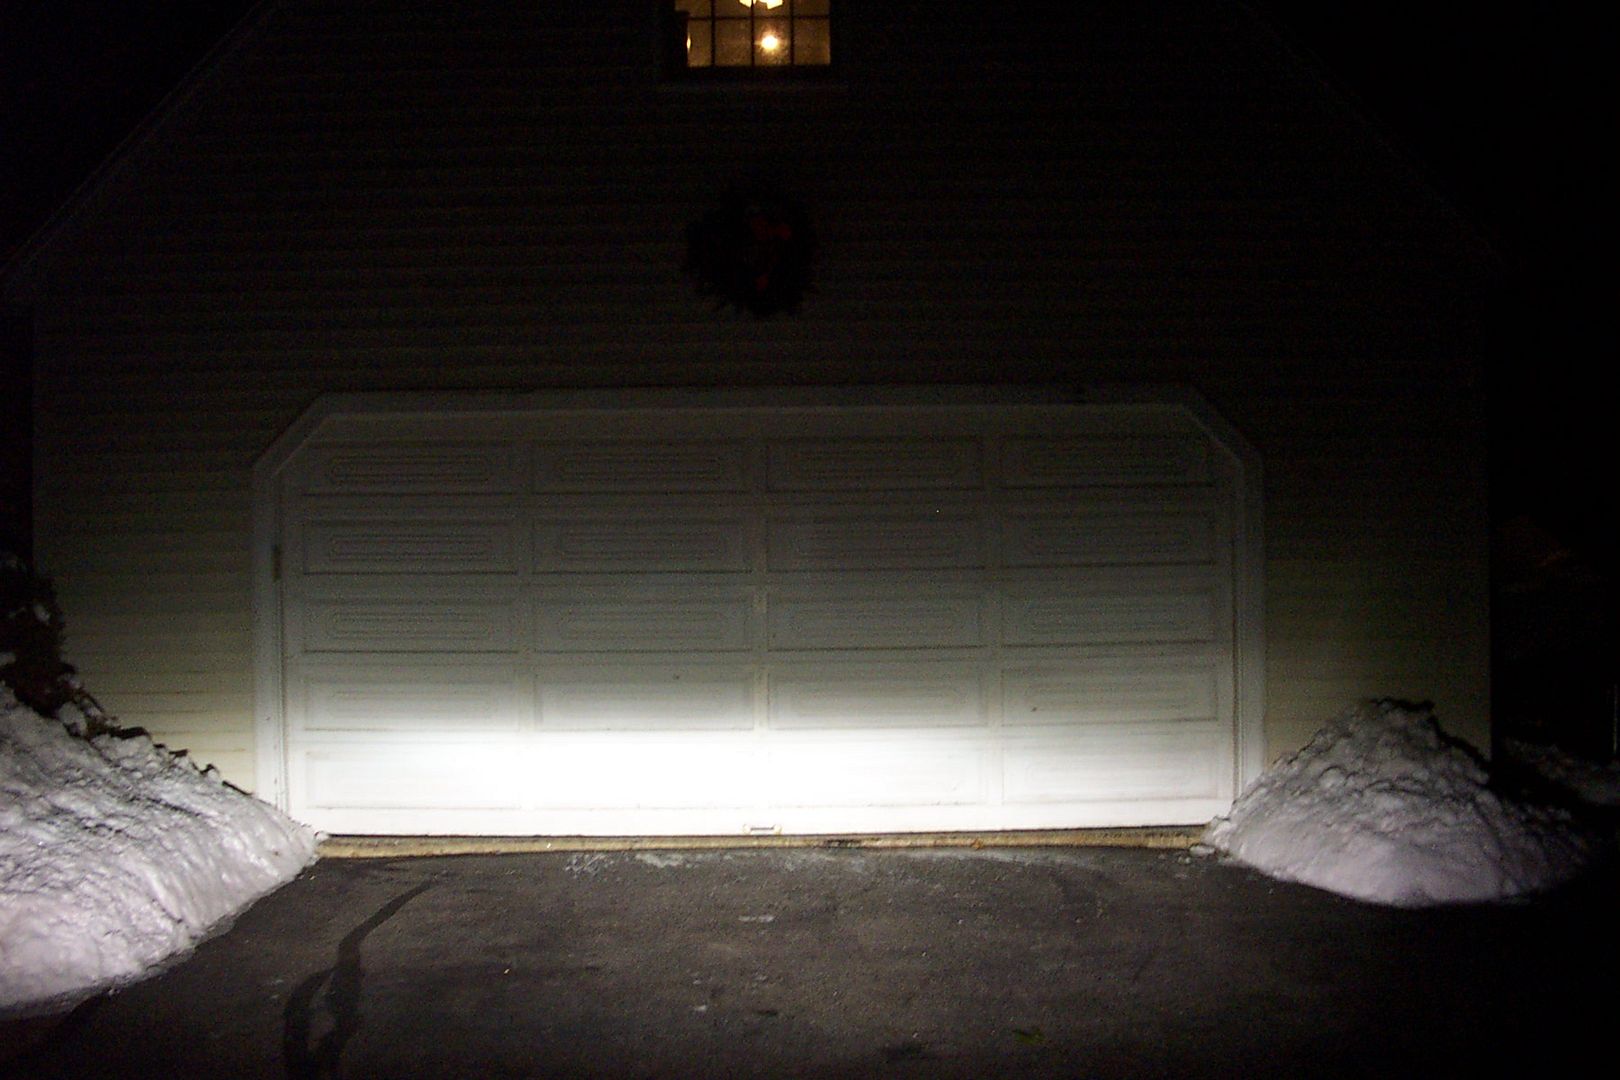
The first 4 pics are taken from the same spot, 25 foot from the door, which is where I usually align my headlights from
Halogen Low Beams:
Halogen High Beam:
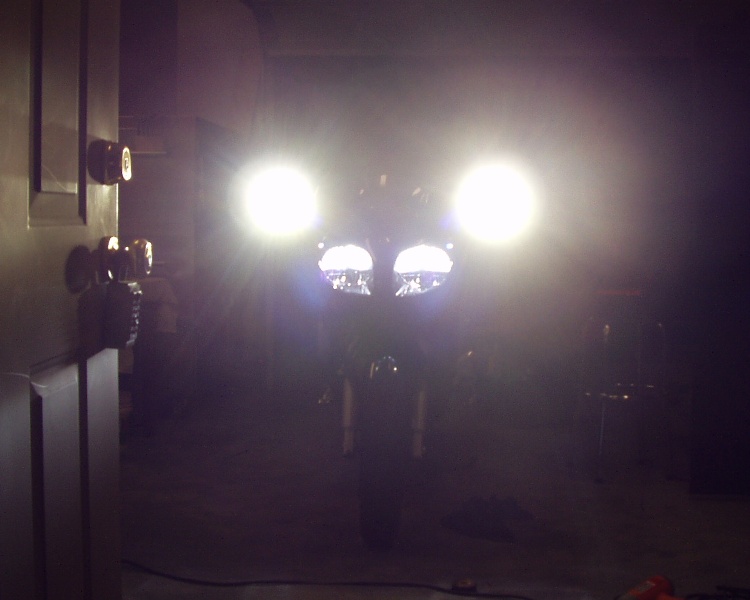
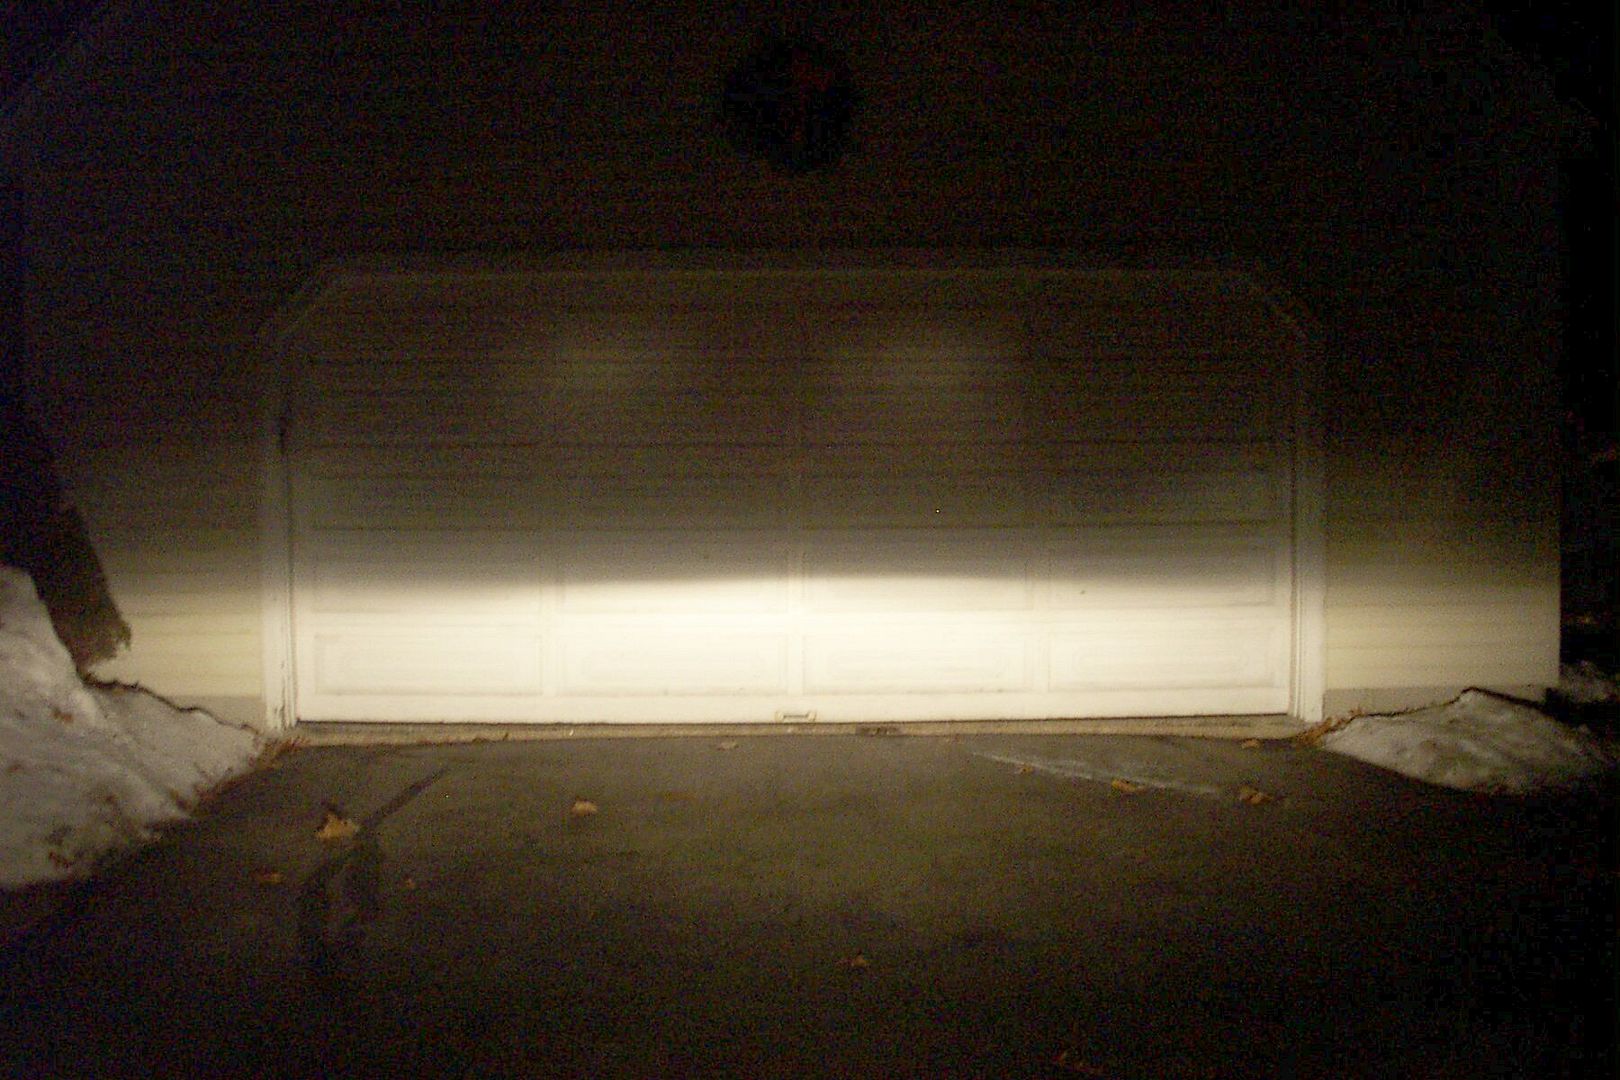
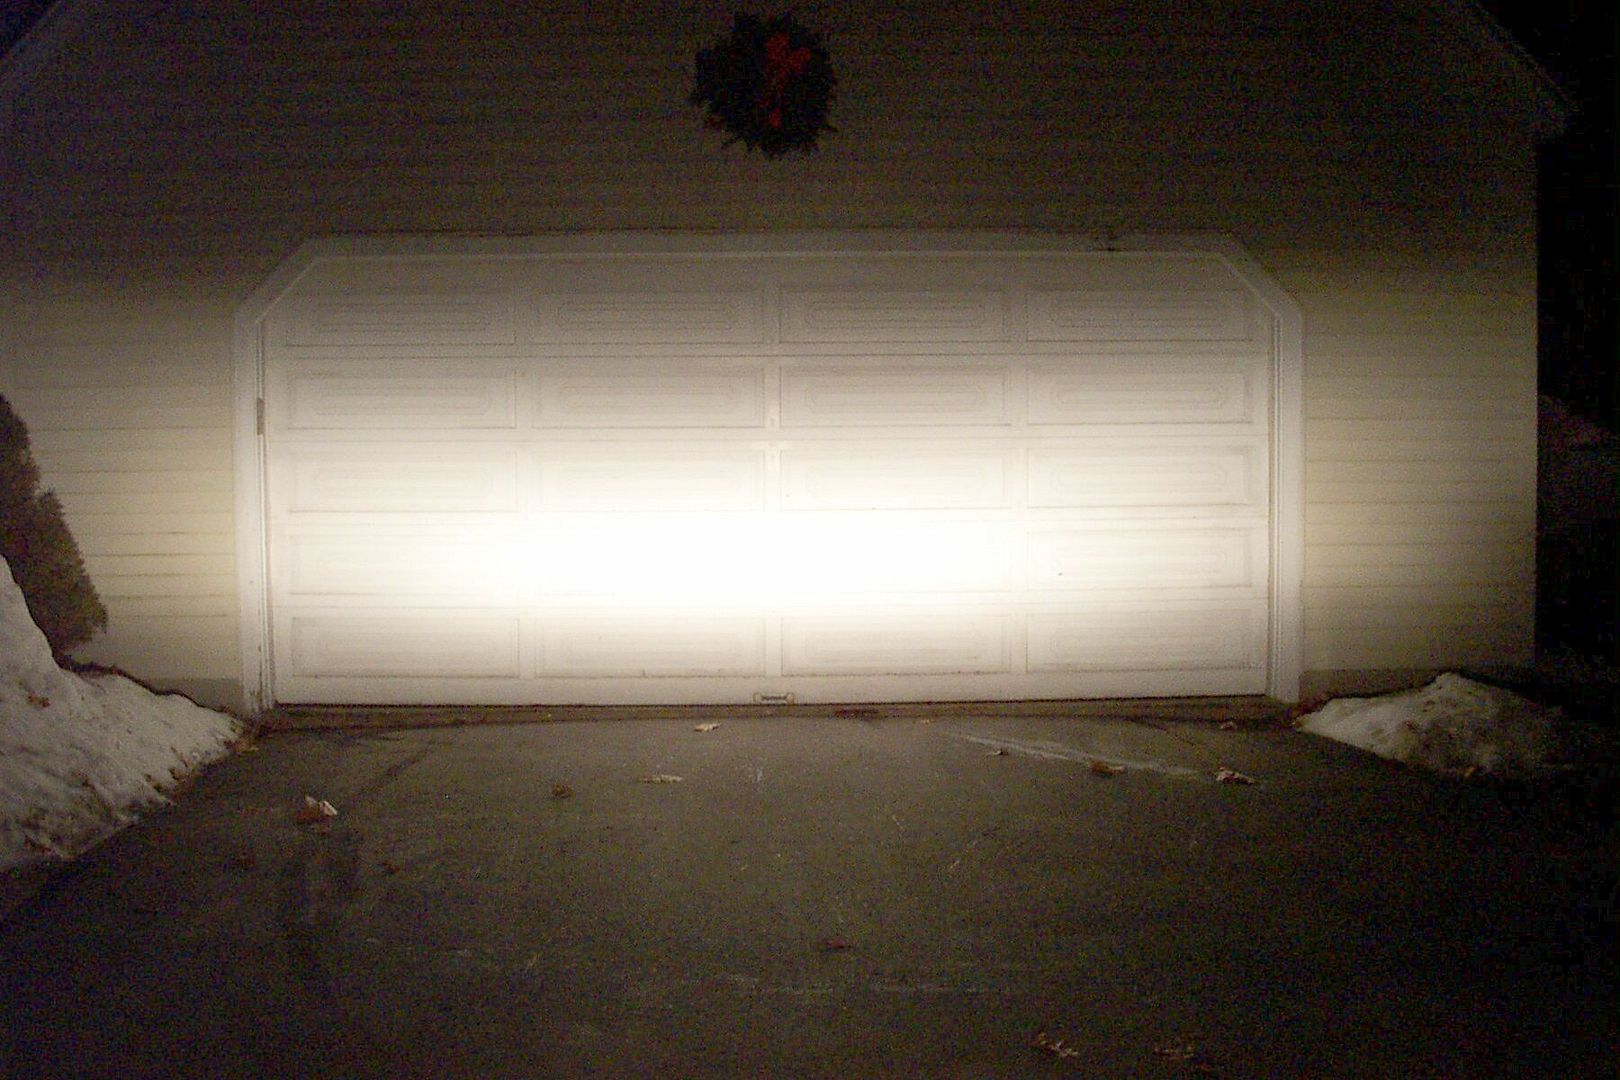
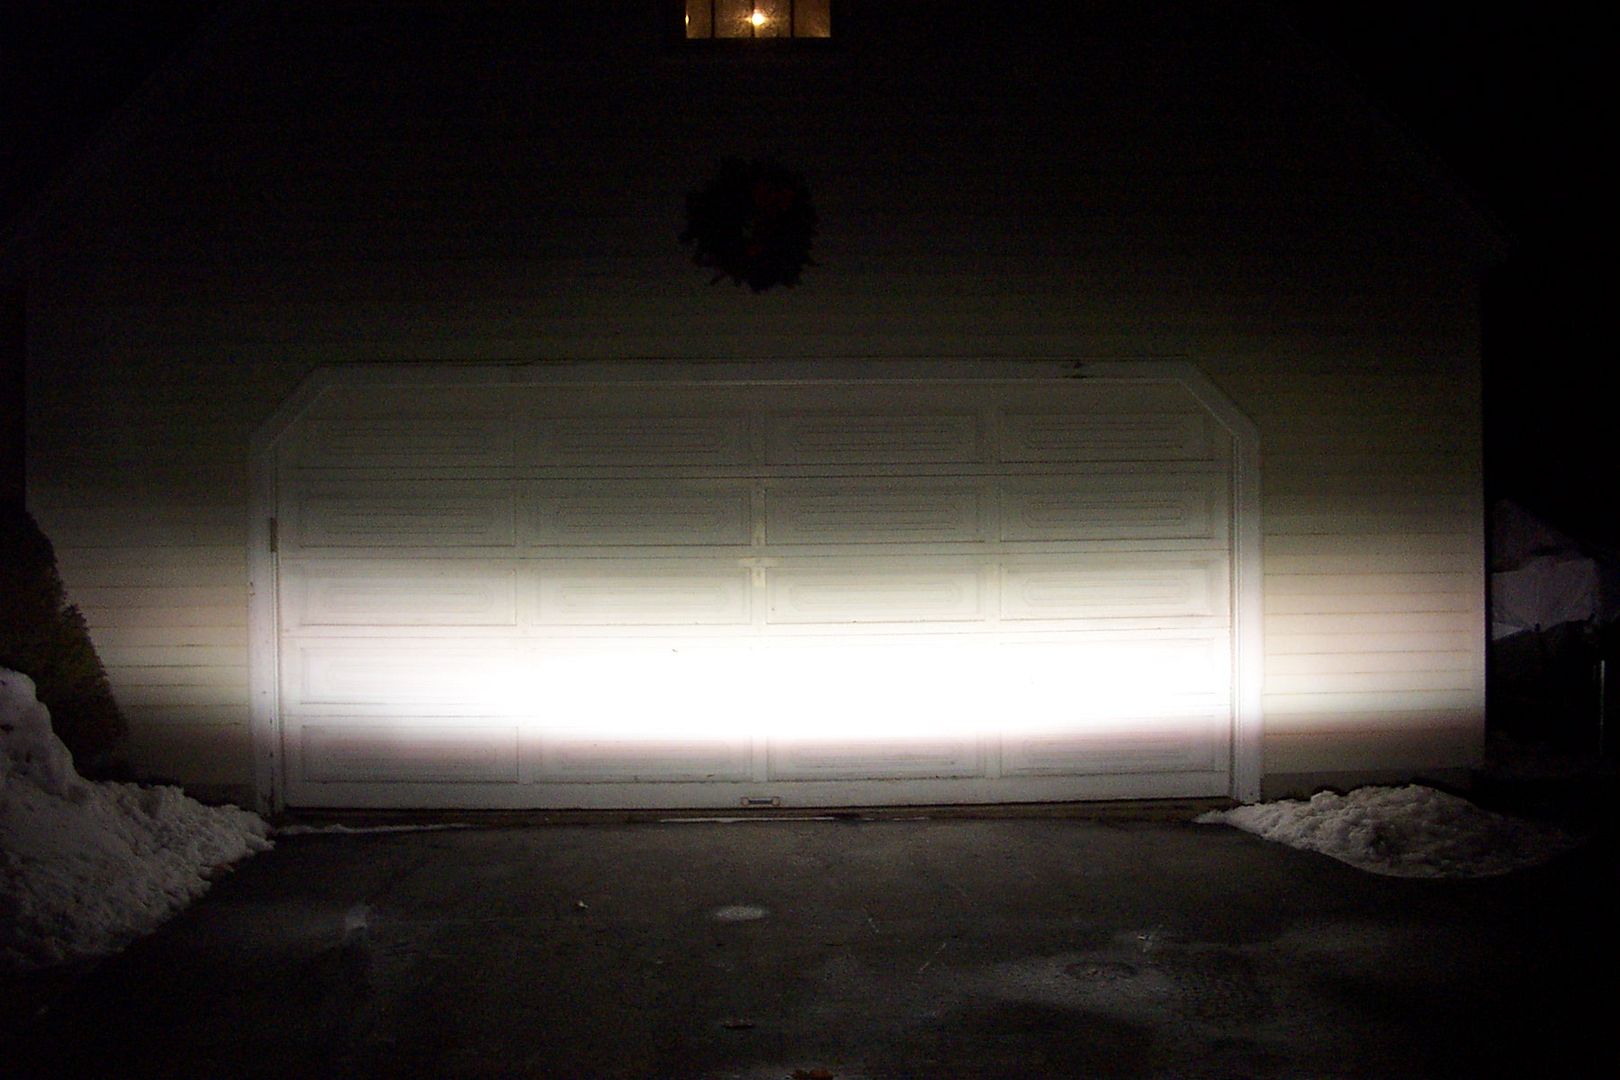
Now the HID Low Beams:
And HID High Beams:
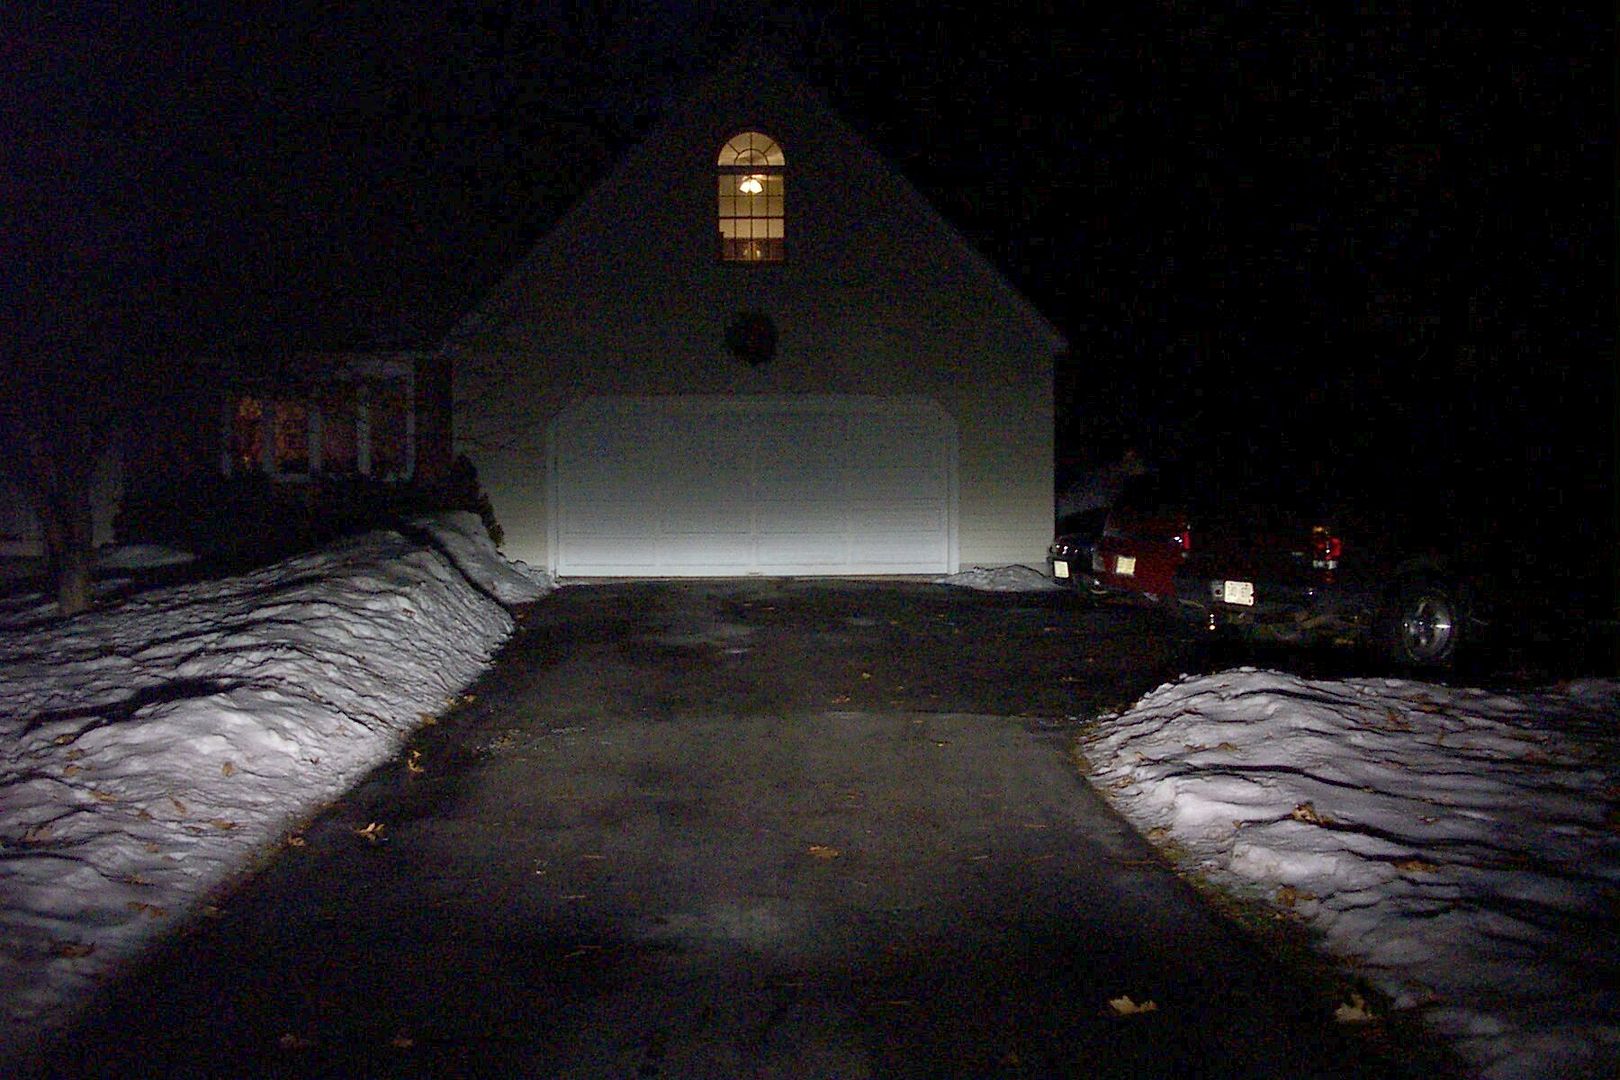
When I saw how sharply the bottom of the high beam is cut off I was initially dismayed. I thought that I should have some fill light in the foreground as well as the high intensity light being thrown down the road. But then I figured that 25 feet is not really a reasonable test distance of how the high beams would perform in the real world, so I backed up further from the wall to approximately 75 feet. Unfortunately, I don't have any halogen pictures from that distance.
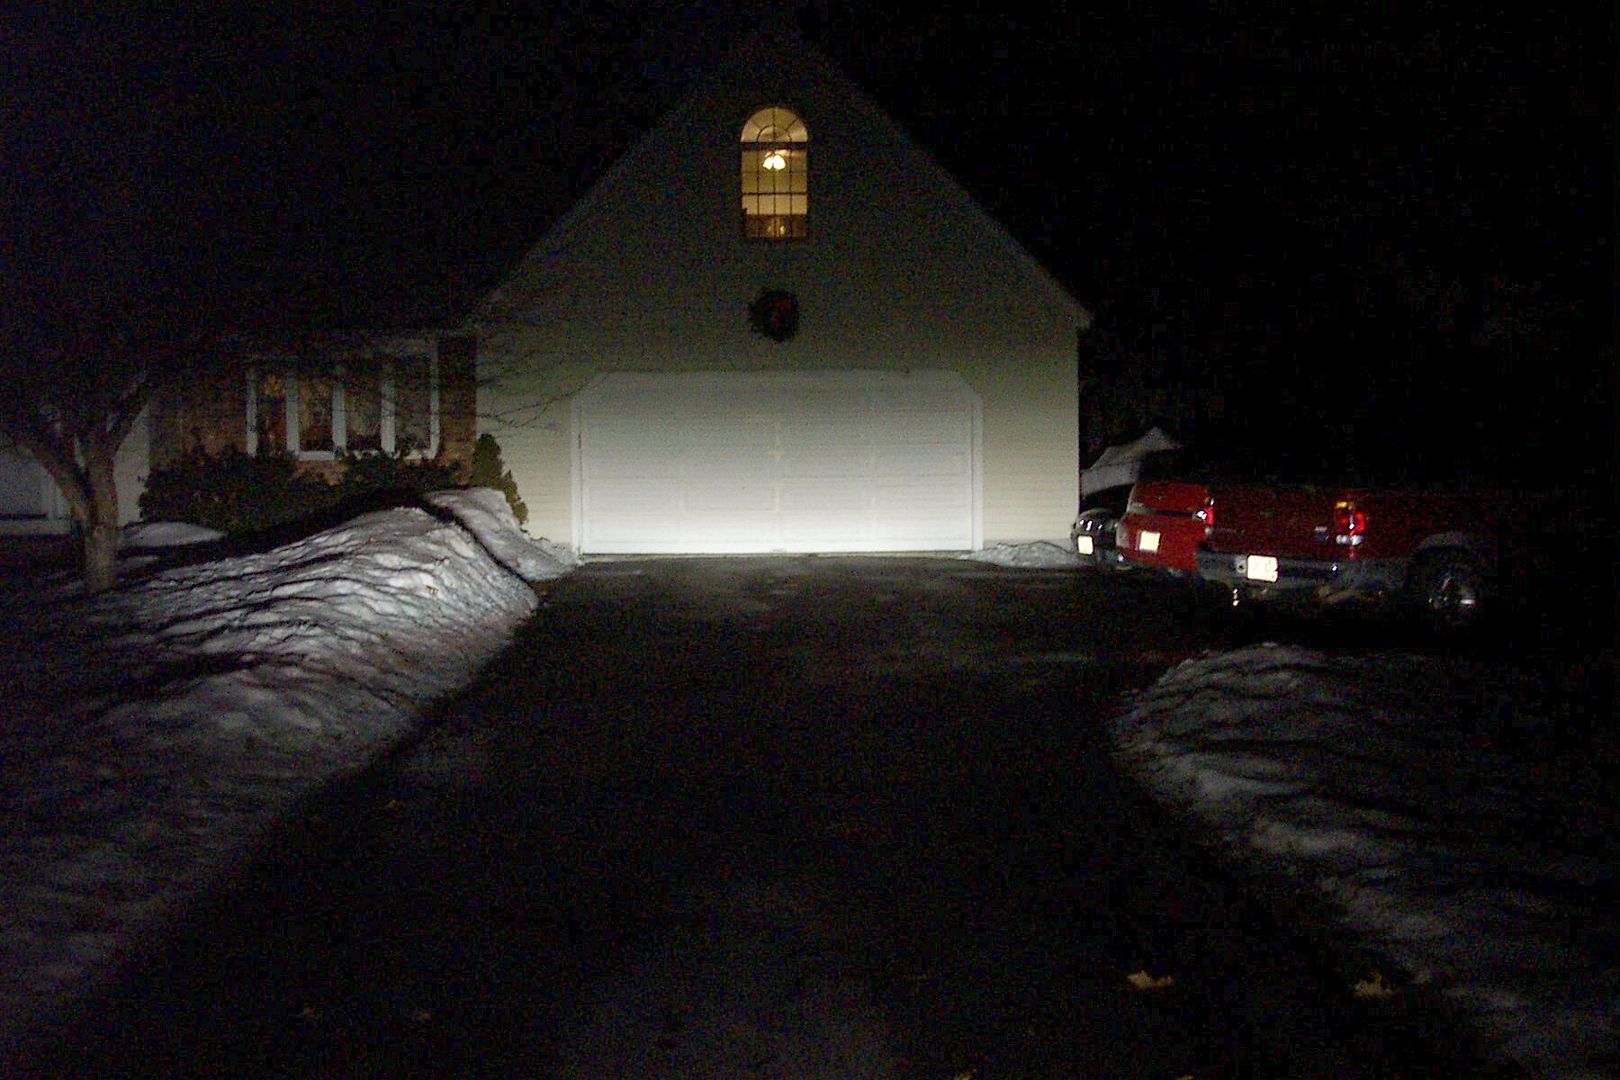
HID Low Beams from ~75 feet
HID High Beams from ~75 feet
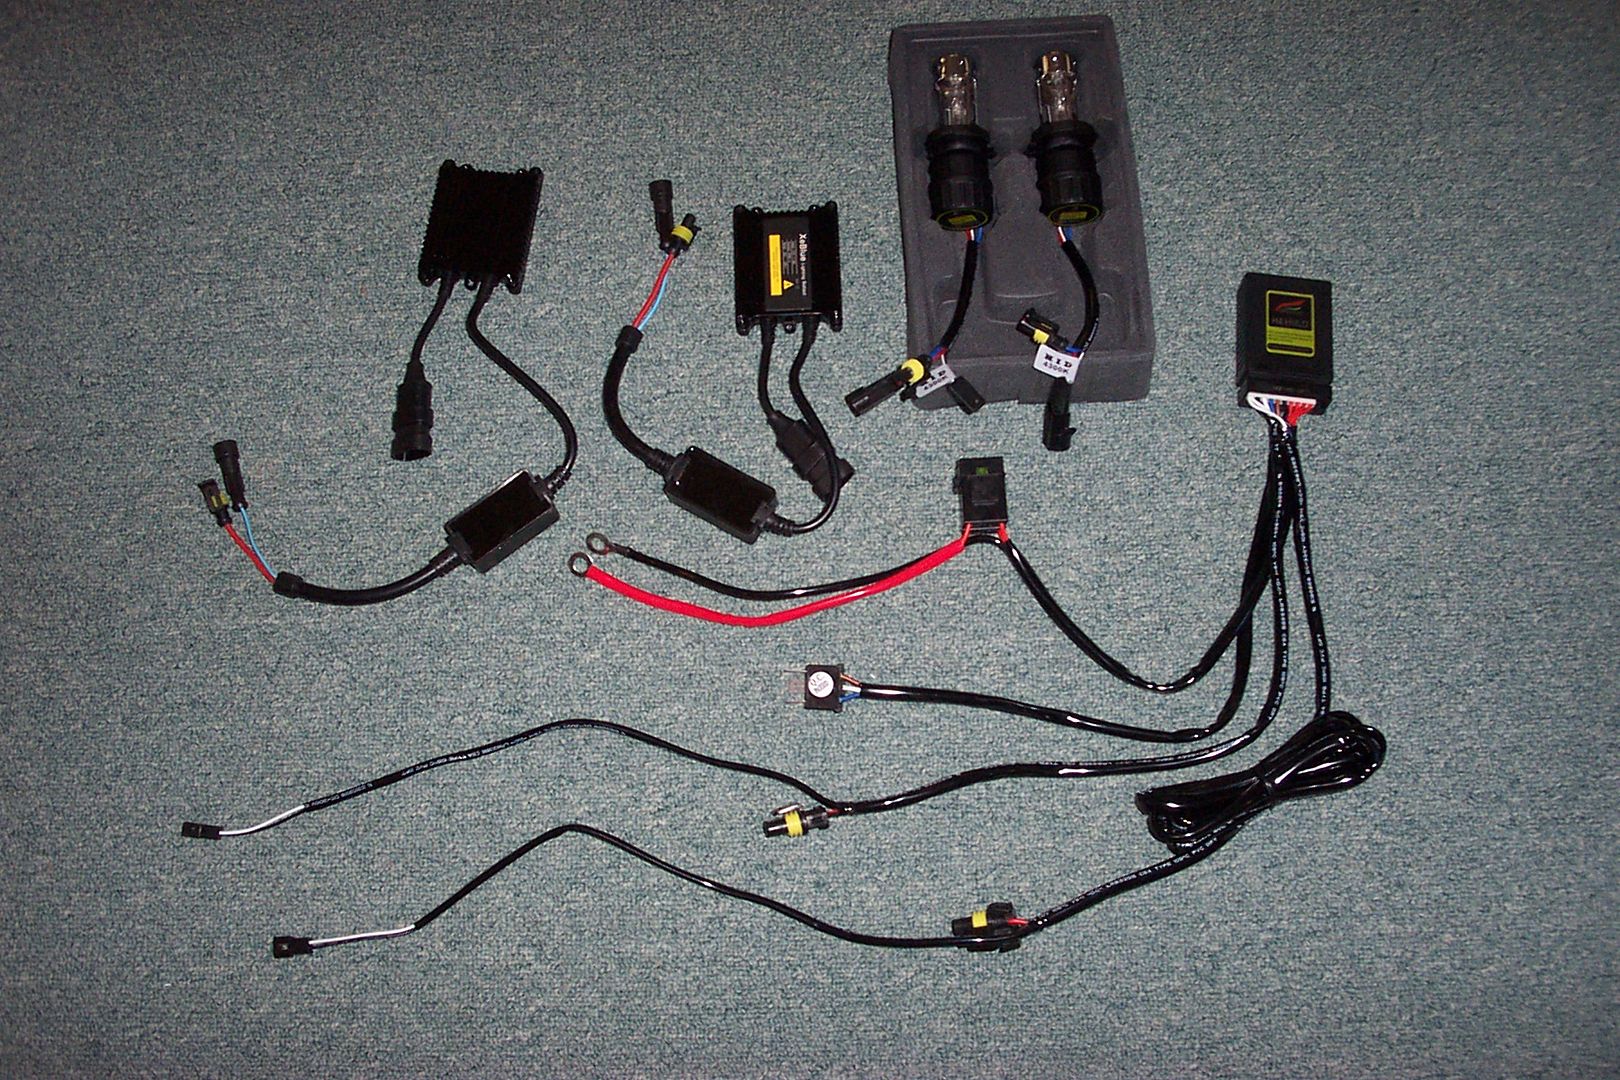
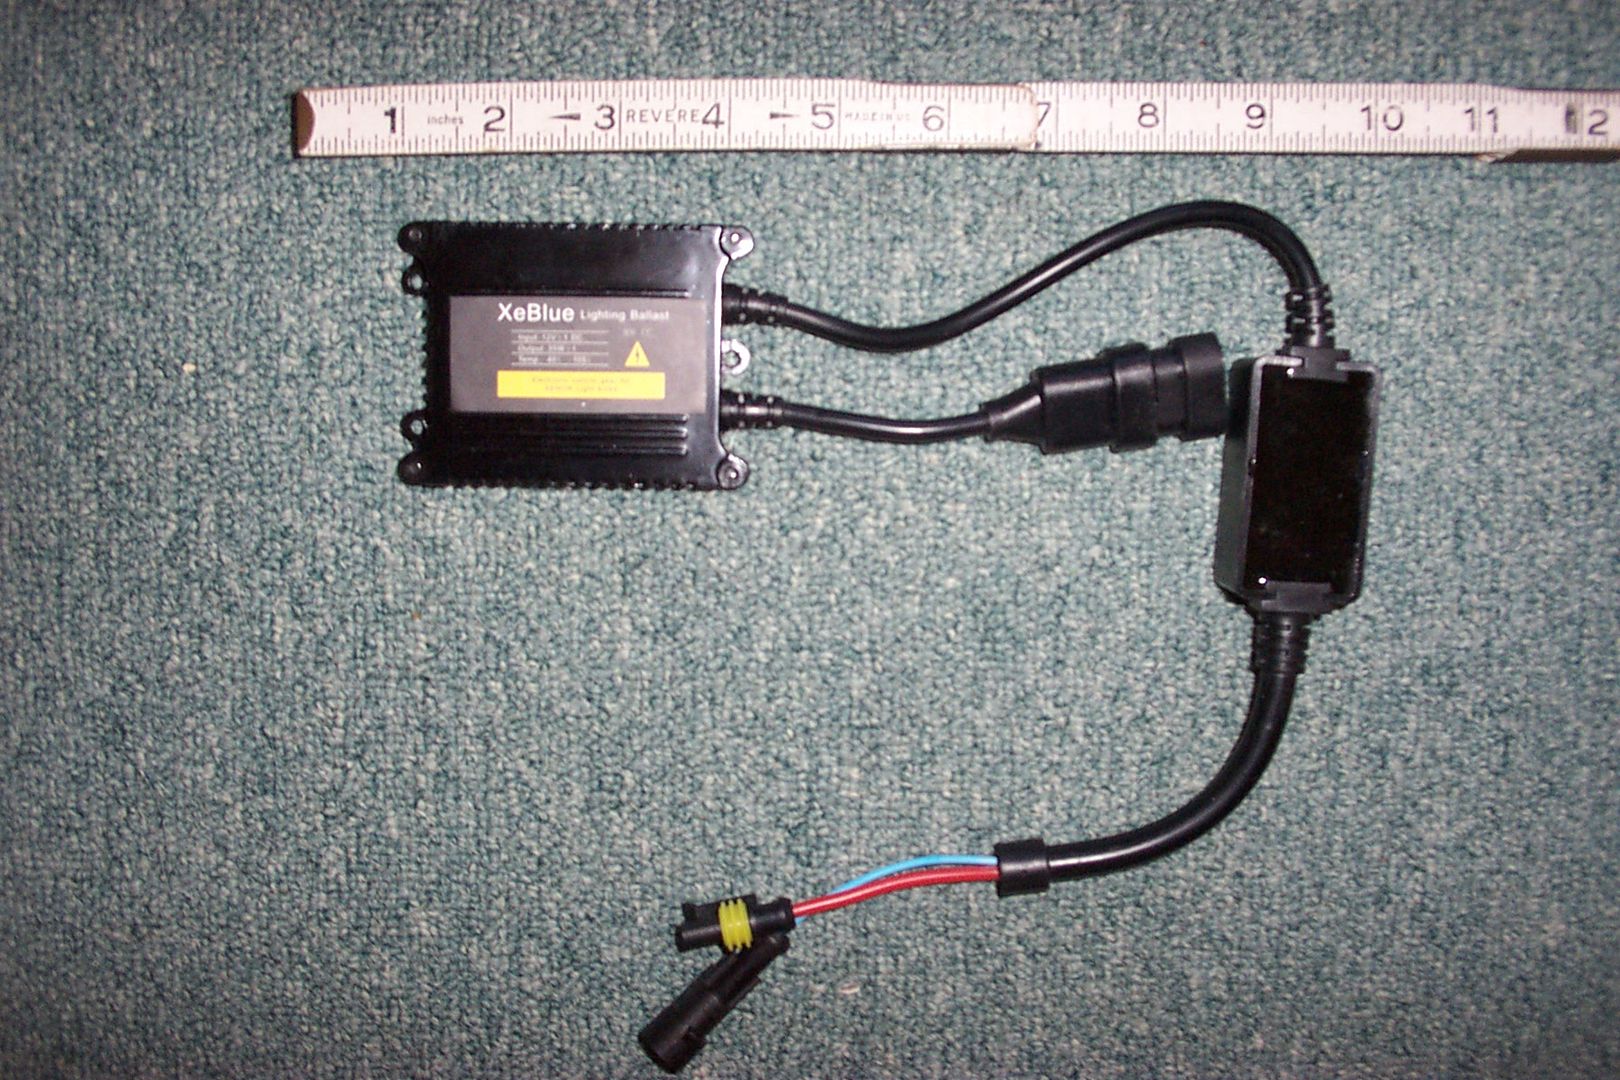
To complete the install I need to find some places to stash all the wiring, ballasts, ignitors and the relay control box. That is going to be kind of tricky without removing the whole nose of the faring. How tough is it to remove the nose? I could do a nice job sticking down the boxes and tying down the excess wiring with the nose removed.
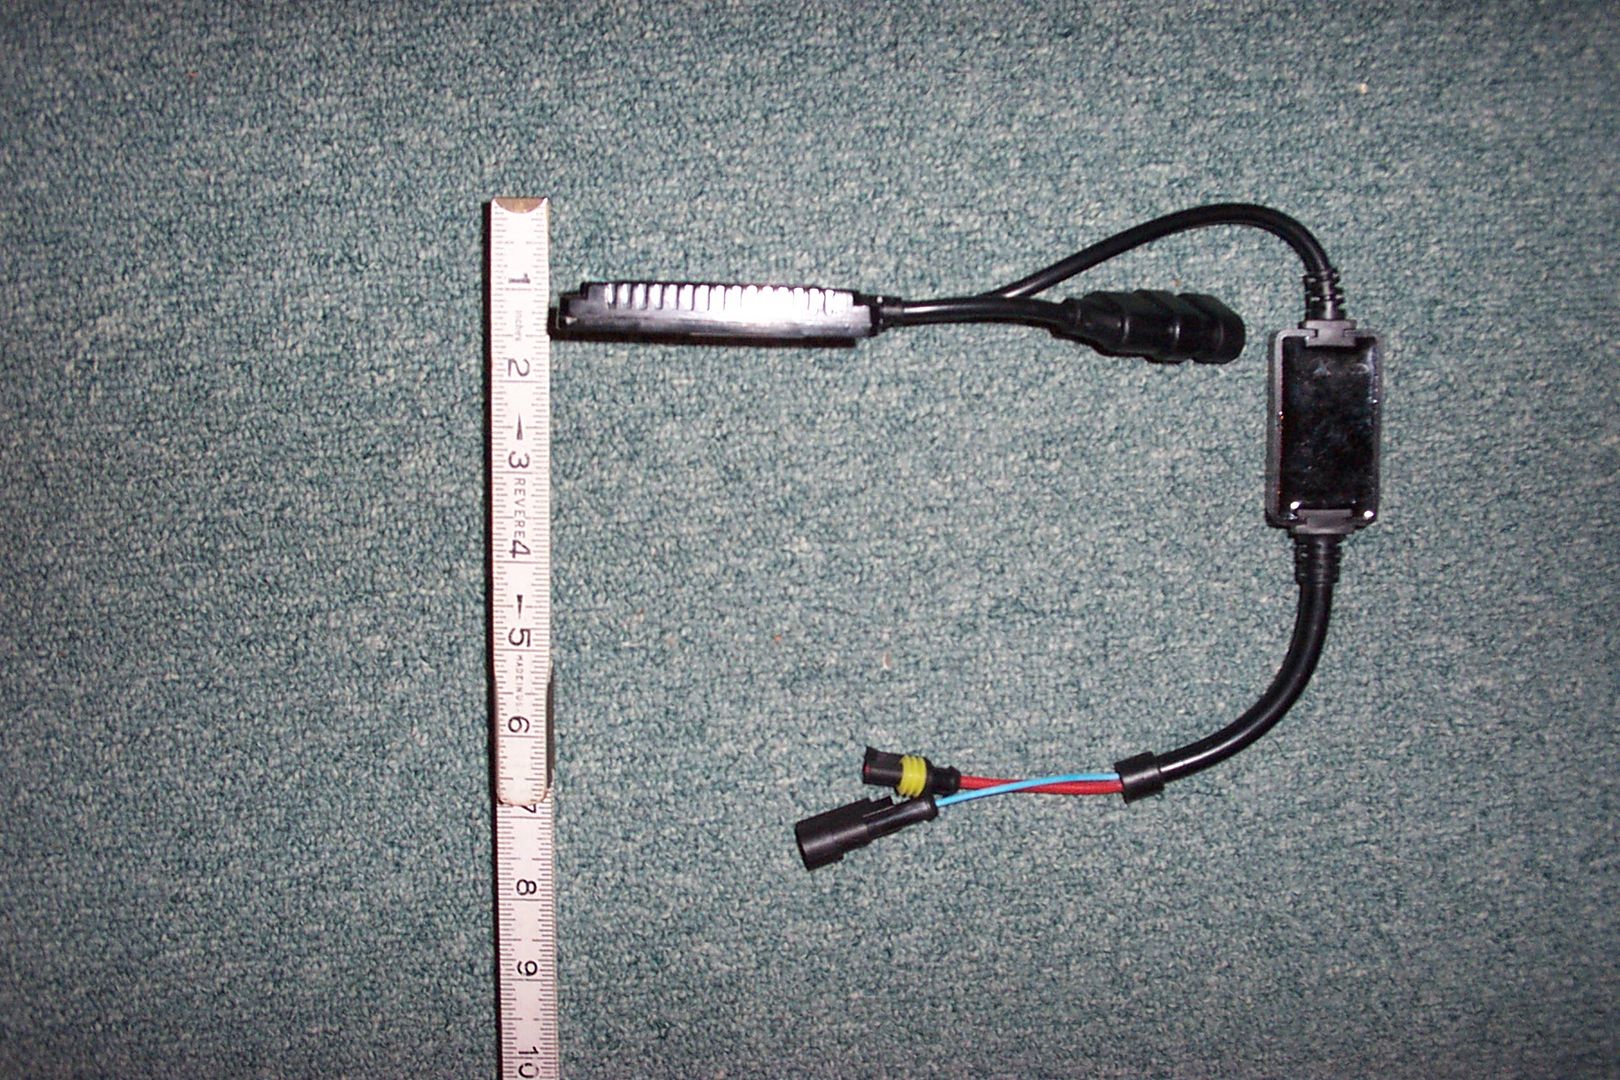
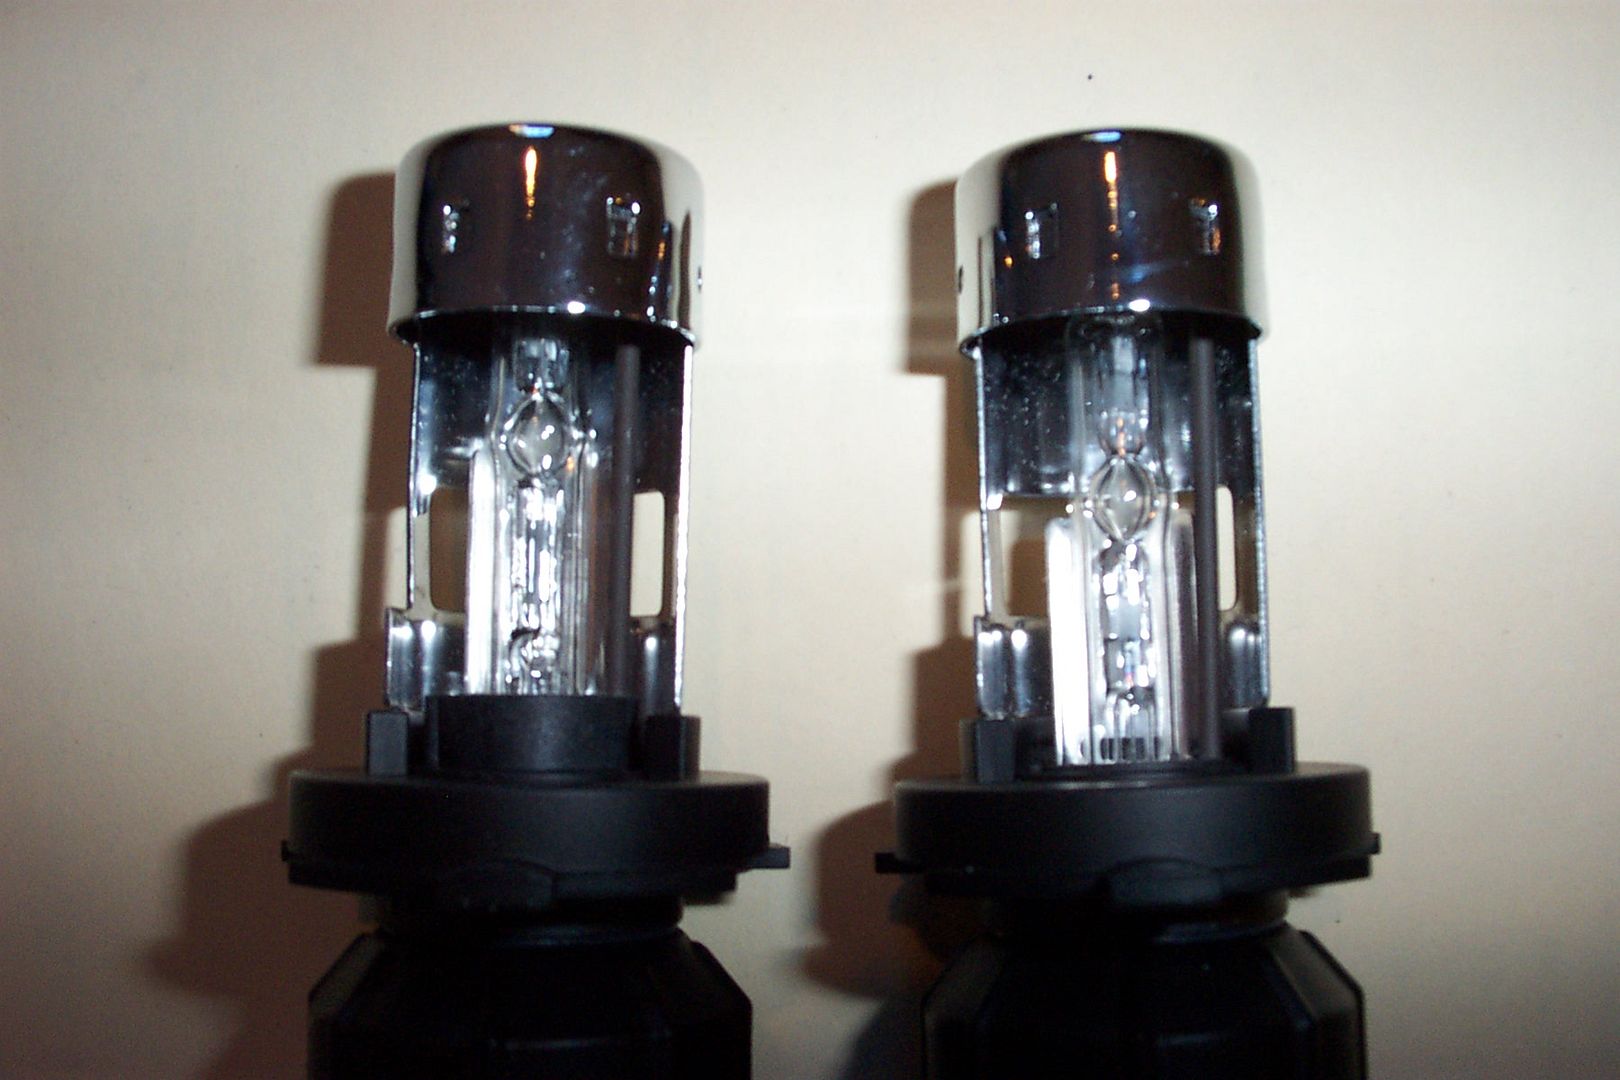
I did have to trim the rubber boot around the head lamps as the diameter of the solenoid is considerably bigger than an H4 bulb, but I managed to get a nice tight seal around the solenoid so I shouldn't have any problems with contamination in the headlamp assembly.
Lucky for me I still have another month or two to finish this up before the weather gets half way decent and the crap is off the roads. :angry2: