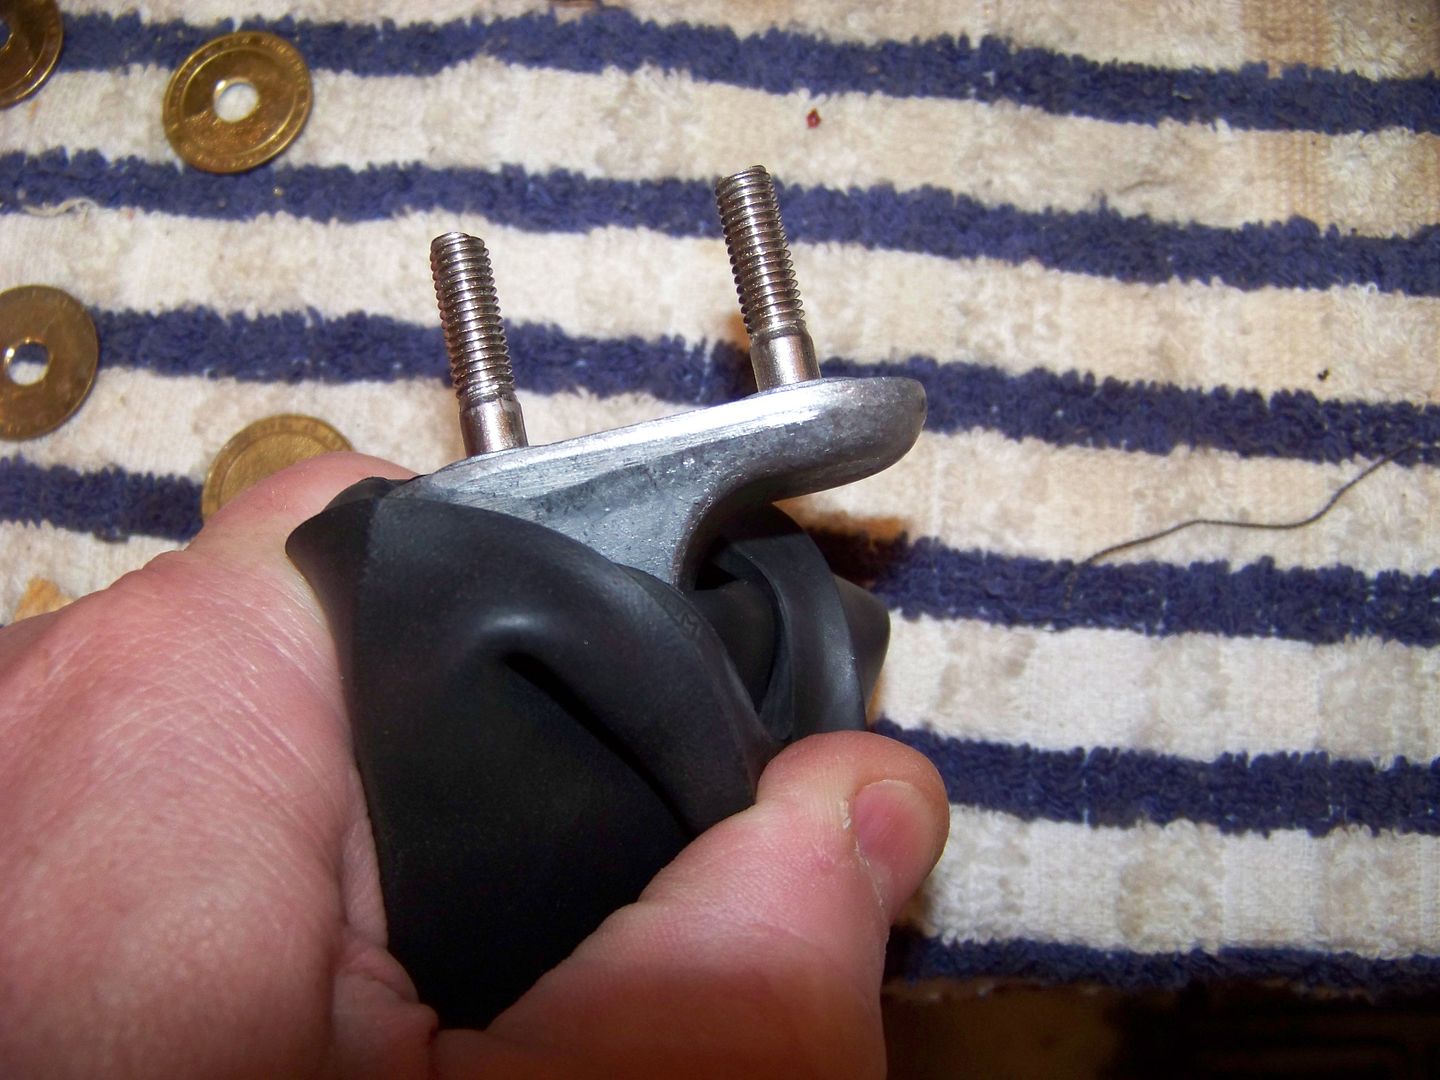
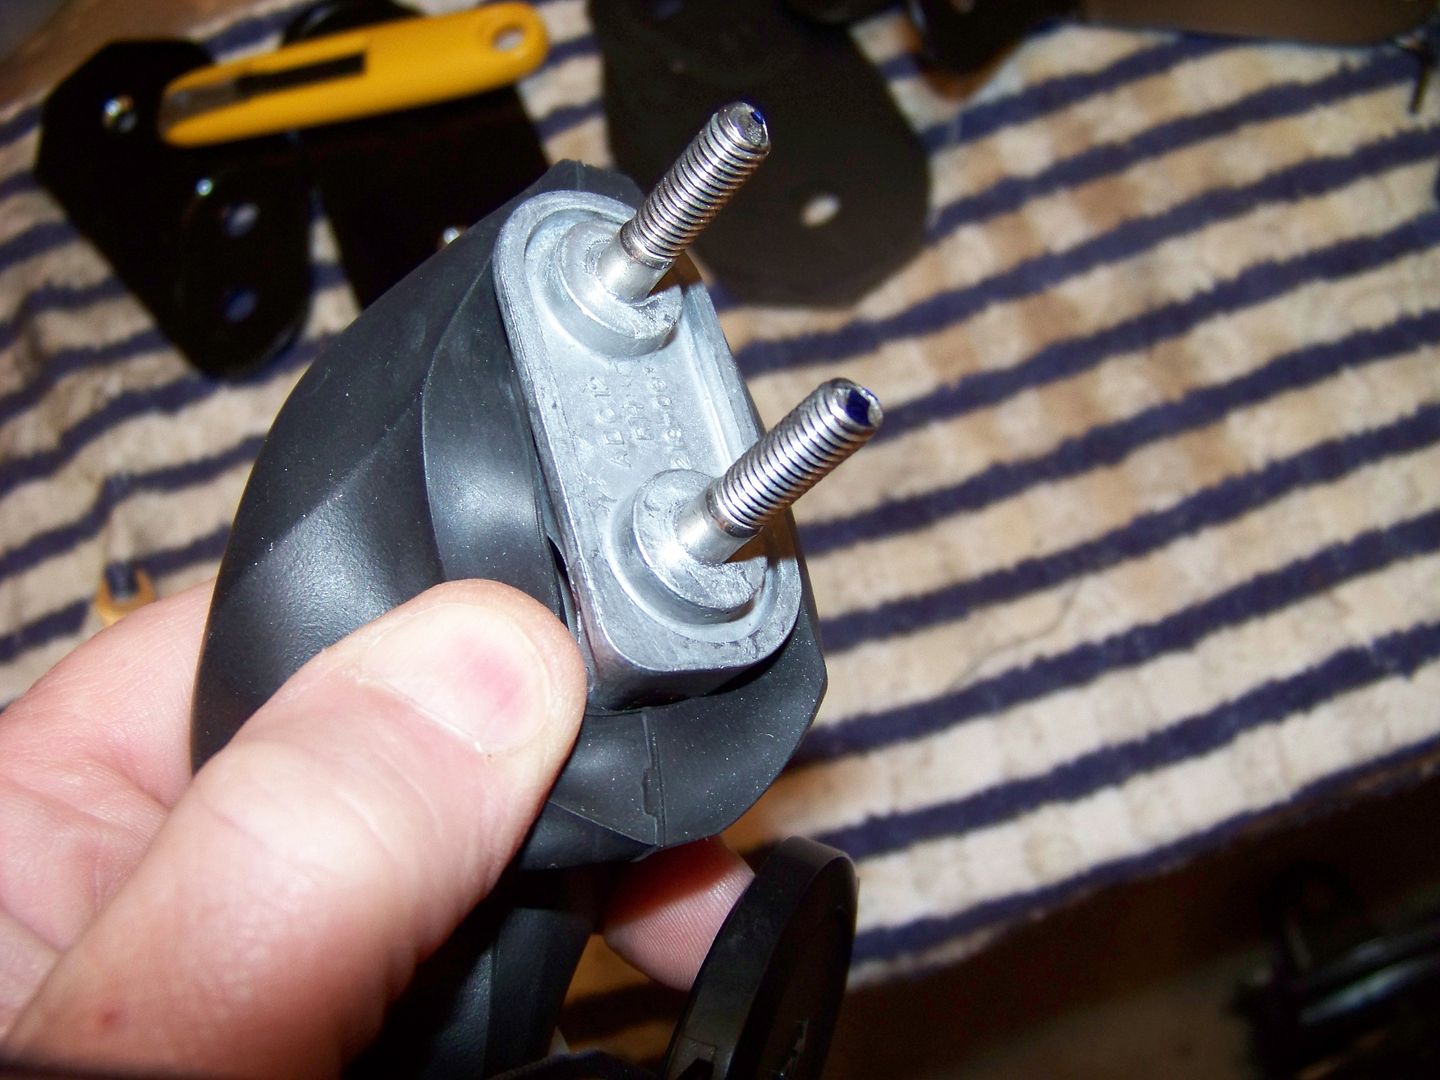
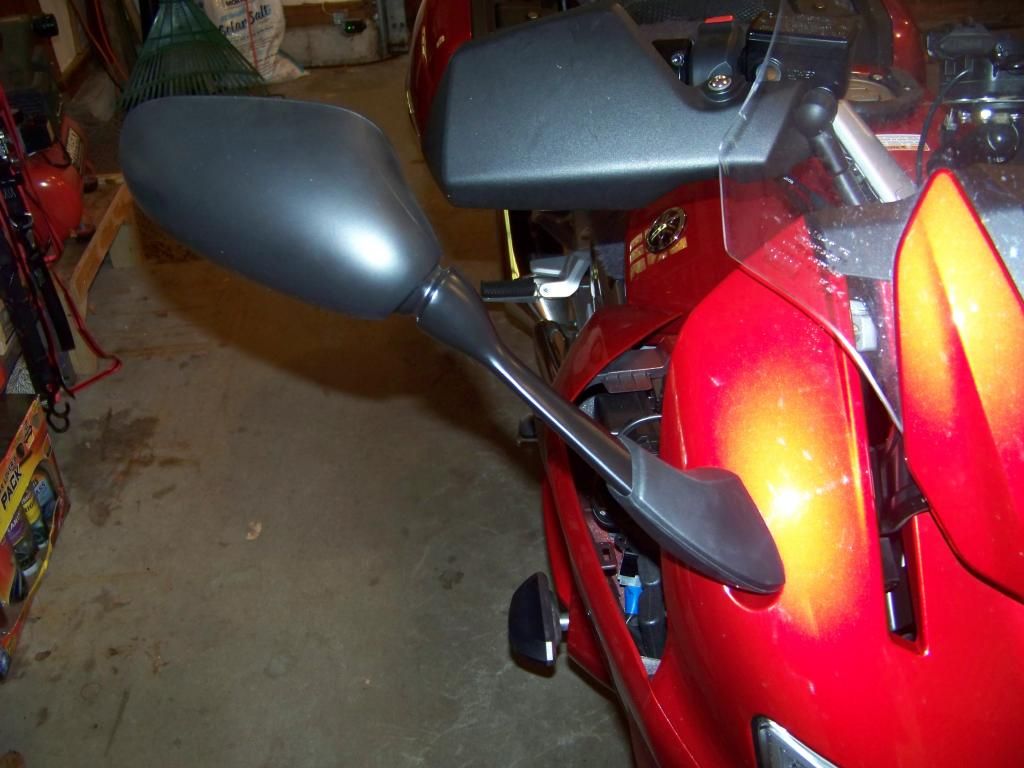
I went ahead and mounted up the FZ1 mirrors, and they went on just fine. Here are some photos to show what you are up against:
Here's the mirror base showing the embedded studs
And the upper end of the base has a square corner, this is part of a support web for the mirror pivot above.
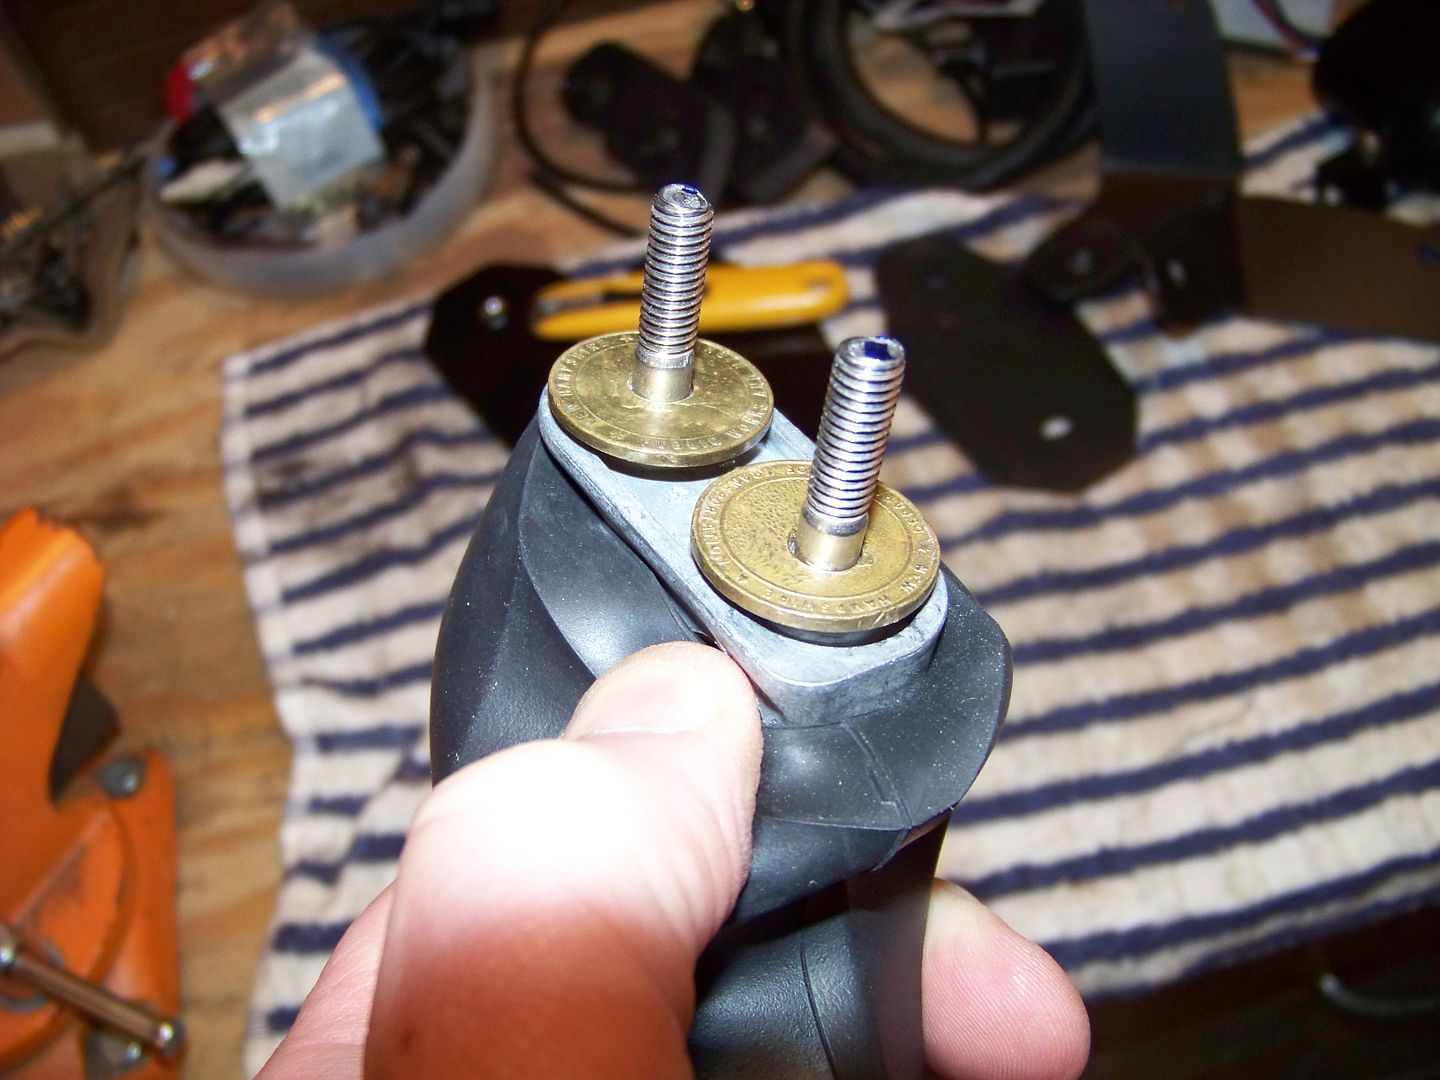
Need to space the square part out so it doesn't hit the tapered edge of the recessed hole. I drilled some old brass toll tokens (obsolete since the advent of speed pass) and offset the hole slightly in what would be the upper washer spacer.
With the boot back in place
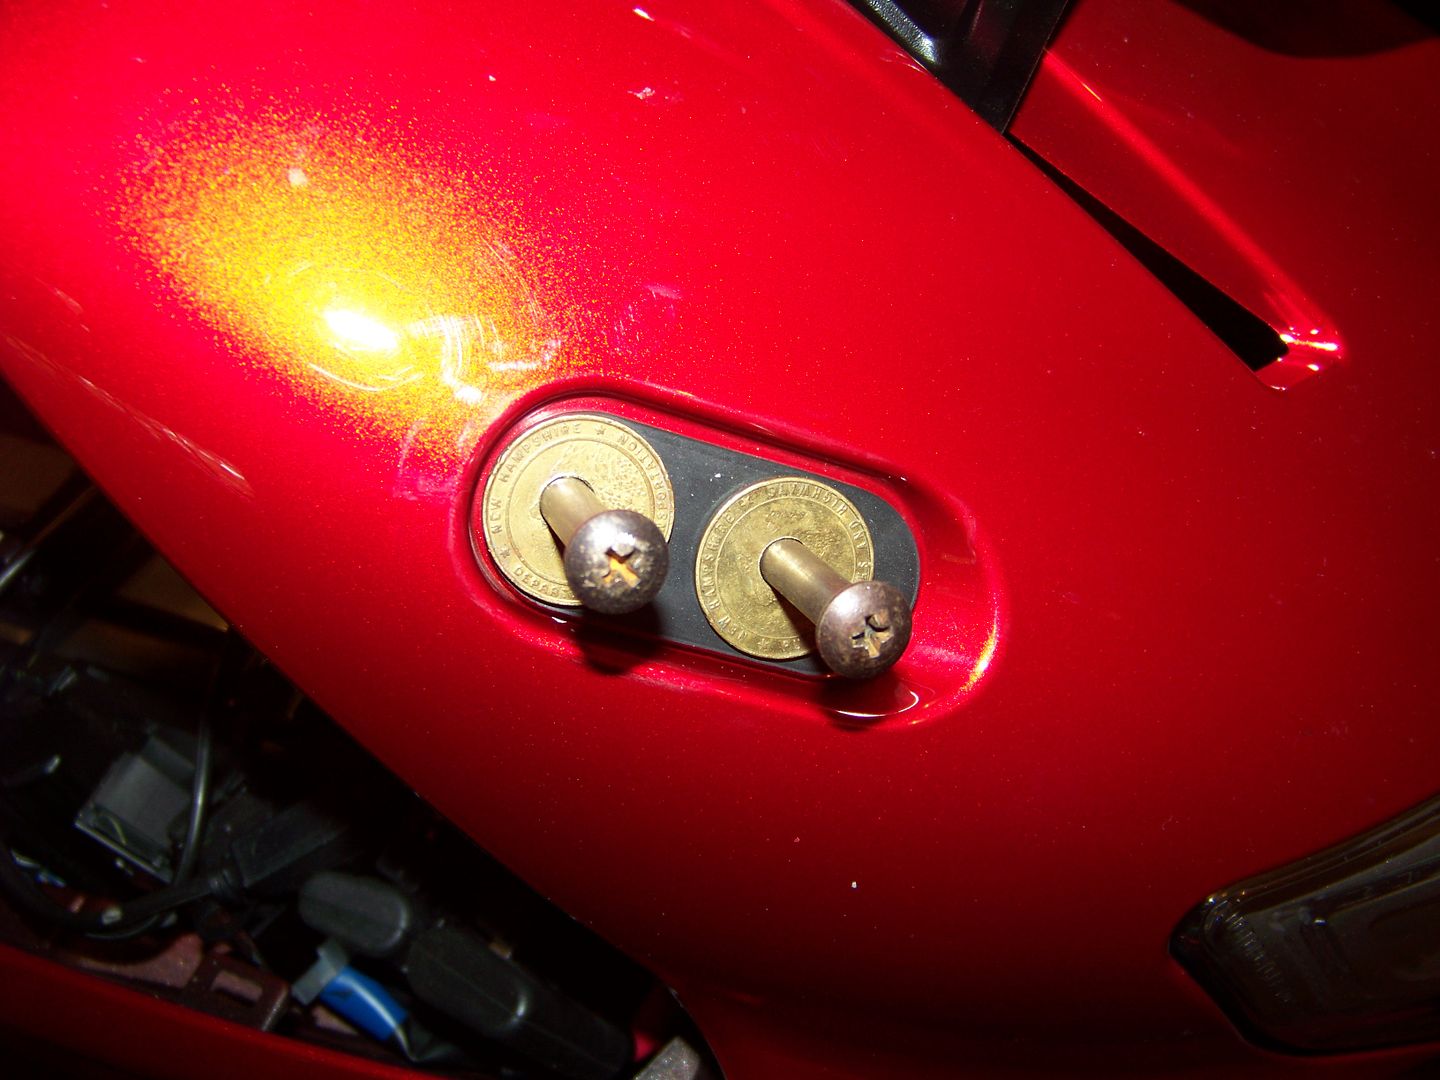
And here's the spacers position inside the recess. I just used a couple of 6mm bolts I had laying around to hold them in position for the photos. You can see below why you need to offset the hole for the upper washer (left in photo)
The single token is just enough to clear the shallower upper end of the recess.
You would need to stack 4 of these token / spacers to clear the lower edge. Luckily that is not needed for the FZ1 mirrors.
FZ1 mirrors mounted using the spacers
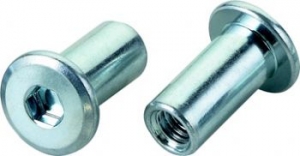
Just a single thread to spare after tightening up the flange nuts (mirror nuts are furthest to the right with the rubber nipple things next to them)
I think they look fine, but I guess I'm used to the look after having them on my 1st Gen for so long
More to the point, the rearward view is just as good as it was on my old 1st Gen. No more looking at the hand guards or my elbows when trying to see the cars approaching from behind.
And the added bonus is shown in photos here. Mirror in the normal position:
And where it folds to (if you drop it)
For my next trick, I'll be looking for a
different place to mount my LEDrider LR4 lights. The mirror base mounting area may just be too complicated.
Dave (WynPro) still has the prototypes of the mirror extension brackets to test fit, but he has had a series of bad stuff to deal with between home and work, so we'll have to give him some slack on that. Those still may be a reasonable option for some folks, so stay tuned on how those come out.


