2nd/3rd Gen Mirror Spacers & LED Light Brackets

Yamaha FJR Motorcycle Forum

Help Support Yamaha FJR Motorcycle Forum:

This site may earn a commission from merchant affiliate links, including eBay, Amazon, and others.
BigOgre,

As far making this in one piece: It is possible, but in my opinion it would cost more for material and labor to produce.

Thanks, Dave

 
Plus, with this 2-piece design it opens the door for using the same bracket with 2 different sized spacers so they could be used with FZ1 mirrors or with stock FJR mirrors if you don't mind the elbows view.
As far making this in one piece: It is possible, but in my opinion it would cost more for material and labor to produce.
Ah. Didn't think about the two mirror types but was wondering if it would save time and money by having to mill only one piece instead of two.

Did I mention that I don't know squat about machining?
no2.gif


Last edited by a moderator:
You can line up ten machinist all in a row and give them the same job and each one will do it differently. Some machinist don't know squat about machining.

LOL, Dave

 
Final notes on the installation for anyone considering the mod:

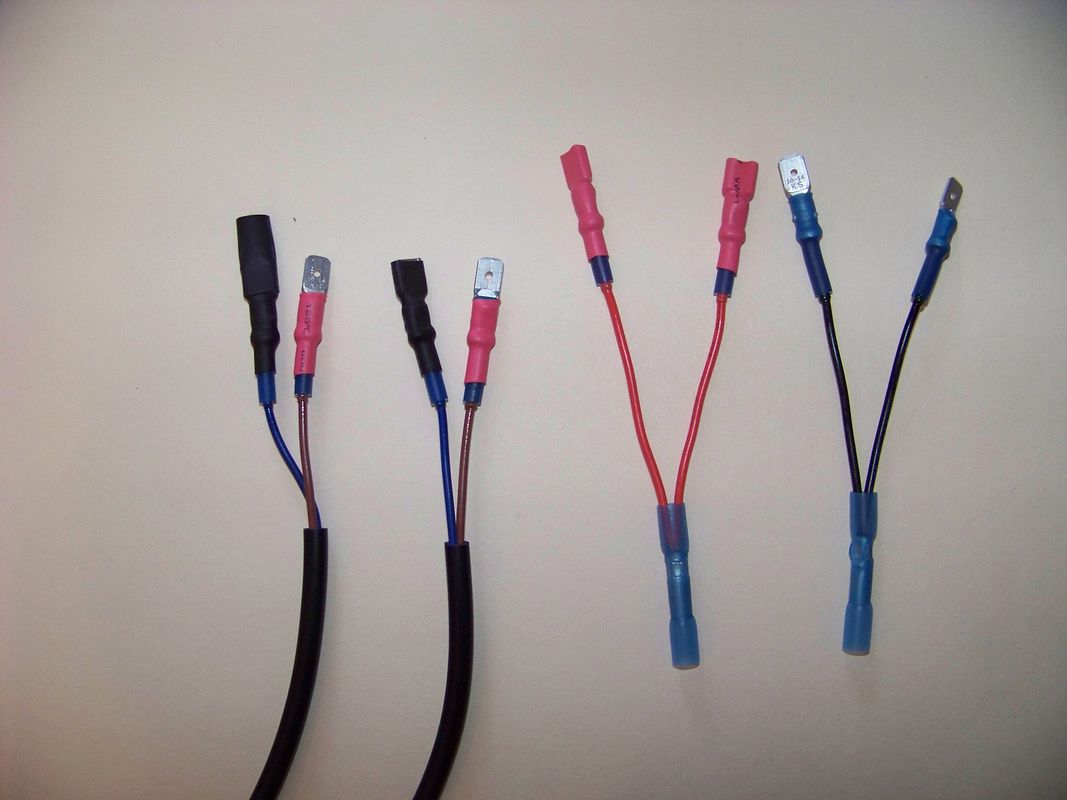
I went down to the garage this morning and fired up the propane heater so I could finish wiring in the lights and complete the installation. First thing that I did was make up a positive and negative side splitter for the power to the lights from the LED-rider Dimmer module, and crimped the corresponding spade lugs onto the ends of the LR4 pigtails.

100_4878.jpg


You'll want the positive connectors from the dimmer to be the females so if one gets disconnected, or you disconnect it, you wont have exposed male power connector. Likewise you'll want the return wire from the LR4 to be the female in case you disconnect that and ;eave the hot wire connected. With a piece of tubing over the entire connection there is no real danger of a short circuit while in place.

By the way, those heat shrinkable solder-less crimp lugs are the bomb-diggety. Highly recommended for all MC wiring.

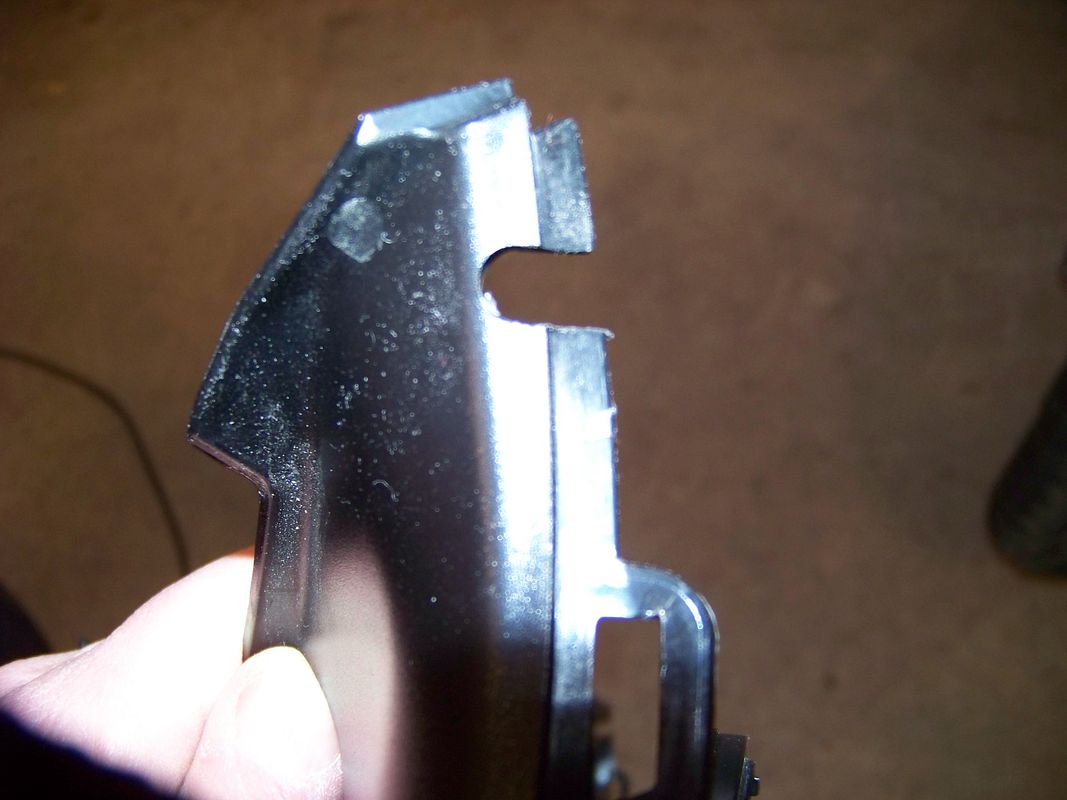
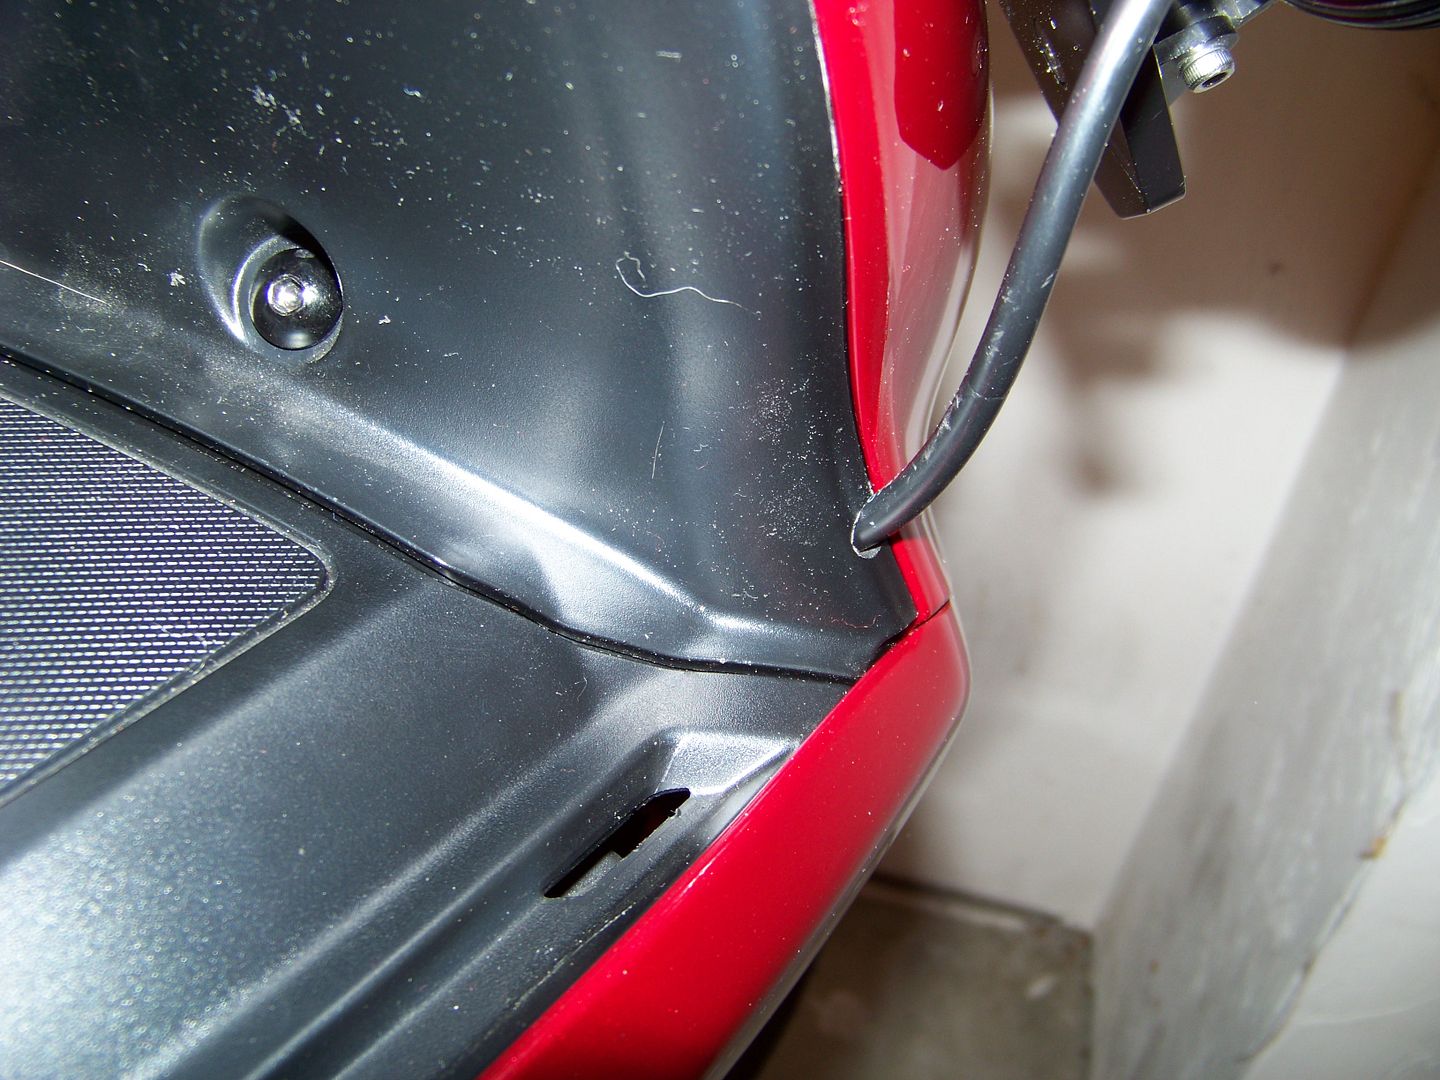
Running the power cords into the dash area from the light heads, I opted to Dremel a small slot in the lower corner of the upper dash panel. This is the same technique I used on my 1st Gen install and it seemed to work out fine. It is still relatively easy to snap the dash panel back into place and get the cables routed through the notches.

100_4890.jpg
.

Be careful about where you put the notch so it doesn't interfere with the snaps and guides on the back of the painted faring panels. Gives a nice neat cable entry:

100_4900.jpg


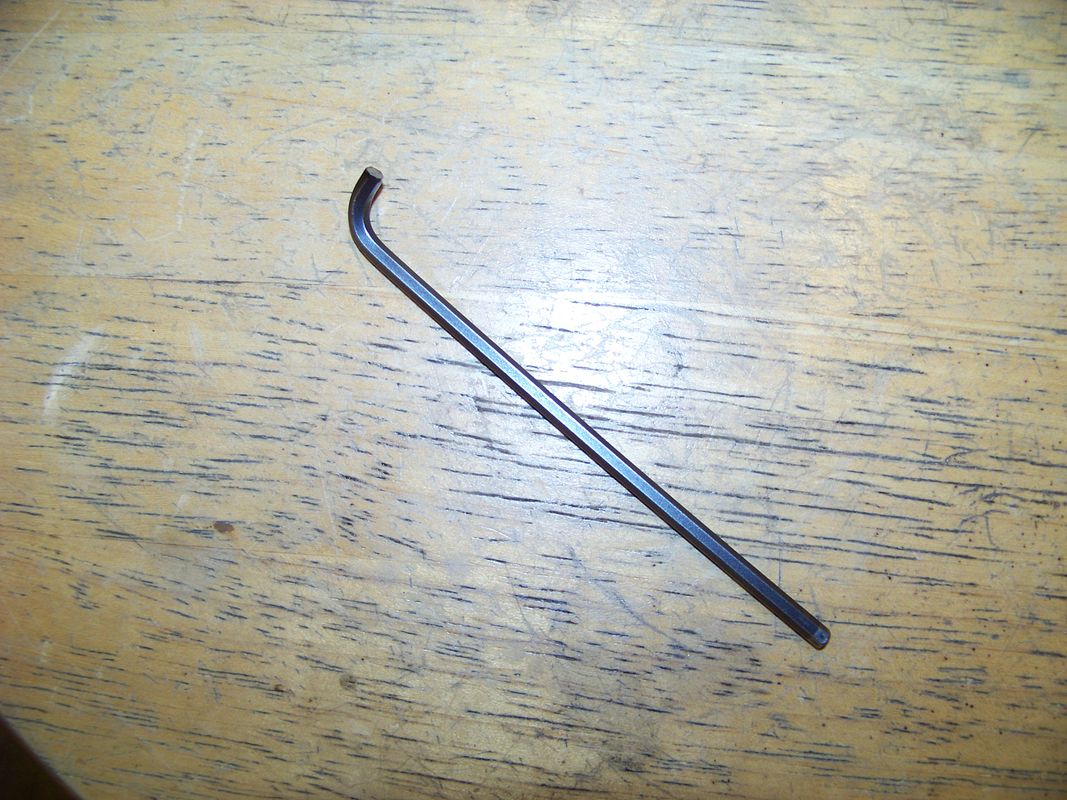
One nice "feature" of these flat brackets being mounted away from the faring front a little is that the small countersunk flat head Allen screw can be held for tightening after you take a grinder to one of the right sized Allen wrenches:

100_4892.jpg


That is nice as it makes the aiming process a bit easier. I'll carry that modified Allen around in my tank bag from now on. BTW it is the same size for the countersunk mounting screw and the pivot screws on the lamp bracket,

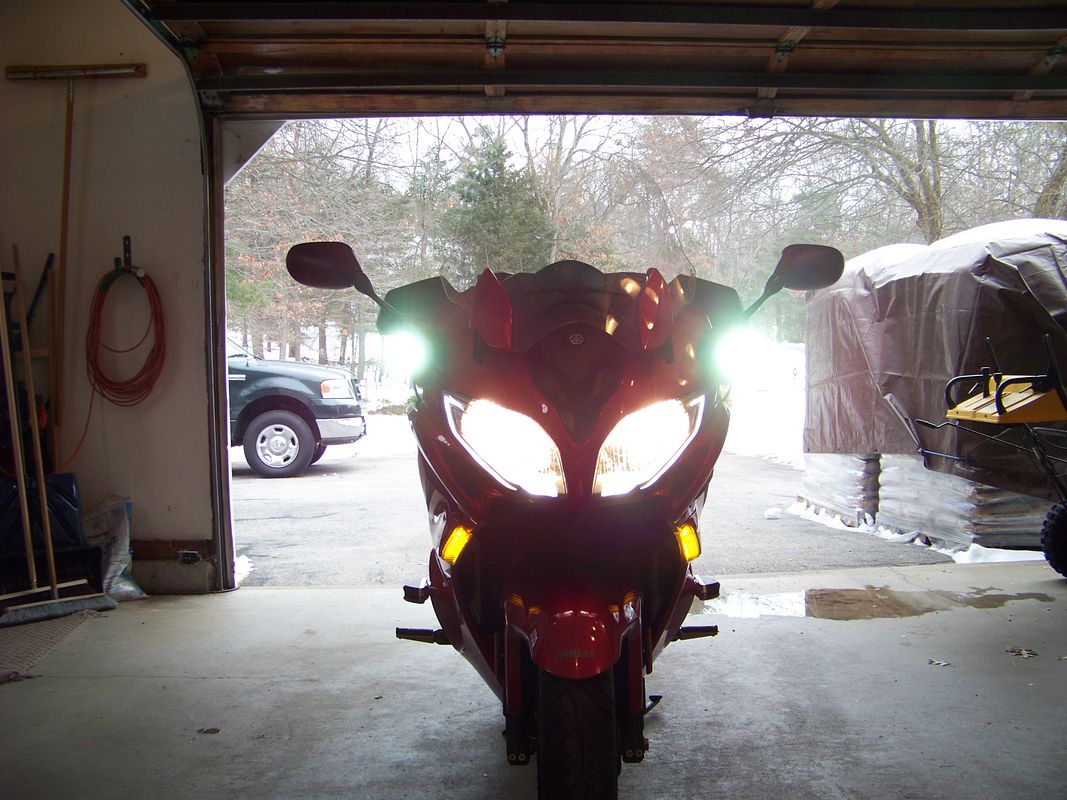
And then there was light!

100_4899.jpg


I just noticed how far it looks like those mirror stick out to the sides. THat is mostly because I do not have the side bags on in the above photo (took them off for winter storage) and they stick out almost as much as the mirrors. ;)

Also, note all of the necessities of winter life in NH seen above. 4x4 truck, snowblower at the ready and 3 tons of pellets out in the driveway.

 
Last edited by a moderator:
I ran my Krista cables into my dash panel exactly how you did Fred. It does leave a nice clean looking finish to it. Not too many other options available making them disappear.

 
I officially nominate this thread as the "FJR Forum Thread of the Year" with big props to FredW and 08FJR4ME for taking the ball and running like hell with it.
Way to go, Guys!!!
Thanks Howie!

But my goodness we did have some starts and stops, and several changes in direction, didn't we? I think the big game changer, and what got me to switch plans from spacing out the stock mirrors to investing another $150 in a pair of FZ1 mirrors were the reports of the front sub-frame cracking when these 3rd Gen bikes are dropped. I am realistic enough to know that, much as would wish it to be otherwise, it is just a matter of time before the bike gets dropped. I invested $150 in the SW Motech sliders to protect the side panels for that eventuality, why not protect.the underlying subframe as well?

A hole with a rubber gromet may be an option.
I wanted to notch the hole in just the black center panel so it does not inhibit removal of that panel and doesn't mess up the more expensive painted panels. You could fit a rubber grommet over the cable first and then fit it into a slot, but that would necessitate making the slot a larger diameter and would be more of an eyesore if/when you ever removed the lights in the future. The small holes I created will be hardly visible without the cable running through it, and could easily be plugged.

You might want to try creating your notches in the center panel up a little higher than I did, so you will create a drip loop on the cable before it enters. the notched hole. I may just hit the joint with a little clear silicone sealant since that center panel doesn't have to come off all that often. On the 2014's at least, you can remove the battery cover without first removing the center panel.

 
I'm very interested in this mount! Any idea when they'll be available to order, and pricing? (I looked through the thread and didn't seem to seen anything. Then again, reading is hard.)

 
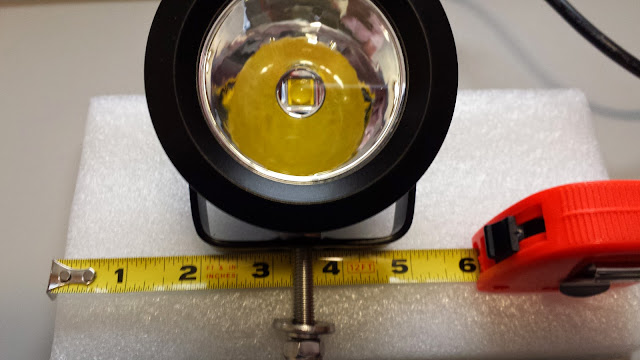
Dave - how are these Gen3 brackets coming? Anyone have pictures from the side of them mounted (Fred W?)? Wondering what other light options would work on them, like our new LD35's. Looking at the pictures on the previous page, it looks to me like it would work great.

20150304_162234.jpg


If someone wants to test it out once Dave has them ready, I'll cut a nice break on the LD35's :)

 
If I don't get them done this weekend you can all come over and beat me over the head. They have been almost done for a couple of weeks now. There really isn't much left to do on them. Life and other orders are keeping me to busy. It looks to me like the LD35's will fit on the new brackets. You may have to drill the existing hole a little larger for the screw though.
Dave

 
Last edited by a moderator:

Latest posts

Top