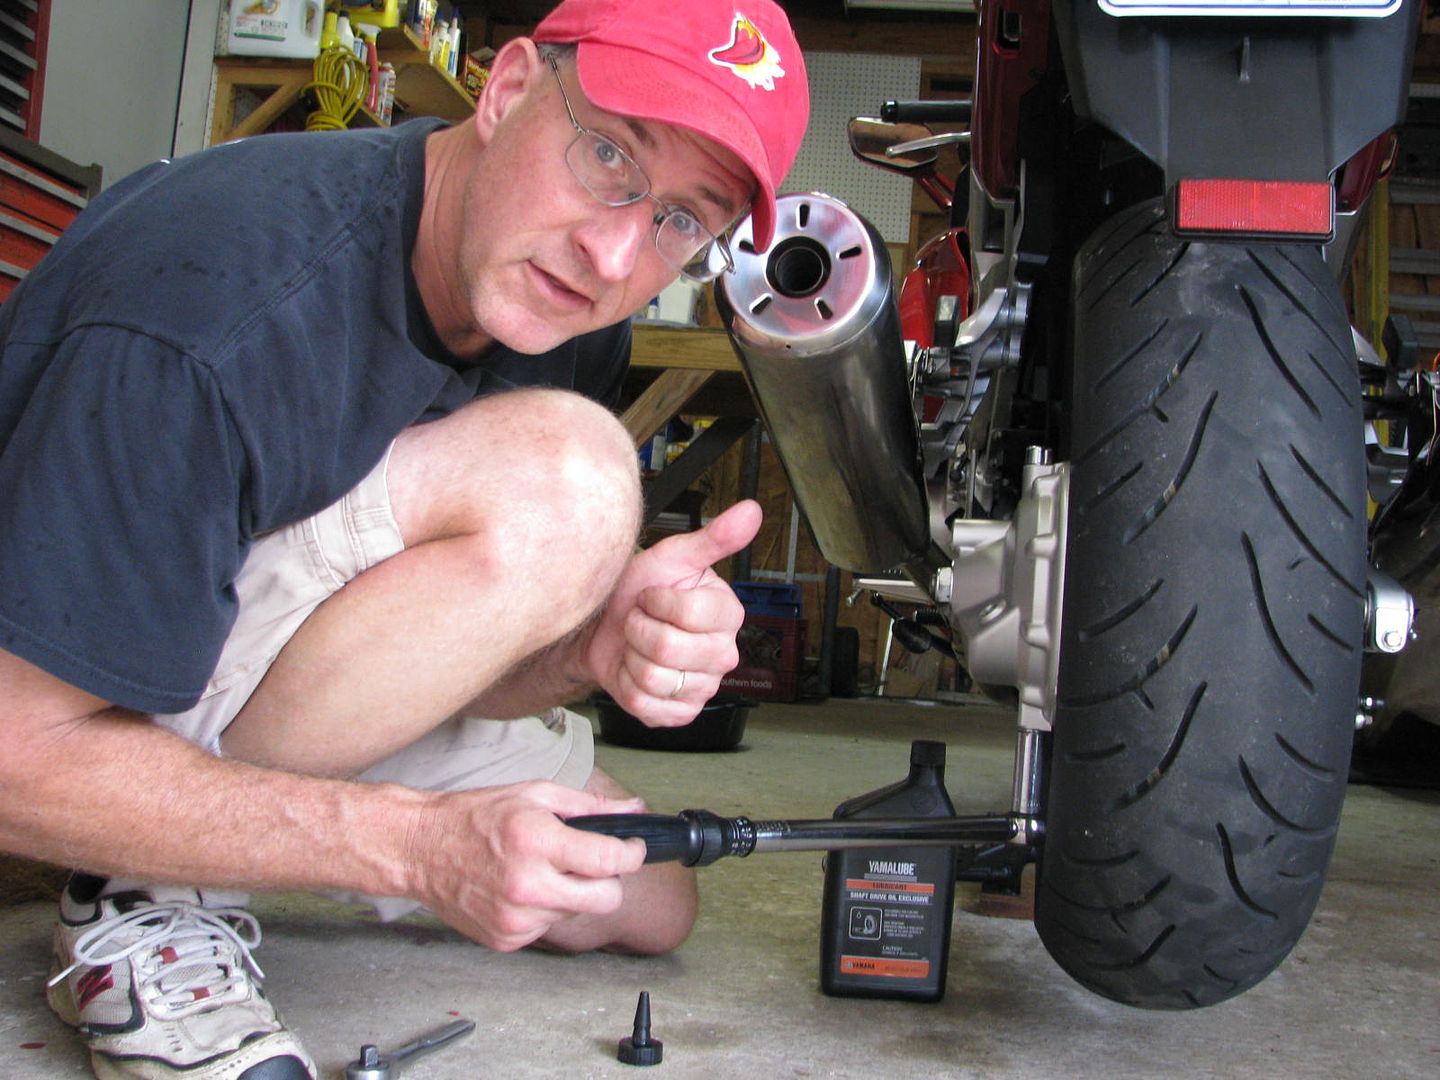
4 Lessons - Costly, But Priceless

Yamaha FJR Motorcycle Forum

Help Support Yamaha FJR Motorcycle Forum:

This site may earn a commission from merchant affiliate links, including eBay, Amazon, and others.
We have a lot of track riders on this board. I don't remember any of then saying they had to wire that stuff up.
Bug? Russ?
Correct.

Take off the mirrors, tape up the headlight, and go play.

Rules to pass scrutineering for racing vary by formula and location. For dedicated race-bikes lots of things are wired, or otherwise checked that simply are not necessary on a road-bike ... nor desirable ... like slick tires for example.

Indeed, I remember a day when folk were advised to steer well clear of bikes that had wired fasteners, a sure sign they had been raced and probably thrashed within an inch of their lives.

When, apart from in this one thread, did you ever hear of a sump plug simply falling out, especially one that had been fitted correctly?

 
Pants

Umm...

...you got a new bike...

...you did your own oil change...

Did you use a new $2.00 crush washer?
tomato.gif


Seriously, you did the right thing, these things are supposed to be fun. You can't have fun when in the back of your mind you're worrying about the back end seizing at speed.

Enjoy the ride!

Brodie

rolleyes.gif


OK - I'm trying to swap out the new pumpkin and I've got 2 problems.

1. I can't seperate the drive shaft from the broken pumpkin.

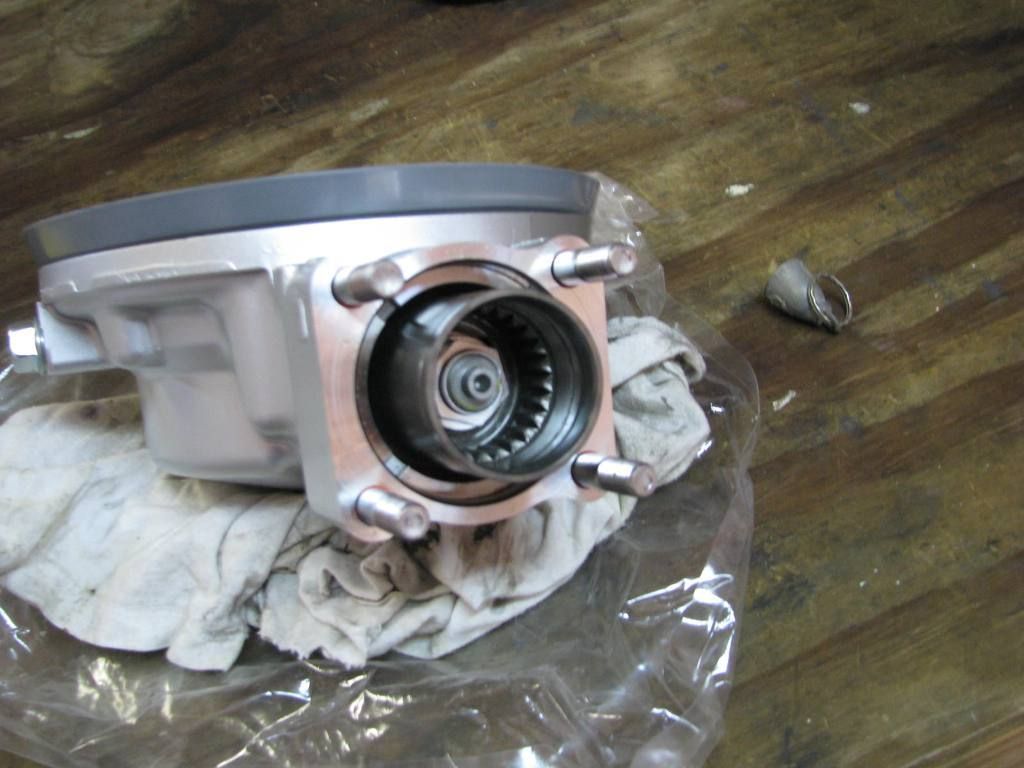
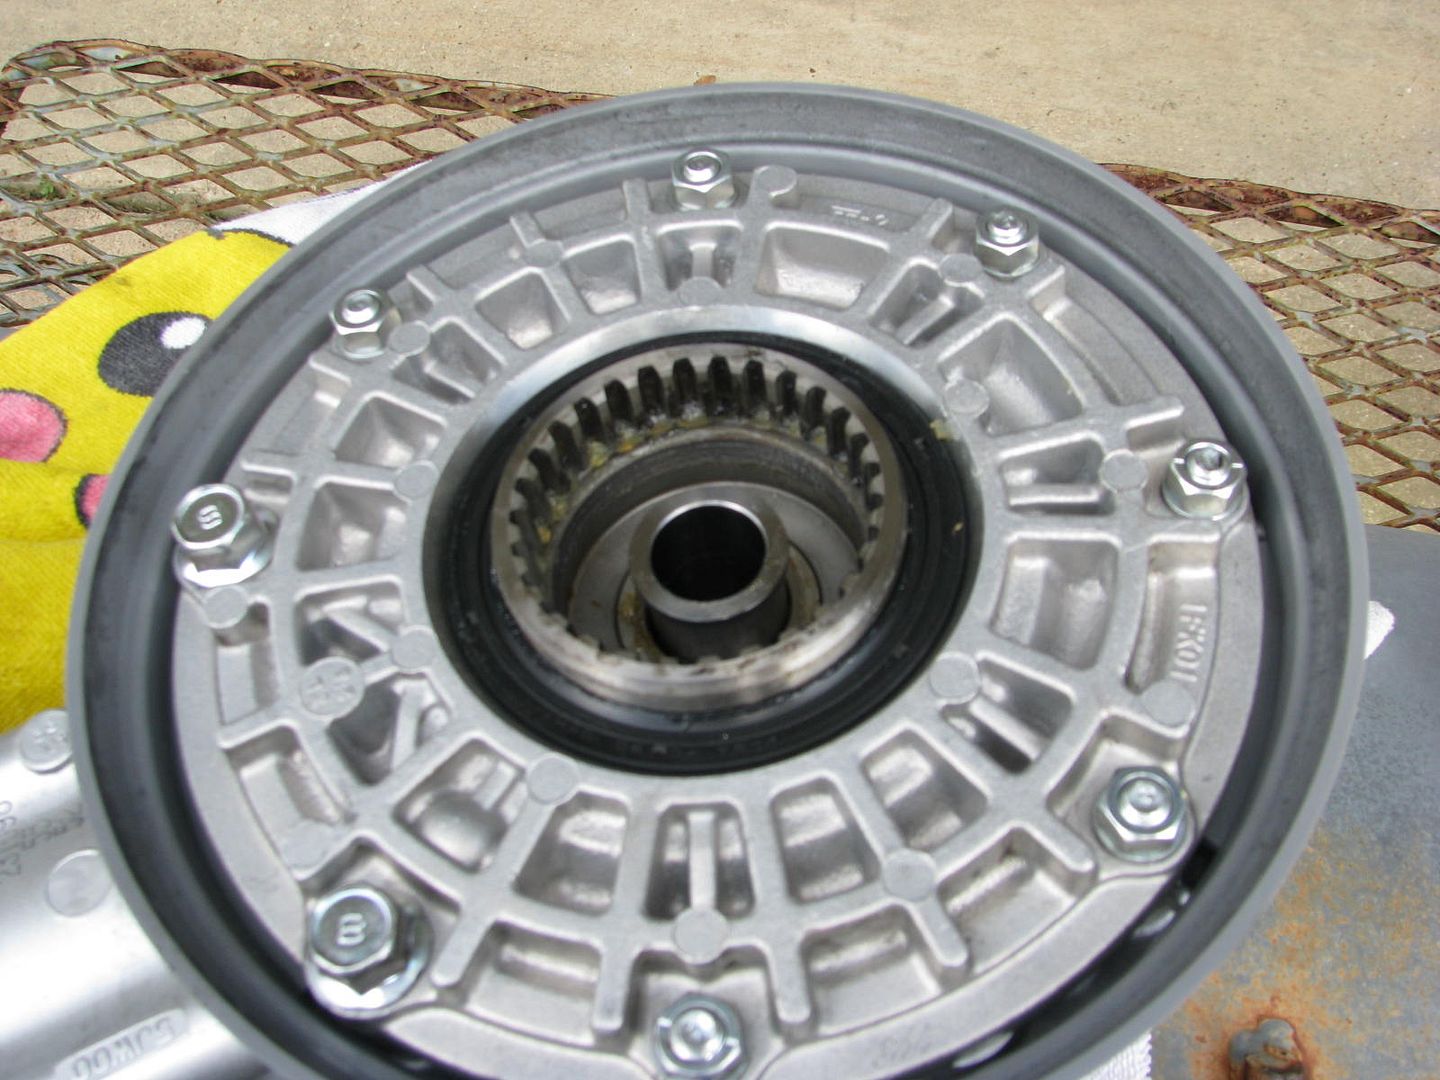
Here's a picture of the new pumpkin:

new%20rear%20end%20assy_zpsixt4anug.jpg


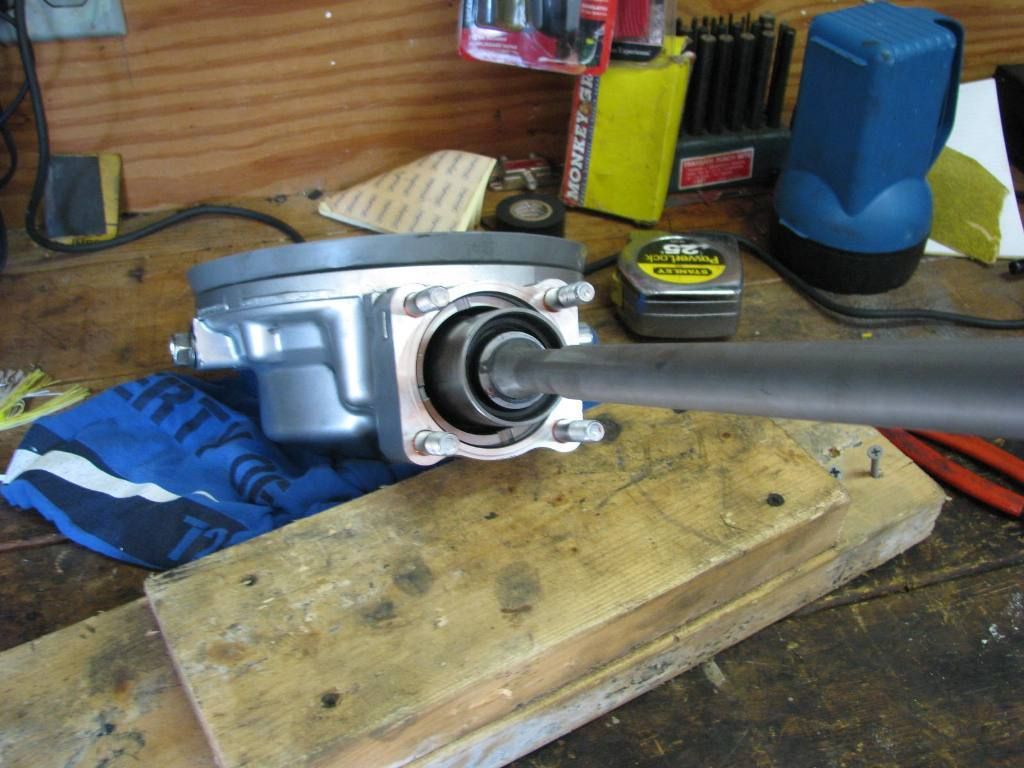
Those splines are way larger than the drive shaft:

broken%20rear%20end%20assy_zps3ctg64au.jpg


I tried removing the circlip and pulling on the drive shaft, but it won't budge.

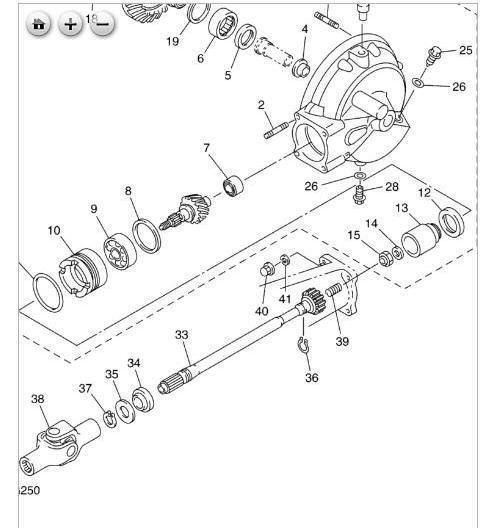
Here's a picture of the parts breakdown:

parts%20breakdown2_zpsqi3pc1uf.jpg


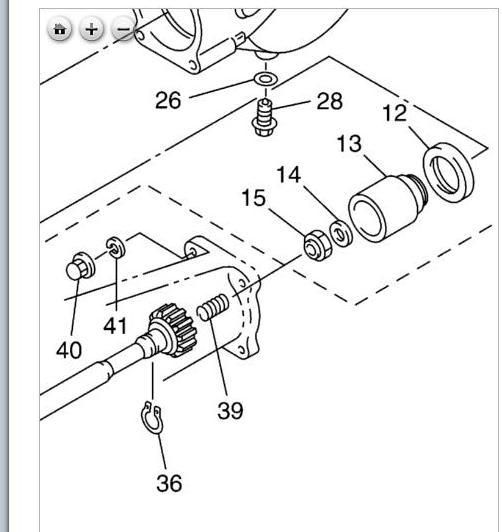
And a much closer shot:

parts%20breakdown_zpssf0nzhi5.jpg


There does not appear to be any kind of dust seal or other part in this breakdown.

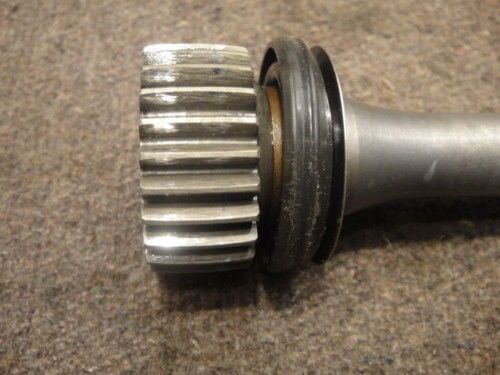
Now here's a picture of a used driveshaft on ebay:

ebay%20drive%20shaft_zpsi0fum3sz.jpg


I can see the dust seal on my old pumpkin. There does not appear to be any other clip holding that dust seal in. Maybe I just need to pull on it harder to get it out??? Maybe the assembly was heated on there from running the bike with no rear end oil? What gives here?

2. Not really a problem, but I need to verify that the axle collar just slides in there:

As I was trying to figure out problem #1, when I rolled the broken pumpkin over, the collar fell out.

Axle%20collar1_zpsdwlbvmzh.jpg


It will only go in one way, but when i stick it back in there, it doesn't seem to fit right.

Axle%20collar%202_zps3uvsacva.jpg


It is loose (little slop between the collar and the pumpkin) and it doesn't sit all the way down. I verified with my dial caliper that the collar cannot go into the axle guide on the outside end of the pumpkin (the side where the axle nut washer and nut goes). The collar is substantially larger in diameter than the axle guide. Maybe it just sits in there, but it just doesn't look right. I think the purpose of the collar is to provide support laterally (along the plane of the axle. The larger shoulder on the inside pushes against the wheel bearing. and the small shoulder pushes against the axle guide. The nut just squeezes everything against each other. I mean the axle will center that collar and once that is done, the collar can't move radially I suppose. If I'm right (the collar takes no radial load), then I guess it just slips in there loosely but I just wanted to verify it.

Any help would be appreciated.

 
Last edited by a moderator:
OK - false alarm averted.

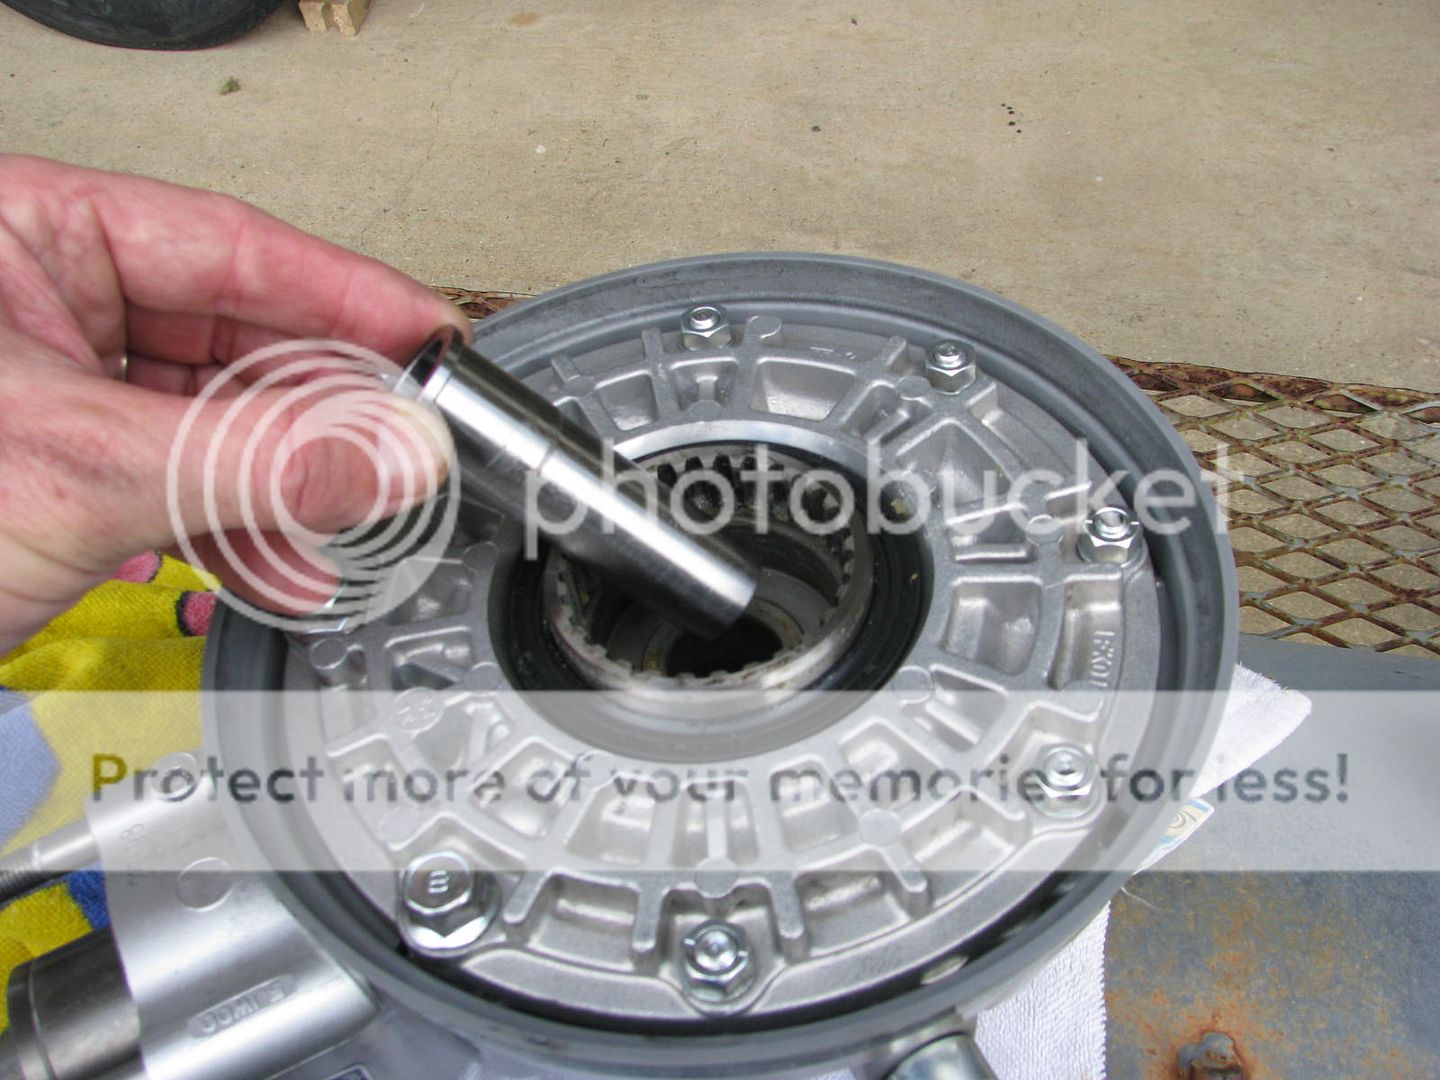
1. I called Gary and his technician at Friendly Yamaha waliked me through it. There is no clip holding in the OIL seal. That's right - it's an oil seal, not a dust seal. There are two pin holes in the pumpkin that circulate oil and lubricate the splines. I used some more "Uummmpppphhhh" and pulled out the driveshaft assy with the oil seal attached. I looked in good shape, so I stuck it in the new pumpkin and used a 1/4 drive extension to push the oil seal into its grove in the pumpkin. I put some moly paste in the motor side splines and the wheel splines (both pumpkin and wheel) and a thin coat of water proof grease on the rest of the shaft for corrosion protection purposes. Hopefully this drive shaft oil seal won't leak, but if I get some splooge coming out of the weep hole, I'll know where it's coming from. What I won't know is what part to order to replace the seal?

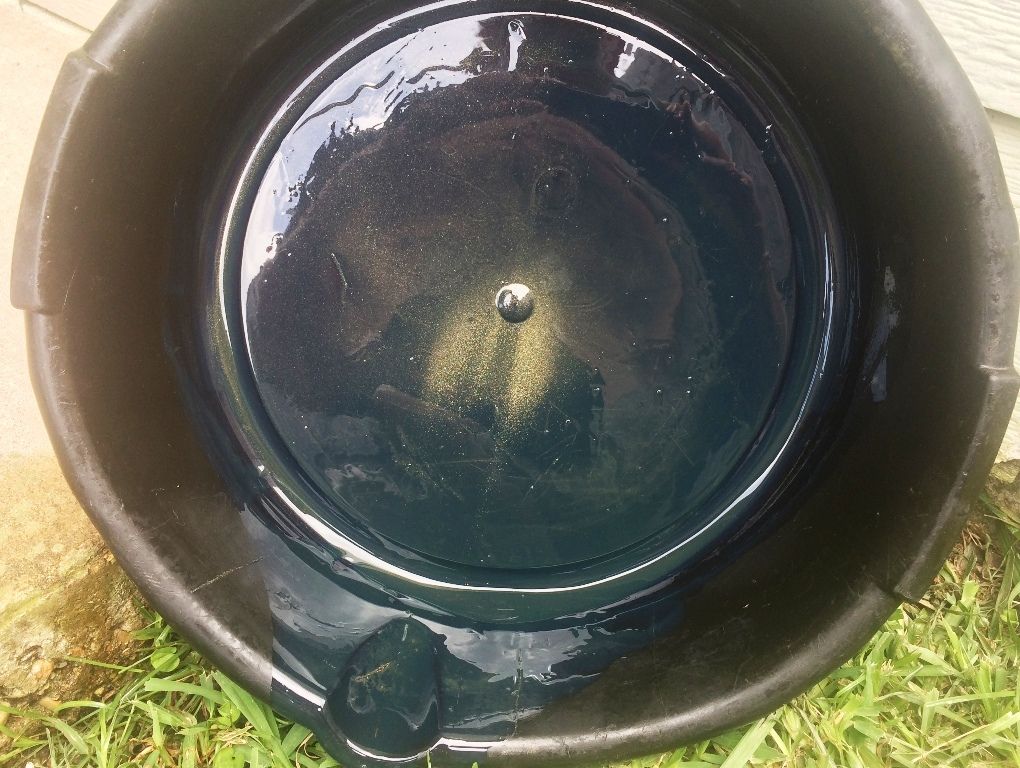
Incidentally, I rode my bike with the old pumpkin last sunday for about 40 miles. I wanted to drain the oil again and see how things look. Well, there is 10X the amount of metal I drained out of it the day after this incident. Same shiny dust, perhaps a few particles larger than the time before. I'm convinced something is coming apart. I'll keep the old pumpkin in case somebody needs something (or me heaven forbid).

Yeah - I'm pretty comfortable with my decision now....

metal%20in%20oil%206_zps3efj1oyr.jpg


2. The collar issue was a no brainer. The large diameter depicted in my picture pinched between my finger and thumb is precisely the same size as the wheel bearing. The axle centers the collar and the axle nut/pinch bolt squeezes everyting together laterally. I put a thin coat of waterproof grease on the collar for corrosion protection purposes only, as well as on the axle. A small blob of grease squeezed out adjacent to the brake caliper bracket and I wiped that clean. Got everything torqued down and if this rain will quit, I'll give a test ride a go.

So all's well that ends well. Oh, and I've learned all of my lessons.....

IMG_7368_zpsljc0simr.jpg


Hmmm - I'm thirsty...
uhoh.gif


Last edited by a moderator:
Been reading along faithfully. Nothing to add but prayers that it gets fixed up to the appropriate standards. Great to hear you have the concubine back together. Ride her gently (out of the driveway) and then flog her. Just make sure she keeps the fluids in her so she doesn't get dehydrated again!! Go get youself a drink my thirst friend.

 
B/D - I am absolutely paranoid. The shoe fits, I'll wear it.

My deep set sockets are 6-point. My shallow ones are 12 point. I gravitate naturally to the 6-pointers. Again, I'm paranoid....

Took a short test ride between rain showers this afternoon. Only 10 miles but in this 95 degree heat, I'm sure she got up to operating temp. No splooge - I'll call it done for now.

 
I think you are correct, Fred. If that is the case, the parts breakdown would be more accurate if it was drawn to reflect how the driveshaft assy actually looks. I used the larger gear on the end of the shaft as a slide hammer to remove the assy from the old pumpkin. Not exactly textbook, but it worked and upon examination of the seal, it did not appear to be damaged. The seal is slightly oversized and chamfered to fit into a small groove cut in the female splines on the gear coupling (#13). Considering this, I put a thin film of gear oil on the outside of the seal to help slide it into the grove. I used the butt end of a 1/4" drive rachet extension as a seal driver.

The coupling is what rotates - the drive shaft does not rotate inside the oil seal in question. The shaft and the seal are stationary. The seal just has to hold the pressure of the gear oil, which is likely not much since the pumpkin is vented. So I'm hopeful it will do its job.

 
Yes, exactly right.

For those following along at home, there are two oil seals on the shaft input to the final drive. The one that comes out with the driveshaft only seals between the shaft and the inner diameter of the Gear Coupling (#13). There is no rotation between these two parts, so that seal doesn't wear much, but the shaft does need to be able to slide in and out of that seal slightly as the swingarm articulates to take up any minor change in length due to the angular variation. That is what the spring I mentioned before is there for, to keep the shaft pushed fully forwards as the rear suspension travels. The large, somewhat rounded gear/splines on the back end of the shaft slides in and out of the large internal splines in Gear Coupling at that time, but it is all nicely bathed in gear oil.

The second seal is the one labeled #12 in the diagram. It seals between the outside diameter of the Gear Coupling and the housing. That is the one that provides the rotational sealing. A few high mile FJRs have has the seal wear a groove in the OD of the Gear Coupling and have replaced it along with a new seal #12. Never heard of seal #34 being the cause of leaks, so you should be fine.

It is quite an elegant design, IMO, and probably a big contributor to the high reliability of the FJR final drives.

 
Last edited by a moderator:
Top