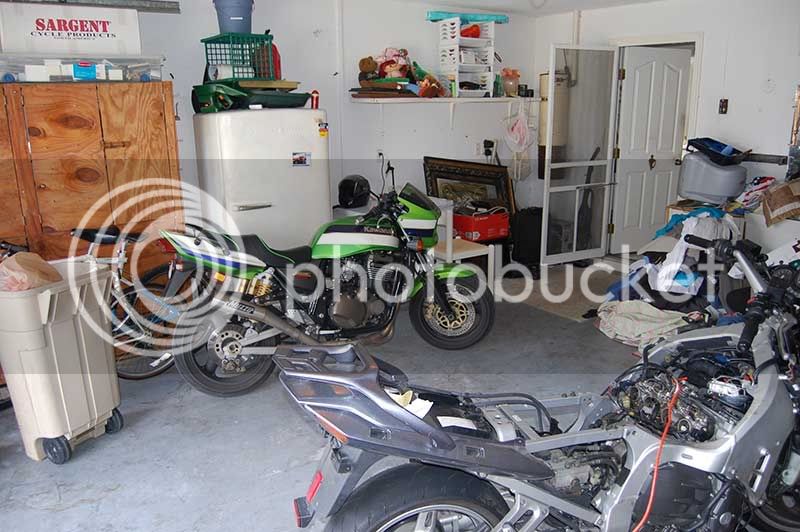
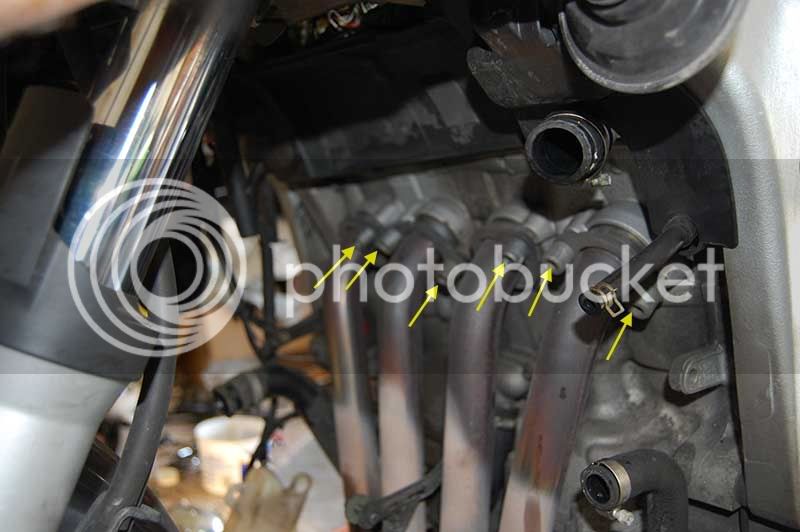
And the journey begins

Yamaha FJR Motorcycle Forum

Help Support Yamaha FJR Motorcycle Forum:

This site may earn a commission from merchant affiliate links, including eBay, Amazon, and others.
Thanks for the pictures of the PCV hose, Howie. Yeah, that makes sense that it would gum up the butterflies. Looks like we are dumping any positive pressure from the crankcase into the intake. I suppose that is SOP for modern engines in keeping with minimum emissions.

The "breather filter" is an interesting idea, except that the accumulated spooge will be deposited on the inside where you won't be able to see it. So you'll have to be conscientious about changing the filter regularly.

 
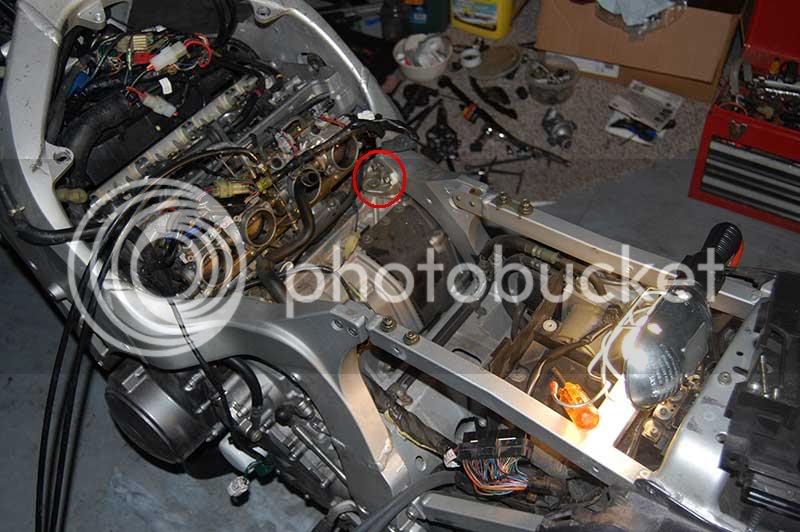
day_01a.jpg


See the bracket thingy in the red circle? You're going to need to remove that sooner or later. Pretty sure there's one on the other side you can't see it in the pic, probably needs to be removed also. Well maybe just the big bolt, not the entire bracket. Probably need to take some other stuff off first though. Good luck!

 
Last edited by a moderator:
day_01a.jpg

See the bracket thingy in the red circle? You're going to need to remove that sooner or later. Pretty sure there's one on the other side you can't see it in the pic, probably needs to be removed also. Well maybe just the big bolt, not the entire bracket. Probably need to take some other stuff off first though. Good luck!
Oh yeah, there's LOTS of other stuff that's got to come off/out. That was just what I accomplished Day One. Heading out to begin Day Two in a few minutes.

 
[SIZE=18pt]DAY TWO......the ugliness commences[/SIZE]

I know most of you bastards are out riding right now, so here's a great, big :****: you to each and every one of you! :)

Those not out riding are trying to knock off some items off their "Honey-do" lists, so for all you pussies, a great big :****: you to you too!

It's about 110 degrees out in the garage, and it's got a western exposure, so it's gonna be a hot bitch all day. Oh, humidity is about 963%, too. So I'm taking my time and taking cool-down breaks between tasks.

My goal for today was to get the radiator and exhaust system removed. They've got to go to get the motor out. How little did I realize at first that the nose was gonna have to come off to be able to get to everything. But thanks to wfooshee's great write up HERE, getting the nose off was pretty much a snap. BTW, the 7 screws that hold the "W" bracket and the windshield ARE made out of Cheez Whiz. Didn't strip a single one, but two of 'em DID pop their heads right off. It is to note that Walt's great "How To" leaves off one important item for '04 and '05 owners....unplugging the glovebox connector. No biggie, just don't yank too hard when removing the nose before getting the glovebox unplugged. Actually, with Walt's write-up and pics, nose cowl removal is really a snap.

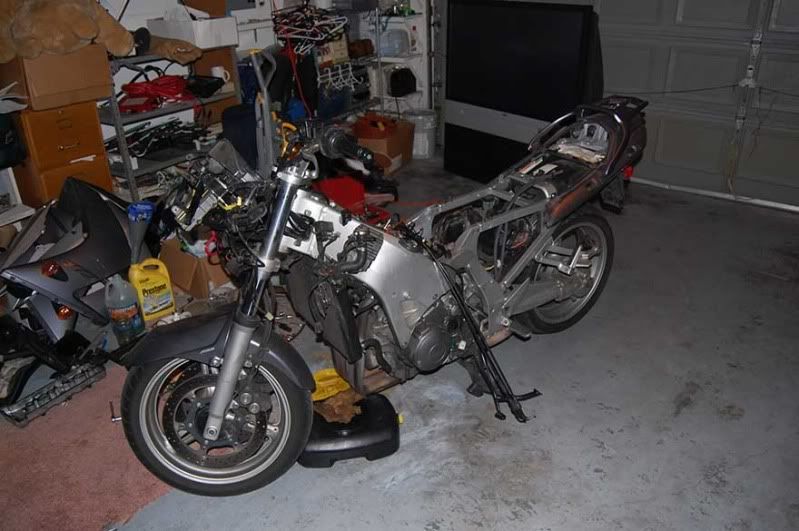
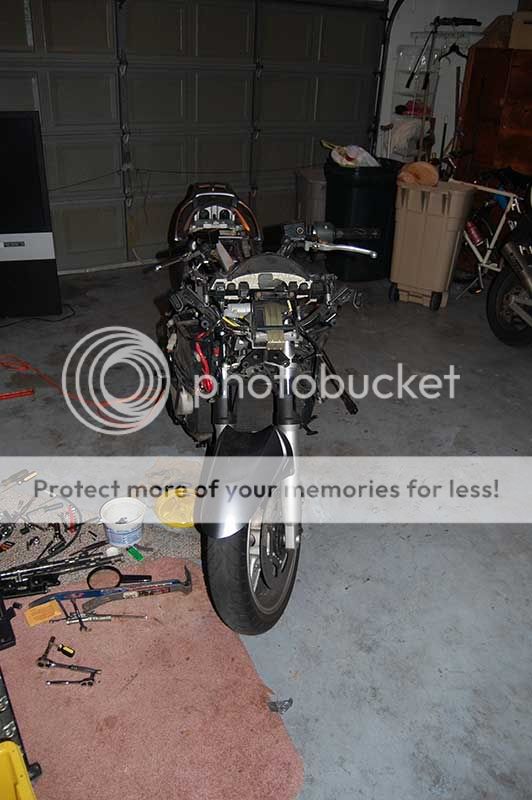
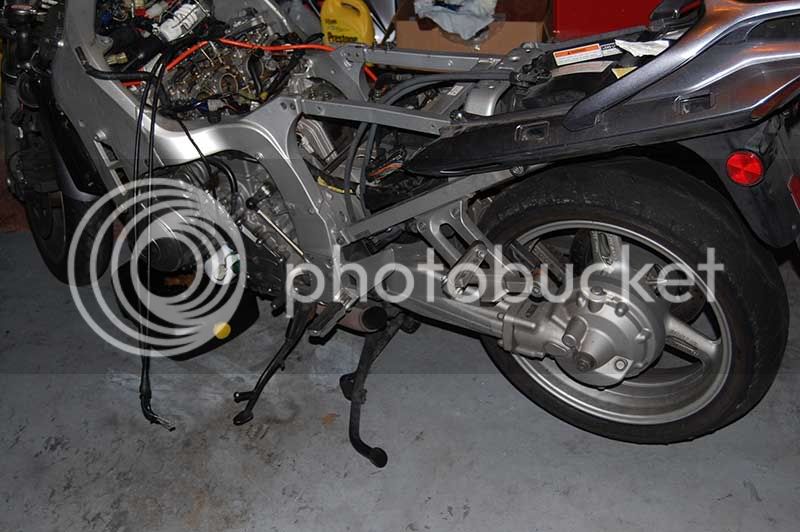
Just one thing, though....your Feej is ONE UGLY BEAST without its plastic. I know, many of you have seen it before, but it's worth repeating:

day_02a.jpg


day_02c.jpg


Getting the mufflers off in preparation of pulling the exhaust? Cake! Two bolts per side and it's "Off with their heads!":

day_02b.jpg


Cool-down period is almost over...drinking LOTS of cold fluids to keep up spirits (nothing adult, mind you) and the radiator is next.

BTW, here's a tip to keep track of hardware. (It's so simple, you might not think about it until you're trying to figure out where those 10 pounds of screws, nuts and bolts go when you put it all back together) -- When you remove a screw, nut or bolt to pull an item off the bike, put it right back where it goes, back in its assigned place.

Beats trying to figure it all out 2 weeks/months/years later.

Speaking of later.........more to come.......later.

'Howie

Oh...one last thing...

REX is over on the other side of the garage laughing his ass off at his baby brother. :rofl:

day_02d.jpg


...and yes, my garage IS a shit hole. That comes with the territory when four kids who should be out on their own come back to the nest. <_<

 
Now THAT's what we're talking about!!! TWO construction grade PRY BARS with nail removal capability right there for handy use.

Where's the Sledge hammer?

Where's the odot??

Glad to see the project is underway. Interesting to watch its progress . . . even more so with the exotic "mechanics tools". :D

 
My goal for today was to get the radiator and exhaust system removed. They've got to go to get the motor out. How little did I realize at first that the nose was gonna have to come off to be able to get to everything.
I thought that was a Gen II condition, isn't that fun? Good to see you are making some nice progress. You're gonna be done before ya know it!
See next update and you'll know why.....

 
Howie

That sure is a pretty green King (Rex) sitting on the other side of your garage.

day_02d.jpg


I hope you plan to take it for a spin sometime this weekend just to keep things in focus.

This is supposed to be fun!
:hyper:


Right?


:tomato:
 
Last edited by a moderator:
[SIZE=18pt]DAY TWO..........the ugliness continues[/SIZE]

Had a snack....cooled down...took a dump...all the things one needs to get back to work.

In answer to v65's query about pulling the nose cowl off to pull the radiator, the FSM does include it in the removal sequence. However, what the FSM does NOT say is you have to pull the battery bracket to pull the radiator. Minor quibble. :blink:

Here's the problem:

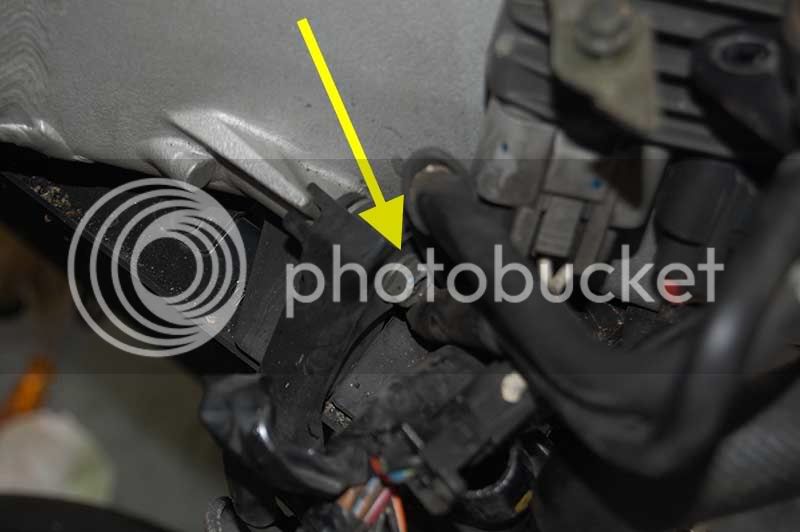
Other than the 72 hoses running from the engine bay to the radiator, there are only 3 "hardpoints" attaching the radiator to the bike. One each at the top left and top right of the radiator, as viewed from the rider's perspective, and one at the bottom middle of the radiator, attached to a bracket extening from the front of the engine block.

The top left "hardpoint" is fairly easy to get to, once you pull the short hose running from the top of the radiator to the filler cap and remove the filler cap assy. and bracket:

day_02g.jpg


The bottom bolt is a snap to get to and get out. No pic. Not worth the effort.

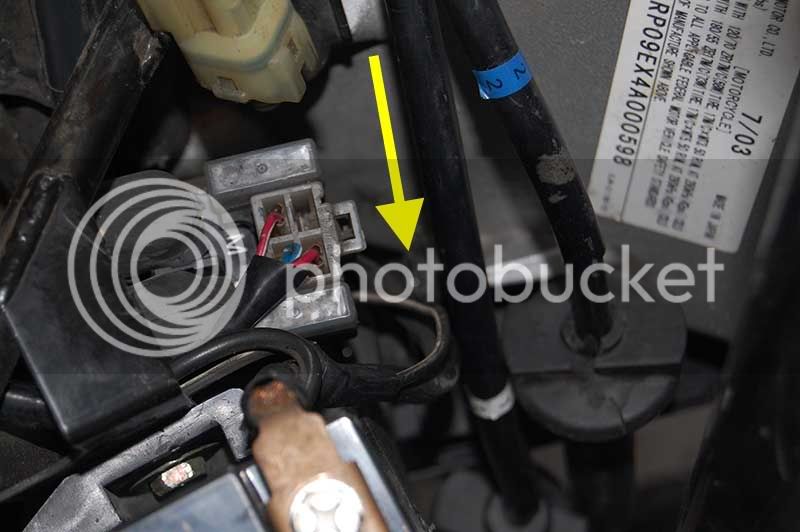
However, the top right mounting bolt is inboard of the battery bracket and impossible to get to without removing said bracket:

(My autofocus got fooled by items closer in frame so I highlighted the mount point)

day_02e.jpg


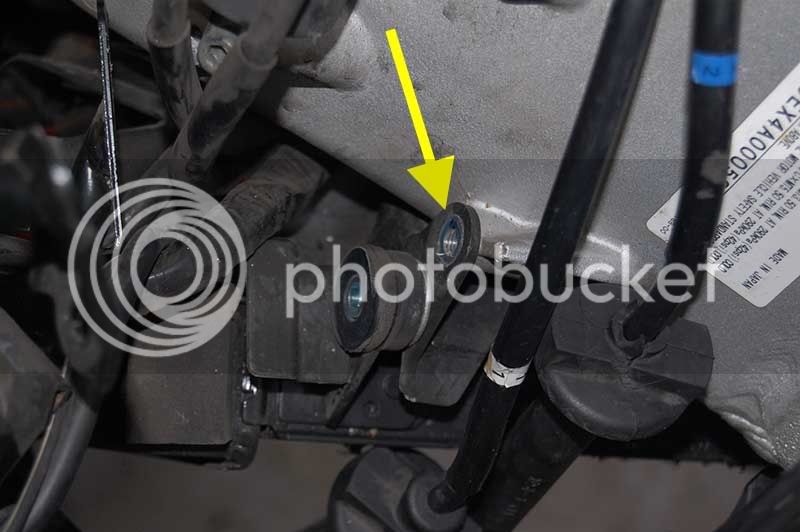
And here's the same mountpoint with the battery bracket, battery and attendant wiring swung out of the way

day_02f.jpg


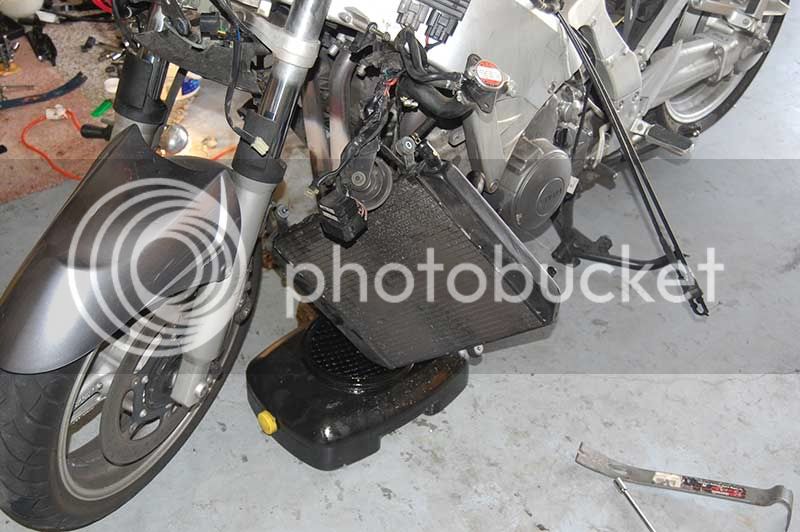
All 3 bolts removed, all 72 houses pried off (that's what the construction grade pry bars are for) and there's only one attachment point left...the fan motor connector, which is up in the connector cluster by the radiator filler. Here we are moments before final disconnect:

day_02h.jpg


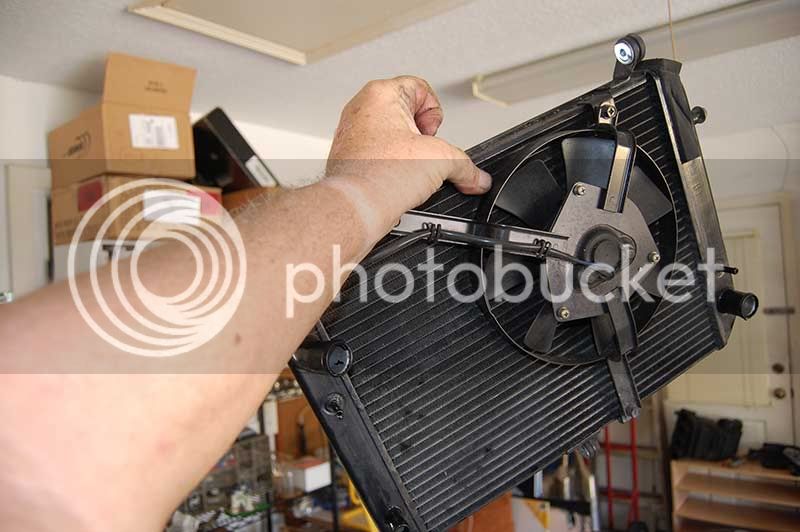
...and finally -- SUCCESS!!!

day_02i.jpg


Note to future radiator removers: Draining the coolant system at the drain plug below the water pump, while necessary, will NOT drain all the coolant out of the various hoses running to the radiator, and from the radiator itself. Keep a catch basin handy. There will still be about a pint of coolant left in the hoses and the radiator itself that WILL dump all over your work area as you remove the radiator. Keep plenty of rags handy as well.

Exhaust system is next. Even bought a 3/8" drive 8mm hex "socket" so I wouldn't have to fiddle with a standard "L" hex wrench to pull 'em out.

Stay tuned.

 
Howie
That sure is a pretty green King (Rex) sitting on the other side of your garage.

day_02d.jpg


I hope you plan to take it for a spin sometime this weekend just to keep things in focus.

This is supposed to be fun!
:hyper:


Right?


:tomato:
Too hot to work...too hot to ride...too hot to fu.......well, NEVER too hot for that, right?

Rex needs sprokets and chain. Stocker's dunfer at 29,000 miles. Still driveable, but VERY "crunchy" from the swingarm area, if ya know what I mean.

Might take him out for a spin at sundown, when the temps drop back into the upper 90s. :)

 
Last edited by a moderator:
[SIZE=18pt]DAY TWO CONCLUDES.....[/SIZE]

Just finished pulling the exhaust. No problems.....one minor mystery (skip to the last pic if you're impatient)

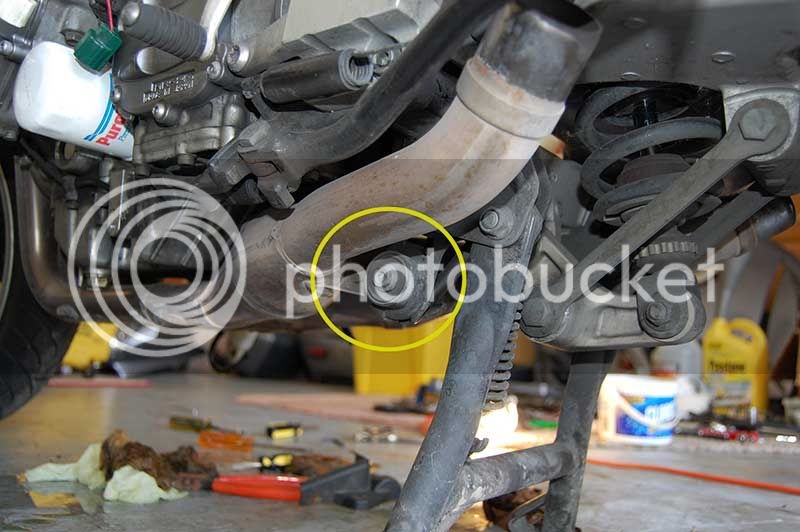
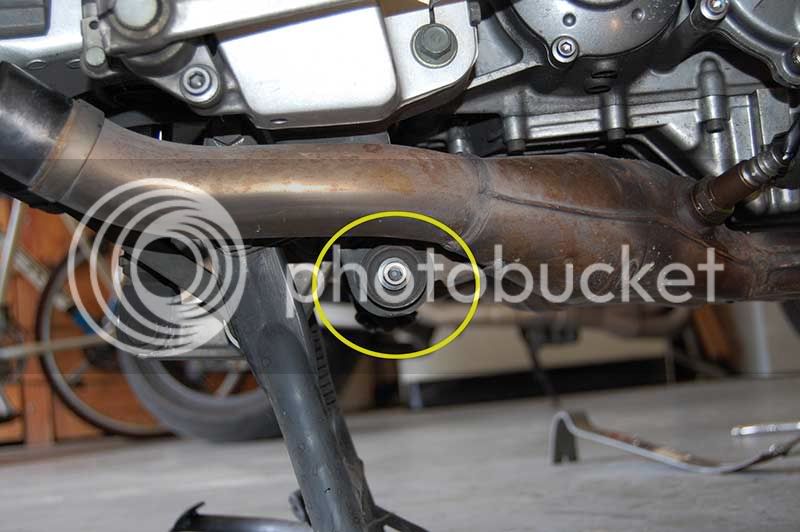
10 fasteners to remove the headers and catalytic converter assy.

Two bolts below the swingarm area, right next to the dogbones:

day_02j.jpg


day_02l.jpg


And the eight hex nuts bolting the header to the block:

day_02k.jpg


Don't forget to unsnap the O2 sensor in the engine bay and snake the wire down and out of the frame. A little wiggling and

SUCCESS!!

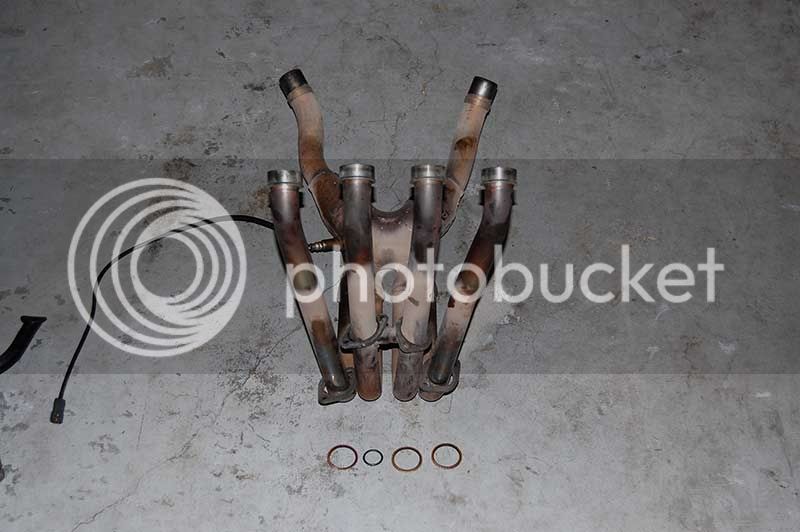
day_02m.jpg


Now for the mystery for those of you playing along with the "RadioHowie Tears Something Up" Home Edition....

What's odd about the last picture?

The answer is below, "spoiler" stealthed within the brackets. Click and drag with your mouse to highlight and read.

{the #3 exhaust header gasket isn't the right size. In fact, it was completely missing. Didn't fall on the floor. Not in the cylinder head recess. It just isn't there. That leads me to believe one of two things.

1 - The original owner had some work done and someone forgot the gasket, or

2 - Someone at the Yamaha factory said "OH SHIT" after putting my motor together and had an extra exhaust gasket left over!

The O-ring you see there is the O-ring that goes where the thermostat housing mounts to the coolant pipe on top of the valve cover. Mine went missing way back in February the first time I pulled my valve cover to make sure my valve timing was okay....I had to procure a new one....and installed the new one just hours before my final start-up from my fuel pump replacement and before my catastrophic cam chain tensioner failure. It's been sitting on top of the cat converter area for 7 months, waiting to be "found"}

That's it for today. I'm wrecked. Need a shower. Need a ride on REX. Next step is unbolting and dropping the motor. THAT should be fun. :)

'Howie

ps: For anyone who's gone through this procedure (OCfjr?) do you have to pull the drive shaft out of the U-joint coupling before dropping the motor? If so, I haven't spotted that little bit-o-trivia in my FSM.

 
Last edited by a moderator:
ps: For anyone who's gone through this procedure (OCfjr?) do you have to pull the drive shaft out of the U-joint coupling before dropping the motor? If so, I haven't spotted that little bit-o-trivia in my FSM.
That's exactly what came to mind when you said next step, drop the motor. the motor would have to slide forward to remove the u-joint if it hasn't already been removed. Just the shaft might be enough to let it drop down vertically, I don't know. The u-joint might not clear the frame. Need to pop one end of the shifter bracket, too.

Other things I can think of: electrical connections for the stator, the neutral switch, crankshaft sensor, speed sensor. I don't know where the coolant temp sensor is offhand, but it probably didn't come out with the radiator stuff. Also, the big cables for the ground and starter. I've not dropped a motor out of the bike, but those are just things I'm aware of that the motor carries.

 
Last edited by a moderator:
... the motor would have to slide forward to remove the u-joint if it hasn't already been removed. Just the shaft might be enough to let it drop down vertically, I don't know. The u-joint might not clear the frame...
I would tend to agree, Pull the rear wheel, pull the differential, slide the U joint off the motor output spline. You don't need to be fighting that bugger with a heavy motor hanging by a bolt and a prayer.

Enjoy the ride tonight on Rex.

Brodie

 
Howie, along with screwing nuts and bolts back in, I also use masking tape marked with the the same number for each electrical connection, water hose and vacuum hose, unless it's completely obvious. This can save time both in assembly and not having to do it twice. Also, next time you take it apart the tape with numbers are already there.

 
ps: For anyone who's gone through this procedure (OCfjr?) do you have to pull the drive shaft out of the U-joint coupling before dropping the motor? If so, I haven't spotted that little bit-o-trivia in my FSM.
That's exactly what came to mind when you said next step, drop the motor. the motor would have to slide forward to remove the u-joint if it hasn't already been removed. Just the shaft might be enough to let it drop down vertically, I don't know. The u-joint might not clear the frame. Need to pop one end of the shifter bracket, too.

Other things I can think of: electrical connections for the stator, the neutral switch, crankshaft sensor, speed sensor. I don't know where the coolant temp sensor is offhand, but it probably didn't come out with the radiator stuff. Also, the big cables for the ground and starter. I've not dropped a motor out of the bike, but those are just things I'm aware of that the motor carries.
Thanks for playing, Walt.

I'll pull the rear wheel, FD assy. and U-Joint before continuing. The shifter bracket is a "must be removed" item and is already off. Shifter is nice and filthy, and "grabby" as well. Lots of cleaning to do before reassembly, but that's well down the road from now.

Coolant sensor, BTW, is in the coolant pipe above the valve cover. Keeping track of all the wiring is gonna be easier with Juicy's suggestion of taping and labeling. Fortunately, Yamaha had the foresight that very few of the connectors will mate up to the wrong wire.

 
Top