Another take on hydration...

Yamaha FJR Motorcycle Forum

Help Support Yamaha FJR Motorcycle Forum:

This site may earn a commission from merchant affiliate links, including eBay, Amazon, and others.

txvoyager

Well-known member
Joined
Jun 21, 2011
Messages
134
Reaction score
13
Location
Greenville, TX
Just thought I'd post my recently installed setup for on-the-road hydration... Now to get on the road and try it out!

WP_001423.jpg


Looks like it ought to work just fine. How is it attached to the foot pag mount????

Where did you get the hose, bite valve and insulating hose cover????? Mine is in the shop somwhere but I can't find it.

 
That's the same setup I've got. I use a strap from my boat mooring cover, cut down that goes around the rear peg support and the strap on the cooler goes under the foot peg. I bought a barbed brass tube that sticks through the lid and 14 inch tubing from Home Depot. Cut just enough tube to reach the bottom and on top enough to loop through a handle on my tank bag. A bite valve from my camel back and perfect.

 
Parts list:

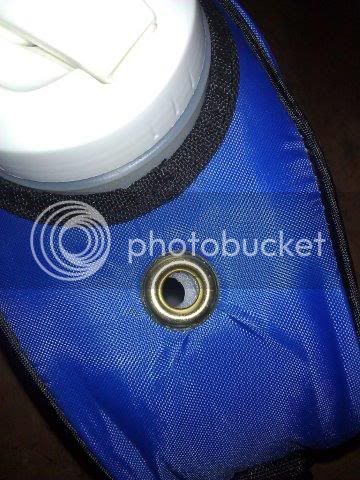
1-gallon jug from Wal-MArt (even come in several colors!) modified with a grommet and 3/8" hole drilled in the jug for tube...

WP_001425.jpg


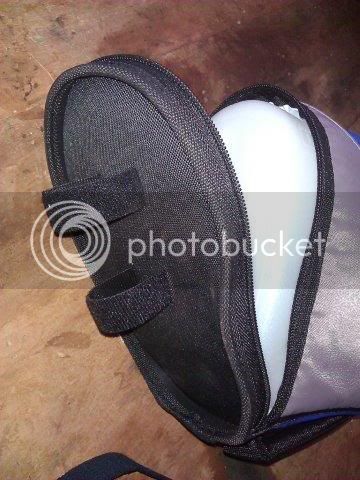
Cut out a piece of plexi in the approximate shape of the base and cut four slots in it to match the position of the foot peg. This will take a bit of any pressure of the straps off of the jug's insulated liner I hope...

WP_0014232.jpg


Inserted two pieces of 2-sided Velcro through slits in the bottom of the insulated wrap and through the slots in the plexi. These will wrap tightly around the foot peg without removing the rubber bits...

WP_001424.jpg


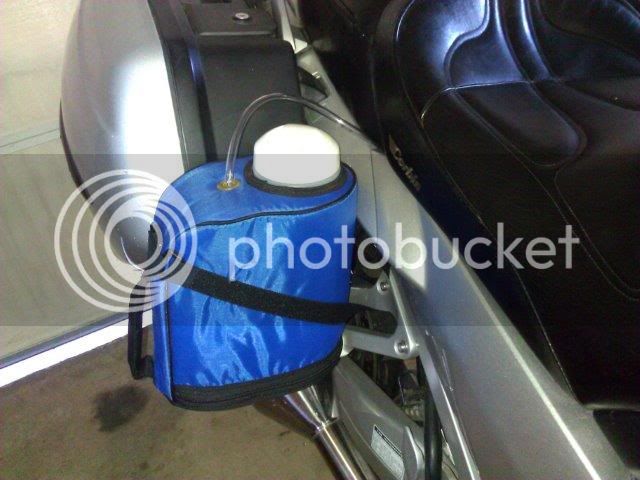
Wrapped an elastic Velcro strap (form Lowe's) around the foot peg support for a little vertical stability. Though it seems to hold well, this isn't a perfect solution and I'd welcome suggestions for a bit more vertical stability (although the natural pressure of the air coming around the fairing will naturally push the jug back against the side case)...
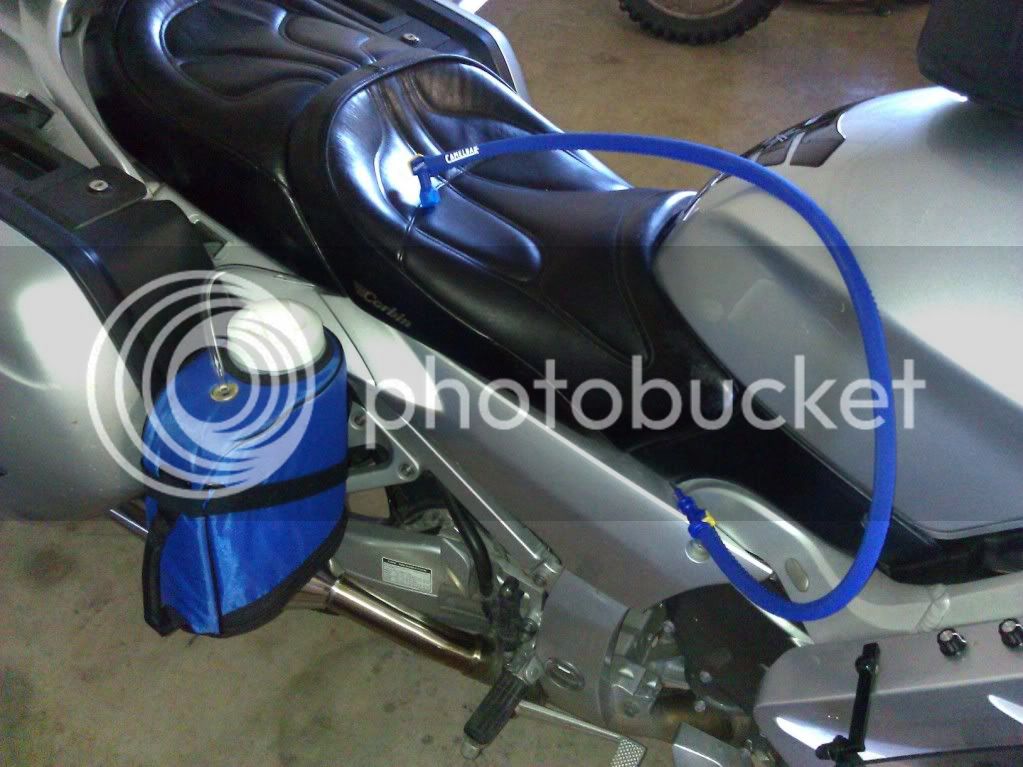
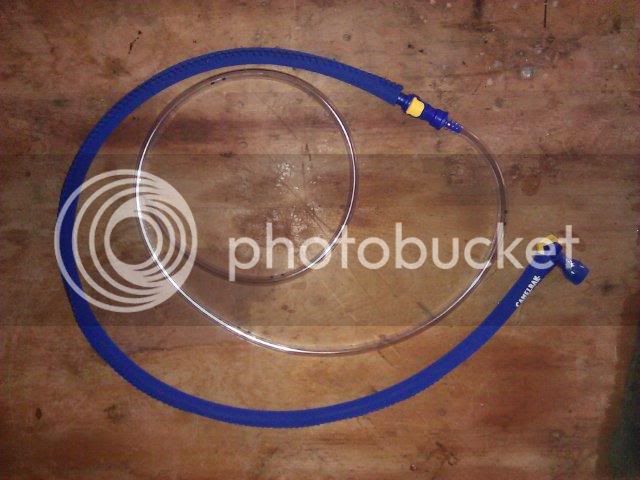
WP_001422.jpg


Connected a Camelbak Antidote Insulated Tube (comes already insulated) to 45" of 3/8"OD/1/4"ID tube with a quick disconnect from a Camelbak Quick Link Conversion Kit. The Camelbak products can be googled and sourced from a wide variety of online and local vendors at a discount to the prices on the Camelbak site. The vinyl tubing runs in the channel under the seat and will stay in place. The jug can be removed, as, of course, can the insulated section via the QD...

WP_001427.jpg


And then made a second one for the other side! Two gallons on board should be more than enough, huh? First ride today seemed to go well. Now to figure out how to easily attach the bite valve end to my tank bag....

 
Most of us seem to use a Gear Keeper on ours. You can find them at most truck-stops. Look for one that doesn't have too much tug on it (a low-force model).

 
You can also use one of those ID badge spools. It clips somewhere, you pull it out and it will spool back up when you let go. A lot of places give these out free with their logo on them.

 
I have used the same one for four years with similar straps sewn in the bottom. I use a bungie cord to hold in place. 80,000 miles and going with no problems.

FYI...You do know that the drinking spout will pop out and has the same size hole as the hose, which eliminates cutting an extra hole in the jug.

 
Maybe I'm the last guy on the forum who found this out, but I posted a question a while back about how to insulate the tubing on a camelbak-style pack cuz that first mouthful of hot water or whatever was kind of unwelcome, but I hated to spew it out all over myself while riding to keep from swallowing it, plus it's a waste of a limited commodity. Somebody was kind enough to provide the following wisdom: blow the water back into the cold jug or backpack to clear out the hose when you're finished drinking. That way, it's all insulated and stays cool longer, plus that way you really don't need the jacket over the hose at all. It really doesn't do that much good anyway. Easier to get a "plain" hose whatever length is convenient for you too, if you aren't fussing with trying to force the hose through the insulation and everything, too.

 
Top