Peter_MA
Well-known member
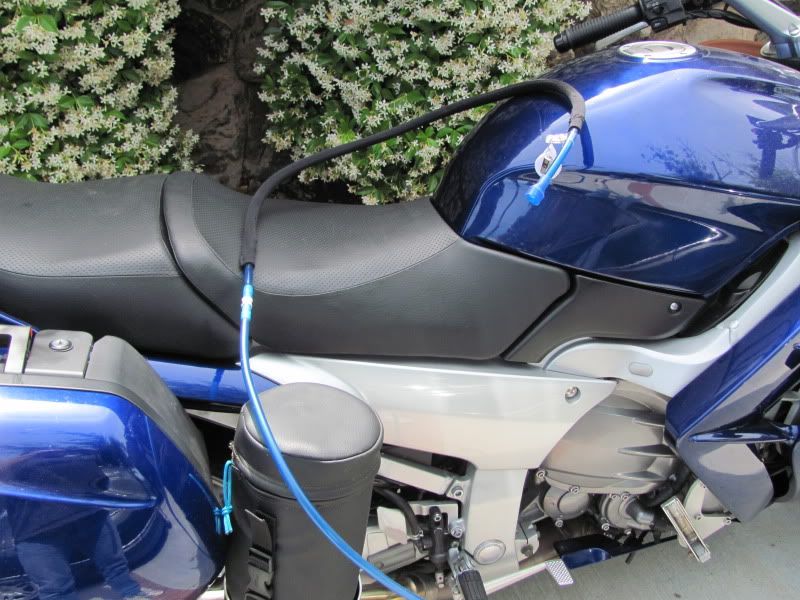
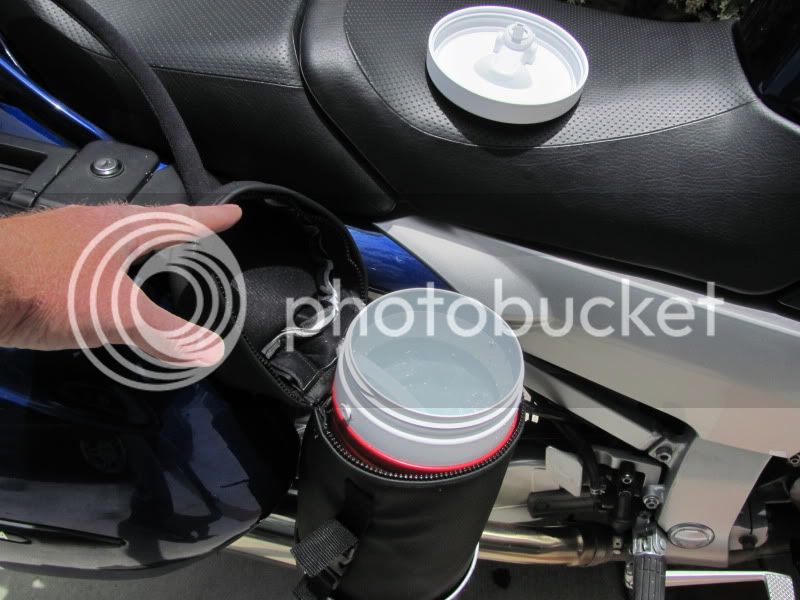
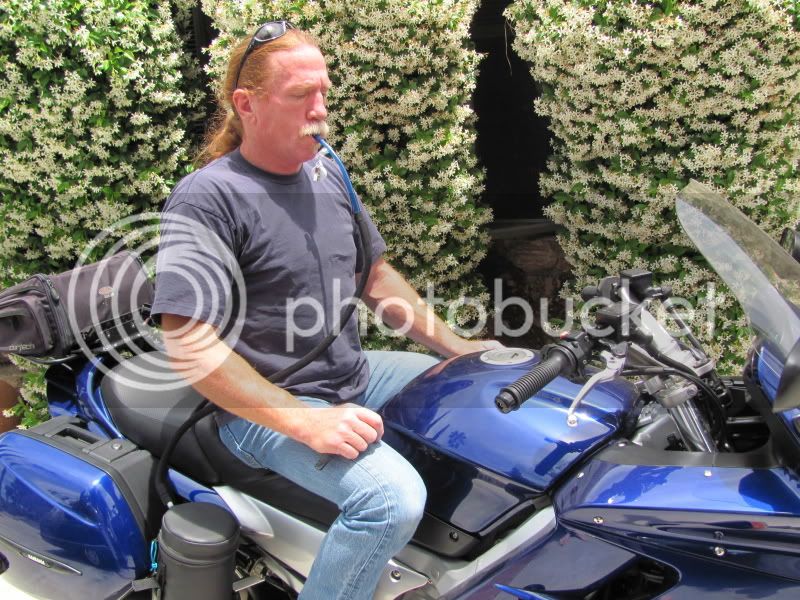
Geez, with a little more thinking you could make it easily removable and use the pot for cooking while camping :yahoo:I built one recently using a 2-L insulated thermos with a camelback bladder inside. The thermos is just used to keep the camelback cold. The filled bladder goes in first, followed by ice. I suppose I could have skipped the camelback, but with this set up, that's the only thing I have to clean and the thermos can stay on the bike.
I'm trying to figure out if there's a way to slightly pressurize the thermos so that the water will be "self dispensing" like a drinking fountain and I won't have to suck so hard (insert jokes here).
Friday?
")