


That's smart! Did I mention I like it a lot?
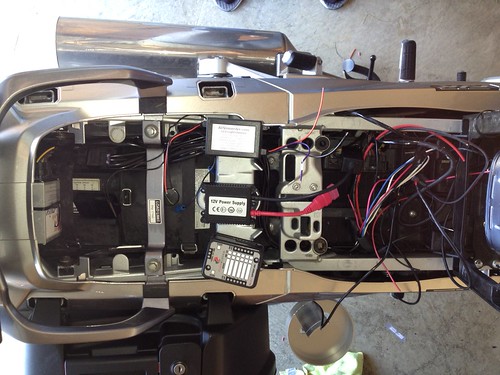
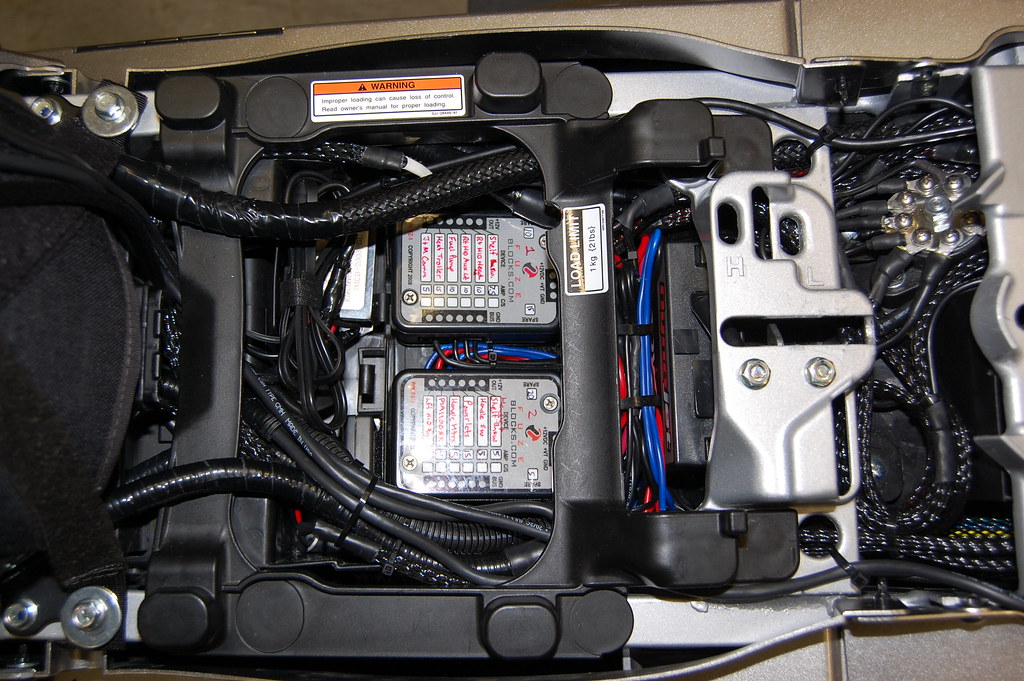
What is the grounding sprocket looking thing aft of the fuze locks doing? Is that just an attachment point to bring em all together?
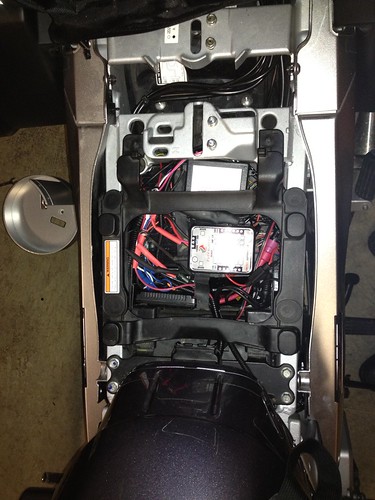
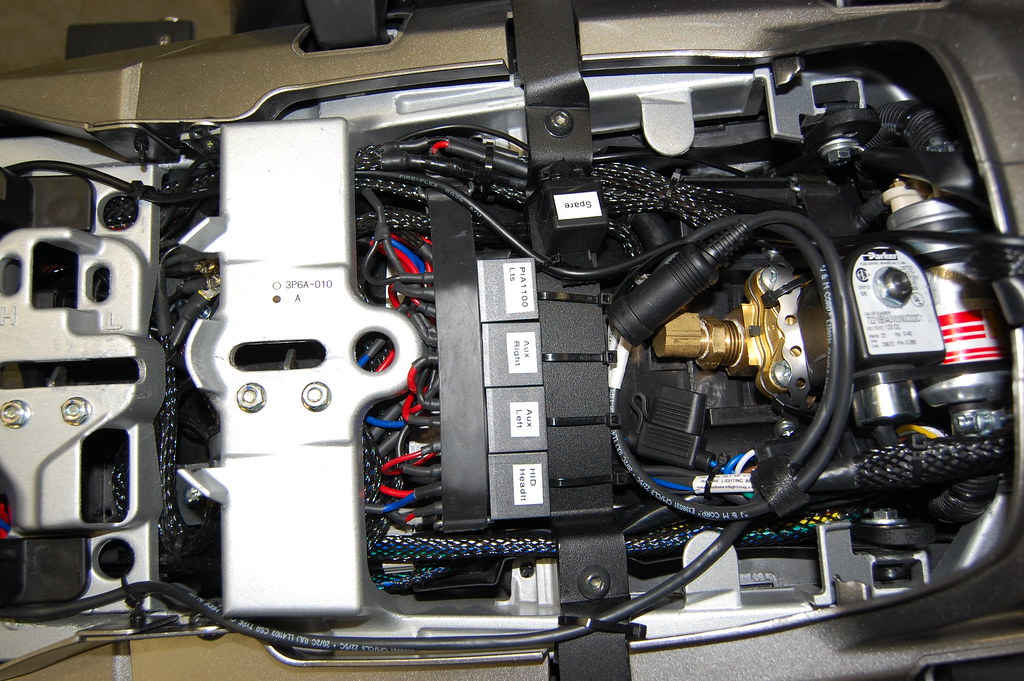
Was also asking about if they're just velcroed to the black computer and if you used the bottom plastic piece on the FZ-1's and still had room (height)?
Thanks again, I just might want another one.
What is the grounding sprocket looking thing aft of the fuze locks doing? Is that just an attachment point to bring em all together?
Was also asking about if they're just velcroed to the black computer and if you used the bottom plastic piece on the FZ-1's and still had room (height)?
Thanks again, I just might want another one.


")