Main difference seems to be the dimensions and angle of the arm that you step on.
As for the center stand bracket being different on 3rd Gens, that does seem to be true. But, if you do the maintenance the way I have been doing it, the fact that the right side center stand pivot bolt goes in from the outside doesnt matter, since I dont take that one out while its still mounted on the bike.
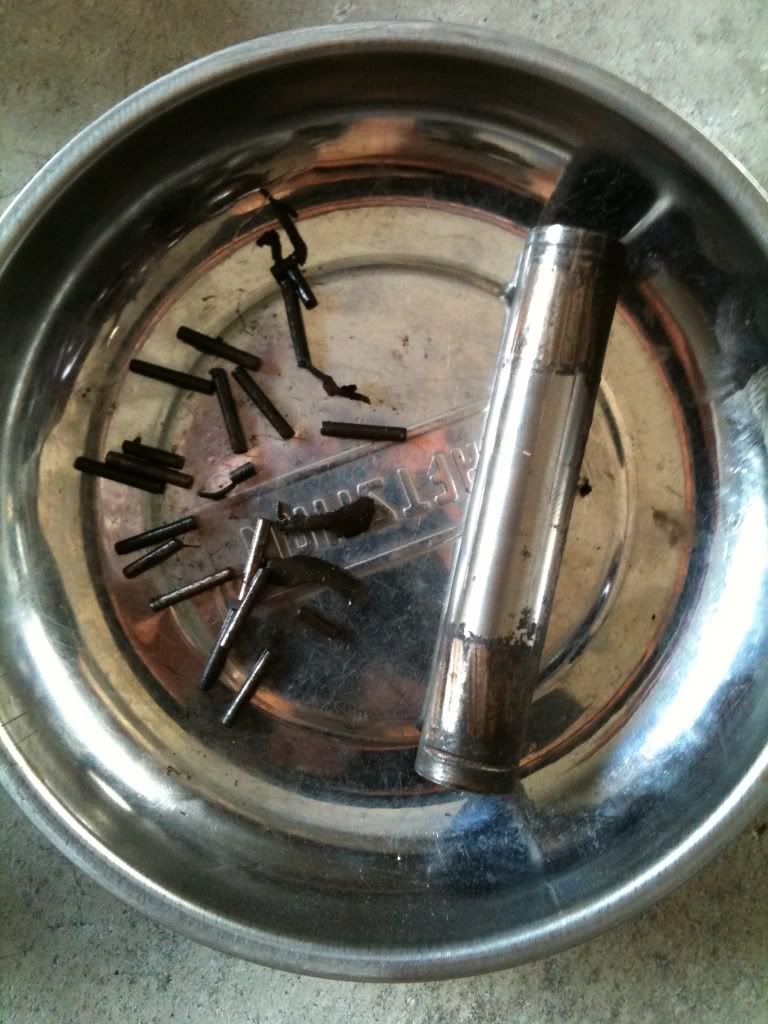
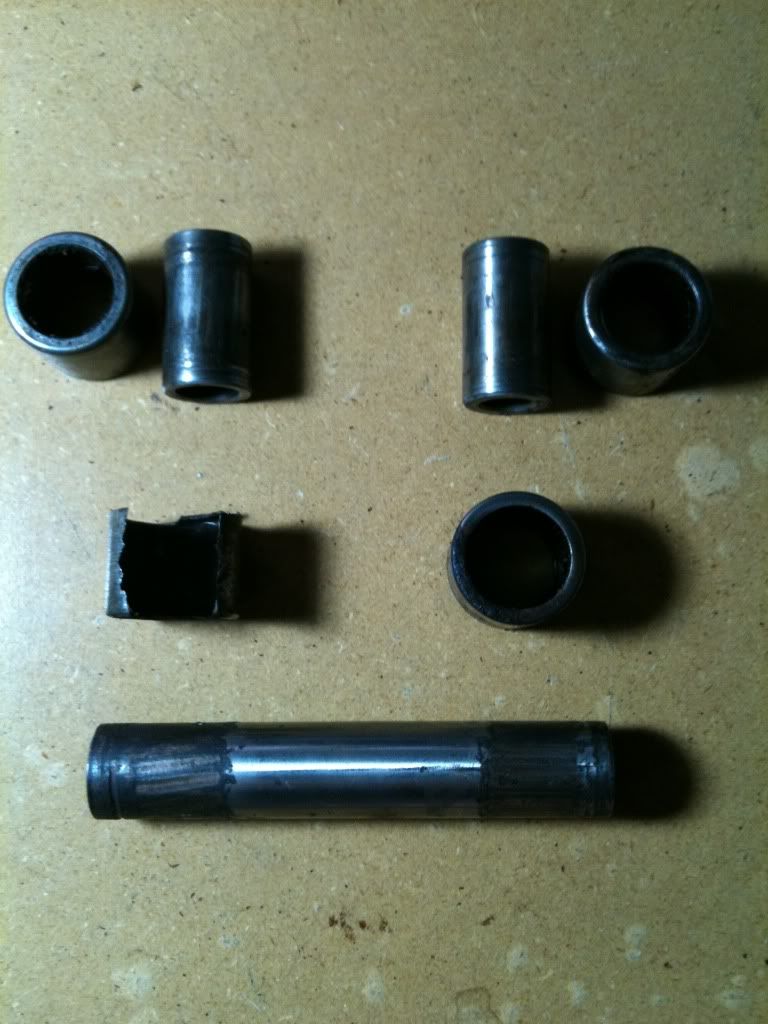
On the right side, I remove the two smaller bolts that secure the bracket (one of which needs to be cut off the first time and reversed on reassembly), and on the left side I leave the bracket on and remove the pivot bolt, which goes in from the inboard side. After the centerstand is on the bench you can easily remove the pivot bolt for cleaning and greasing.


")