Ok, know I said I was going to wait, but I also said I would never organize another NERDS event, and that is happening too.
I stumbled into an
even better deal than that Home Depot Brinkman Trailmaster for $200:
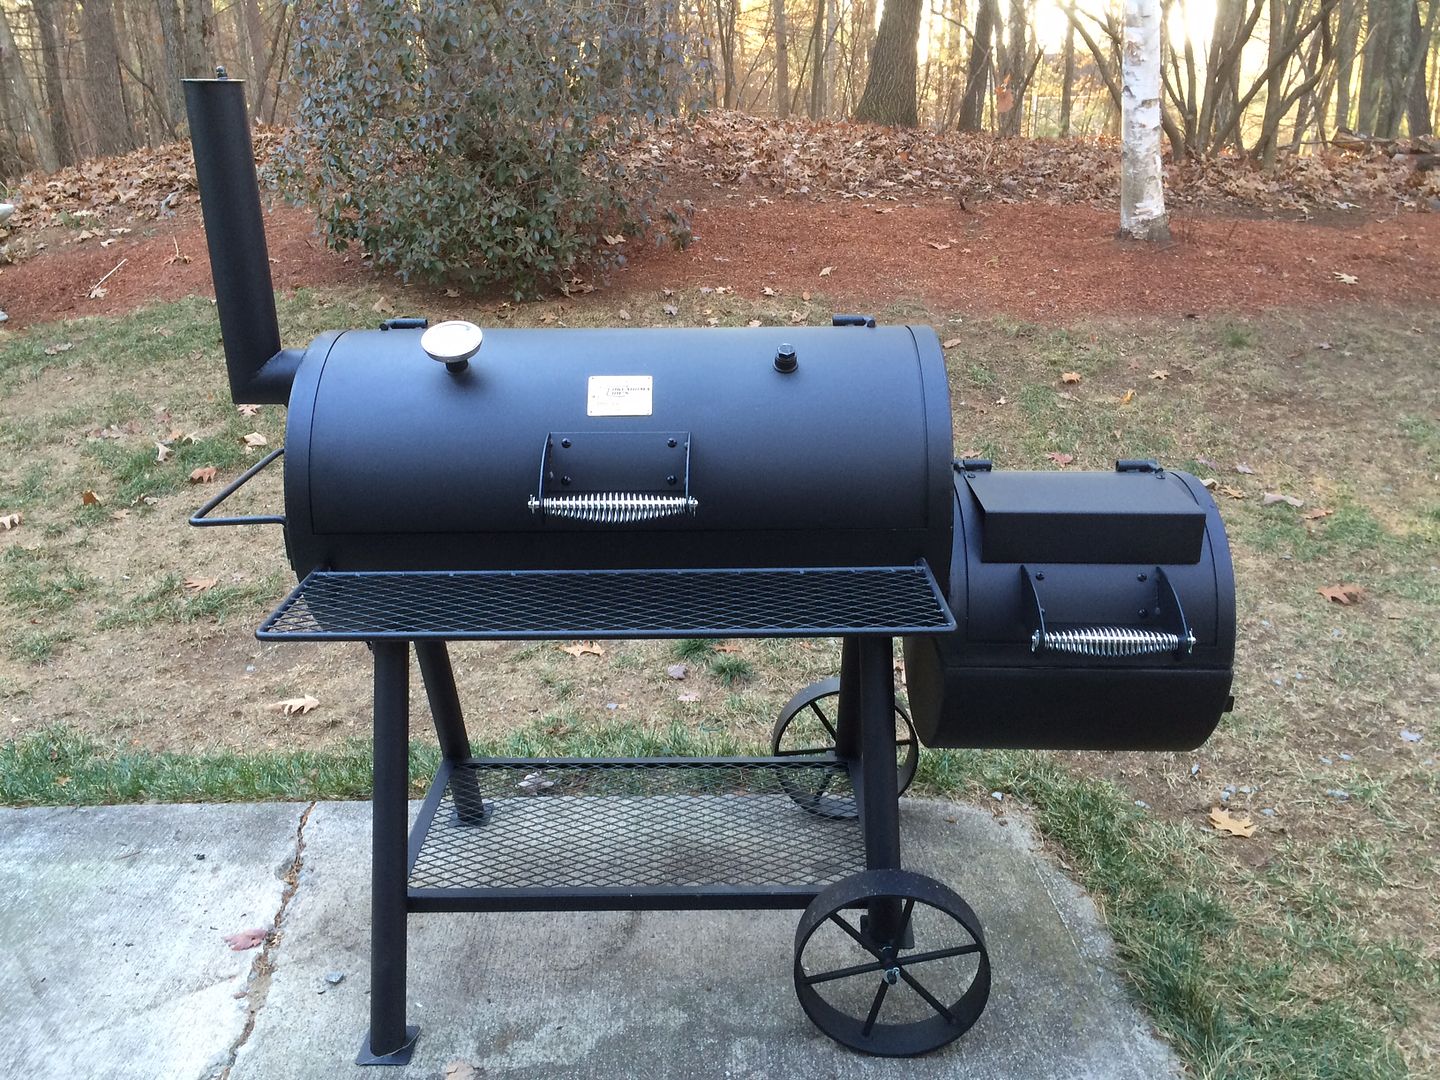
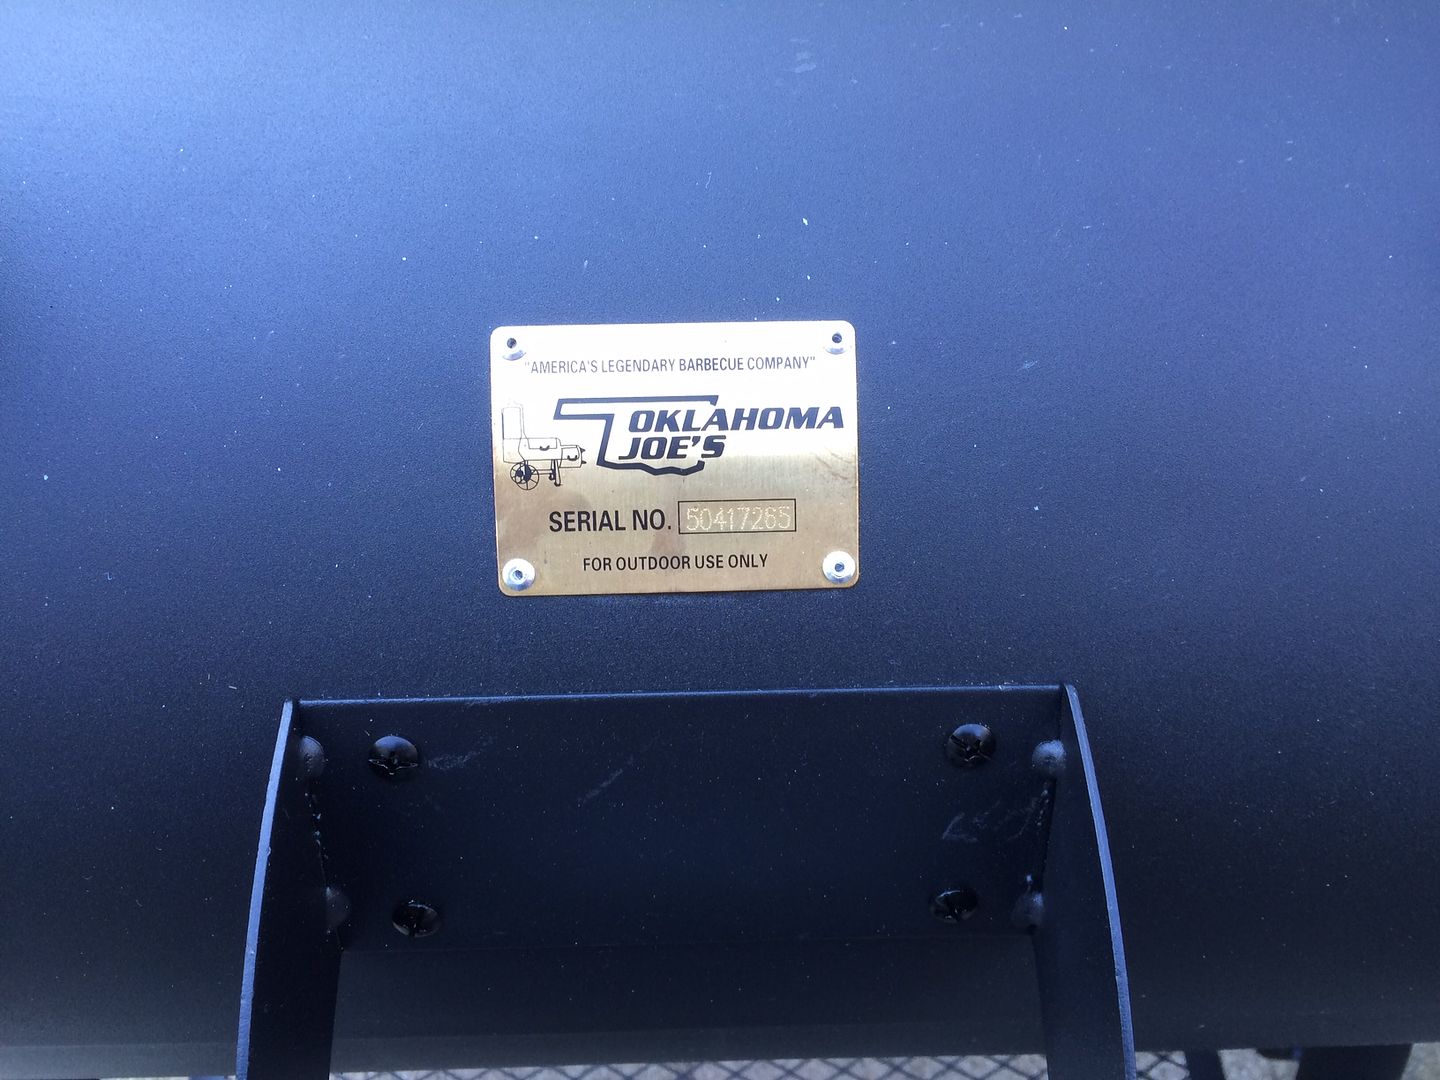
The local Wally World had 3 Oklahoma Joe Highland model smokers on clearance for $180!! To my eye, the OK Joe looks like a slightly better quality unit than the Trailmaster was. It is all relatively heavy gauge steel (12 gauge), it has a good sized cooking chamber for backyard / family use , a reasonably big fire box, with both a top hinged lid with warming shelf and a side / end door for stick burning. I figured that, even if the firebox doesn't work out great, I could just get a bigger/heavier gauge one made up and bolt it up to this cook chamber and be money ahead.
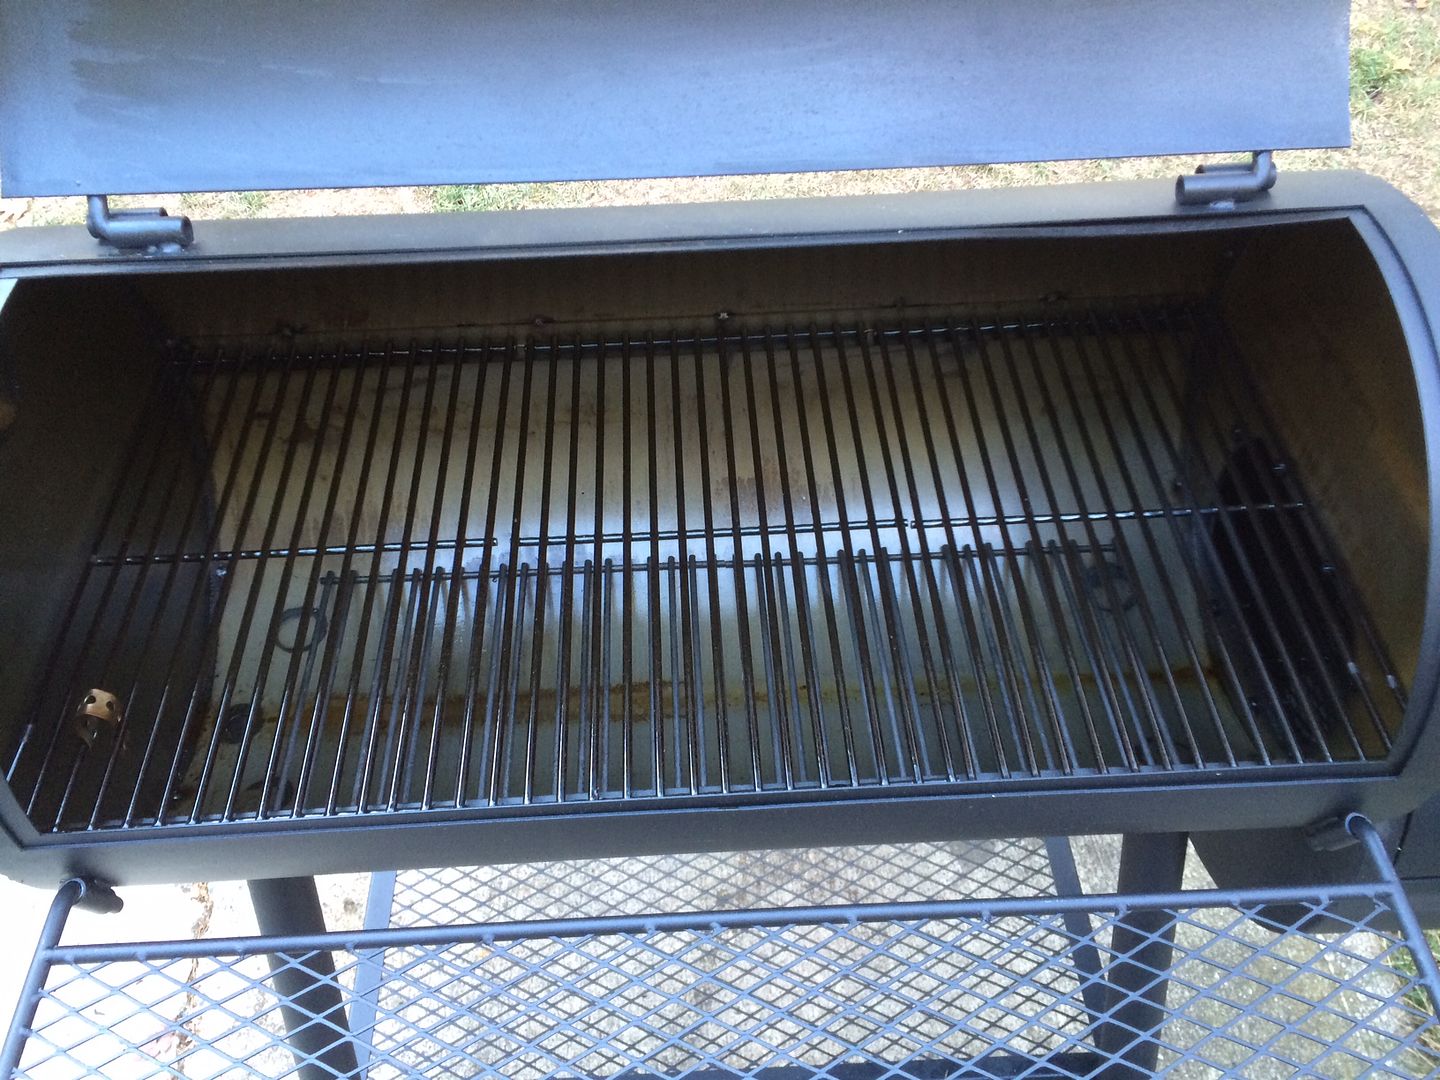
The cooking chamber is a welded, one piece cylinder with a front hinged door let in, and some backing strips tack welded behind for a lip. It and the firebox upper doors fit
relatively well, though I've already ordered a
gasket and latch kit from bbqsmokermods.com to seal them up better. I assembled it yesterday and used black Furnace Cement to seal between the upper and lower halves of the firebox, and also between the firebox and the cook chamber.
In addition to the gasket kit, I also ordered the
custom tuning plate from bbqsmokermods.com. It's a bit pricey, but they guarantee you'll have even cooking temps running that. I'm thinking that a tuning plate should be slightly more fuel efficient than a full-on reverse flow conversion as the smoke won't have as much distance to pass along cool metal walls of the chamber. Plus, I like the way the chimney hole is welded into the cook chamber and did not want to lose that.
Sprayed all over the inside with canola oil, and ran a short (~ 4 hour) seasoning smoke using the small minion method charcoal box that I'd made for my little COS. The only smoke leakage I saw was at the edges of the doors where I'll be sealing with the gaskets and RTV. I had reasonably good temperature control just using the vent in the firebox and adjusting the draft on the chimney pipe.
At some point I'll have to figure a way to fully seal the edges of the firebox end door and install a couple of pipe thread nipples and a ball valve for more precise air control when burning charcoal. I also need to tap and install a ball valve on the grease drain bung in the bottom of the chamber as that is obviously a big air leak.
I also still have the gas burner that I used in my little COS and may use that option for really long cooks as that will provide a steadier temperature than the burning charcoal or wood.
Here she is:
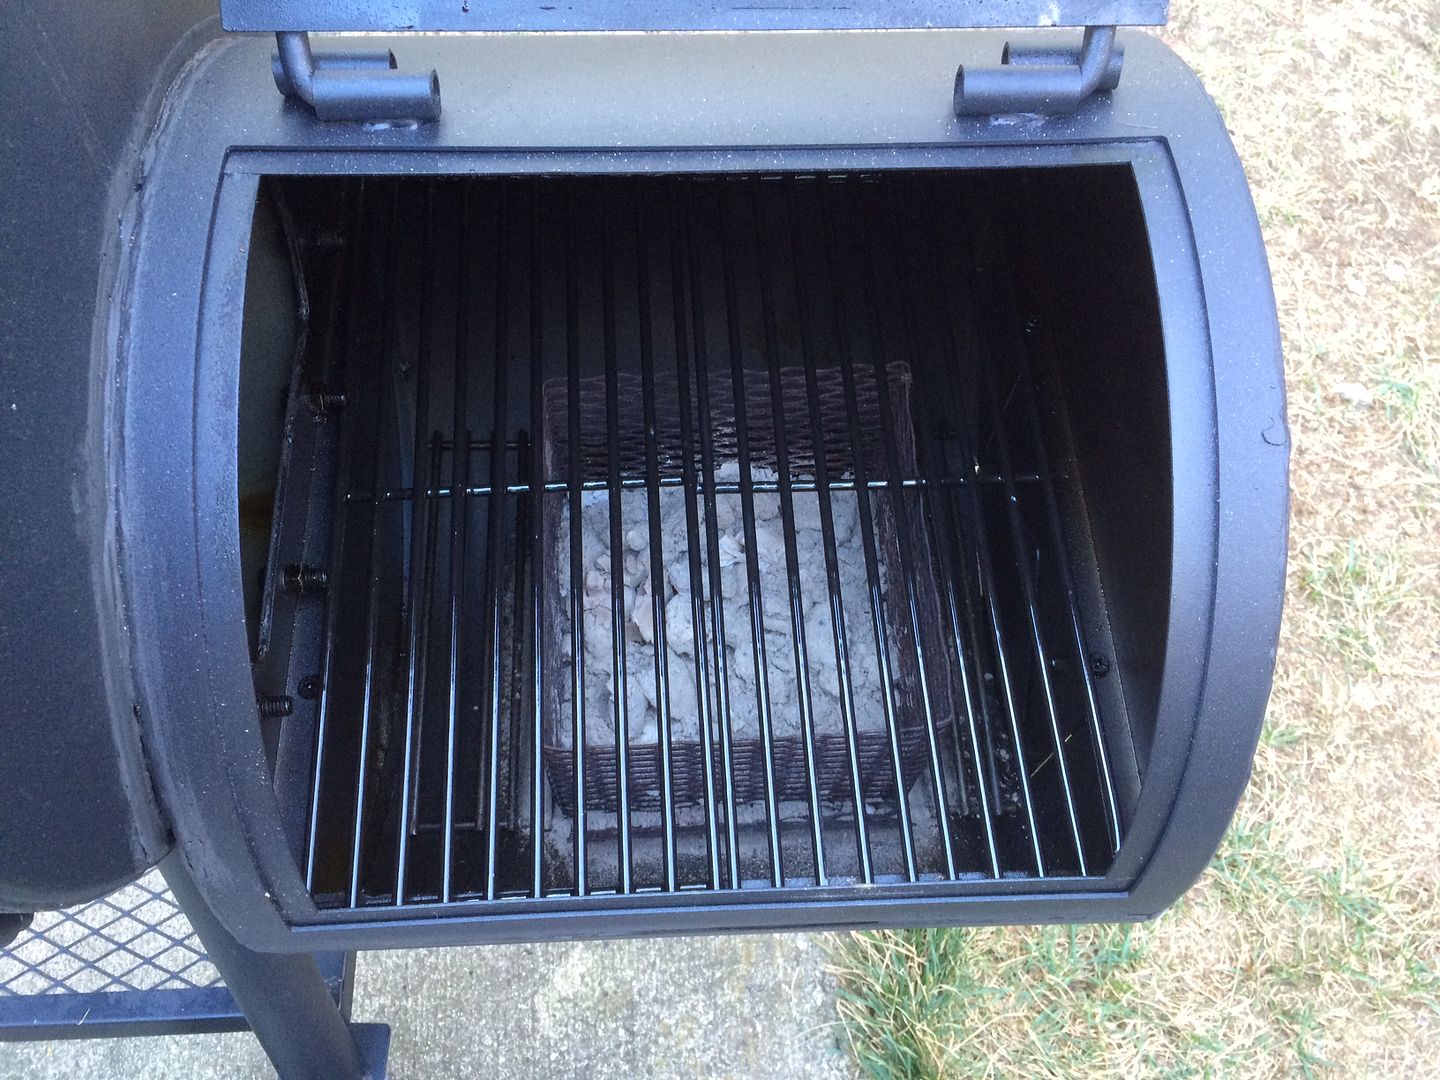
Cooking Chamber
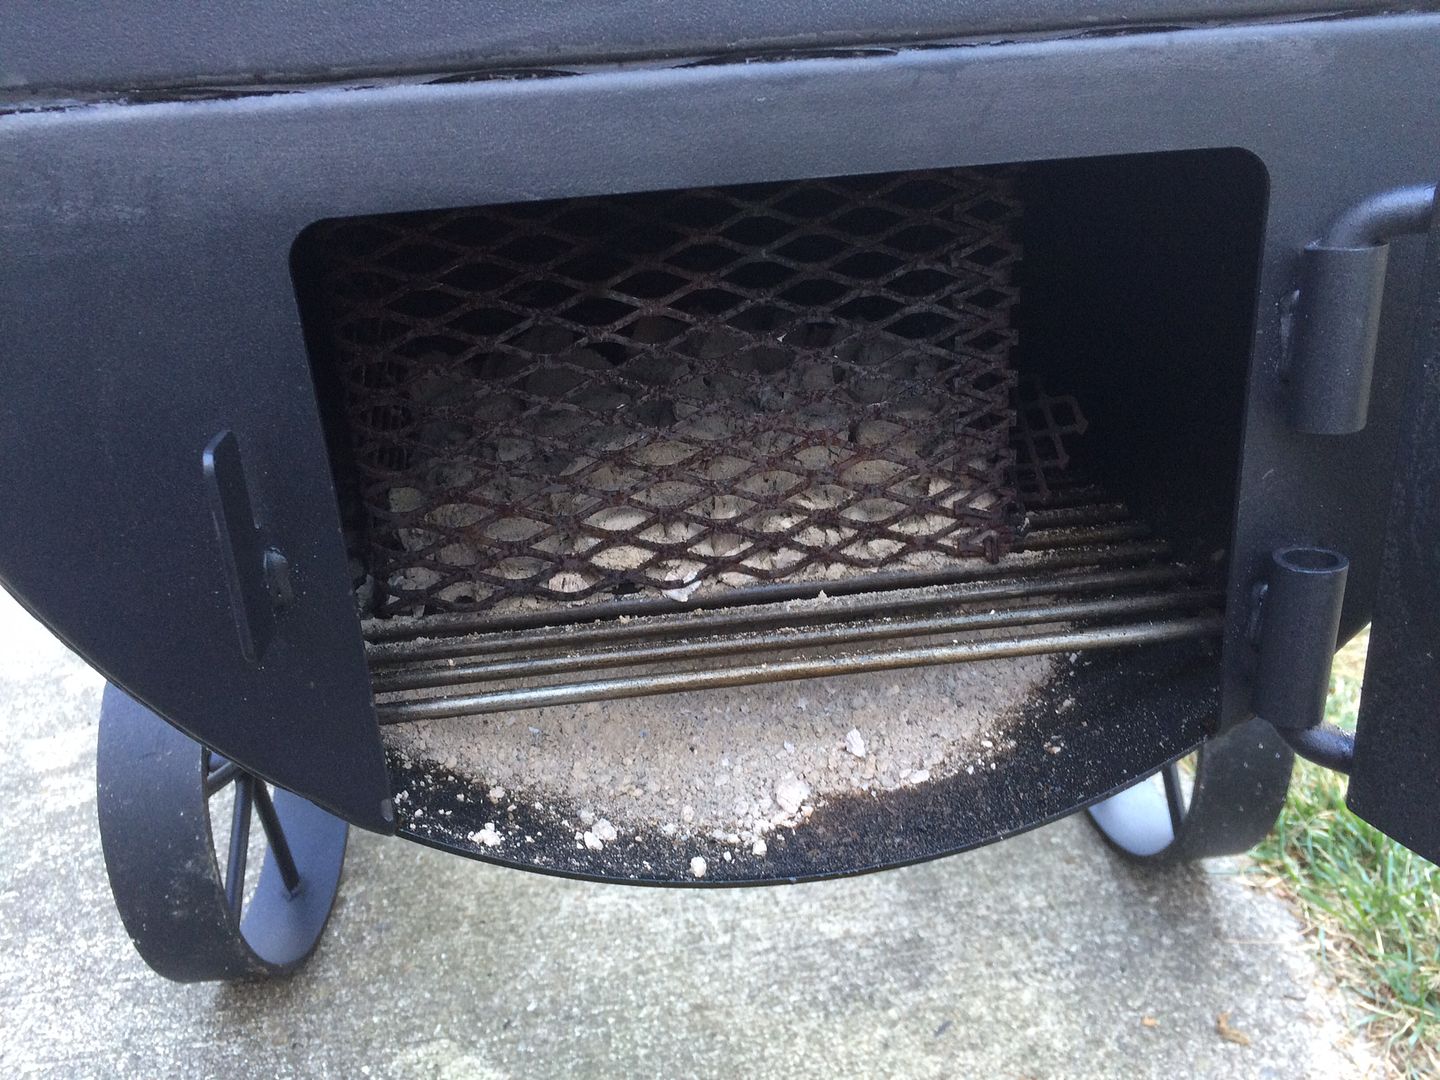
Firebox with my small minion charcoal box inside. Need to make a much bigger one.
I'll probably never use those cooking grates, I just stuck them in there to store them for now
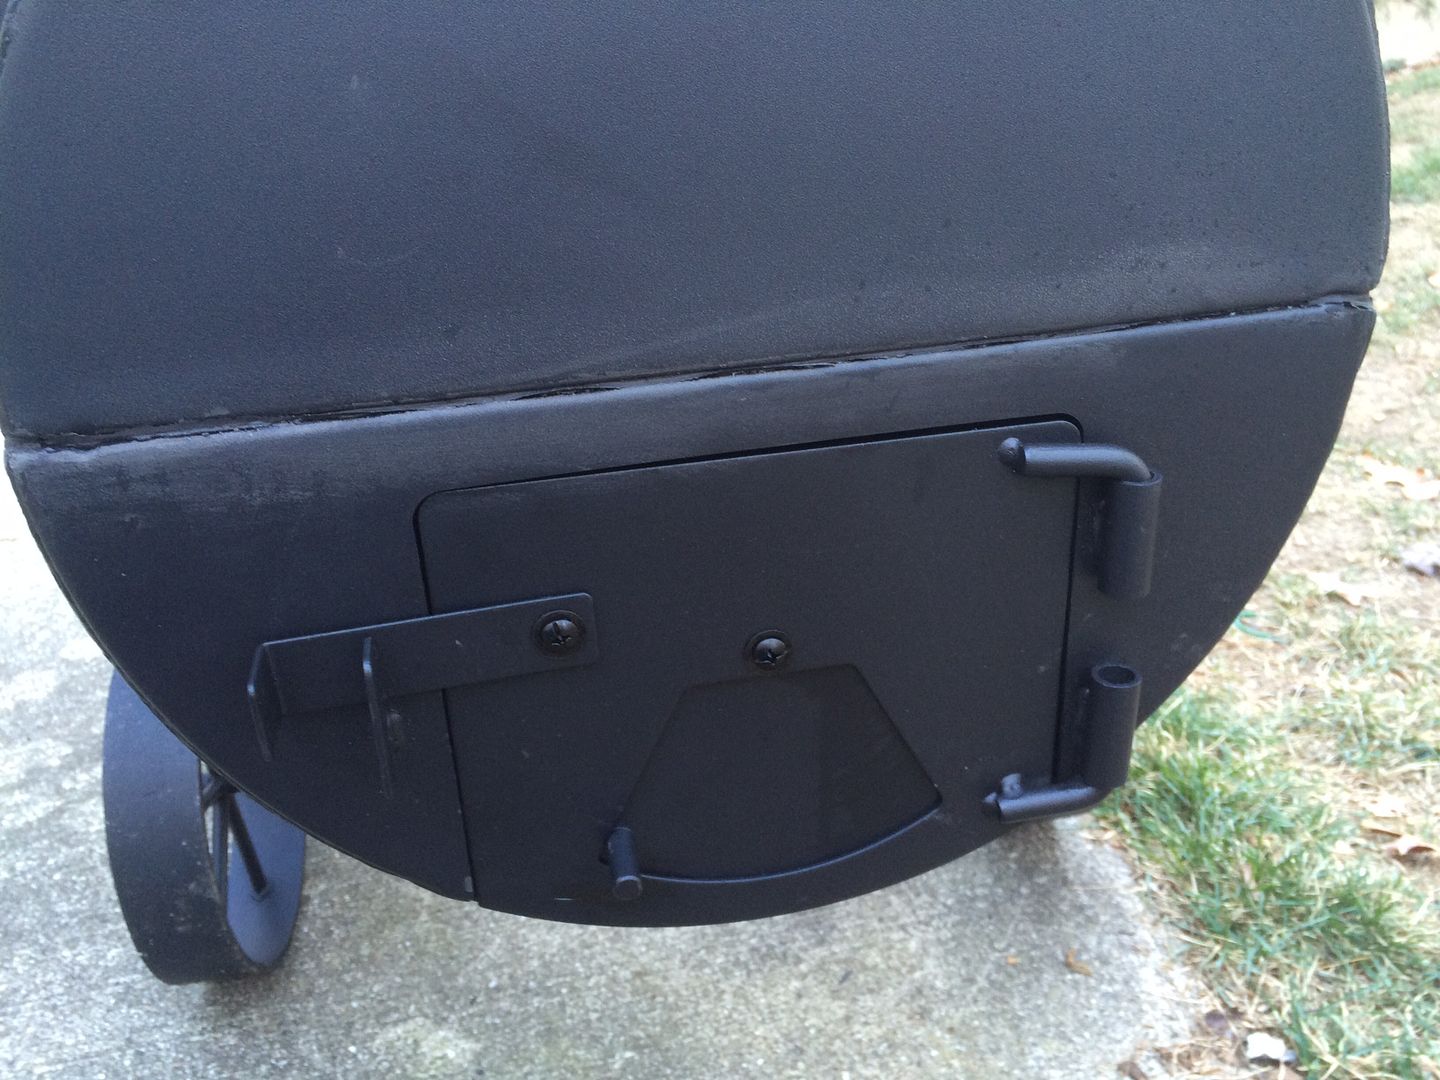
End door on firebox has the main fire vent. (note furnace cement shrunk a little after curing)
This end door is going to be a big benefit IMO, for burning logs. Just need to get the edges all sealed up somehow for when using charcoal.
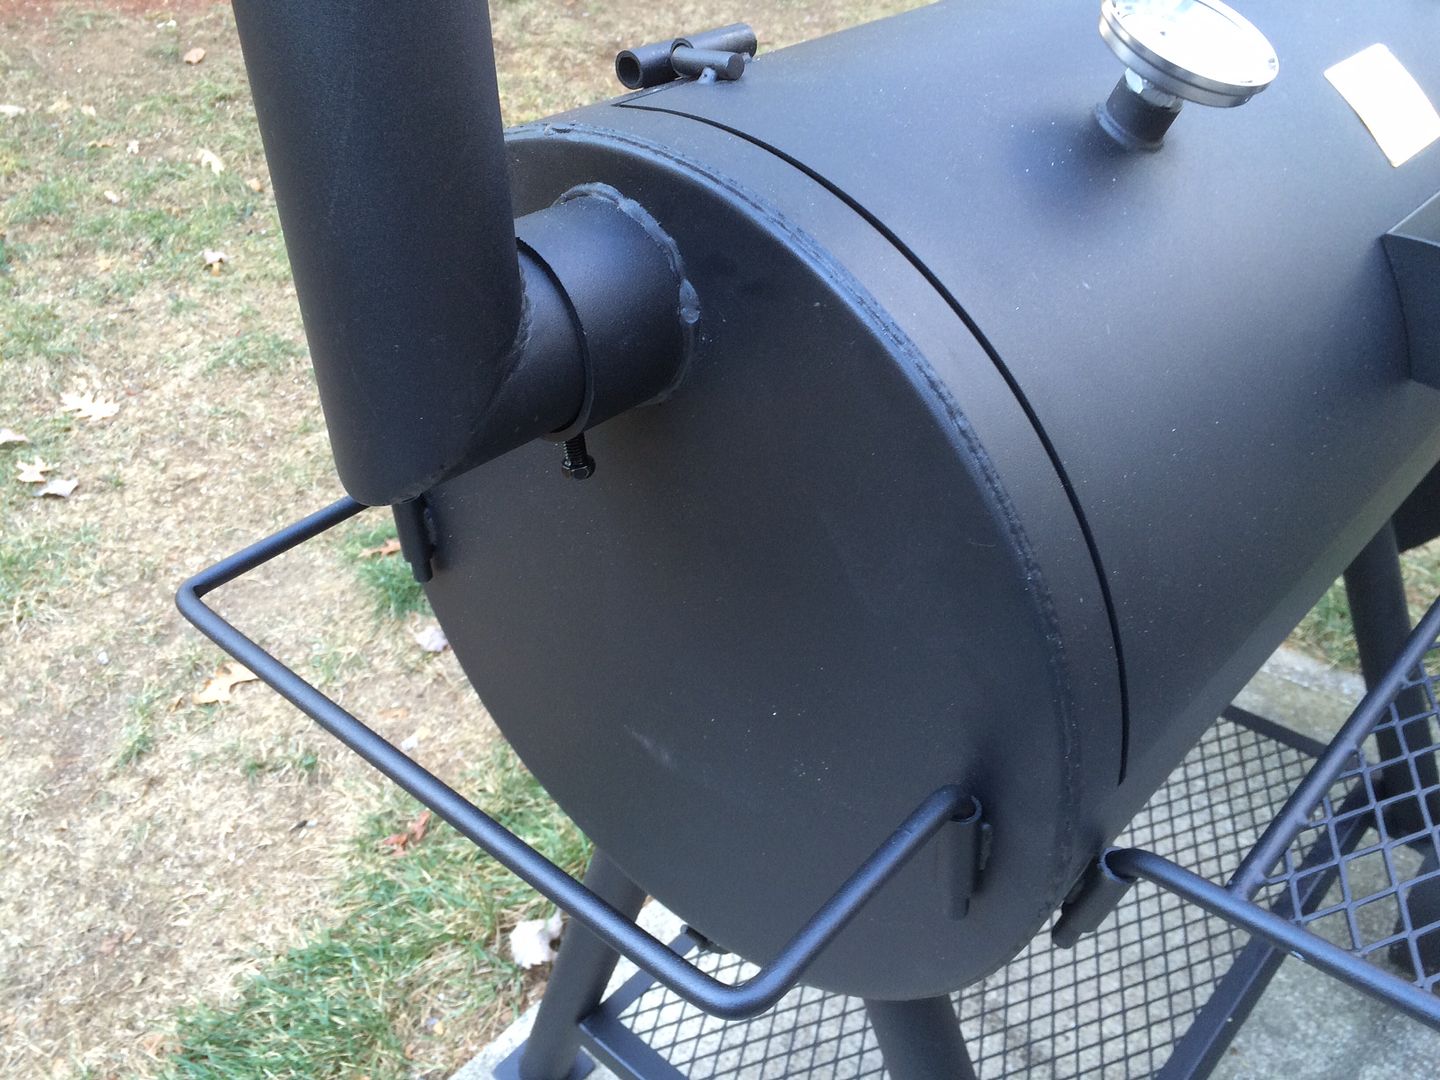
I like the way the chimney mounts, too. There is just enough space between the chimney pipe and the bung welded into the cook chamber to slip a 90 degree elbow in from the inside, to lower the venting level down to the cooking grates. I need to order a 3" aluminum (non galvanized) 90 degree vent pipe elbow to do that.
Can't wait till I get all the mods done and get my first cook done on it!


