Smokers (BBQ - not grilling)

Yamaha FJR Motorcycle Forum

Help Support Yamaha FJR Motorcycle Forum:

This site may earn a commission from merchant affiliate links, including eBay, Amazon, and others.
We had the deck reinforced in the section the tub will go with an extra double beam and two more 6X6 posts 3 years ago in anticipation. 😉 The hot tub we are getting is also a small two person model, that’s about 1/2 the weight of your usual square one. 

    The real problem will be getting the tub on the deck in the first place, as there’s no stairs, and it’s too big to bring it through the house. Will have to rent some kind of off road fork lift.......

 
Yeah, I had all kinds of fun getting our 7’ x 7’ bullfrog tub up onto our new deck.   What we ended up doing was to pull it up onto a 4 x 8 trailer that I have.  Took the sides off of it to make it a flat bed.  Lifted the tub up onto its side, and then positioned the trailer alongside the bottom of the tub.  Chocked the wheels so trailer wouldn’t back away, then lowered the tub down so it was half way onto the trailer.  Ran a big recovery strap around the tub and pulled it up onto the trailer the rest of the way with my Kubota tractor.  Hooked the loaded trailer up and backed it up to the deck.  Needed some blocking under the wheels to match the height of the deck, but we got it close then slid it onto the deck using some 3/4” pipes I already had to roll it along and not gouge up the new wood.  It was still a 3 man job even using the tractor and trailer.  Good times…

 
Our deck at the other house caused us to lower the tub in with a 100 ft crane. 😳

  Our deck here is just over 9 feet high at it’s  shortest point.  Crane won’t work here because of narrow rock driveway with drop off and power lines.

   Problem we’ll hopefully solve when we get back. 

 
Today I started working on the Old Country Brazos wheel upgrade.  I bought some wheelbarrow type wheels with pneumatic tires from Harbor Freight.  Also bought some go-kart steering spindles and a piece of 2” square 1/8” wall tubing both from Amazon.  Built up a stationary axle bar from the 2x2, welded some plates on the end to weld the spindle pivot brackets on to.  Everything went pretty much to plan, except the slop in the spindle king pins introduced a few degrees of “racing camber” I had not anticipated.  It still rolls fine and when I build some kind of steering device it should work fine.  
 

4511CE40-9EBF-451C-AA04-97FE37530E07.jpeg


I just tied the two steering arms together so I can roll the pit in and out of the garage without straining a hernia.  I intend to replace the steel wagon wheels with another set of these wheels that I already bought.  They roll much better than the steel wheels.

F1B6C96D-39AC-4E65-AB75-4DC7B1D3383F.jpeg


Oh yeah, forgot to post a photo of some nice pork ribs I cooked last weekend.  
 

9AD2BA16-DABB-403A-A274-FDCED9E29287.jpeg


Some nice small St Louis cut ribs from the local supermarket, but these were the Hatfield brand, which I find to be much nicer than some of the other big name vacuum-packed ribs.  Just a simple Dalmation rub on these.  All the color is from the smoke which was mostly apple wood and a little birch, cooked on the Old Country offset.

Ate one rack and popped the other two into the freezer for a rainy day.

 
Did a couple of Costco boneless pork butts last weekend. Turned out good. 

Smoked with apple wood for about 4-5 hours, then wrapped and put in a 225f oven till they hit 203f. Let them rest them pull them. Eat what we want. There were only two of us. Vacuum seal the rest for easy prep later. 

20210710_093453-L.jpg


20210710_131102-L.jpg


20210710_191628-L.jpg


Got the wagon wheels replaced with matching pneumatic wheels/tires.  Now all I have left is to get some sort of steering system on it.

34ABB7A5-9D3B-4B2C-B8A6-D86831D328F2.jpeg


It pushes in and out of the garage so much easier with the new wheels.

 
Are you inferring my BBQ pit looks like a Lunar Rover? 
 

I kind of like that…  Maybe I’ll start calling it the VBRM (Vermont Barbeque Rover Module). ;)
 

But I’ve got to tell you, it’s not roving down off the hill here without some serious power assist to get it back up.

 
My last batch of beef stew went quickly. To taste it, it's a solid stew and not much "wow". That it's not tainted with small burnt bits that gave just a hint of being burned to the whole batch (last time) is progress.

I put about half the beef stroganoff into the freezer. Good and filling but a lot of it.

The trick is to follow the recipe (I've tweaked) until you don't. Bit tips. Take half of the potatoes you use and dice them into cubes while only halving (small) or quartering (larger) ones. In the pressure cooker, the smaller chunks break down and give the "stew" the thickness it needs. Meanwhile, the larger chunks hold up for eatering gooderness.  Run the pressure for the time called for, then (once depressurized) set the InstantPot on slow-cook for another 2 or 3 hours; stirring occasionally to keep things from burning on the bottom.

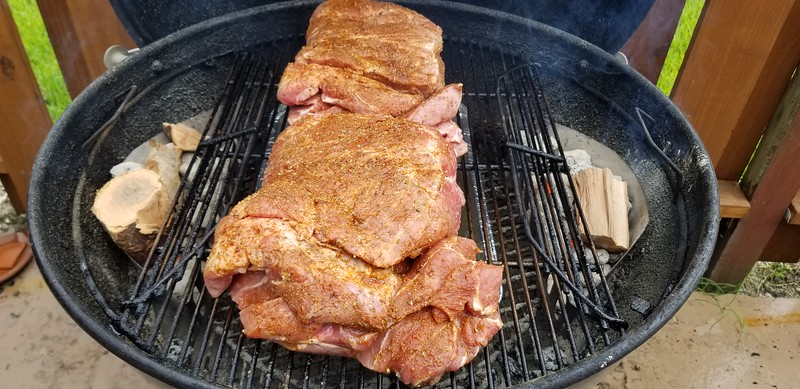
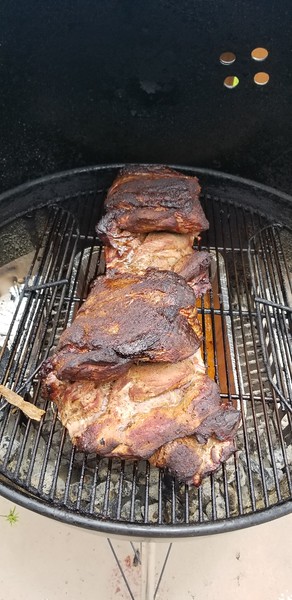
Also, while the recipe called for 3# of beef, stews/meatloaf/etc have always been about stretching the protein, so I made this with the 1# left over from the beef stroganoff; making a full batch with the other contents.

Since the beef was seared already for the BS, I didn't dredge it; getting the thickening from the potatoes instead of the flour. I may do this always going forward.

Instant Pot Pressure Cooker Beef Stew

Prep Time: 20 minutes
Cook Time: 20 minutes (add 30 if you sear in the IP)
Total Time: 40-70 minutes

Yield: 6+

Ingredients

1-3 pounds of beef stew, cut into 1-inch pieces and fat trimmed 1/3 cup flour
Kosher salt and freshly ground pepper, to taste

3 Tbs. vegetable oil

1/2 cup red wine

1 onion, diced

3 garlic cloves, minced

3 carrots, peeled and cut into 1/2-inch pieces 2 celery stalks, cut into 1/2-inch pieces

1.5 - 3 lb. red potatoes, cut into 1/2-inch pieces

1 Tbs. tomato paste

20-32oz reduced sodium beef stock (depending on #potatoes)

2 Sprigs of fresh thyme

1/4 cup of chopped Italian Flat Leaf Parsley (optional since it’s for appearance)

Start by trimming off any excess fat from the stew meat. The Instant Pot doesn’t render the fat in the same way that a slow cooker does, so I find it’s best to start with less fat on the meat. The meat will still be tender, it’s just that the fat doesn’t melt away like it does if it’s cooked low and slow.

Toss the stew meat with flour, salt and pepper and sear. Honestly, when working with 3 pounds of stew meat, the searing can be the most time consuming part in an Instant Pot. The Instant Pot gets very hot, but the surface area for searing is not very big. I seared the meat in three batches to make sure each piece had a good sear. To speed the process along, you can sear the meat in a large cast iron skillet and knock it out in one batch. You can cut the time by searing the meat in a skillet large enough to do it all in one batch. Once deglazed, move the result to the Instant Pot.

Once the meat is seared, remove it from the Instant Pot (or skillet) and deglaze using 1/2 cup of red wine. Any kind of red wine you prefer to drink will be fine! Once the wine has reduced, return meat to pot along with veggies, beef stock and tomato paste. Lock the lid in place and set Instant Pot to High Pressure for 20 minutes using Pressure Cook mode. Let Natural Pressure Release for about 10 minutes and then turn valve releasing any excess pressure. Stir in parsley and additional salt and pepper as needed.

Instructions

  1. In a large bowl, combine stew meat with flour, salt and pepper.
  2. Heat vegetable oil in Instant Pot using Saute function adjusted to high and sear

    beef in batches. Or in a skillet large enough to do one batch.
  3. Remove stew meat from Instant Pot
  4. Add wine and deglaze
  5. Let wine reduce by half.
  6. Return beef to Instant Pot and add onions, garlic, carrots, celery, potatoes,

    tomato paste and beef stock.
  7. Season with salt and pepper.
  8. Add lid to Instant Pot, turn Pressure Release Valve to Sealing and set Instant Pot to High Pressure for 20 minutes using Pressure Cook mode.
  9. Once 20 minutes countdown is completed, let Instant Pot Natural Pressure Release for about 10 minutes.
  10. Then turn Pressure Release Valve to let any remaining pressure escape.
  11. Carefully open lid, angling Instant Pot lid away from you as your twist it off to avoid the hot steam.
  12. Remove thyme sprigs.
  13. Stir in flat leaf parsley (optional - I never use) and additional salt and paper as needed.
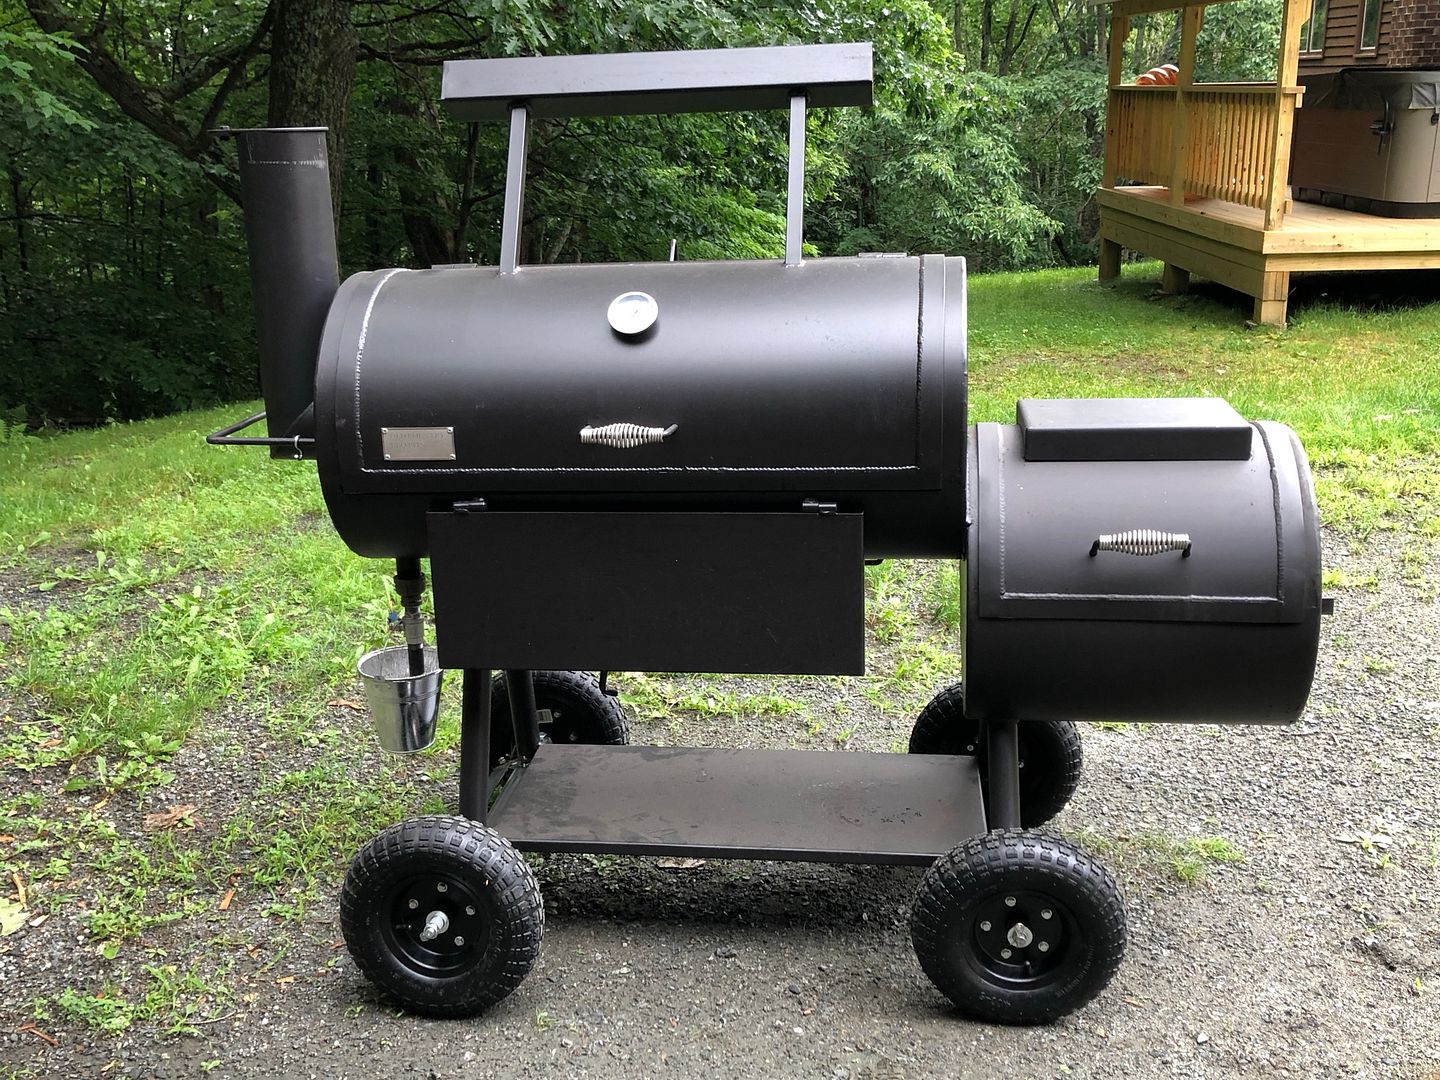
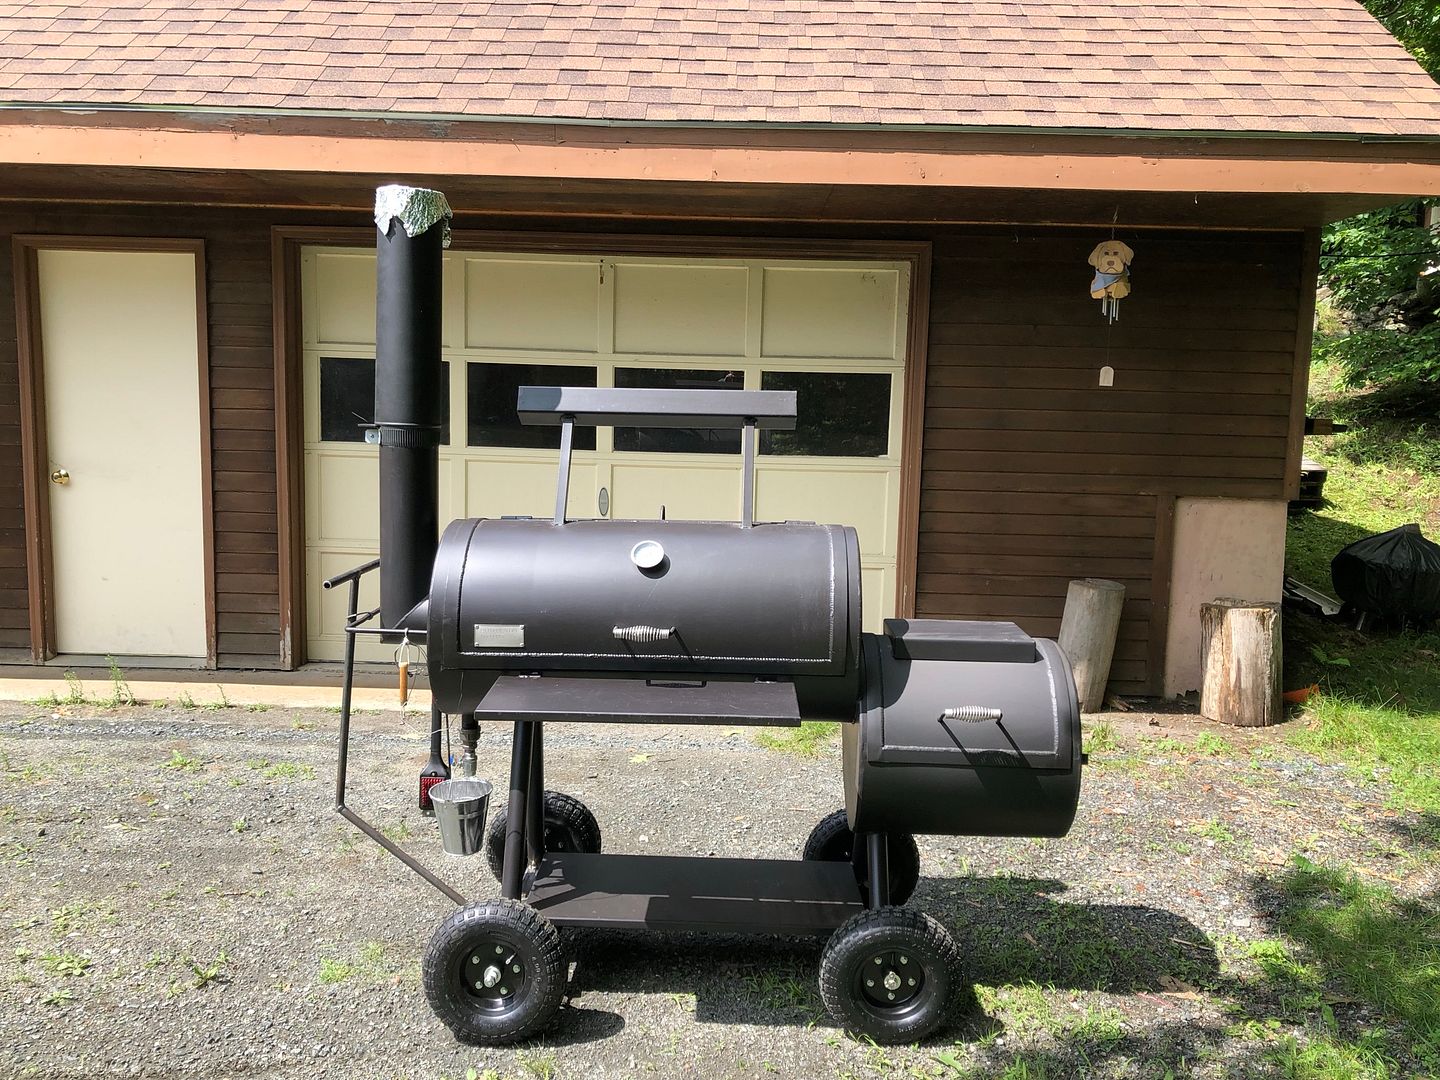


Another rainy day, good to work in the garage.  Got the steering system worked out on the hefty Old Country Brazos pit.

Finished product (minus some paint) done just in time for the sunshine to take photos.

41DDFE3C-7F44-4313-AA31-3139C97A08CB.jpeg


Here’s the main pivot.  I made the push/pull steering bar from 3”W 3/16” thick bar stock.  Welded a big U-bracket to receive the wagon handle.

753E4D59-4C28-42A6-927A-CEB0F59899B6.jpeg


The wagon handle was welded together pieces of 1/2” steel pipe.

6AE5AE5E-3B52-4332-95E9-5A2CE98C47A9.jpeg


Had to make the angle in the handle to clear the grease bucket.

Flipped the steering spindles around so they go under the shelf.  Re-worked the tie rods with adjustable threaded rods and nuts for alignment and pivoting the angles across the tie rods.

D3FC6BB3-2E81-4970-9D1D-5118AA8D4FC9.jpeg


I managed to make a few goid looking welds.  Most were pretty amateur, but functional.  Only thing left to do is to shoot some paint on all the bare metal and go smoke some meat!  I must say, this thing now moves around like a dream.  You wouldn’t know it is as heavy as it is.

 
“Only thing left to do is to shoot some paint on all the bare metal ”

  And put some marine grease on all those pivots.... 

   Looks great. Need a TPS  system so your meat doesn’t slide off to one side. 😉

 
I had thought about the possibility of popping a tire from the firebox heat or dropping a hot coal on one.  I think they are far enough from the firebox to be safe, and I’ll just have to be a little careful moving hot coals around.

I’ll be taking it apart for the painting so everything will get lubed up on the final assembly.  One advantage I’ve found to dragging the pits in and out of the garage is less rust problems.

 
OK, final post on the wheel upgrade:

Tipped the pit up on the firebox end so I could disassemble and paint the steering gear.

E28A1D15-ECBE-41B5-A6F1-A2371C7B30B6.jpeg


Here are a couple of shots of my welds.  Not the prettiest I’ve ever seen, but I’m definitely getting better.

354B737A-B73B-4CDE-98D8-A9ED63D964F3.jpeg


EA0E3E61-5D43-4A24-9E64-792FA10568D5.jpeg


19504C97-D63B-4011-9F2D-1D740A563D28.jpeg


Here’s the assembled linkage before painting

DDC4613B-E615-439D-9ECD-783382444AA4.jpeg


And here it is all painted, greased, and assembled on the bottom of the pit.

C28E9D47-6AC4-4BC3-8EB7-6FB586A02765.jpeg


And the finished product!

22729801-C992-4F48-8D8F-B6BA822EA5C9.jpeg


We now return you to your regularly scheduled BBQ pR0n!

 
Top