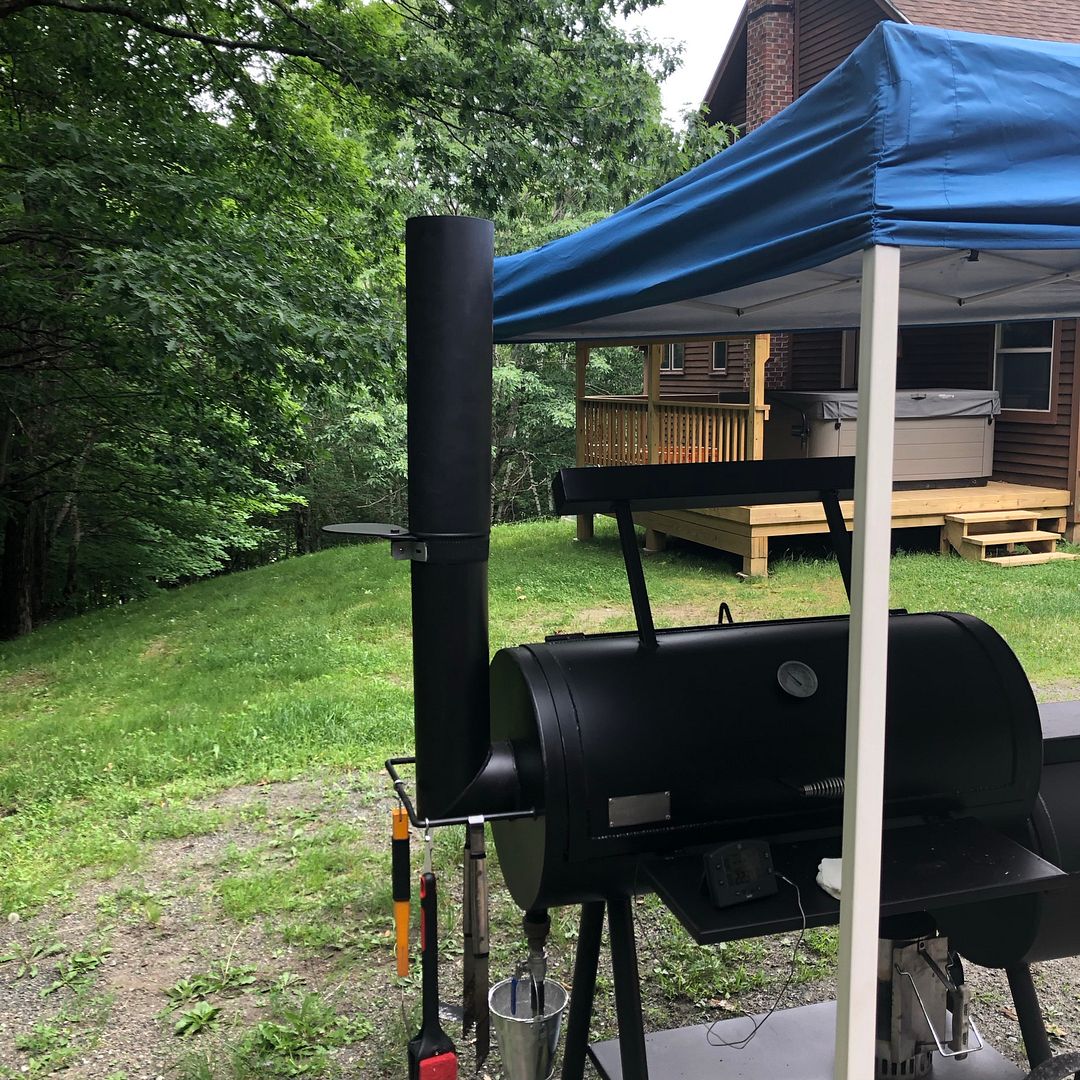
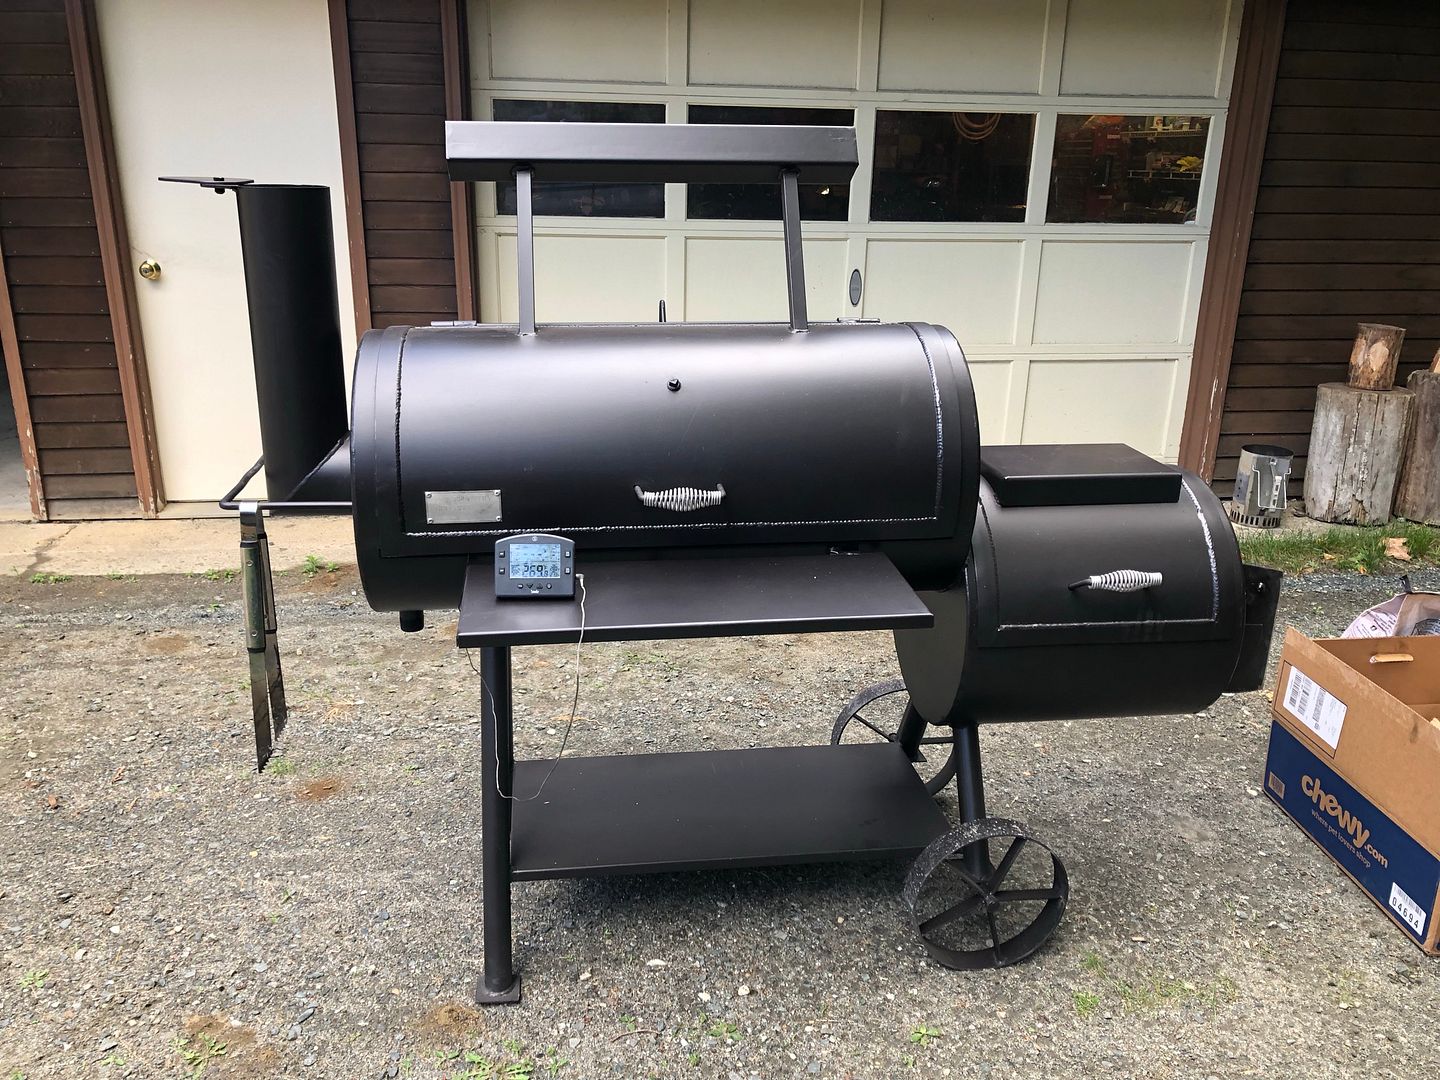
Well, my new Old Country Brazos offset smoker finally showed up today. Truck drove here from Albany where it picked it up from the freight company. When the driver rolled open the rear door, I could see the smoker was plastic wrapped and strapped to a pallet. But the pallet was broken and the whole thing was sitting on a second pallet, the top of which was also broken with the left feet (ones without wheels) sunk all the way to the floor. Driver wrestled it back onto the top of the lower pallet and used a pallet jack and the lift gate to get it down onto my driveway. He was nice enough to help me get it unwrapped and off the two busted pallets and then take all of that away with him.
The only damage was the handle on the chimney end had been whacked and was bent inward a little. Everything else looks fine. So I bent the handle back into place roughly, put on the lava-lock gasket on the cook chamber door, and fired it up!
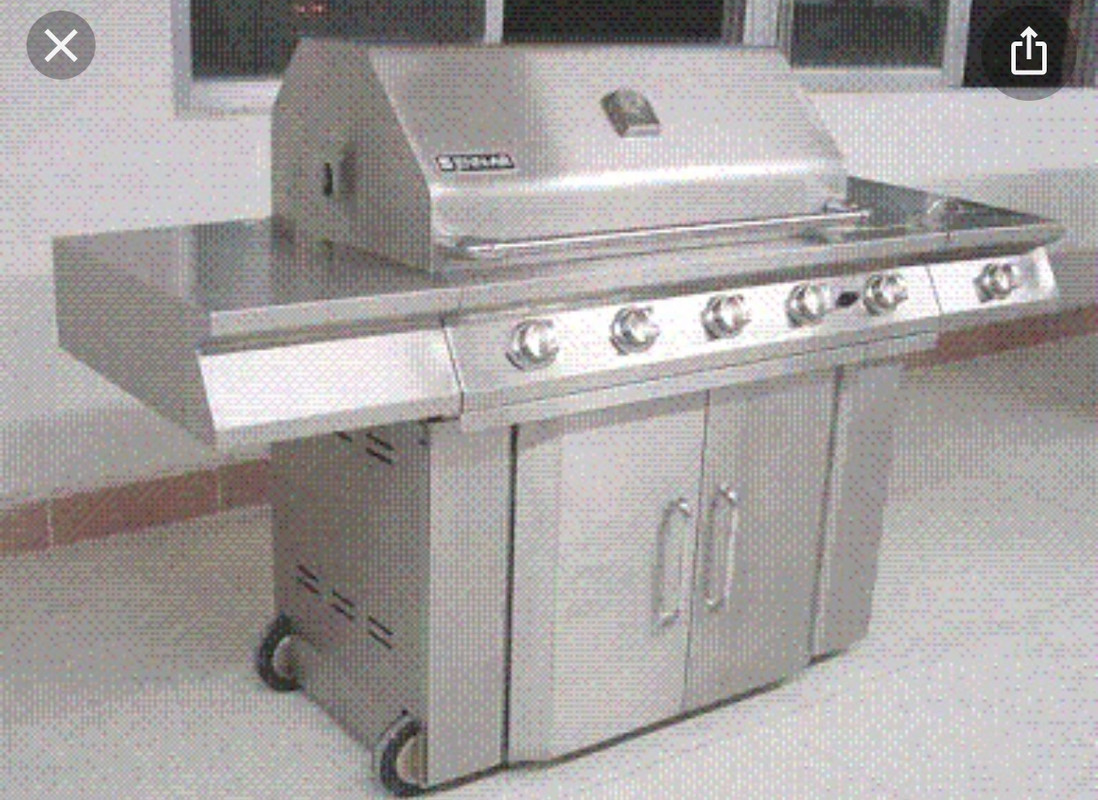
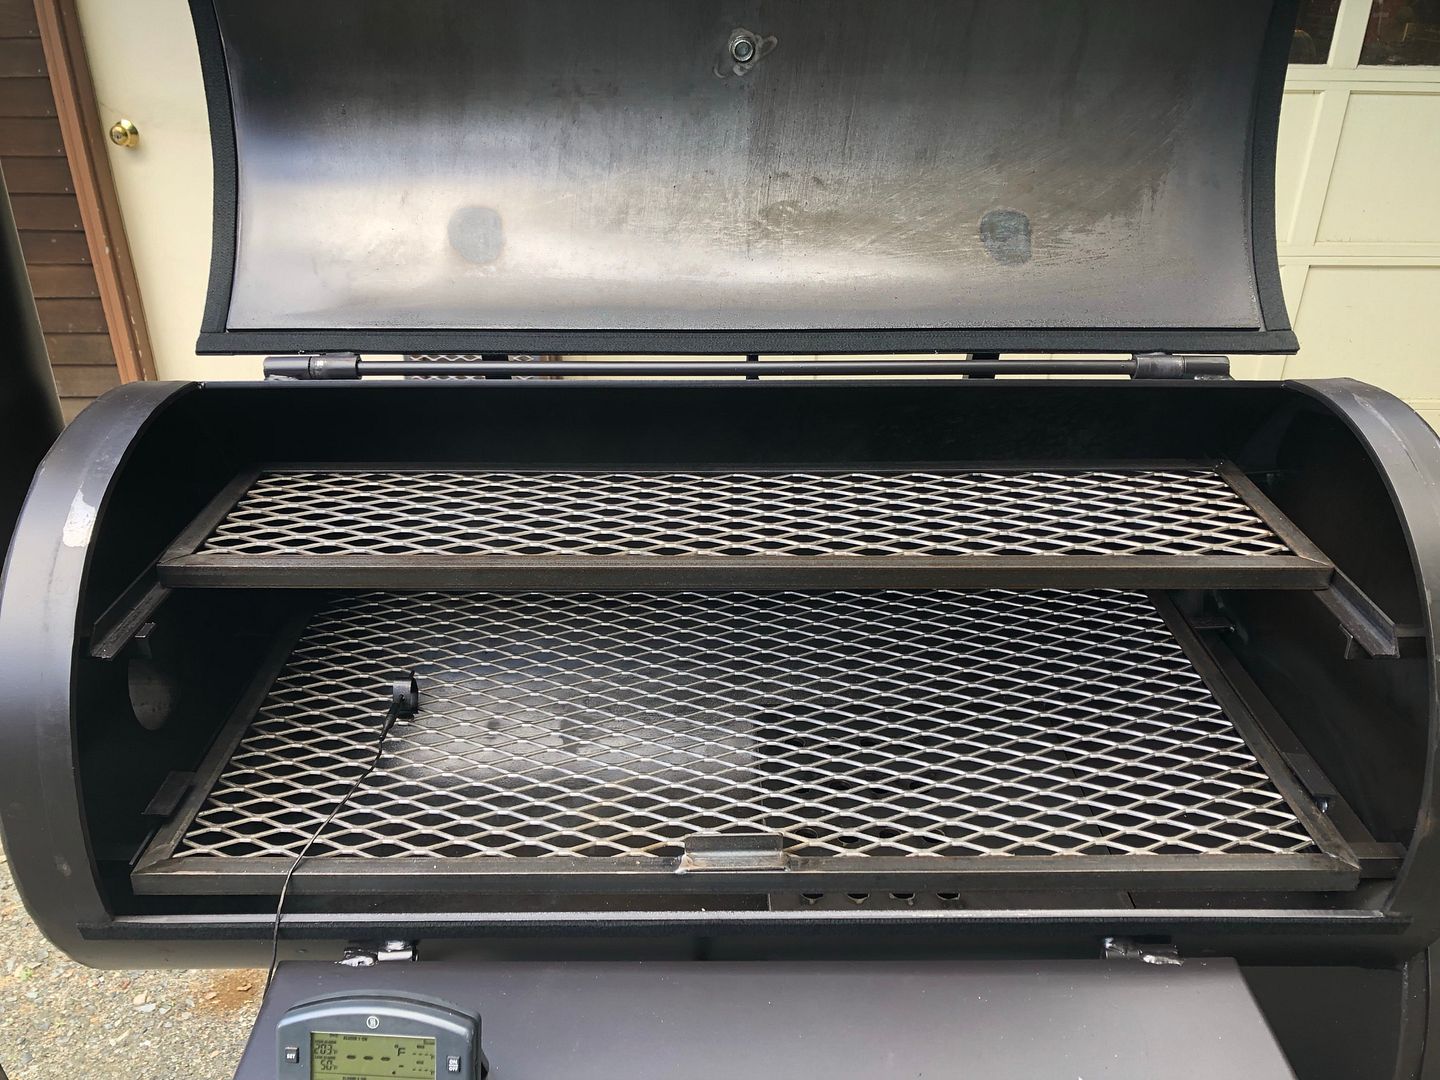
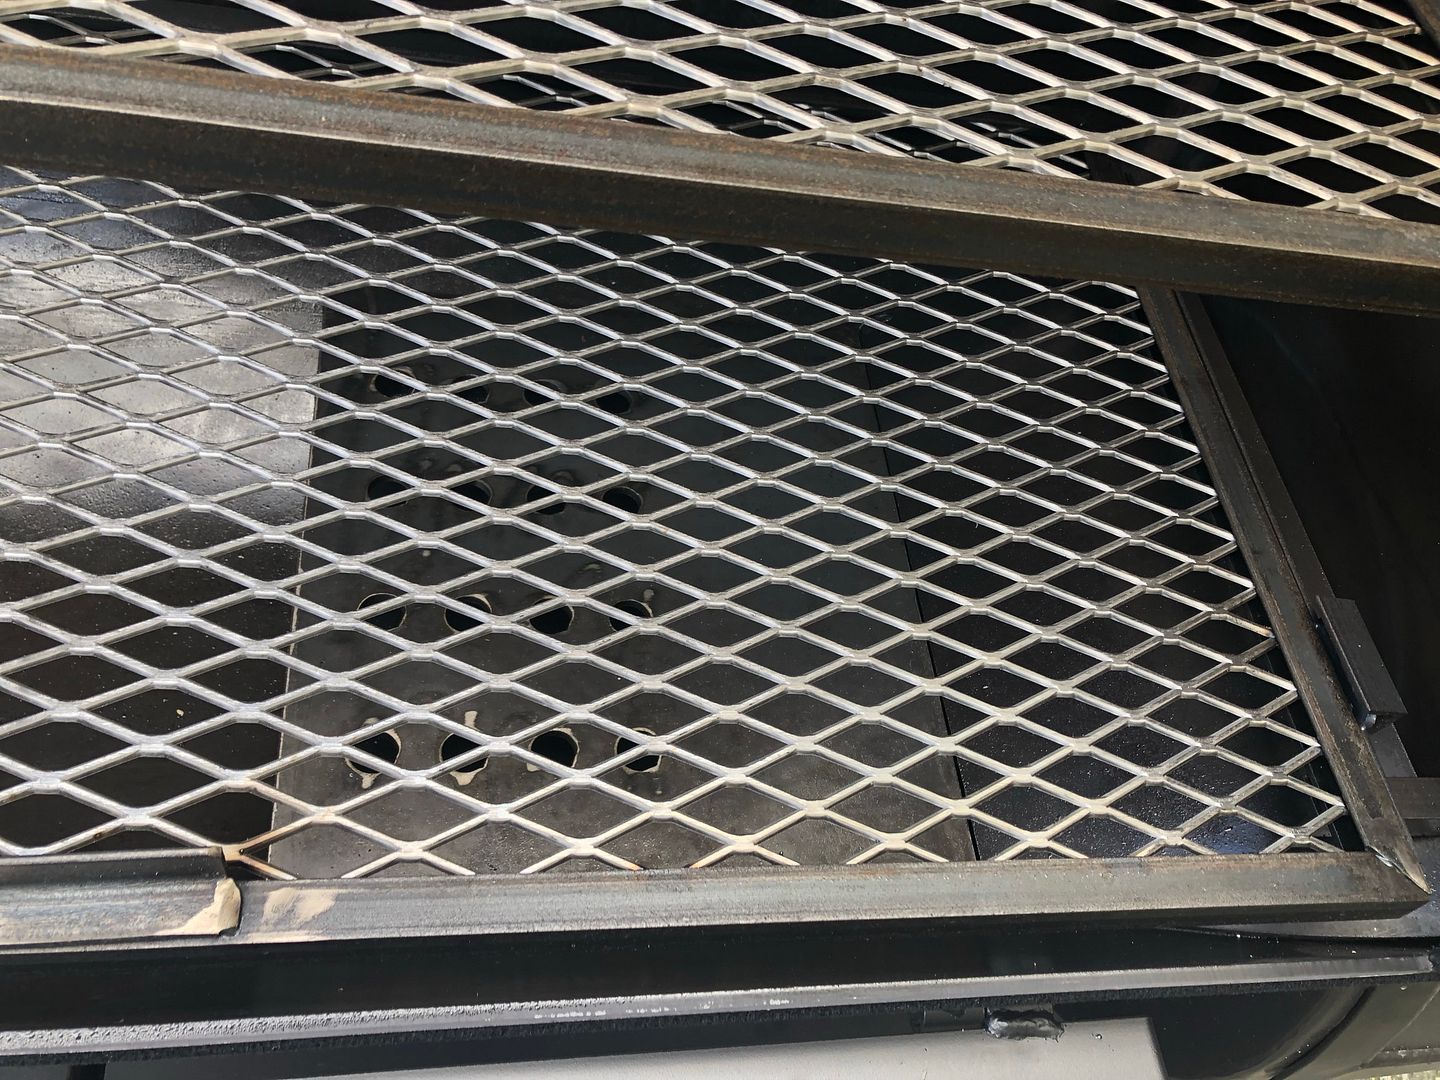
I got the DLX version, which gives you the big counterbalance on the lid, a half width tuning plate, and an ash hoe. I also got the smaller second grate above the big main grate, but that may come with the standard Brazos too. The cook chamber is 40” long and 19” diameter. The firebox is 20” long and also 19” diameter. And the chimney is 6” diameter.. Everything is 1/4” thick steel
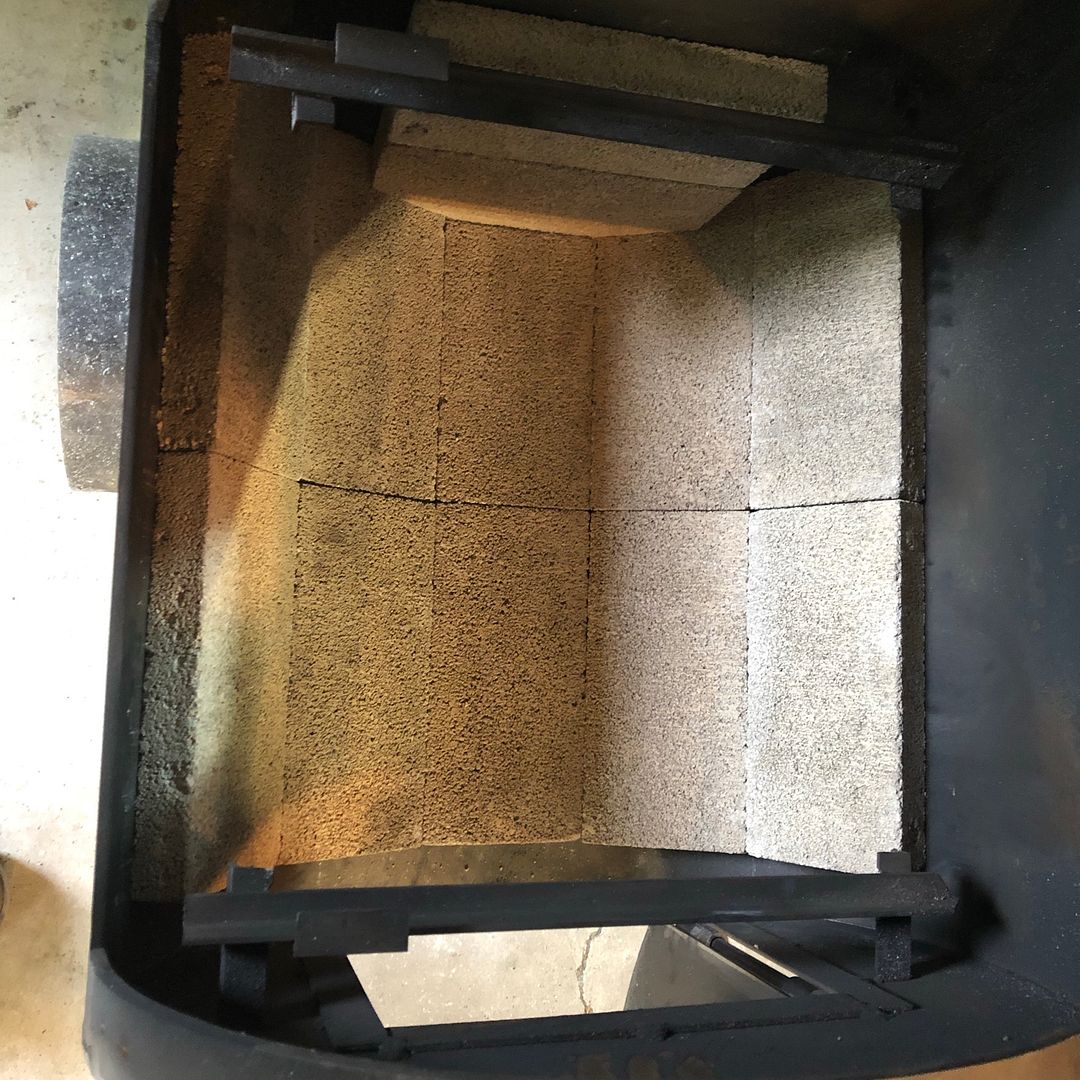
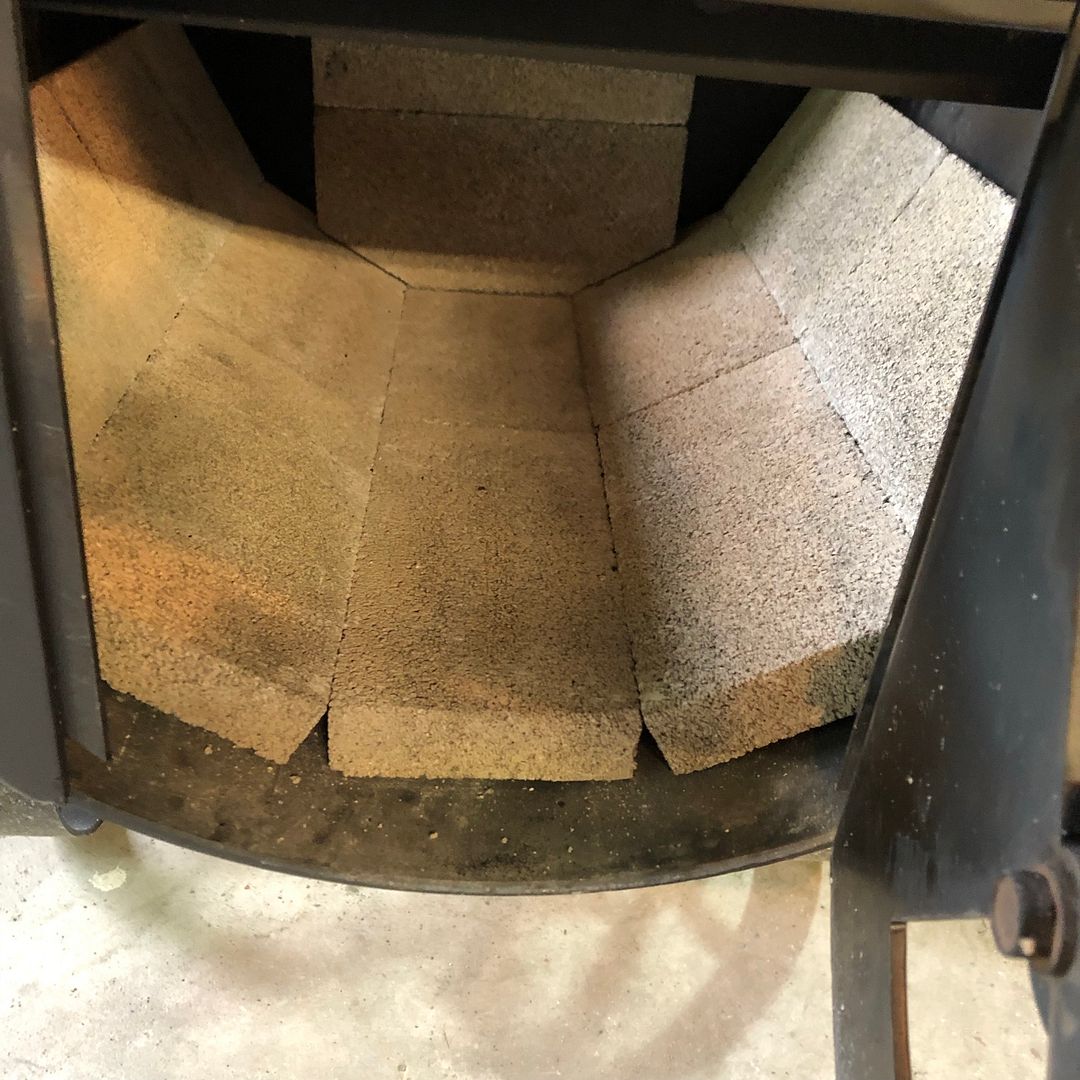
There is an angled deflector welded in on the firebox end, and you can see their version of deflector plate only goes 1/2 way across the cook chamber
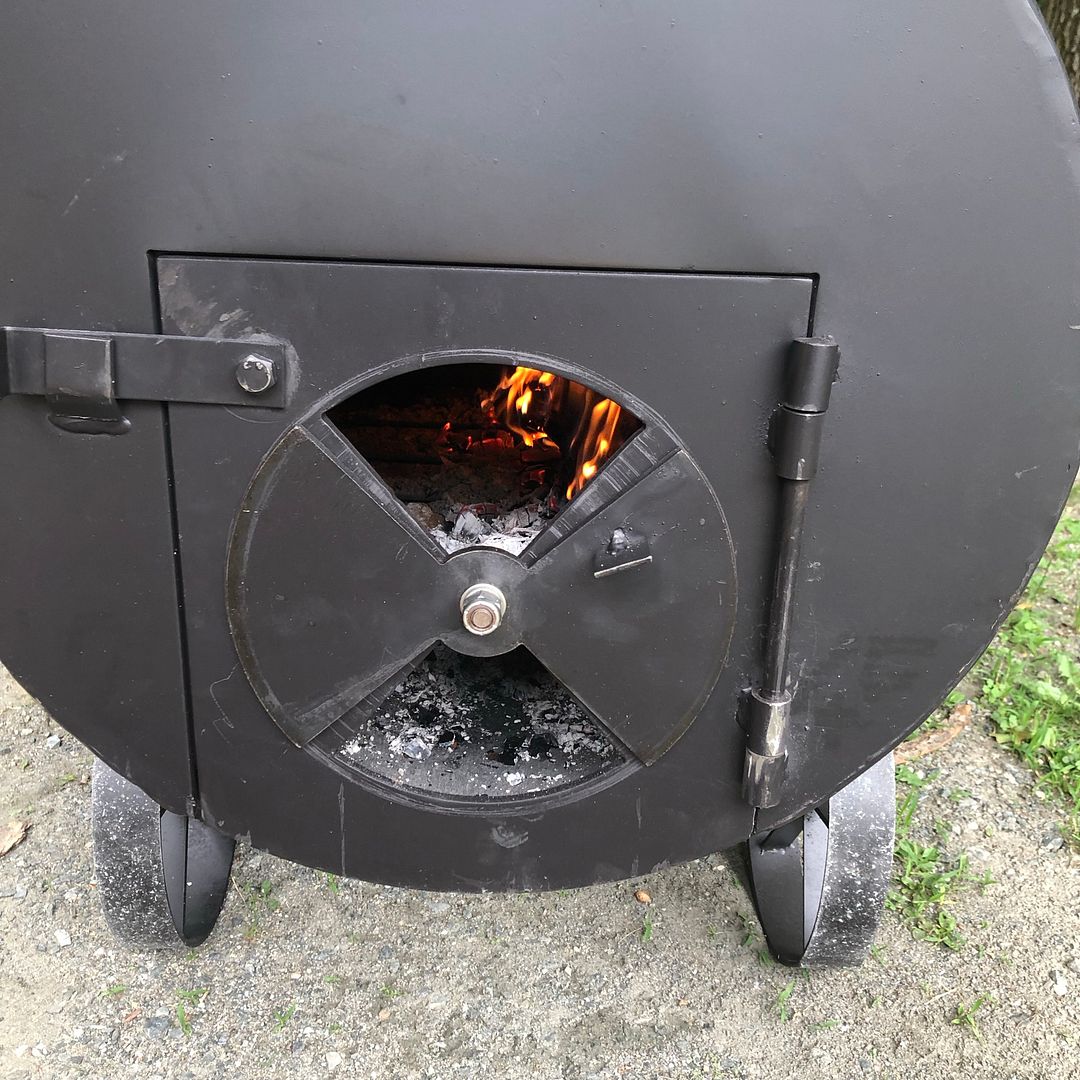
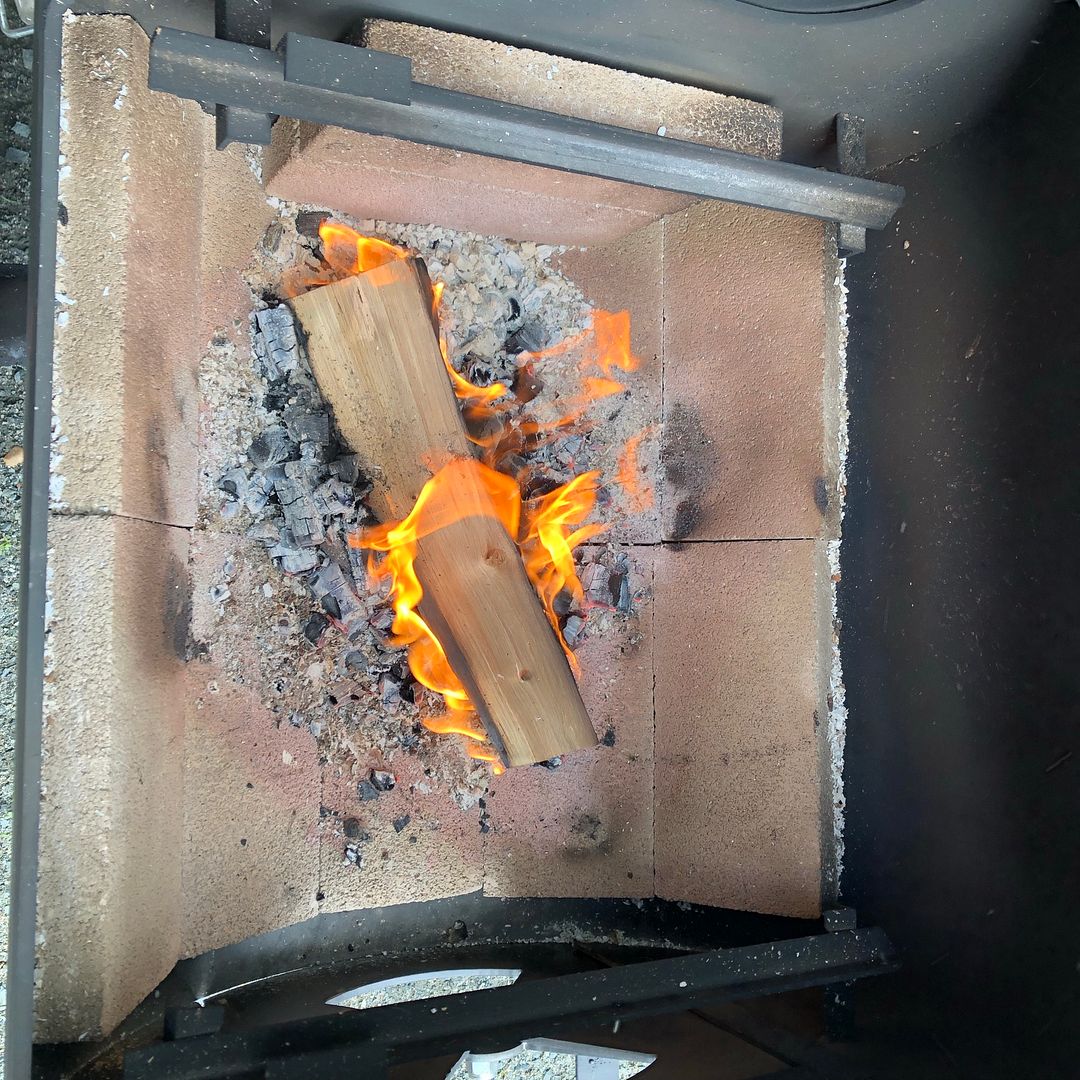
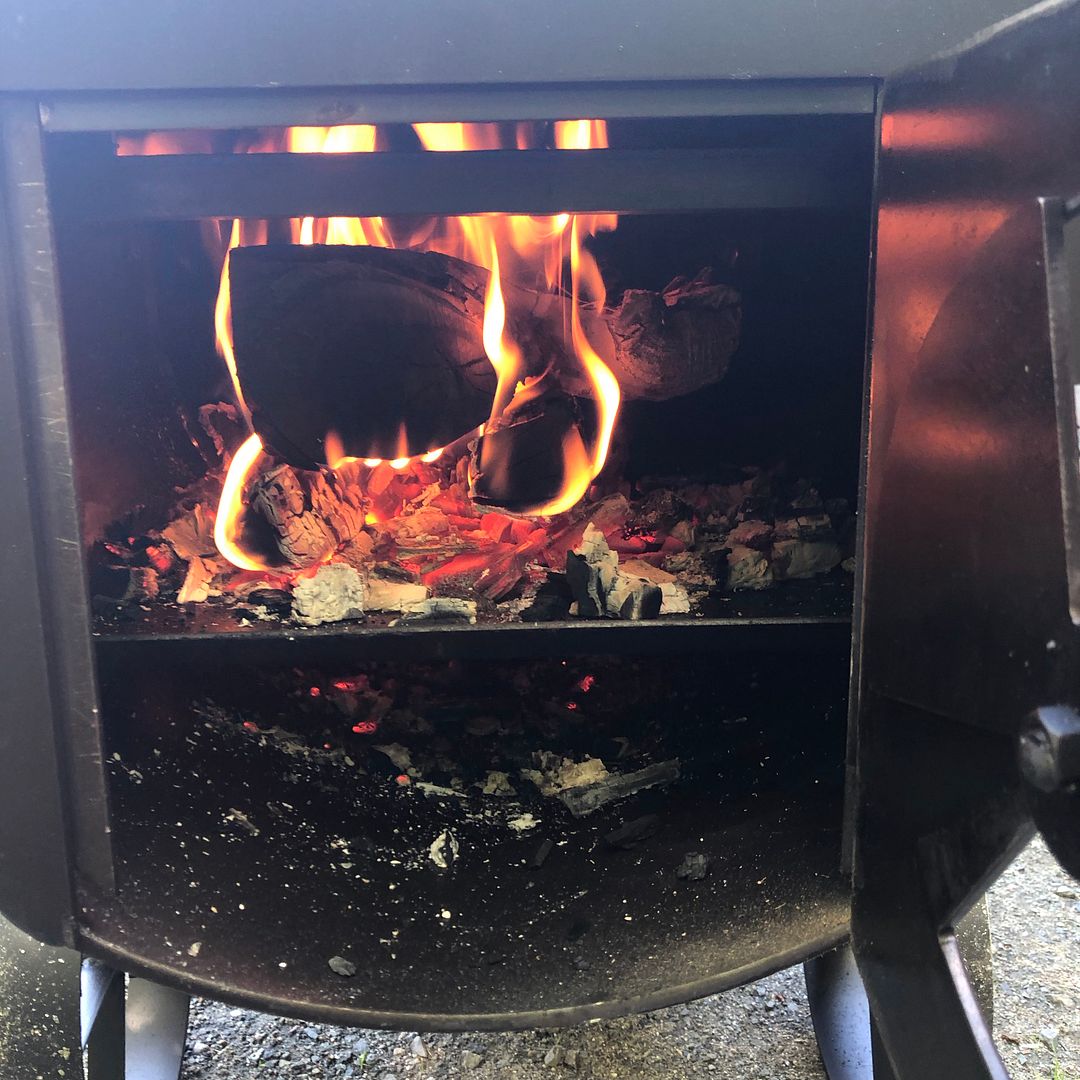
Built a nice fire to burn off the manufacturing grease and oil. Takes a little longer to come up to temp than my little Oklahoma Joe did, and I think it’s going to burn more wood per cooking session, but it seems easier to maintain the larger fire required, and may be steadier heat.
Also, because of the bigger fire, it seems easier to maintain a clean burn with good clear smoke. That was a constant battle with the smaller pit. The lava-lock gasket worked well to seal up the irregularities of the big cook chamber door. The firebox door leaks smoke, but who cares? There’s plenty of smoke and heat from the fire.
After a while I sprayed down the entire inside of the cook chamber with some canola oil and gave that a while to bake in. Going to go out later and pick up a dial gauge thermometer for the lid, even though I have the ThermoWorks Smoke digital, it’s nice to have two displays.
From what I’ve seen online, these pits are supposed to run better and more even temps without the tuning plate, but with a 16-18” extension on the chimney. Might pick up a piece of 6” stove pipe while I’m out to try that next time too.


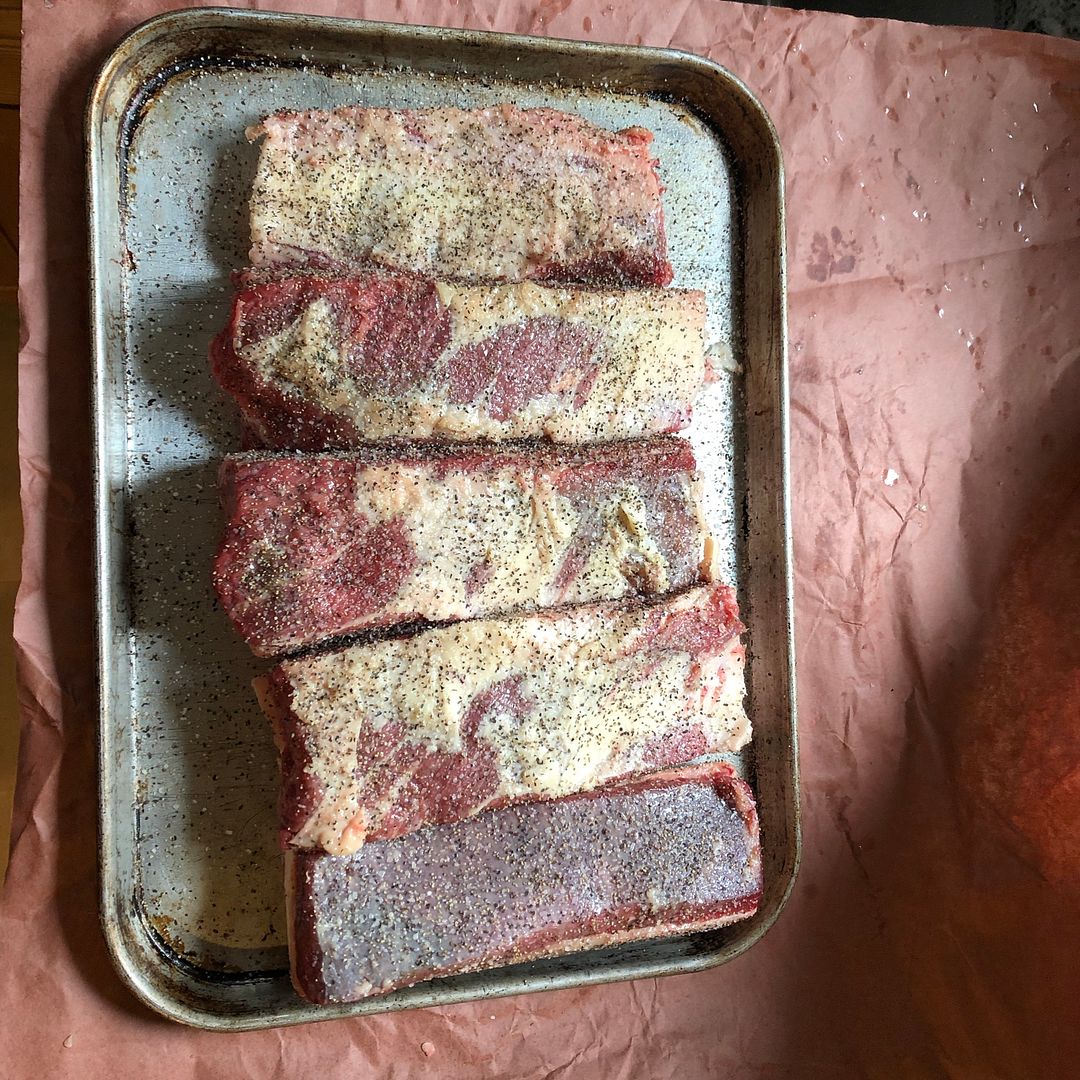
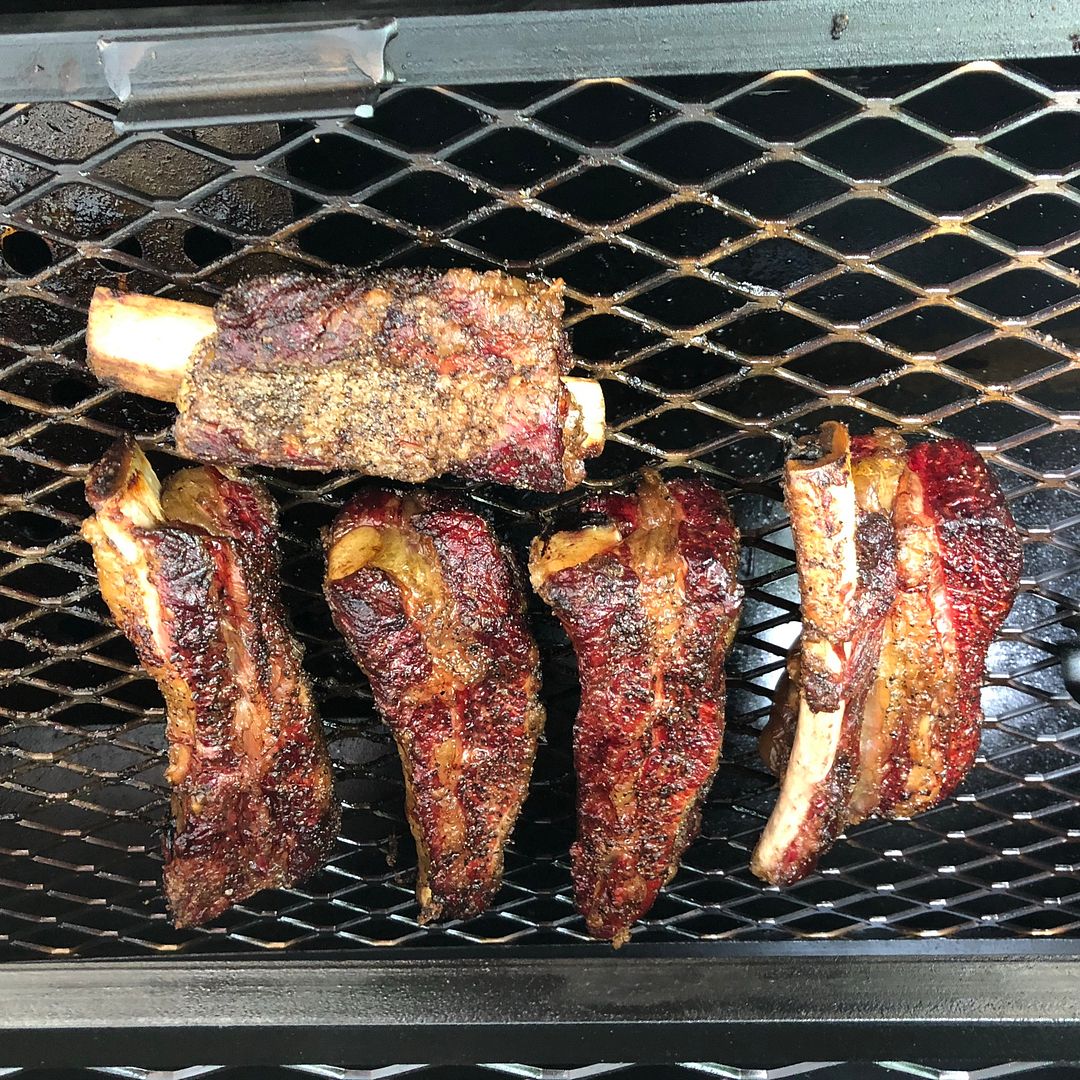
 Looks like I’ll be pulling it 140 and wrapping it up to rest in my cooler for about an hour.
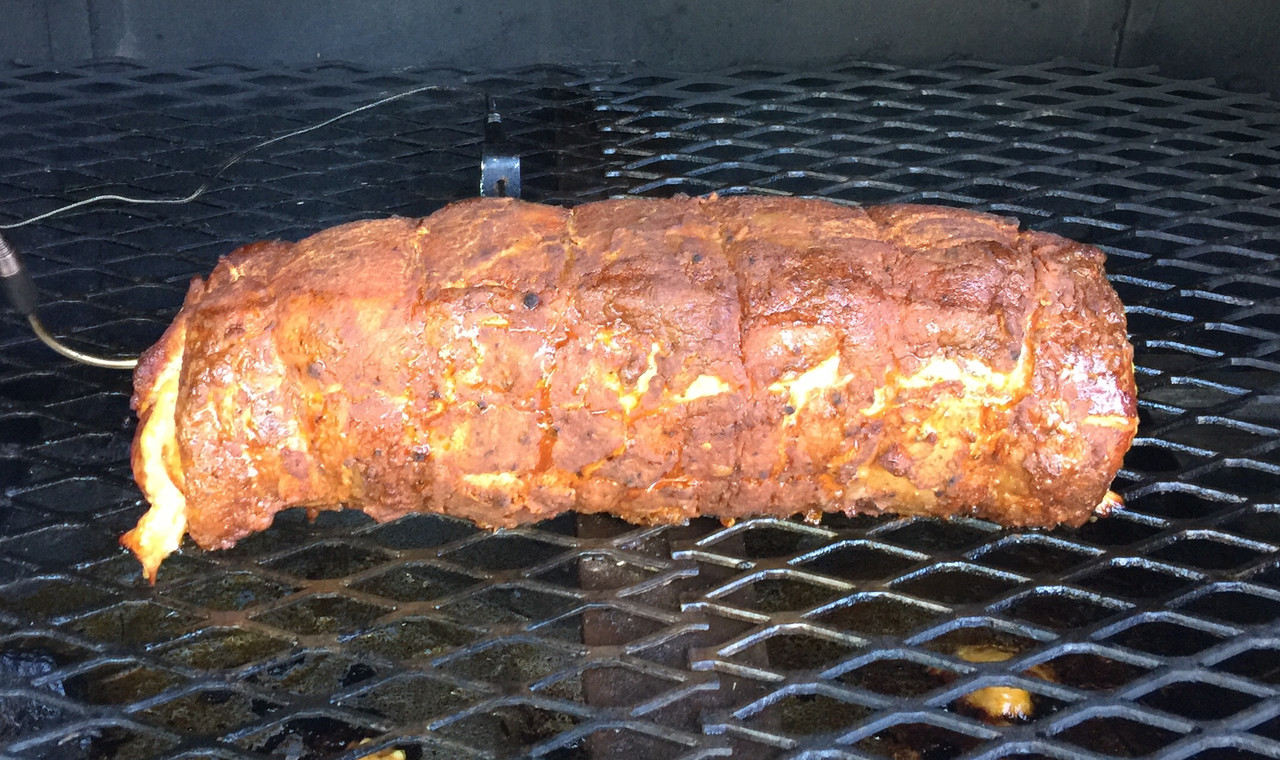


")