dcarver
Well-known member
Hopefully, some other FJR peep, at a later time, will enjoy/appreciate these moments I had today, for today was 'drill the tank' day. And I'm nervous. I *really* don't want to phook this up. 
Disclaimer - I ain't no machinist (although I would love to apprentice for a summer, just to learn) and I have only basic tools, and basic knowledge, but lots of FJR folks on this forum who I could (and DID) call, I decided to forge forward.
Worst case scenario? I put this tank in the rafters for use to run CrZy8 when doing maintenance. I've have several such tanks for various bike breeds, and it works well.
Best case scenario? All turns out well and I'm off and running like a true CBA prezident, and only having to gas up once every 3 weeks or so..
After removing the tank, I marked the retaining ring - even though Yamaha provided marks too - see the dimple?
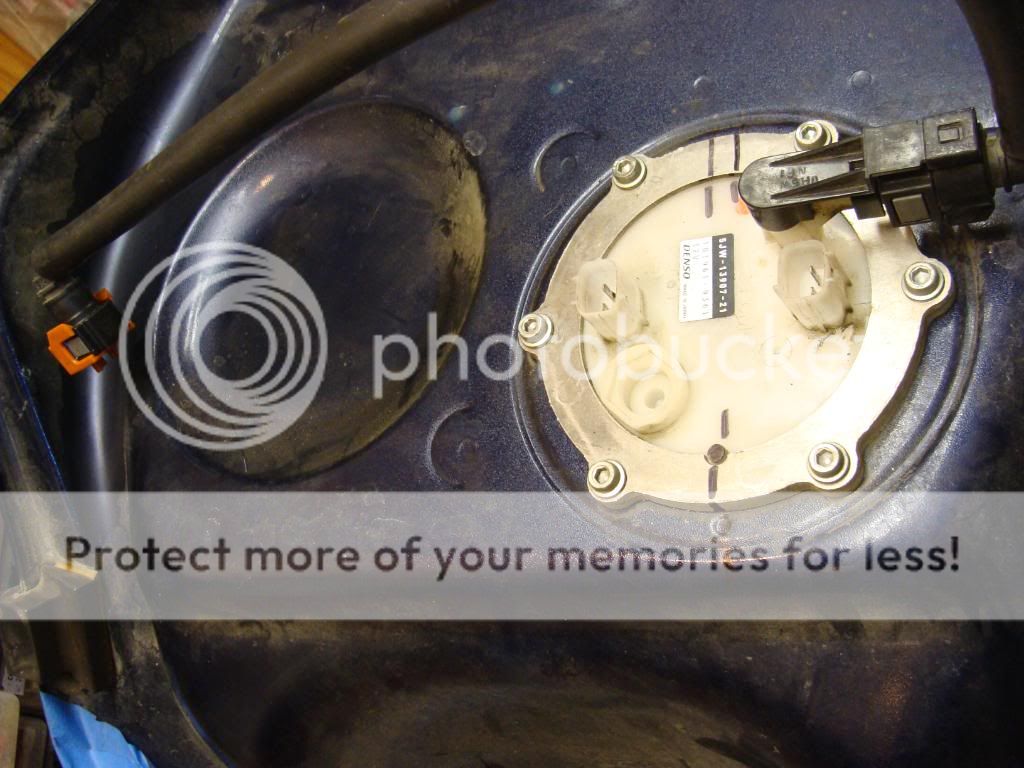
Try and try again, I could NOT get the fuel pump out of the tank. Joe2lMaker, being a machinist, said he can. I tried for over 20 minutes. Called KaitsDad, since he had posted up a wonderful how-to, asked him. What a great guy. But he couldn't recall how the sending unit 'popped' off the main fuel pump. We talked for about 5 minutes, and gave me the needed clue. Here's the problem - the plastic tang that limits float travel won't clear. Unless of course, you're Joe2lMaker or Brodie.
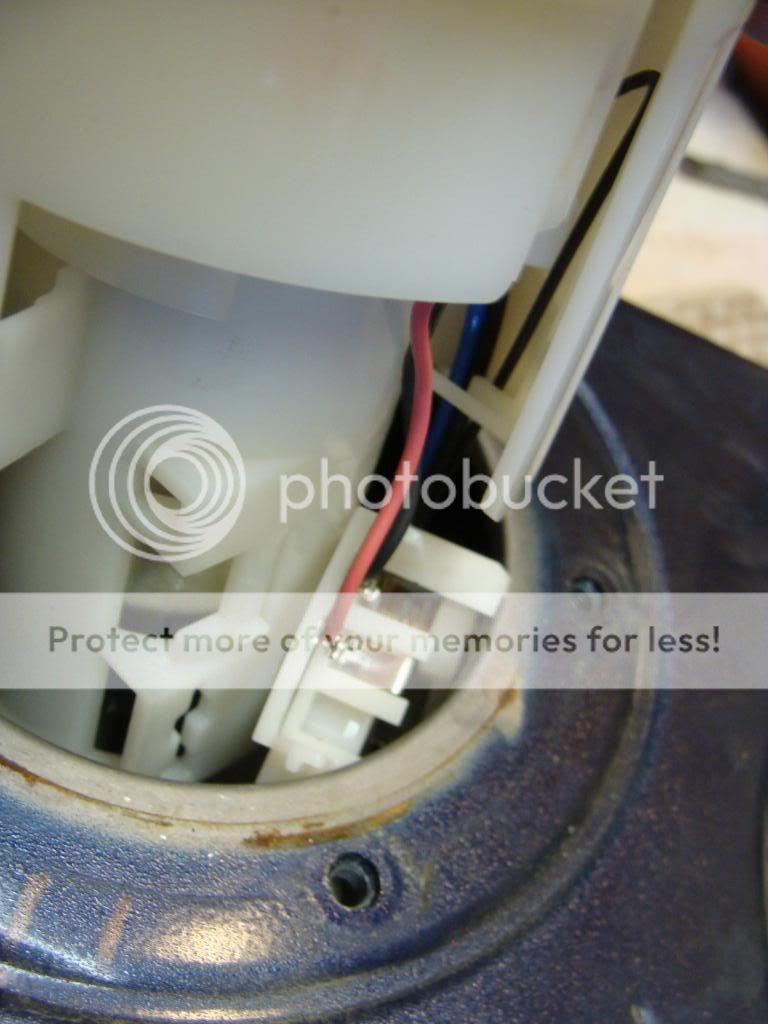
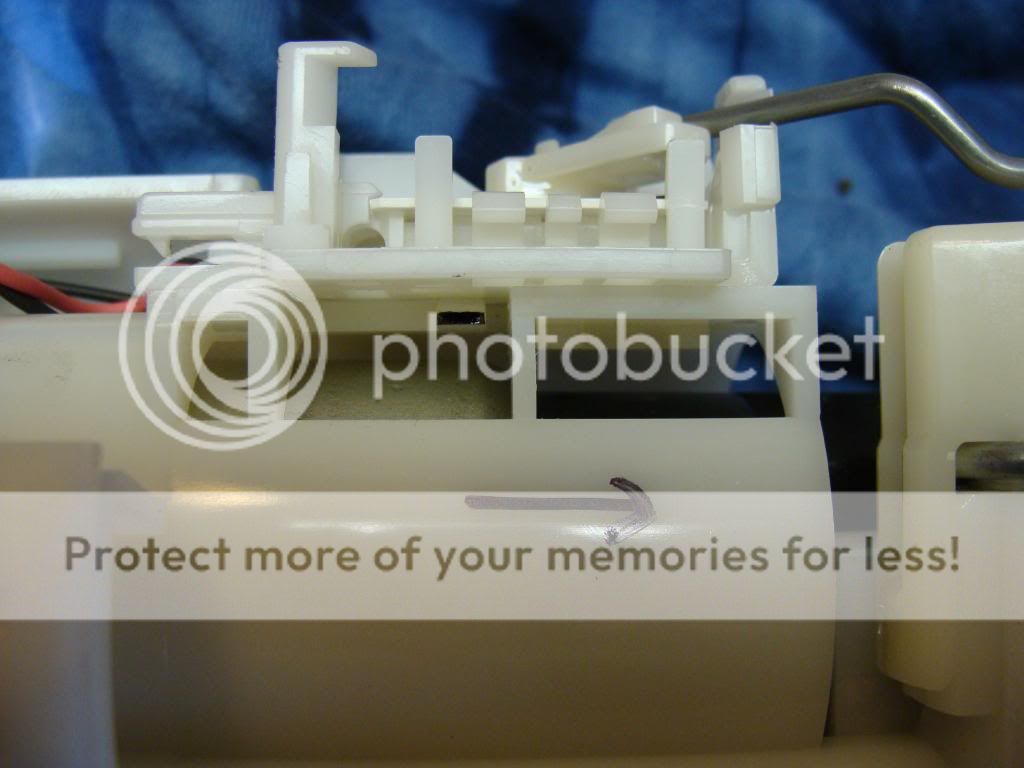
Ok, here's the tip. The sending unit attachés to the fuel main with one 'tang'. Pry the tang downward, (see black horizontal mark) gently, with a small flat blade screwdriver, then push the sending assembly downward about 1/8". You will need good close up vision (not me) and nimble fingers (again, not me), but you *can do this*.
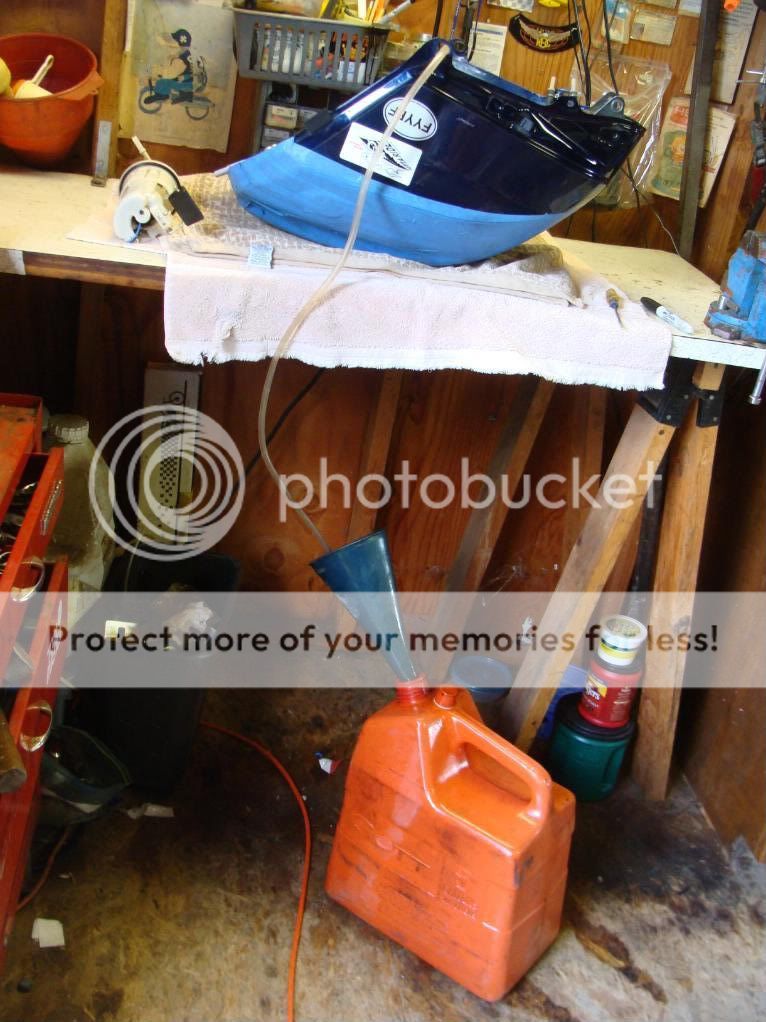
I then drained the rest of the gas from the tank.
Blew the tank free of gas vapors using a leaf blower. Best use of this POS since it was given to me 15 years ago, just sayin'.. I let this pup run for about 20 minutes, didn't want to wait 24 hours like most peeps. Called my bud Guppie, who said it wouldn't be a problem.. See his solution soon..
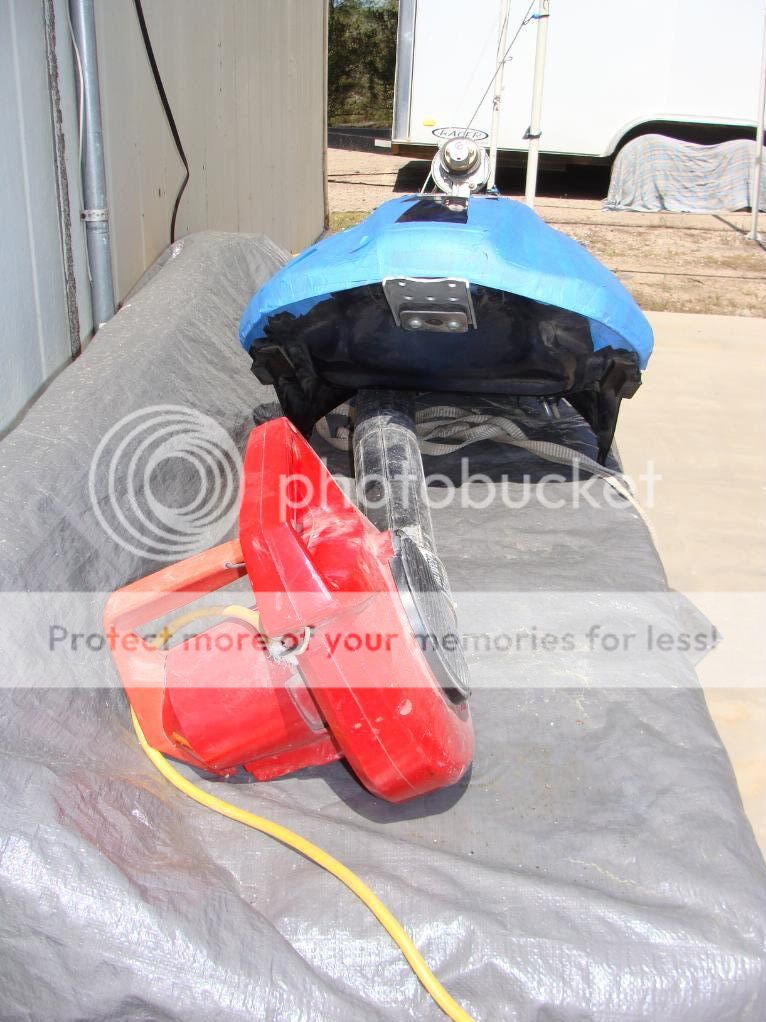
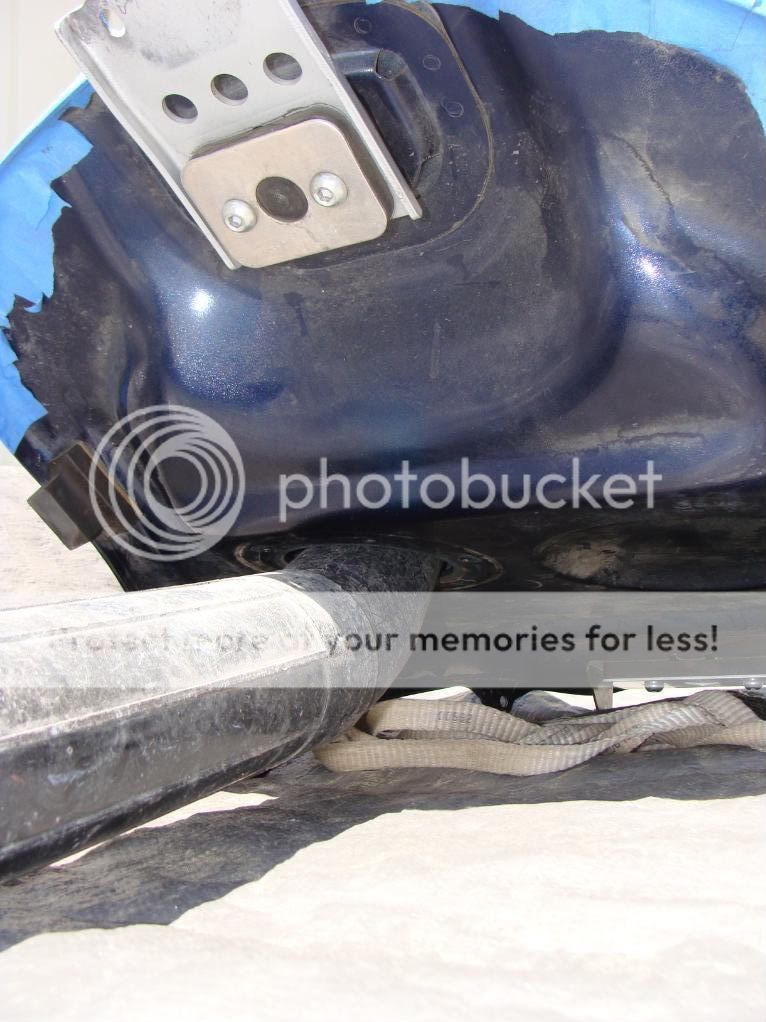
I also used compressor air to remove all gas liquid from the cap area.
After this, I couldn't smell any gas vapors at all. Then again, I can't smell ****, literally.
So then, per Guppies, advice, ran some good fashioned carbon-monoxide through the tank. No oxygen = no blast, and I had alot fun rigging this contraption up.. Let it run for about 10 minutes..
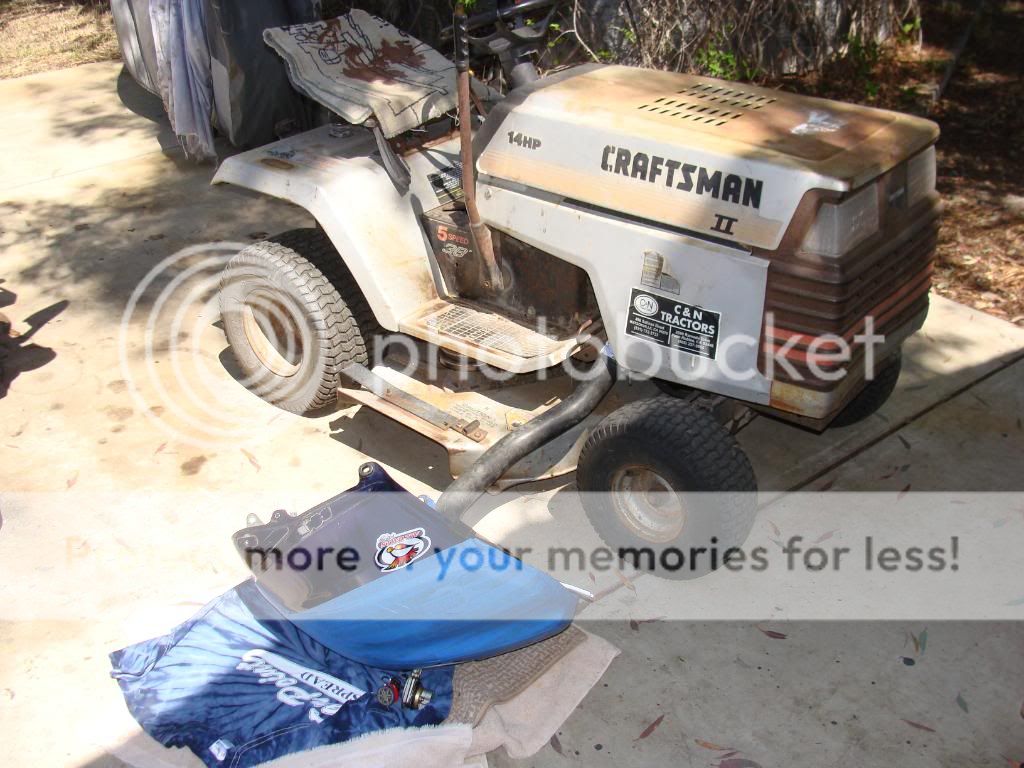
Getting close to drilling time, and I'm avoiding it..
Measured the bulkhead OD at 18 mm. Found the equivalent 'step' on the UniBit and marked the next higher step.. do NOT cross the mark, dcarver!
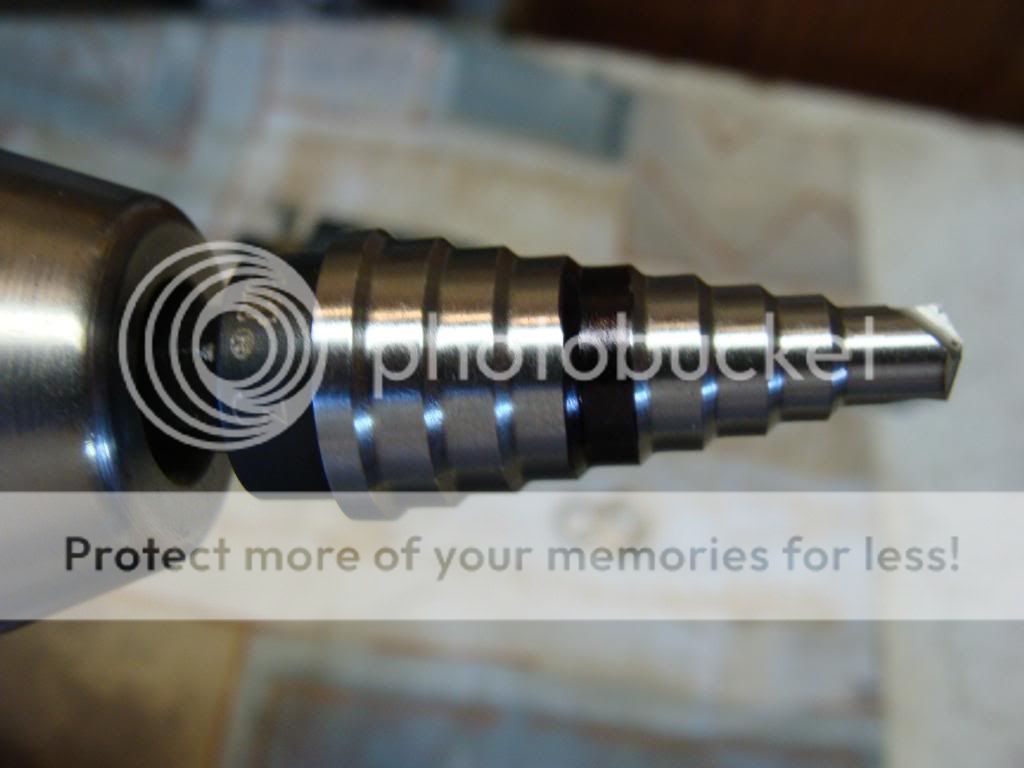
Practiced first - the entry point looks clean.
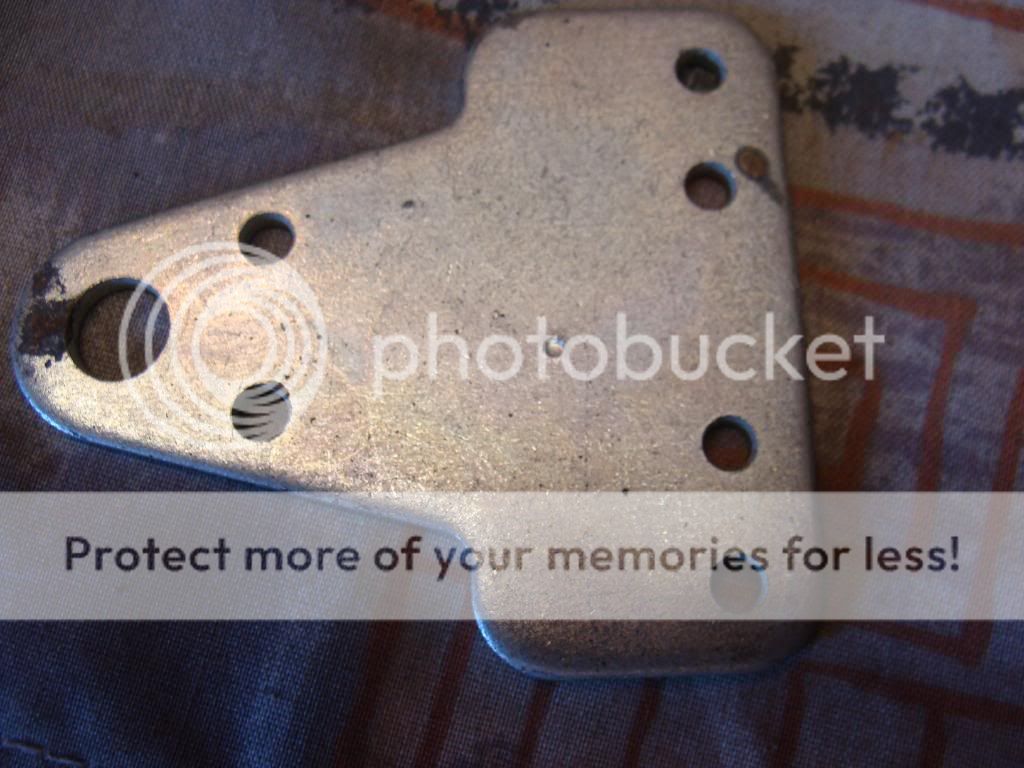
Not so much the exit -
There's a 'rubber' o-ring that has to seal and this is not going well...
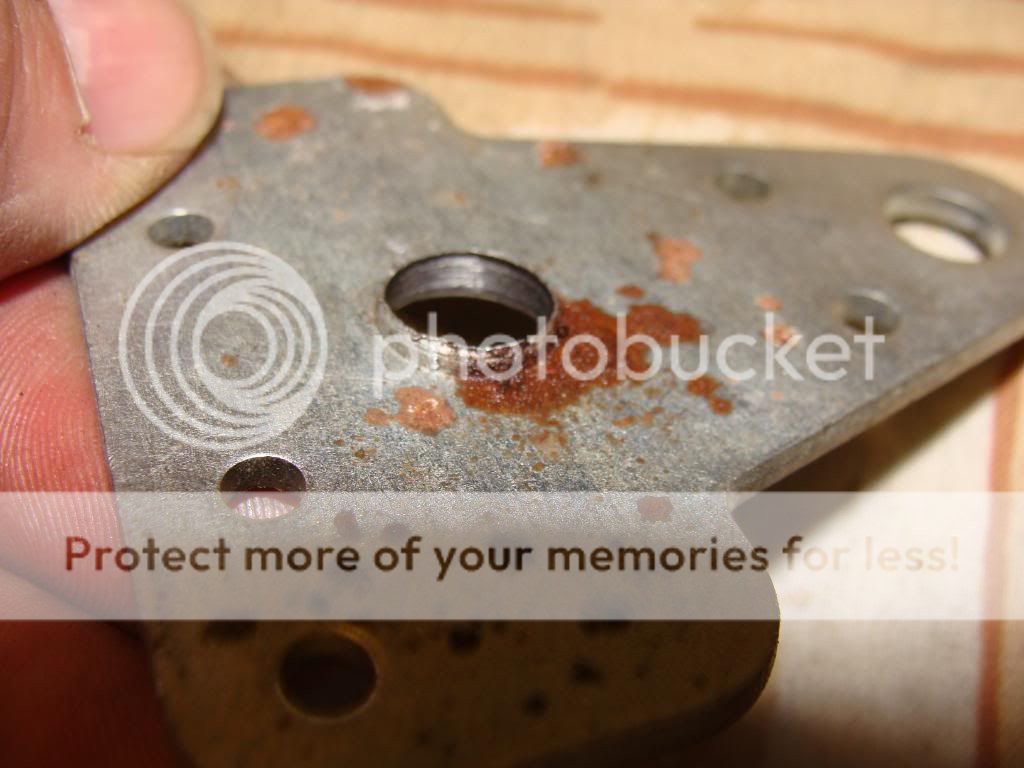
Thinking that the tank steel will be thinner, and 'harder material' I forge on .
Call Hal again, get some good advice.. Jeesh, the moment of truth looms.
Better be sure my location is OK. Make a block of wood scraps the same height as the fitting and test the tank. All is good.
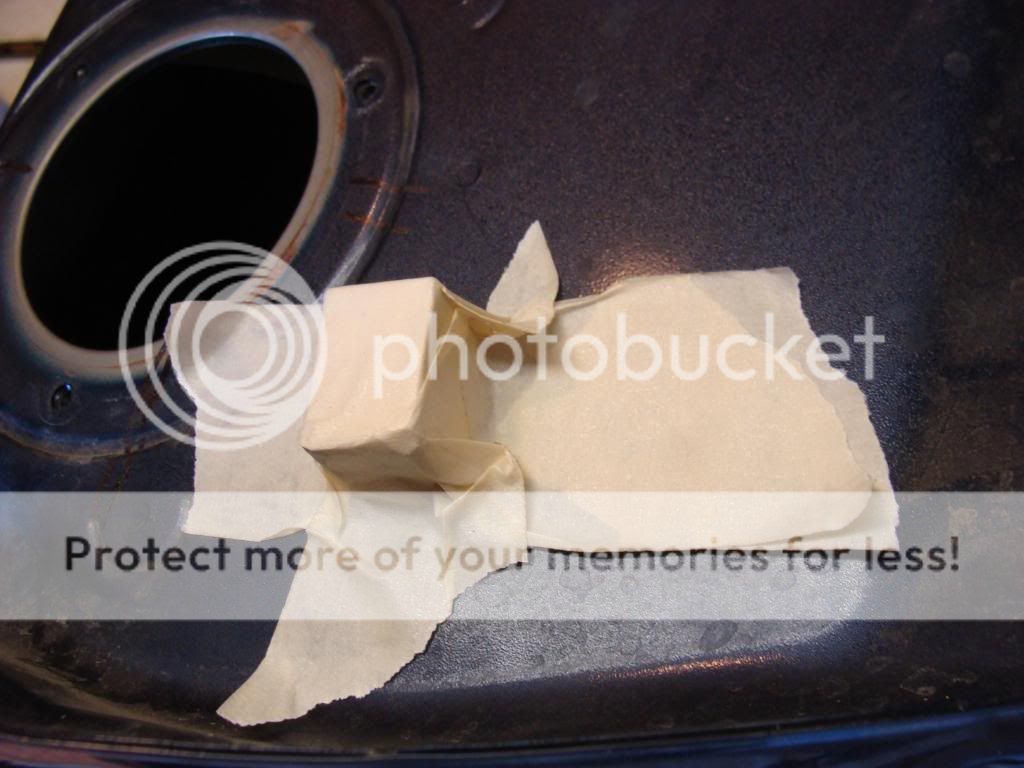
Placed towel in tank to catch shavings.
Block off the main tank fuel pump hole with tape for a "Foreign Material Exclusion Zone"..
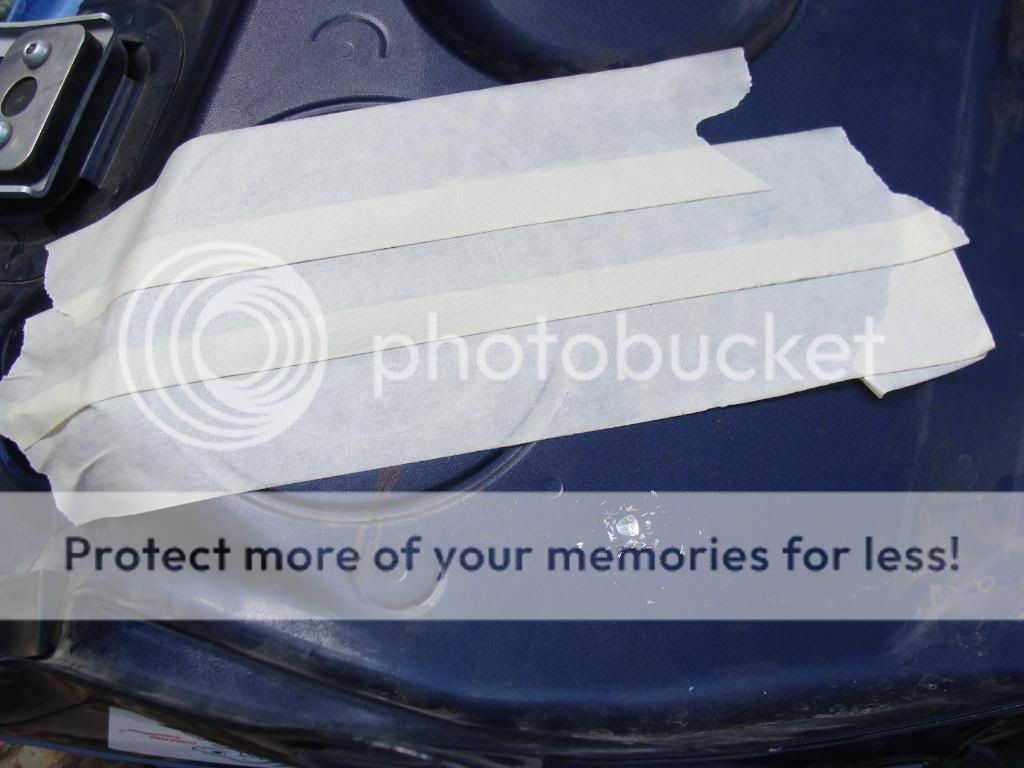
After drilling, used old paint brush to remove metal shavings from around fuel pump hole. Removed tape then rag from tank inside. Used magnetic probe to pick up remaining metal shavings. Also used balled-up masking tape and tamped around tank inside to pick up pieces.
The inside of the tank had a ledge from the drilling. Unacceptable. Place the UniBit inside tank, posting out wards, then chucked it to my Makita. Ran the Makita back-wards to 'chamfer' the inside hole area. Be careful doing this - don't go crazy, just enough to remove the burr material.
Getting closer! Like others, used a 90 degree ratchet to secure the bulkhead fitting.
Bulkhead installed!
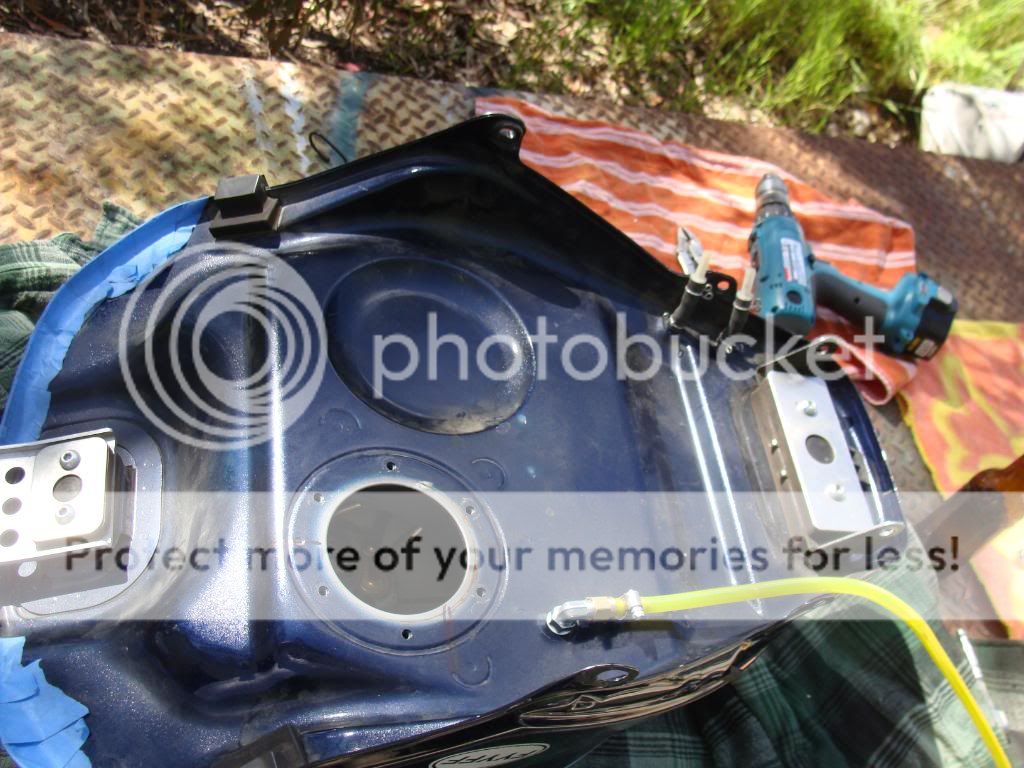
Time to start assembling stuff.
When stuffing the fuel pp back in, first connect the sender unit. It will go in much easier than coming out. It's damn hard to align then pop the tab into place once halfway stuffed into the tank.
Hey hay - the bike runs, and the fuel gage is working too!
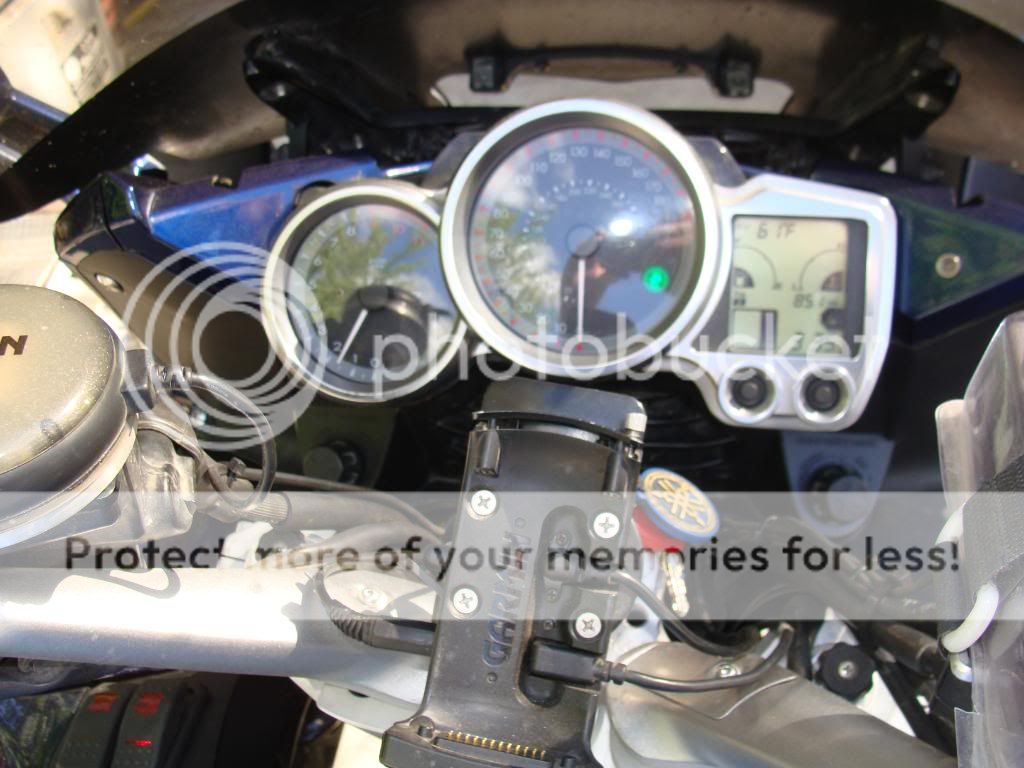
I had to ****-can the one way valve. It was waay to restrictive for a gravity feed system.
Also decided to run the Sampson tank QD fittings - they appear to flow much better, with less restriction, than the MacMaster-Carr ones.
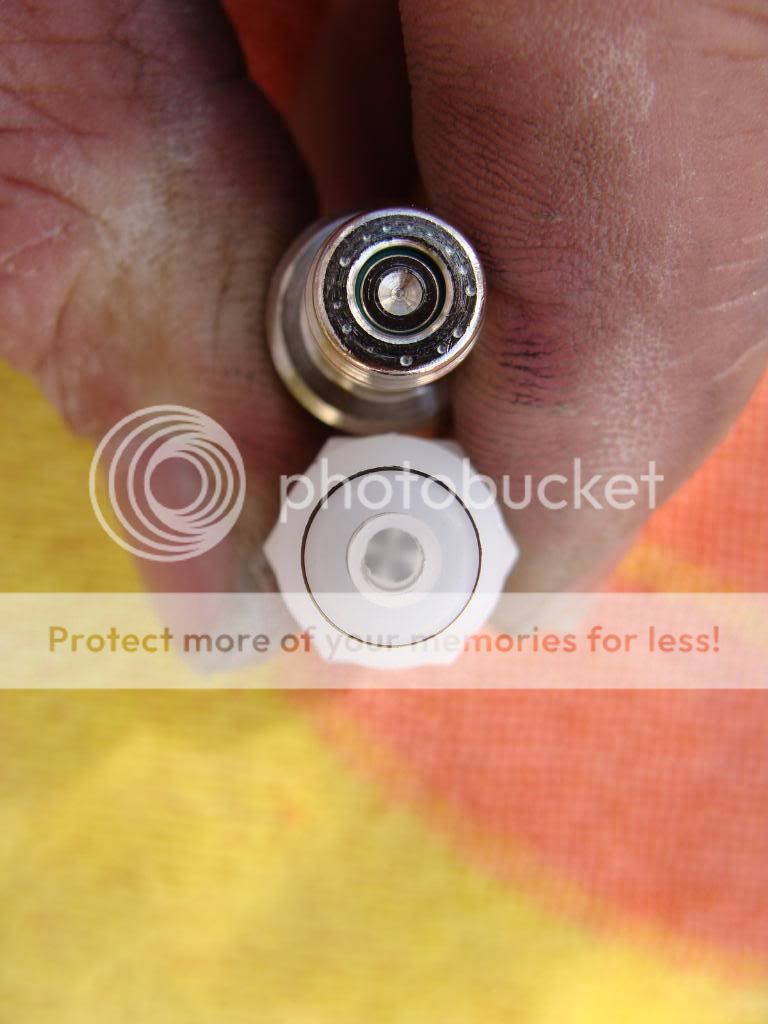
Final routing of lines..
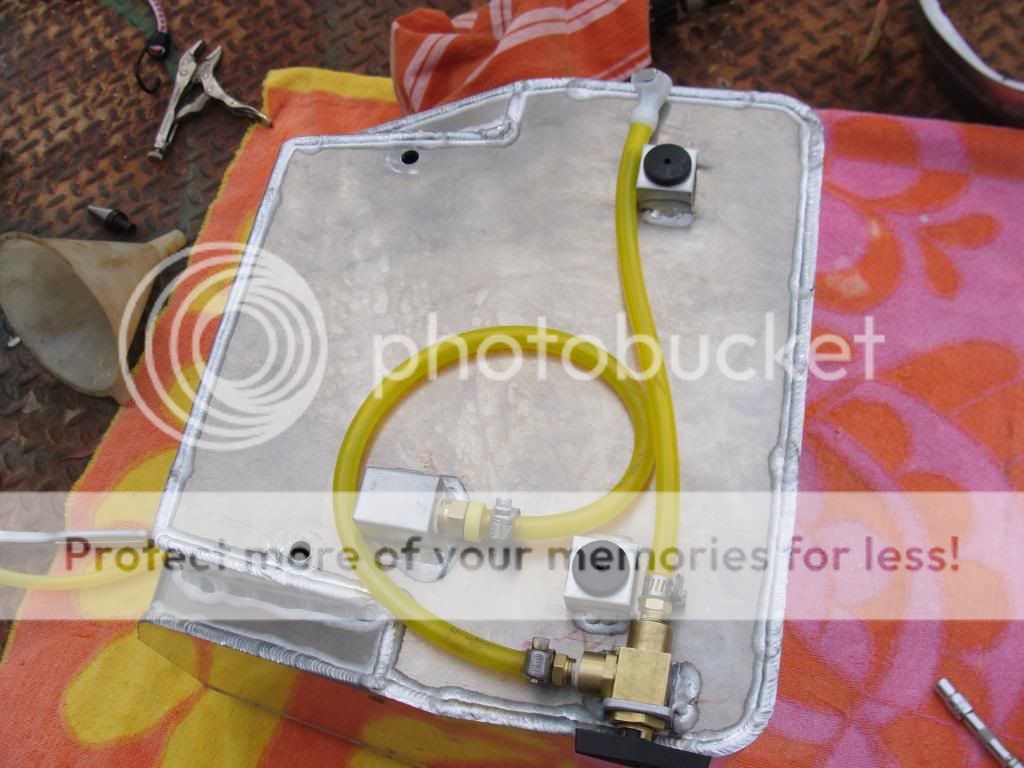
Ready for GAS this time!
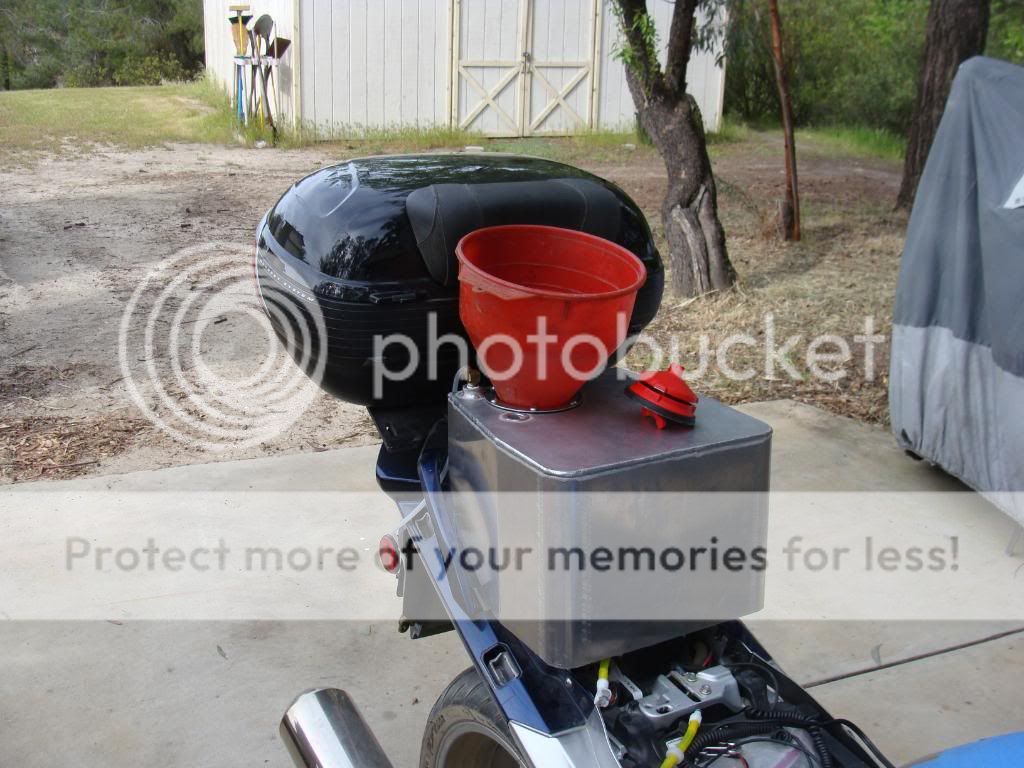
Aux tank full, main tank real low (just enough to check for leaks and make sure everything worked)
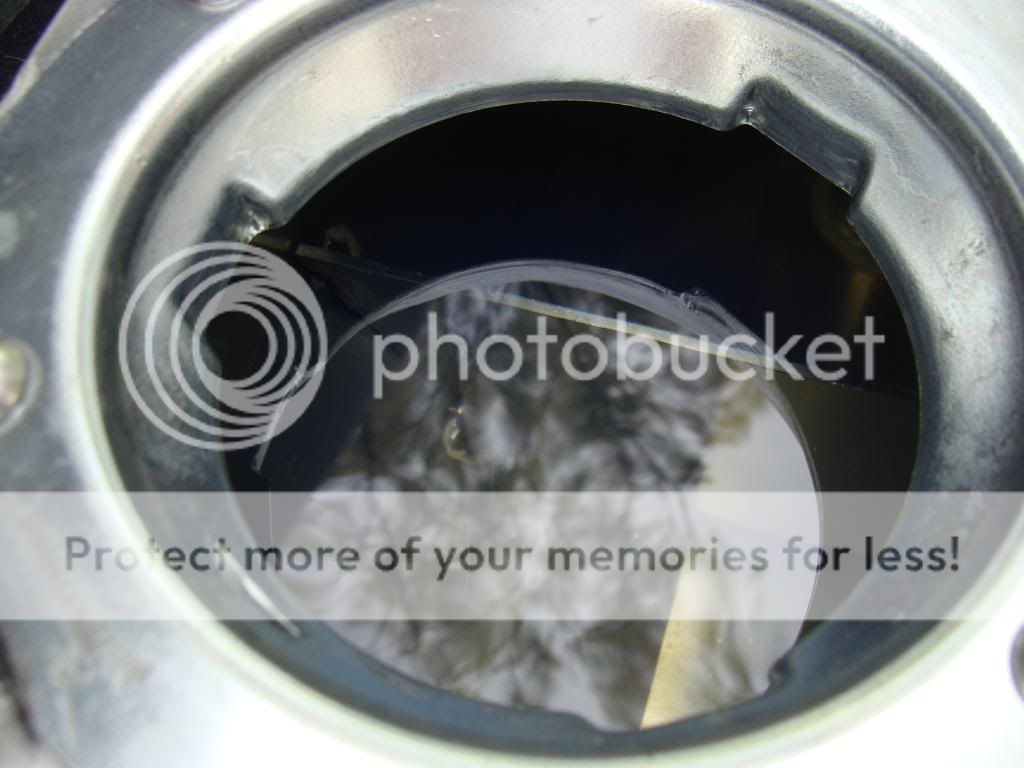
Opened the aux tank valve, no flow. :angry:
Remove the one-way valve - some flow..
Replace the McMaster-Carr QD with Sampson, and hey, hey, look at dat! Fuel be flowin'.. :clapping:
More later, I'm tired.
Disclaimer - I ain't no machinist (although I would love to apprentice for a summer, just to learn) and I have only basic tools, and basic knowledge, but lots of FJR folks on this forum who I could (and DID) call, I decided to forge forward.
Worst case scenario? I put this tank in the rafters for use to run CrZy8 when doing maintenance. I've have several such tanks for various bike breeds, and it works well.
Best case scenario? All turns out well and I'm off and running like a true CBA prezident, and only having to gas up once every 3 weeks or so..
After removing the tank, I marked the retaining ring - even though Yamaha provided marks too - see the dimple?

Try and try again, I could NOT get the fuel pump out of the tank. Joe2lMaker, being a machinist, said he can. I tried for over 20 minutes. Called KaitsDad, since he had posted up a wonderful how-to, asked him. What a great guy. But he couldn't recall how the sending unit 'popped' off the main fuel pump. We talked for about 5 minutes, and gave me the needed clue. Here's the problem - the plastic tang that limits float travel won't clear. Unless of course, you're Joe2lMaker or Brodie.

Ok, here's the tip. The sending unit attachés to the fuel main with one 'tang'. Pry the tang downward, (see black horizontal mark) gently, with a small flat blade screwdriver, then push the sending assembly downward about 1/8". You will need good close up vision (not me) and nimble fingers (again, not me), but you *can do this*.

I then drained the rest of the gas from the tank.

Blew the tank free of gas vapors using a leaf blower. Best use of this POS since it was given to me 15 years ago, just sayin'.. I let this pup run for about 20 minutes, didn't want to wait 24 hours like most peeps. Called my bud Guppie, who said it wouldn't be a problem.. See his solution soon..


I also used compressor air to remove all gas liquid from the cap area.
After this, I couldn't smell any gas vapors at all. Then again, I can't smell ****, literally.
So then, per Guppies, advice, ran some good fashioned carbon-monoxide through the tank. No oxygen = no blast, and I had alot fun rigging this contraption up.. Let it run for about 10 minutes..

Getting close to drilling time, and I'm avoiding it..
Measured the bulkhead OD at 18 mm. Found the equivalent 'step' on the UniBit and marked the next higher step.. do NOT cross the mark, dcarver!

Practiced first - the entry point looks clean.

Not so much the exit -
There's a 'rubber' o-ring that has to seal and this is not going well...

Thinking that the tank steel will be thinner, and 'harder material' I forge on .
Call Hal again, get some good advice.. Jeesh, the moment of truth looms.
Better be sure my location is OK. Make a block of wood scraps the same height as the fitting and test the tank. All is good.

Placed towel in tank to catch shavings.
Block off the main tank fuel pump hole with tape for a "Foreign Material Exclusion Zone"..

After drilling, used old paint brush to remove metal shavings from around fuel pump hole. Removed tape then rag from tank inside. Used magnetic probe to pick up remaining metal shavings. Also used balled-up masking tape and tamped around tank inside to pick up pieces.
The inside of the tank had a ledge from the drilling. Unacceptable. Place the UniBit inside tank, posting out wards, then chucked it to my Makita. Ran the Makita back-wards to 'chamfer' the inside hole area. Be careful doing this - don't go crazy, just enough to remove the burr material.
Getting closer! Like others, used a 90 degree ratchet to secure the bulkhead fitting.
Bulkhead installed!

Time to start assembling stuff.
When stuffing the fuel pp back in, first connect the sender unit. It will go in much easier than coming out. It's damn hard to align then pop the tab into place once halfway stuffed into the tank.
Hey hay - the bike runs, and the fuel gage is working too!

I had to ****-can the one way valve. It was waay to restrictive for a gravity feed system.
Also decided to run the Sampson tank QD fittings - they appear to flow much better, with less restriction, than the MacMaster-Carr ones.

Final routing of lines..

Ready for GAS this time!

Aux tank full, main tank real low (just enough to check for leaks and make sure everything worked)

Opened the aux tank valve, no flow. :angry:
Remove the one-way valve - some flow..
Replace the McMaster-Carr QD with Sampson, and hey, hey, look at dat! Fuel be flowin'.. :clapping:
More later, I'm tired.


