"Taildragger" tank for GenII FJR -

Yamaha FJR Motorcycle Forum

Help Support Yamaha FJR Motorcycle Forum:

This site may earn a commission from merchant affiliate links, including eBay, Amazon, and others.
Kaitsdad,
From a design and fabrication standpoint I wanted to comment that what I see in the pics is a truly professional job. Nicely thought out, cleverly designed (pumps, valves mounting) and beautifully executed (material, baffle, welds and finish). Welds look especially good IMO. I've seen a lot of work in the aerospace and hot rod arenas that would fall short of this execution. Probably not something I would ever need but nevertheless, very well done. Congratulations. :clapping:

AZ
Thanks, AZ, however the tank was built by Ron Sampson - Sampson Sport Touring

Ron is, coincidentally, a retired aircraft builder. And it shows.

 
Update on the tank:

Rogue, a fellow FJR owner and forum member, arrived at my house 10:00 this AM - and he brought with him the test equipment to measure the pump draw.

(Thanks, Doug !!!)

Testing was accomplished under load - during the transferral of fuel.

First - engine not running -

Battery voltage - 12.7

voltage at pump - 12.61

Max draw 1.2 amps (maximum of three readings - still very consistent - varied between 1.1 and 1.2 amps)

Engine running, there was no difference in draw - still 1.2 amps, however voltage was now 13.8.

So - 13.8 volts X 1.2 amps = 16.56 watts - round to 17 watts draw for budget under load.

 
Like I said above, I'm updating you all on the tank following my 2250+ miles this past weekend -

Worked like it's supposed to.

I developed a routine for filling both tanks -

Pull up to the pump, sidestand down. Kill the engine.

Off the bike, card in the pump - once active, move to the back tank, open, start filling.

Move to the main tank, move the tank bag, pull the ignition key, open the main tank -

When the aux tank is full, move the pump to the main, start filling -

Cap the aux tank. (don't forget this - or you'll find the cap swinging in the breeze the next time you're off the bike - DAMHIK)

Top off the main tank - hang the pump back up, get receipt. Key in the ignition.

Replace the tank bag - open document holder, and log the stop, - miles, etc.

Saddle up, and away you go!!

I found it easiest to wait until I was down to 1 bar - this way I don't have to worry about overfilling the main tank.

Once that single bar is showing, I just hit the switch - and the 4.2 gallons transfers to the front tank.

A hard and fast weekend - nothing loosened up - everything worked as designed -

And I found it makes a really cool place to sit your diet pepsi when you're standing in a parking lot shoving an Arby's roast beef sandwich in your face ;)

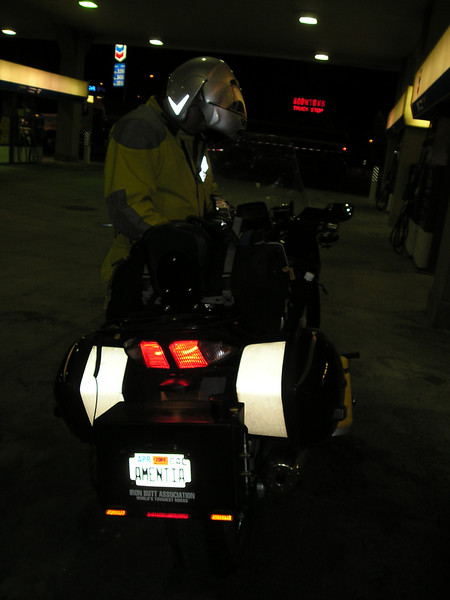
What it looks like at night -

159266762-L.jpg


Top