Well, I think this is a new one...

Yamaha FJR Motorcycle Forum

Help Support Yamaha FJR Motorcycle Forum:

This site may earn a commission from merchant affiliate links, including eBay, Amazon, and others.
:lol: Glad somebody's on their toes..

I meant Philly but Pittsburgh happened. :dribble:

 
Last edited by a moderator:
Fred,

When you glue it back together, how are you going get even pressure all over the shell to hold it in place? Would be interested in seeing some pictures of how you do it - was thinking of some kind of elastic strap(s) to wrap around the whole bag a bunch of times.

Dan

 
...how are you going get even pressure all over the shell to hold it in place? ...
If I were doing this as a business I would consider using a large purpose made vacuum bag. Drop the whole side case in the bag, draw a vacuum on the bag and seal it off. Fred can get any type of sheet/roll heat shrinkable plastic, warp the side case and hose it with a hair dryer or heat gun. Nice tight, even pressure, done just like shrink wrapping a boat for the winter only a lot smaller. Or, put the side case on the floor paint side up, throw a sandbag on it and come back tomorrow.

 
Last edited by a moderator:
^^^^^Well, Hell. That seals it! This forum must be making me smarter 'cuz that's EXACTLY what I was thinking. A friend of ours owns a plating business and I was just there. He had a set of wheels shrink wrapped and I thought that would work perfect for the bag.

Even thought of the sand bag because we use them so much at work for stuff just like this. Hell if Ionbeam thought of it, and I thought of it, do you know what this means??

 
Ya know fellers, a couple of pieces of duct tape would do just fine. In fact I doubt that it really needs any compression unless Fred uses expanding foam or foam tape.

I worked with a 100% genuine Japanese engineer for quite a while and he had a chance to see some of the ways I solved problems. I never realized that I was actually performing Chindogu engineering. I believe that ol' Bustednut and sometimes dcarver show some bright spots and engage in this form of engineering too.

 
Last edited by a moderator:
Ya'll are over enjeenieering this here event, boys!

Take the lid and toss it.

Get two rolls of 2" wide 'Carver Tape' and get busy!

Perfect solution! Elegant and Simple!

You are welcome. :blink:

 
I believe that this was one of Barry's better Chindogu creations:

FartCatcher.jpg


Hopefully my bag fix will be more Kaizen than Chindogu.

I'll let you all know more about the old adhesive properties and what I end up doing when I get the time to check into it a bit.

 
Have you considered a bunch of velcro? That stuff holds pretty good and can be separated with a reasonable amount of force. The only real force on the outer shell is the wind as you ride forward, and if put about 10 or so velcro patches scattered around between the inner and outer shell that oughta do it.

 
If you'da bought a 2004 it wouldn't get as hot in the sun as that B3 color.

I suspect they use ABS cement. That stuff usually bonds really well; I used it on my cracked Vetter fairing back in the day and it worked really well. (Not removeable tho)

 
Not sure if it is available but whatever that stuff is to put windshields in cars would work pretty well. That's stuff must stick like bust chasen sheep after a six pack of beer on Friday nights.

I can also see Fred putting the case down on the picanick table out back. Then taking some ratchet straps out of his car to hold it down till the glue dries. You can bet your bottom dollar it will be done on the cheap. Them there NH folks are ingenious *******s.

;)

Dave

 
Last edited by a moderator:
Otay!!

As promised, more details and my Yankee frugal approach to repair:

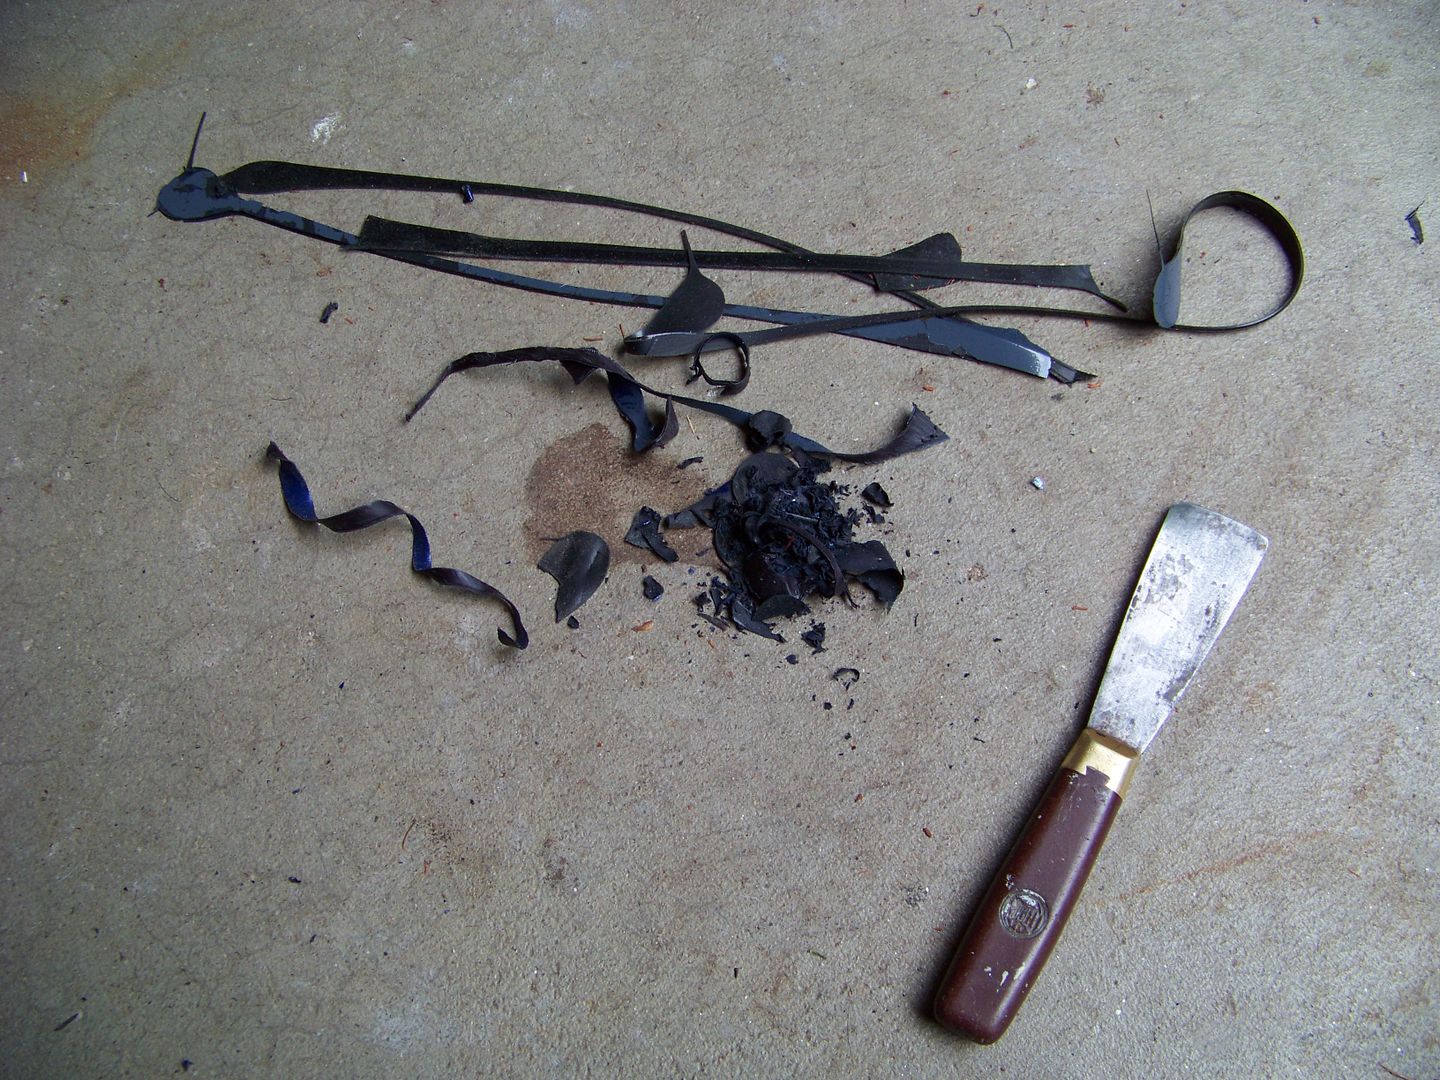
First off, I was quite wrong. The adhesive is not hard afterall. It is some sort of butyl rubber goo that forms a hard-ish rubber bond. And it was a hjeck of a lot of fun to get offa there.

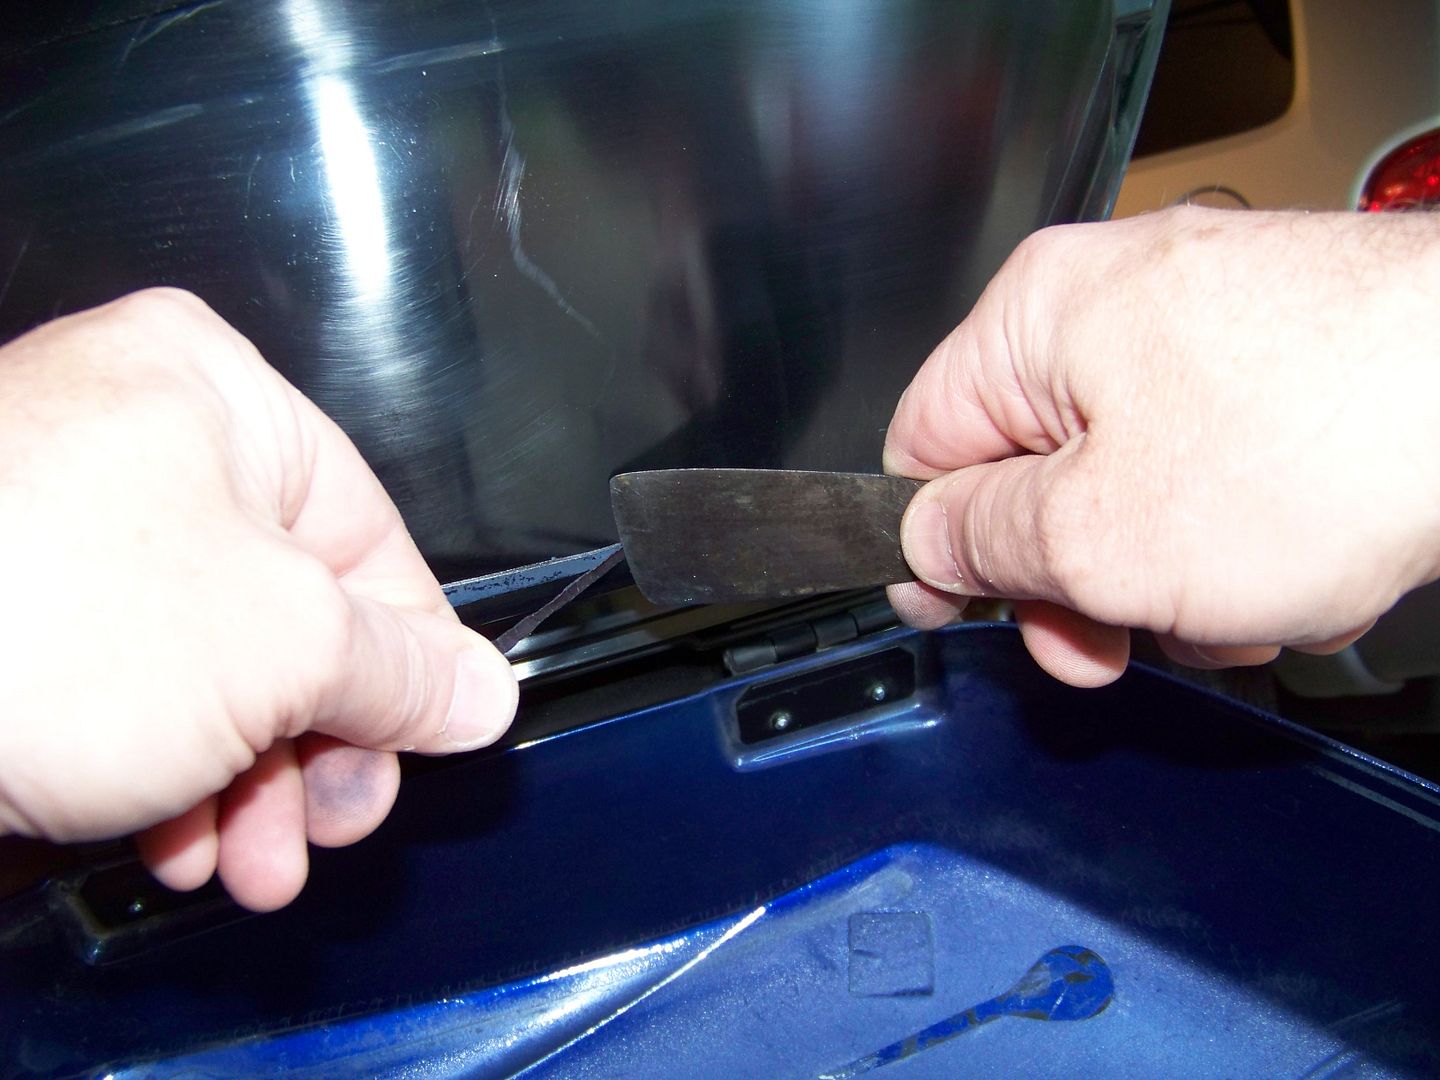
I figured out a way to start an edge and then under cut the bond with a very flexible, very thin putty knife that I happen to already own (no new tools were required for this job :angry2: ) while tugging the flexible rubber away at a right angle. This got the most old adhesive off of both surfaces with the least trouble

100_3330.jpg


100_3334.jpg


After I had as much of the old adhesive off as possible I could just rub the remnants with a finger and it would kind of roll off the surface pretty well. Then I cleaned both surfaces with Duplicolor Surface Prep sprayed onto a rag (after testing it on both surfaces to be sure it wouldn't dissolve the plastic cases) to remove any dirt, grease and residual rubber adhesive, since I already had some sitting on the shelf.

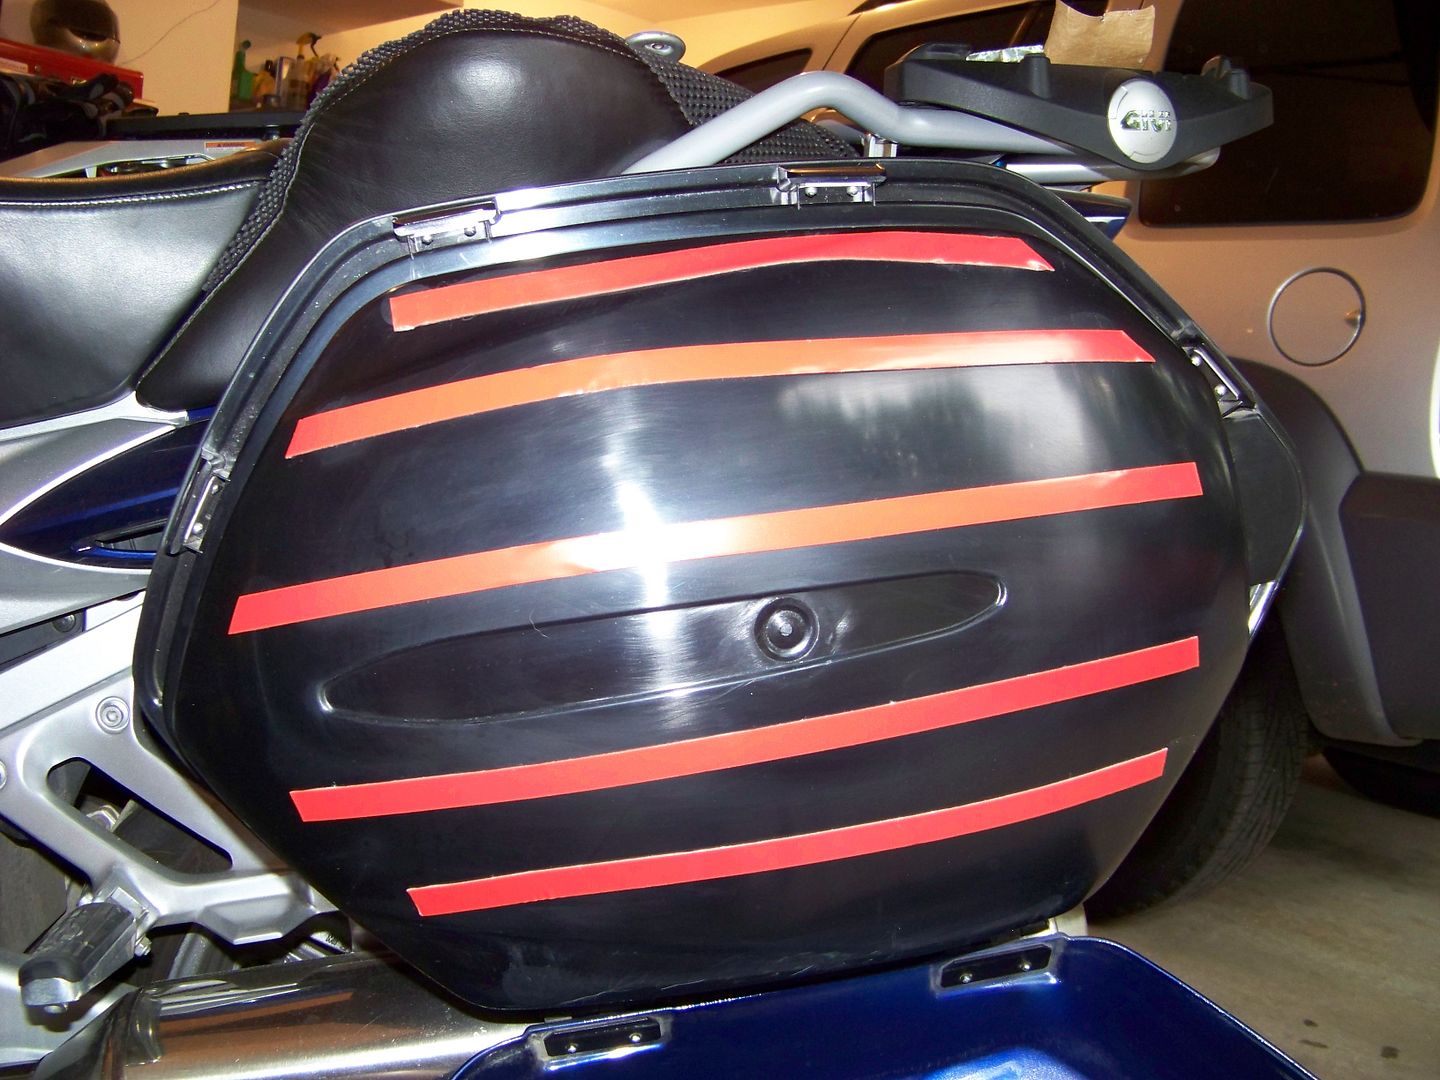
Then in the same approximate locations that the original adhesive had been applied, I laid down 1/2" wide strips of 3M Acrylic Foam pressure sensitive Automotive Trim tape

100_3337.jpg


I decided to use this stuff for a few reasons: One, I already had a roll of the stuff on hand (picking up a theme here?) that I have been using to hold lead balance weights on my wheels. Two, I know this stuff sticks tenaciously, as it is able to hold on those wheel weights in a harsh environment. Three, the tape is almost the exact thickness of the old adhesive globs I found and peeled off of the inner cases. And four, this is actually the exact application that this struff is designed for, sticking plastic trim pieces onto painted panels.

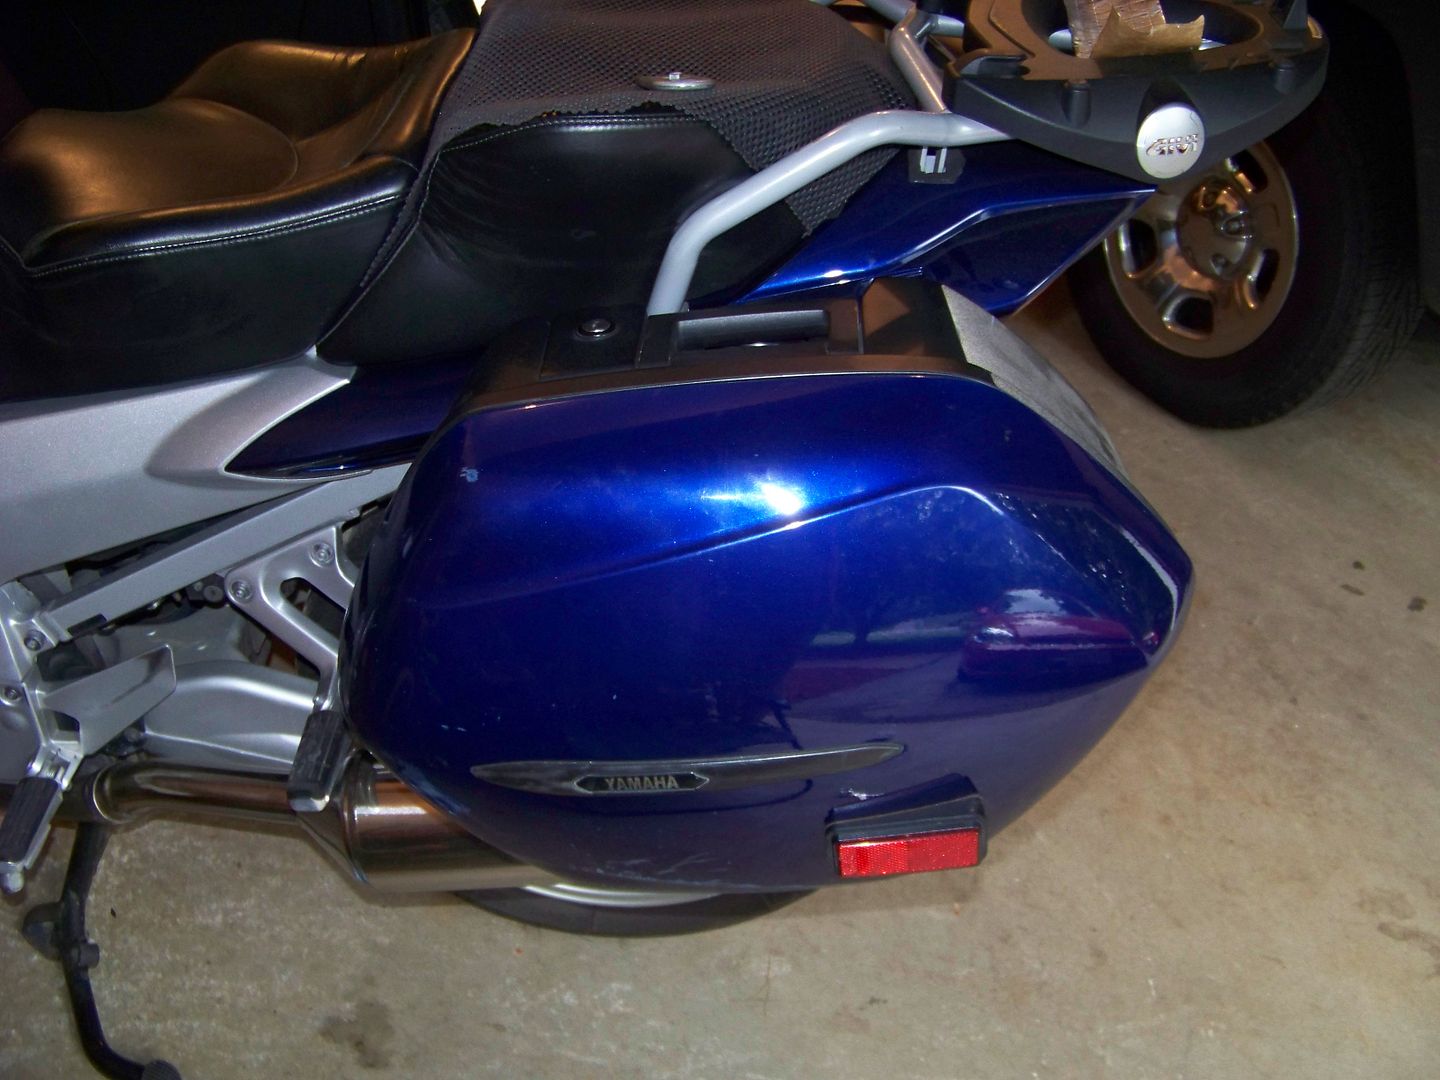
Badda-bing. Badda Boom! Repair complete. No need for clamping, vacuum bags or sand bag weights. If it wasn't for the new rash on the forward upper corner of the paint you'd never know it had happened. I pried pretty vigorously on the lids and it doesn't look like it wants to go anywhere.

100_3338.jpg


I'll surely report if the thing ever pops open again, but I have a feeling that this repair is permanent, as in: I'll never get those suckers apart again even if I want to.

 
Last edited by a moderator:
I just got a tube of stuff from the adhesives counter at Wally World, said it works on plastics. I cleaned the dirt off the surfaces (but didn't remove the old glue - too much work,) then smeared the cement from the tube all over the place, set the box down on the floor and put a stack of books on it. Next morning I stuck it on the bike and rode to work. Today I rode it to work again. Lid hasn't flopped off.

Personally I think the separation was caused by the fact that my size XXL helmet, which I store in the sidecase every day while at work, was actually just a smidge too wide for the case, and the bag was press from inside, levering the cover off eventually.

I'm going to start just carrying the helmet into work and setting it under my desk.

 
I'll surely report if the thing ever pops open again, but I have a feeling that this repair is permanent, as in: I'll never get those suckers apart again even if I want to.
So....when's the next Dusty 100? :)

Call me a doubter... :lol:

 
Last edited by a moderator:
... One, I already had a roll of the stuff on hand (picking up a theme here?) that I have been using to hold lead balance weights on my wheels. Two, I know this stuff sticks tenaciously, as it is able to hold on those wheel weights in a harsh environment. Three, the tape is almost the exact thickness of the old adhesive globs I found and peeled off of the inner cases. And four, this is actually the exact application that this struff is designed for, sticking plastic trim pieces onto painted panels...I'll surely report if the thing ever pops open again,
That'sa my boy! The Frugal Yankee rules again :)

Perfect -- right up until the next dirt road excursion.. ;)

 
Last edited by a moderator:
Well fowl-feces!!!!! No sooner had I posted up about what a grand job I did with my bag, than I go out to head home from work and find this:

DSC_9430.jpg


That gap wasn't there this morning. What's more, the cover isn't loose. I can't press it on any tighter, and I can't pull it back. It seems to be firmly glued, just not quite in the right place.

Ya reckon my gunk expanded? Maybe?

But wait, there's more!!!!!!

I dropped the bike off the sidestand and got this flop sound from behind, and lo and behold, the OTHER feckin' bag has separated!!!!

DSC_9432.jpg


So I have TWO floppy bags between my legs (and a little bit behind...)

So, more bungie, for now. I'm headed to Orlando this weekend, so I may just depend on the bungie.

Next try may be some epoxy. Don't know what that'll do to the plastic, though, if it'll soften it and show through.

And it ain't like they aged together. The left side, the one that dropped first, is 4 years newer than the right bag, having been replaced after crash #1 on The Collector on SR25 south of Barber Motorsports. (Well, 4 years newer to me; who knows how long it's been in some warehouse somewhere.)

 
Last edited by a moderator:
Why da fook am I dragged into this fiasco? Granted I'm "creative" when poop goes bad..

I'm going to report some of you to people who defend against bully's if this **** keeps up!

Alan, Walt, ******* stanley..

 
Nice repair Fred! I bet you're right...that tape will be there forever.

I use the same stuff for wheel weights -- haven't lost one yet!! :)

--G

 
Well fowl-feces!!!!! No sooner had I posted up about what a grand job I did with my bag, than I go out to head home from work and find this:

DSC_9430.jpg

Wow! That's amazin', two draggin' bags. Maybe you shouldn't texture with barb wire?

 
Top