What happened to Isabella's Engine?

Yamaha FJR Motorcycle Forum

Help Support Yamaha FJR Motorcycle Forum:

This site may earn a commission from merchant affiliate links, including eBay, Amazon, and others.
Didn't do much last night. I picked up some bolts to use with my puller to remove the rotor. Got that hooked up and I started pulling on it. That bugger is on there. Before I break something, I think today I'll try my new-found mechanic's trick and put some heat on the shaft to see if she'll budge.
Always a good idea to apply some 'light' shocks while pulling. I'm not sure how your puller is rigged up but I would be trying to apply the shocks to the shaft rather than the rotor.

 
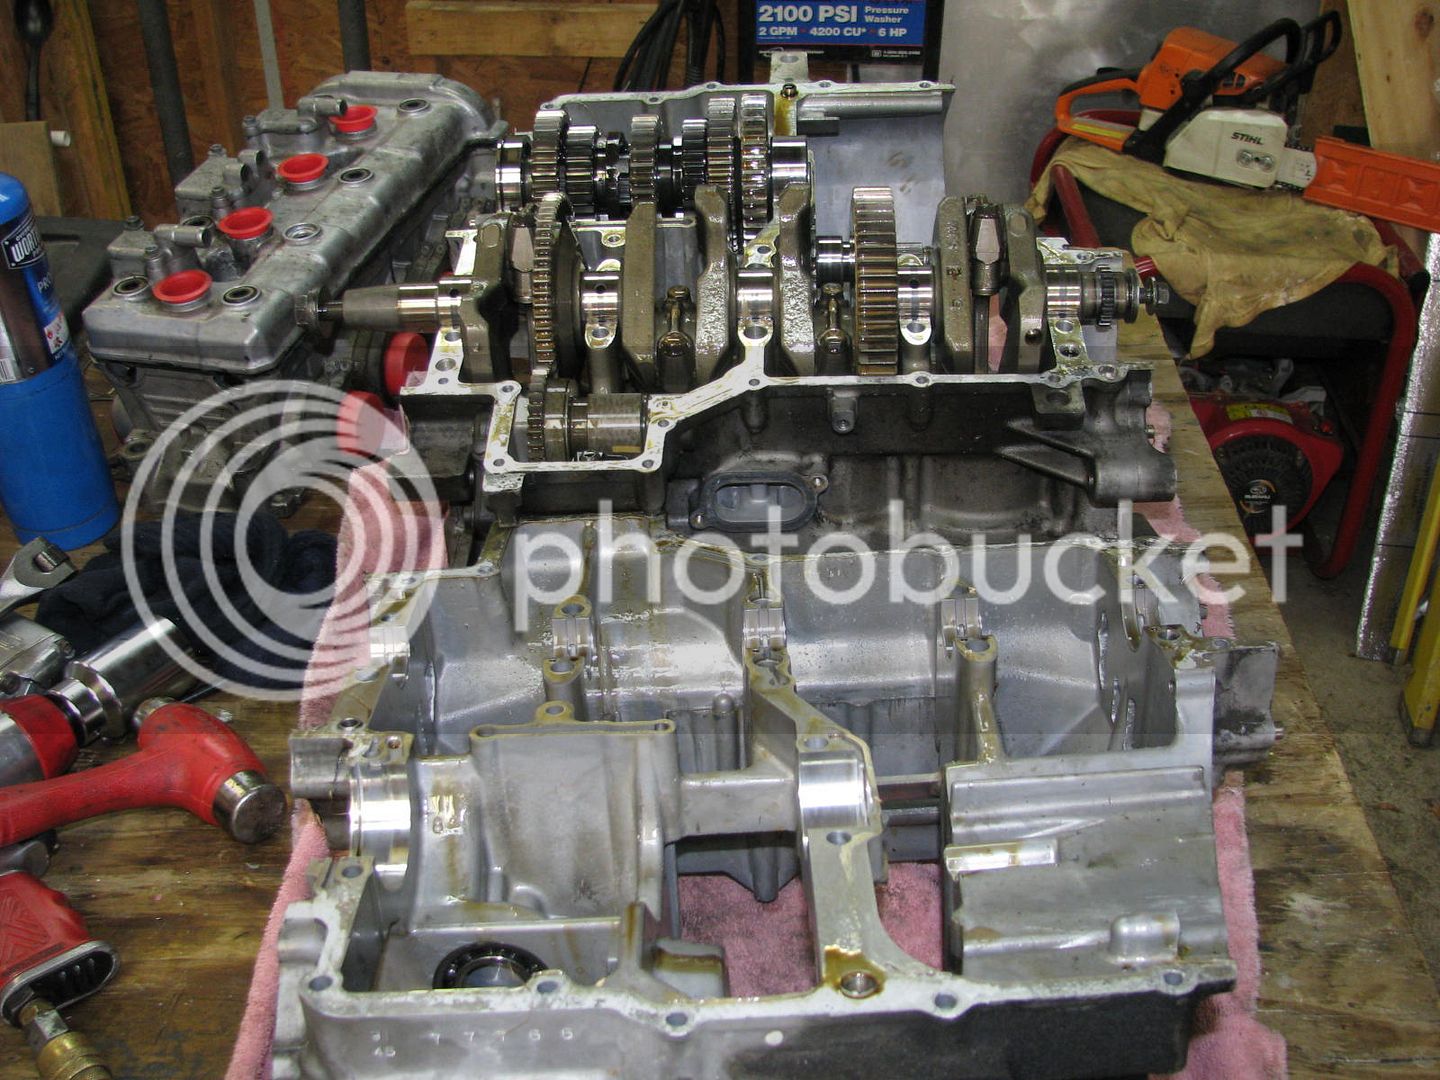
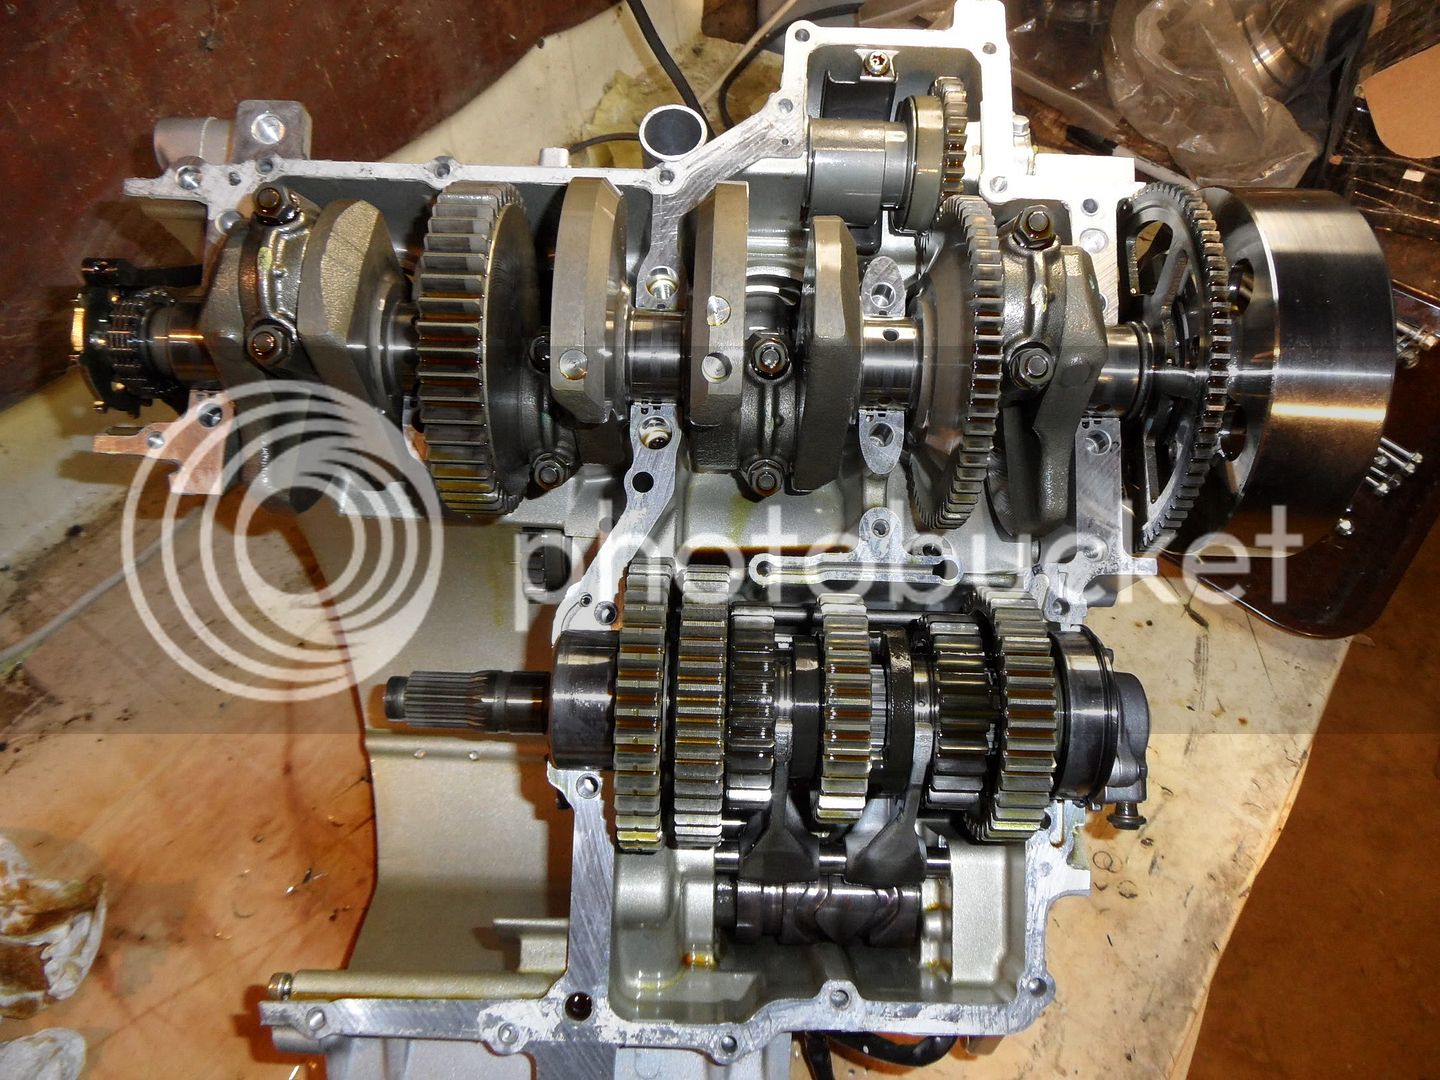
OK - the case is split and I've got it torn down.

Now if Photobucket will wake up, we can see something.

Whoever decided to change photobucket should be tar and feathered. Well, that's a bit strong, but I like the old Photobucket.

 
4/19/13

Today, I split the cases and tore the motor down as far as I need to go. I didn’t pull the shift drum, shift forks, or the starter clutch out, but for the purpose of this thread, I didn’t think it necessary.

I’m not real proud of these pictures, but I think they are good enough.

First, the rotor finally came out with my puller, some heat, and some moderate tapping with my deadblow hammer on the crankshaft.

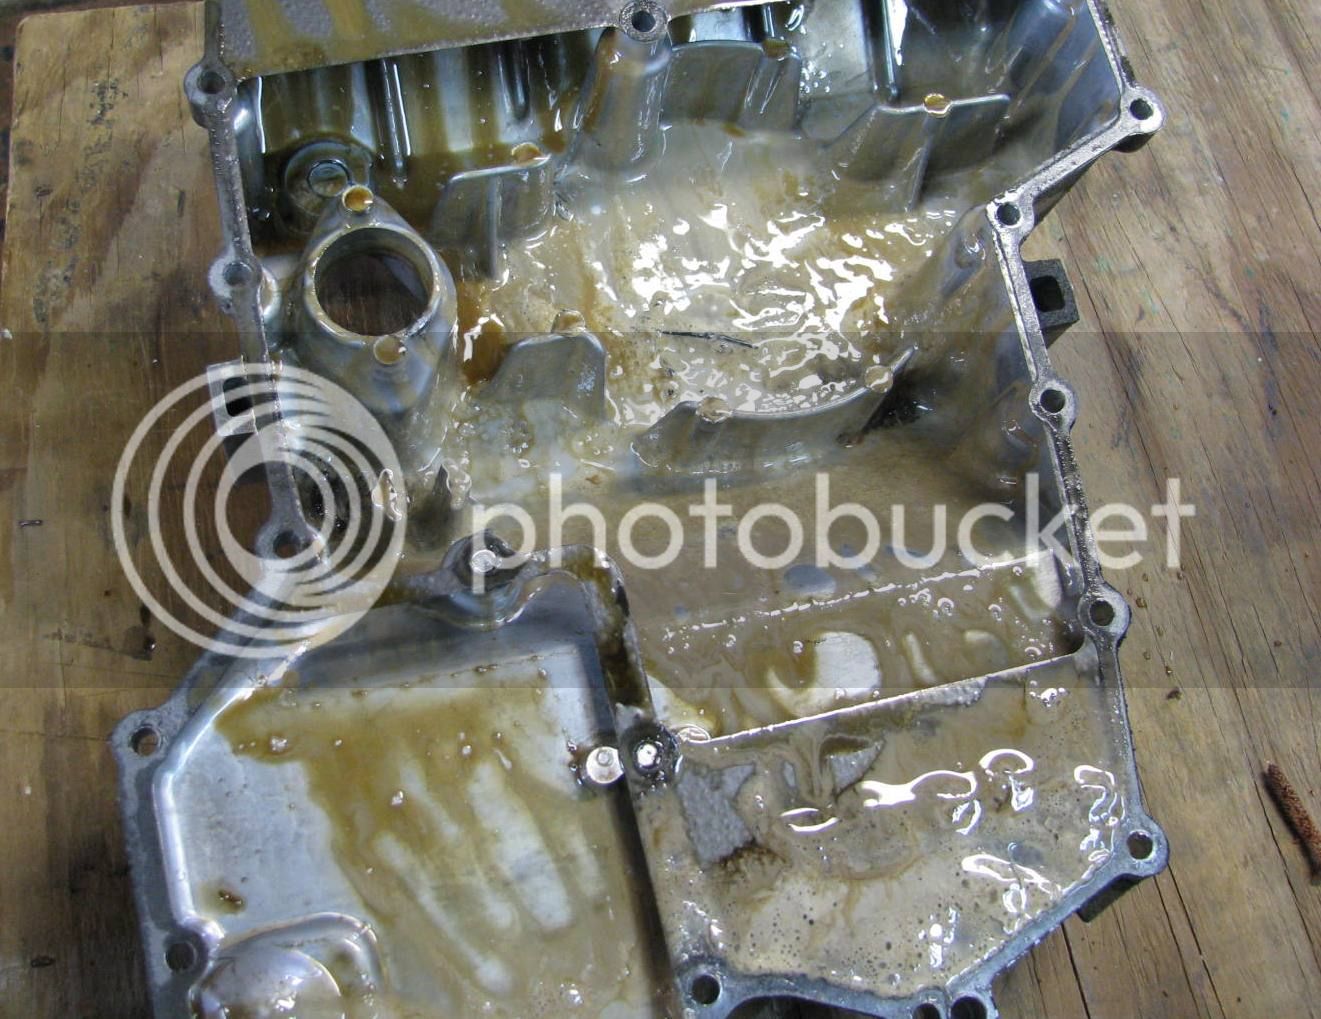
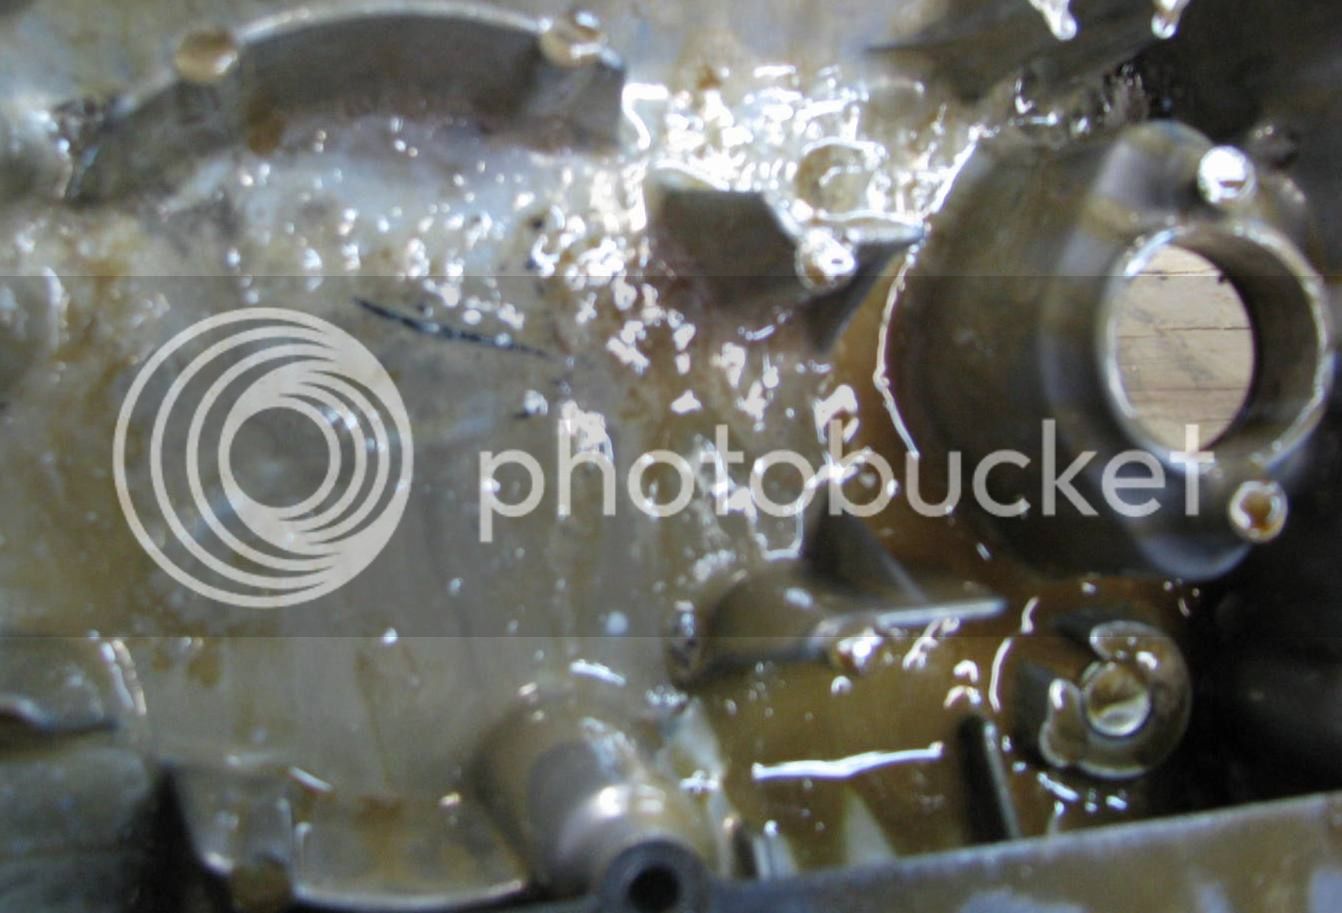
Next, it was time to pull the oil pan. I found some watery oil in the pan, but hardly anything in the bottom. A little bit of clutch material residue and NO shavings. Ross – I don’t think there is anything to analyze here.

splitcases1_zps6d495266.jpg


splitcases2_zpseced21dd.jpg


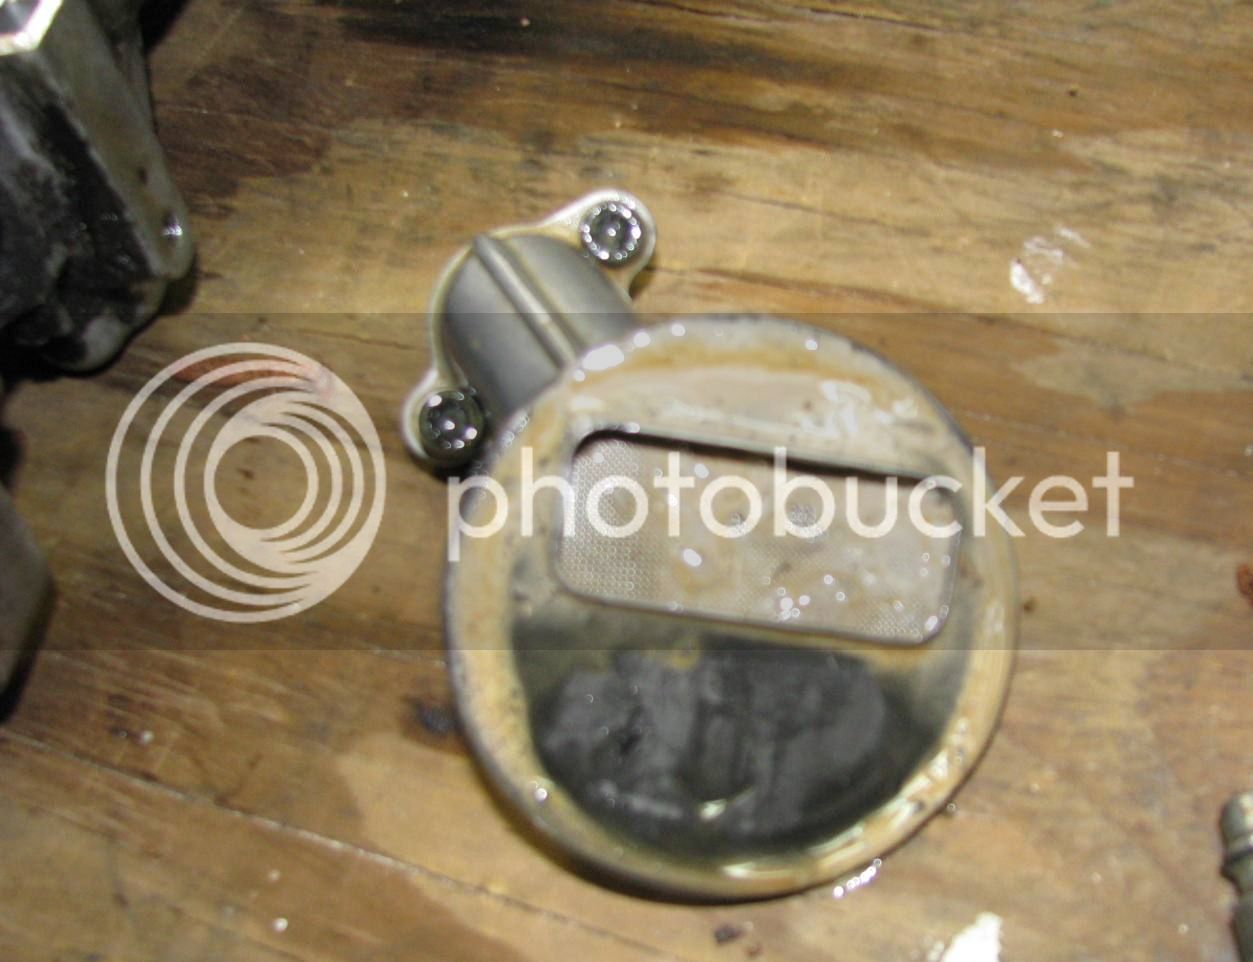
The oil pump screen was very clean.

splitcases3_zpsf51e4af5.jpg


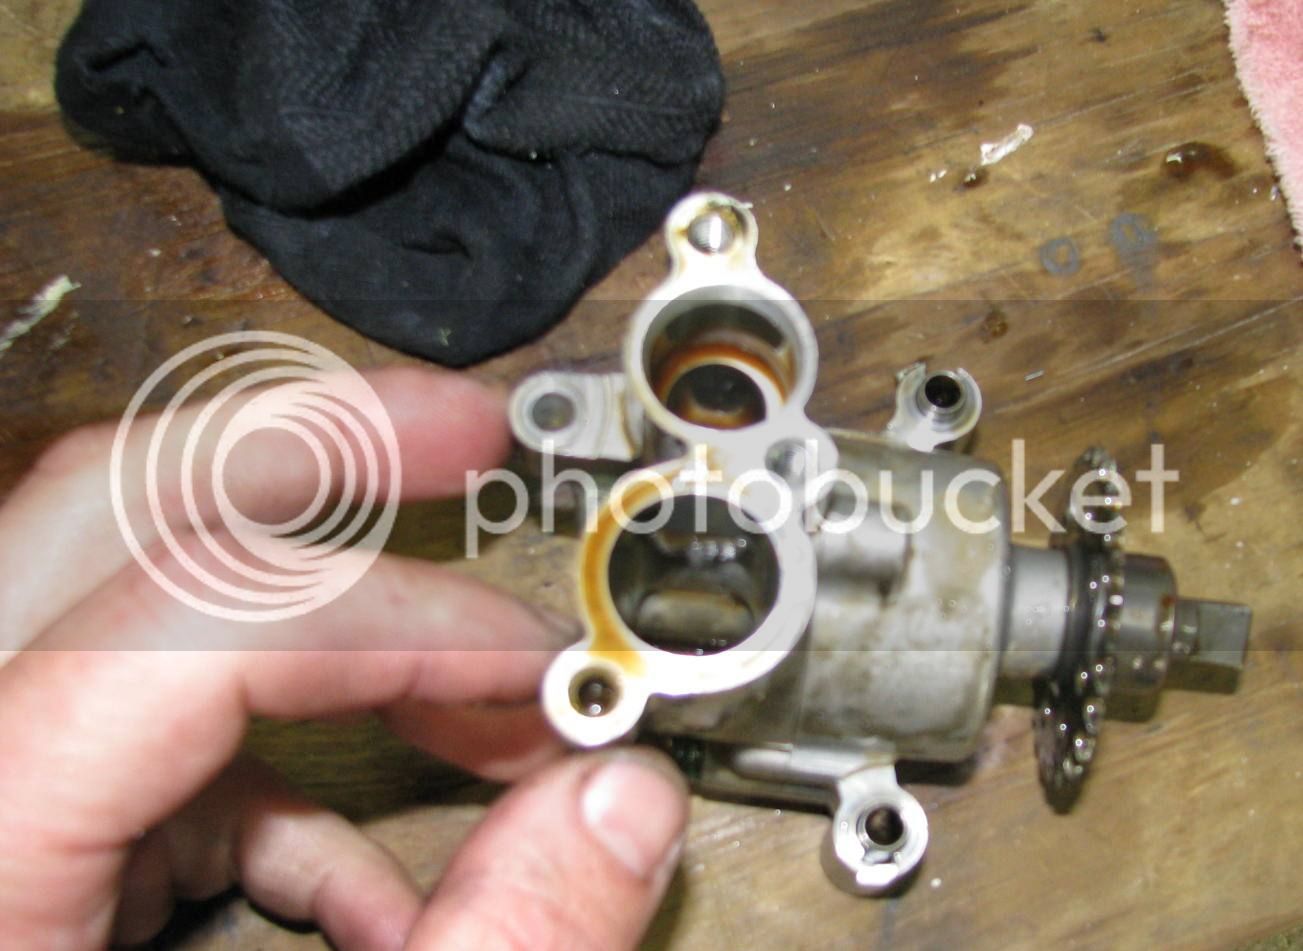
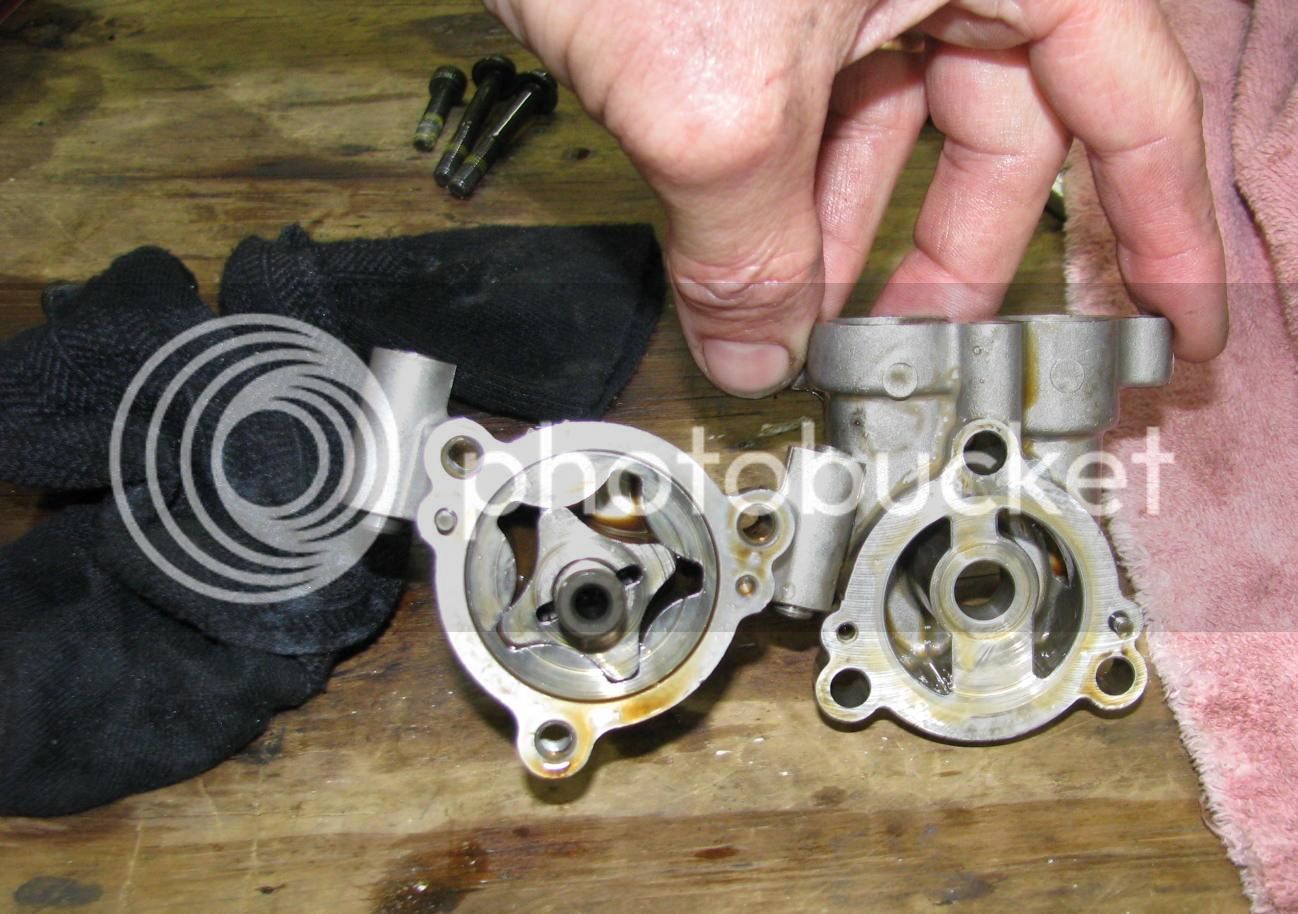
The oil pump pulled a strong suction on my thumb.

splitcases4_zps2e197cef.jpg


I took it apart – absolutely NO wear on it. I swear, I love this bike even more now.

splitcases5_zps8c70b191.jpg


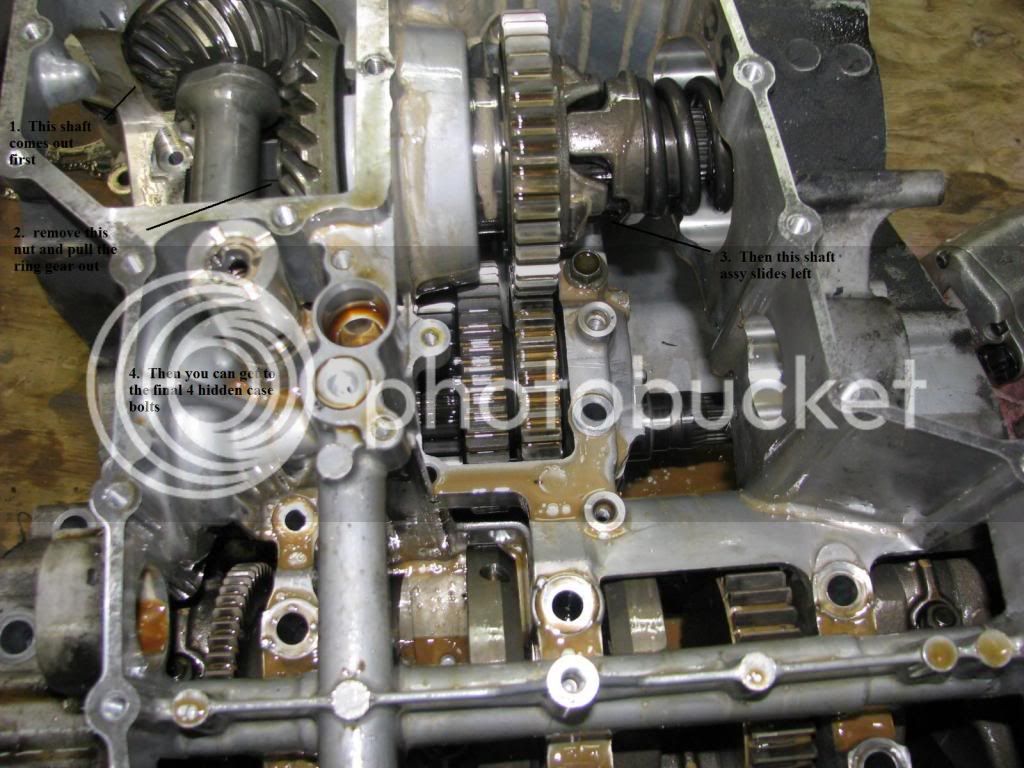
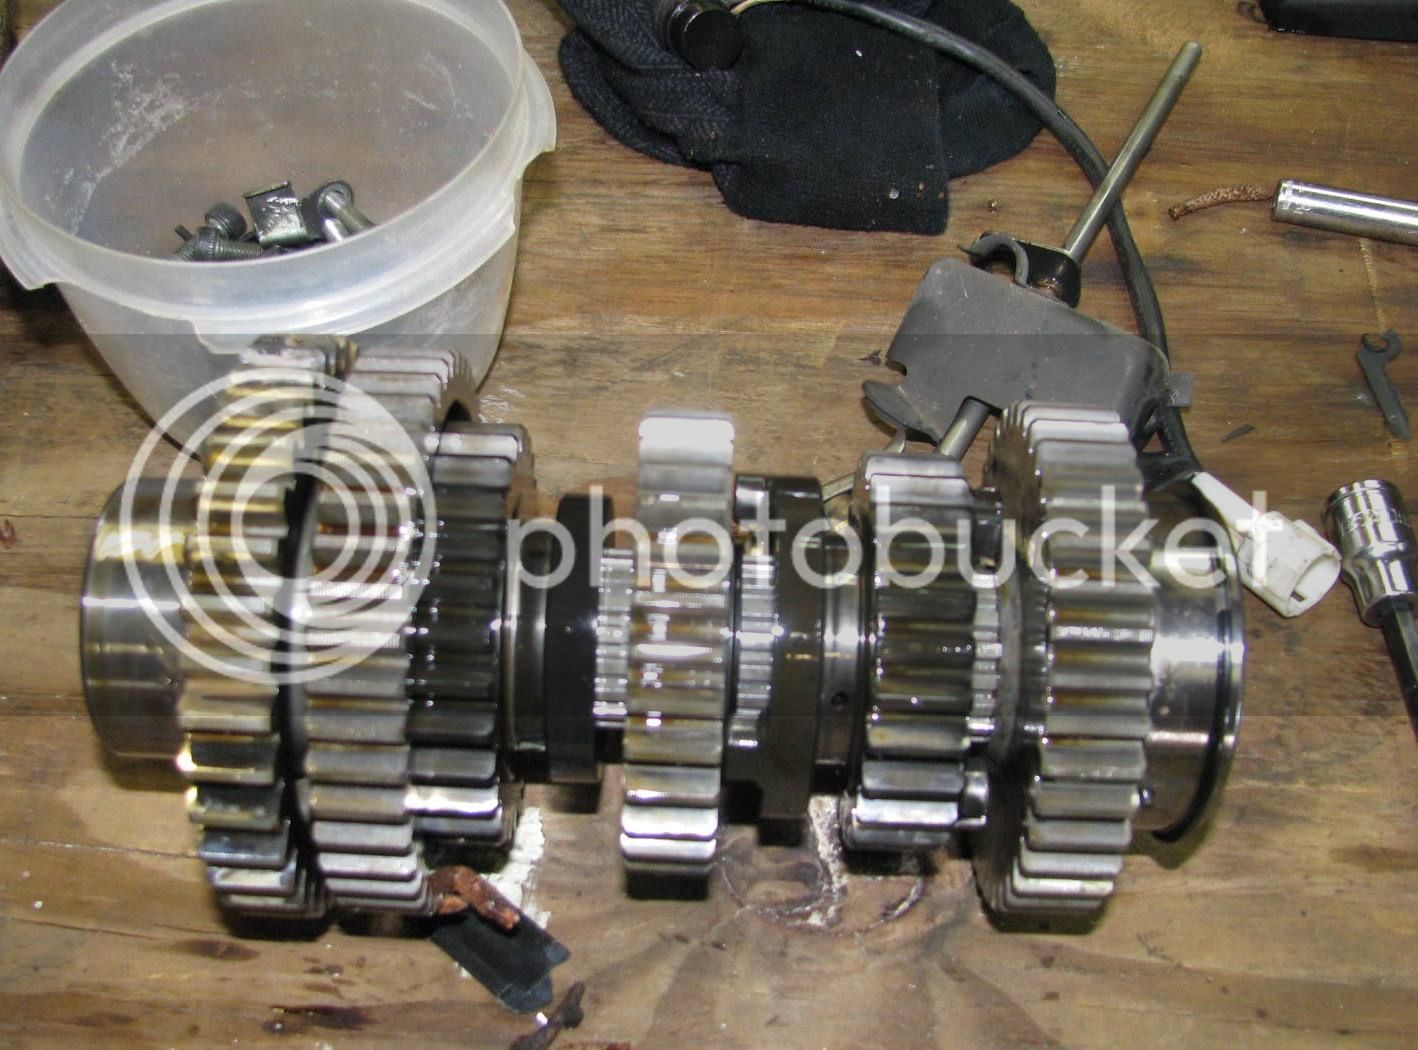
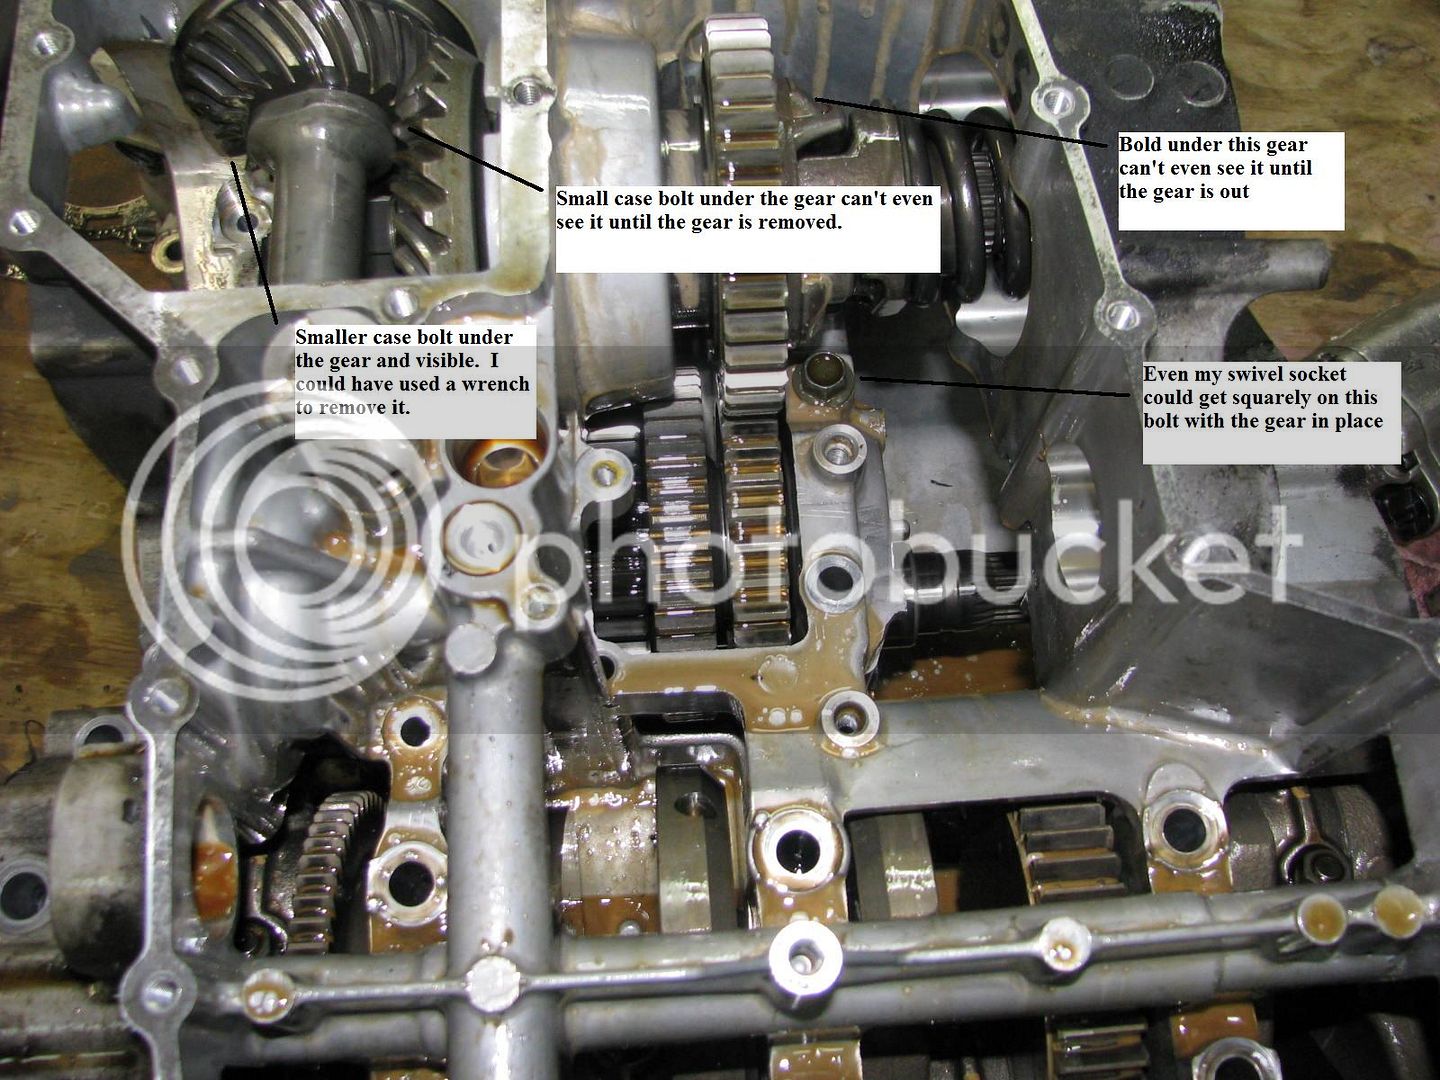
Here’s the heart of the matter. It’s hard to read my captions, but at this point, I’ve got all but 4 of the case bolts removed. I learned that at this point you have to pull the output shaft out, then using a 36mm socket (same size as the steering stem nut!!! Yeah I have one!), remove the output ring gear (if that’s the right term). Then slide the transmission output shaft out (again, making up my own terms), and finally the last 4 bolts are visible (2 under the output shaft, and 2 under the transmission output shaft).

splitcases6_zps0f397ec9.jpg


I examined the case bearings and they all looked very normal. No wear marks.

splitcases7_zps930492f9.jpg


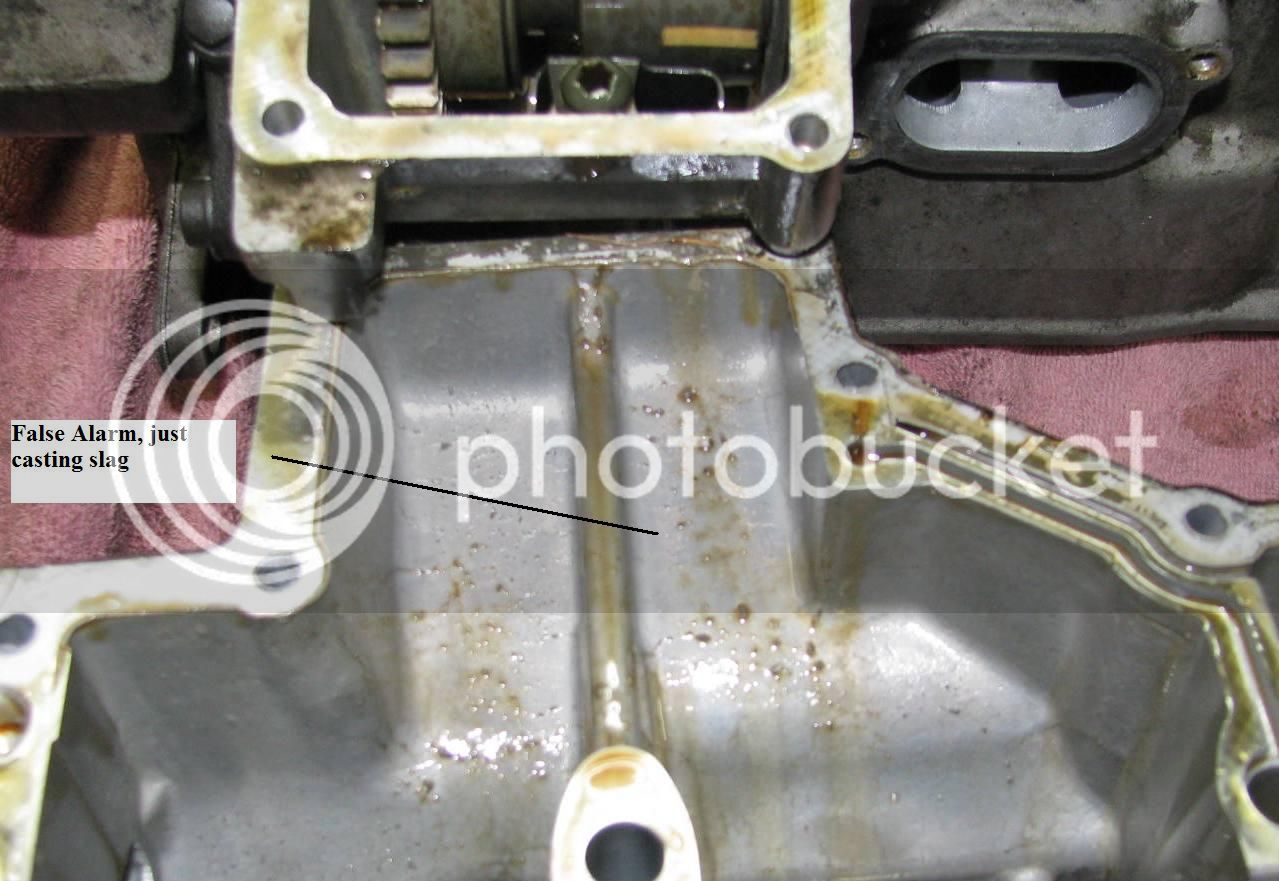
I thought I finally found a failure, but as it turns out, that was a false alarm,

splitcases8_zps4aca7dd6.jpg


For a tranny with almost 100K on it, it hardly looks broken in. Seriously, the 5th gear was just a tad shiney, but the other gears still had the factory marks on them.

splitcases9_zpsff2abda2.jpg


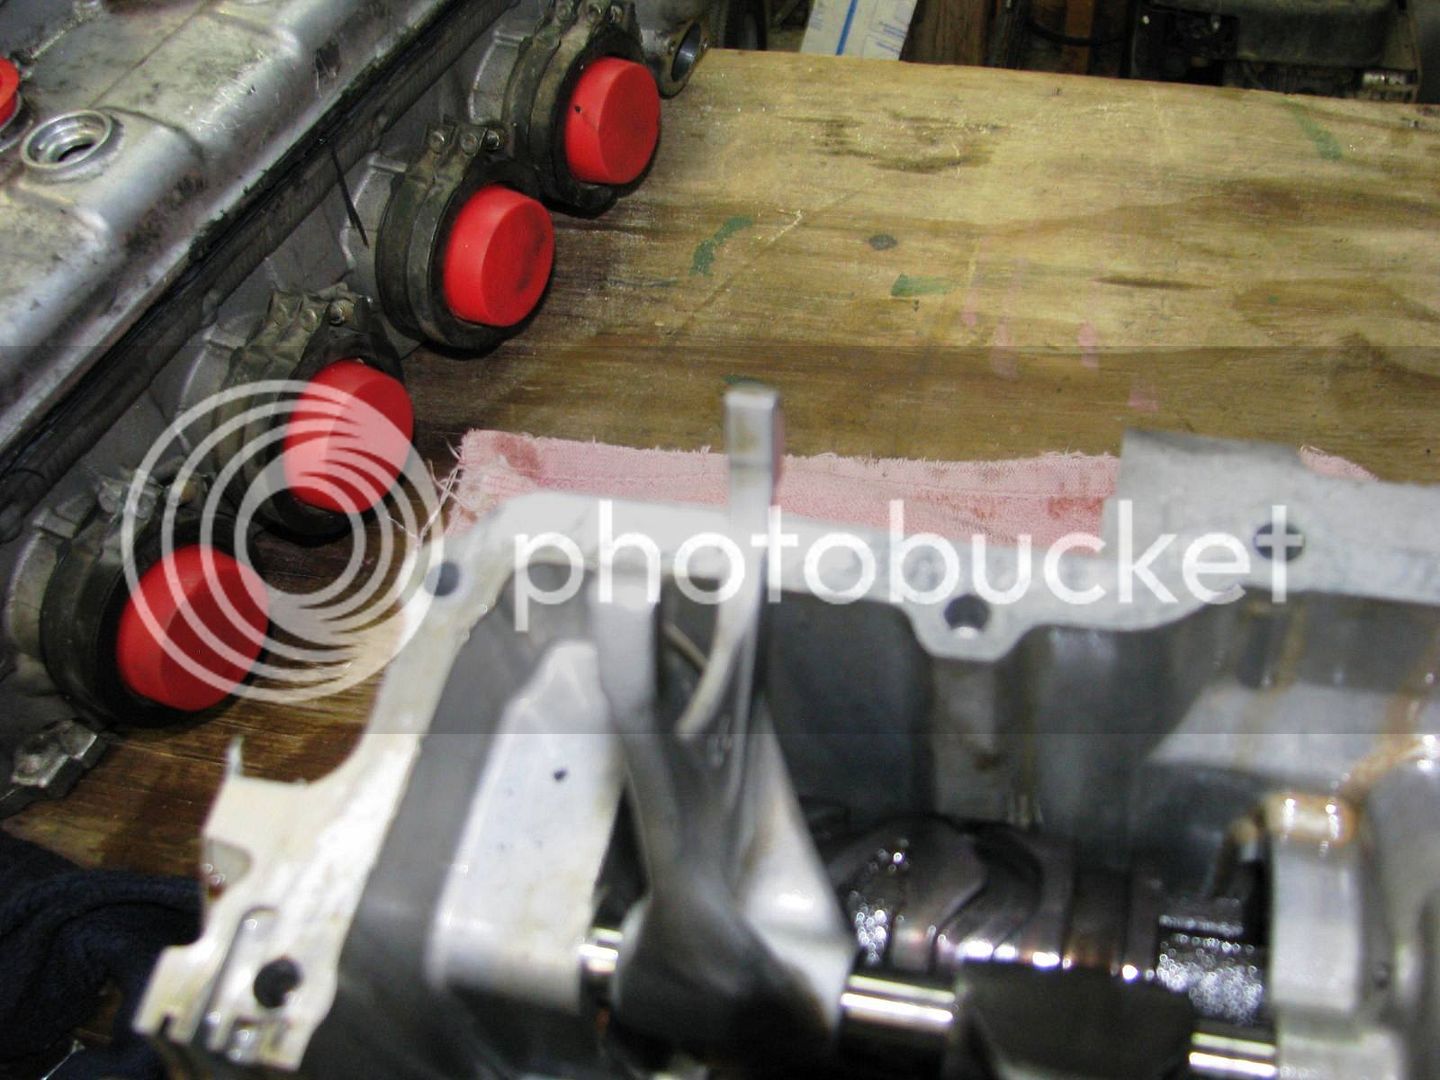
Hard to see in this picture, but both shift forks are absolutely pristine. Patriot, you can ride my bike any time.

splitcases10_zps3163a240.jpg


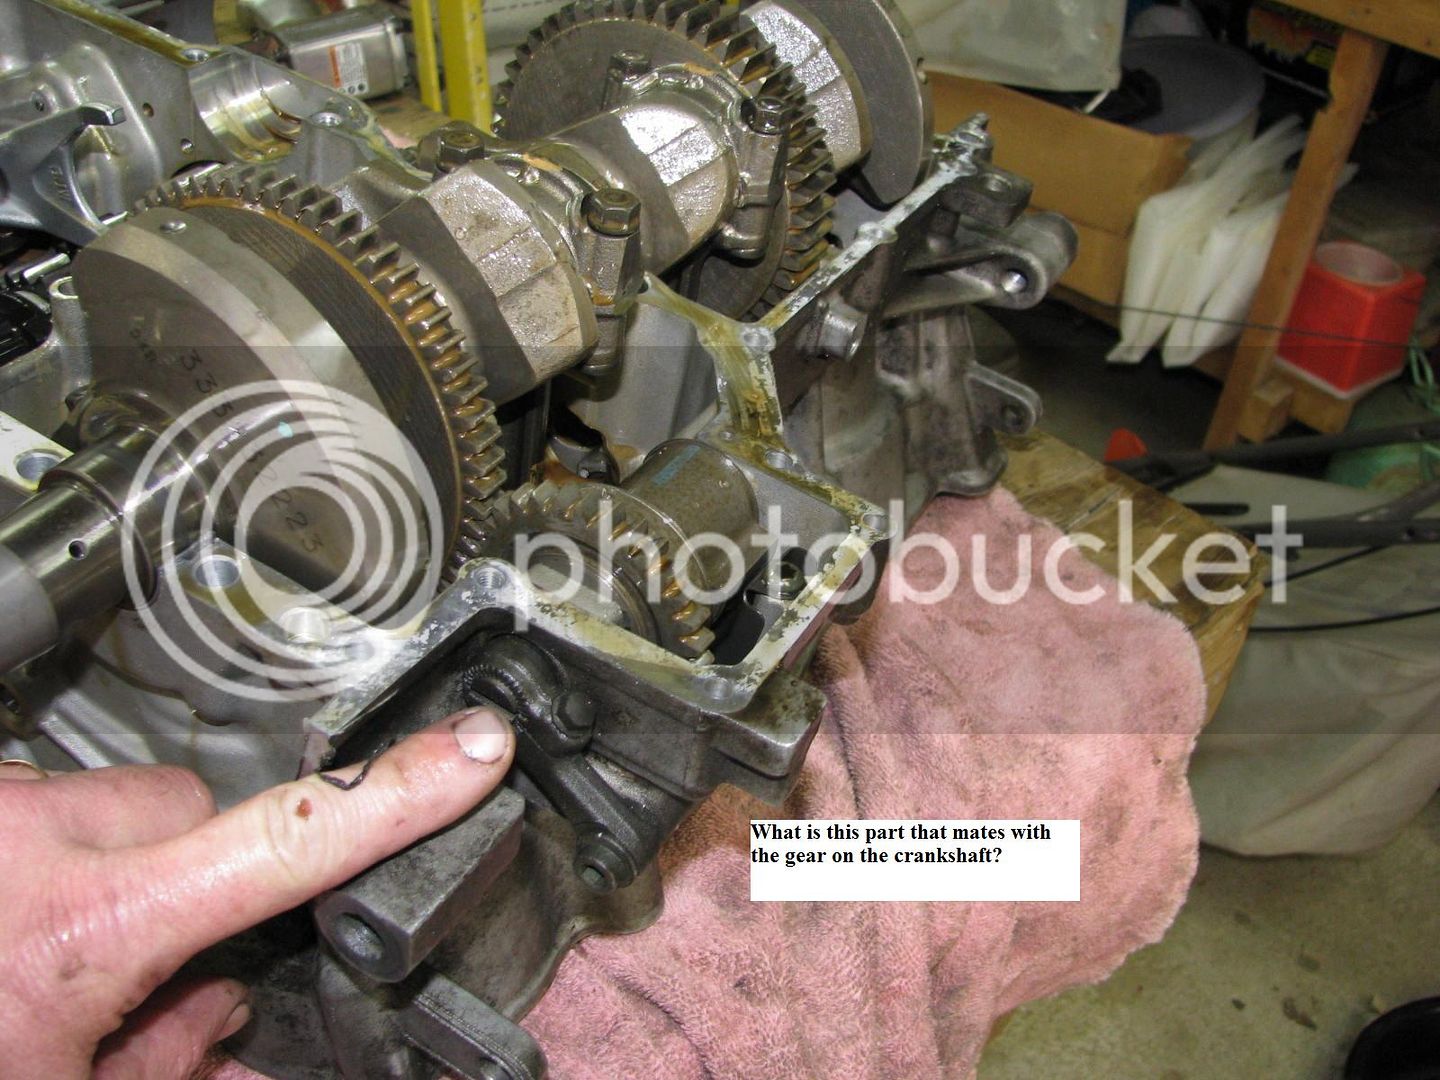
I left this piece in the case. What is this and what does it do?

splitcases11_zps893d5e17.jpg


I pulled the pistons out and laid them on the table in order. I didn’t realize how little the skirt was on the pistons for this motor.

splitcases12_zps4cee05a5.jpg


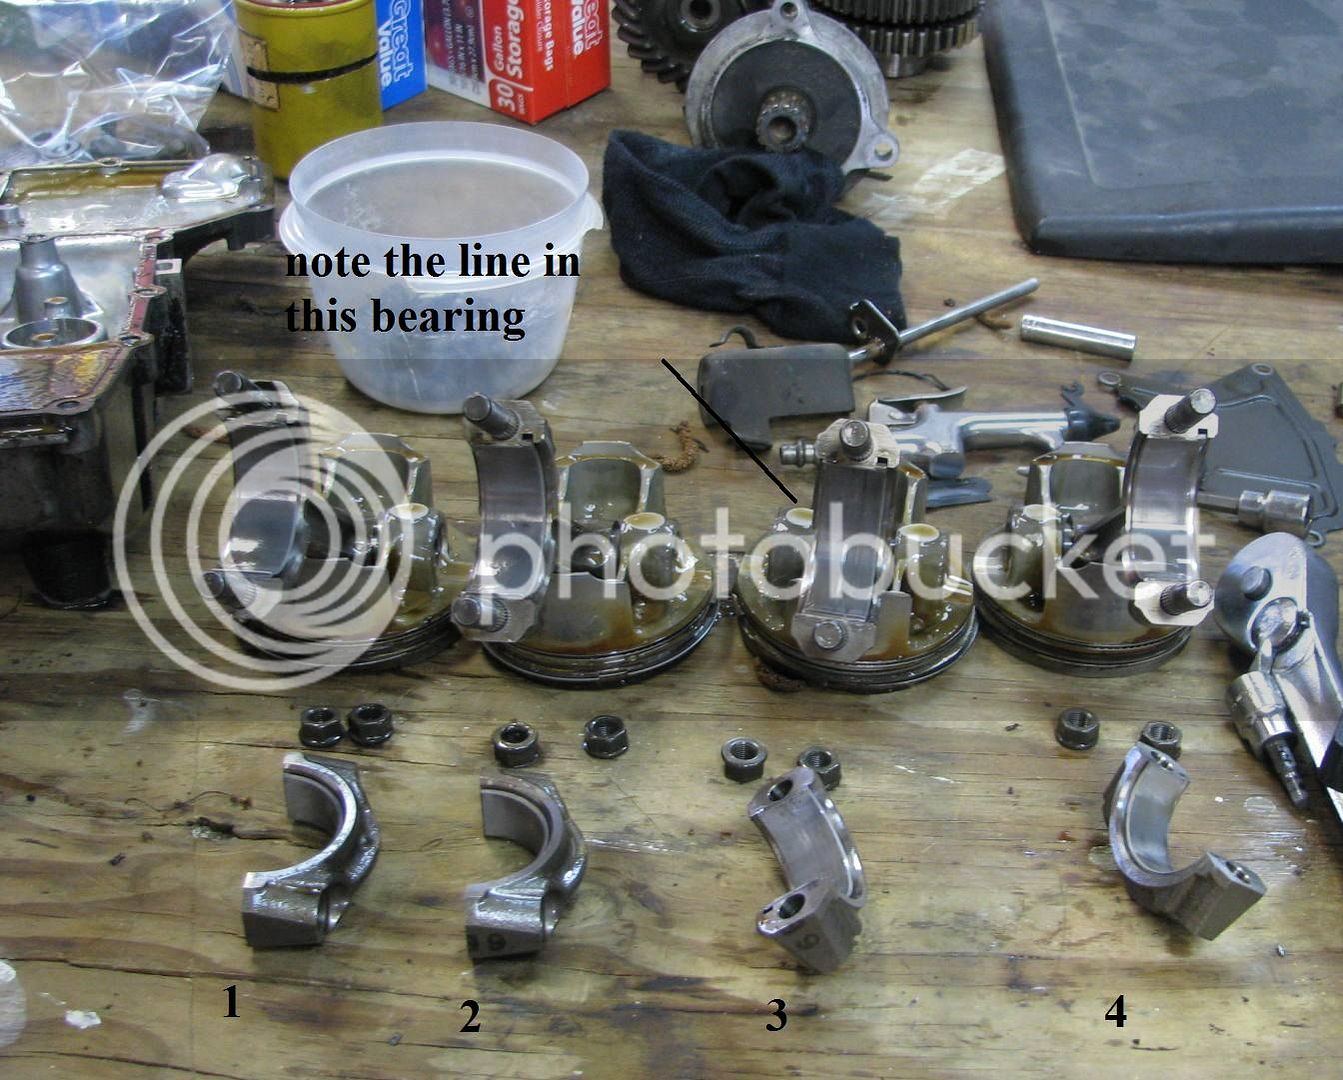
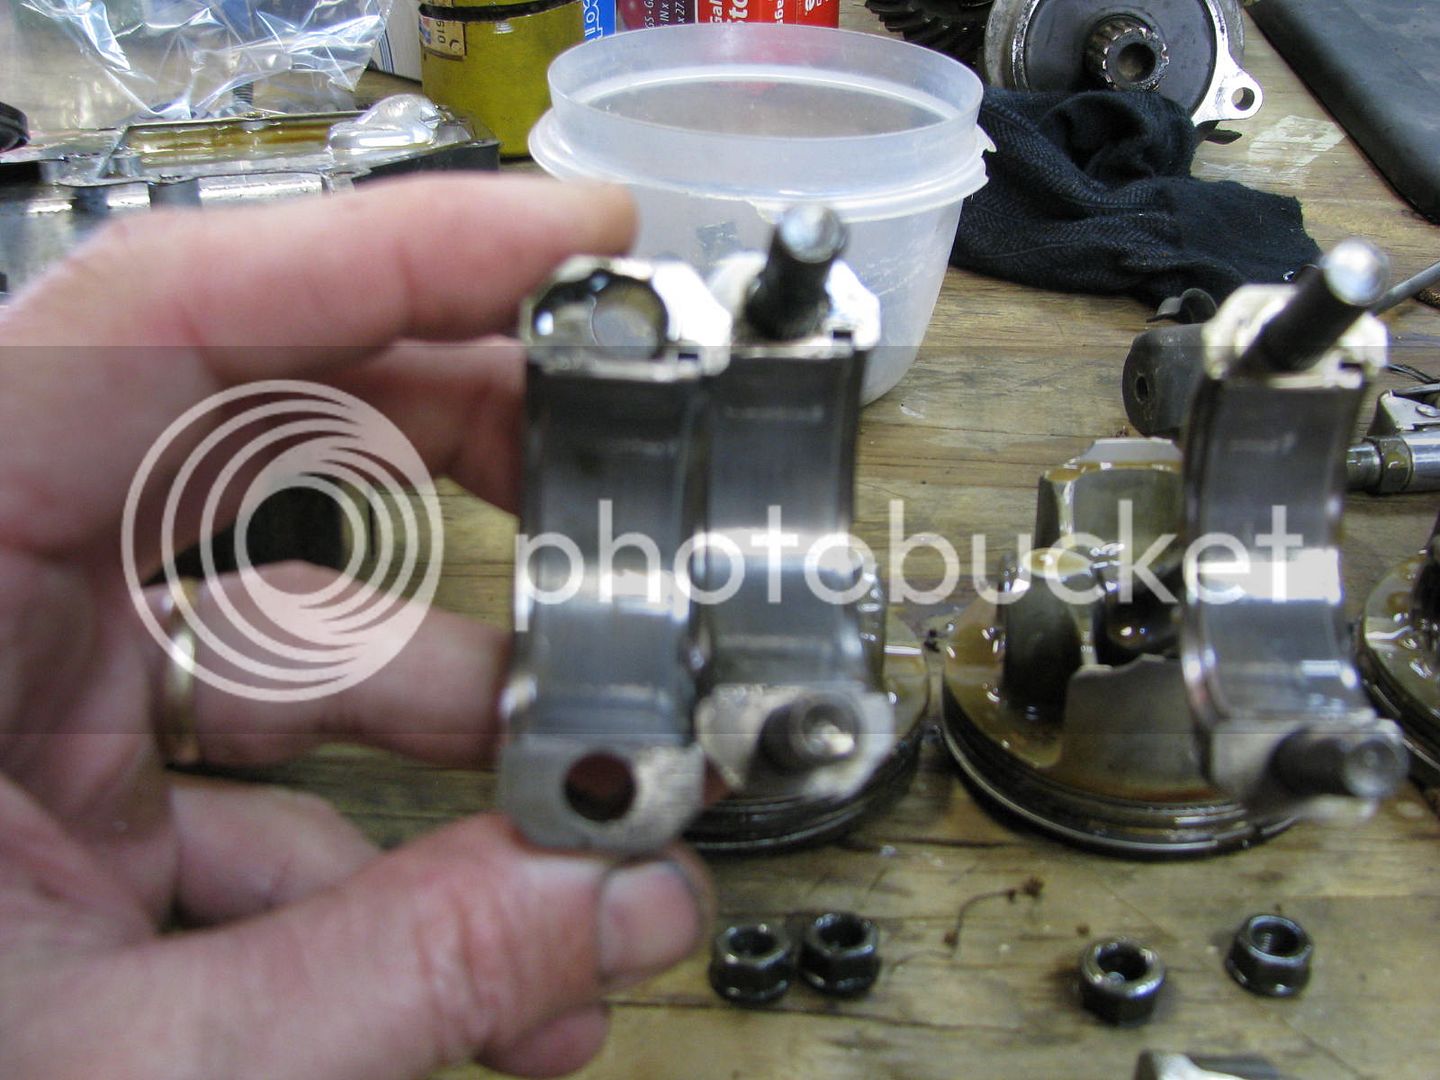
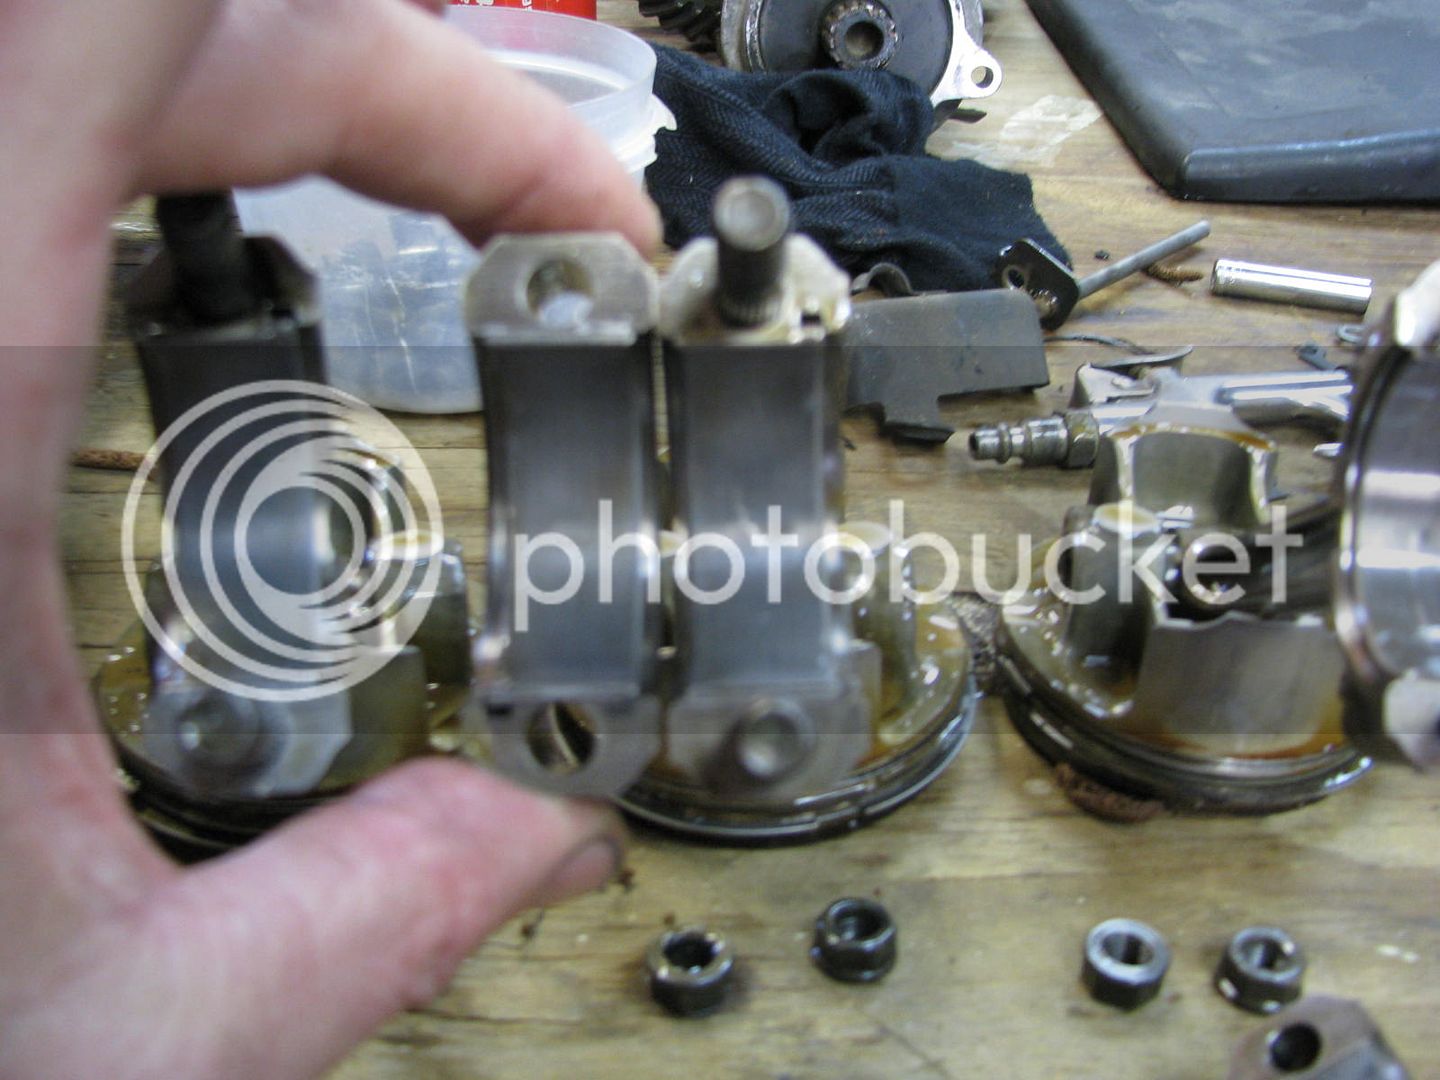
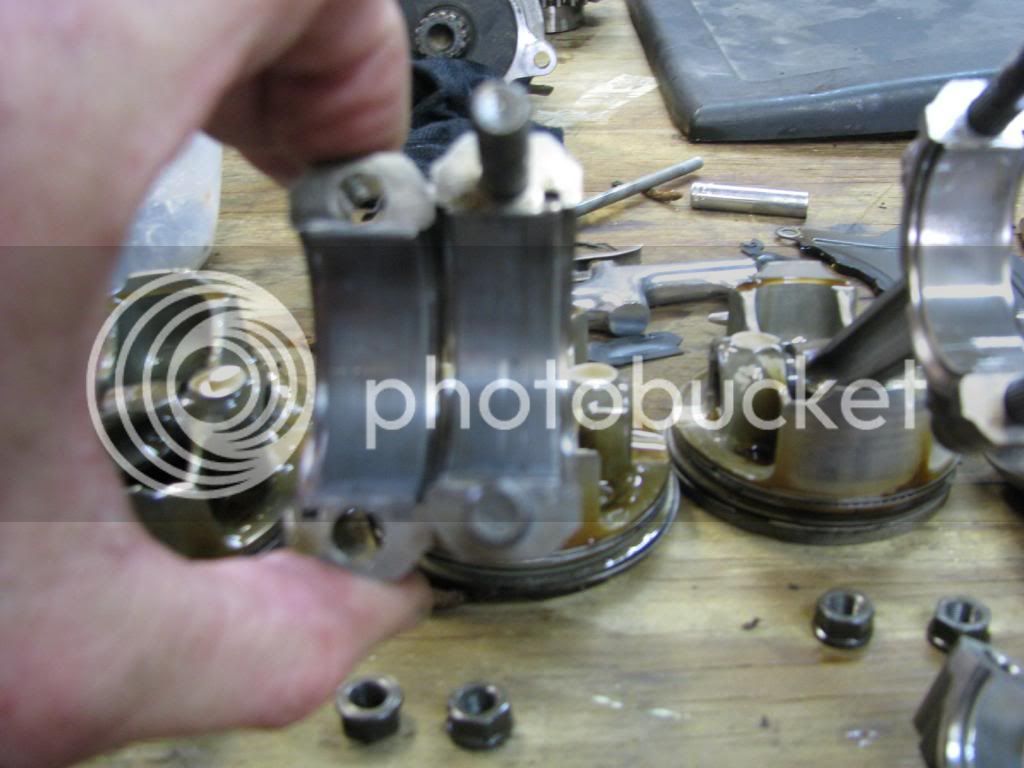
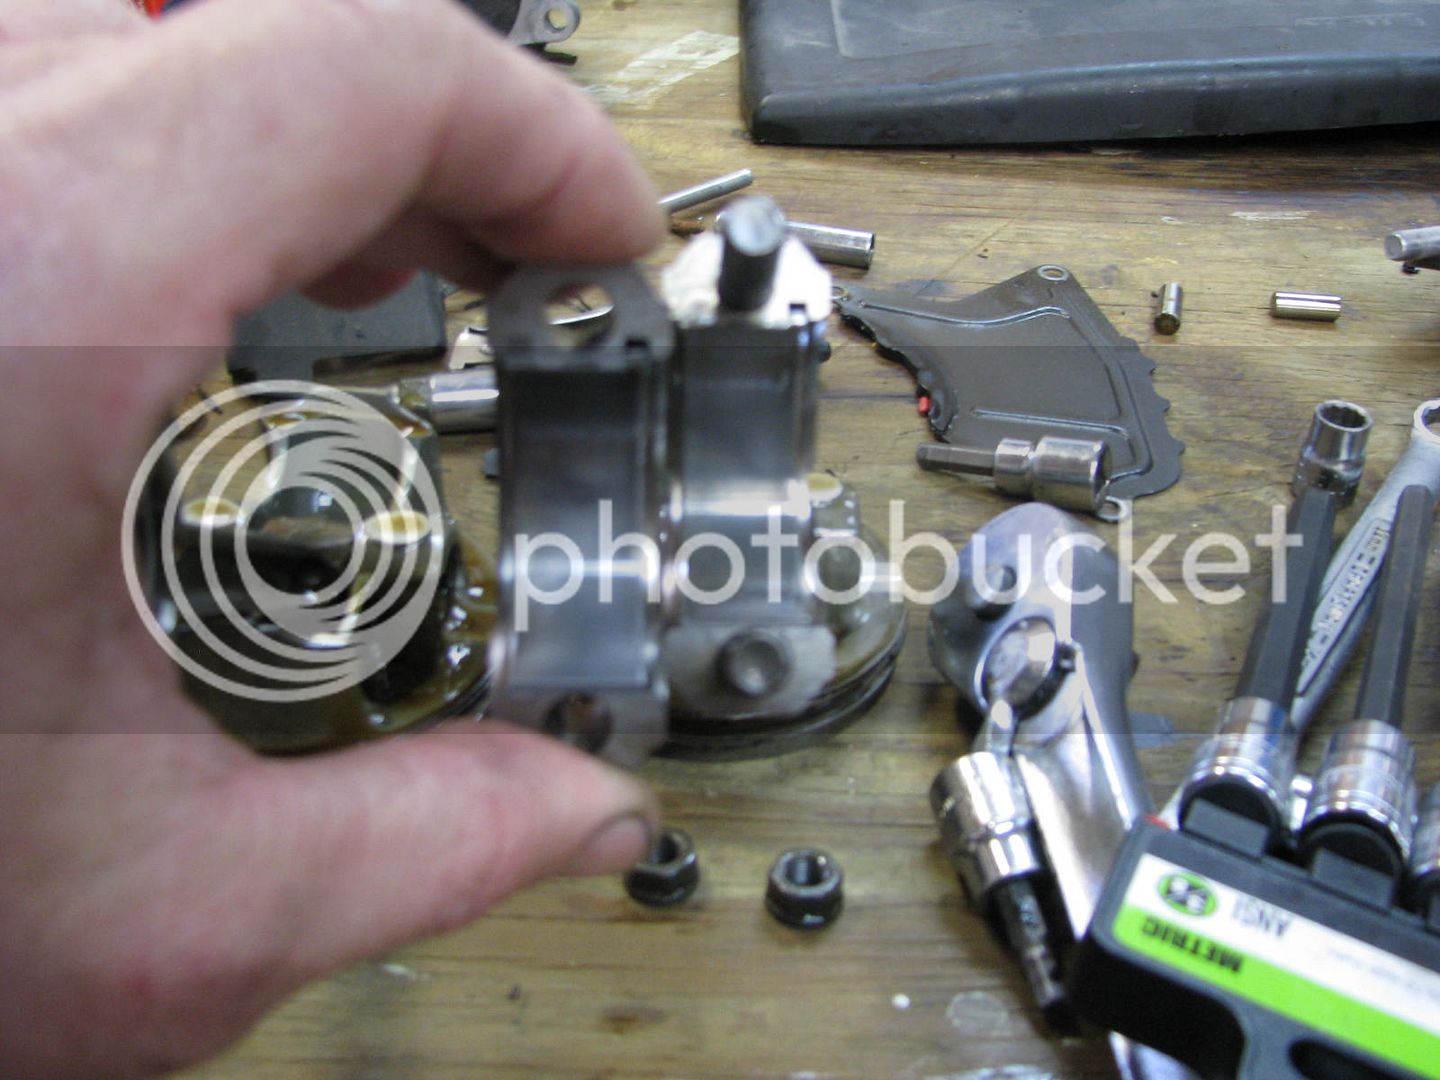
So here’s a shot of each rod bearing. First, #1 looks just fine. My fingernail can’t detect any of the lines shown in the bearing

splitcases13_zps10ee3059.jpg


Same thing for #2.

splitcases14_zpsc3e0205b.jpg


Different story for #3 – my fingernail definitely felt the line on the rod side bearing ½. I sent this picture to a mechanic buddy of mine that races motorcycles and 4 wheelers and he said without a doubt, that bearing is toast and would definitely cause the symptom Mike was having. He further speculated that smashing the exhaust pipe and allowing that hole to heat up for prolonged periods of time would absolutely cause this.

splitcases15_zps41c4ffa1.jpg


#4 had some heavier lines than 1 and 2, and I could barely feel that with my finger nail. It was not as bad as #3, though.

splitcases16_zps22e1ac9a.jpg


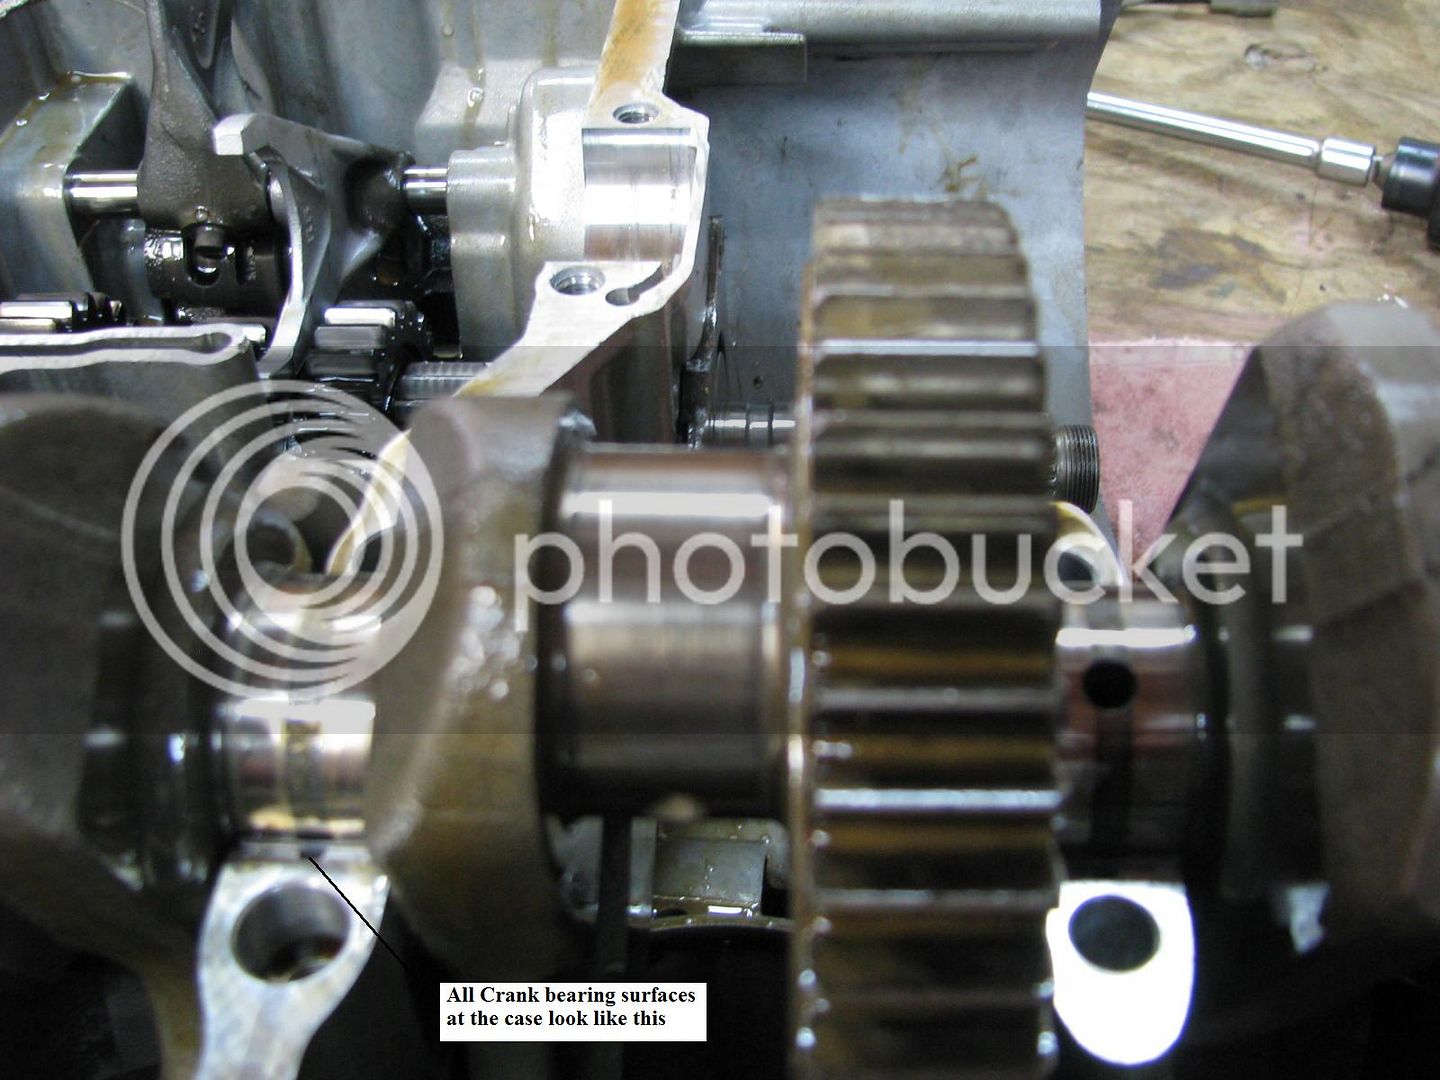
Finally, here’s a shot of what the crank surfaces look like on the case journals. Each one has this dark line in the center. My buddy says that he sees that all of the time and as long as there are no lines, grooves, or marks, its plenty good.

splitcases17_zpsdf0b104b.jpg


So that’s it for me – unless you disagree (and by all means feel free to), it would appear that Patriot’s mechanic was spot on in his diagnosis. I was disappointed not to see more metal particles and other tell tailed signs, but I guess it doesn’t always work out that way.

I bagged and tagged everything and it’s up in my attic. I’ve already gotten a couple of request for parts from some of you, and rest assured, it will be first come first serve. I’ll try to set up the “free parts” thread some time this weekend (time on Saturday is a bit thin, Sunday is booked all day).

I enjoyed the exercise. It gave me a new found appreciation for our bike. I find it to be a well made piece of machinery with high quality parts that are fit like a german sewing machine and are made to last forever.

Of course, you already knew that….

 
I was expecting the #3 crank bearing to be toast, completely "wallered" out, but it doesn't even appear it had spun. Could you even detect any slop in it?

Oh yeah, and thanks for taking the time to perform postmortem and documenting it, heh.

 
Last edited by a moderator:
Dude, I'm going to send you a real camera, just saying!

(Ok, not, I'm cheap)

Thanks, fellow FJR Peep!

 
The "what is this part?" part is the balance shaft inside the case. There's one on either side of the crankshaft.

The bolt you're pointing to adjusts the gear lash in the balancer, and the arm is a pinch clamp for that adjustment.

 
4/19/13

Finally, here’s a shot of what the crank surfaces look like on the case journals. Each one has this dark line in the center. My buddy says that he sees that all of the time and as long as there are no lines, grooves, or marks, its plenty good.

splitcases17_zpsdf0b104b.jpg
That's what I saw when I split my case at 27,000 miles to fix 2nd gear. It's pretty normal, it's where the oil comes through the journals, and the dark area is not as worn as the area on either side of the journal; those areas are essentially polished. Run your fingernail across it and see if you can notice a difference in the textures. Unless you can feel a ridge, it's "normal".

SAM_0636.jpg


Also, for future reference, you do not need to remove the oil cooler or that 90 degree transmission output gearing setup to split the case; BTDT.

Thank you for taking the time to tear apart and document Patriot's 'grenade', this thread has been interesting to monitor. As far as the foamy mess you found at the bottom of the oil pan, I'm not sure that was the result of the motor collecting rainwater while it was sitting in the bad parts pile. That looks like the result of a blown head gasket or perhaps a cracked cylinder head (also would explain the overheating; I'm not sure there's anything Patriot could've done to overheat the motor with his right wrist). By any chance, did you take a picture of the underside of the cylinder head, the head gasket, or what the tops of the pistons looked like before they were disassembled? IF (big if BTW, from what I've read blown head gaskets are incredibly rare in FJRs) this grenade was the result of a blown head gasket, you would see one (maybe two) cylinders with clean piston tops and clean valves (no carbon deposits), as the leaky head gasket would steam clean those parts.

Just a thought.

 
Thanks to all of you for chiming in on this thread. Please remember that I'm much more of a parts changer, than a mechanic. The chances that I could put that motor back together and have it run are right up with lightening striking me today (there ain't a cloud in the sky, trust me).

Denver - You and I think alike - I was expecting the crank/rod bearing(s) to be really chewed up. I didn't mention it, but there was definitely some slop in the #3 rod bearing that I observed before taking the rod off the crank. Just looking at it from 2 axis' - there was a little slop in the "left/right" direction (generally perpendicular to the direction the rod travels. But the "up/down" direction (more or less parallel to the direction of the rod) had more slop in it. Upon further examination, at least to the naked eye, you can't tell if the bearing is odd shaped. Also, the crank for that bearing has no unusual marks. Perhaps the metal for the crank is much harder than the bearing?

Dcarver - I think I should confess - those pictures SUCK! I was waist deep in grease and I didn't set the camera to "marco", so I shot those on "auto" and I got what I got. My son and father are excellent photographers. I should have put them in charge of that.

Ahhh - the counterbalancer - makes sense. Why does this part have straight gears instead of helical gears?

Goat - I'm at a loss at to how you could remove the last 4 bolts (especially the last 2) to split the case without removing the output gearing setup? Take a look at this picture - these are the bolts I was referring to. Again, I'm not arguing, but trying to learn.

Also, no groove felt with my fingernail on any of the crank journals. I think the crank is good.

I examined the head gasket and there was no evidence of water or oil going across it. The head surfaces look good, but of course, one would have to have it tested to be absolutely sure. Each of the piston tops and valve surfaces look the same.

IMG_3085_zps62532da1.jpg


I am REALLY surprised by what you found with the #3 rod bearing! The mechanic says that he was able to 'measure or feel' some play using a rod thru the spark plug hole. Seems odd that it was that prominent with a rod bearing that appears from the photos to have so little wear! It would be nice if you could do two other things: 1) measure the crank journal for # 3 and compare to spec. #2 Measure the # 3 rod bearing and see how much wear there really is on that bearing. I agree with the other poster that said he was surprised to not see more damage to the bearing.

 
A bit more about the balancer.

The adjustment is just for gear lash and operating noise, it does nothing for the actual balancing. Also, the FSM doesn't mention this but there are TWO alignment marks and it's easy to align to the wrong mark which results in an engine that runs like a Sherwin Williams paint shaker.

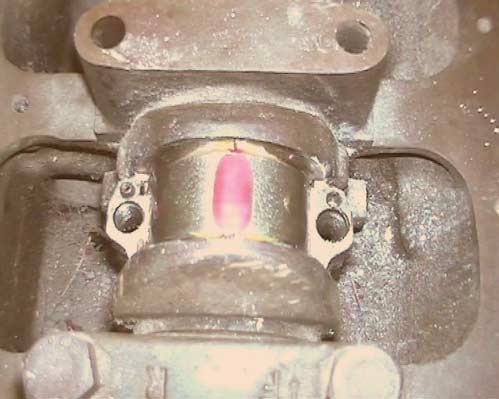
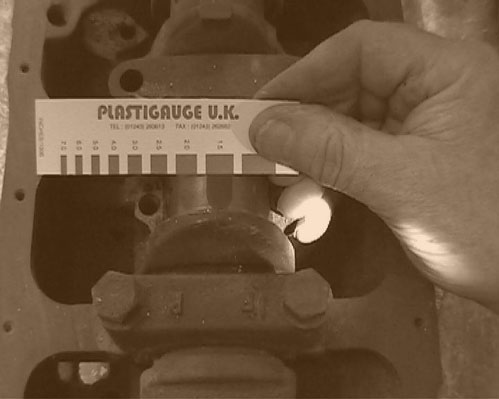
Depending on the ambition level of hppants, he could use a Plastigauge kit and measure the rod bearing's free play. With the rod cap removed, clean the journal and place a strip of Plastigauge across the journal. Put the rod cap back on and torque to spec. Remove the rod cap and see that the Plastigauge strip will have been squished flat. Use the gauge supplied in the kit to measure the width of the squished plastic. The width is directly proportional to the clearance and read on the gauge in thousandths of an inch.

plastigauge-3.jpg


plastigauge-4.jpg


Last edited by a moderator:
Very cool. Almost as good as being there to see and feel it personally. I think that if that bearing was much worse then our friend Patriot would not have been able to ride it home.

 
Hornet - I don't have a set of micrometers. I do have a "middle of the road" dial caliper (it ain't a McMaster, and it ain't a Harbour Freight special). Do you think that instrument will suffice for our purposes?

Assuming such - I can take a few measurements of the diameter of the rod bearing "hole" with the nuts torqued and the rod not on the crank. Is that what you propose? I can also measure the crank journals with my caliper and compare it to the others.

Just spit balling it, I would say that groove in the #3 rod bearing is less than 0.003" deep.

I want to make sure I understand what we are doing, and you understand my limitations (ability and tool wise)

 
Walt... Is that the same part the ST1300 dorks swear eliminates vibes when they "adjust" it??
Yes and no.... had one of those. These straight cut gears whine, which can be heard on the Feej and makes the ST sound like a sewing machine. There may be a minor vibe on the ST if adjusted too sloppy, but if you're looking for a magic bullet to eliminate vibes on an I-4, this ain't it unless it's really off.

 
Pants

I'm surprised that there wasn't more visible evidence of the engine failure. I am not a mechanic, but find it hard to believe that the mild scoring of the #3 bearing would be enough to yield the dramatic poor running and noise reported by Mike. I would agree that there really isn't anything worth analyzing in terms of engine particulates; at least nothing that would provide a "smoking gun" result.

Isabella has some issues with overheating on a couple of occasions (with this engine). Wondering if there is anything showing up in terms of current valve condition - he had a burnt valve some time ago. Also, what is the condition of the piston tops, rings and cylinder walls - no cracks or scoring? Any evidence of blocked oil passages i.e. reason for lubrication failure? Is the head in good enough condition to replace someone's "ticking" head in the future? It would be nice to find some sort of root cause. Looks like there are some viable tranny parts for anyone who has has issues there.

Kudos to you for your work on the dissection and diagnosis. I think it would be fun to tear apart something like this as long as I didn't have to put it back together and have it work again. Great learning experience.

Ross


Latest posts

Top