Winter Project - Reviving a Wounded FJR

Yamaha FJR Motorcycle Forum

Help Support Yamaha FJR Motorcycle Forum:

This site may earn a commission from merchant affiliate links, including eBay, Amazon, and others.
Progress continues and while the "end" of this project is near, I'm still taking my time...And I'm not done yet! There's plastic to install!!
Great project documentation. Great transmission repair. I have some idea how much work is involved in what you did; you and Doug have done an awesome job. Y'all may want to road test it before putting the plastic back on... Assuming you can find the streets again before June.

 
There was some concern about all the plugs and wires behind the front fairing. Really all the plugs only go in one spot and they are close to the corresponding sockets. You have the headlights, the storage box relay (I thought of disabling, but did not) and the power plug in said storage bin. All have unique plugs and are easy to connect either before or after installation (if the lowers are off that is).

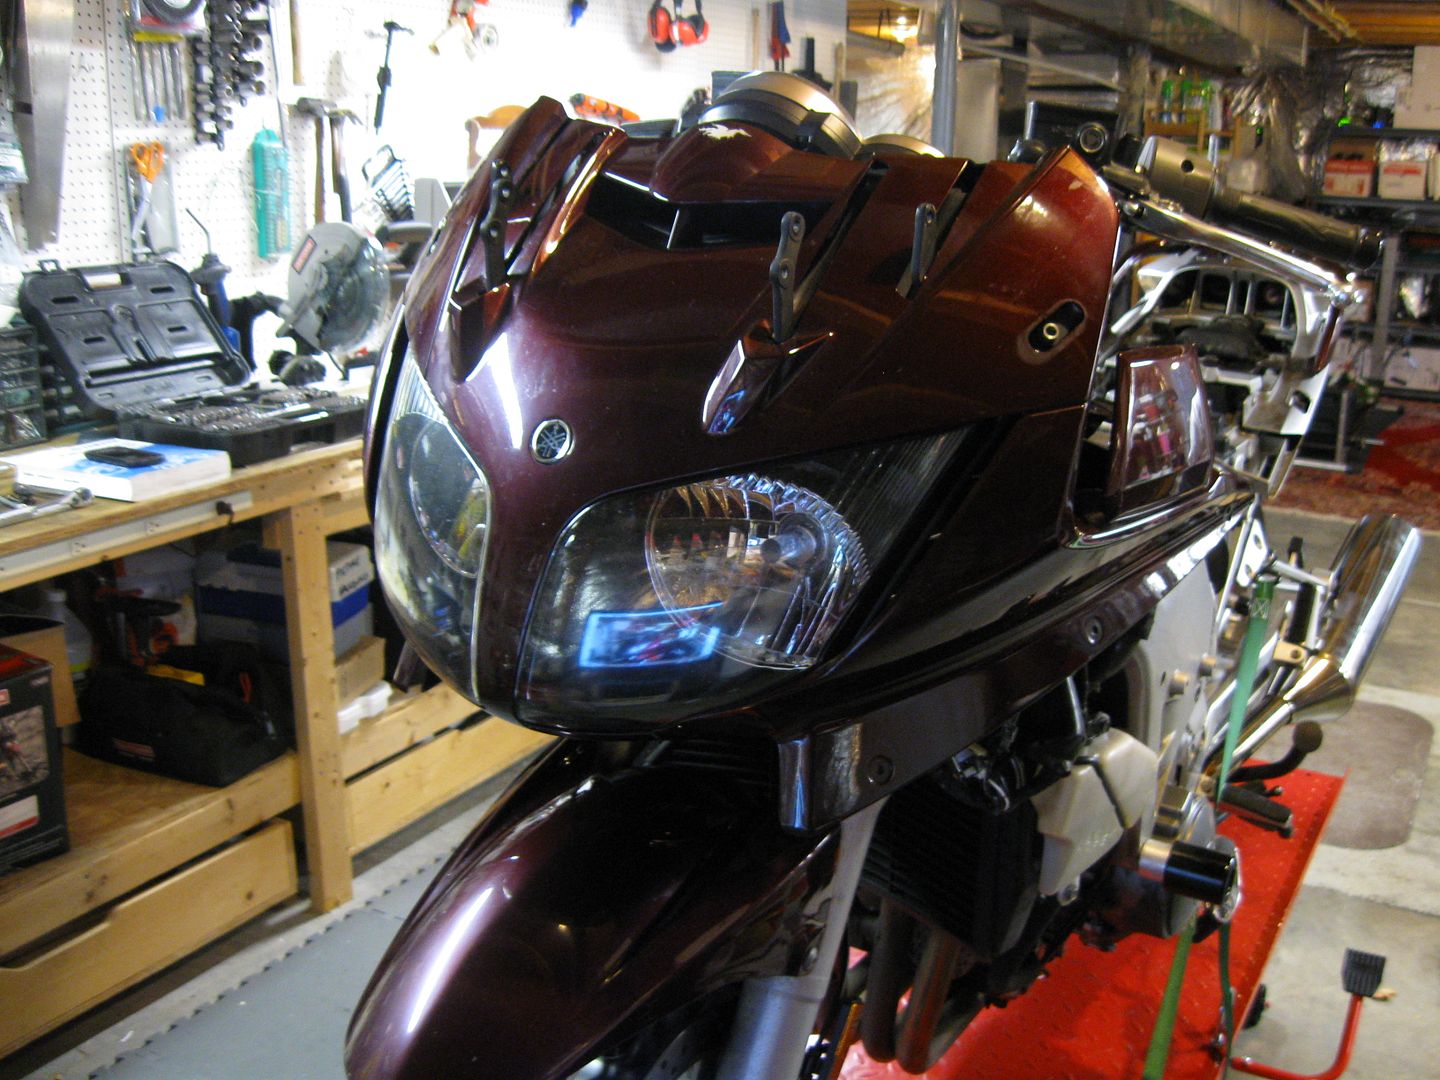
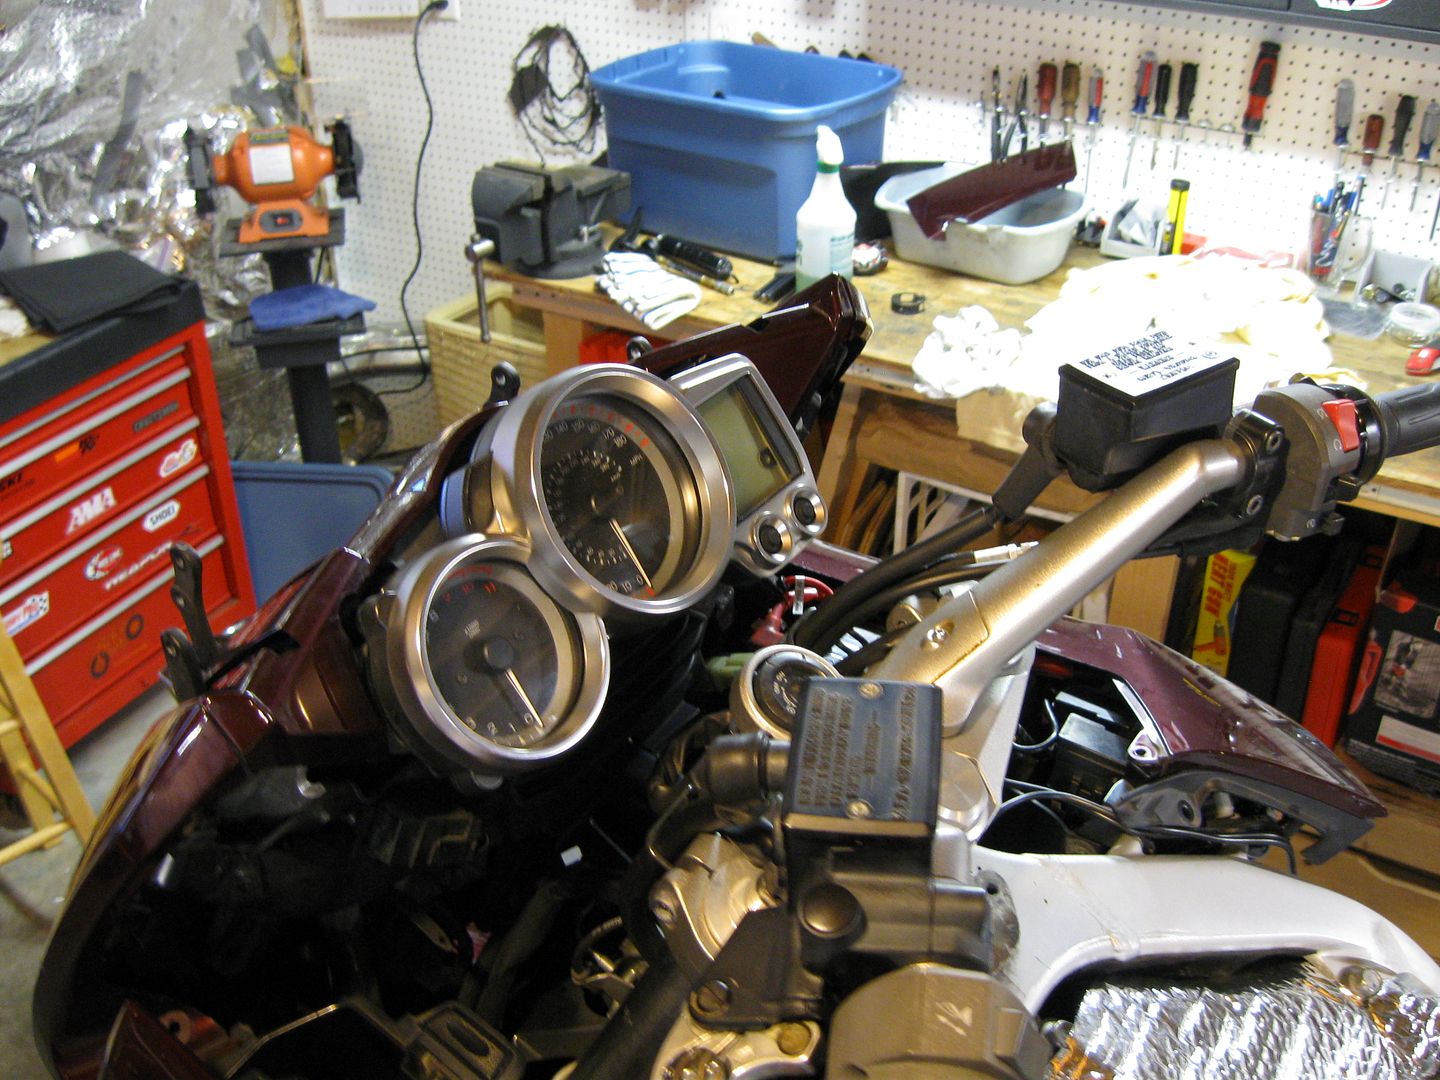
FJRB030.jpg


FJRB032.jpg


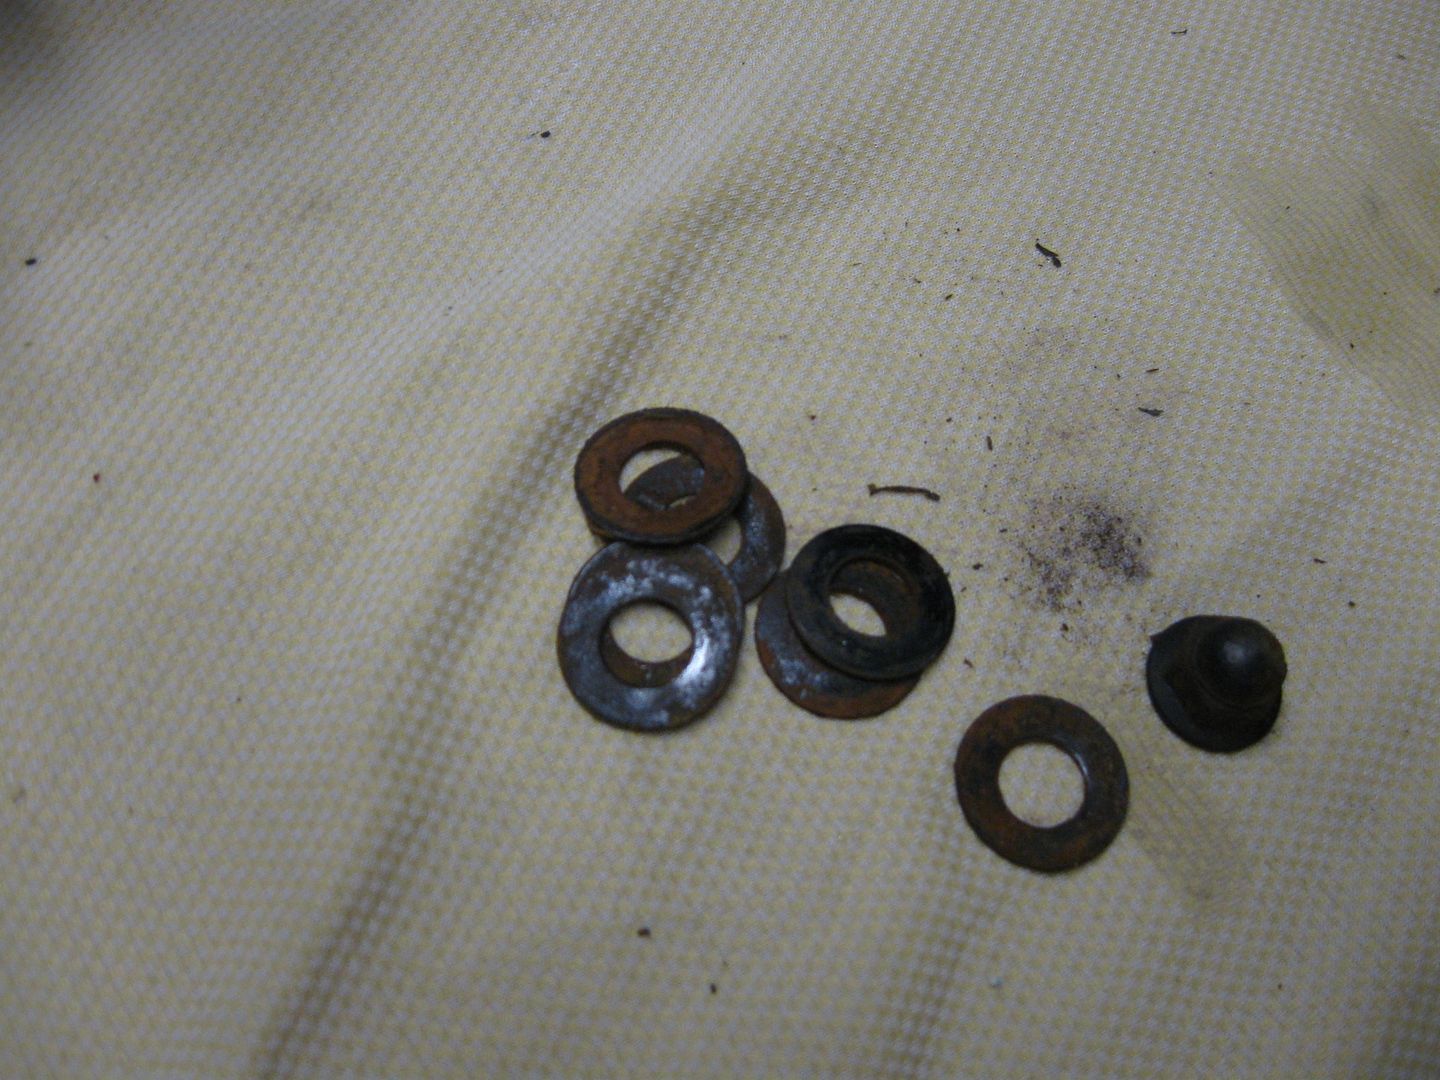
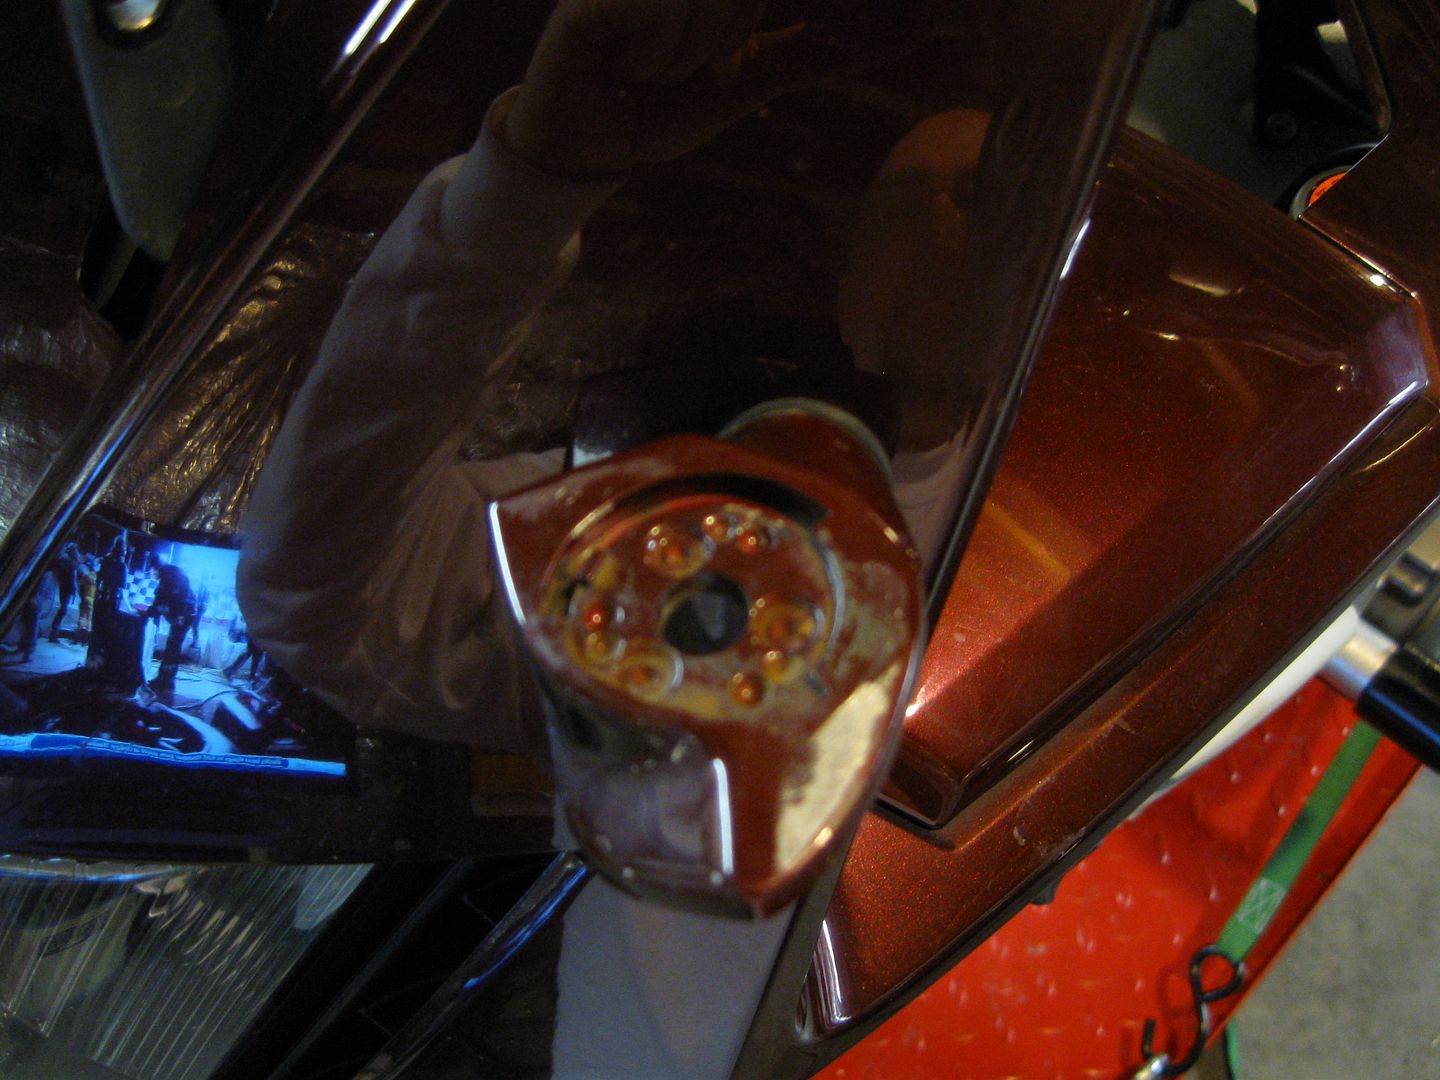
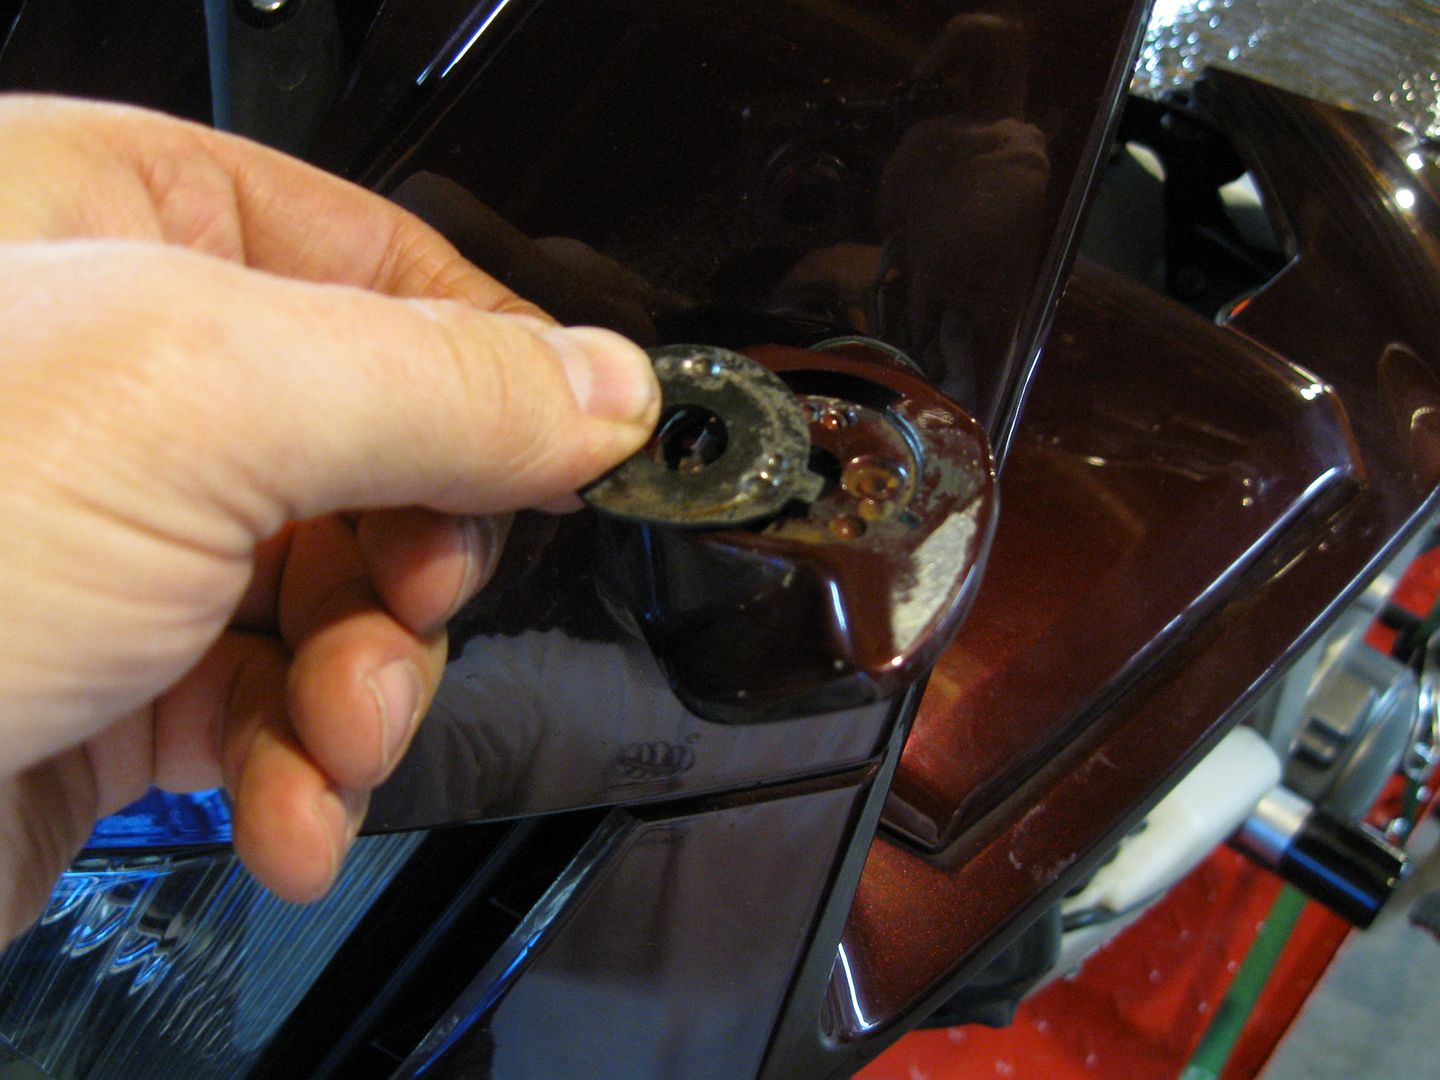
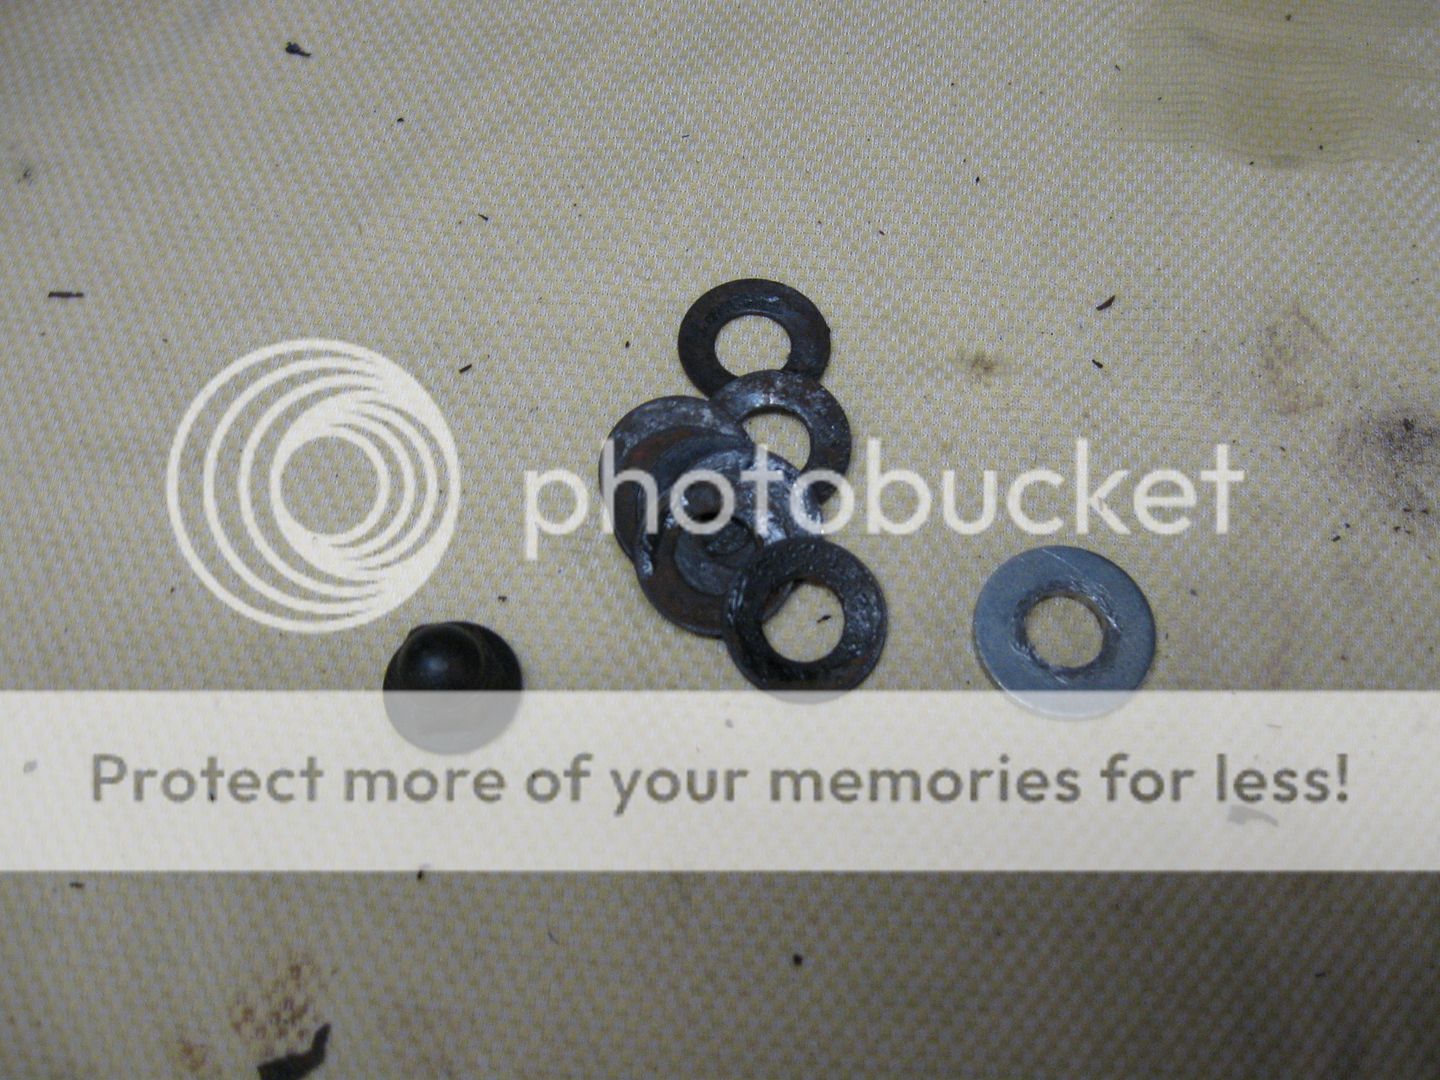
When installing the mirrors, the clutch lever side was a little wobbly. So I took it apart. I'm not sure if this is "normal" but there was a slew of washers on each holding the mirror to the mounting bracket.

FJRB039.jpg


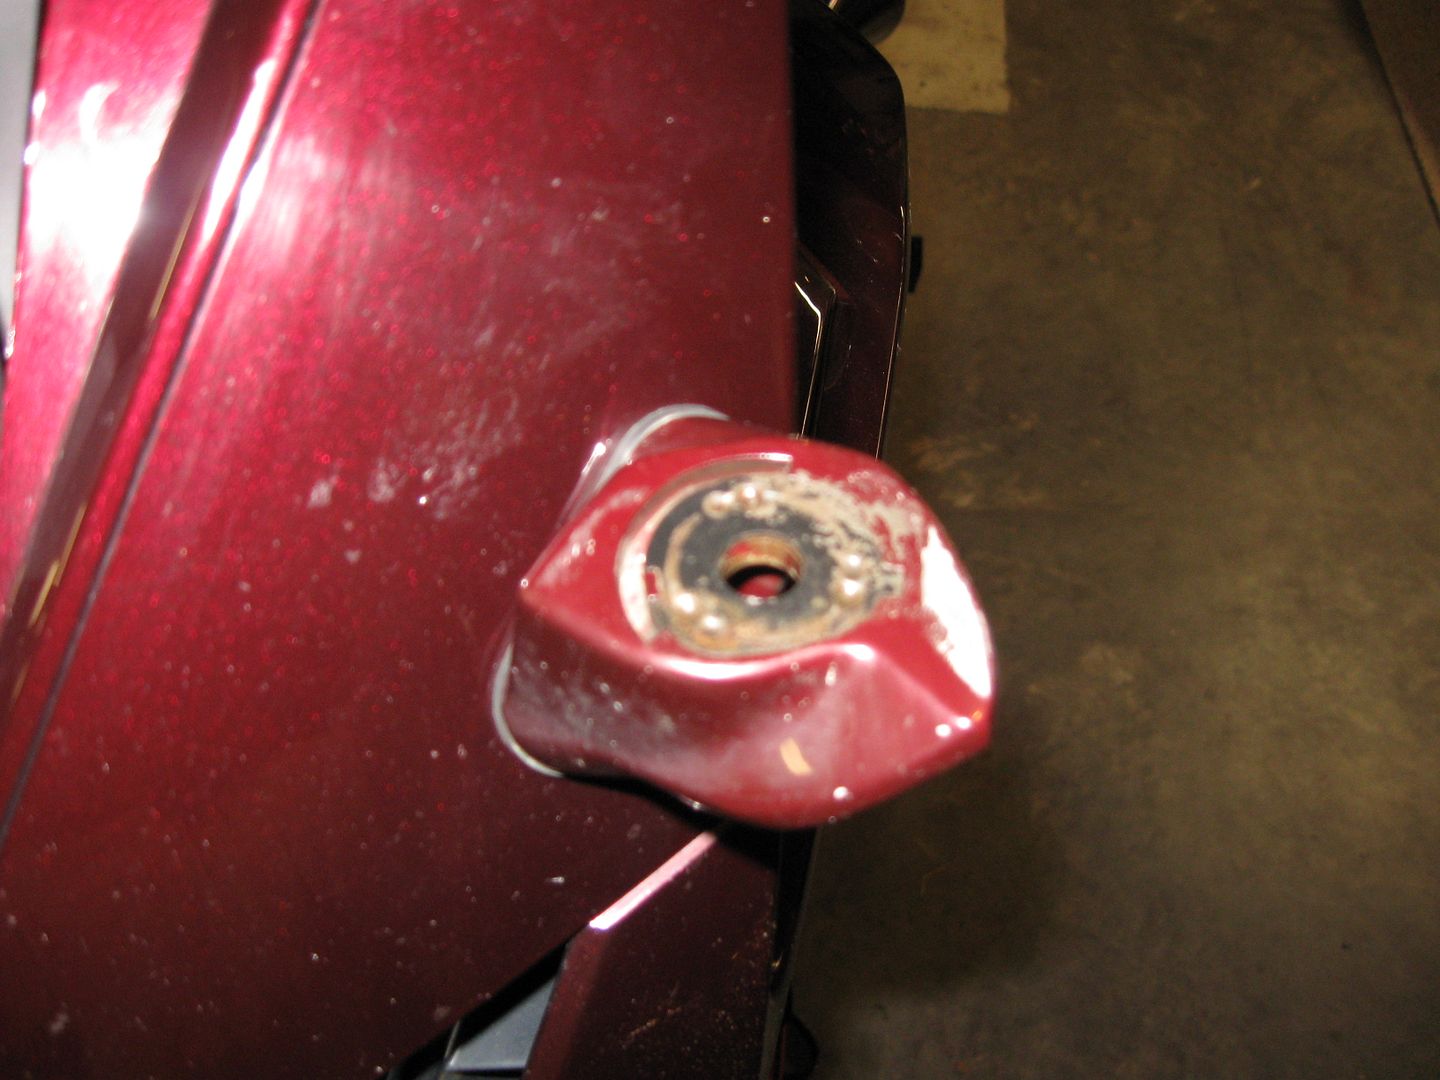
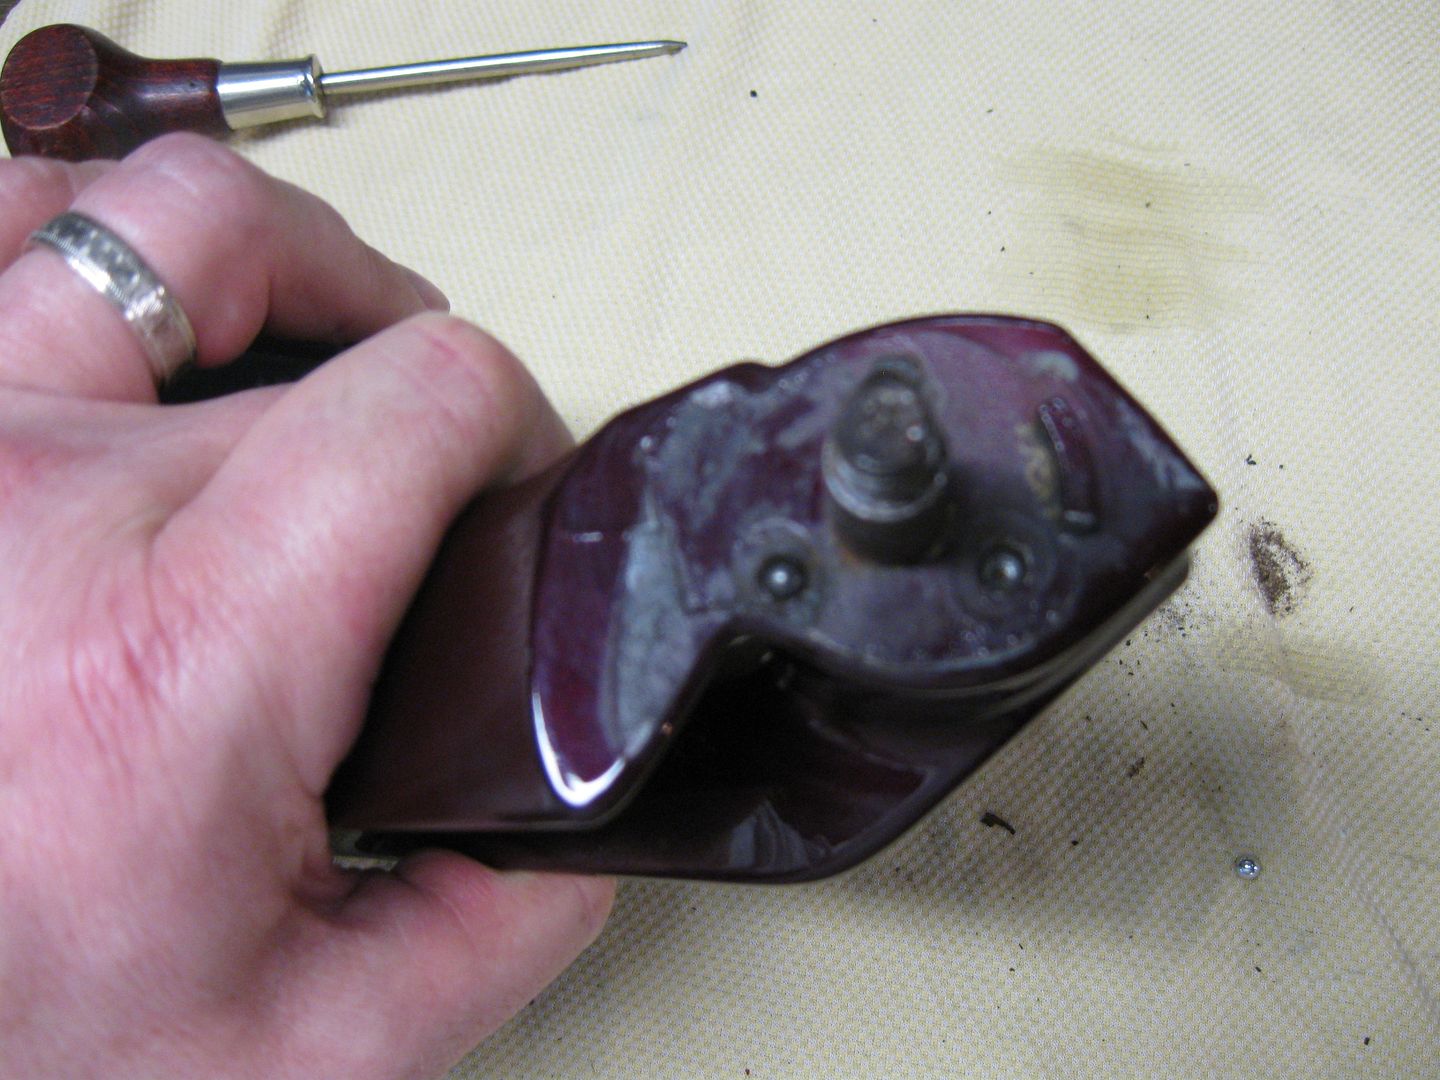
Underneath, there is a metal piece that has small dimples that little ball bearings slip onto.

FJRB037.jpg


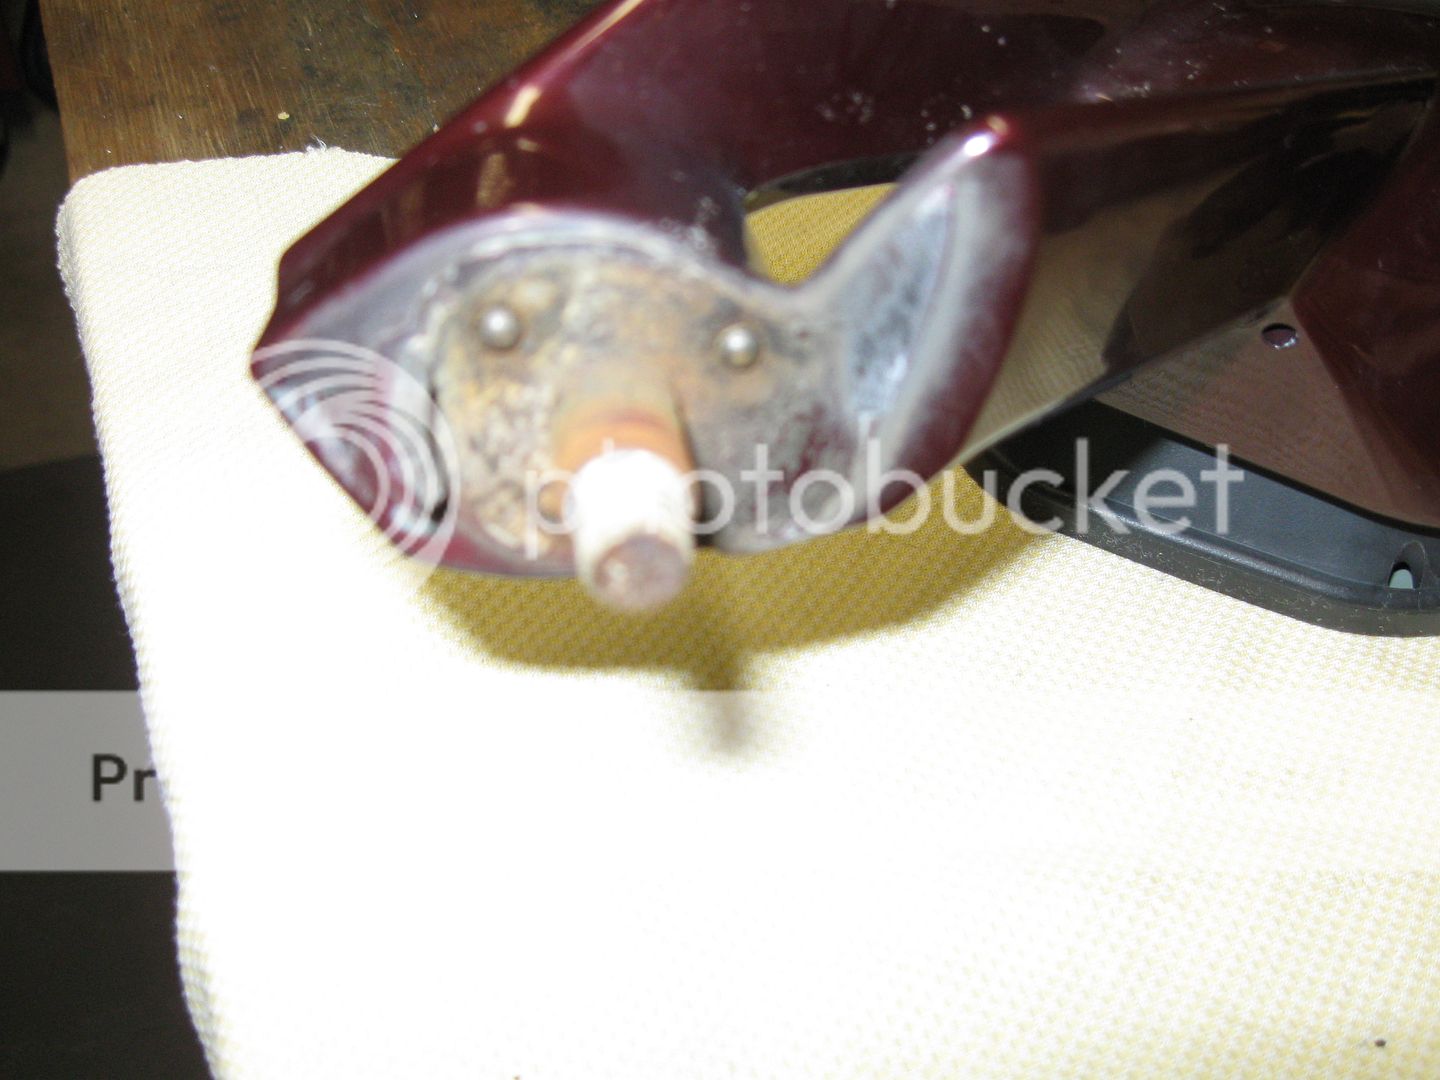
Again, focusing challenged but here's the bearings.

FJRB038.jpg


The wobbly may have been partly caused by a missing bearing.

FJRB041.jpg


I tried a standard BB but it was a bit too big.

FJRB042.jpg


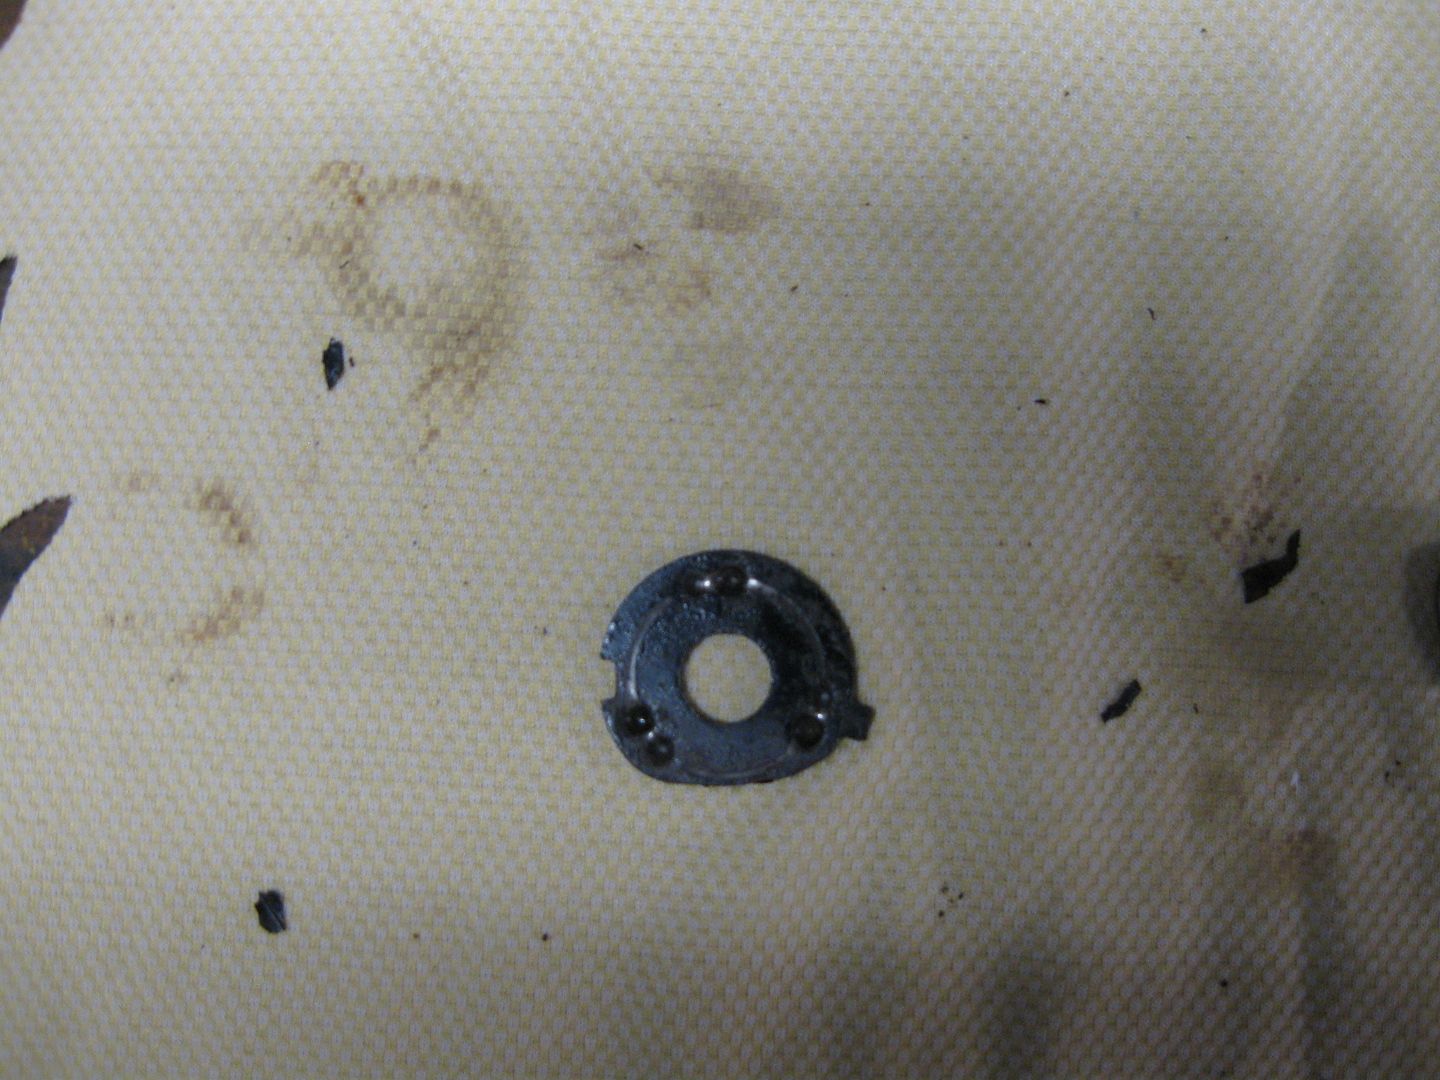
This guy needed a bit of cleaning up.

FJRB048.jpg


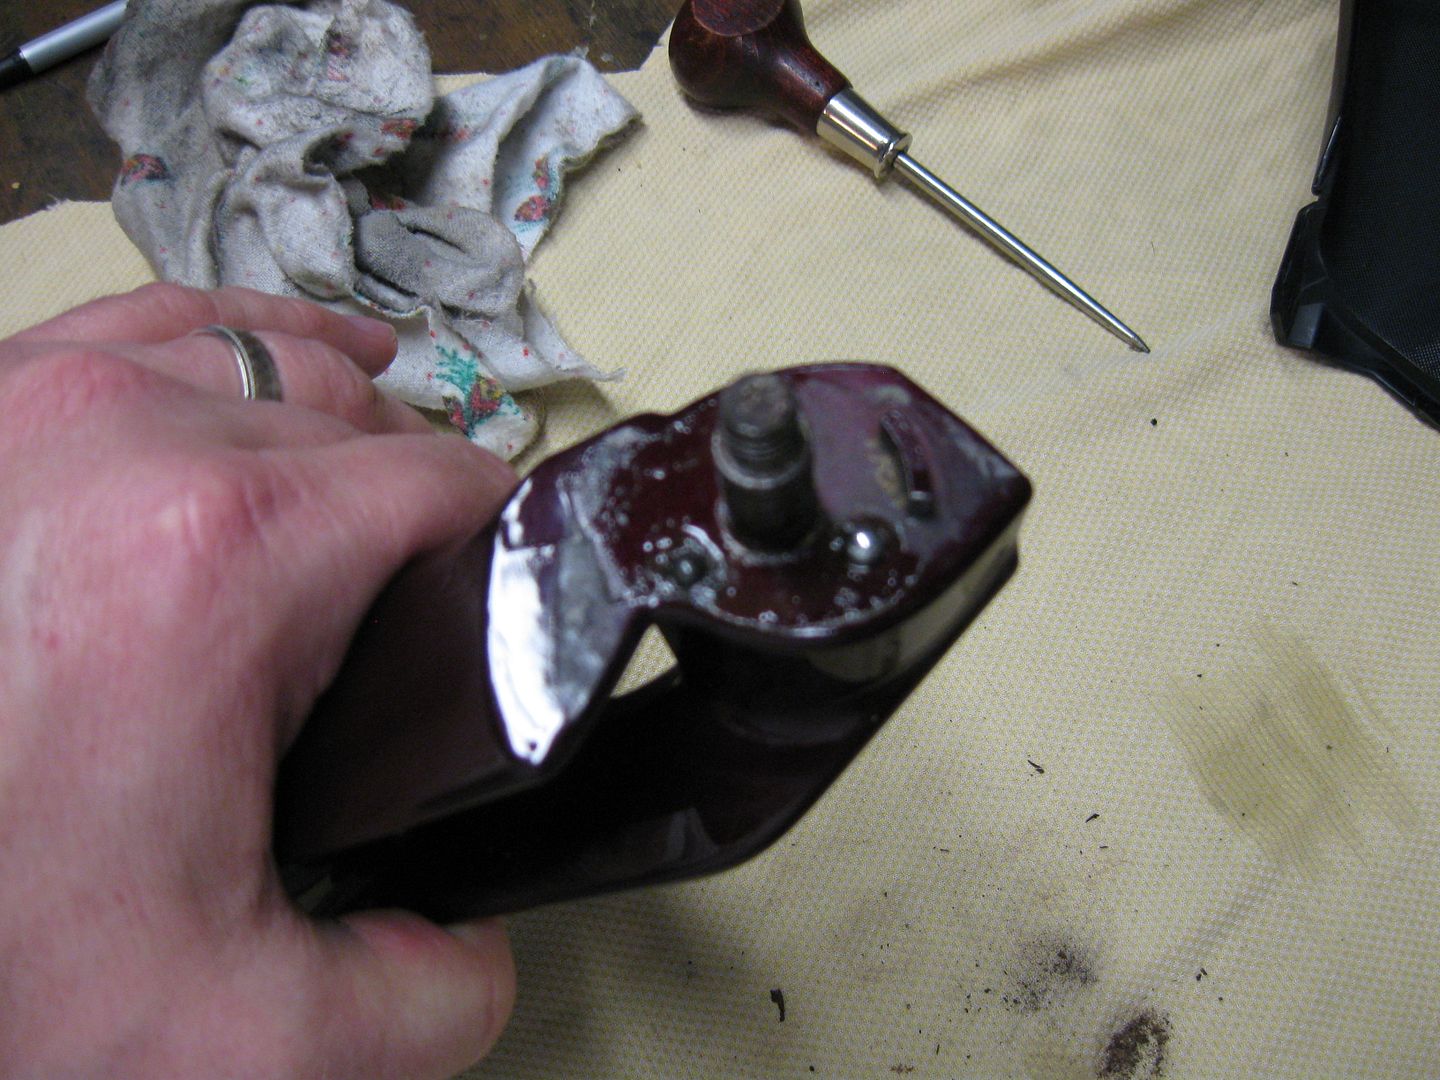
As did the area underneath that part.

FJRB050.jpg


How they fit together.

FJRB051.jpg


My answer to the wobbly was to drill out another washer and add it to the mix. The post only has so much thread. The threads don't go all the way up the post so the spacers were needed.

FJRB053.jpg


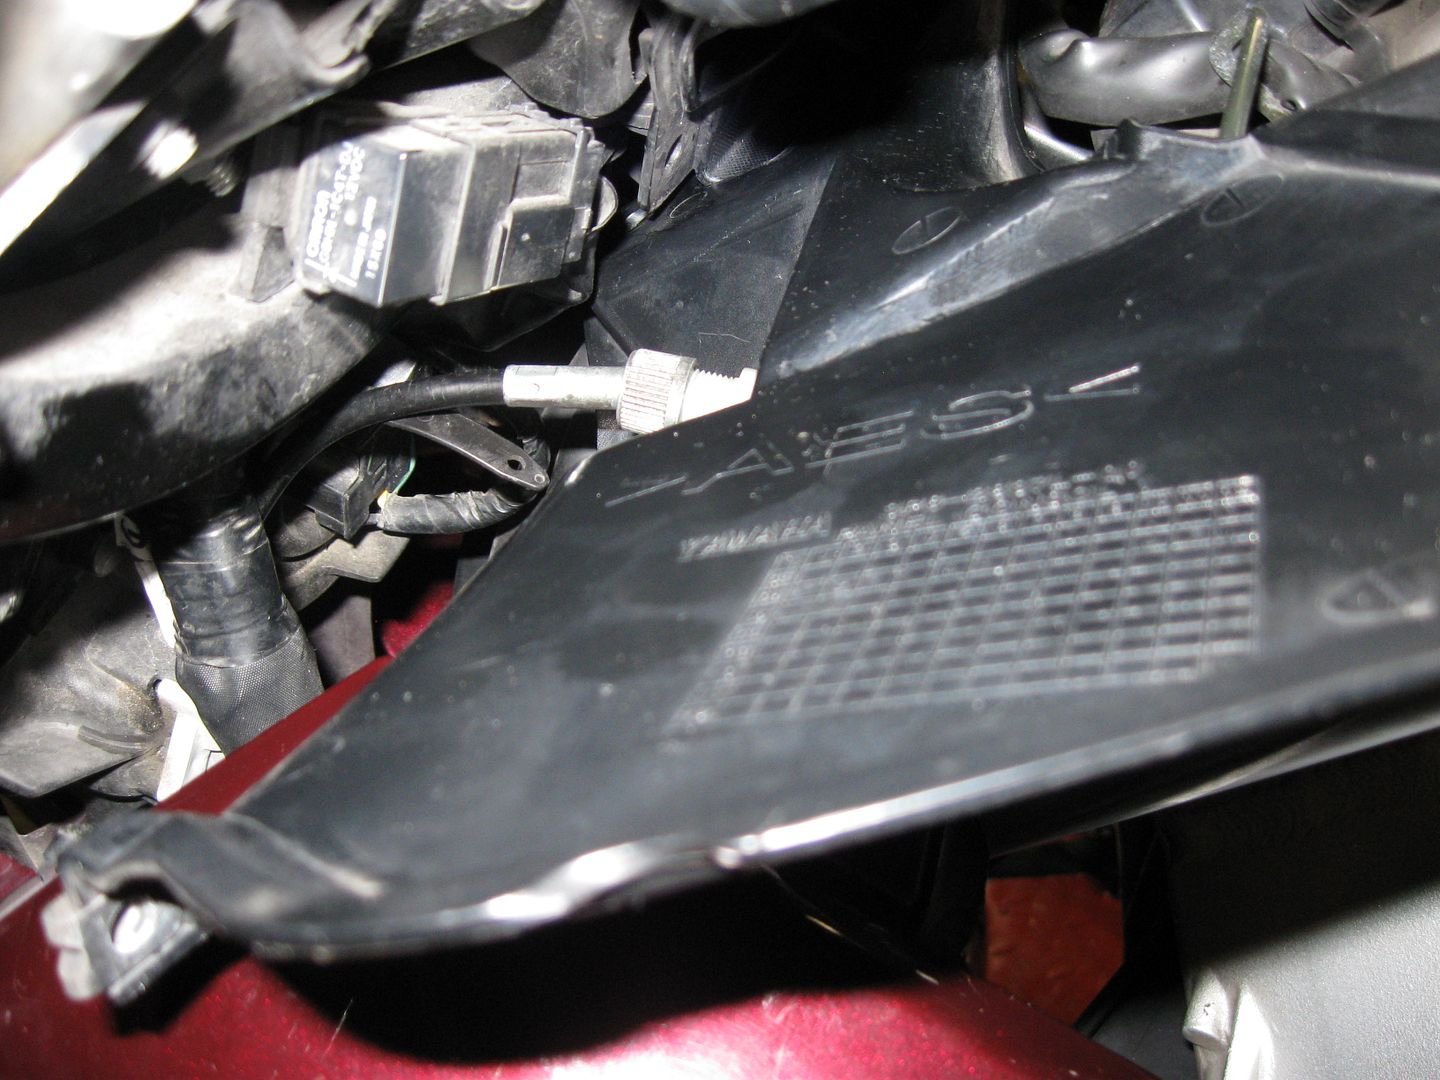
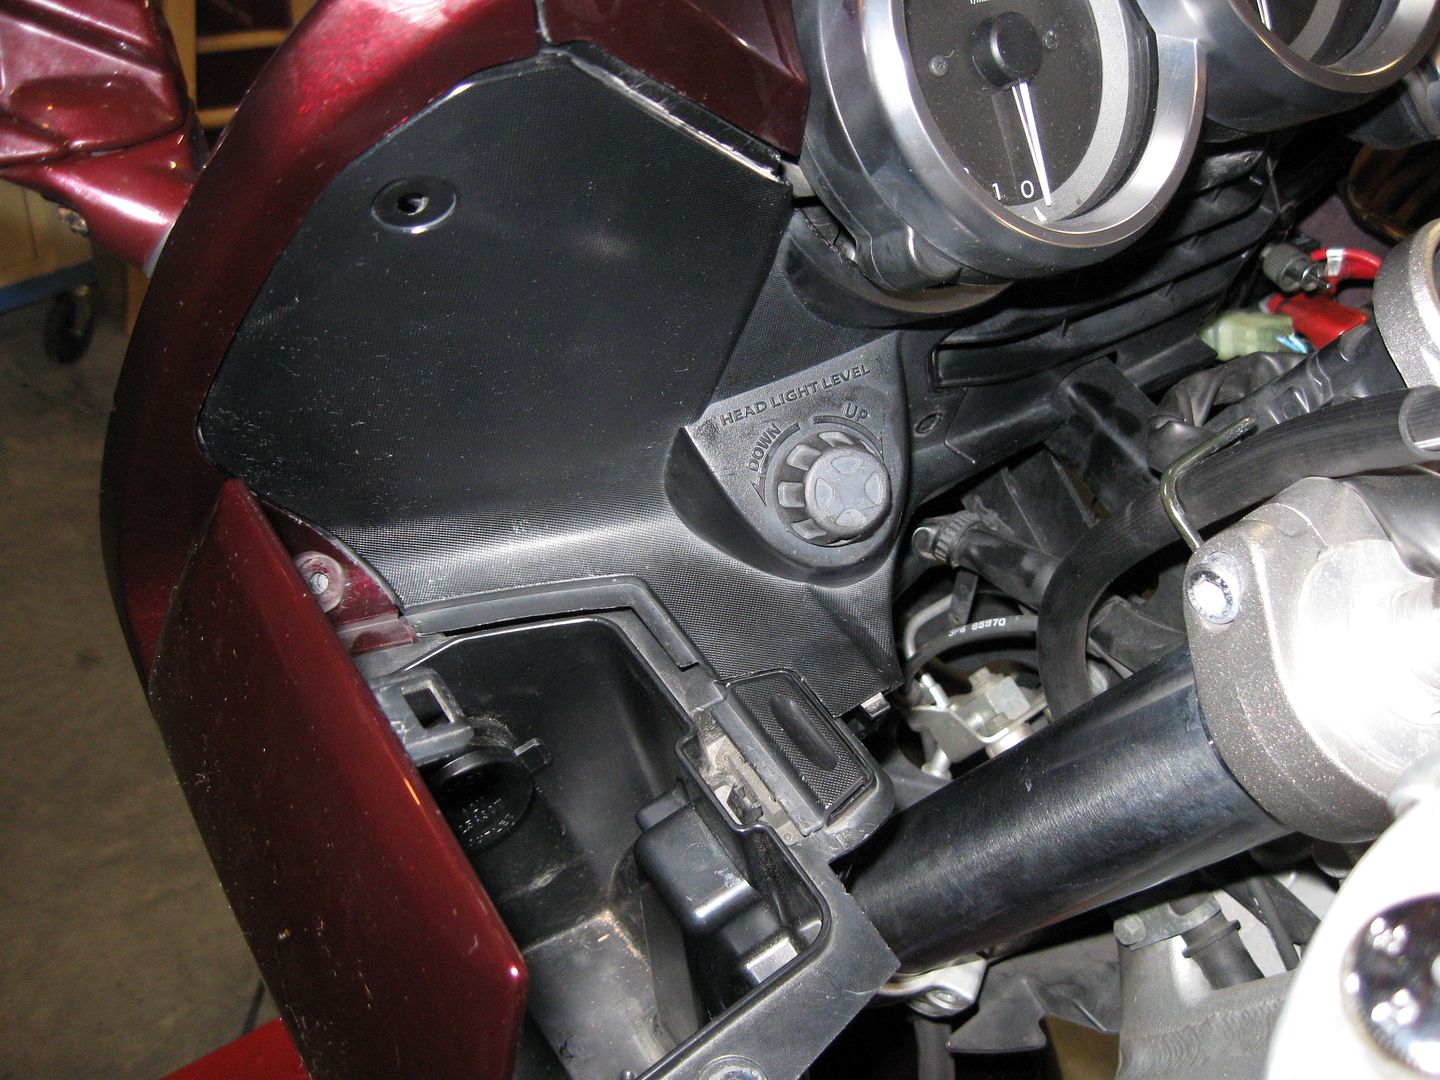
With that taken care of I moved my attention to the plastic dash parts. It seems (sarcastic news flash!!) that the head lights are adjustable! The cables are just like old school speedometer cables and just screw into the adjusters. The trick is to get the plastic situated "just so" as to get the two mated! Not a real easy task for this first timer! But I managed after moving all around the bike and ouch! Separating some skin from my finger and finger nail. I HATE IT when that happens!!

FJRB058.jpg


More blood and Yamaha dirt/grease mix and the bond between bike and owner solidifies even more! Now the left side of the dash is shaping up.

FJRB059.jpg


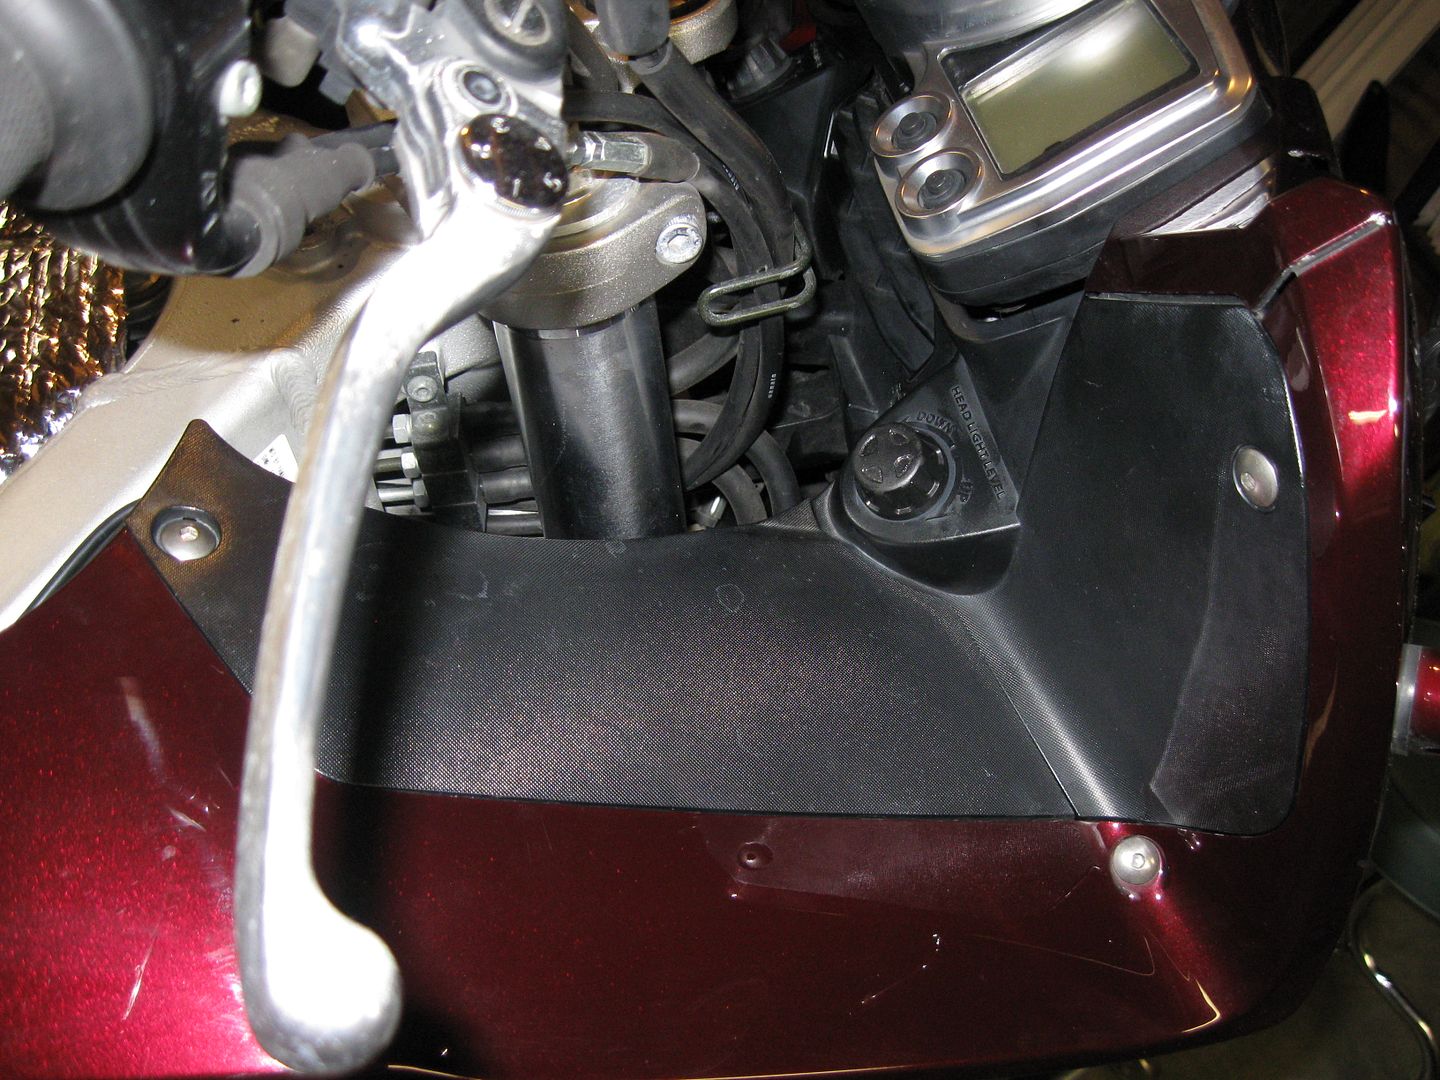
Rinse and repeat on the right side. The cable went in much better on this side. That could have been from my experience on the other side or just the design and clearance on this side being a bit better.

FJRB060.jpg


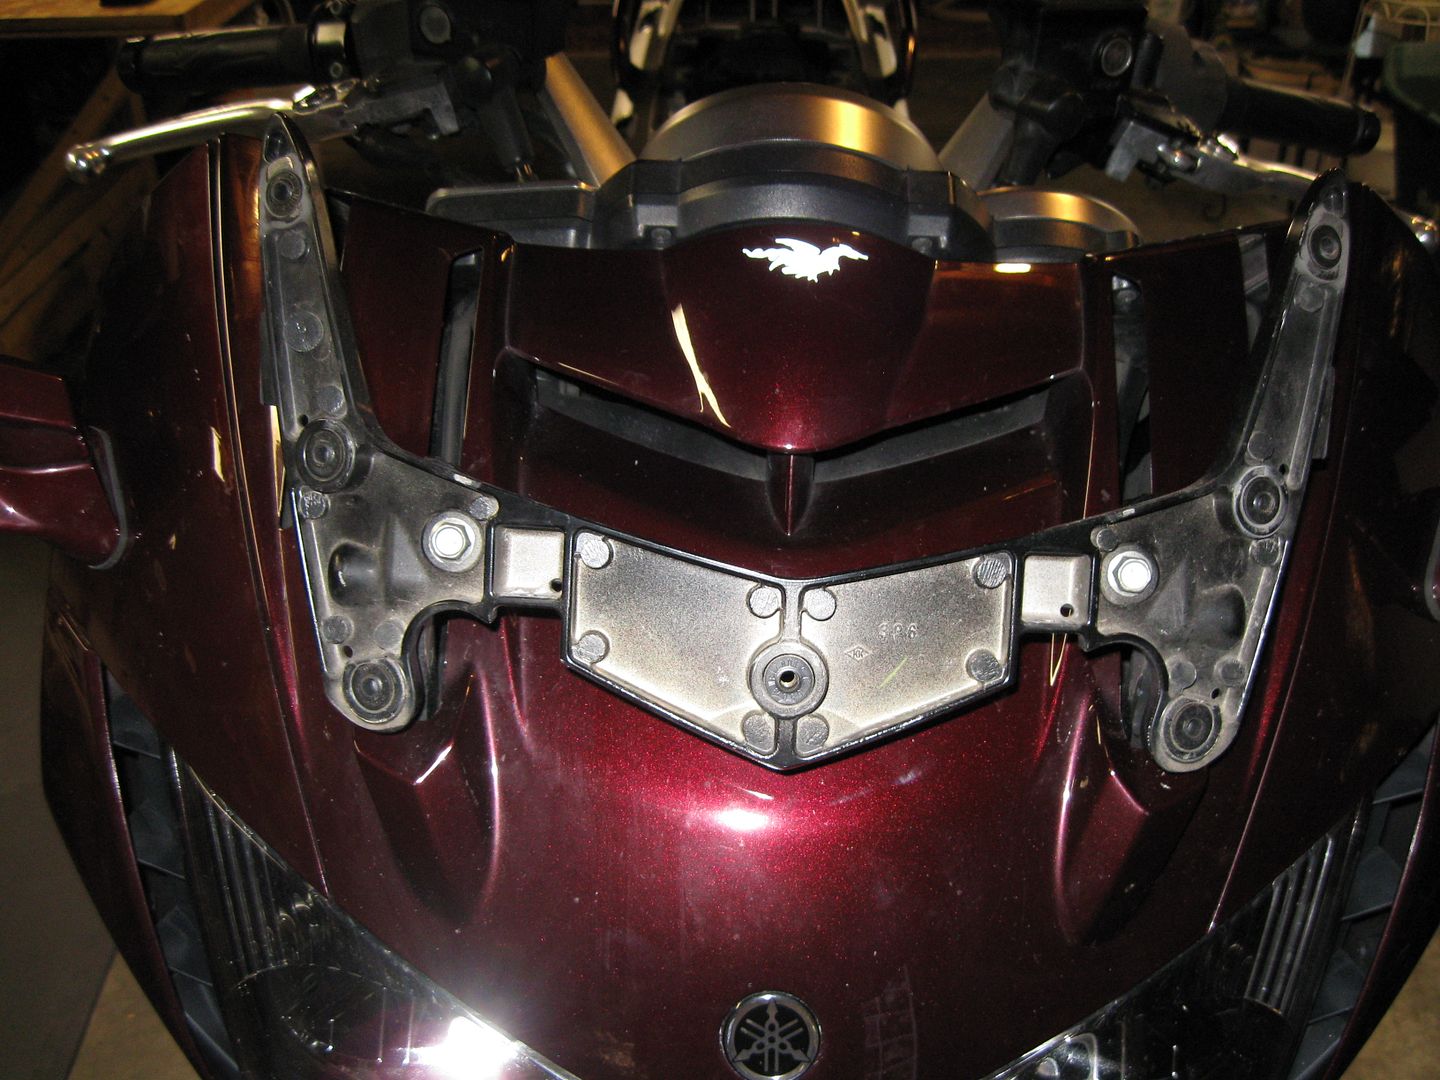
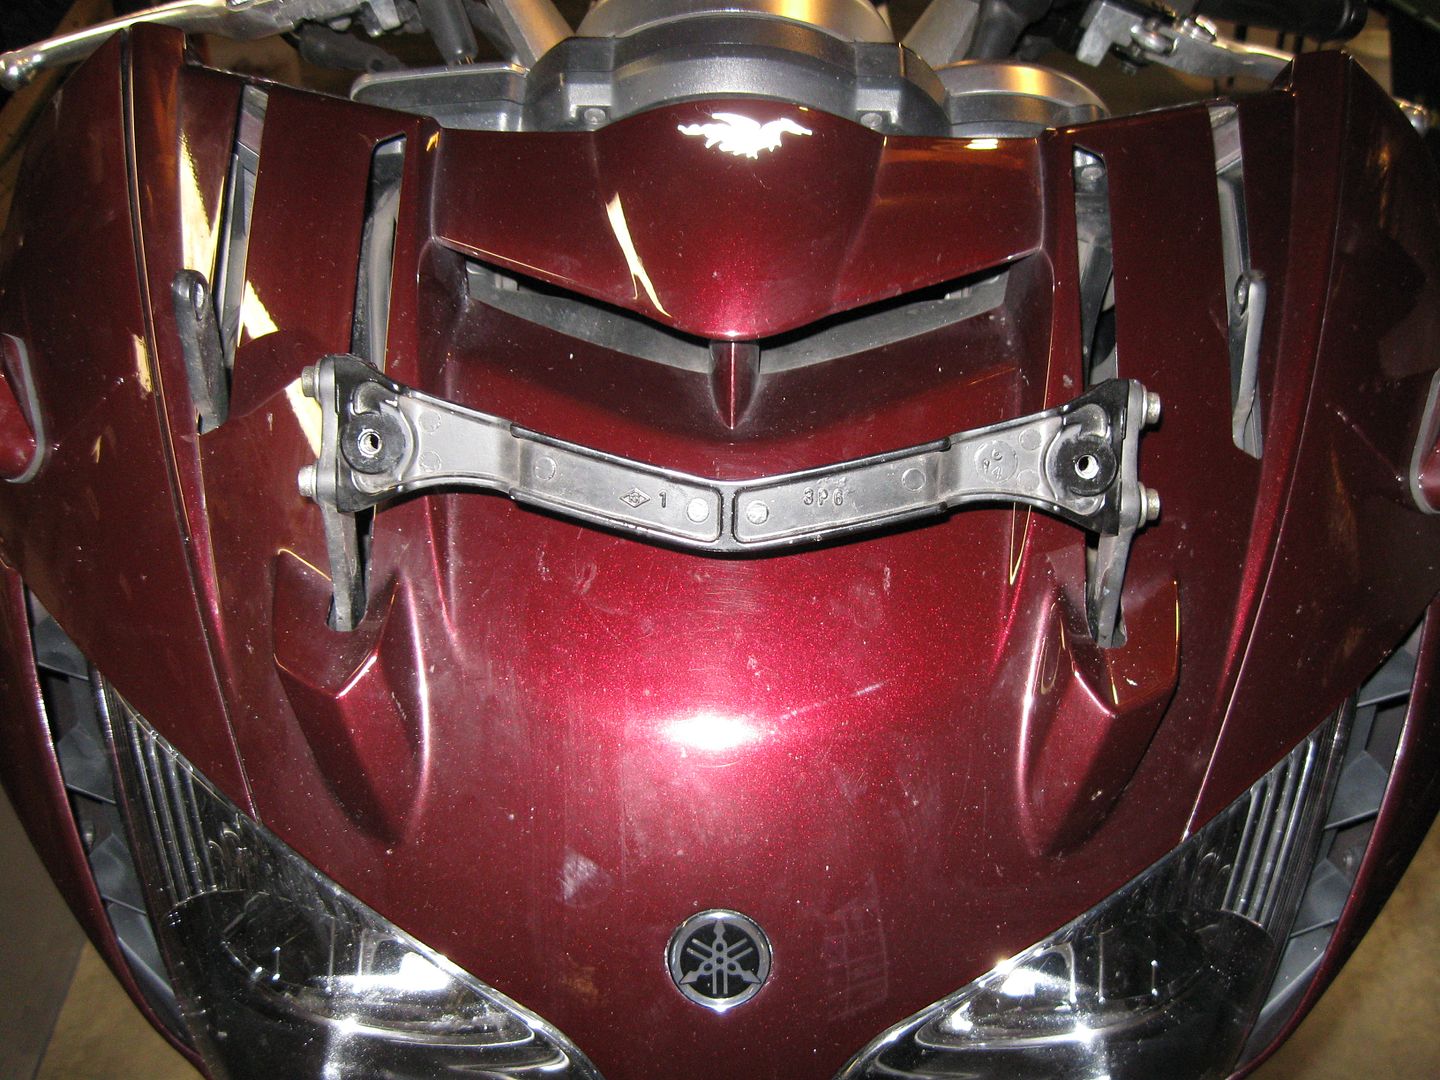
As a "Streetfighter" FJR would not only look odd, but is totally undesirable on my part. I want a windshield! And there's a happy little motor to run this one up and down too!! More on that later. Let's get the bracket and shield mated up here. I started by mounting the cross bar to the two lower adjusters.

FJRB062.jpg


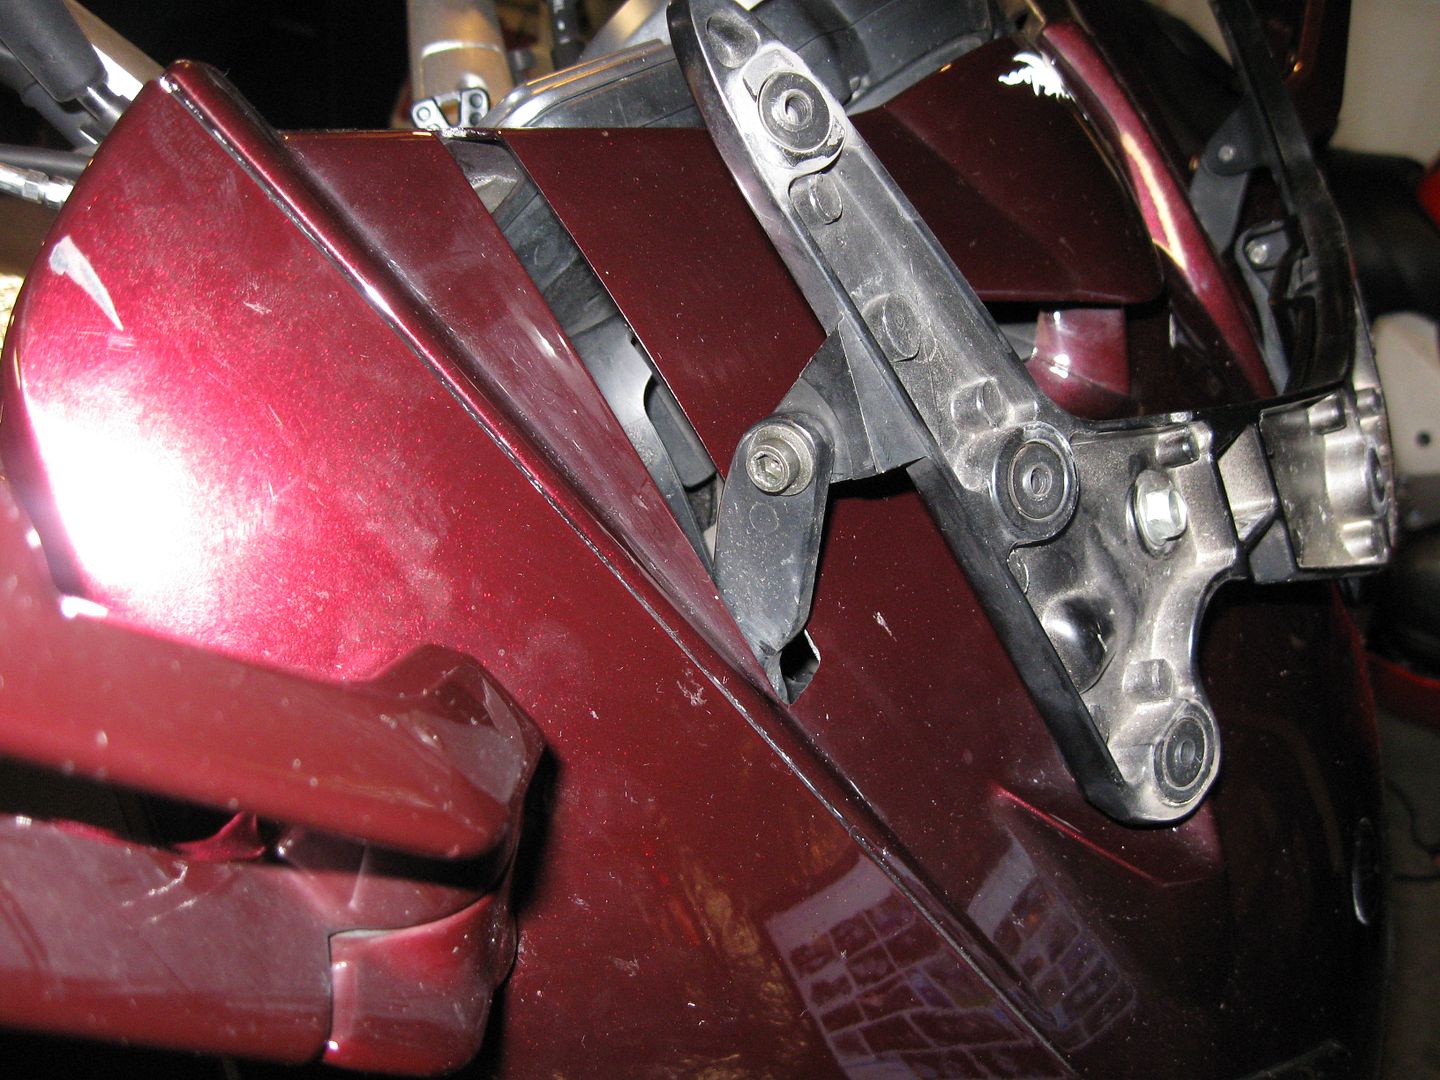
Then the larger part (keep up with my technical terms here please) gets mounted to the cross bar.

FJRB063.jpg


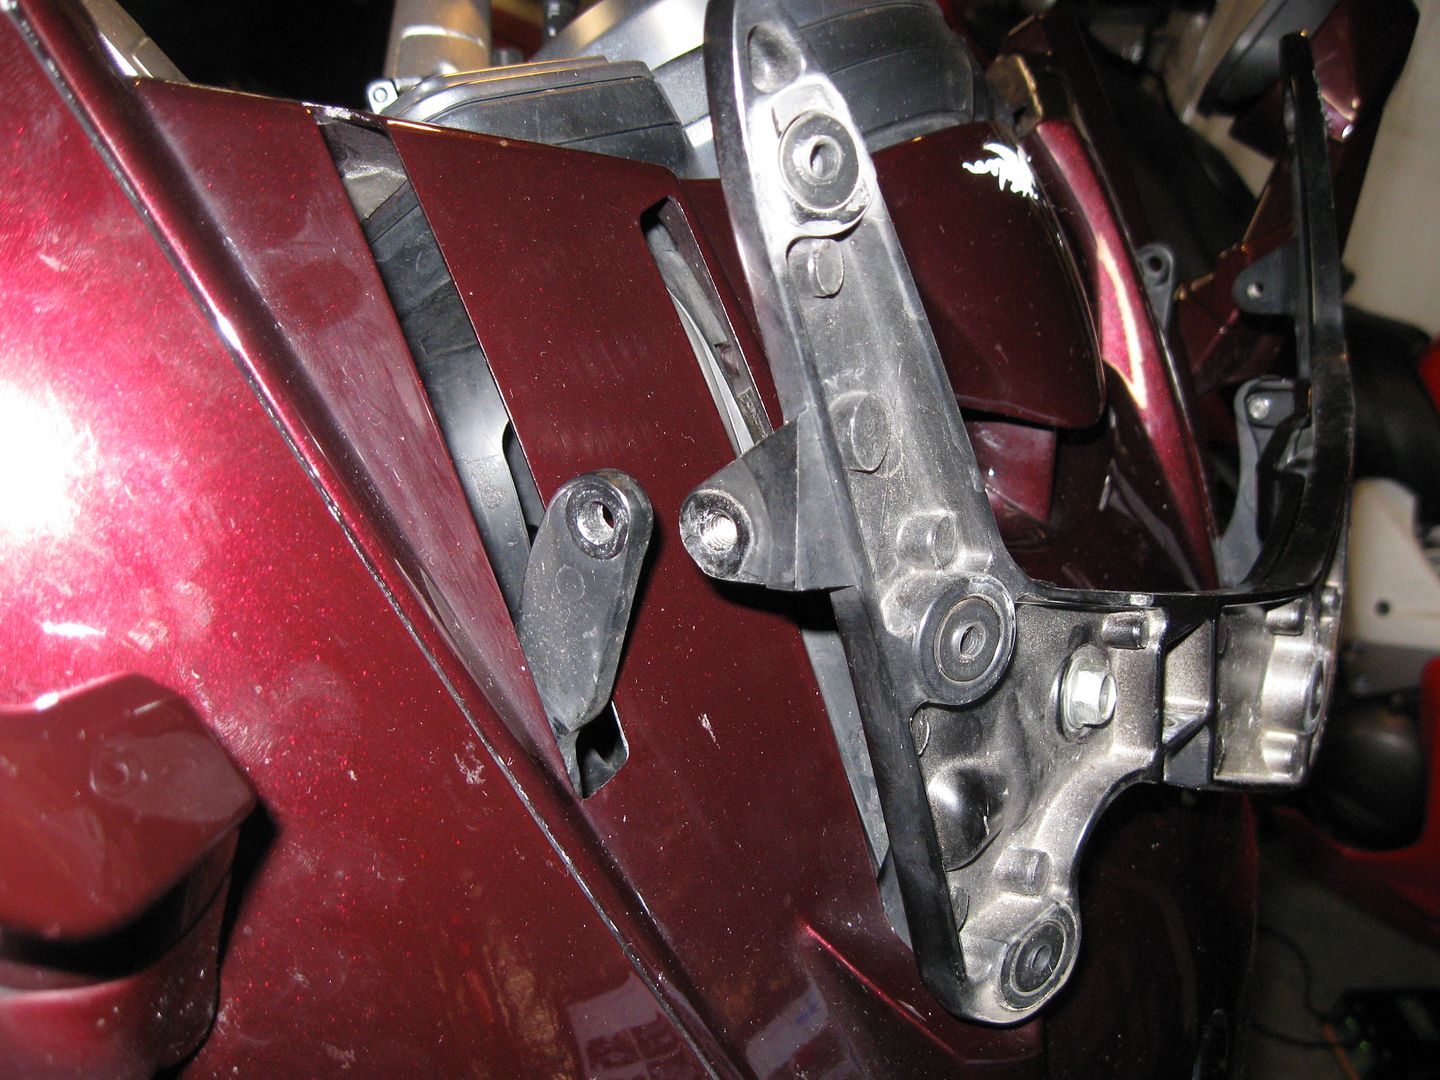
Connecting the mounts is quite easy even for the uninitiated. They line right up.

FJRB064.jpg


BAM! (POP! confetti ... yay!) A-hem... moving on!

FJRB065.jpg


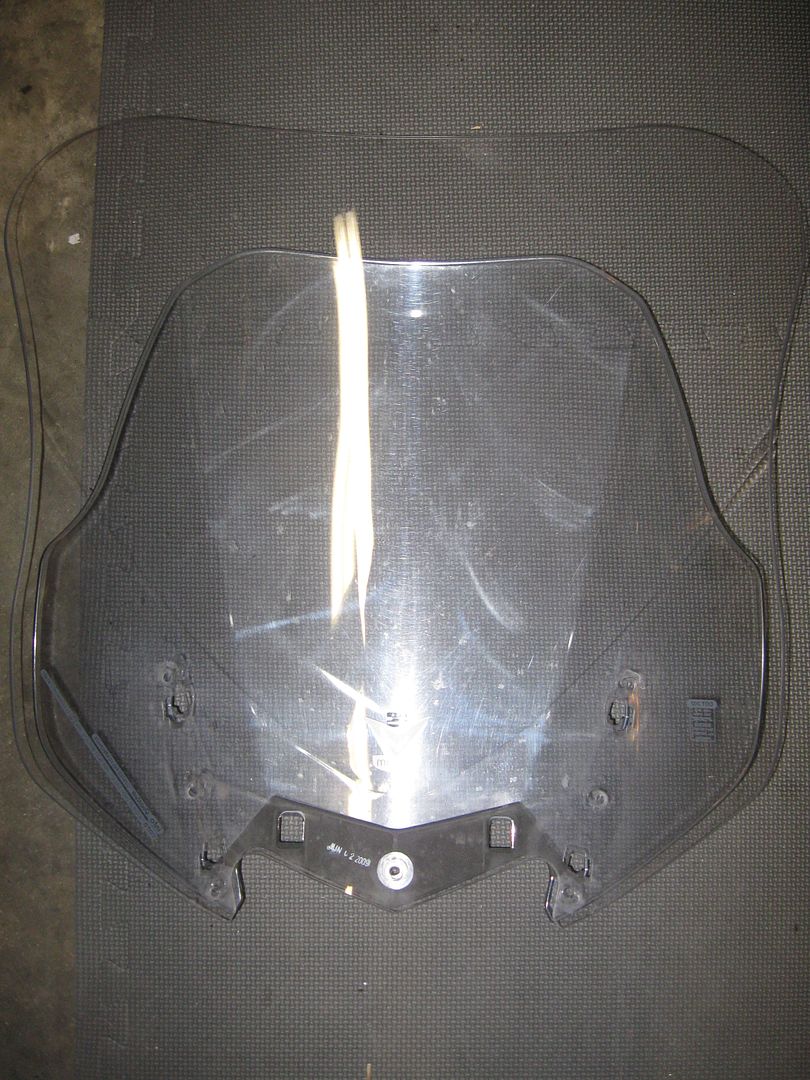
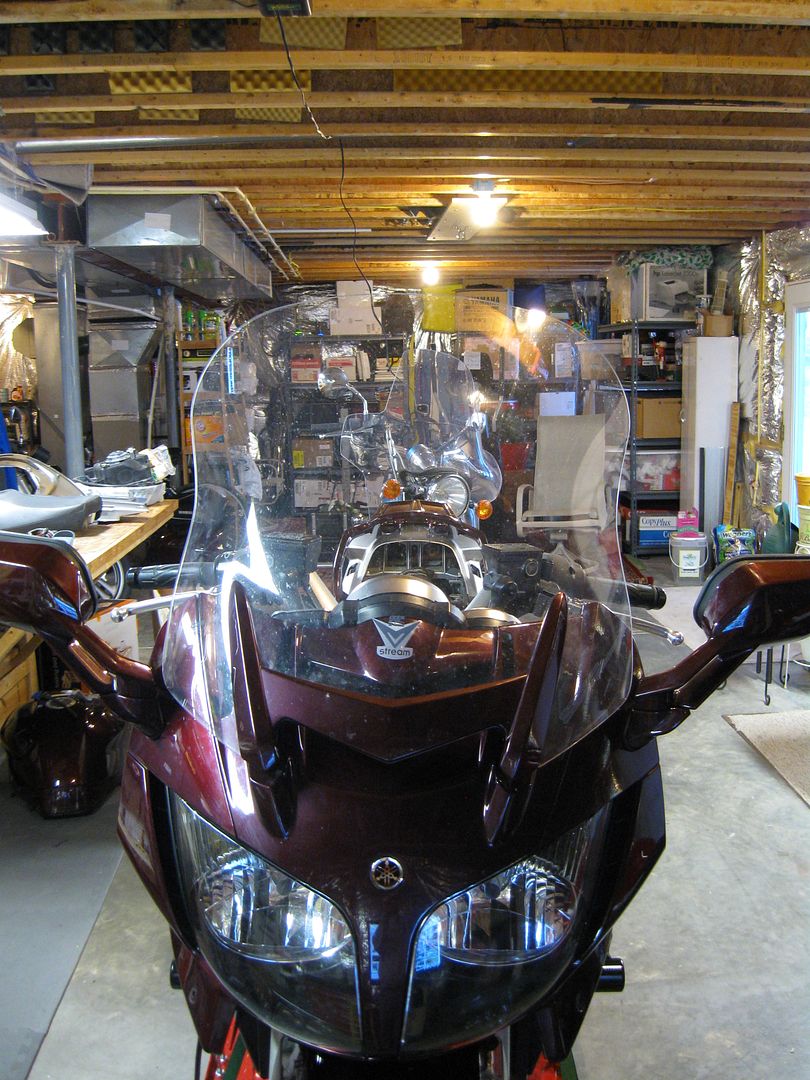
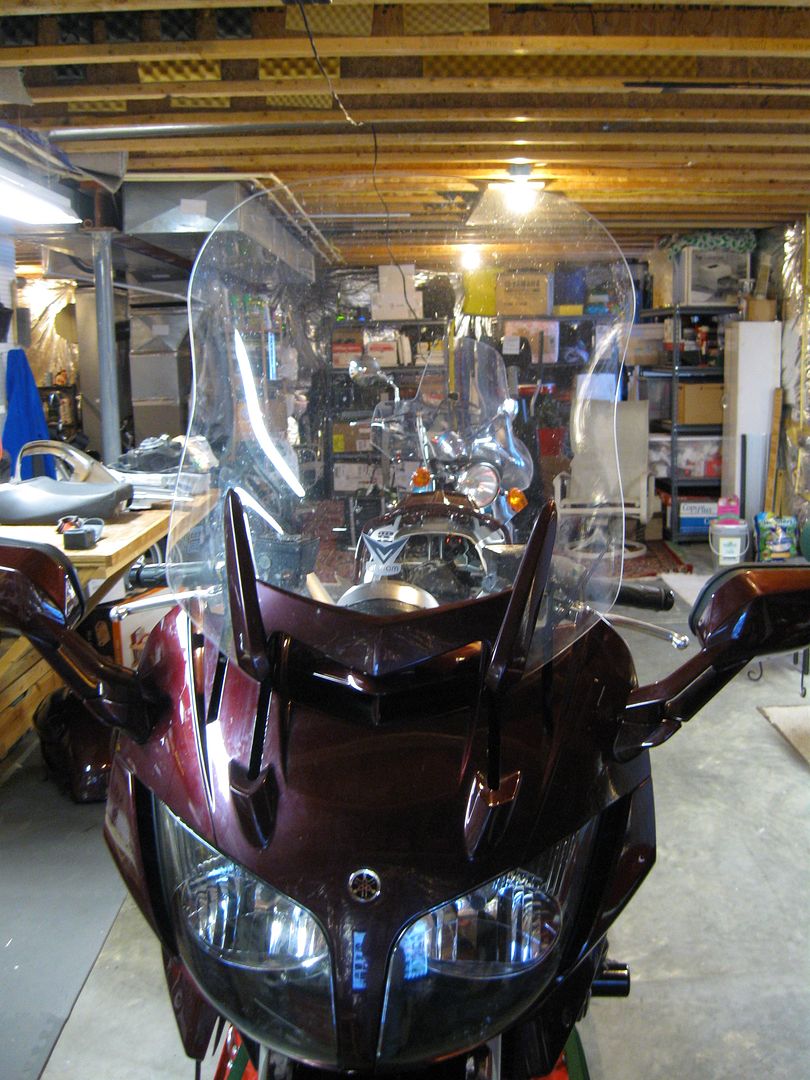
Paul was generous enough (Very!) to supply a larger V-Stream windshield with the stock screen. The stock screen was a little stained and cruddy from use. I have a friend of 20+ years who owns a Detailing shop nearby. So I asked him what he might have to clean up the plastic of the screen. He offers headlight cleaning on cars and most headlights are plastic now too so I consulted "Dr. Detail" (the name of his shop - his name is Joe). The screen was in a condition while not that bad, I was willing to write off in the name of experimentation. Joe is a very considerate and meticulous person. He consulted one of his chemical Dudes (salesman more like) and he had a product that seemed to do a decent job. Joe didn't want to get too aggressive and risk scratching the plastic. Still the results were better than when he started! I couldn't get acceptable before and after pics with my camera however. I should invest in a nicer Digital SLR....

All that as an FYI. I installed the larger screen on the bike for now and will attempt the same treatment this summer when the stock shield goes on. Here's a comparison of the two for size.

FJRB069.jpg


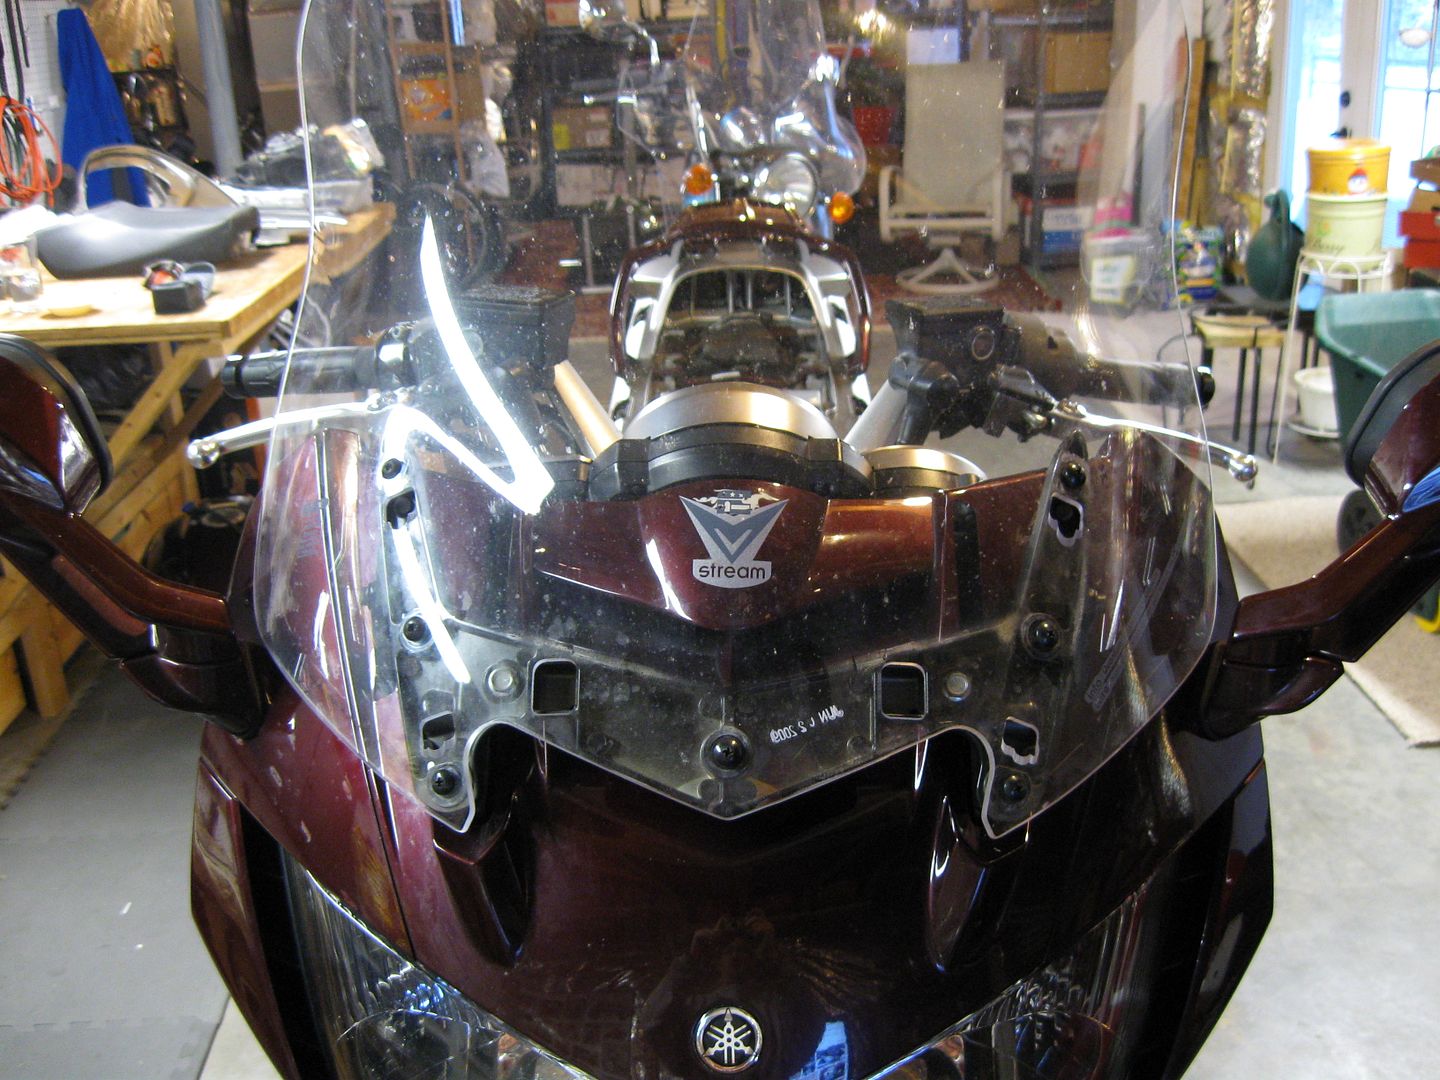
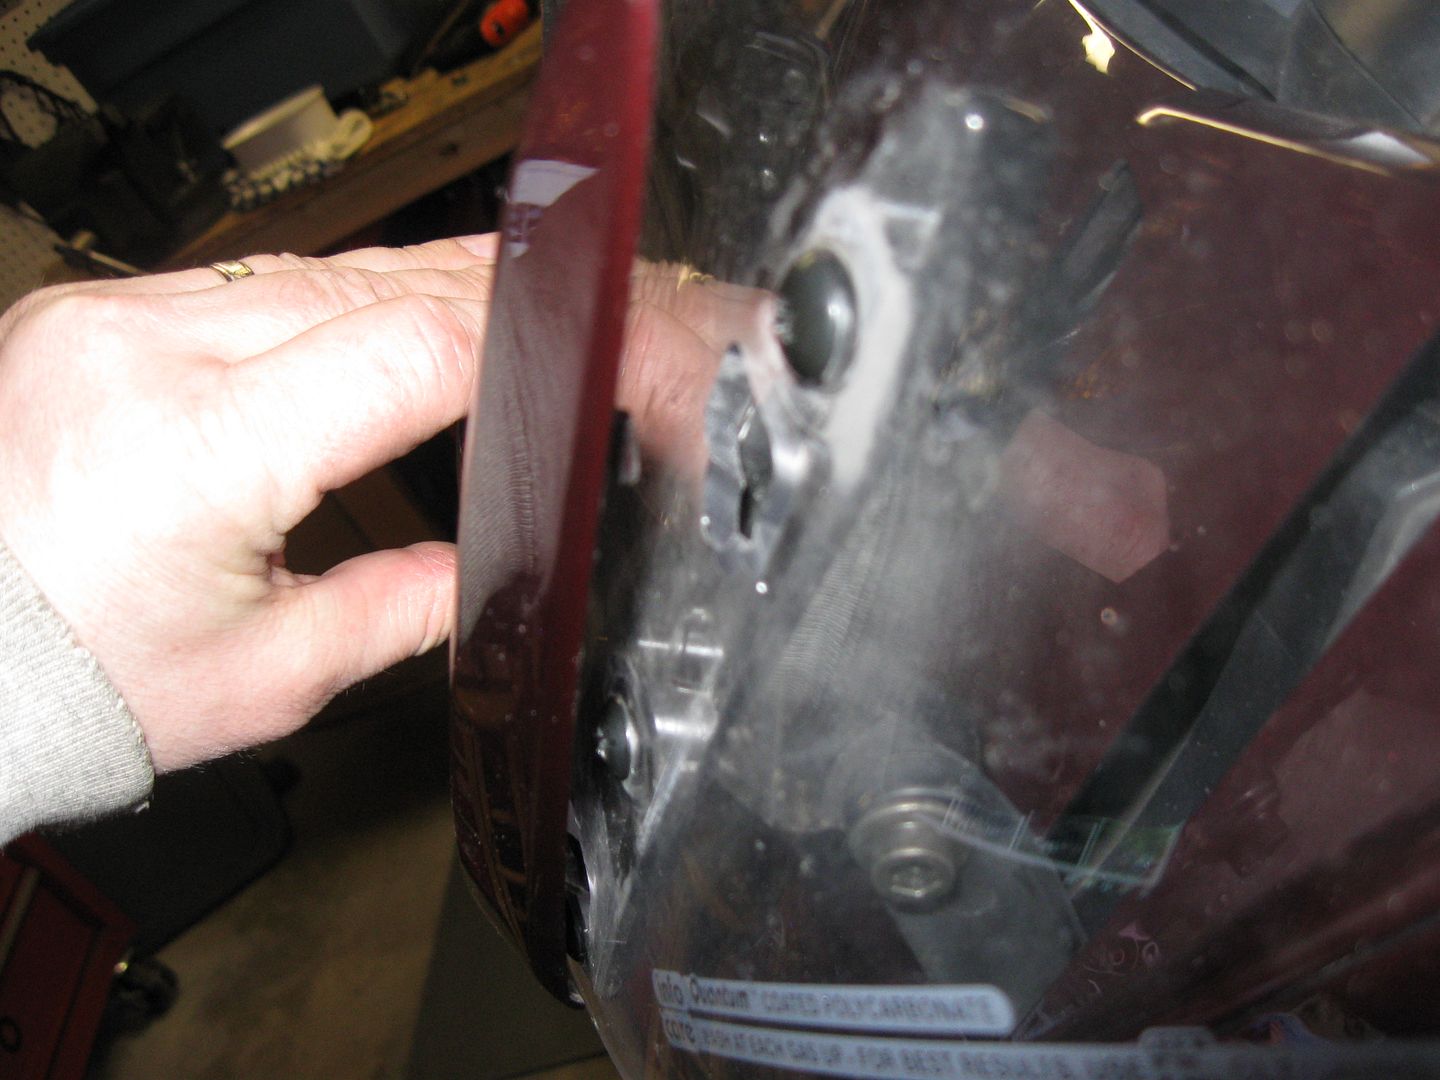
Seven well placed screws later and Voila!

FJRB071.jpg


Fully functional? Yes! Sharp, Way Cool and Awesome Looks? - um............................... no!
nono.gif


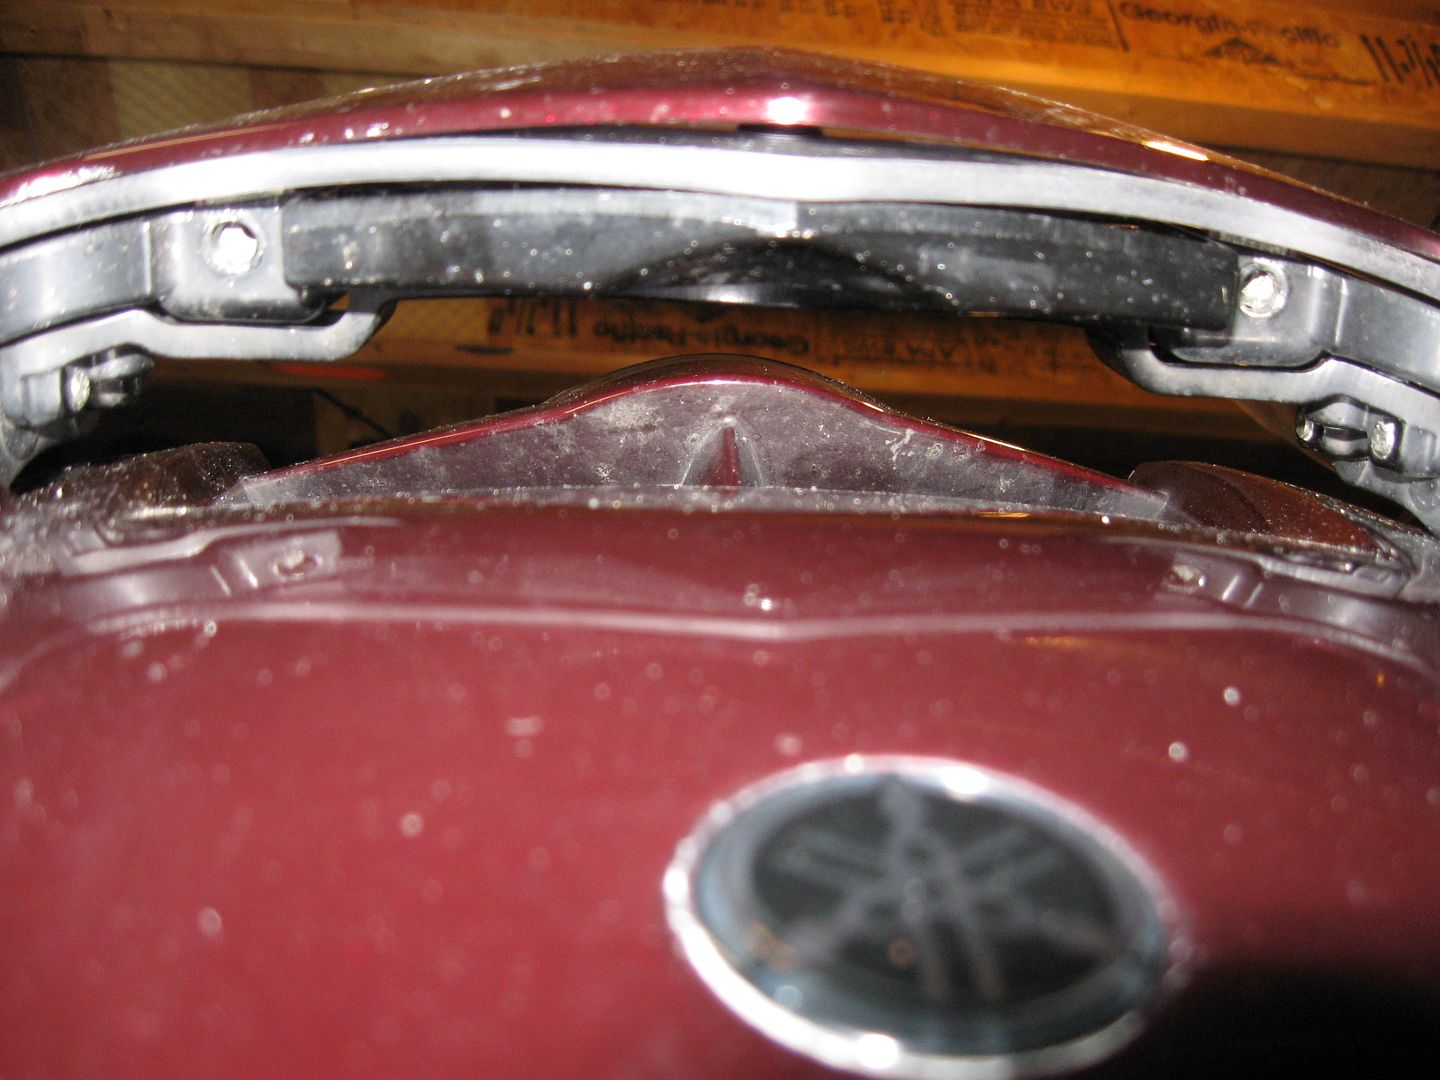
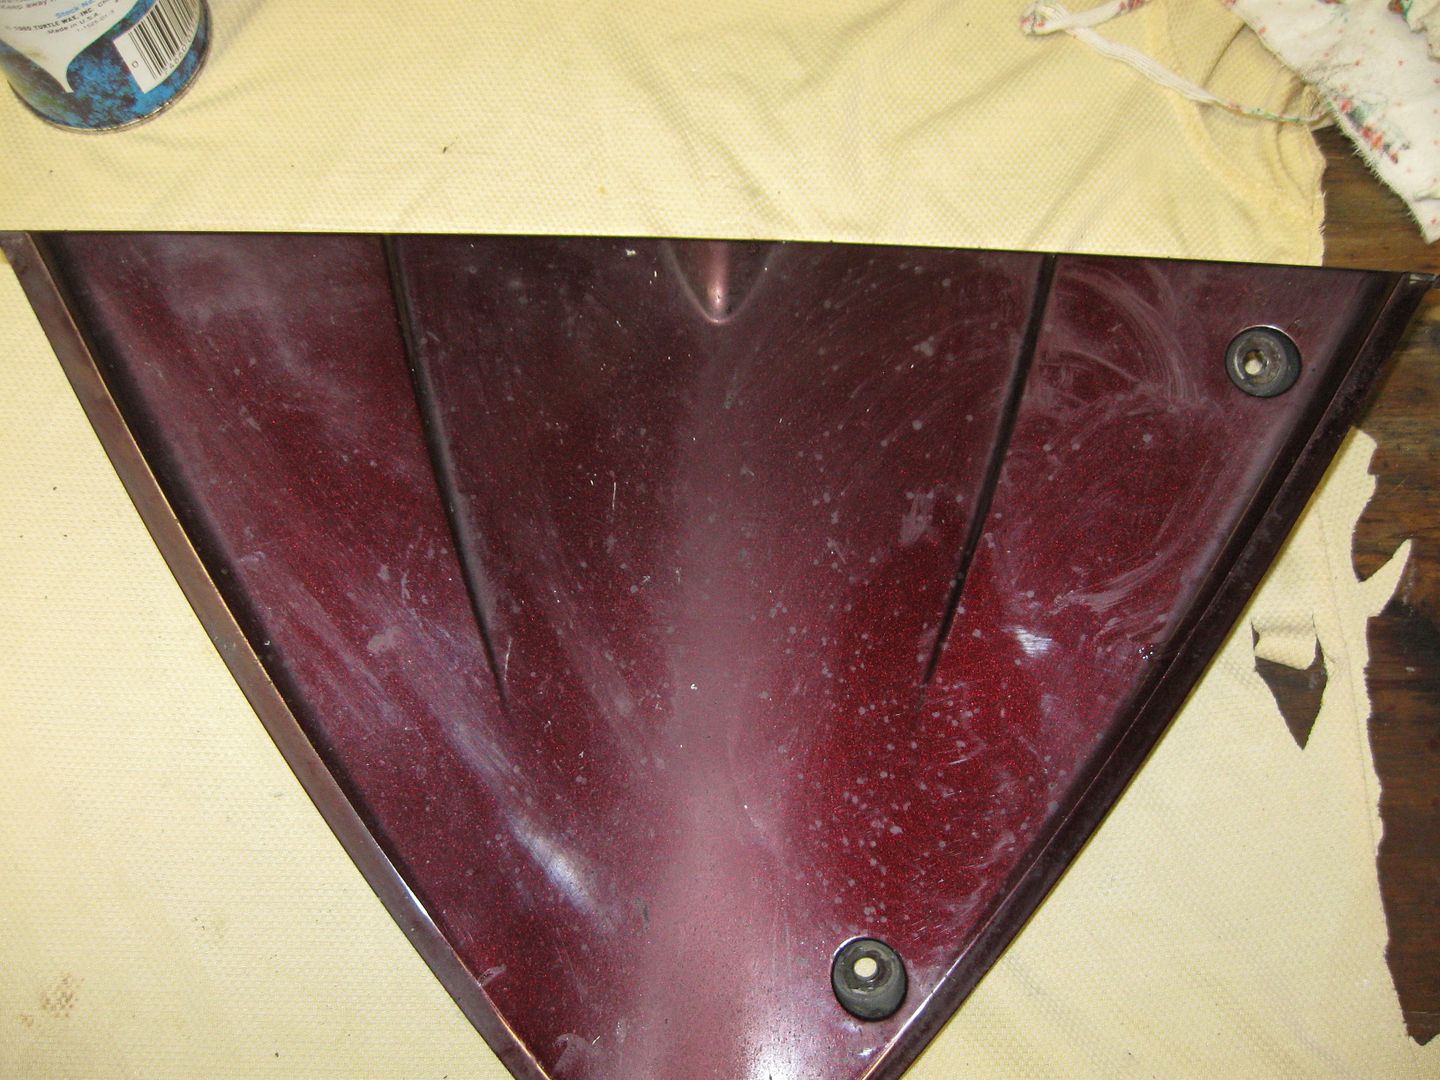
This little color matched cover helps in that department!

FJRB075.jpg


It hooks on and slides into place very easily. THEN, make sure you secure it with two screws underneath!

FJRB077.jpg


Now we have some functionality AND good looks!

FJRB078.jpg


And raise it up for more coverage!

FJRB079.jpg


(ok I'm not the first to lament, but who at Yamaha thought it was a good idea to return the screen to the lower position when the key is shut off? Rhetorical Question)

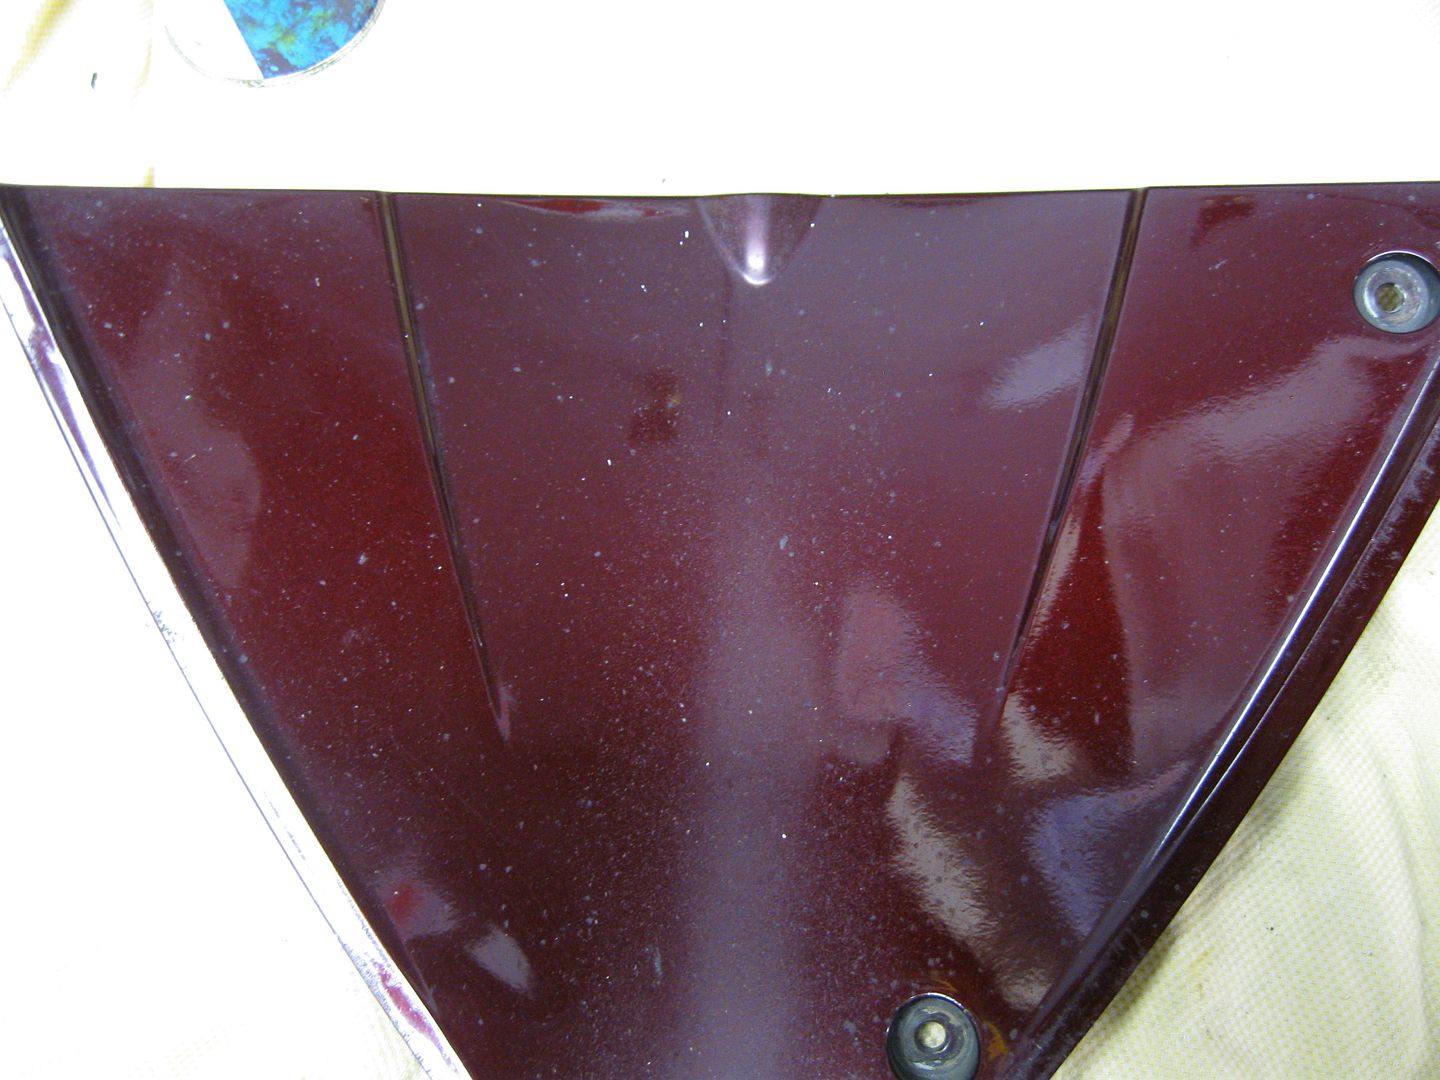
I was about to put on the lowers when I discovered this little part that hides behind the front wheel AND gets smacked with pretty much whatever the tires throws at it! I wiped it down then thought... I wonder how well I clean this up?

FJRB080.jpg


Fully distracted from assembly, I put the Olympics on the TV and had a seat at my bench and got to cleaning. I used a Tar and Bug remover I have. After an undisclosed amount of time.... and a bit of wax.

FJRB083.jpg


60,000 miles can not be reversed on this poor guy! So I'm happy.

That's all I have for now! Hopefully more by Monday. I'm off to a shower, then the lowers go on, followed by the side plastics. THEN, a top box mount..... I still need to purchase a GPS mount and possibly bar risers. All in good time!

Thanks for hanging out for a bit.
russian.gif
Closing theme music!
russian.gif


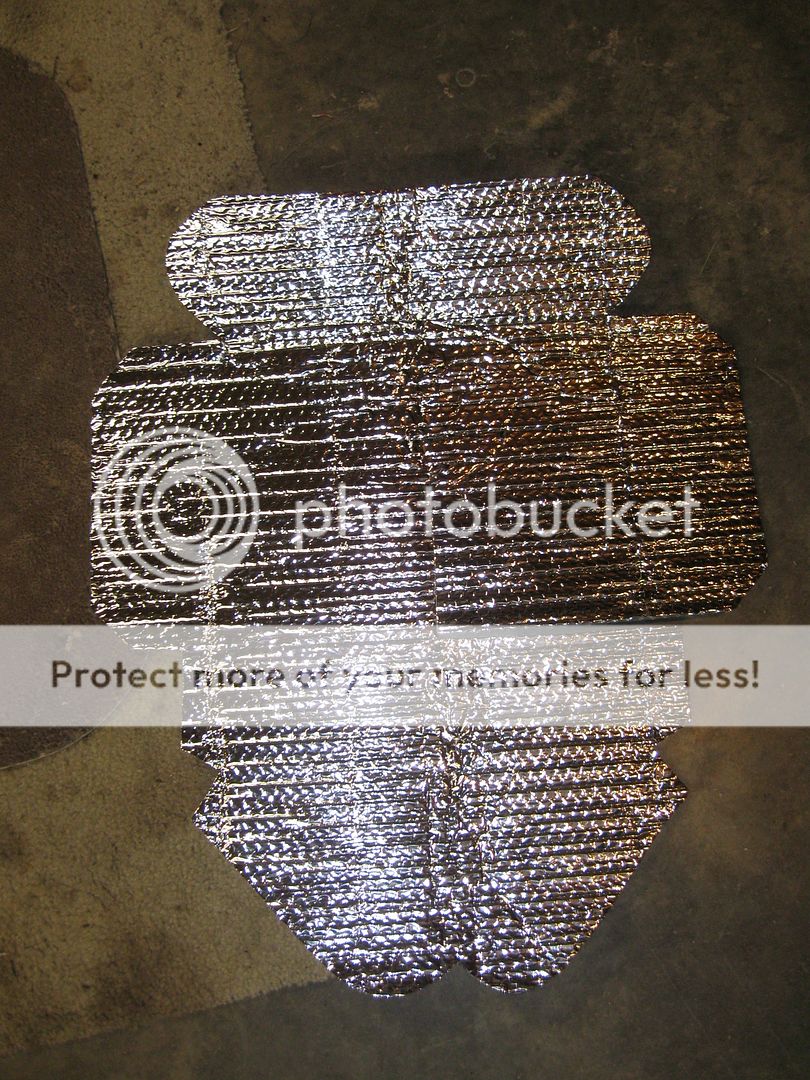
Oh I forgot to mention.... I bought one of these "Heat Fix" units for Doug's 2004 FJR. I like to take care of Help!
punk.gif


FJRB015.jpg


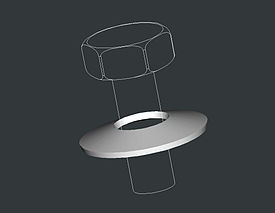
Those pesky little washers under the mirrors can be a pain! If I remember correctly there are six and they align two to each other with the cups out? Then stack the three little pairs which allows the mirror to gain some tension while moving around the ball bearing plate! At least I think thats how I fixed mine after dropping them the first time!

 
Nice job! It is coming along well...hopefully you will have a fully restored, nice looking '04 by Spring.

 
Those pesky little washers under the mirrors can be a pain! If I remember correctly there are six and they align two to each other with the cups out? Then stack the three little pairs which allows the mirror to gain some tension while moving around the ball bearing plate! At least I think that's how I fixed mine after dropping them the first time!
are called Belleville Springs, info here

275px-Belleville_washer.jpg


Streethawk,

This is a very impressive report.

I have learned more about the FJR here then.......ever!

Thank you for taking the time to document and post this.

You and Doug are brave men, I bow down, as I would be unwilling to attempt such a task.

However, I may now take on a few projects that I would not have if not read this!

Good luck with this bike, hope it provides many miles of smiles
smile.png


Those pesky little washers under the mirrors can be a pain! If I remember correctly there are six and they align two to each other with the cups out? Then stack the three little pairs which allows the mirror to gain some tension while moving around the ball bearing plate! At least I think that's how I fixed mine after dropping them the first time!
are called Belleville Springs, info here

275px-Belleville_washer.jpg
You learn something new every day! Thanks for that Donal!

 
whew... glad this project lasted most of winter!!!

I was worried in the beginning.

Looking forward to the ride reports and travel plans.

 
Looking forward to the ride reports and travel plans.

Funny you should say that Wingshot. My Son is giving me an early Birthday gift this year. We're going to the AMA races in June at Barber on the bikes! He will be riding my VFR most likely (although he's considering his HawkGT as he loves it so much) and I on the mended 07 FJR! Leaving Wed June 18 and riding down sans highways. My Son is planning the route and making all the arrangements (with a little help from Mom!
angel.gif
).

This will either be a trip of a lifetime as he graduates college this year and will start his career (i.e. minimal time off, lots of bills and not much starting income) or one of many through the years. I'm hoping for the latter.

The final few pieces went on yesterday and I didn't take many pics. But I will have some to post. As there is still snow out the back door and around the house, the shake down ride will have to wait. So I'm going to continue this thread also with the install of the top box rack. The temps are forecasted to approach the 60s by end of week, so melting is in sight!

I also need to look for a GPS mount and a good GPS for it.
help.gif


well, when you get done with this little project and start riding it you will most likely be able to say that you have touched and turned more bolts, screws, nuts and other stuff on your FJR than about 99 percent of the rest of us!

 
Thanks for that Matt. Still waiting on the last round of snow to go away to get the bike out of the basement.

In the meantime I'm working on installing a top box rack.

 
I hope I am not the only one that after reading this had a vision of several boxes entering the basement. Installation onto the bike. Then the realization that they cannot get the bike out of the basement.

Thanks for that Matt. Still waiting on the last round of snow to go away to get the bike out of the basement.
In the meantime I'm working on installing a top box rack.
First of all graler: I'm diggin your avatar! As a teen I lusted after the NighthawkS when they came out.
love.gif


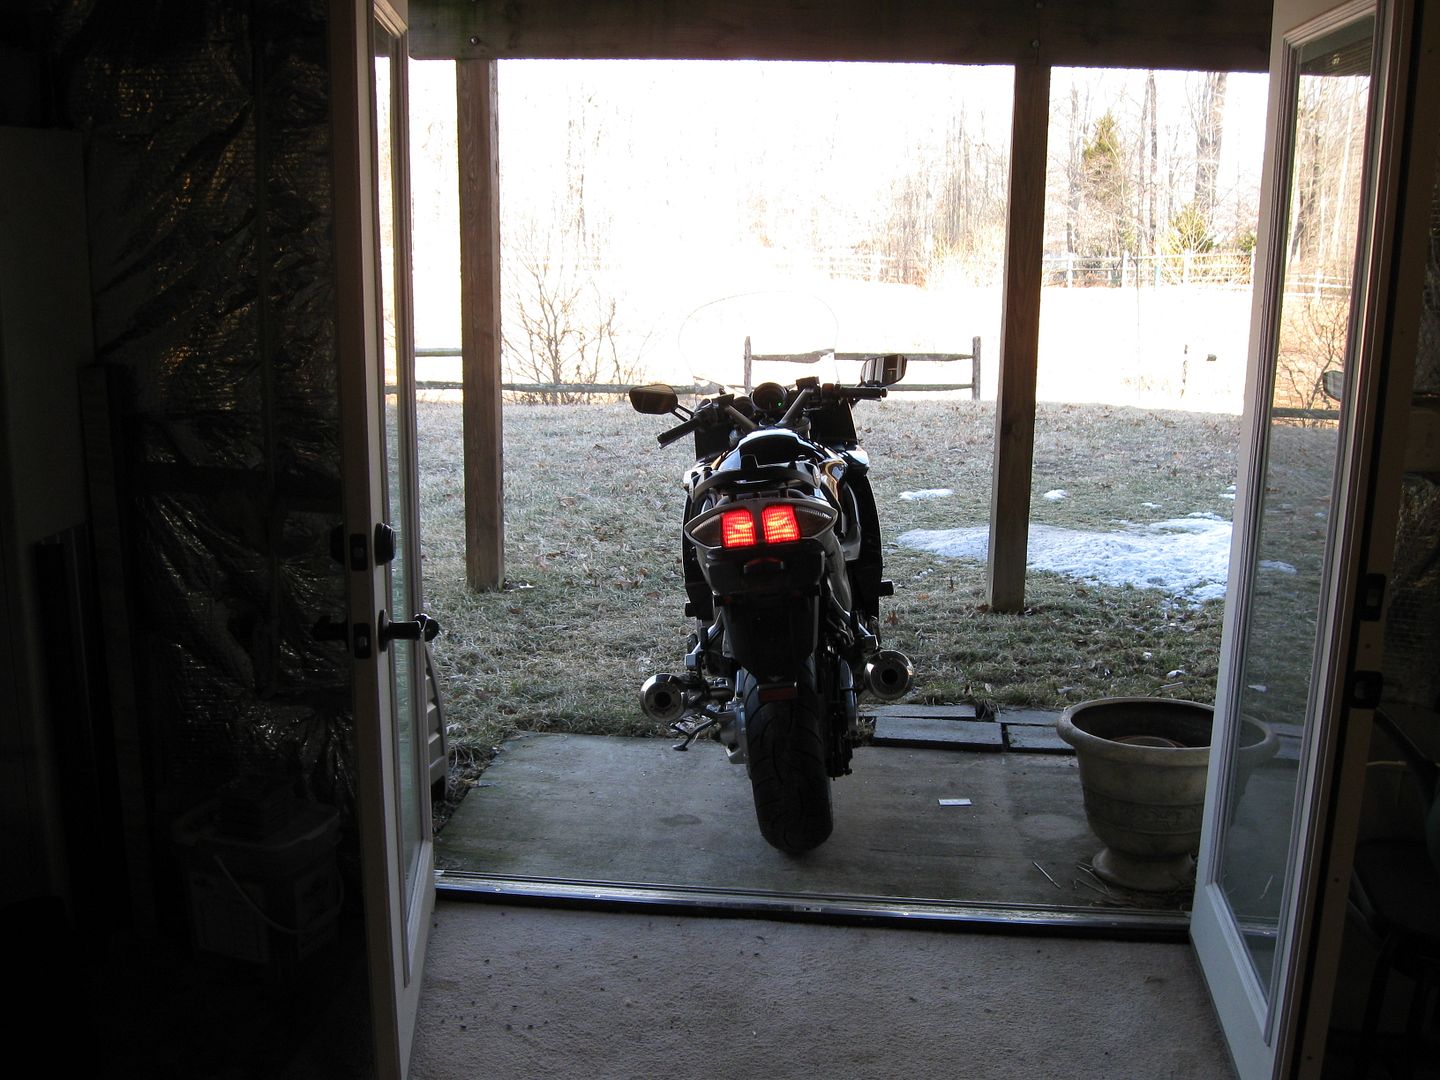
My basement door got changed from a slider to french doors a few years ago for this very purpose!

FJRC060.jpg


Oh yeah it fits!
ok.gif


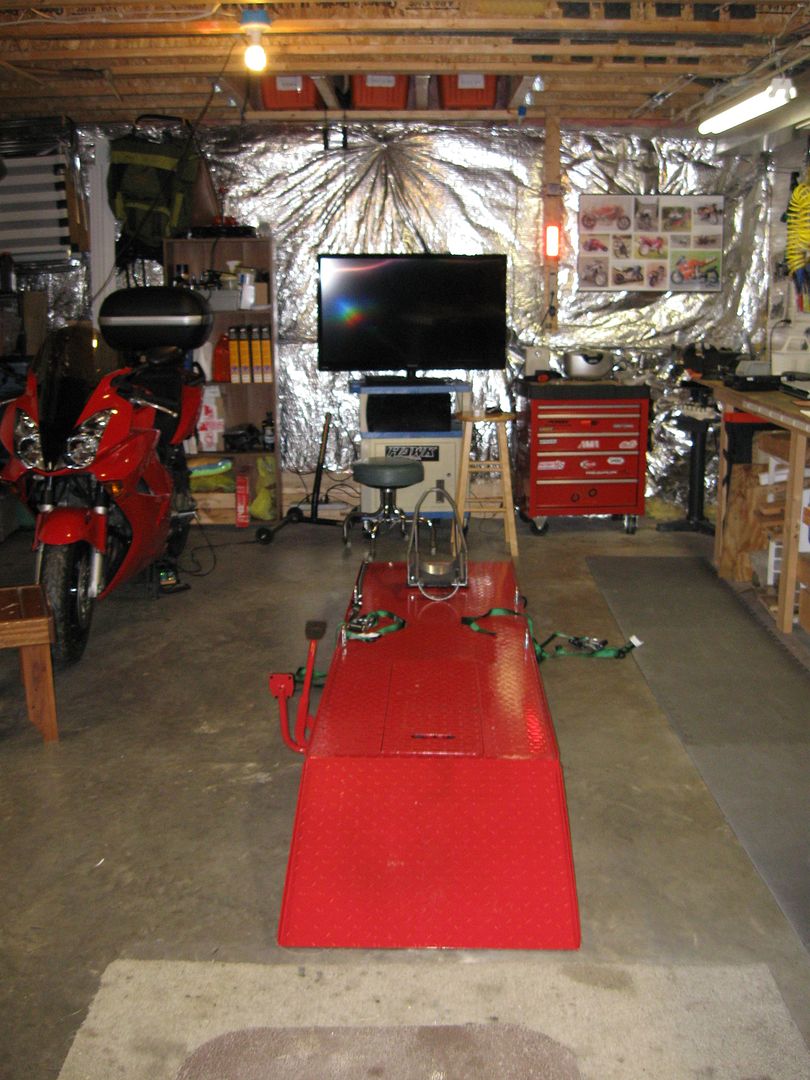
I had about 8 other pics of the plastics going on but at this point most of us have had to remove and install the outer shell of the FJR. I think this will close out this chapter of my build!

The shop is ready for the next project!

FJRC061.jpg


That project will be de-farkling my 99 Concours and prepping it for sale soon. But the weather has broke a bit and snow is almost gone. So I'm riding this week!

As for the FJR?

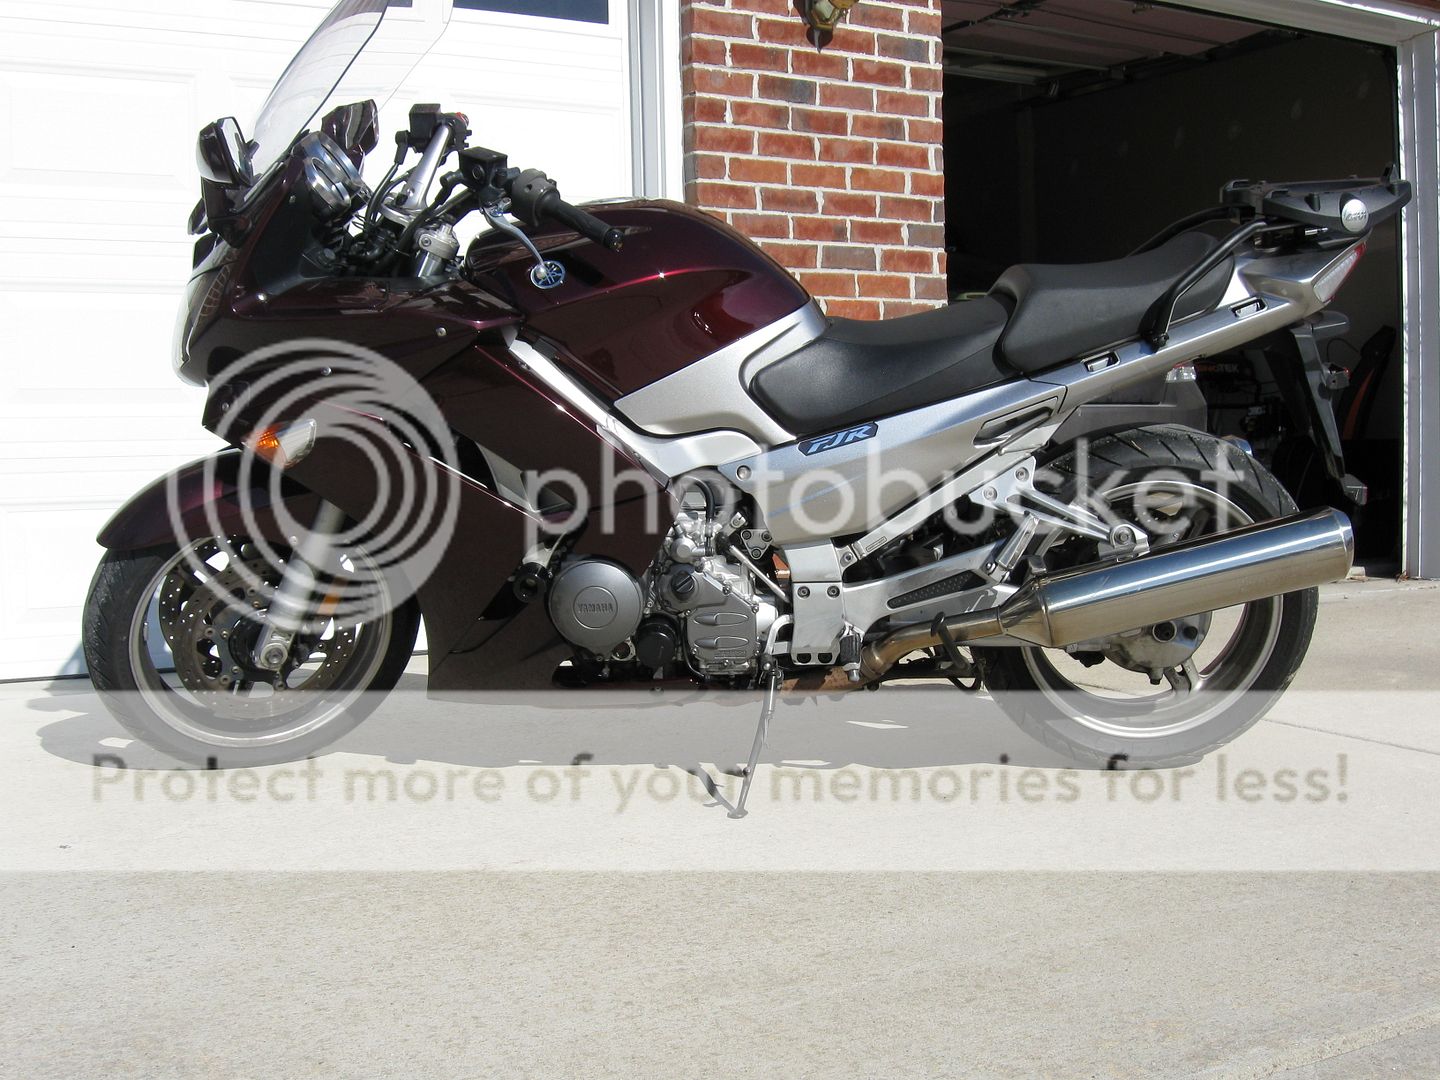
Ta Da!!!
shout.gif


FJRC062.jpg


I was able to ride it up the hill with minimal wheel spin and (thankfully) no need to patch the grass! I ran it up and down the my court a few times. So mile 1 completed!! It rides great! Shifts through the gears like a champ. The clutch needed some lever adjustment and the throttle a little touchy as well. Stuff mentioned multiple times here on this site. I can adjust to it or maybe play with cable slack, replace the throttle cam etc.. I need to put some miles on to tell first.

Now I just have to get it inspected, insured then tagged.

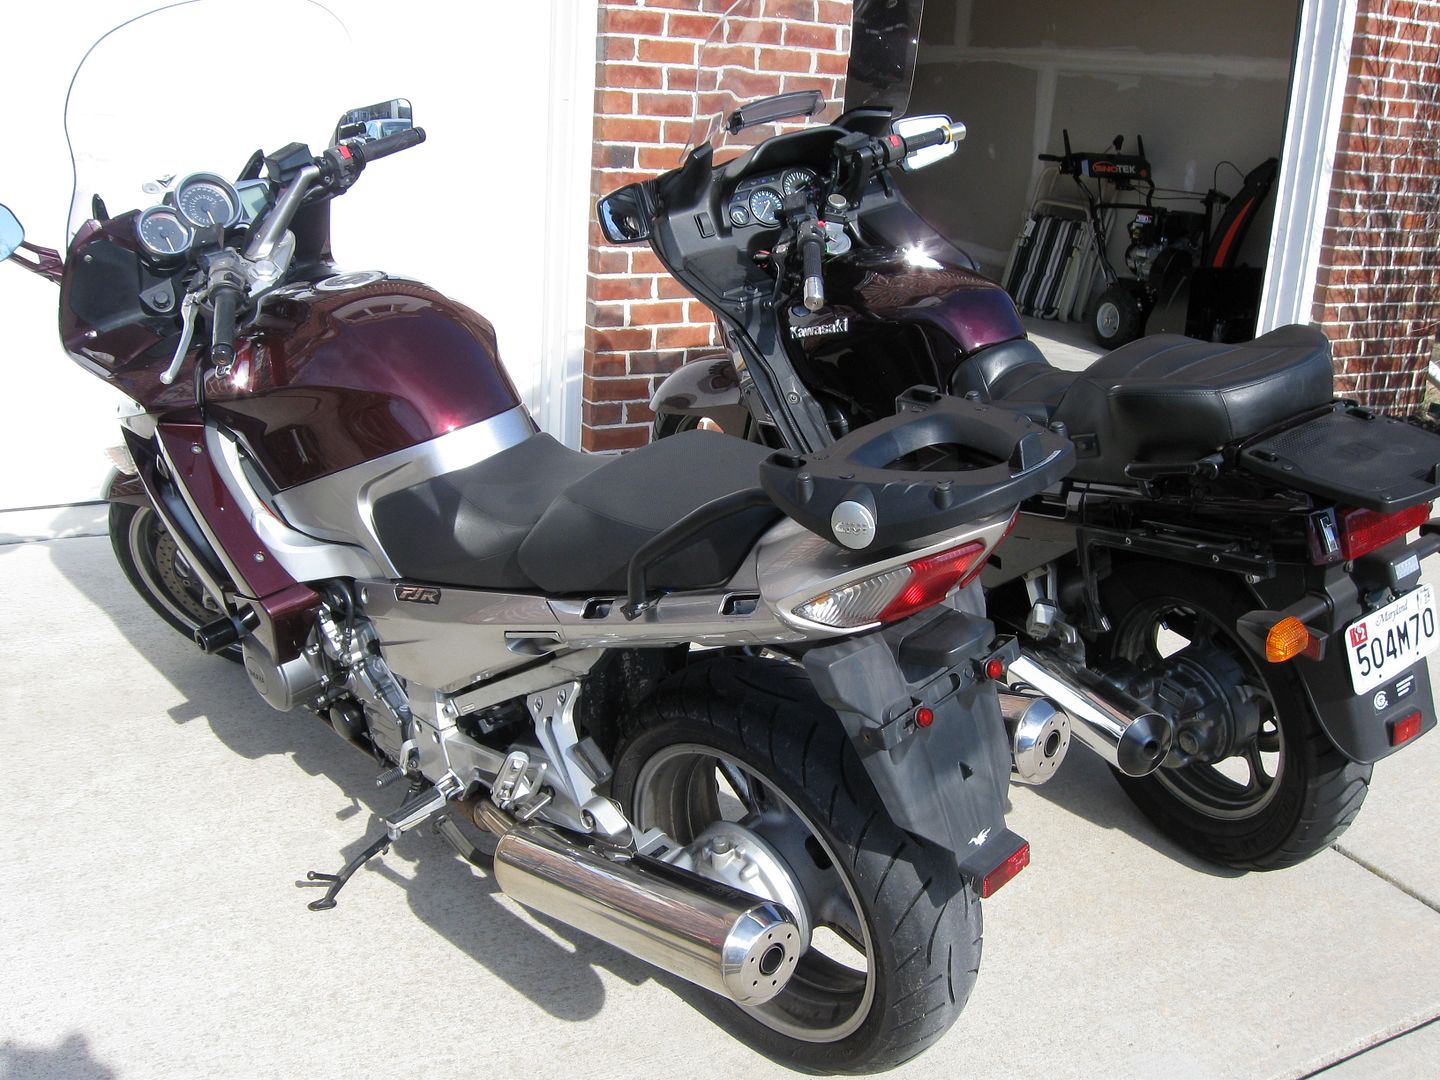
I compared my Connie side by side:

FJRC063.jpg


The color is eerily similar. A part of me will miss the Ol Concours I'm sure.... right up until I swing my leg over the FJR. To make the Connie tolerable I have Goldwing sized tires (higher mileage and sidewalls), ZZR1200 shock and Russell seat. All of which rise me up to Tippy Toes! I won't miss that.

Once again, thanks for reading along. And a Big Thanks for the encouragement and advise along the way!

I'm glad this chapter is over. Every step closer to completion has had me itching to ride my FJR!!

 
Thank you for allowing us to look over your shoulder.

Had to be a bonding experience with that bike for sure.

 
I figured you had a way out. Loved the nighthawk it was a project for me and it led me to the FJR land. Thanks for the thread. Nice job

 
Top