Winter Project - Reviving a Wounded FJR

Yamaha FJR Motorcycle Forum

Help Support Yamaha FJR Motorcycle Forum:

This site may earn a commission from merchant affiliate links, including eBay, Amazon, and others.
Very nice Paul! Somewhere there's a GS crying because you didn't buy it!
tonguesmiley.gif


So it snowed here in Maryland.... and other parts of the North and Northeast. (sigh)

A look out the basement window
FJR097_2.jpg


My workplace is opening 4 hours late because of this "storm" here! - I was born and raised here and still think everyone gets Mental when it snows. From the way they drive to the impulse to buy toilet paper and milk...
fool.gif
I dunno...

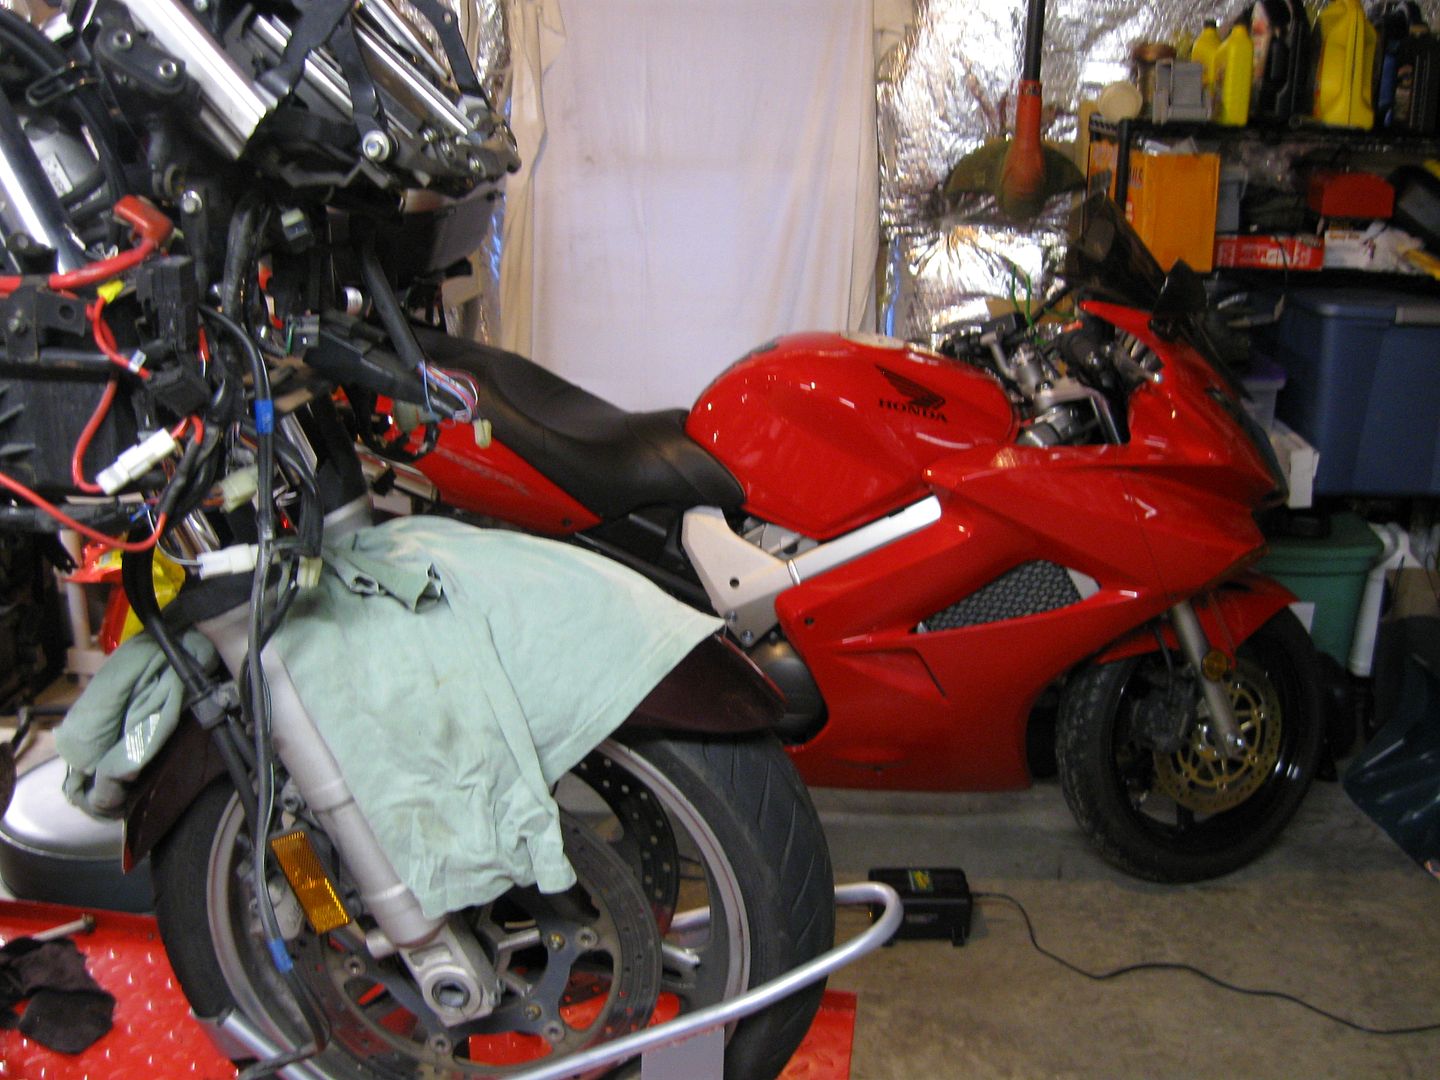
So in anticipation of this "snow event" (3-4 inches) I moved some friends down to the basement so I could put the cage in the garage.

The Vulcan is the wifes.
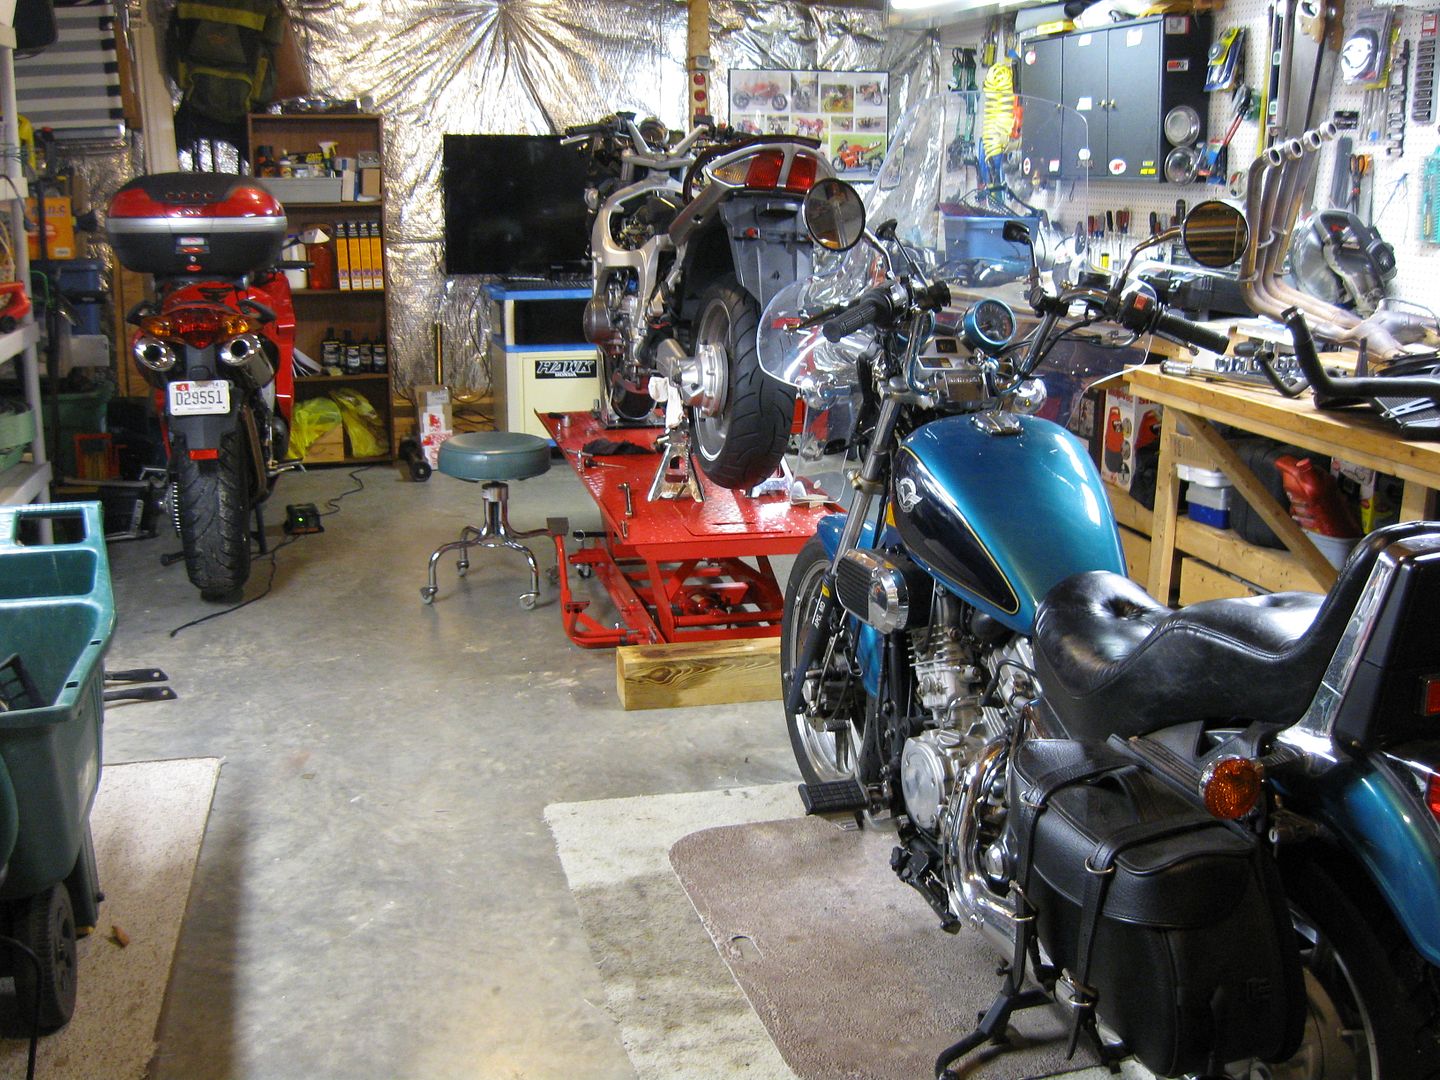
FJR092_3.jpg


The VFR.

FJR093_3.jpg


And my first bike, purchased over 20 years ago new. My HawkGT.
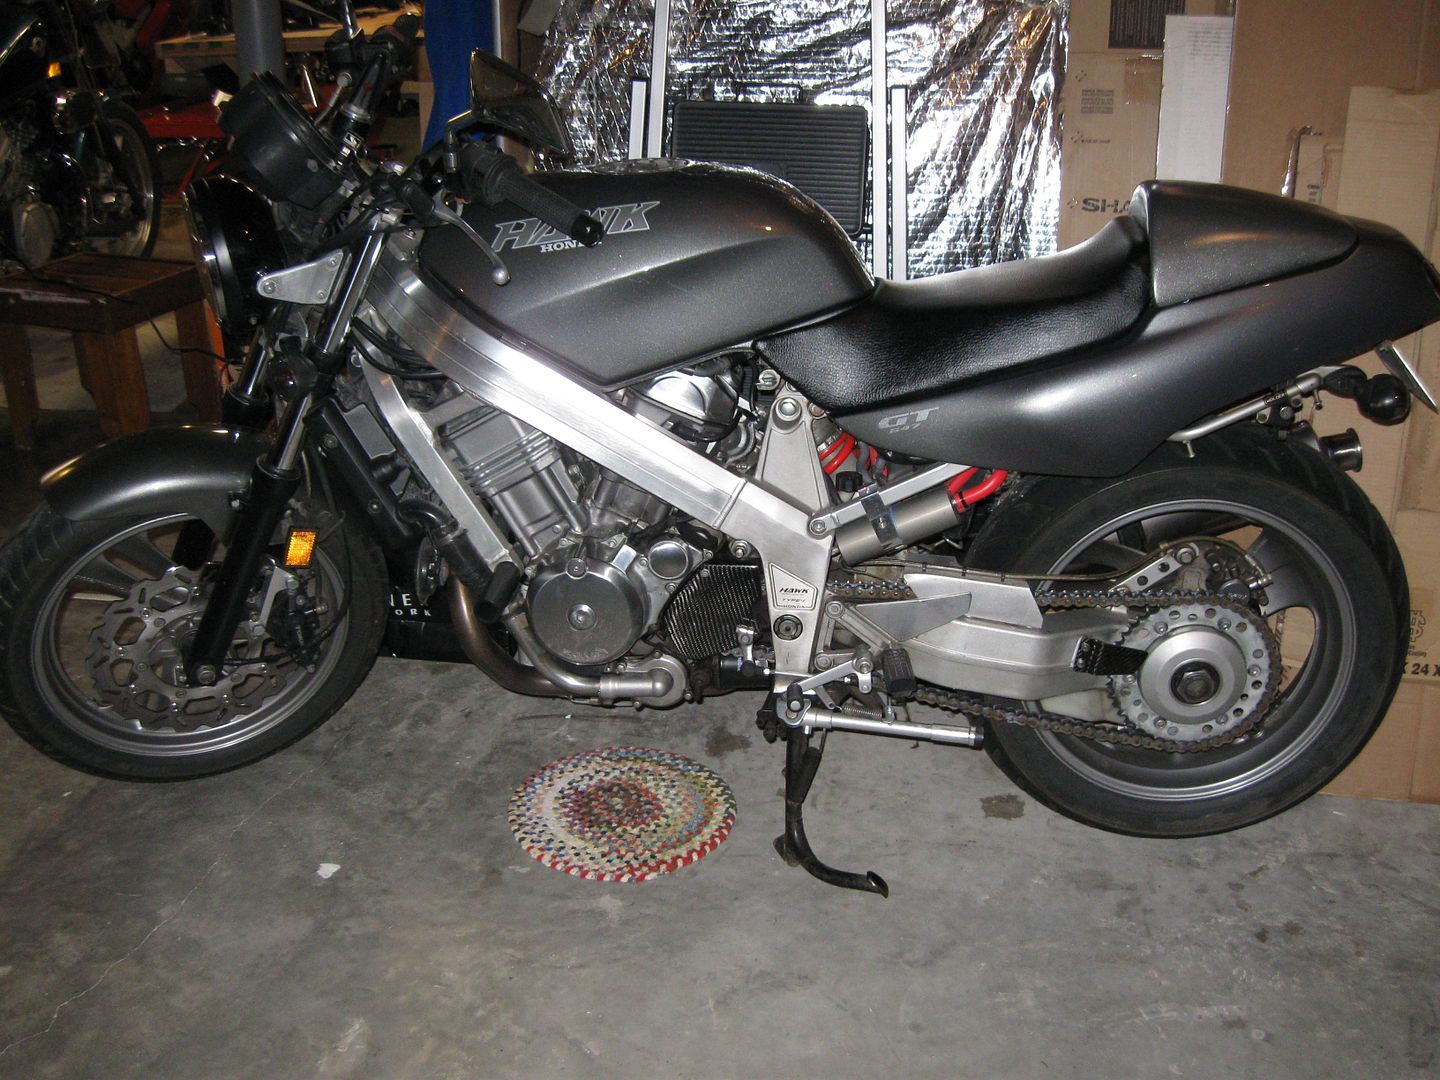
FJR096_2.jpg


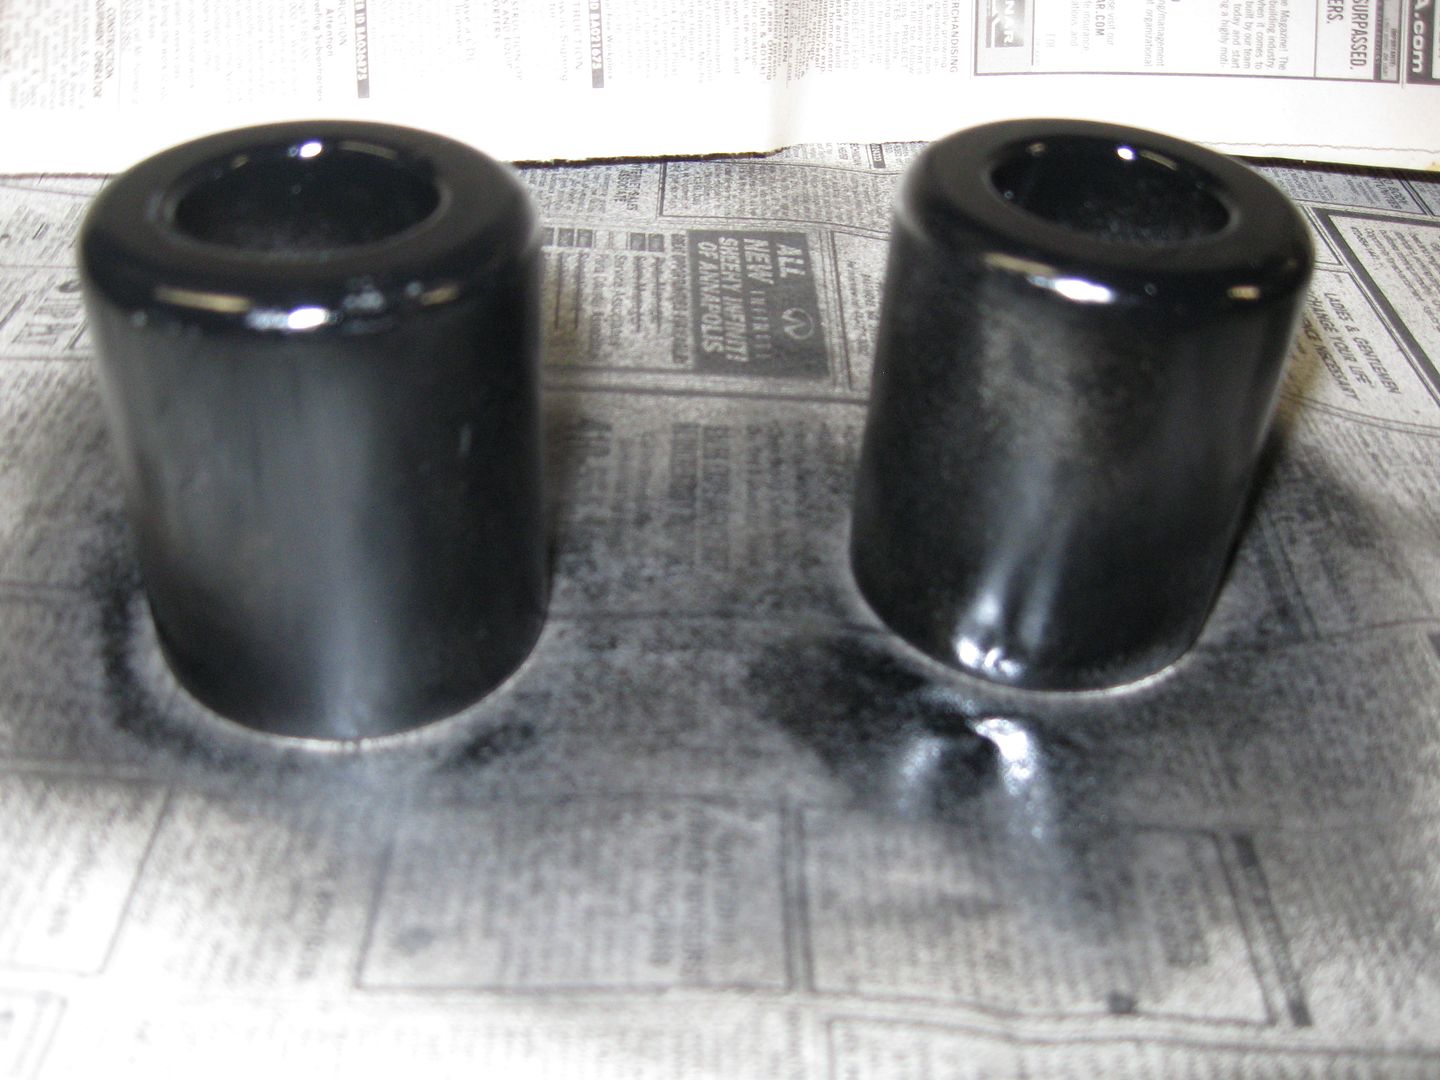
As stated earlier, I wanted to pretty up the frame sliders.
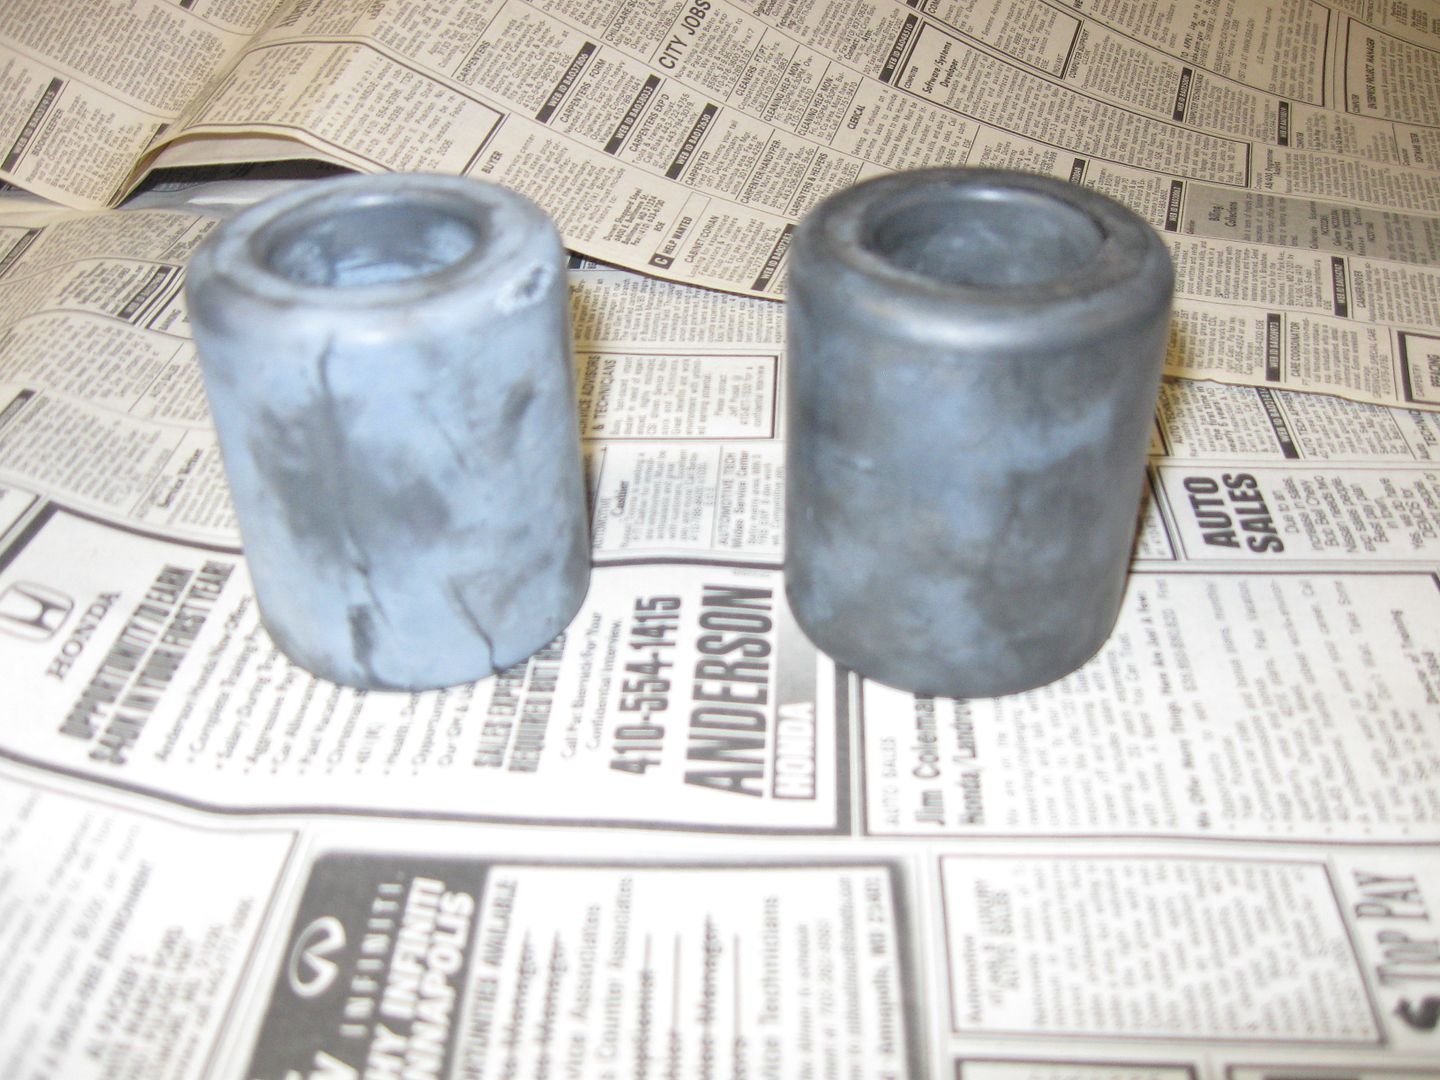
FJR064_4.jpg


Interesting how one got more faded than the other. Sidestand side gets more shade I guess.
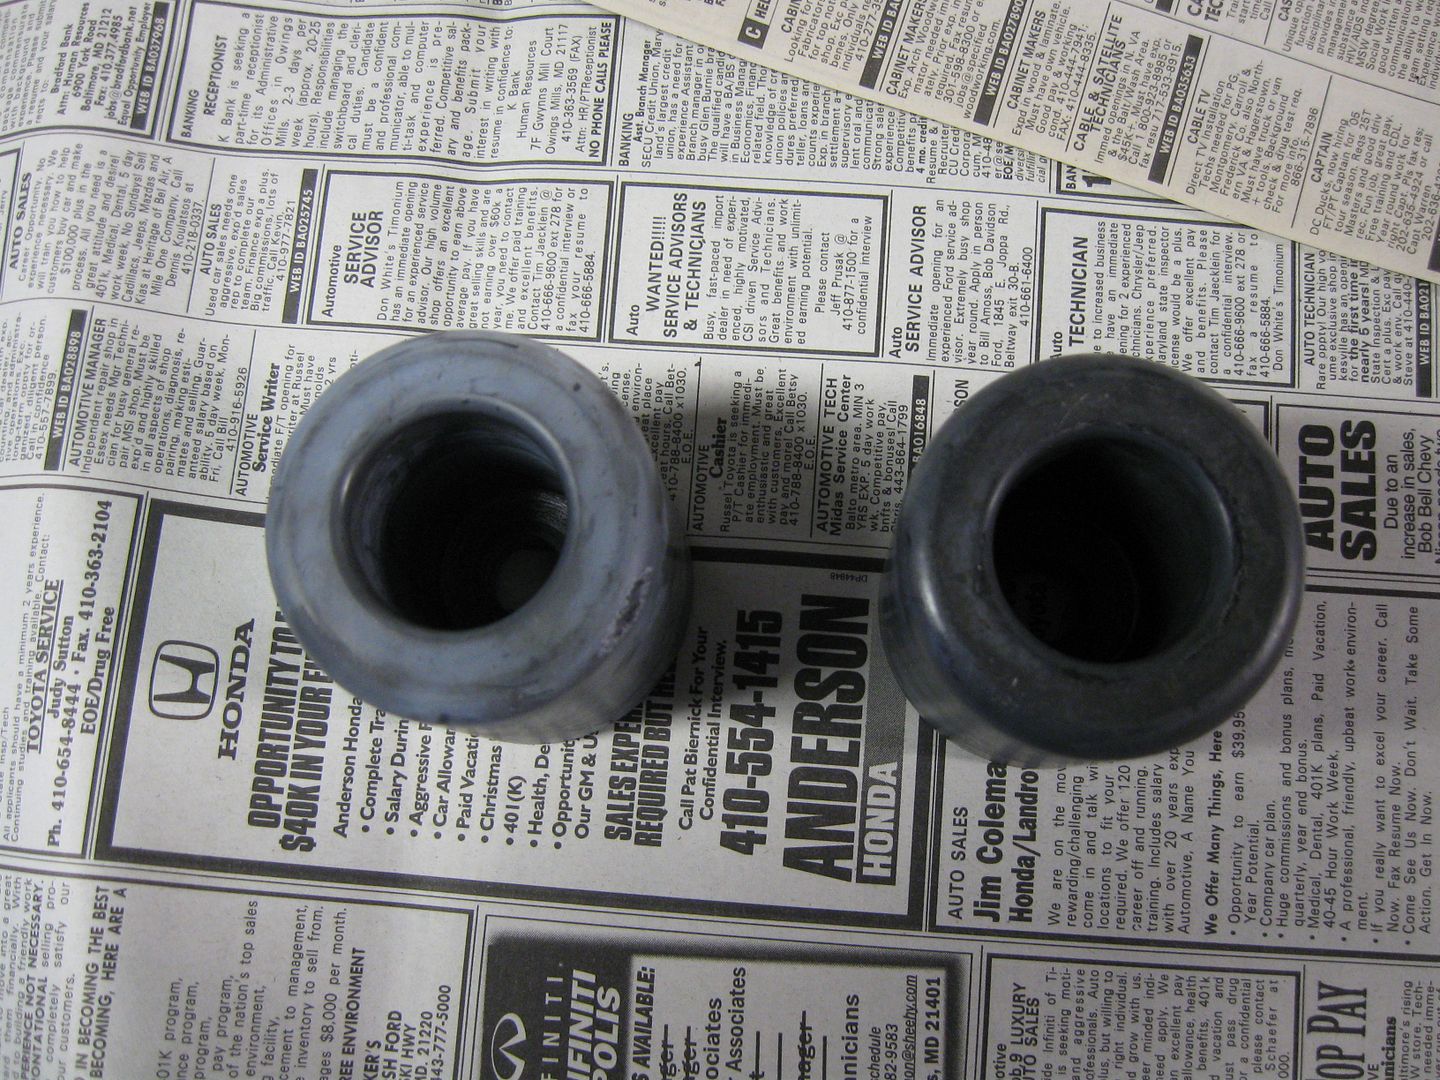
FJR066_4.jpg


So I made an attempt at prepping them with some 500 grit sanding.
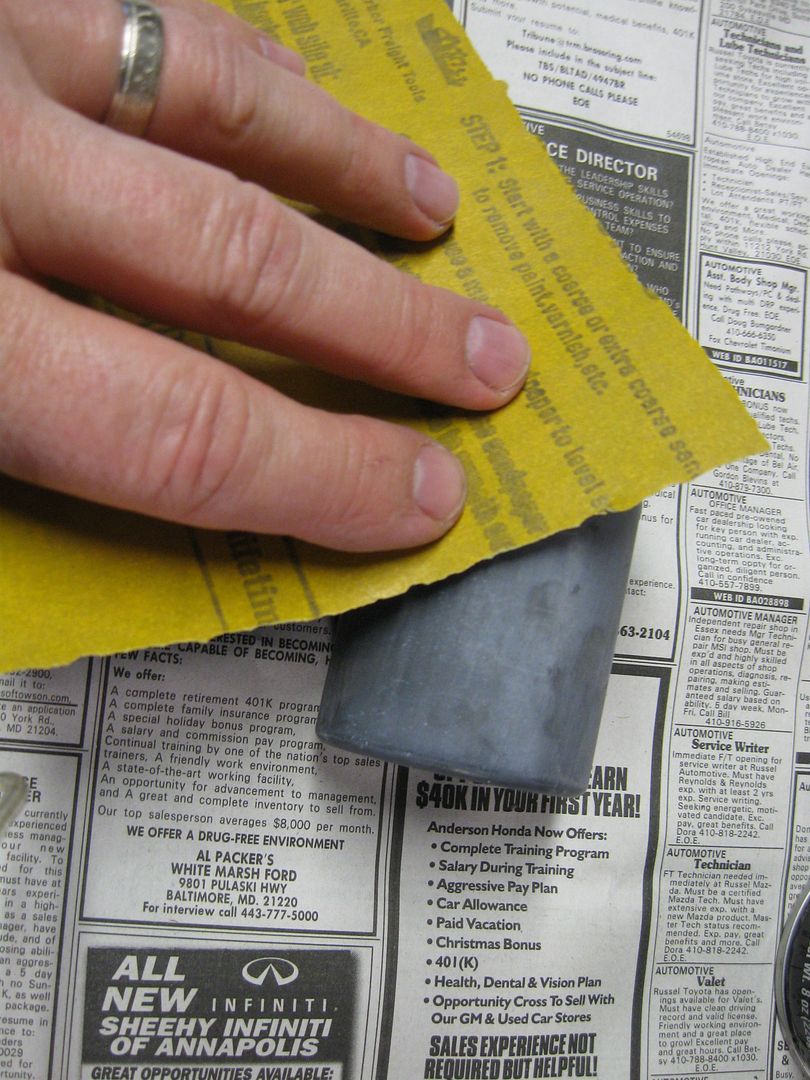
FJR069_4.jpg


After the first couple coats...

FJR073_4.jpg


I just keep hitting it with one quick spray on each side, then walk away. Been doing that for about a week now. As of now, they are looking pretty good! I just hope they stay that way for a while.
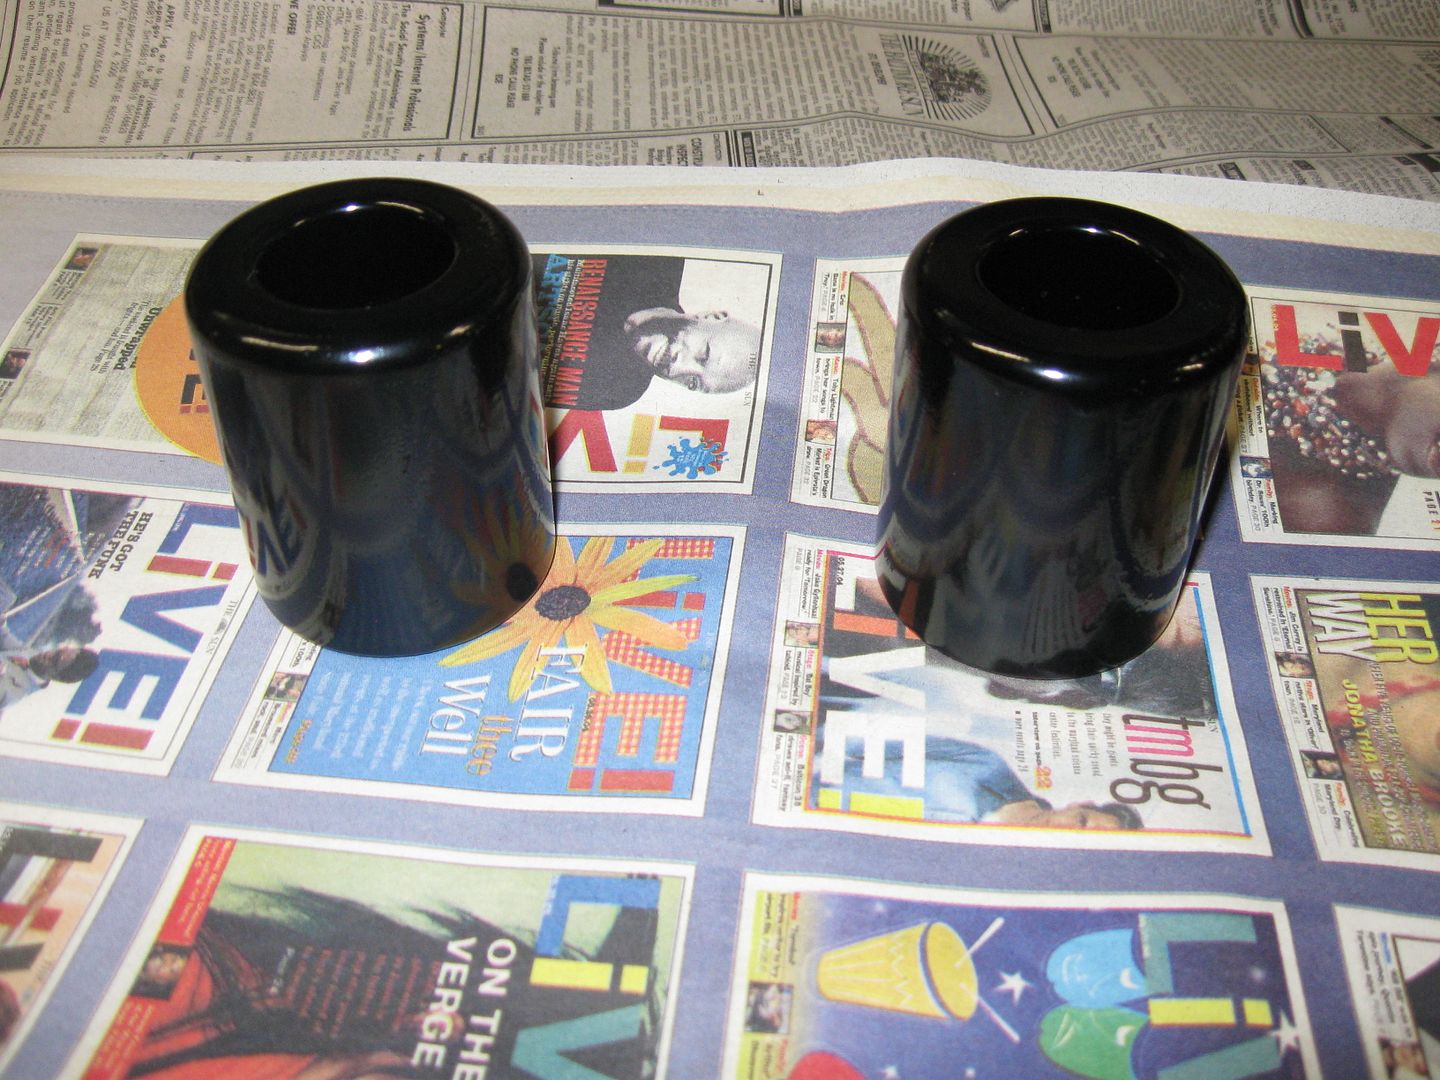
FJR089_3.jpg


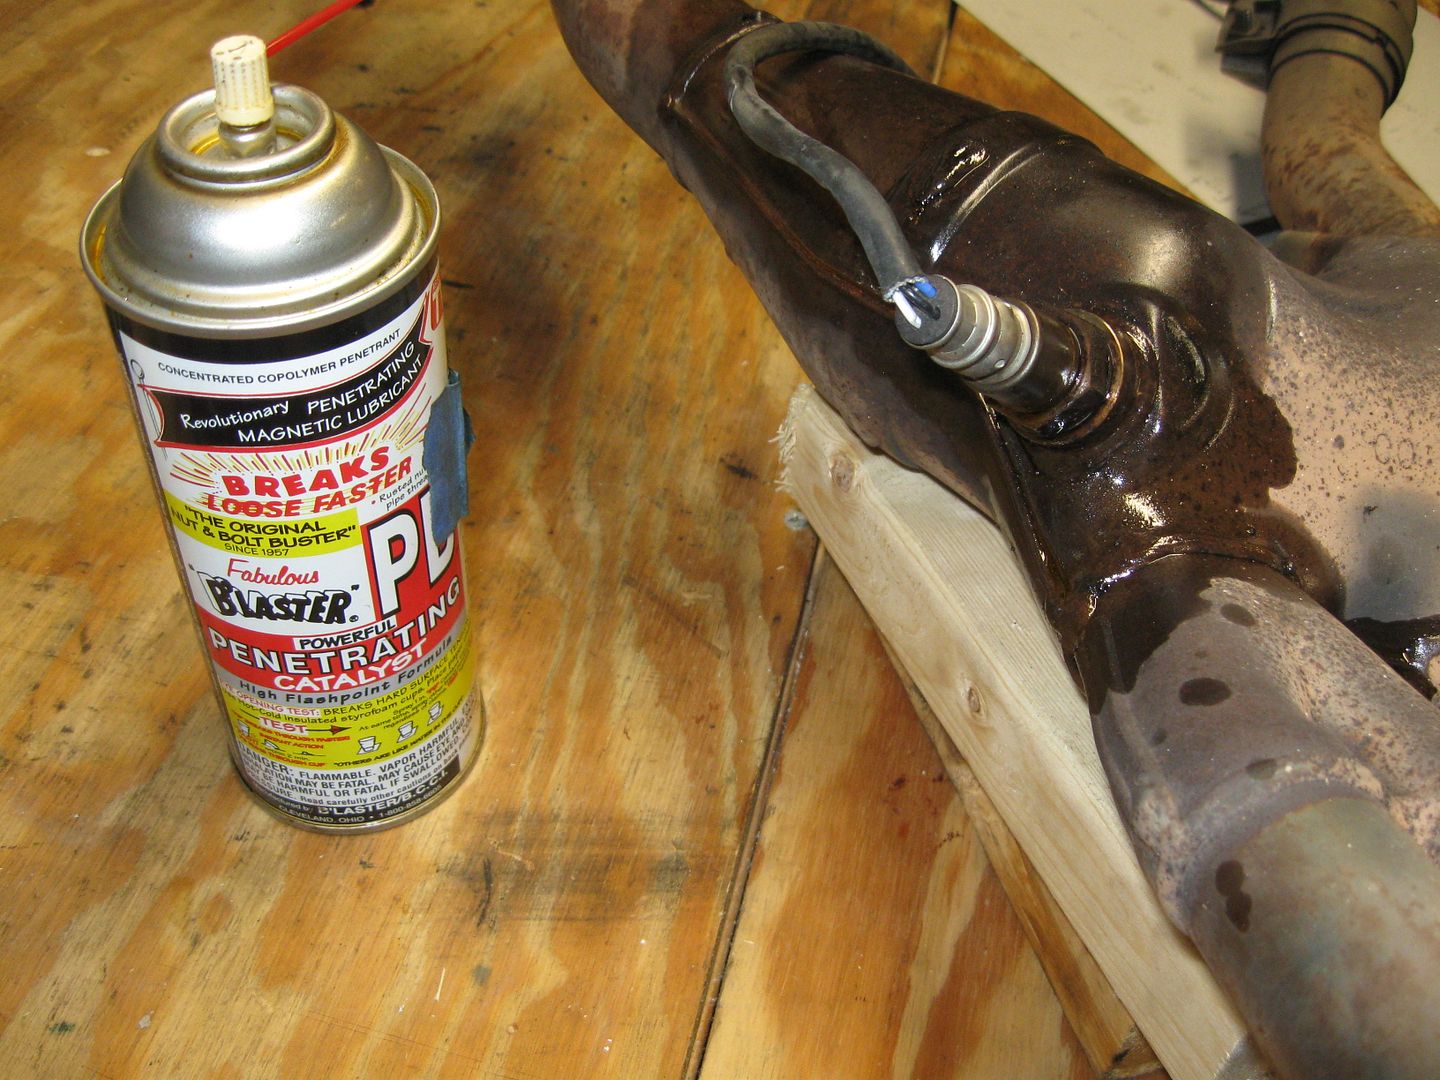
So I moved the exhaust to the bench to attempt to break free the O2 sensor, then treat with anti-seize. Just some preventative maintenance.
FJR087_3.jpg


Let's just say it's not working out so well so far! I've been dribbling PB Blaster on the threads a couple times a day for a week now. I also tried a little heat, but my problem is I only have an adjustable wrench to grab it. I'll have to see if I can get a better tool.

That's all I have for now. I'll try to keep updates more frequent until she's running!

 
...So I moved the exhaust to the bench to attempt to break free the O2 sensor...I'll have to see if I can get a better tool...
If a box end wrench will fit over the connector go with that, if not -->

A real O2 sensor wrench, the side is cut away to fit over the wires. Note that the 'flats' on this wrench are actually curved which puts force on the flats of the sensor and not on the corners of the sensor nut to prevent rounding under heavy force.

image_23171.jpg


A flare wrench set which is cut on only one flat.

image_23590.jpg


Last edited by a moderator:
Just looking at all of those wiring hanging off the front of the FJR would scare me to death. Especially when it been many days since it came apart.
If ever there was the opportunity to kill some spiders, all the way up to S8.

 
Last edited by a moderator:
Just looking at all of those wiring hanging off the front of the FJR would scare me to death. Especially when it been many days since it came apart.
Not saying it's idiot proof, but overall I think the Yamaha engineers did a good job on design; there is only one way for things to go together and it's fairly obvious. Probably a lesson they learned from dealership mechs, heh.


Streethawk, Awesome docu-thread! I just stumbled across this, read it over the past couple of days and have learned more than I ever want to know about the FJR, but it's been a great read. I too had two of the three rear wheel dust cover screws snap off on me, but with less than stellar results like you had. Mamma Yamaha didn't do a very good job of centering the tapped holes in the built up casting area meant for the holes, so the threads were very close to the edge on one of them. After about $100 and multiple trips to a machine shop, it was fixed, glad yours wasn't as tough to fix. The VFR and Hawk in the garage says a lot about a guy's taste and you've got good taste! Keep this thread going, looking forward to sitting down with another cup of coffee and learning even more!

 
Thanks CAJW. I enjoy sharing.

I did get the O2 sensor off the exhaust finally. I took Ionbeam's advise and purchased an oxygen sensor wrench at Harbor Freight Tools. A $5 investment well spent in my opinion!

Hopefully more going on this weekend than last.

 
I was just looking at a crashed 8000 mile '12 bike for £2700 ($4430)

Thought I might just swap parts off my older bike and end up with a cheap 2 year old.

Problem is that the frame may be damaged and in UK frame number is everything !

 
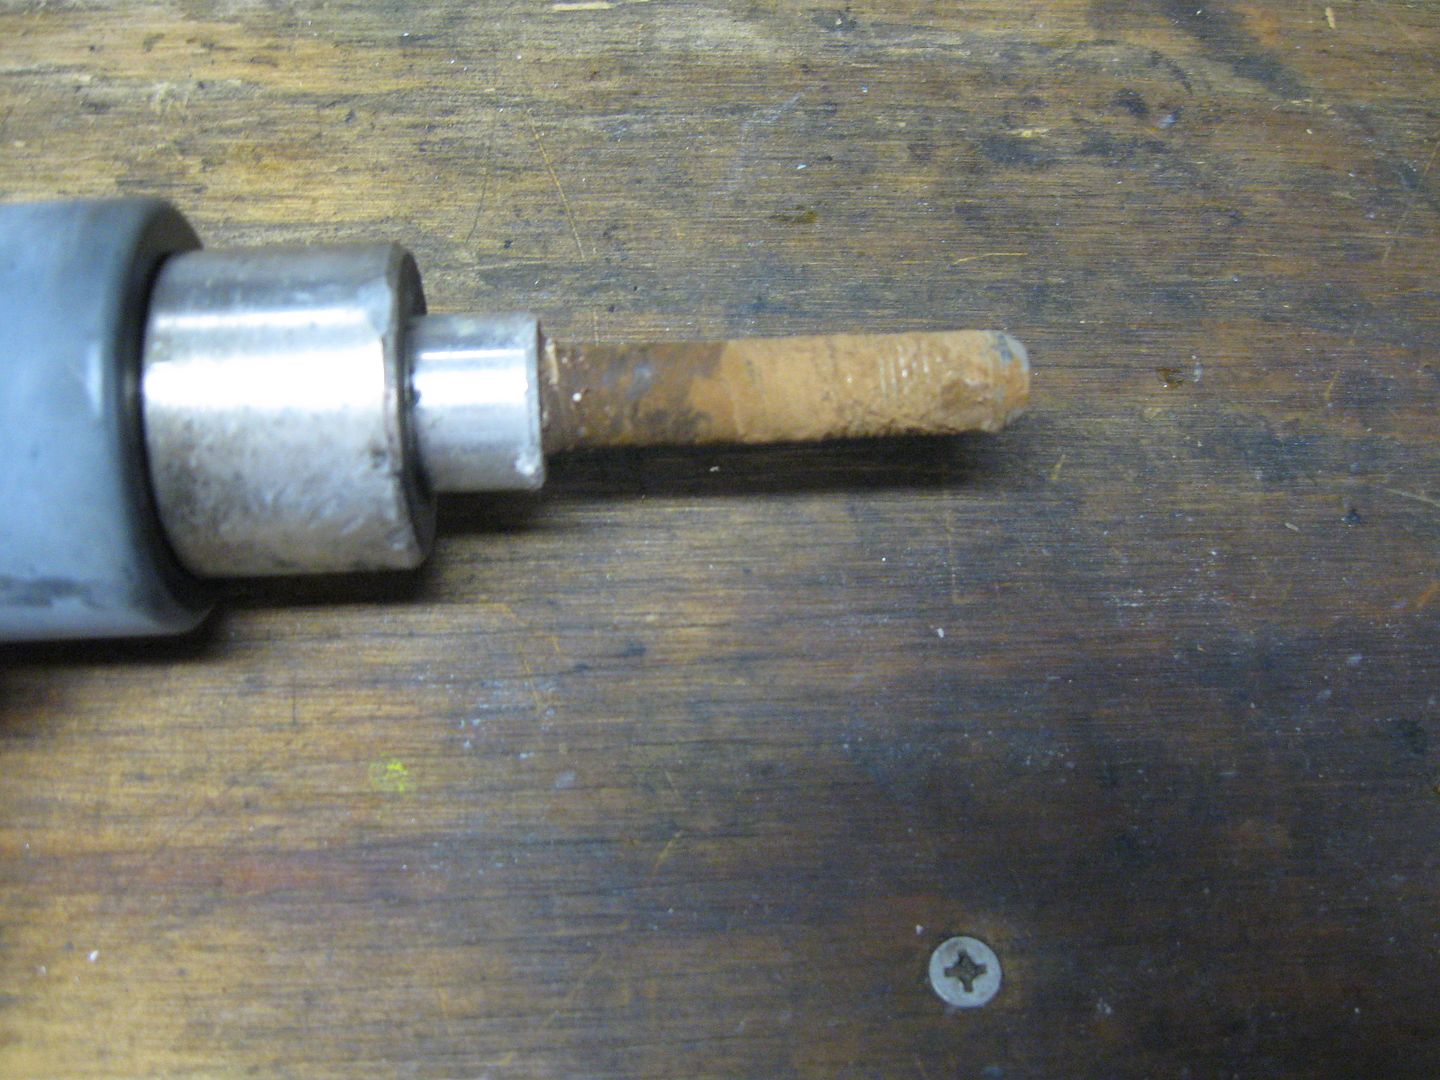
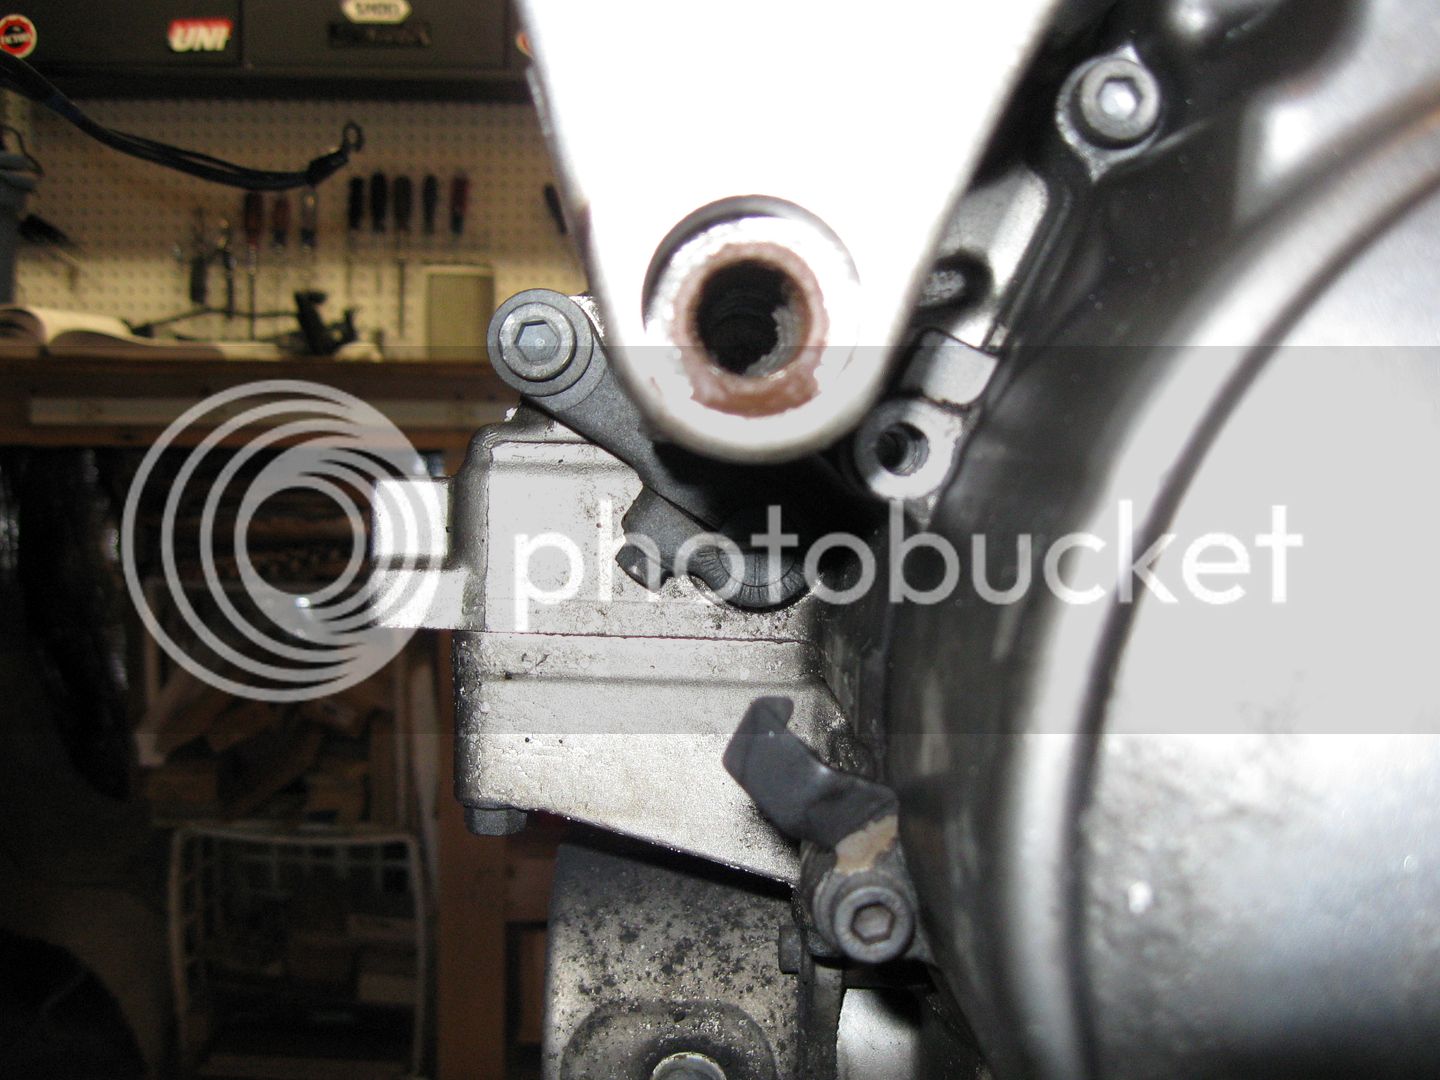
When attempting to torque the frame bolts I discovered my problem child took it toll on the engine.

This Guy

FJR134.jpg


Was bent and stripped a good portion of the threads in the engine..... here

FJR131.jpg


After a good bit of cleaning and thread restoration attempts.... still no joy on the frame slider sized engine bolt.

What I need is something a bit longer. Like around 120mm x 12mm x 1.25 - I've been searching to no avail on the Interwebs so far.

Another less palatable option is to go all the way through and use a nut on the other end. Doug suggested trying some car engine mount bolts. Some manufacturers (like Honda) list bolt sizes on their parts listings. I just haven't gotten there yet.

I want to get that bolt in and properly torqued (both fronts are out still by the way) BEFORE I put the radiator and exhaust back on.

By chance does anyone have a 120mm x 12mm x 1.25 bolt laying around?
help.gif


While I can't see your pictures from work (damn Websense), are you sure about the 1.25 thread pitch? I gave a quick look at McMaster.com and don't even see an option for 1.25 with an M12 diameter thread, just 1.75 .

1.25 would be an extra fine thread for an M12 bolt.

 
I have the same bolt in black with the allen wrench head (SKT). Actually I have many of them. (M12 x 1.75 x 120)

 
Last edited by a moderator:
Just a question at this point? Does anyone have knowledge of this bolts condition if sliders hadn't been installed? I have a 2nd gen with oem sliders I installed and when I have removed my plastic I have been able to, with a little help to get it off without removing the slider? I'm surprised by the crud on this bolt assuming it's threaded into a blind hole?

 
Going with longer bolts is a crap-shoot for sure. That connection is too important to just hope the threads that might be beyond the damaged area will hold. Why not do a Heli-coil and the connection will be repaired for good? You could get creative with the thread pitch also if that makes finding a bolt any easier.

 
How does that much crud get in a bolt? When I installed those sliders, I took the bolt out, cleaned it up, put on thread locker and re-installed it.

On a side note, I found the over the shoulder strap for the other saddle bag liner, I'll get that in the mail to you. Did you ever receive the block off plates for the saddle bags?

 
Last edited by a moderator:
Top