Winter Project - Reviving a Wounded FJR

Yamaha FJR Motorcycle Forum

Help Support Yamaha FJR Motorcycle Forum:

This site may earn a commission from merchant affiliate links, including eBay, Amazon, and others.
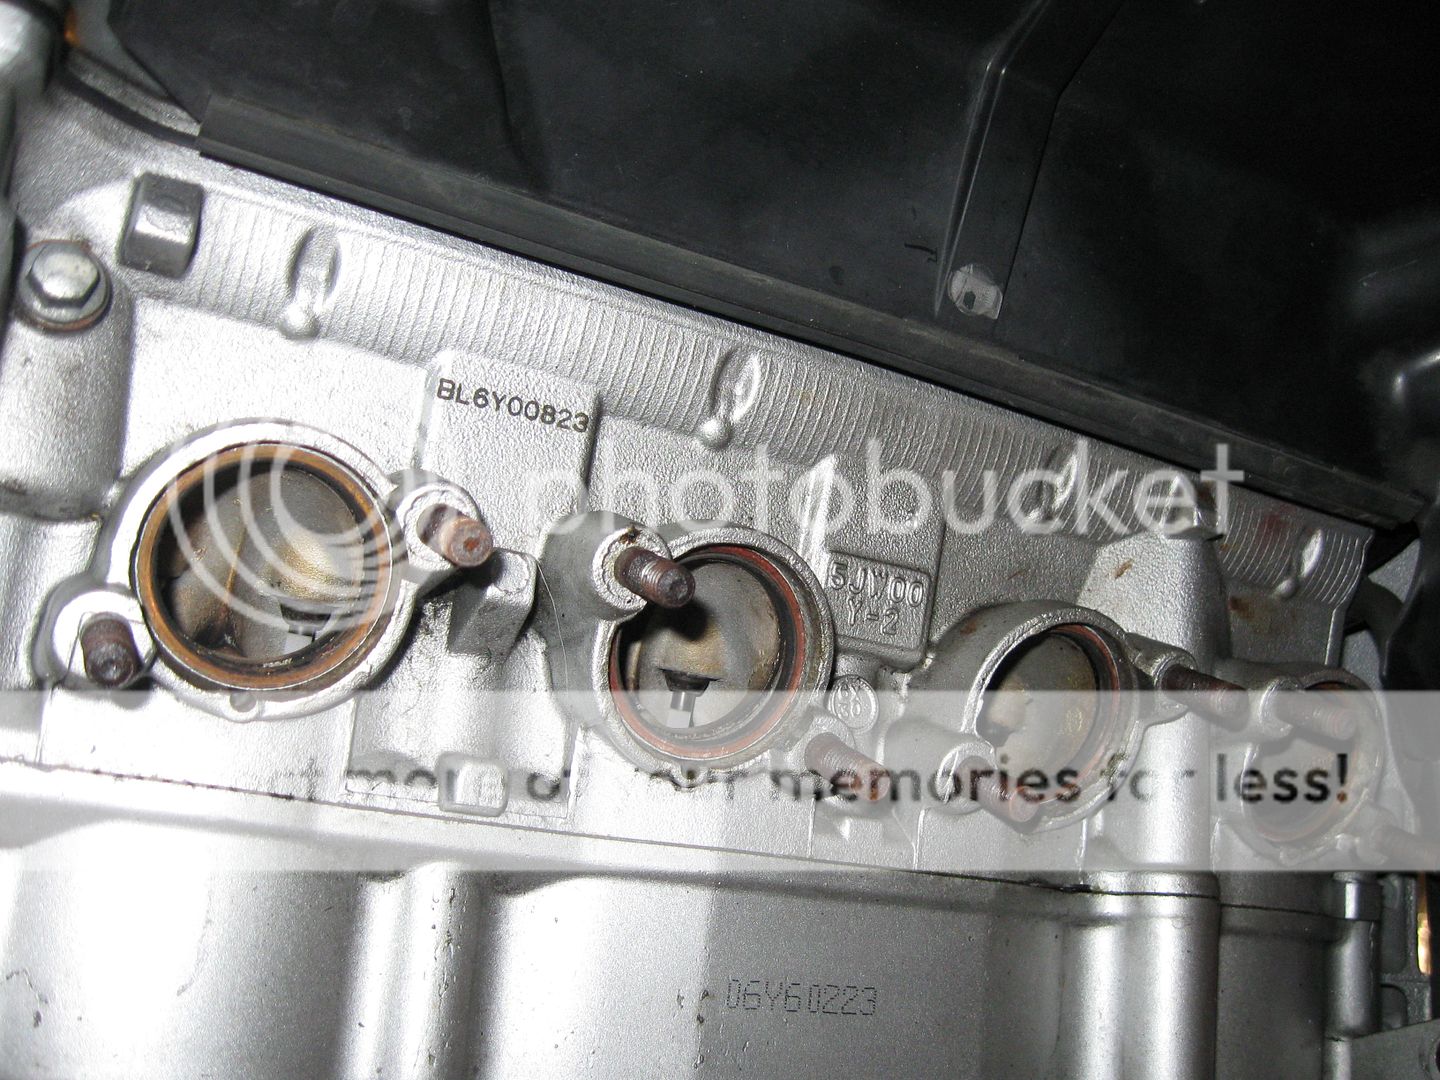
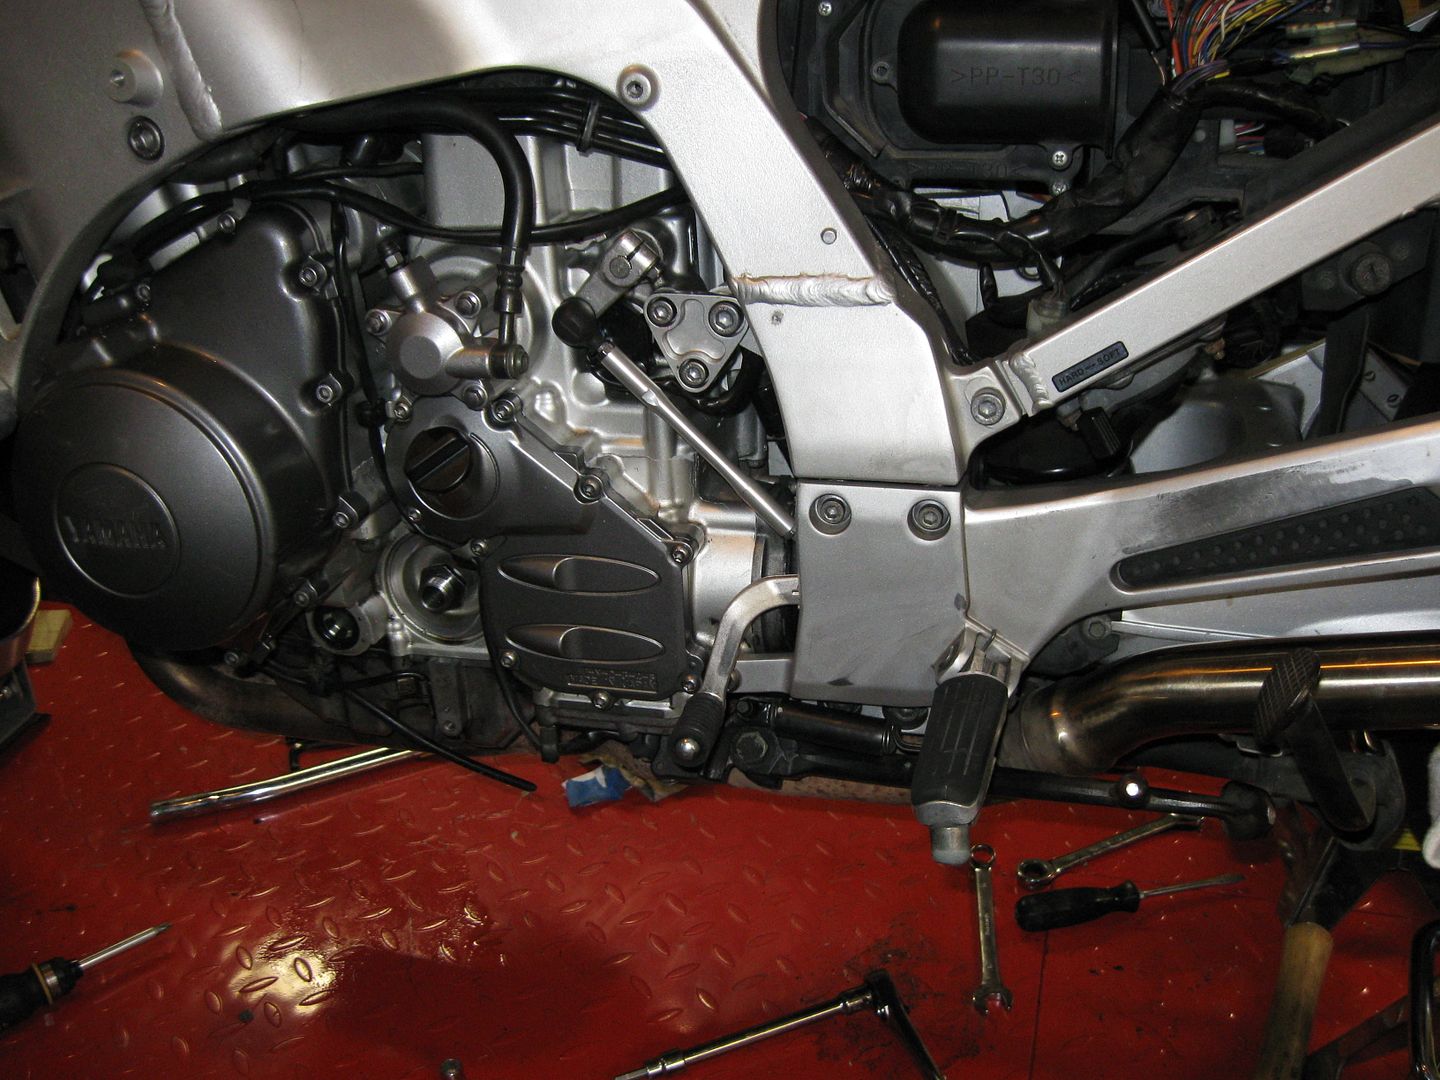
When attempting to torque the frame bolts I discovered my problem child took it toll on the engine.
This Guy

FJR134.jpg


That sucks, will dig through my spare parts stuff. Had a extra slider with bolt but think it went to pay it forward. Will check right now.
Sorry, the bolt has already moved on to a new home.

 
I've got a set of sliders in the shed I'm not using. I also have a few sets of heli coils at work with installation tools, as well as a vast collection of Asian car bolts.

Let me know if I can help.

 
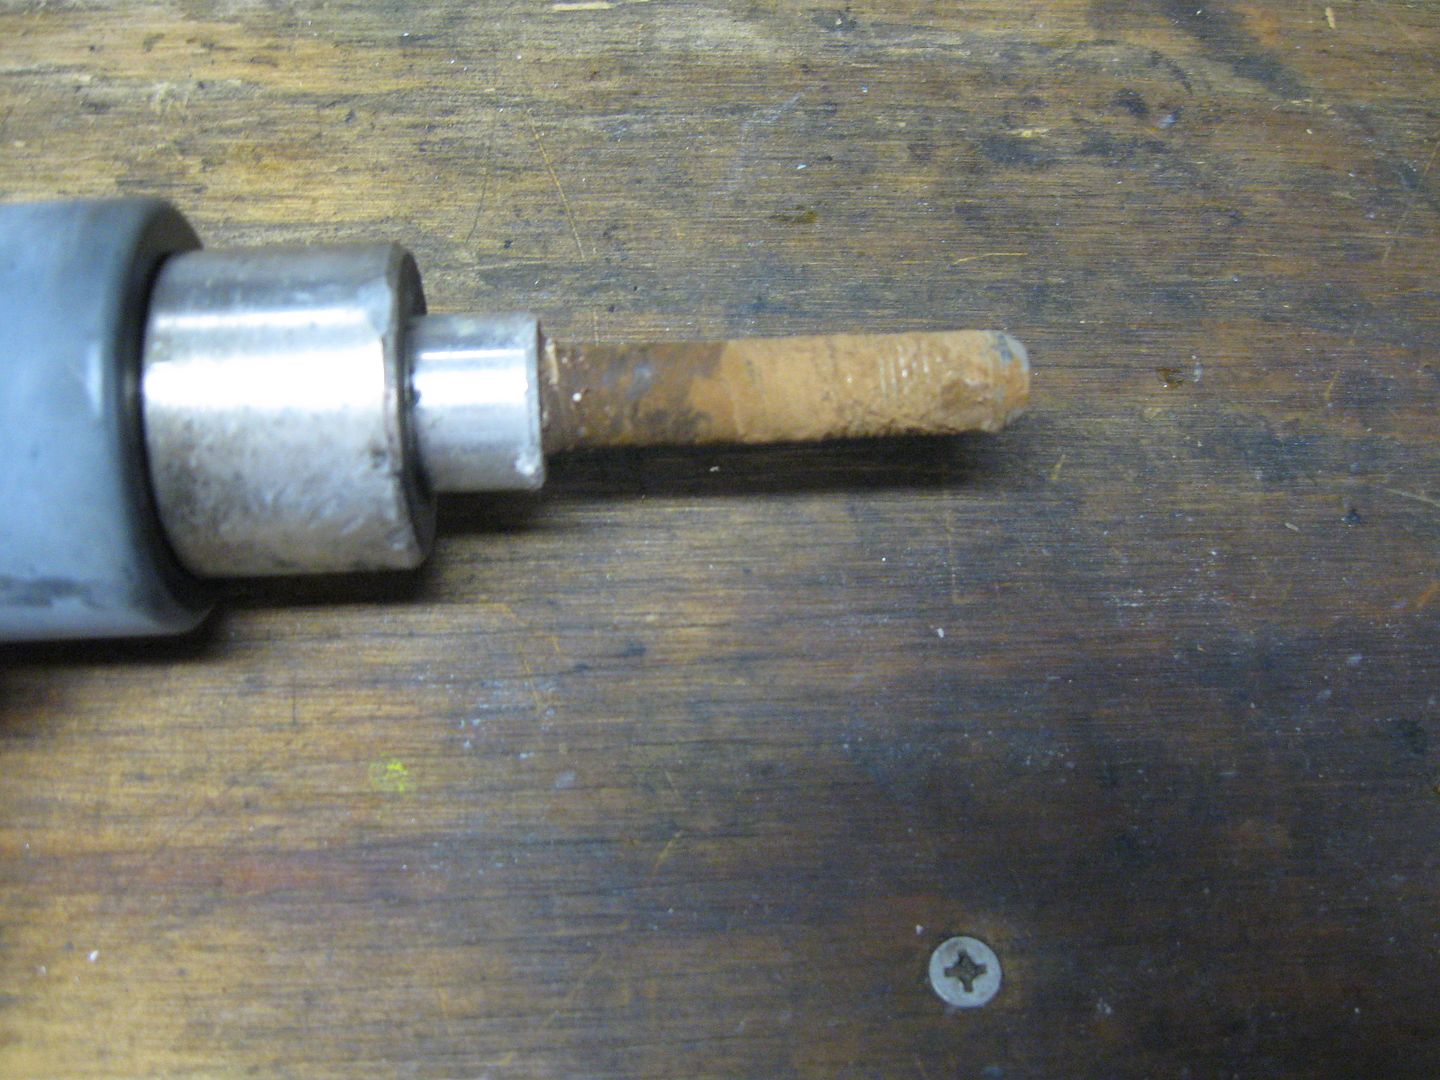
How does that much crud get in a bolt? When I installed those sliders, I took the bolt out, cleaned it up, put on thread locker and re-installed it.
On a side note, I found the over the shoulder strap for the other saddle bag liner, I'll get that in the mail to you. Did you ever receive the block off plates for the saddle bags?
The only thing I can think of Paul is that it's on the side stand side of the bike. Maybe after riding in "inclement" weather moisture gets in there and when the bike is tilted it stays? Not sure otherwise.

I did get the block off plates thanks! I thought I PM'd you.... must not have. Sorry.

 
Streethawk,I have a couple of 120mm x 12mm bolts here, BUT, they are 1.75 thread --- you still need any?
Yes I do. Many thanks for the offer! I'd be willing to give those a try. I can PayPal shipping plus some. As for the thread pitch, I'm going on Doug's call. He's a Mechanical Engineer and I'm in IT sooooo.....
umnik.gif
He gets the call on stuff like that!

Perhaps it is a 1.75 instead of 1.25. Doug is rarely wrong, but not infallible.
mda.gif
We used a thread restorer on the original bolt that seemed to indicate it was a 1.25. I'm not sure how close the two are to each other.

With 4 mounting points on each side of the bike, I'm willing to take a chance on the left over threads on the front. Otherwise, the Heli-coil option sounded the best to me. Of course that would involve removing parts (again) to lower the engine (again)...
grrr.gif
and that would suck! (sigh) But I'd do it if needed.

 
Rewinding the tape a bit here and finally getting around to posting a video of the gears in motion. I understand embedding is not an option so here's a linky:

 
Thanks for the encouragement Matt! It's been a great weekend!

Let's see if I can pickup where I left off.

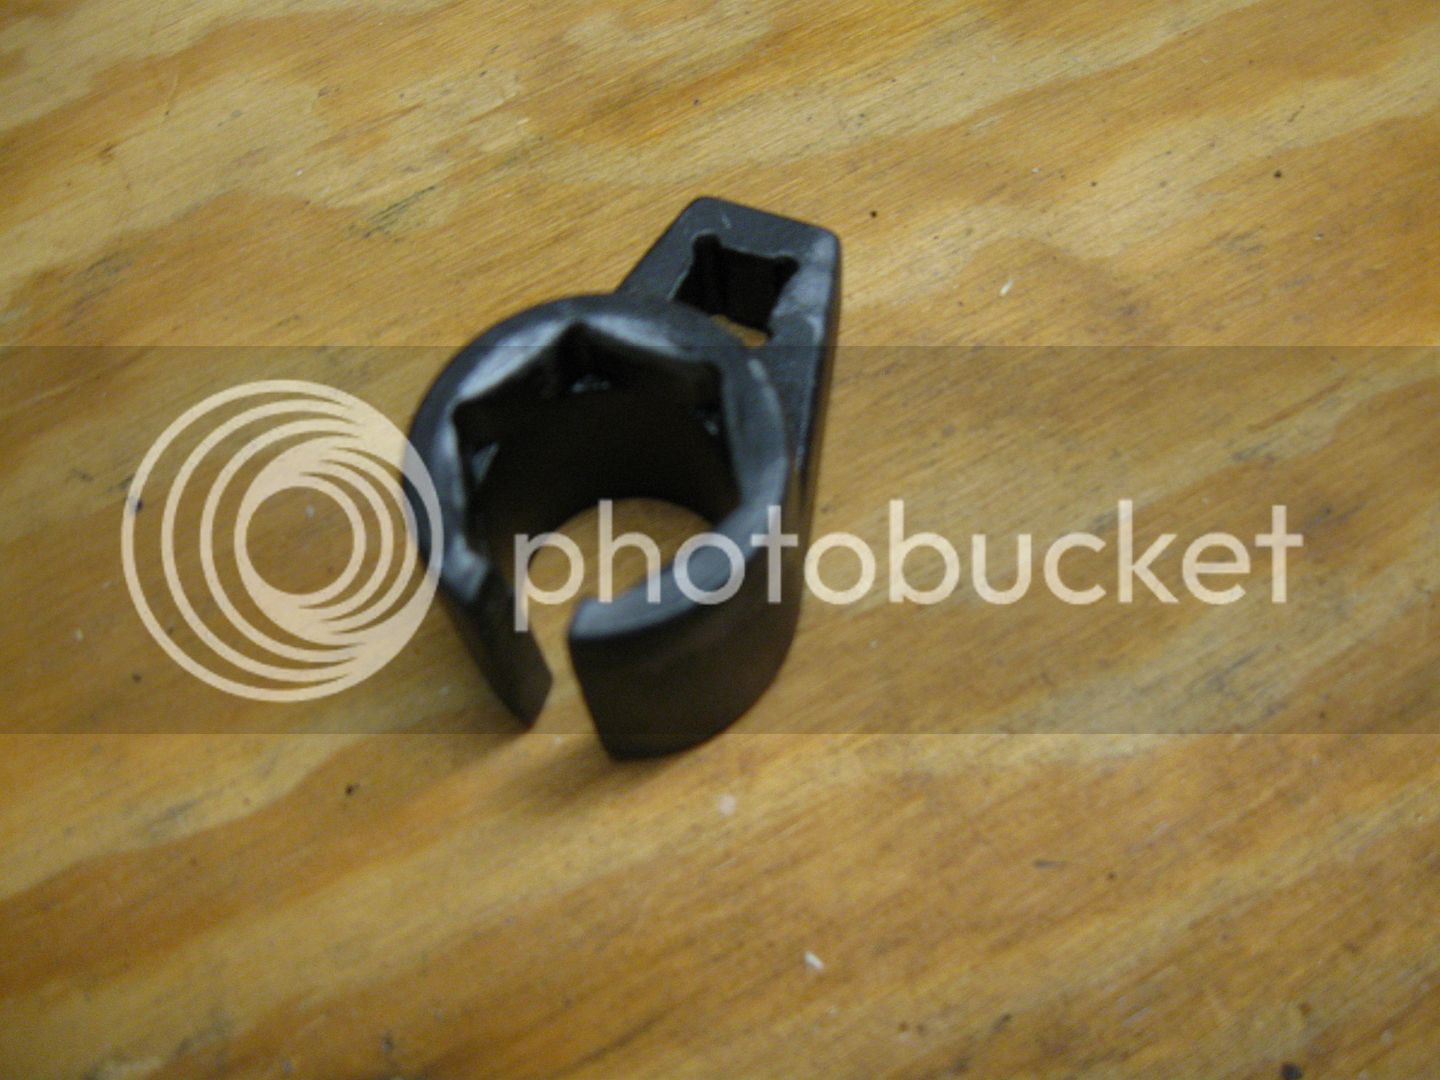
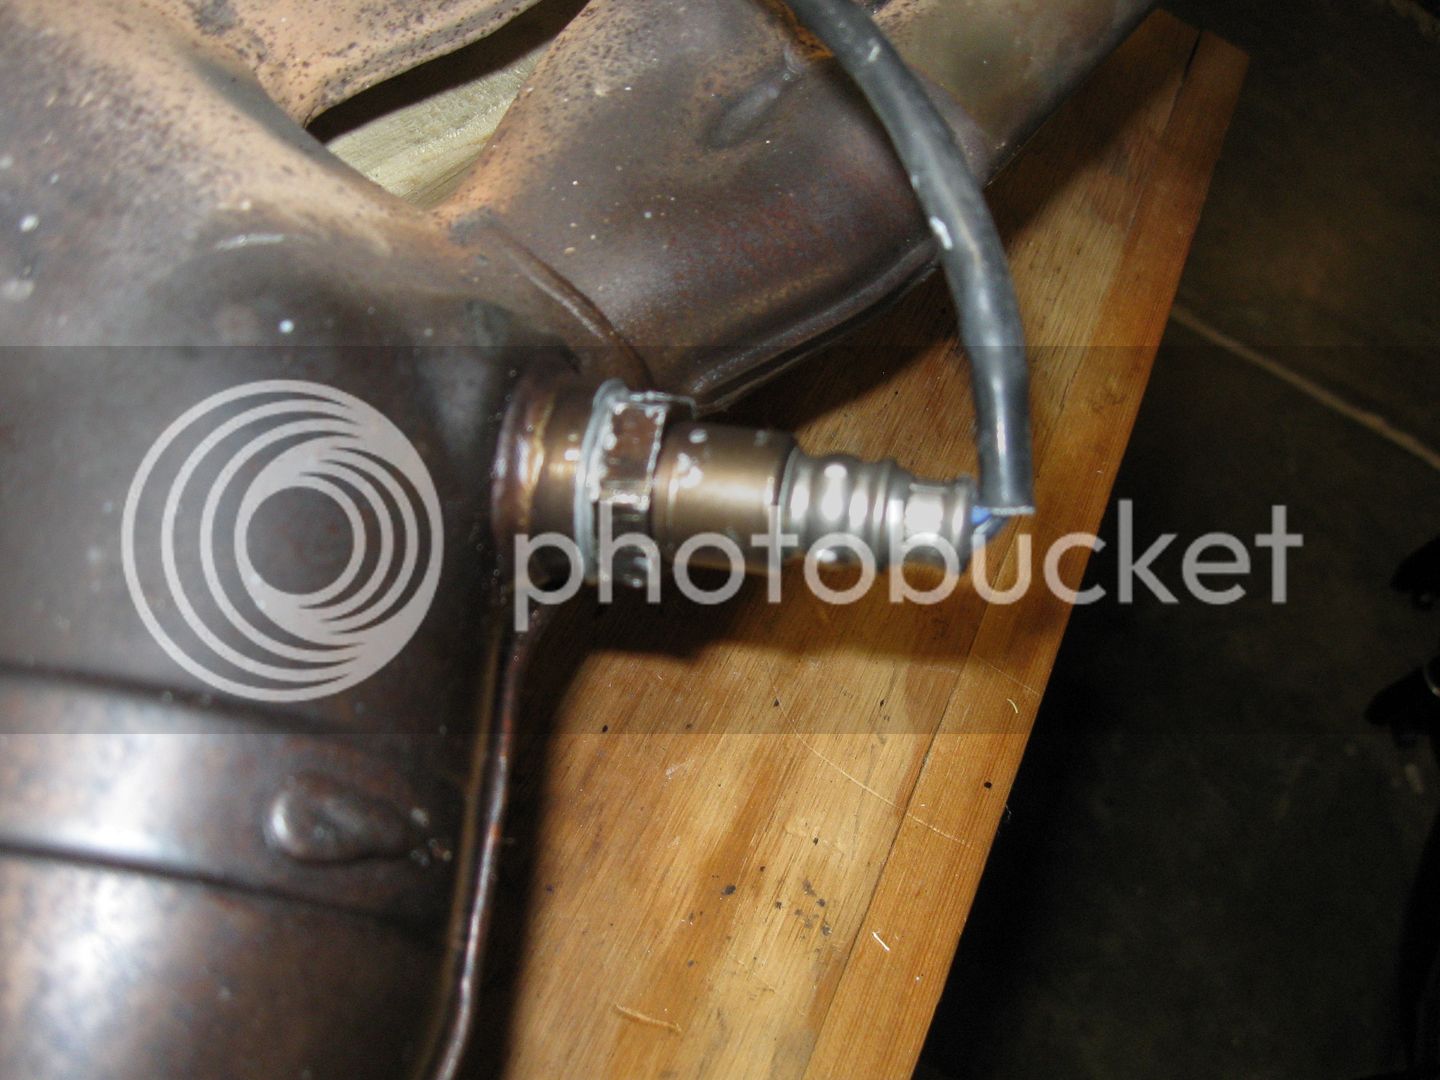
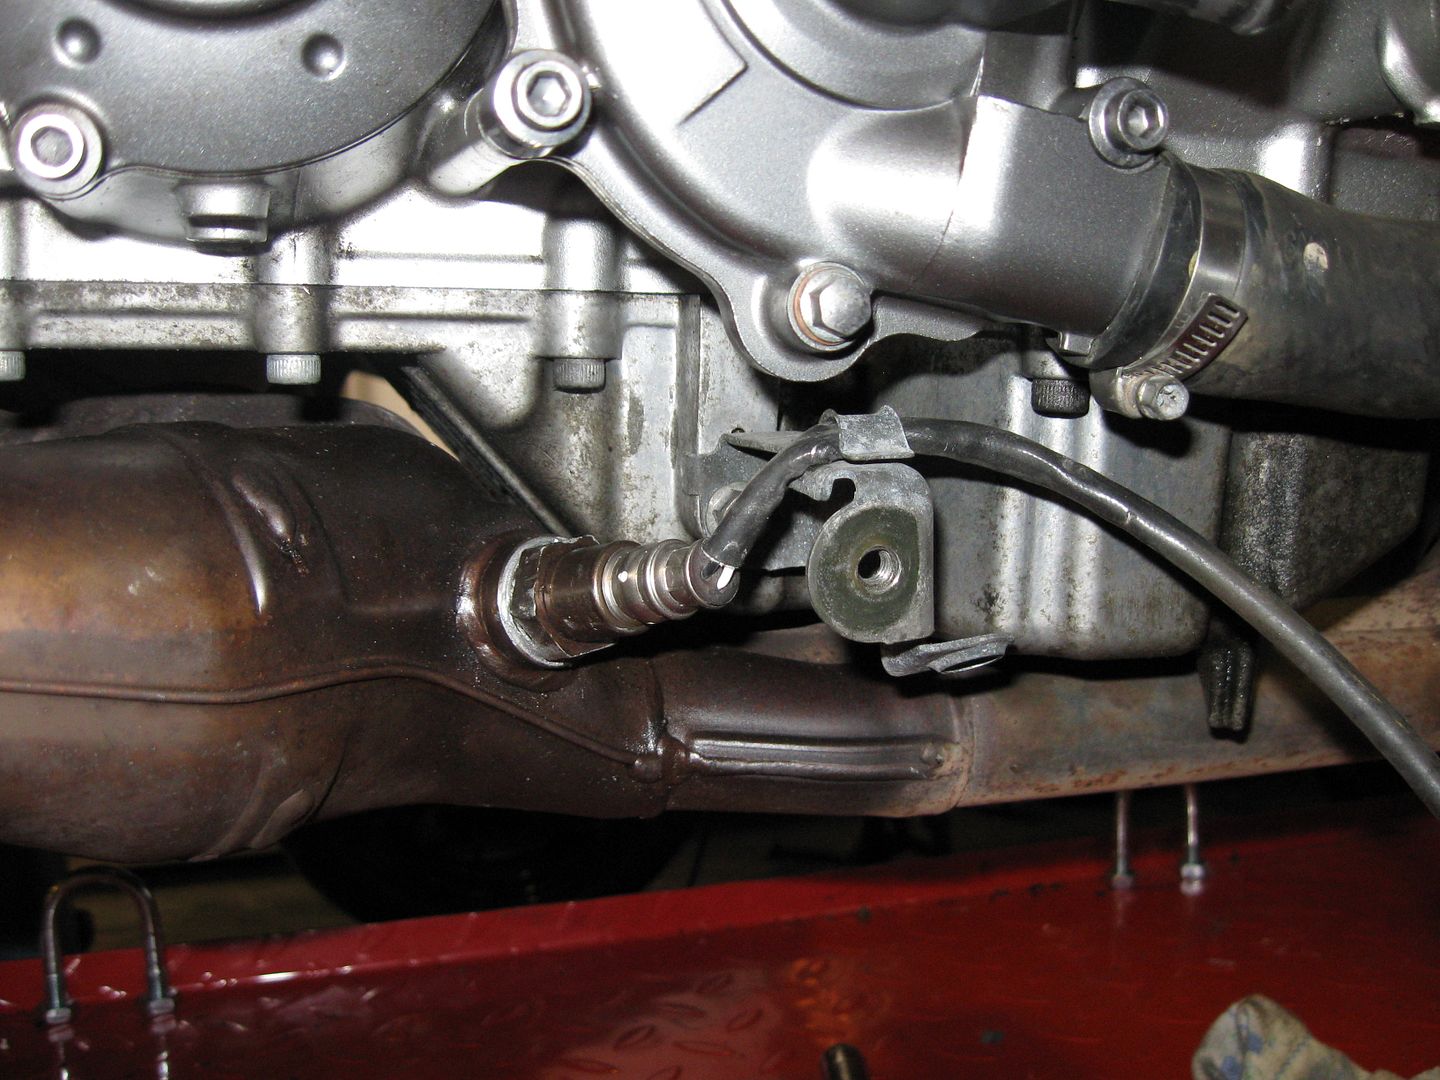
The Oxygen Sensor finally got released by this little guy. $6 well spent!

FJR0126001.jpg


Here's the finished product. All I did was remove the sensor and add a little anti-seize and re-assemble.

FJR0126028.jpg


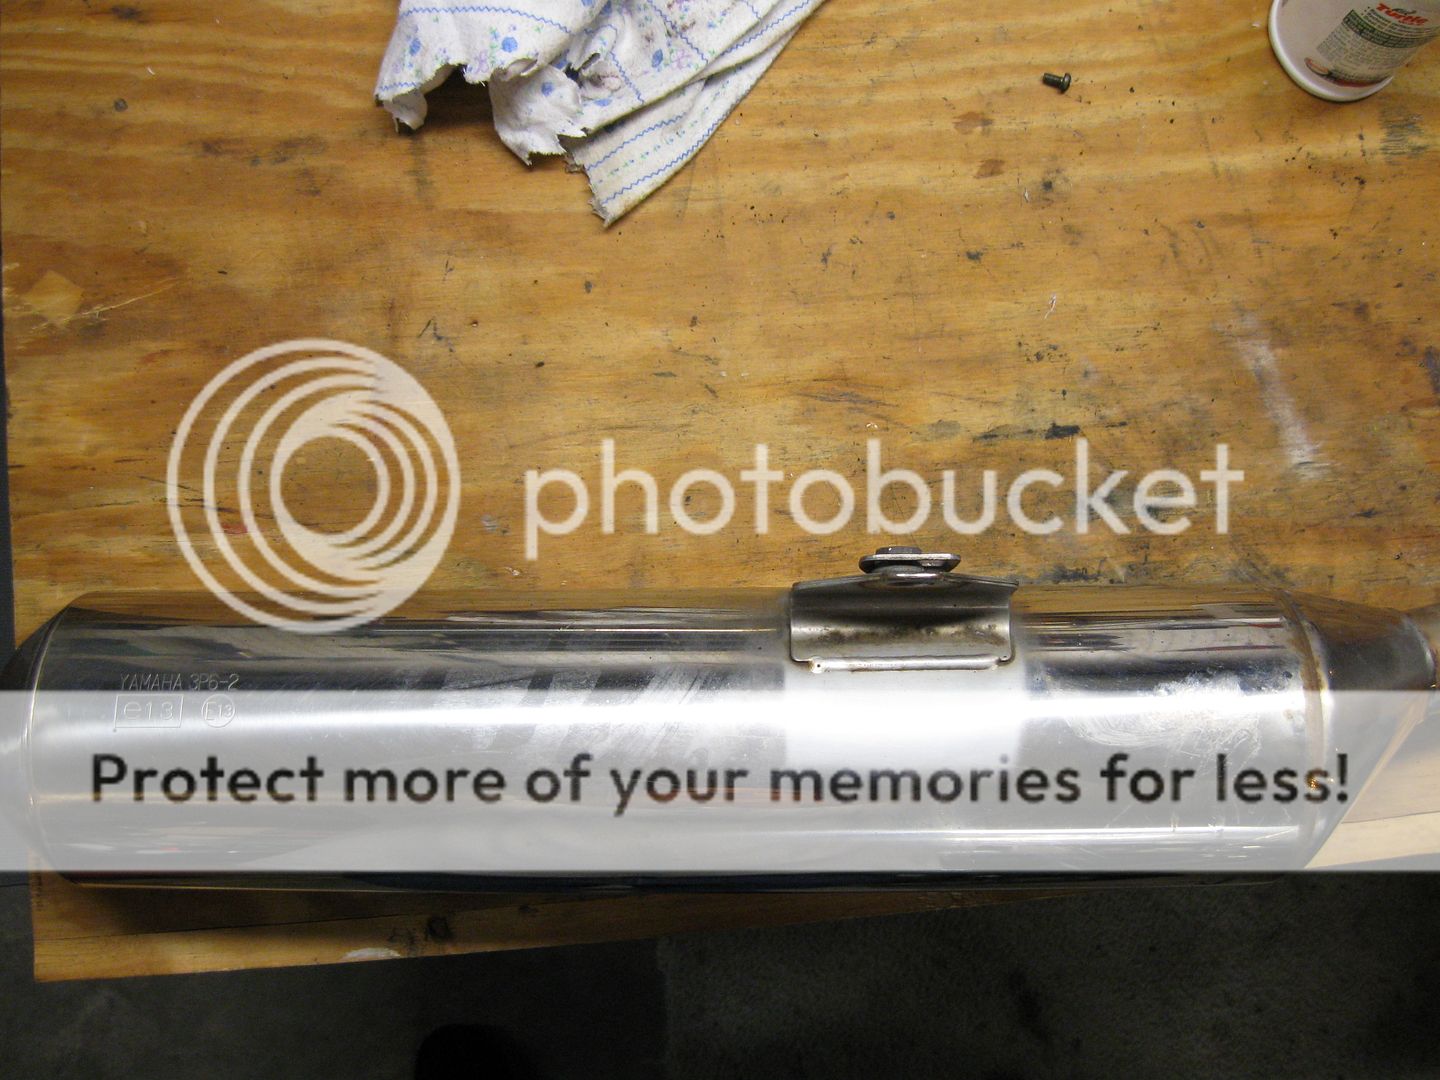
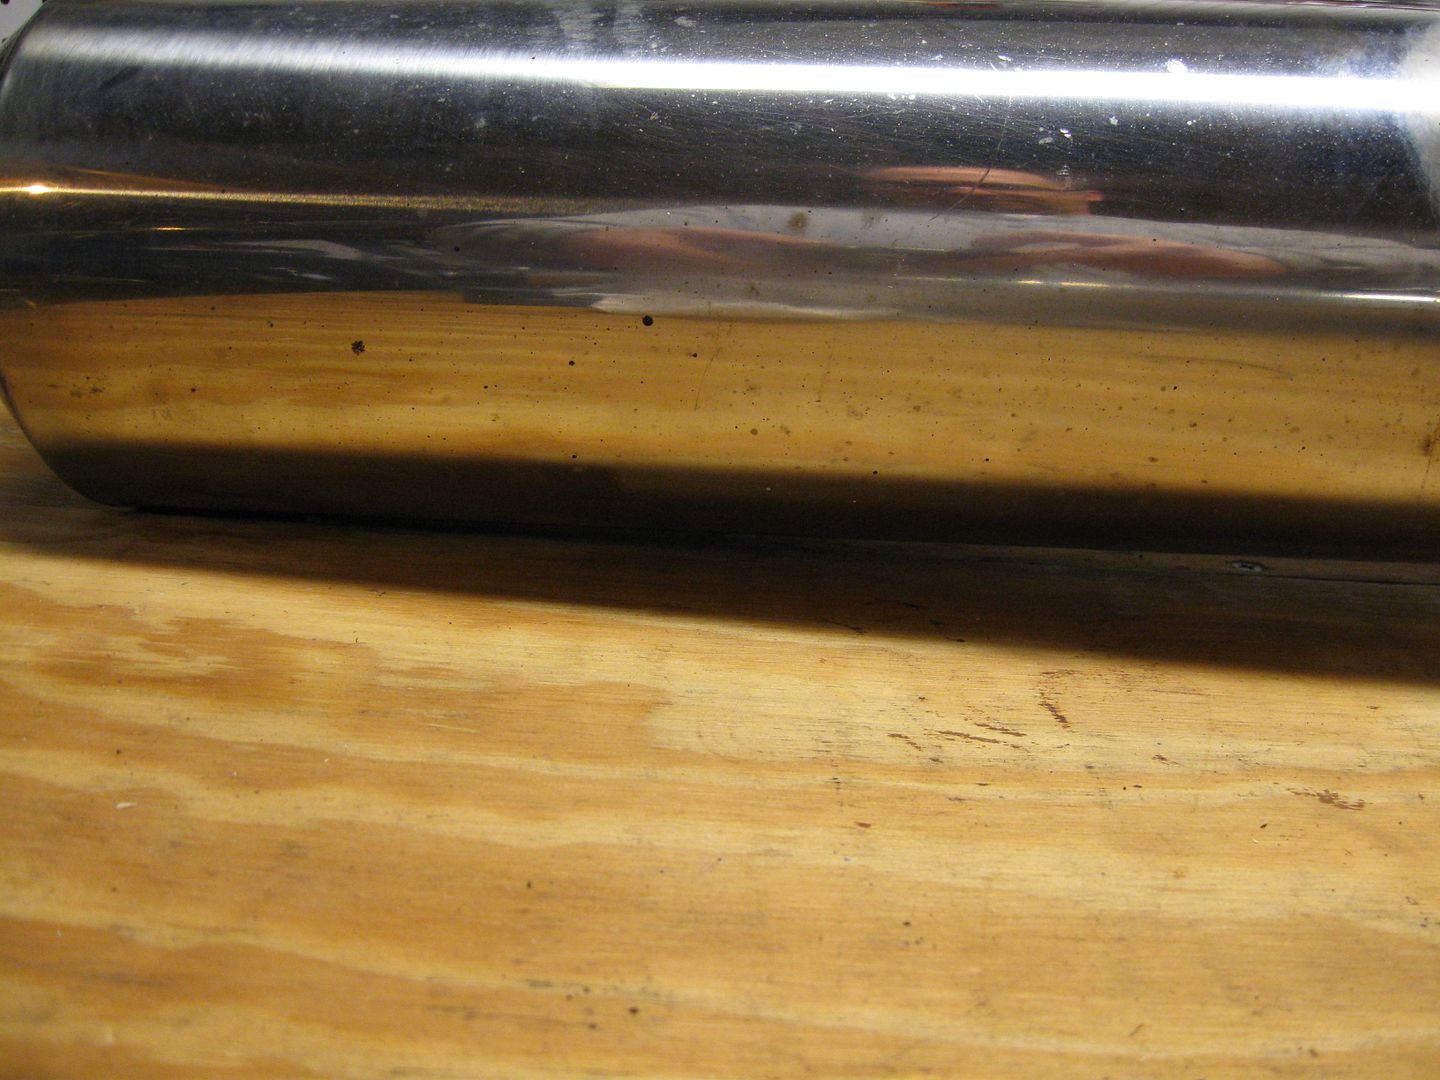
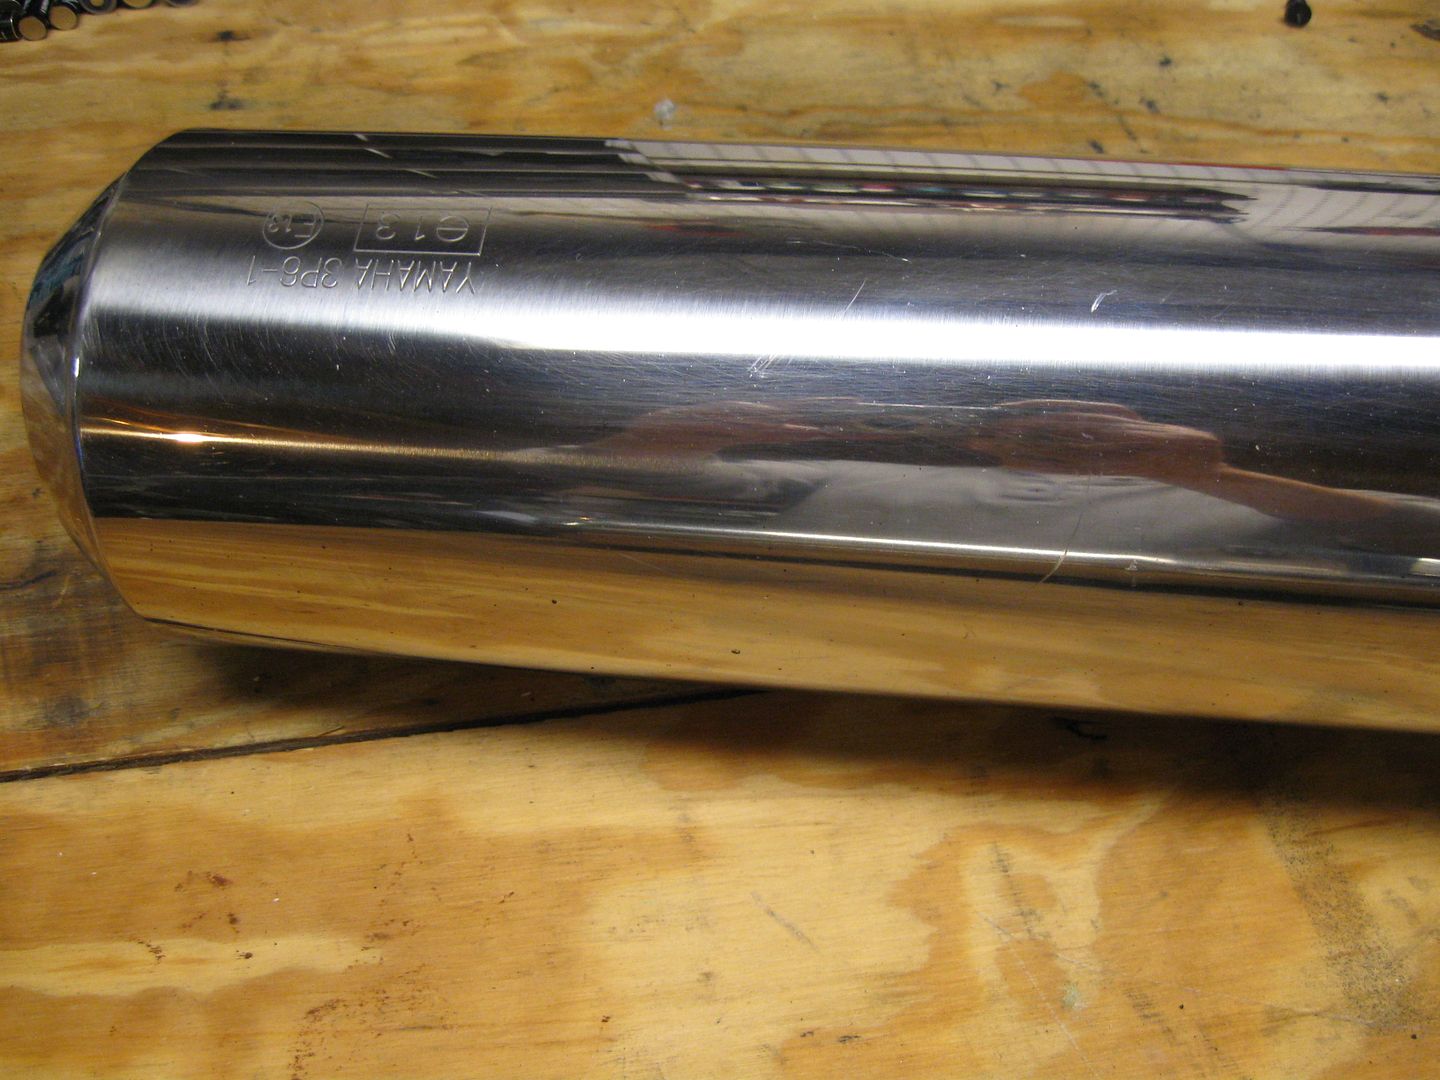
I took some time while off the bike to polish up the exhaust pipes. ALL of the pipes! Beneath and behind as well. Pictures don't really do a "before" and "after" real well. But for as many miles as this guy has in a short time, the pipes cleaned up pretty good.

FJR0126005.jpg


FJR0126006.jpg


FJR0126007.jpg


FJR0126008.jpg


FJR0126013.jpg


FJR0126014.jpg


FJR0126027.jpg


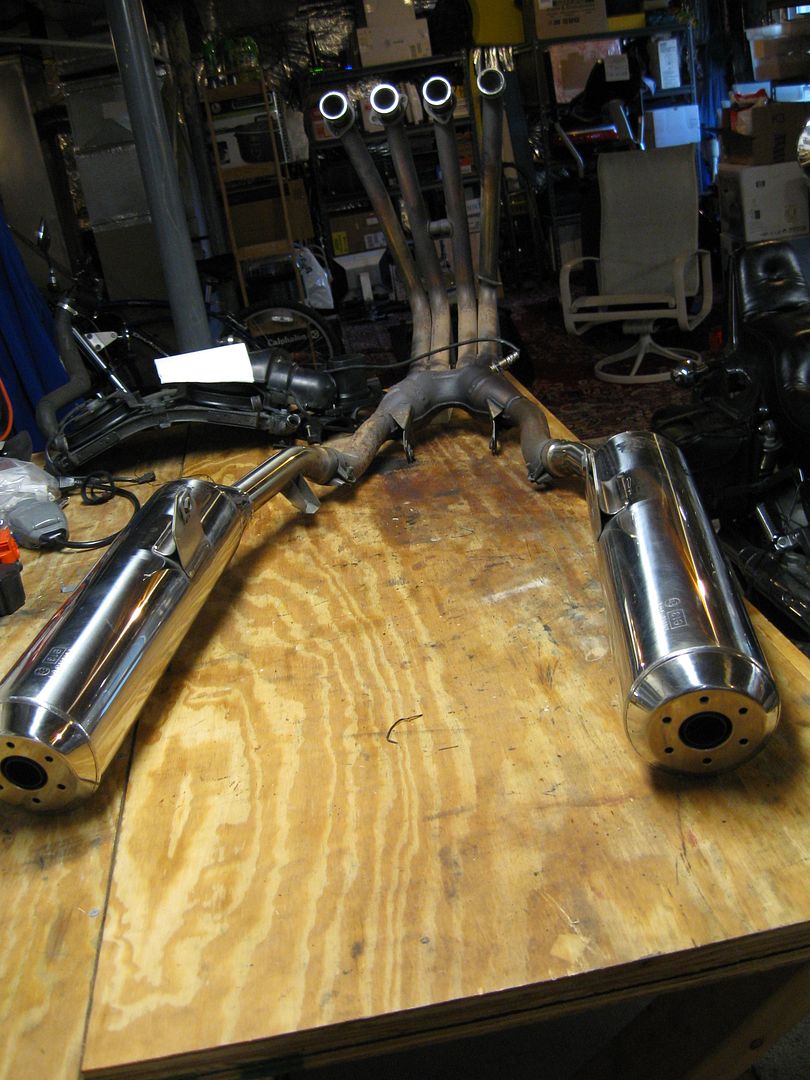
And the entire system on the bench

FJR0126032.jpg


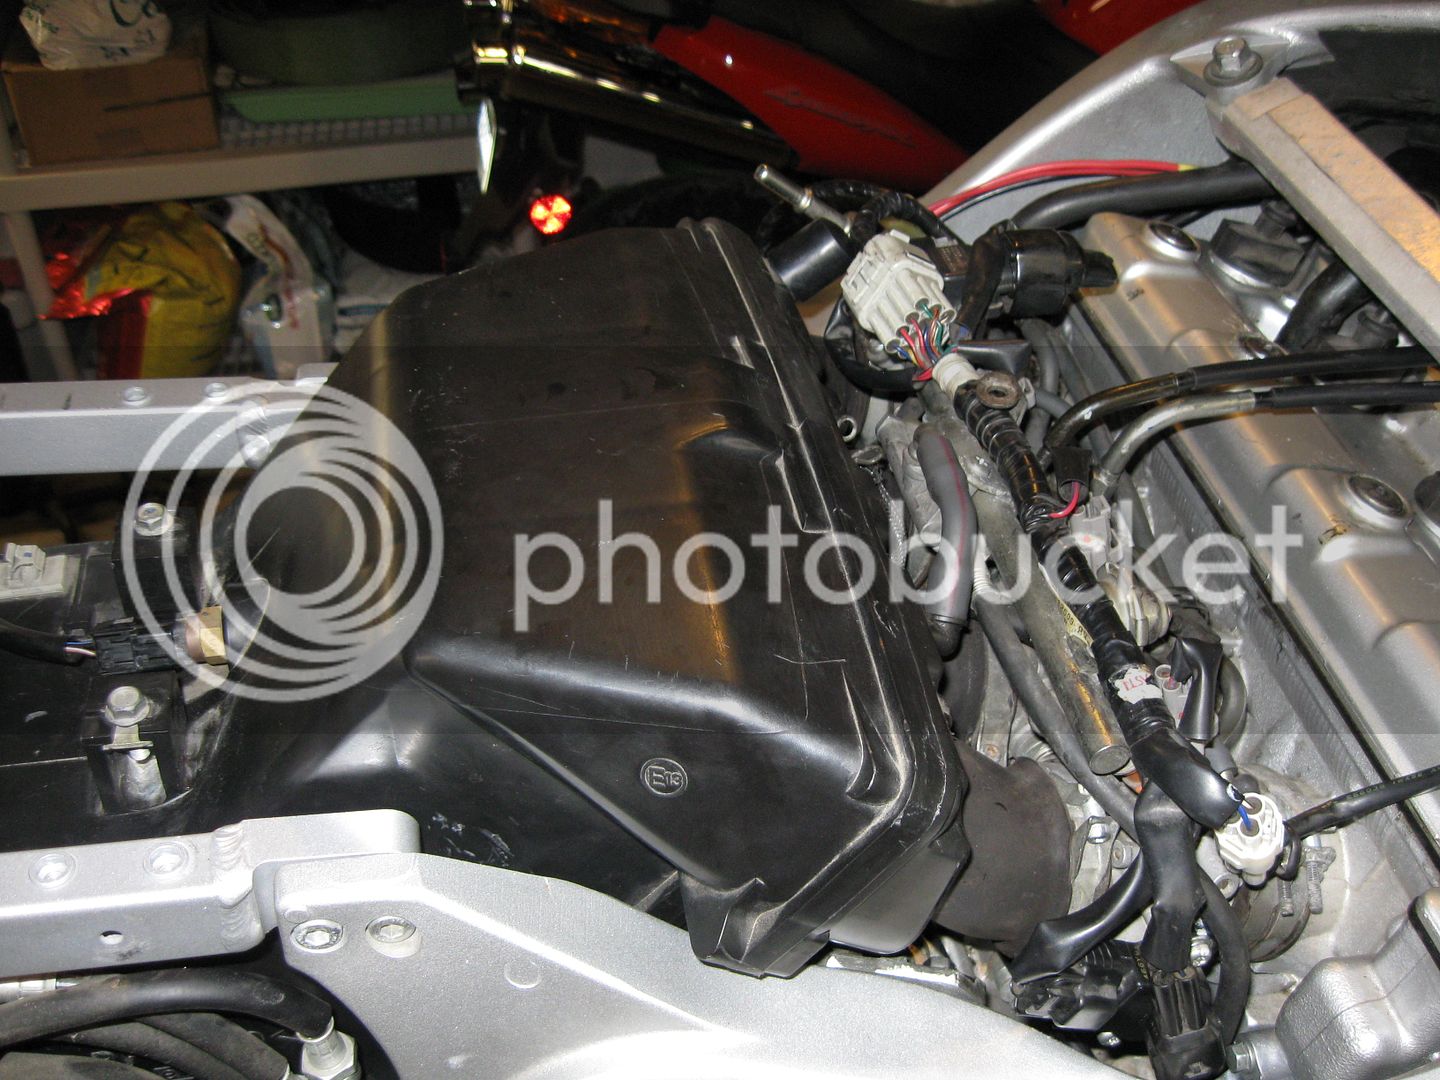
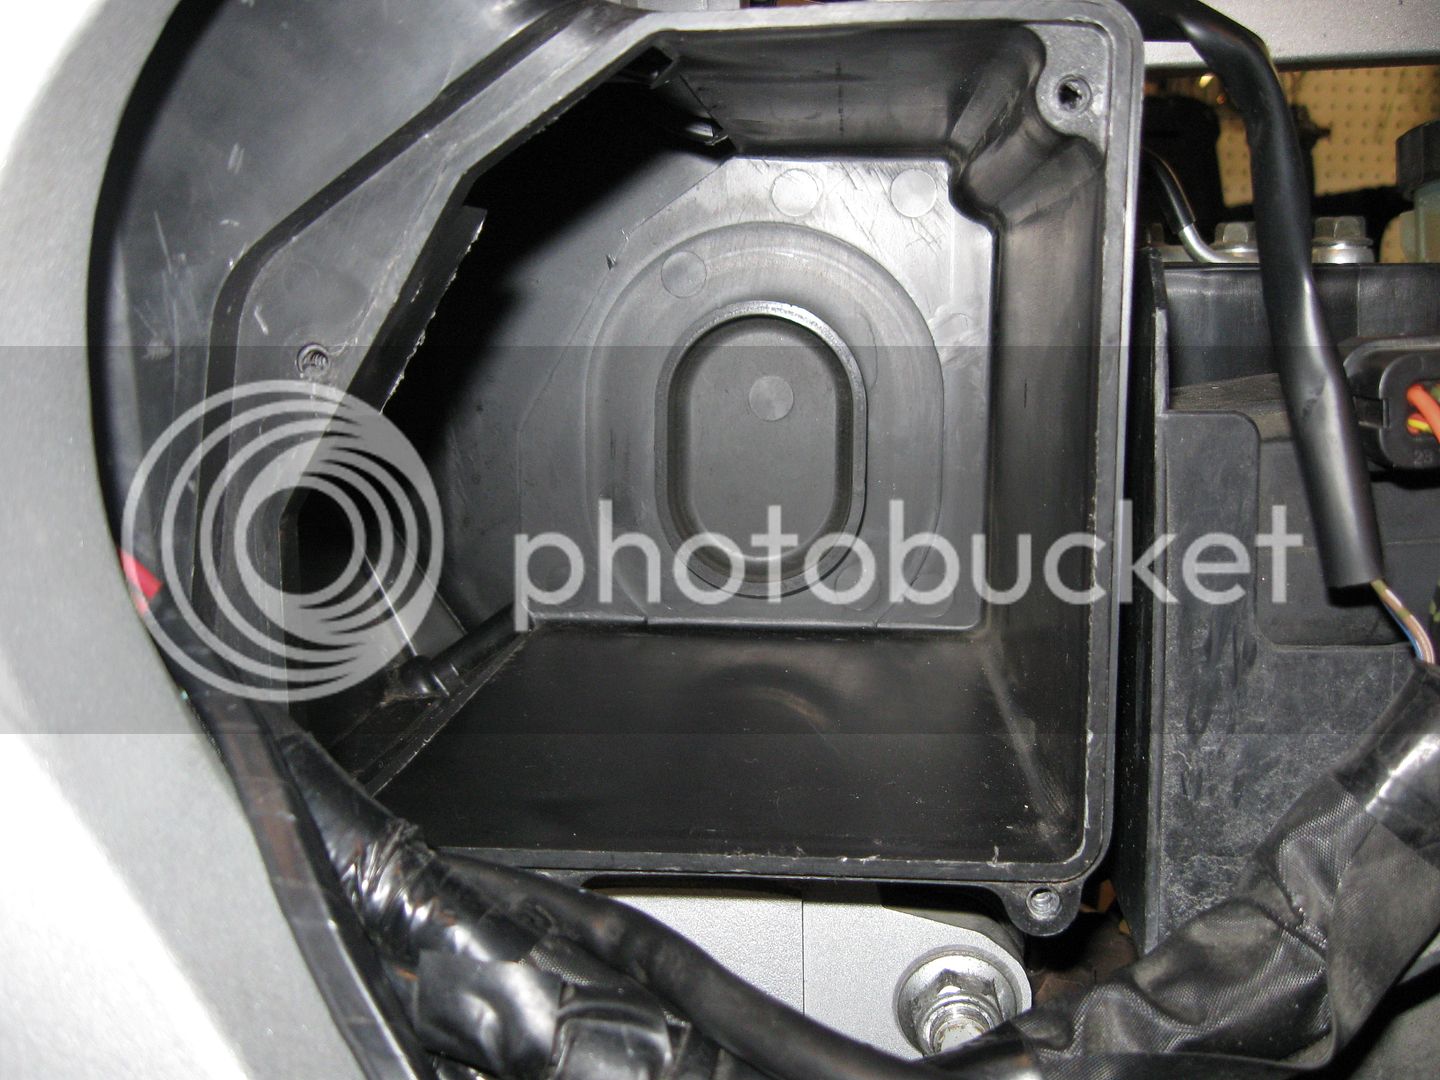
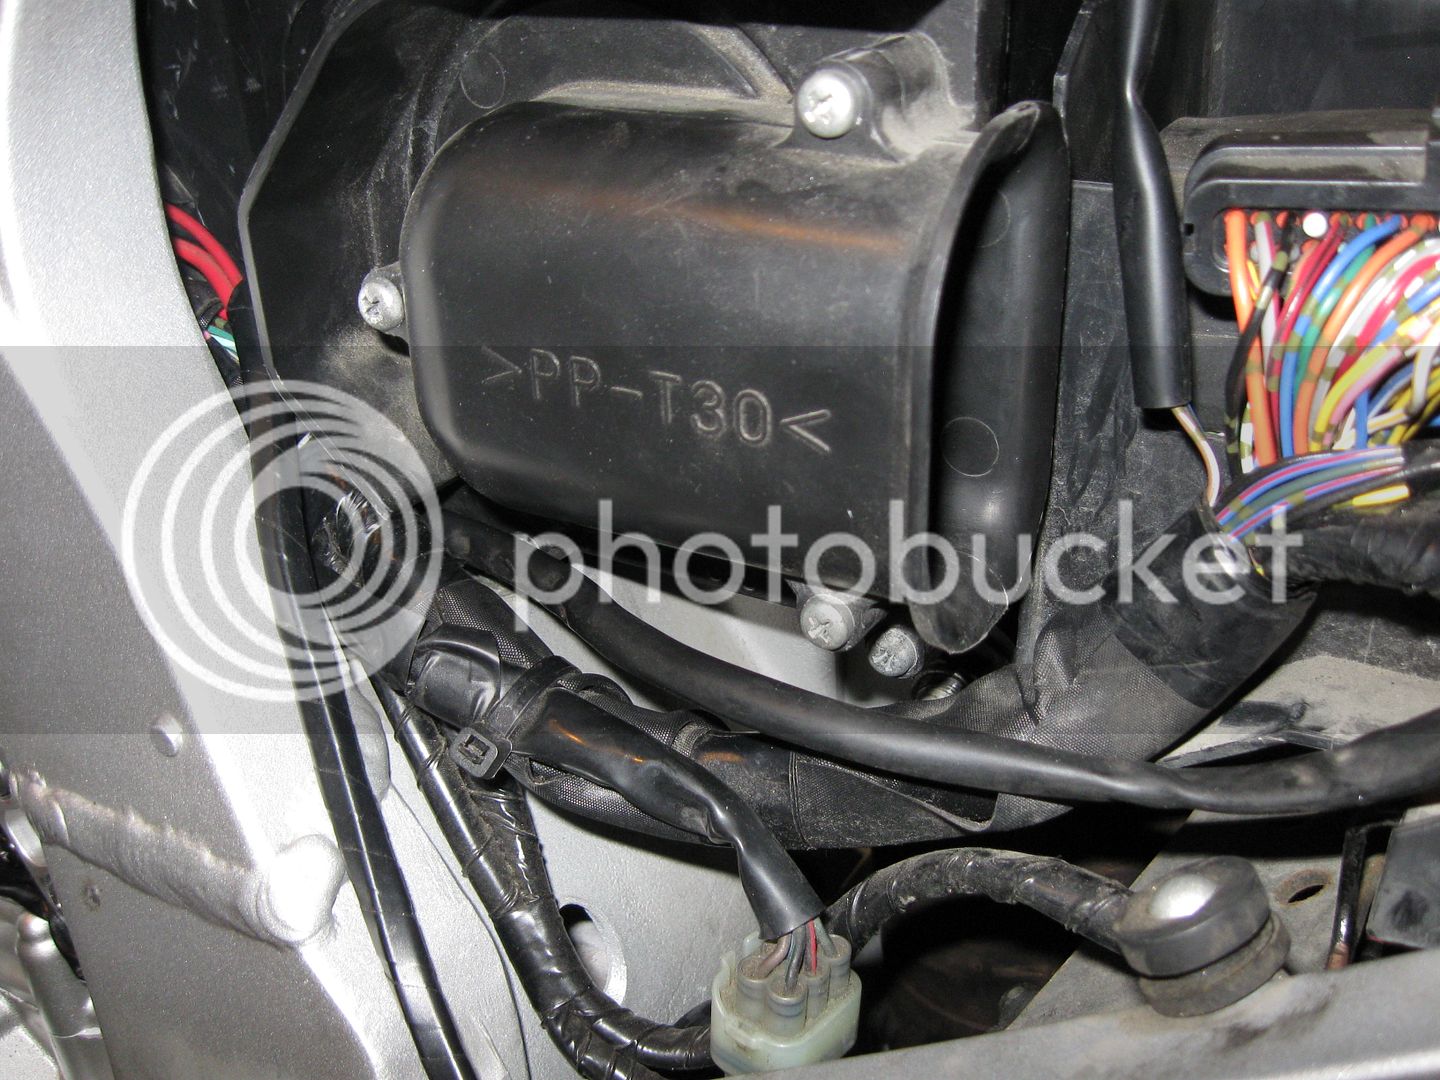
Once again, I feel like I'm just reversing the tear down procedure. And I would be right. That's what I'm doing. Here the airbox get's finalized in it's spot.

FJR0126029.jpg


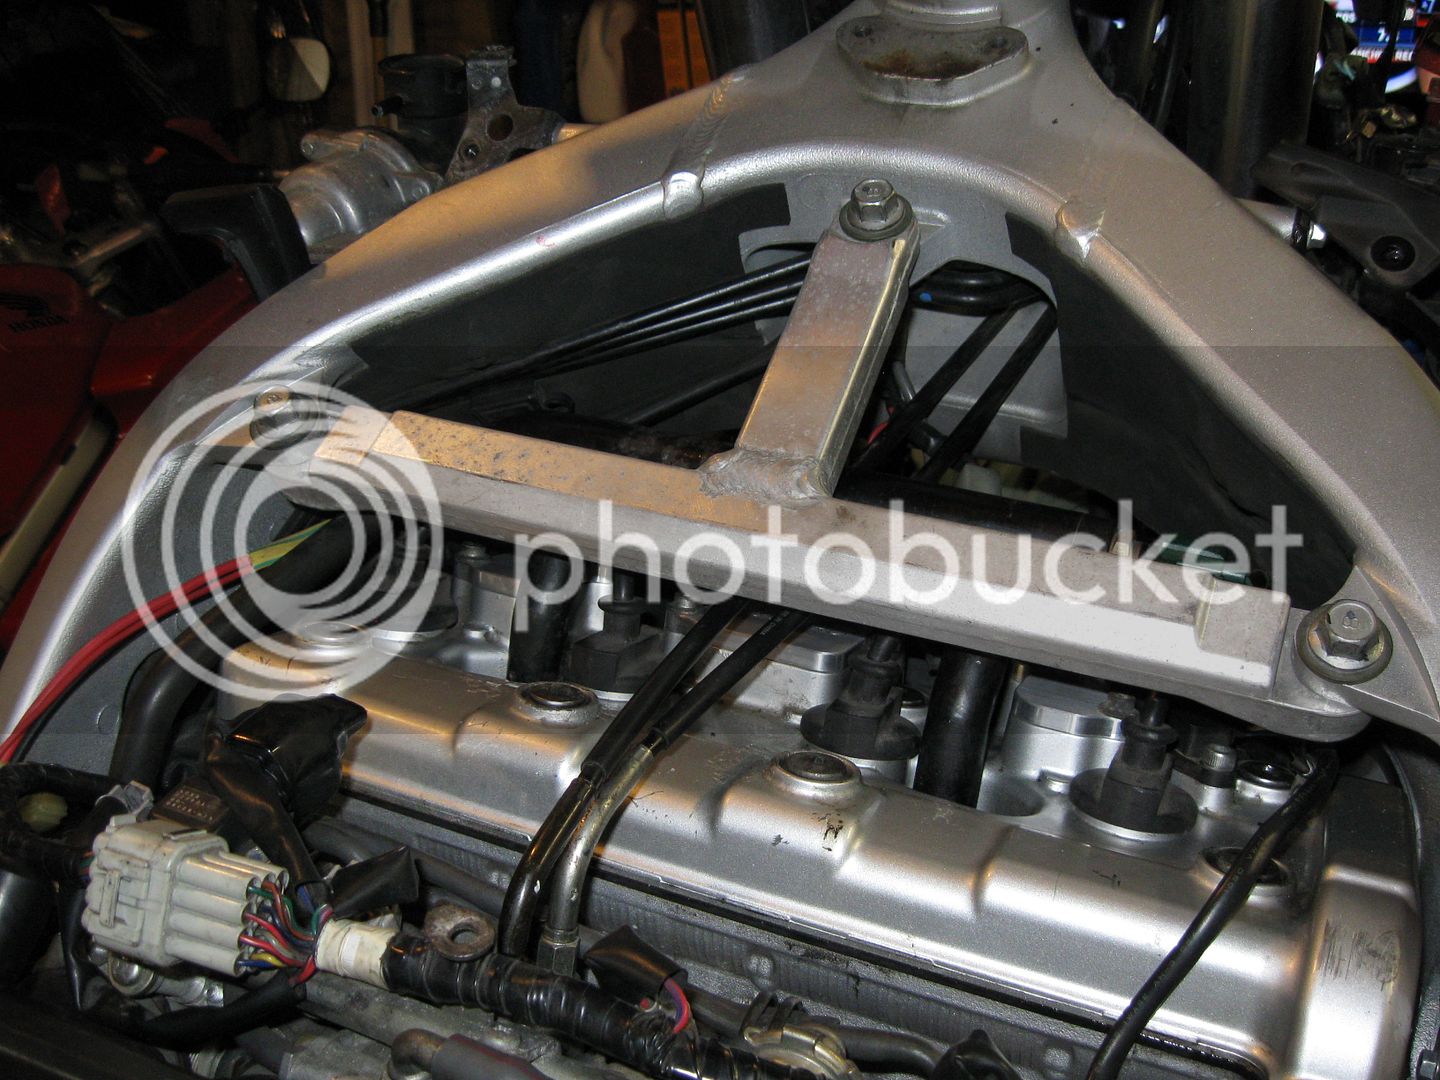
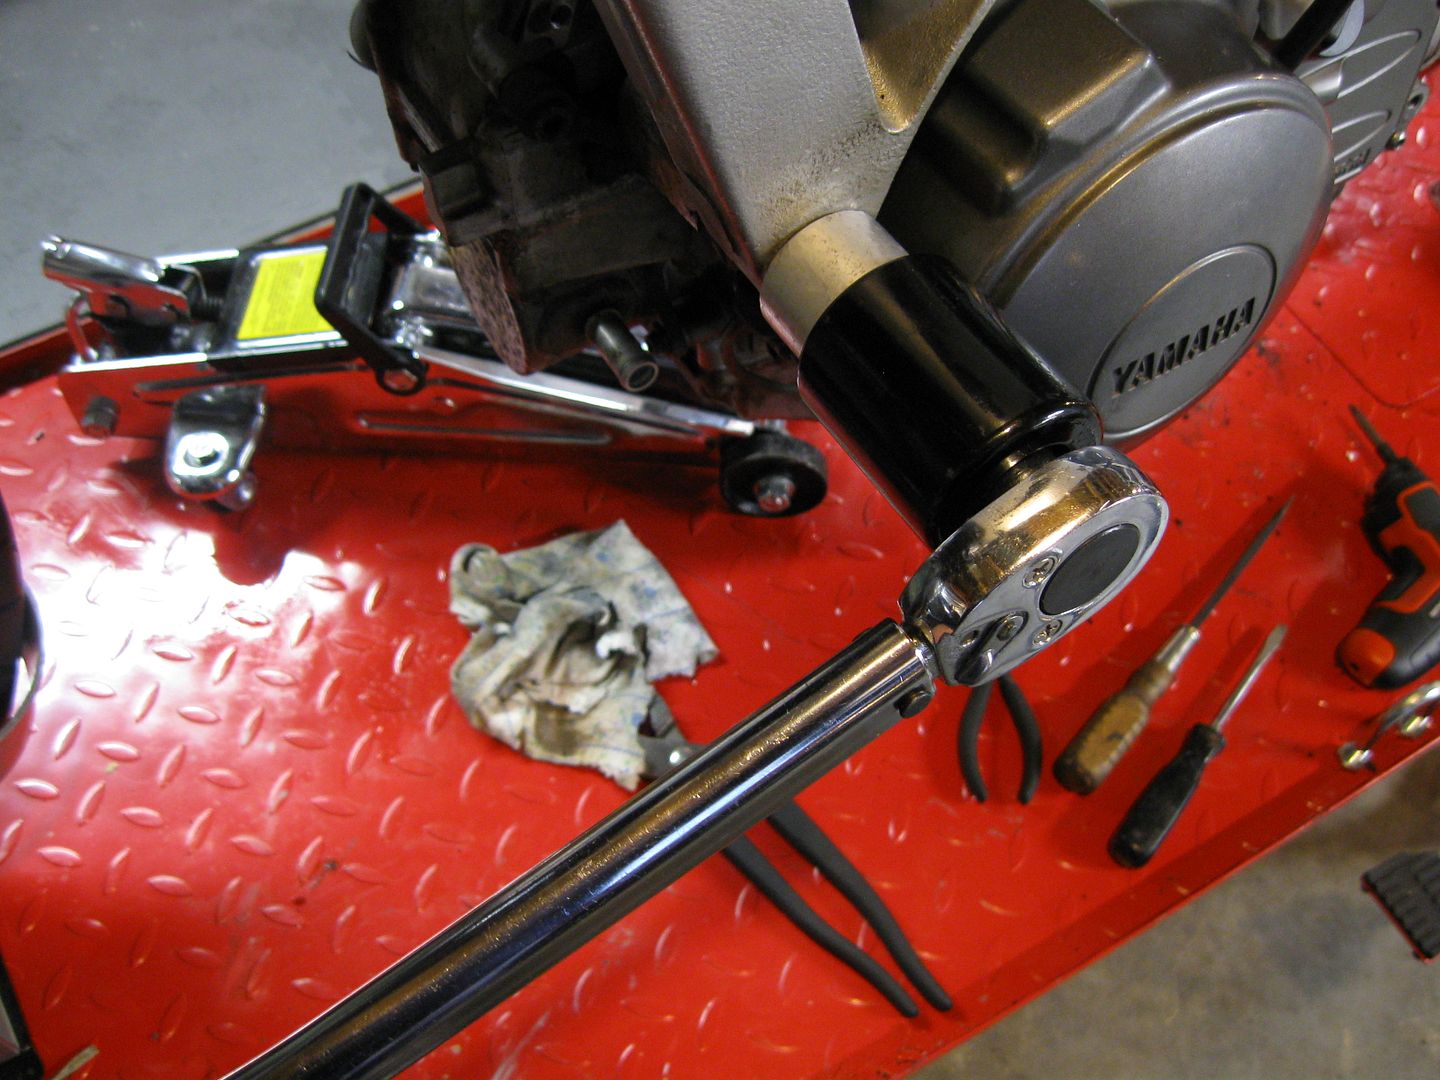
Here the T-bar get's put back on and torqued down. Speaking of torque, doing this project will certainly get you in the swing of using a torque wrench! click! click!
coolsmiley02.gif
And unfortunately, those beautiful caps made by WynPro gets hidden even further.

FJR0126030.jpg


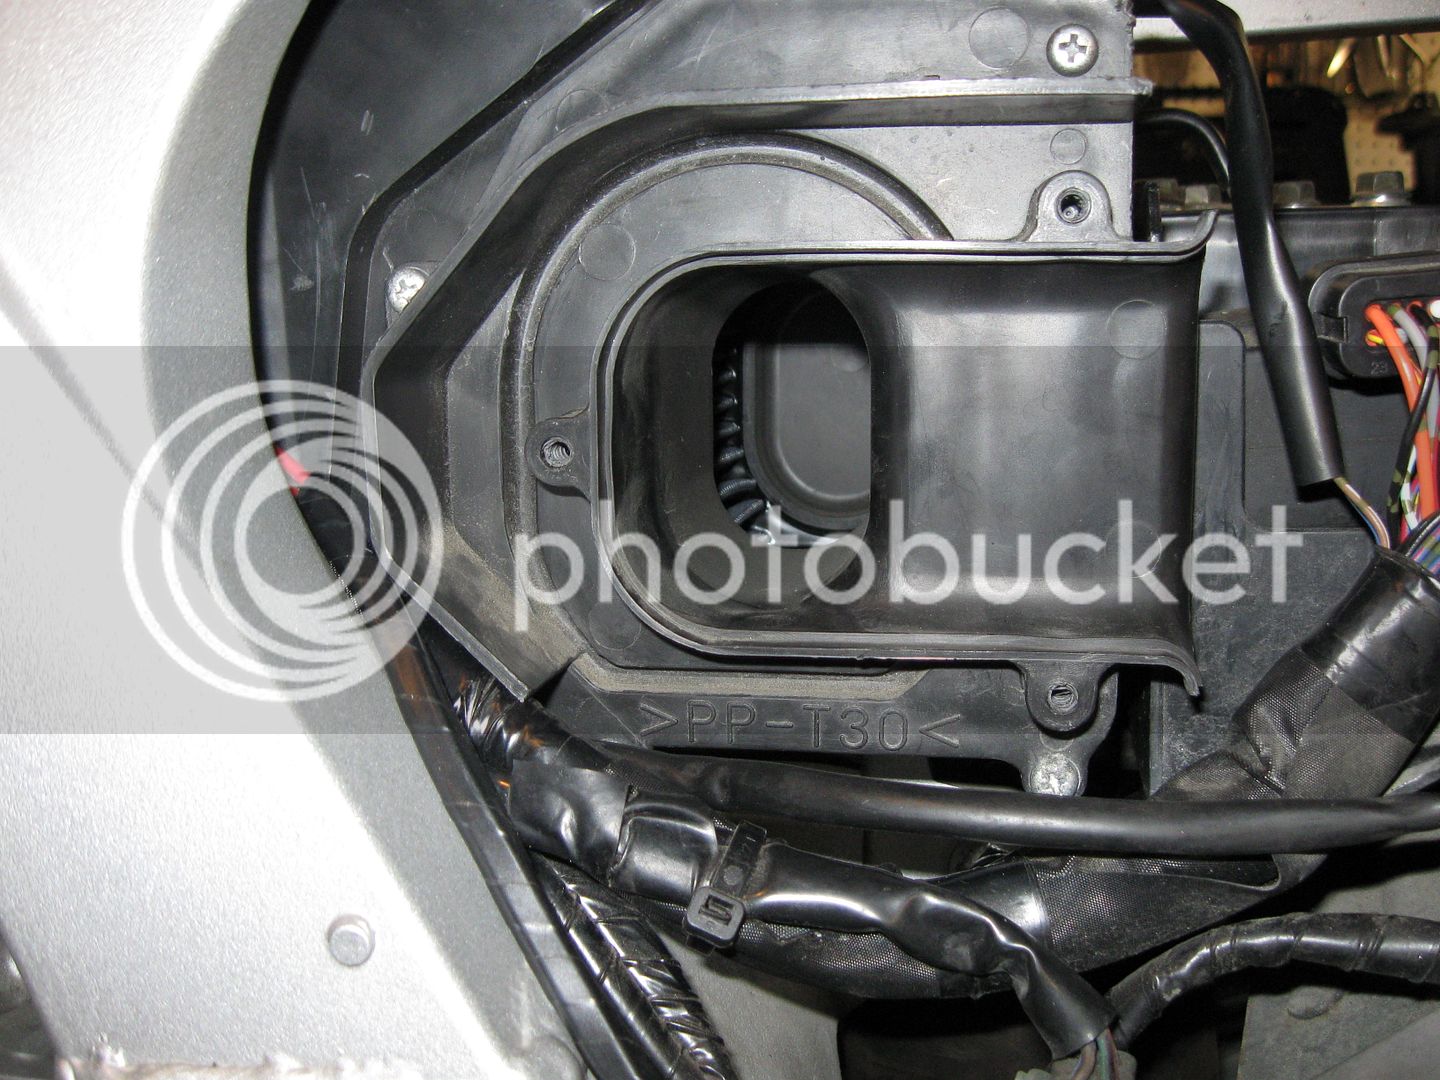
A little boring, but some may not have even seen the intricacies of an air box.... over engineered in some minds. Mostly just to baffle the bark of the throttle bodies.

FJR0126033.jpg


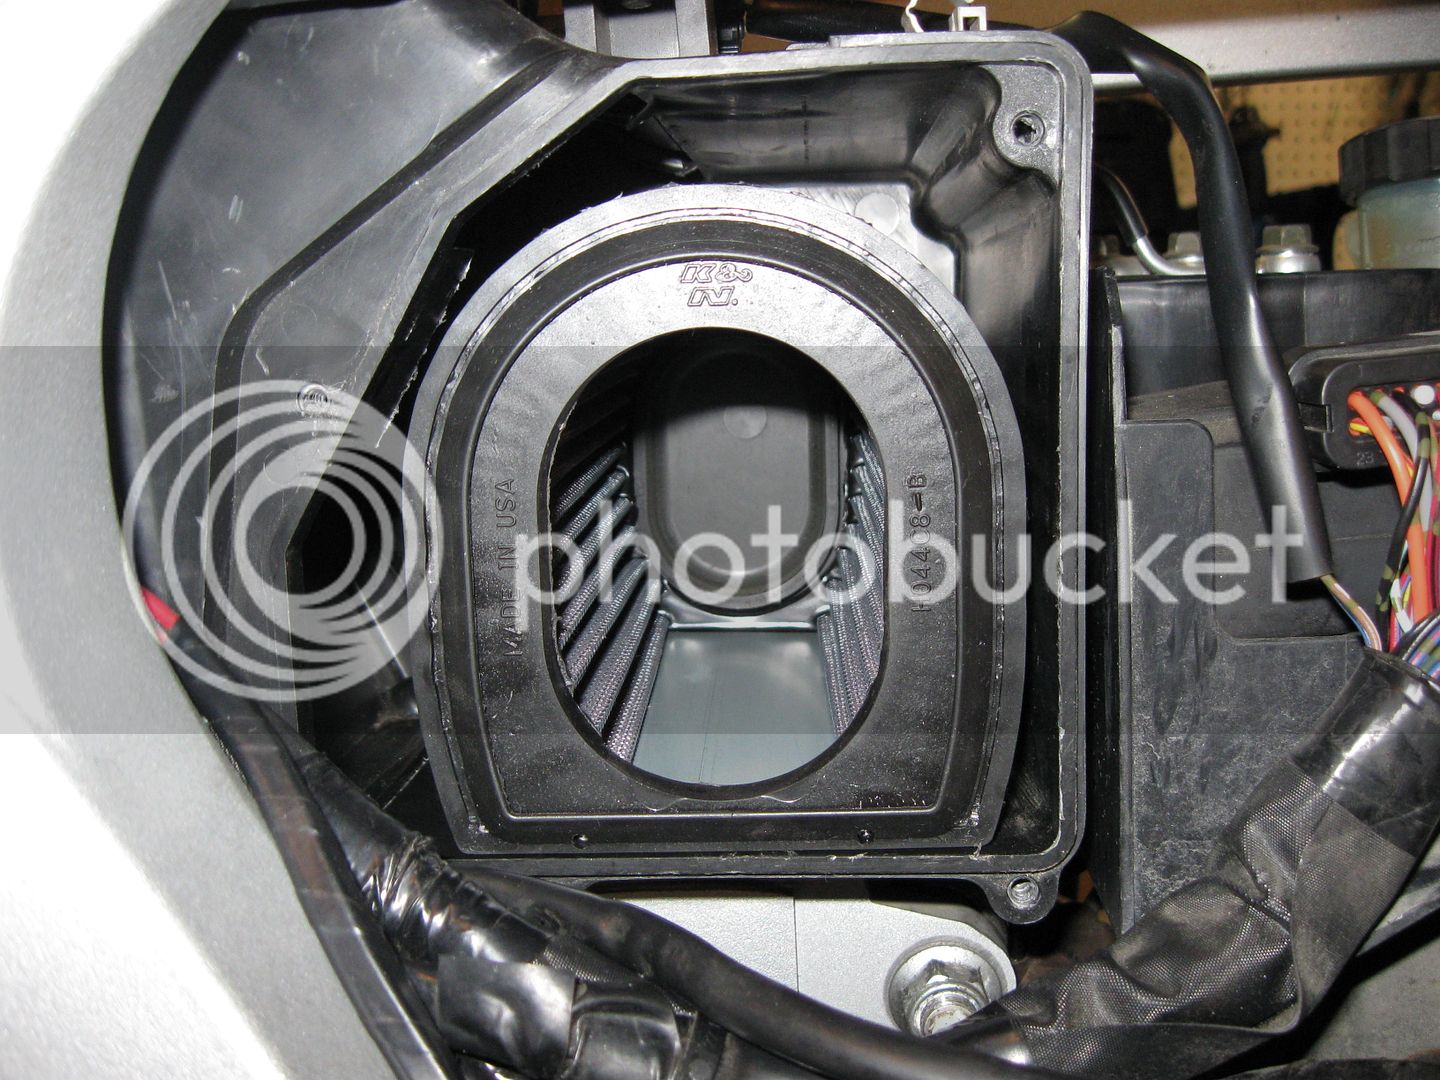
I added a K&N filter. I'm just a fan of being able to clean, lightly re-oil and replace.

FJR0126034.jpg


FJR0126035.jpg


FJR0126036.jpg


I forgot to take a pic of the final cover. Apologies, but there is one more that will go over the all of this, the wiring etc...

FJR0126038.jpg


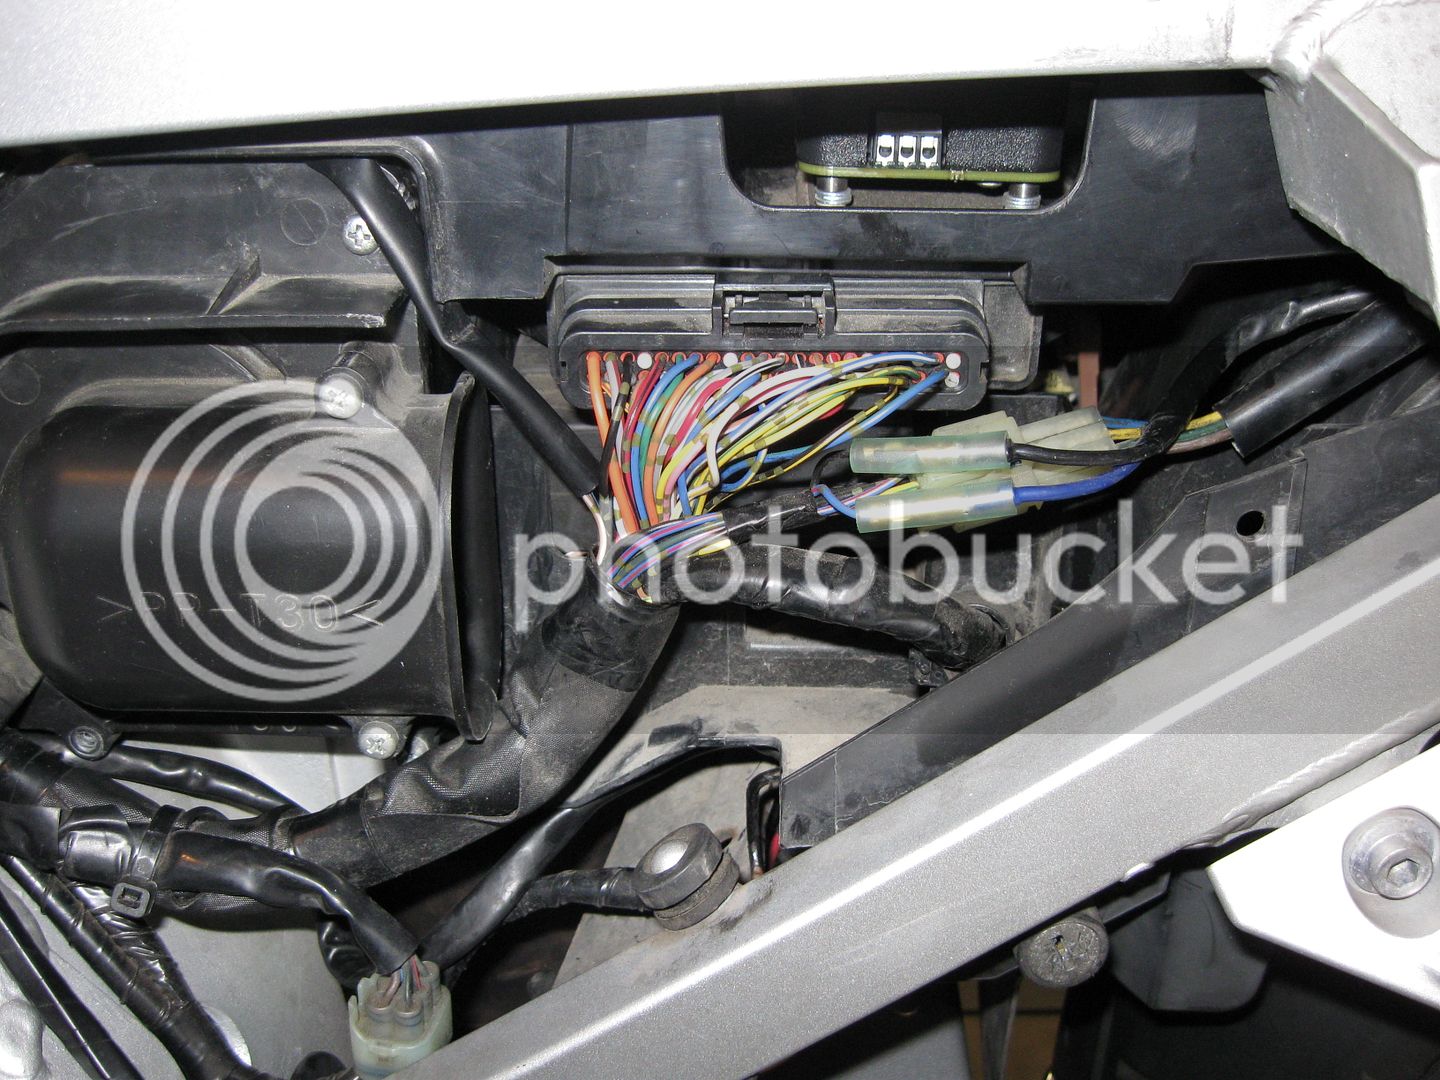
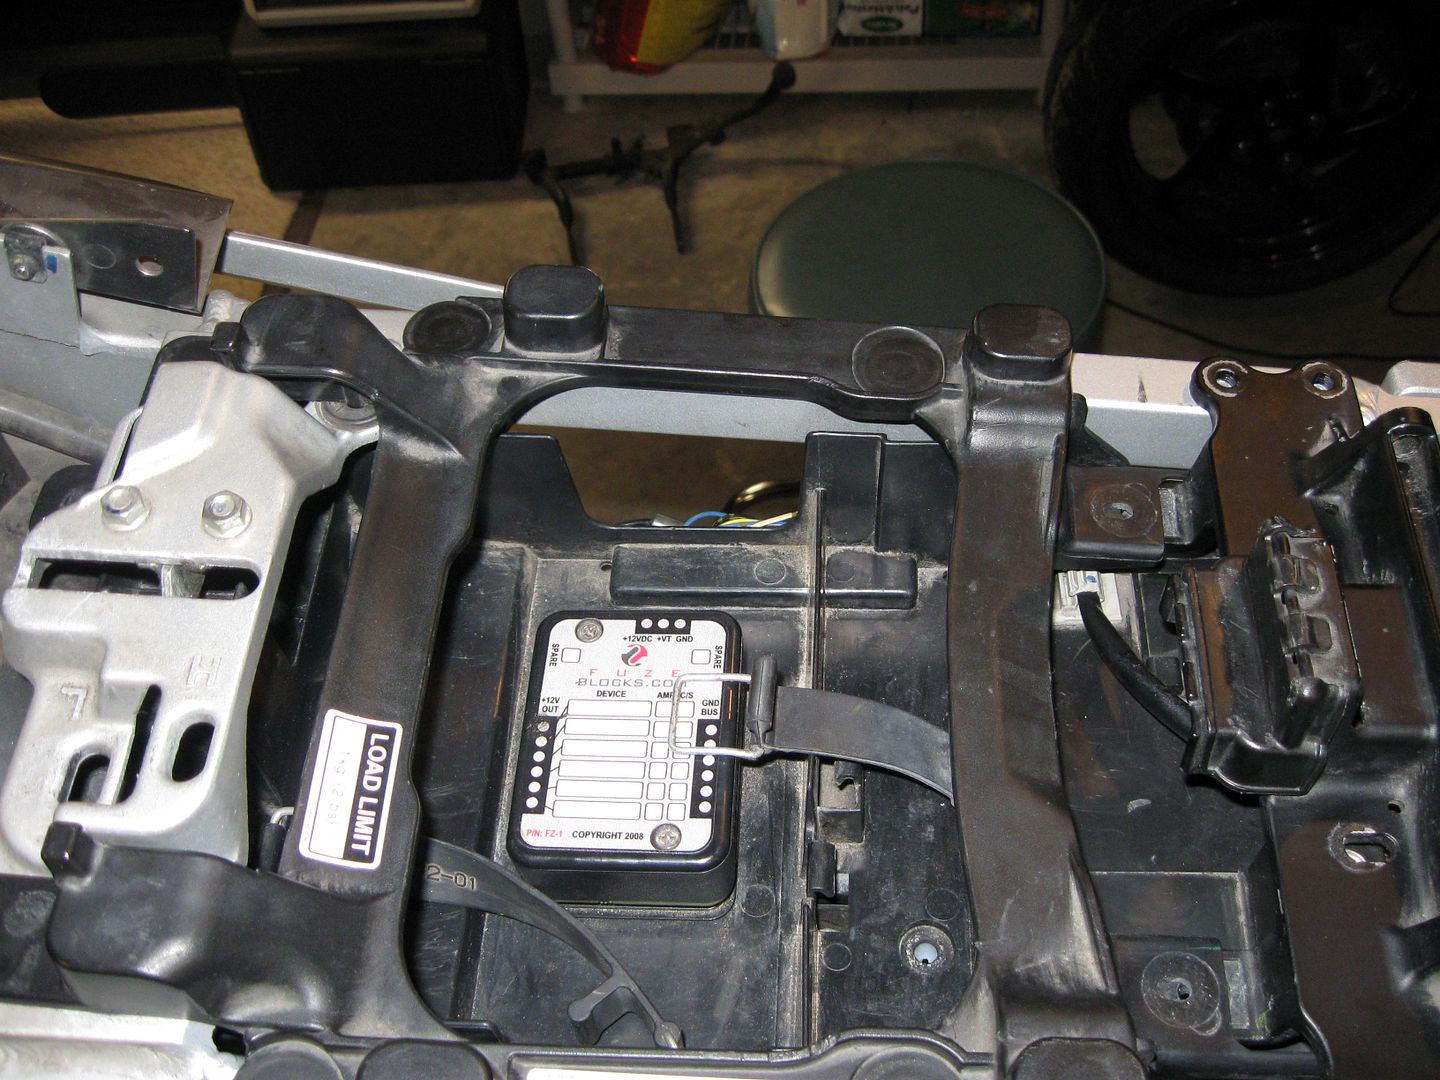
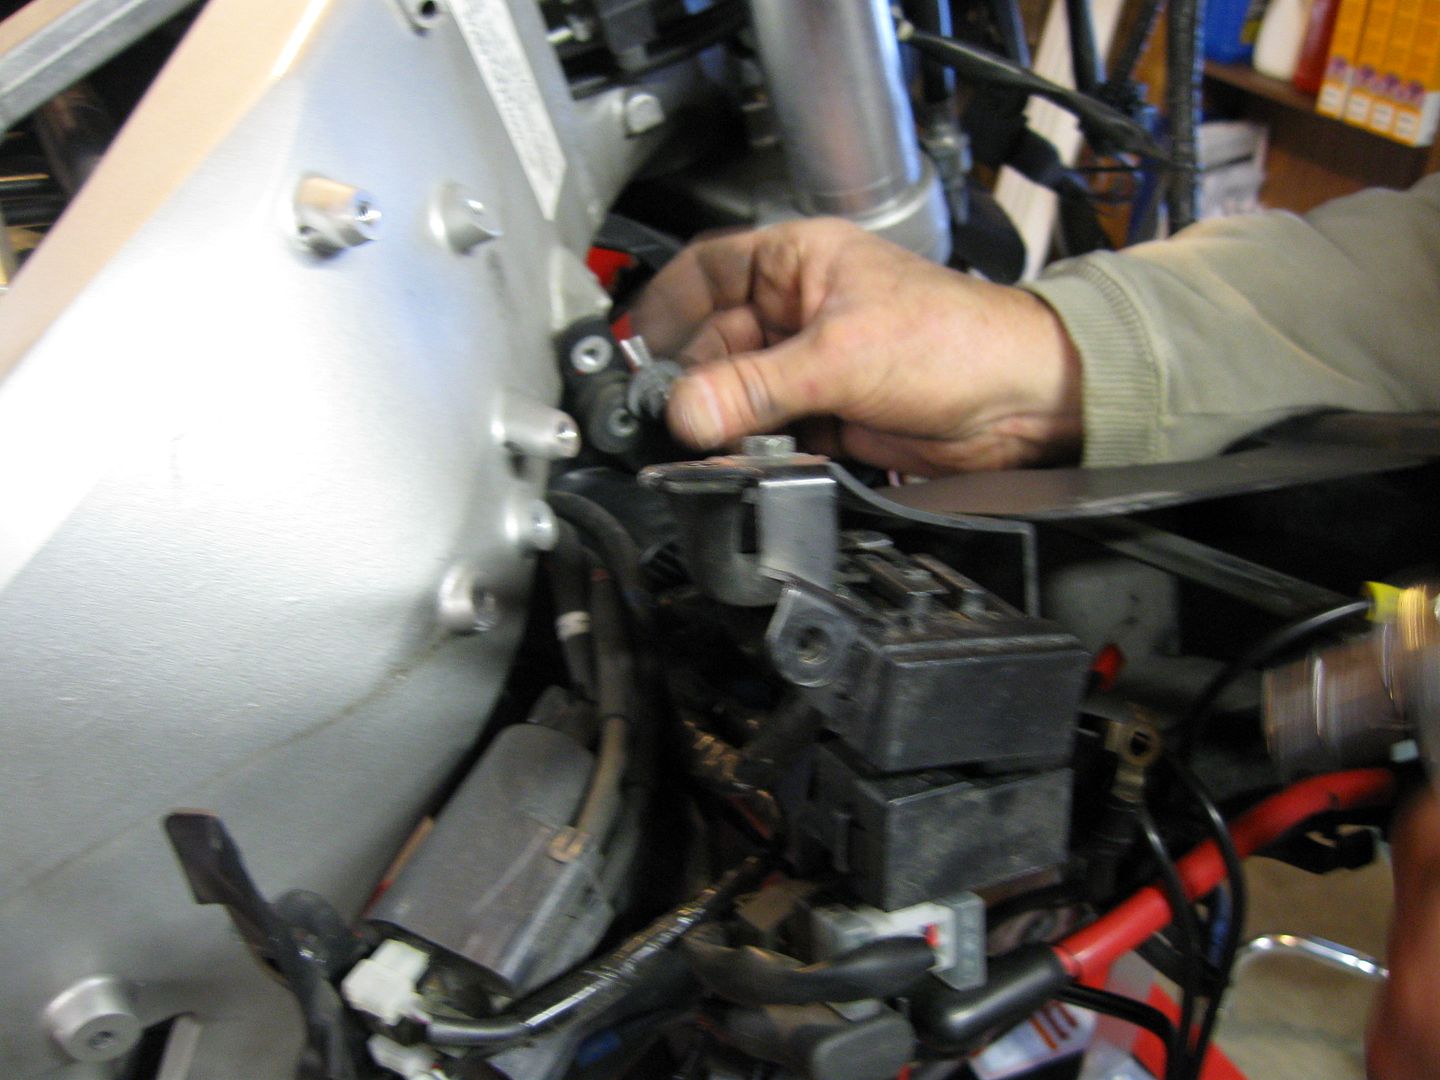
The top area here that adjusts the seat and has a fuse block install is all fastened down and reconnected.

FJR0126037.jpg


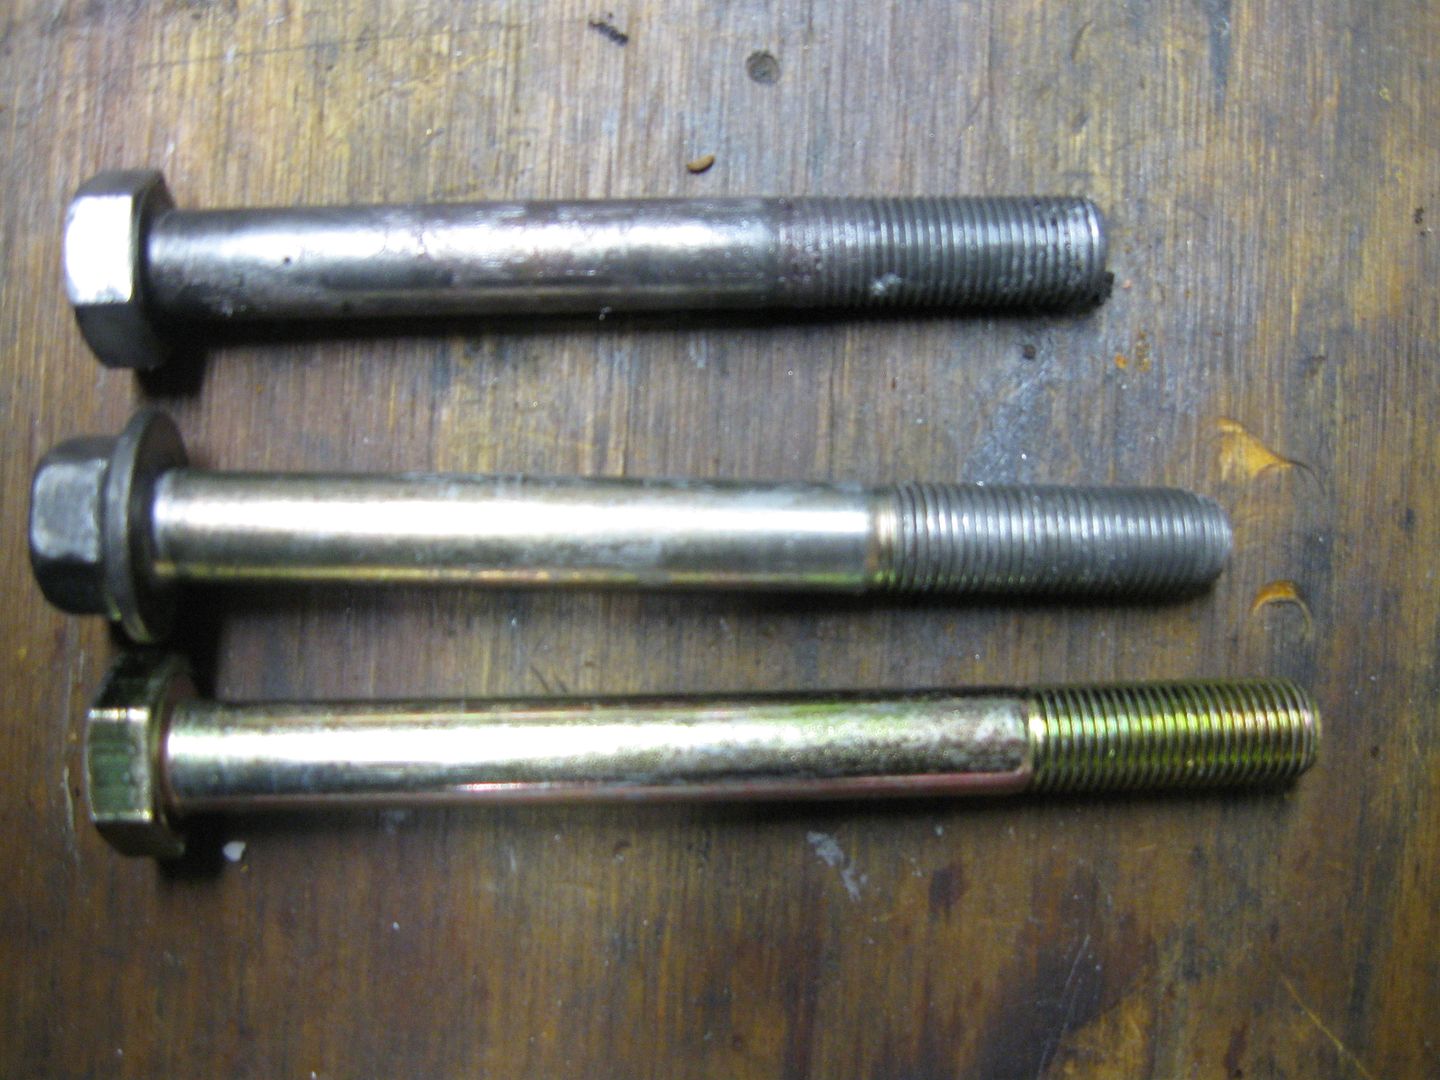
Now take a look at these. The top one is the right front engine mount bolt (sitting on the bike, the throttle side). The in the middle is a Honda Civic bolt Doug had... and the bottom is one of a pair sent to me by a forum member here!

FJR0126042.jpg


Rogdeb was SO kind enough to send off a pair of bolts that fit JUST RIGHT all the way over from the Pacific Coast! I can't thank him enough for the generosity! He wouldn't take payment for even shipping. Again, many thanks for the contribution.

So that got worked in and torqued down...

FJR0126044.jpg


Followed by the other side.

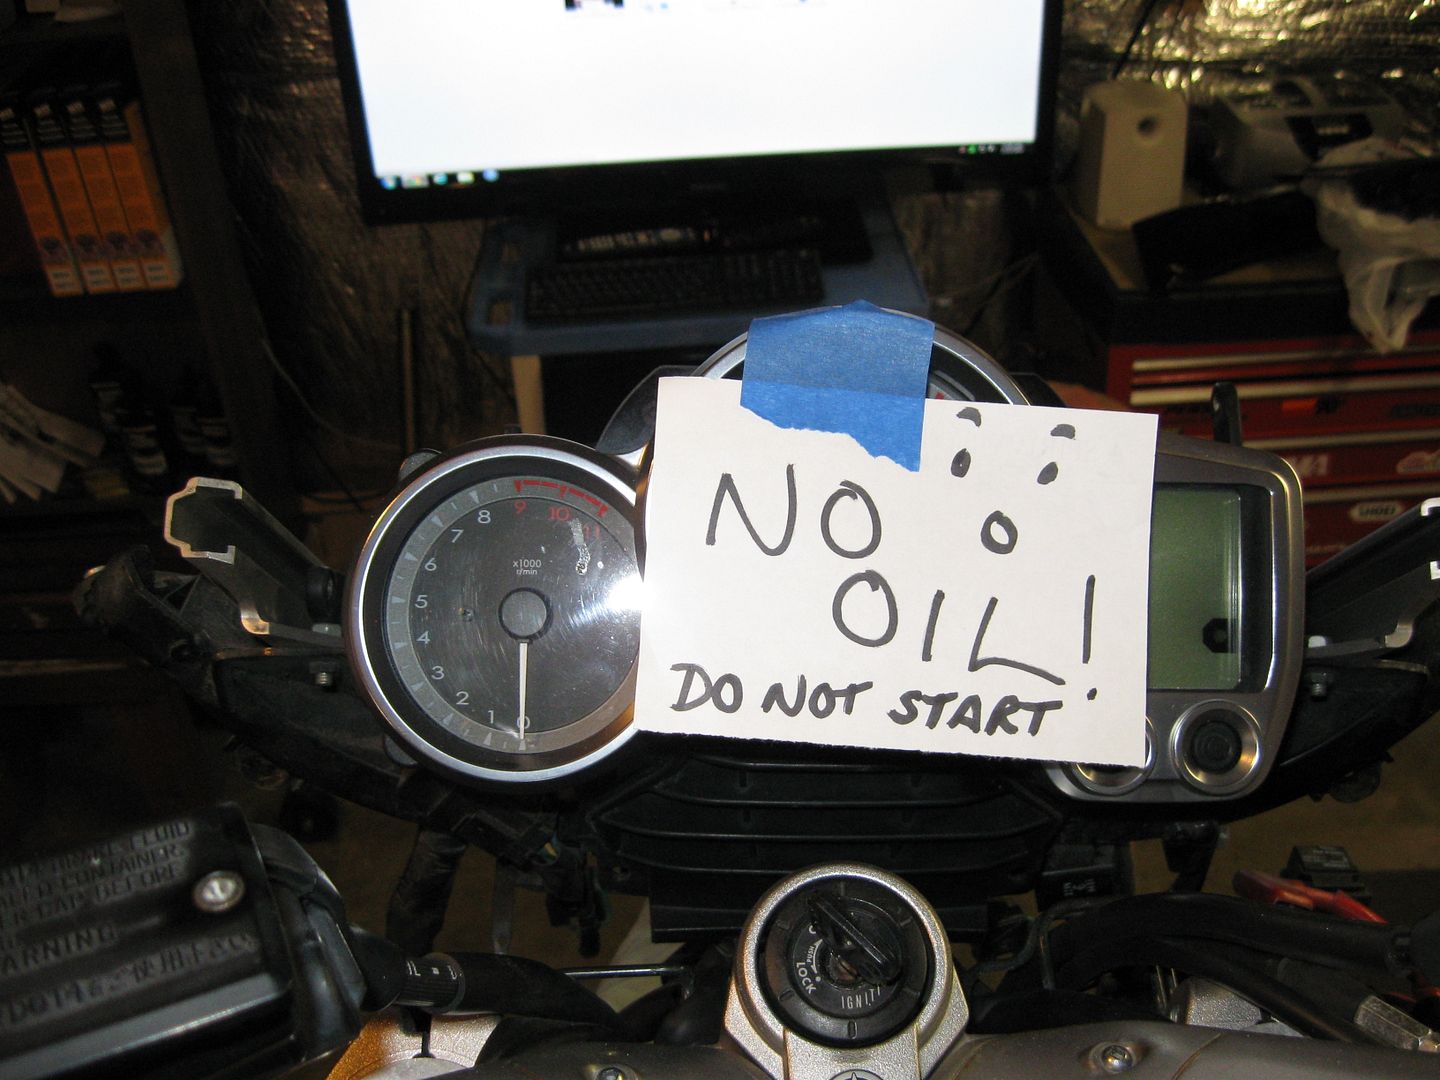
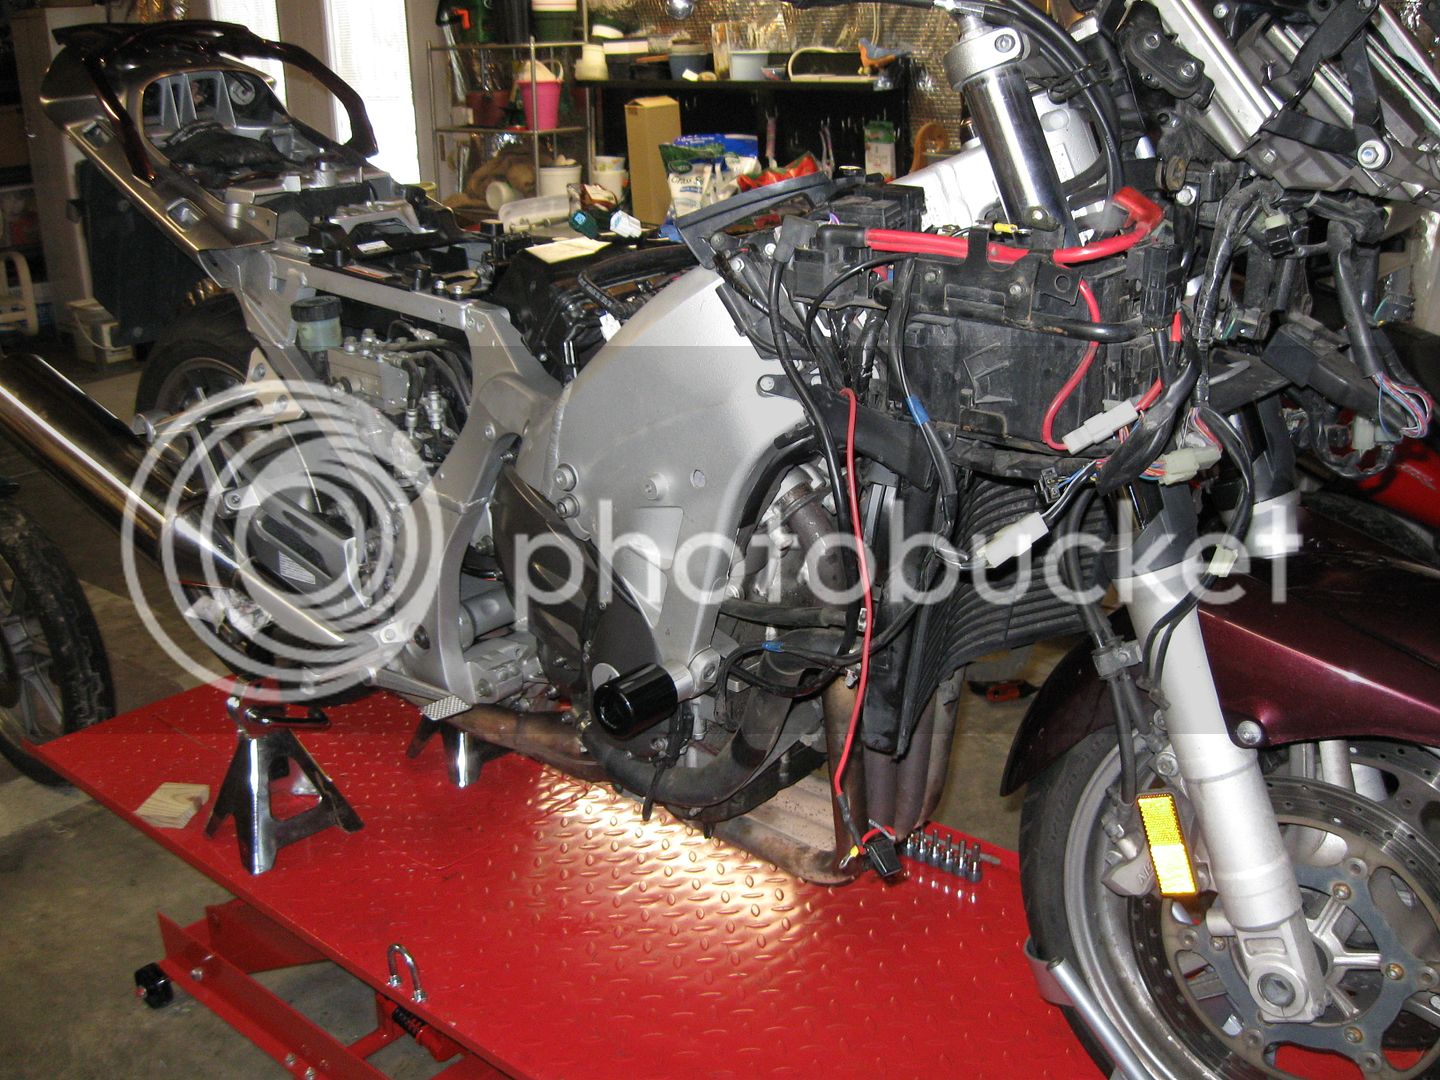
OK! We're getting SO close! I'm starting to use excessive exclamation points! Well, to make sure the start button does NOT get pressed sans fluids...

FJR0126045.jpg


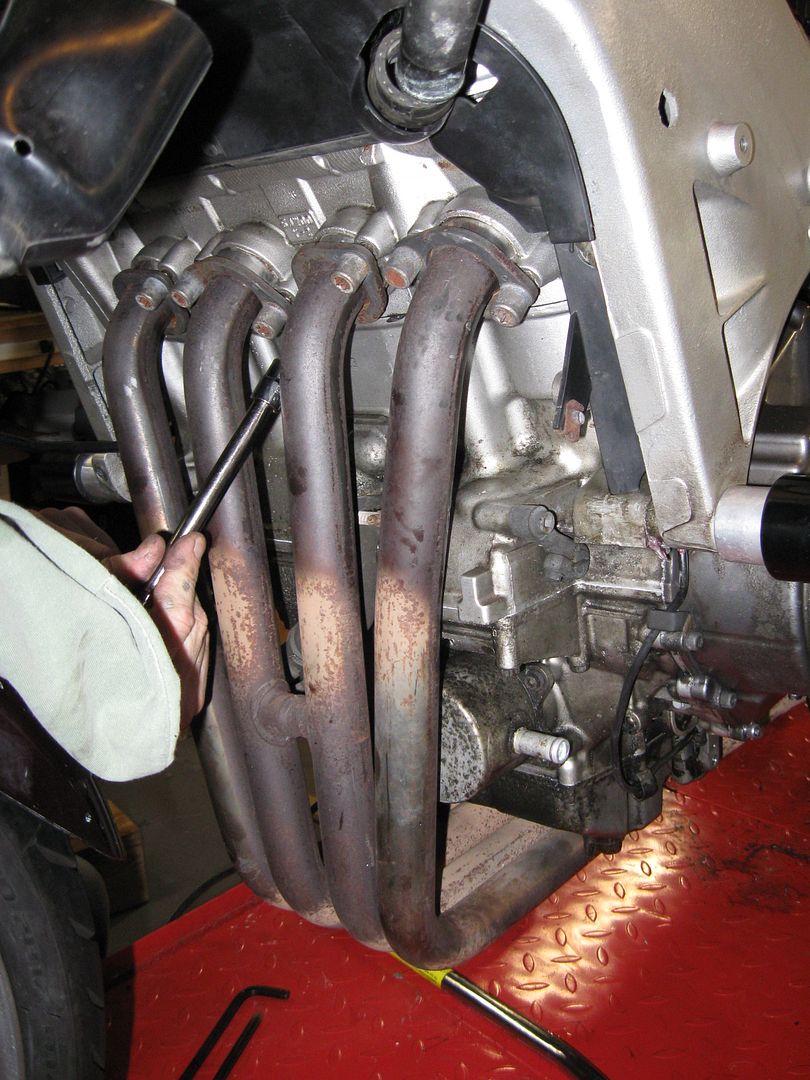
Now let's get some exhaust gaskets seated.

FJR0126049.jpg


As we install the exhaust, pics came a little less frequently as it's a two man job.

FJR0126050.jpg


There's a small bracket that helps keep the wire away from the hot exhaust and also acts as a mount point for the plastics.

FJR0126054.jpg


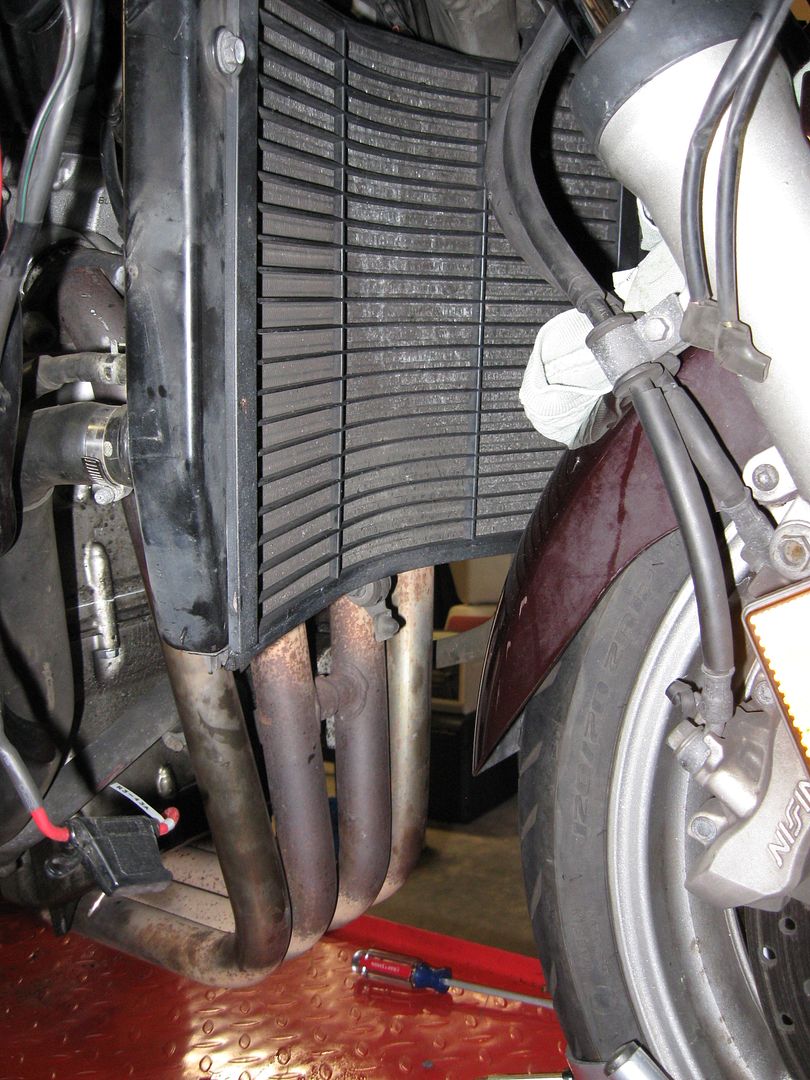
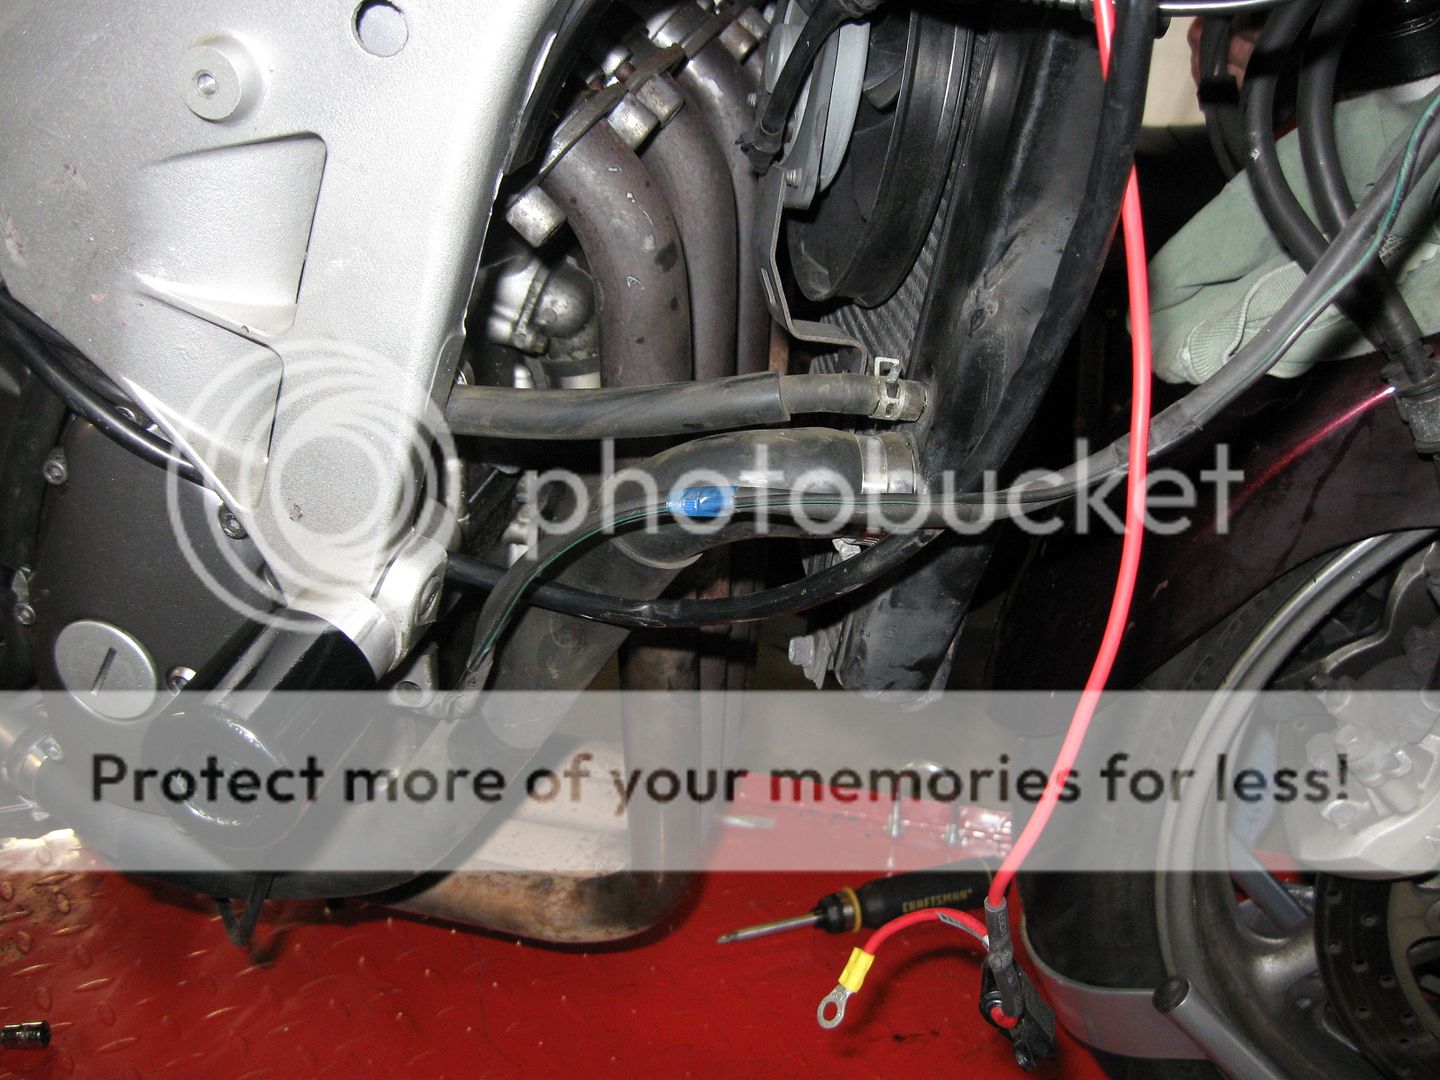
Here we've moved onto mounting the radiator and corresponding hoses. The battery box had to be moved out of the way for this mount point to be set correctly.

FJR0126061.jpg


Just about set and ready for coolant.

FJR0126063.jpg


FJR0126064.jpg


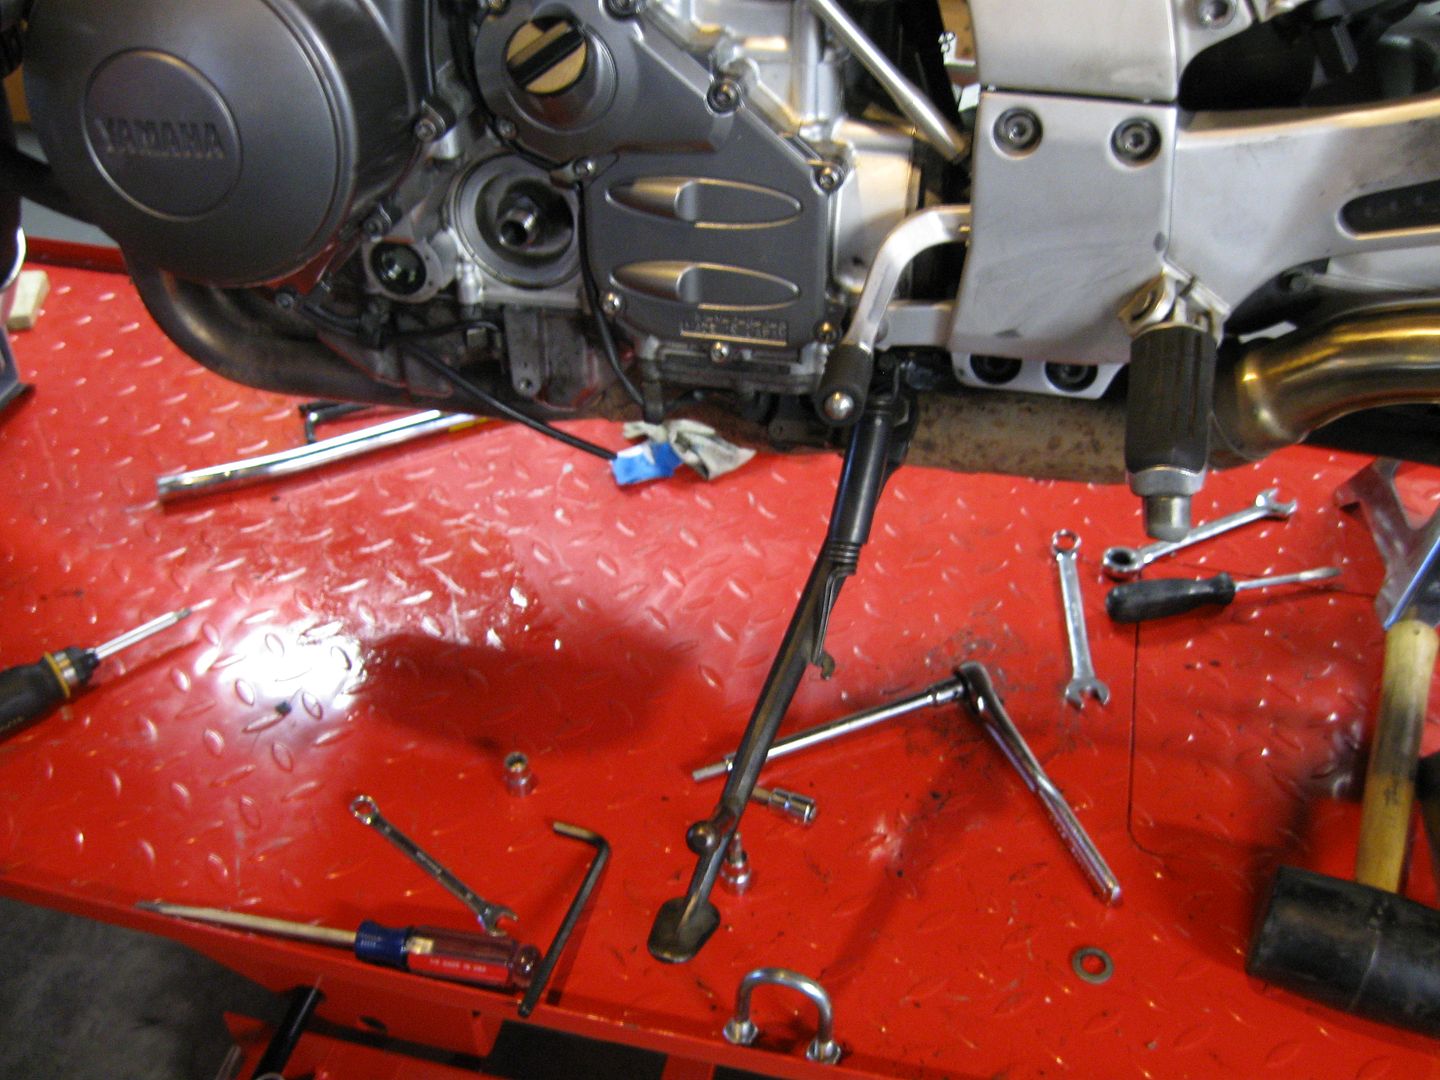
As I'm blessed with a left leg, I sorta need a left side peg and shifter re-installed.

FJR0126065.jpg


A side stand would be nice too!

FJR0126067.jpg


Let's see...... what else?......... um.........

FJR0126068.jpg


How about some gas!?

FJR0126070.jpg


Battery oil and coolant followed.... so now what's next?

(sigh) I admit I can't figure out how to embed videos....
help.gif


w00t.gif
dance.gif


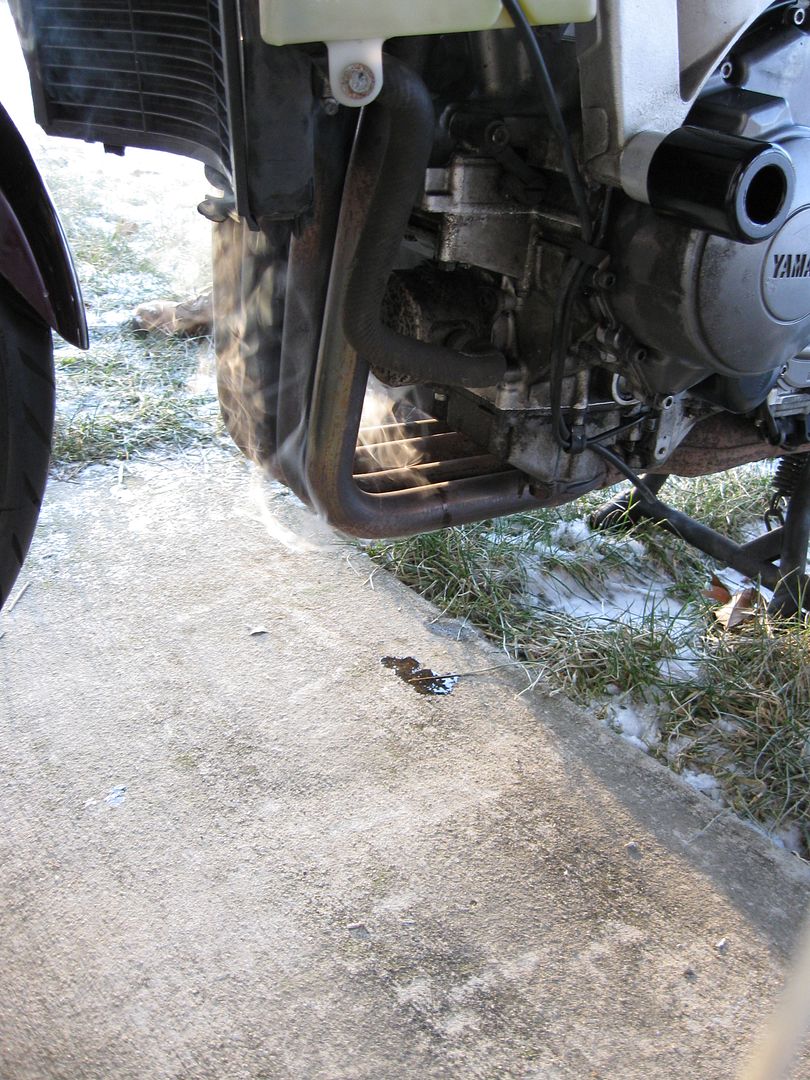
Just one little leak......

FJR0126074.jpg


An O-Ring is on order for the oil cooler.

But Otherwise, Success!!

.......... But I'm NOT done yet!

 
Great project, great thread, great read, and it looks like you have a great friend to share it with. Thanks for sharing!

You must have been so relieved to see her fire and run through the gears.

Congrats, looking forward to the first ride vid!

Greg

 
Congrats Streethawk!

Nice to see the project coming to an end for you. Almost time to enjoy the rejuvenated ride!!

--G

 
Great project, great thread, great read, and it looks like you have a great friend to share it with. Thanks for sharing!
You must have been so relieved to see her fire and run through the gears.

Congrats, looking forward to the first ride vid!

Greg
Thanks Greg. I think I was a little more confident than Doug. He has a lot of experience but still knows there no guarantee we forgot something. Or something got out of whack during the assembly. I would not have attempted this whole ordeal without him!

So yeah, thrilled it all fired up in good order!! The o-ring on the oil cooler was not replaced. It only drips under pressure and not much. Just a missed part I should have ordered. It should arrive before this weekend though.

 
Streethawk,

Thank you for a fantastic posting. I am about to start a refurbishing project on my 2004 with 75,000 miles on it. Your extensive documentation and photos was truly helpful. I made notes and printed alot of material out for use during the project. But I like the monitor you set up in the shop for online viewing.

Hope you are enjoying your project bike.

 
Thanks Jack. I hope it may help out. One of the keys I tried to consentrate on is labeling the hardware. The extensive pictures have come in handy as well when putting things back together. Mostly with cable routing. There are guides in the shop manual for routing. However the pictures sometimes give more info and colors!

The monitor/TV was a $300 purchase from woot.com. Huge help for viewing said pictures! I'm only in my mid 40s but the eyes aren't going to better and I don't want to make them worse.
nerdsmiley.png


Last edited by a moderator:
Progress continues and while the "end" of this project is near, I'm still taking my time. Partly because I'm very distractable! Old Man Winter seems to think the Mid-Atlantic needs to pay it's dues. So we're being treated to what Michigan calls a "mild" winter!
tonguesmiley.gif
About 12 inches of snow fell this week and some freezing rain is being released from the clouds this Saturday morning. Possibly ending as snow this afternoon. The delay in updates was caused by slow delivery of parts.... possibly due to weather!
whistle.gif


So let's begin this update! When I'm done, I'm heading back downstairs to continue working on my FJR!
hyper.gif


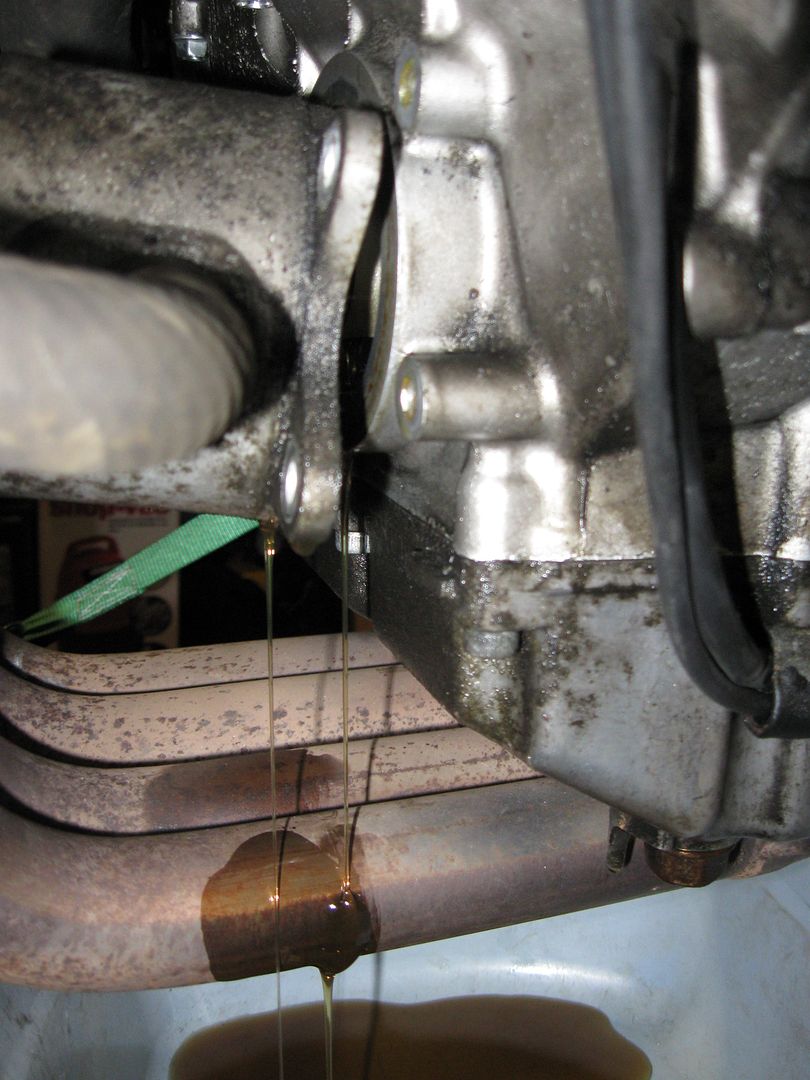
You'll remember that while the FJR is running now, it's weeping some oil out of the oil cooler.

FJR0126074.jpg


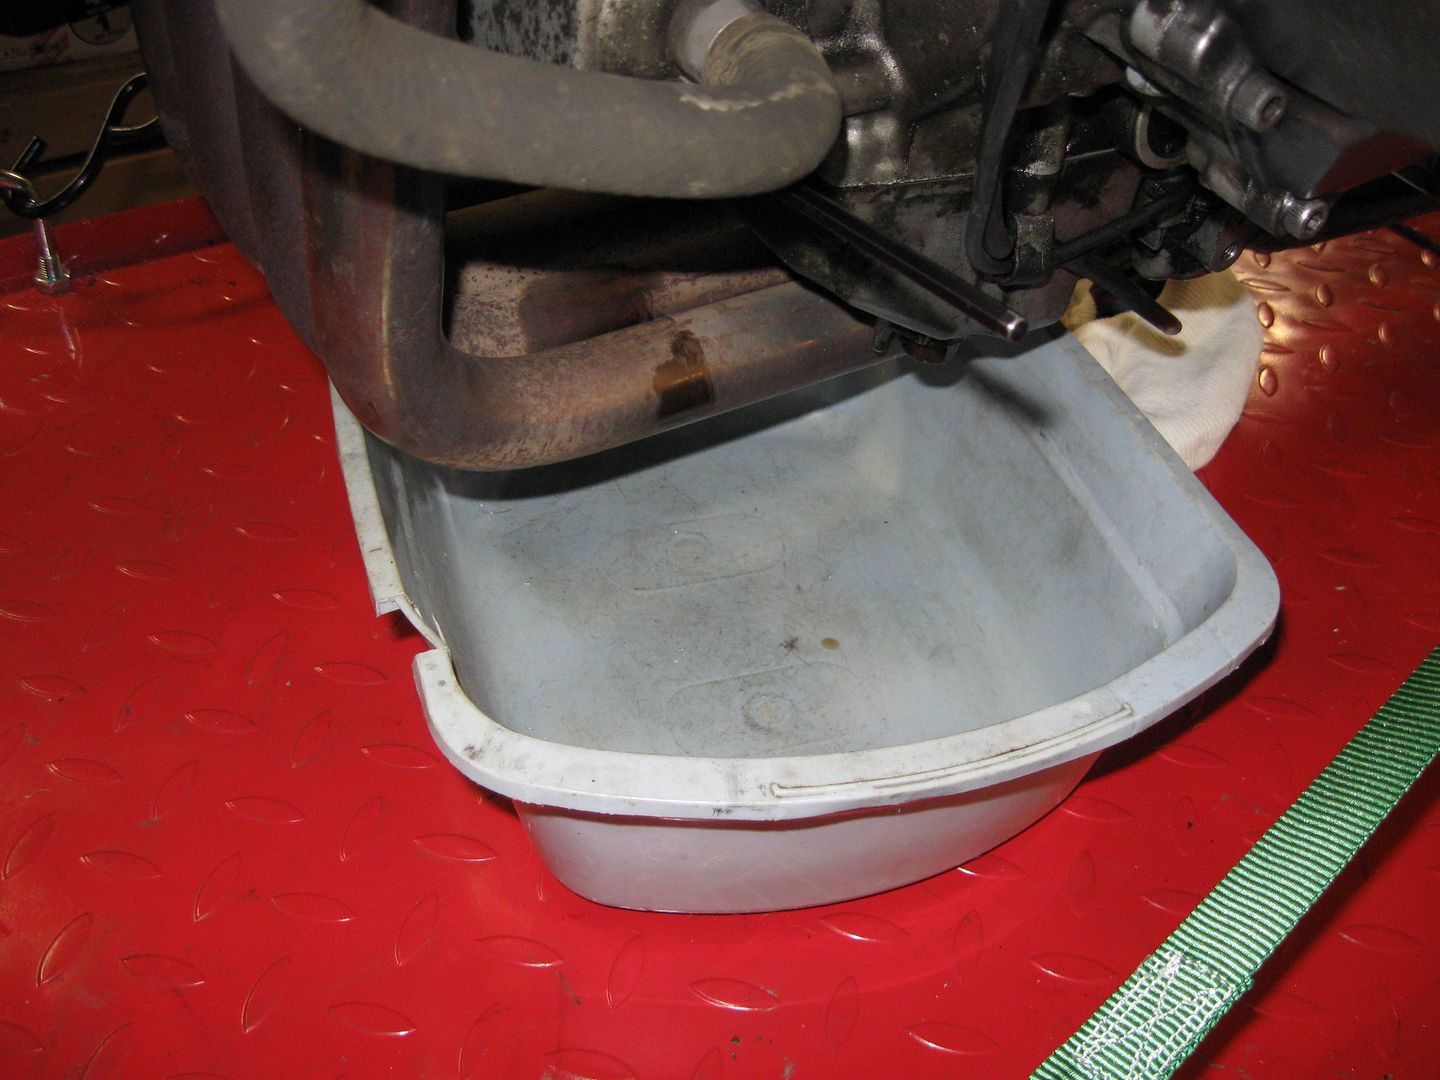
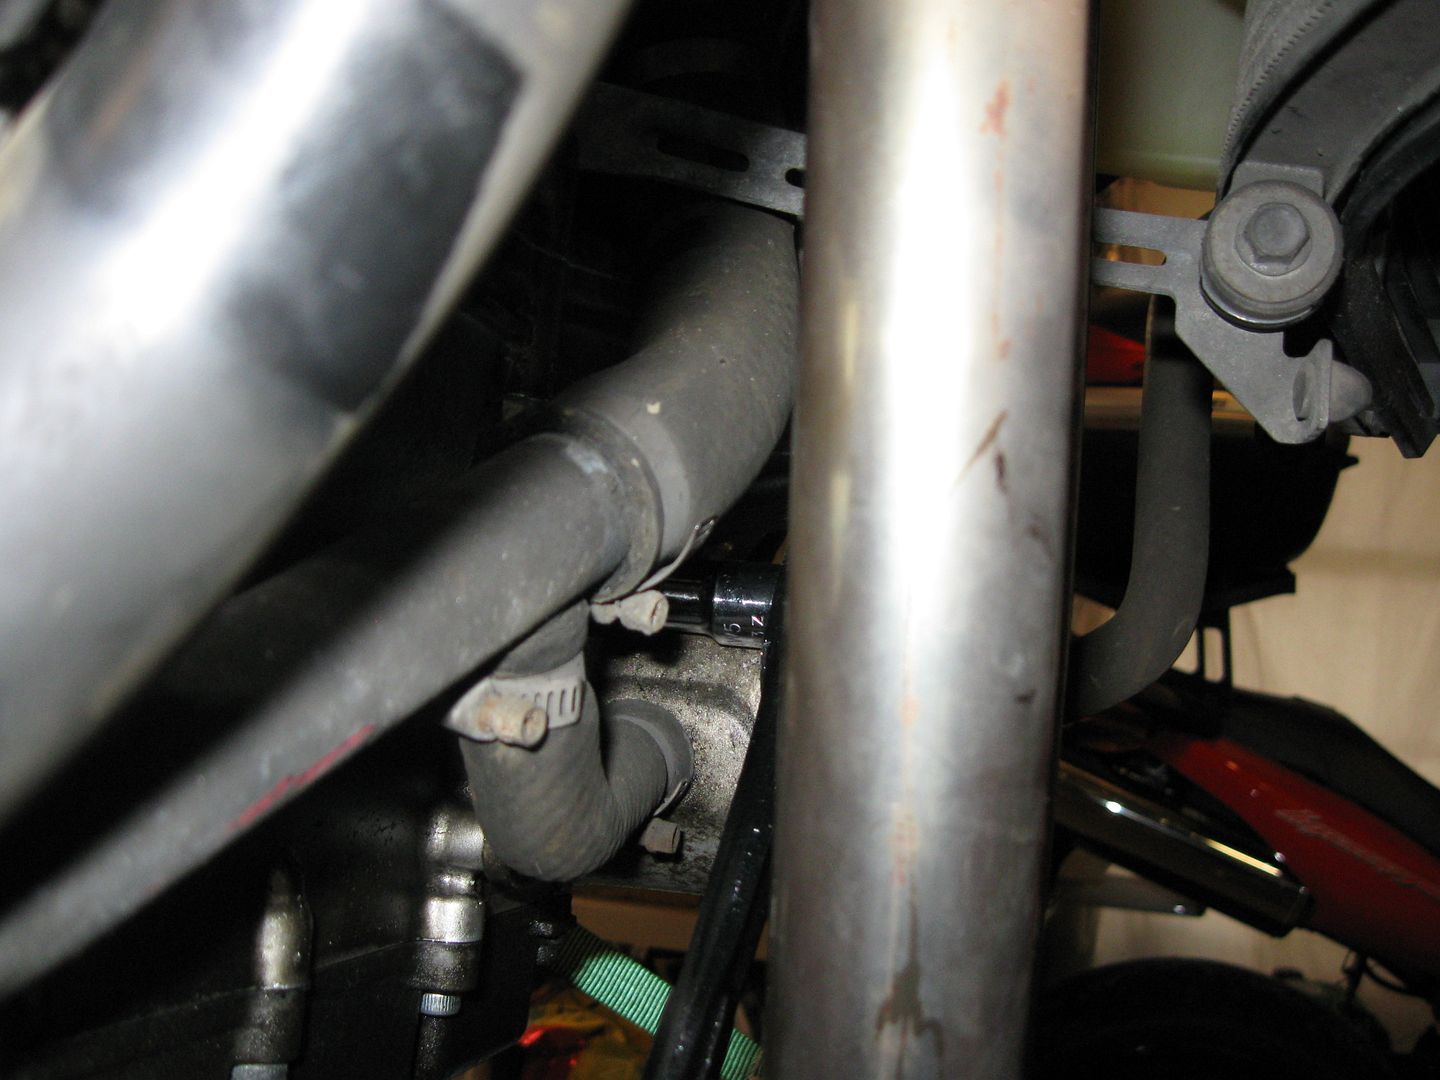
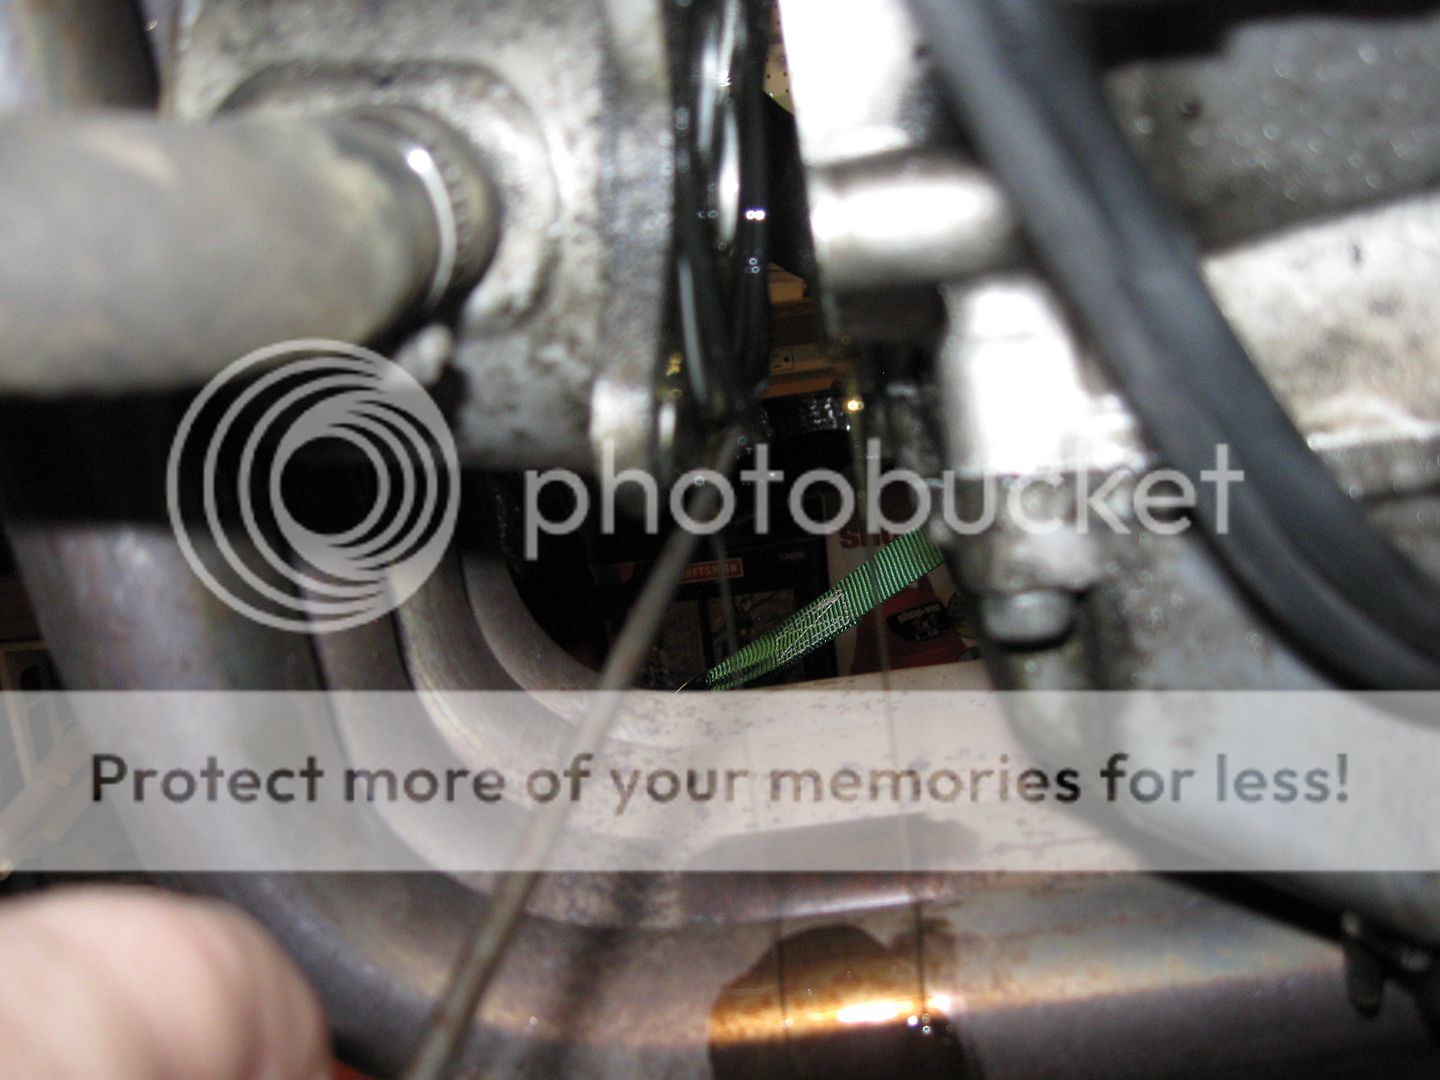
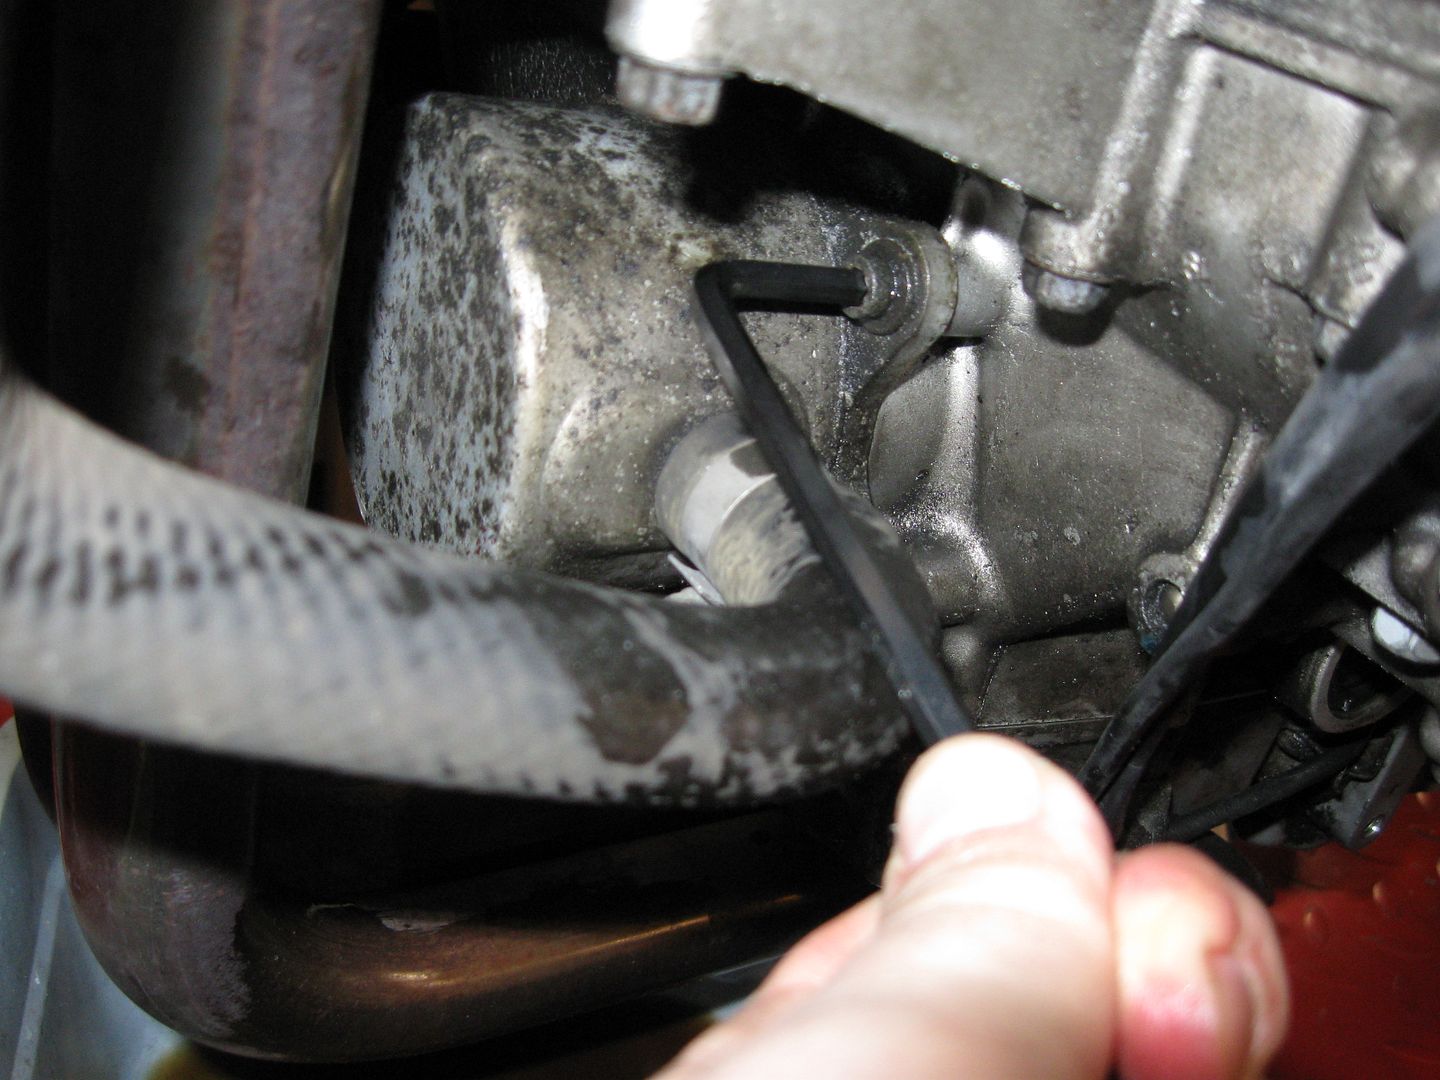
Well, Doug and I put it back on the stand/lift and I decided to see how much oil would come out if I just removed the cooler. I didn't want to drain all the oil again. A pan got put under and the allen wrenches came out.

FJRB001.jpg


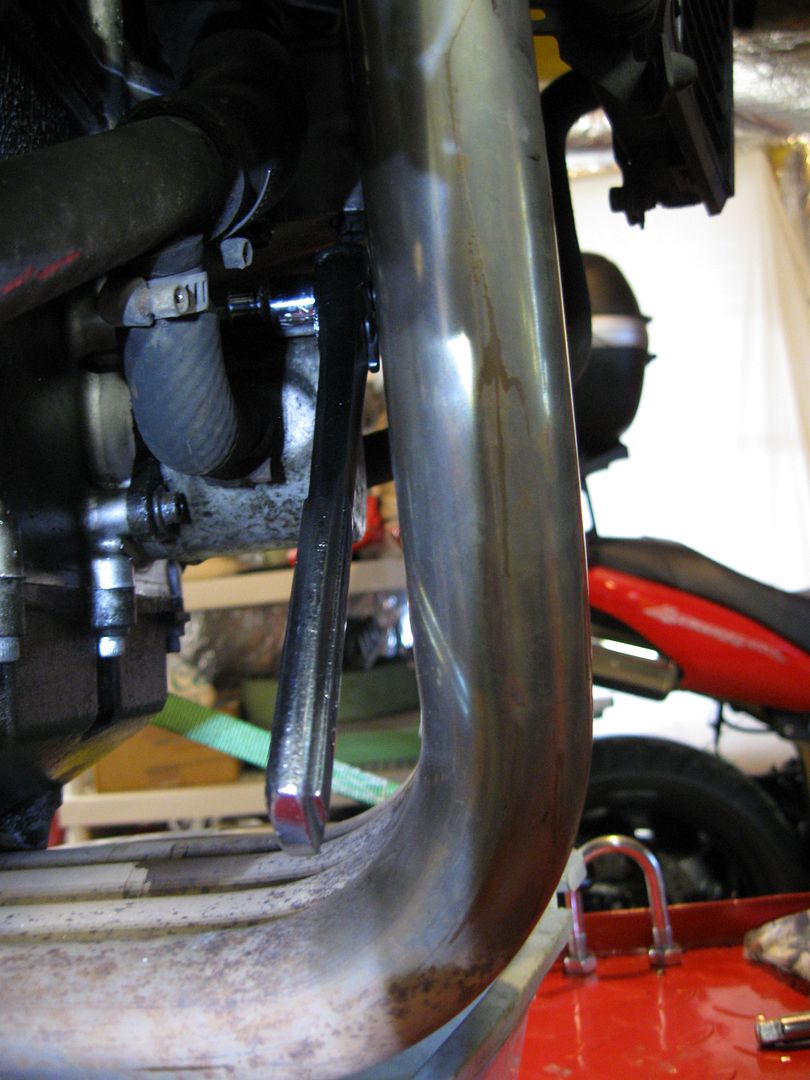
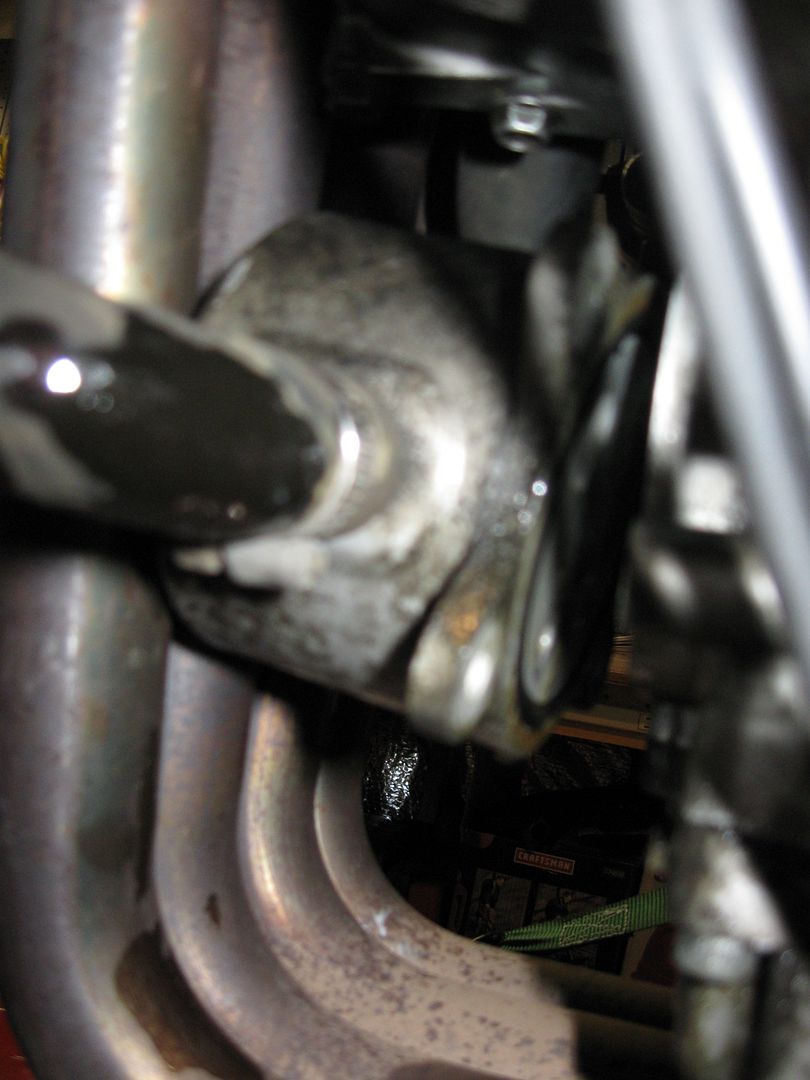
The ratchet was needed as well to slip back behind the exhaust. The angle got a little gnarly even with ball end allens.

FJRB002.jpg


FJRB003.jpg


One, two, three and four and we have separation!

FJRB005.jpg


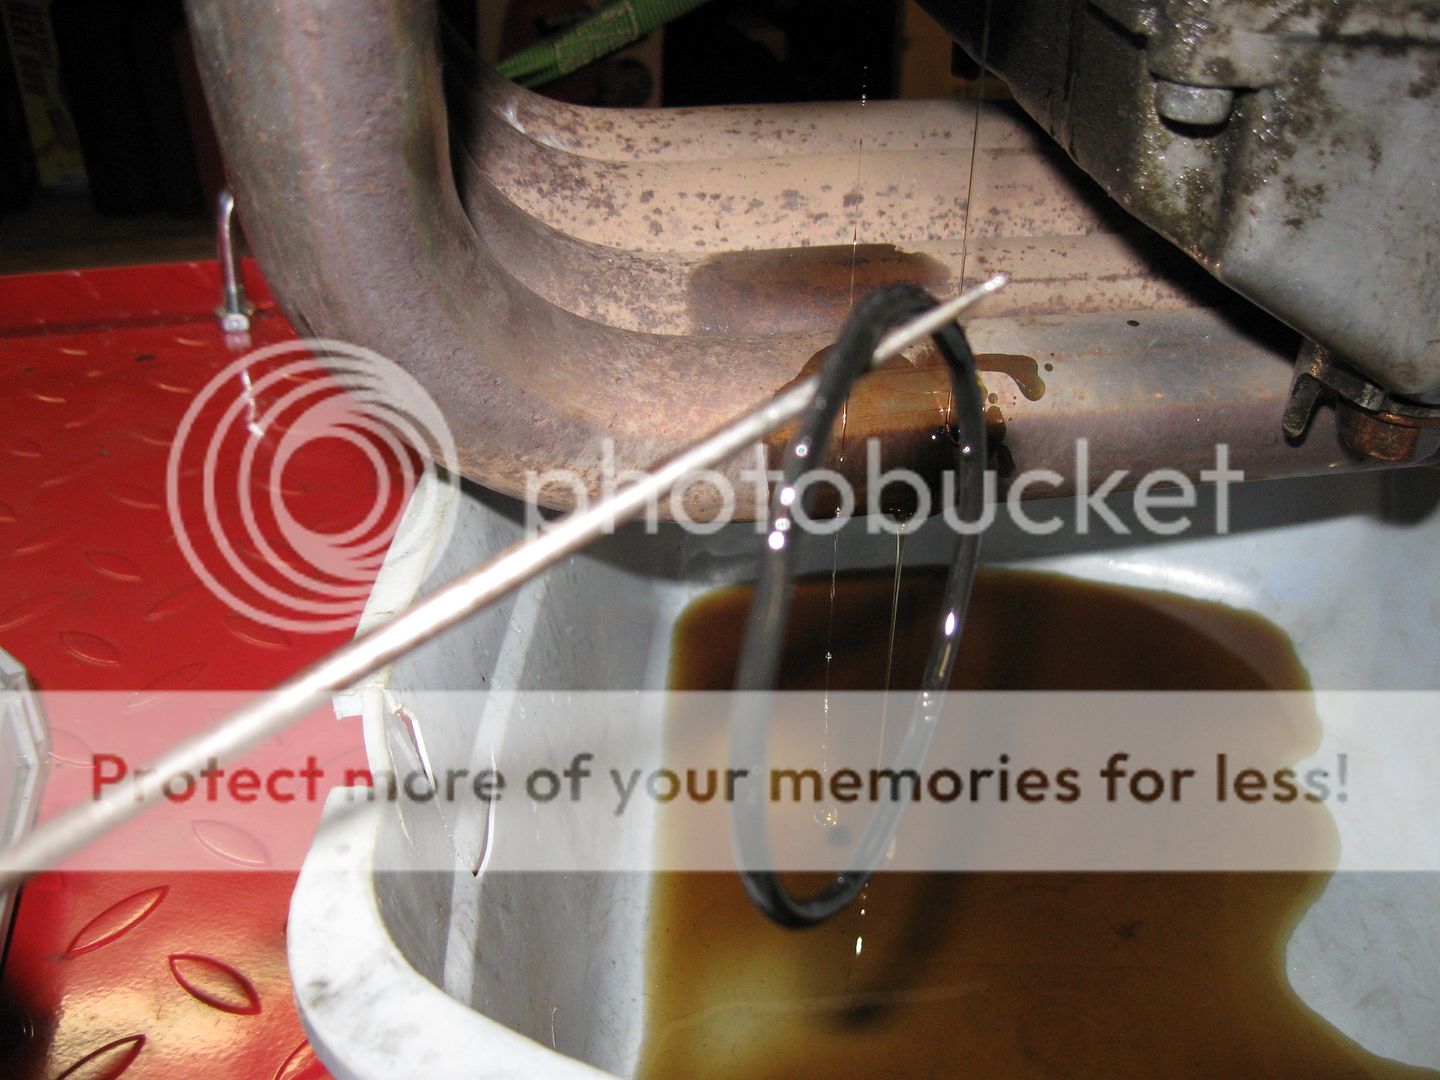
Just enough room to pull it away and reach in to remove the o-ring.

FJRB006.jpg


FJRB007.jpg


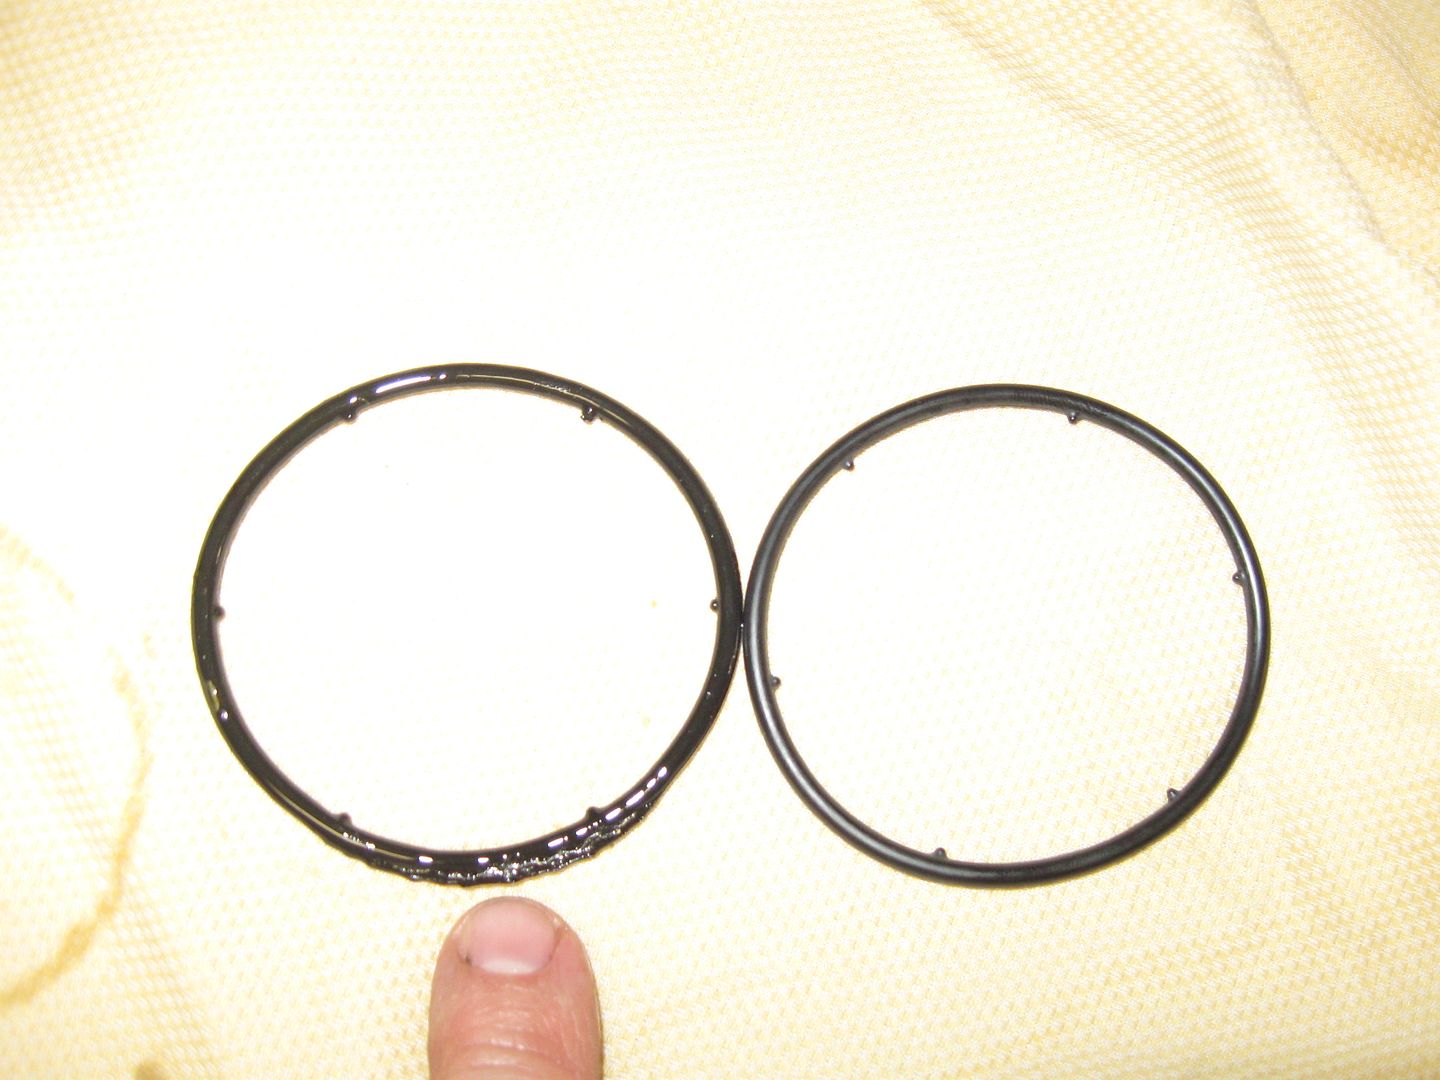
Well, well, well, I think we have a little issue with the old O-Ring. You think? (hint: look at my finger
crazy.gif
) - sorry I put on my Smarty-Pants this am. The new ring is to the right.

FJRB008.jpg


Doug and I aren't sure that was a pinch from our re-assembly or if perhaps a previous mechanic did it and it sealed ok until WE came along. It looks a bit melted.... No matter, it's job is done.

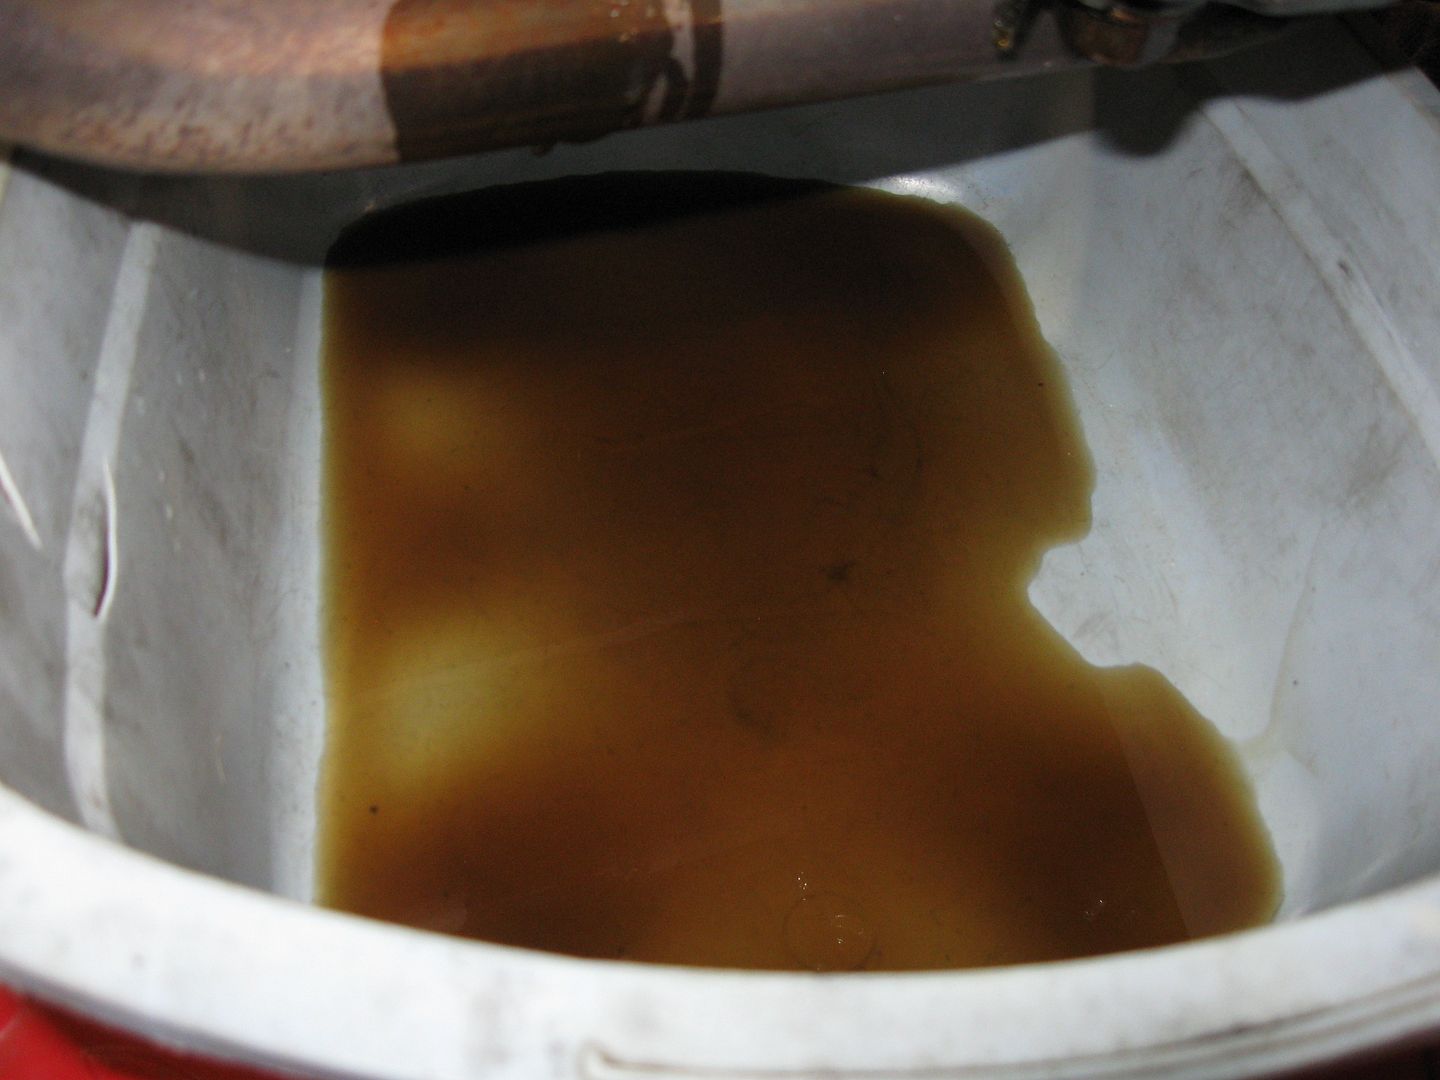
As for the oil....

FJRB009.jpg


That's it! Not much came out thankfully.

Another apology for my crappy point and shoot camera with auto-****** focus.
arrowheadsmiley.png
Here's the new O-Ring going into place.

FJRB011.jpg


Another one, two, three and four. The allen bolts go back and are properly torqued. click-click-click... and click!

FJRB012.jpg


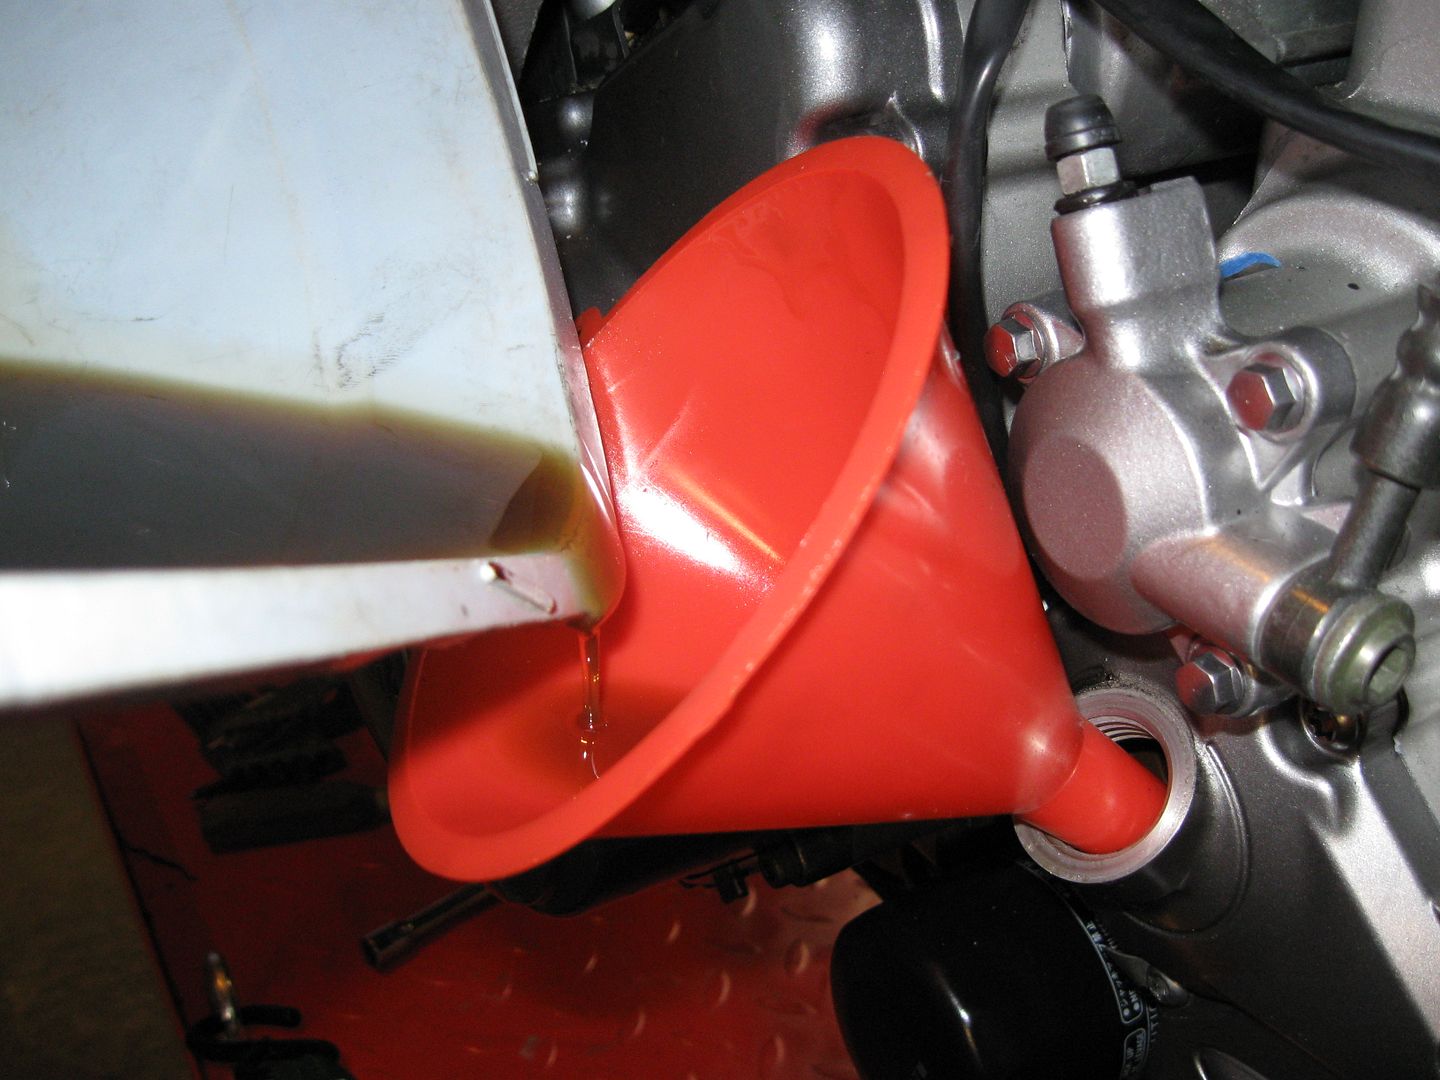
The bin was scrubbed clean before use and oil has maybe 20 miles on it (and looks clean with no pieces swimming around) so back in it goes!

FJRB014.jpg


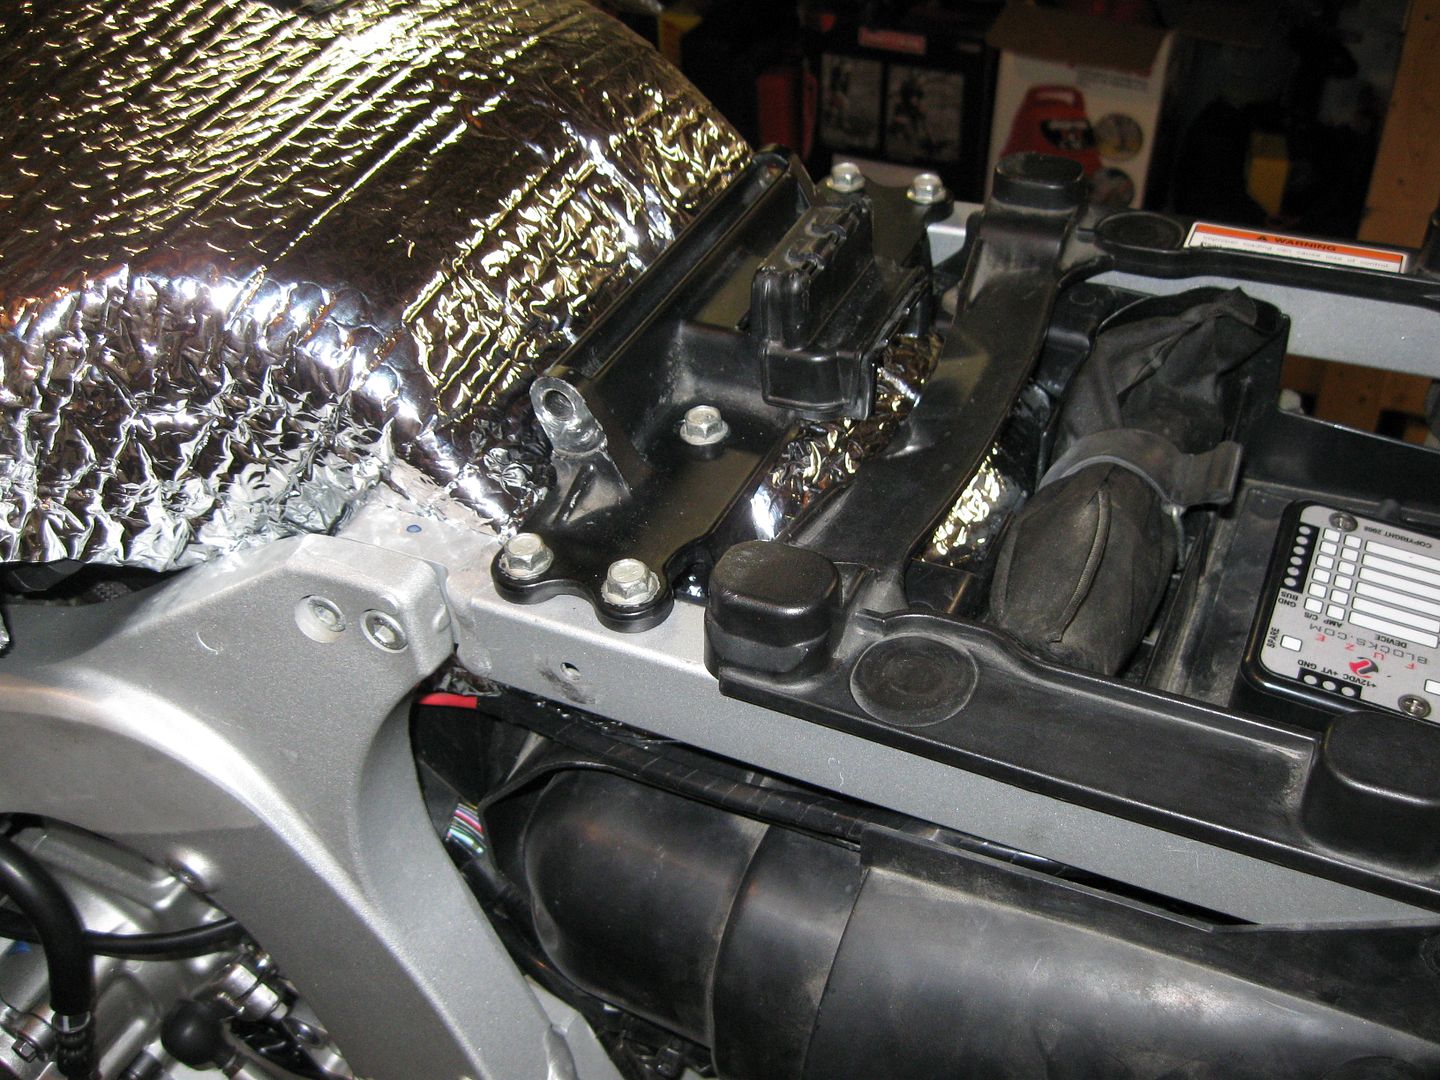
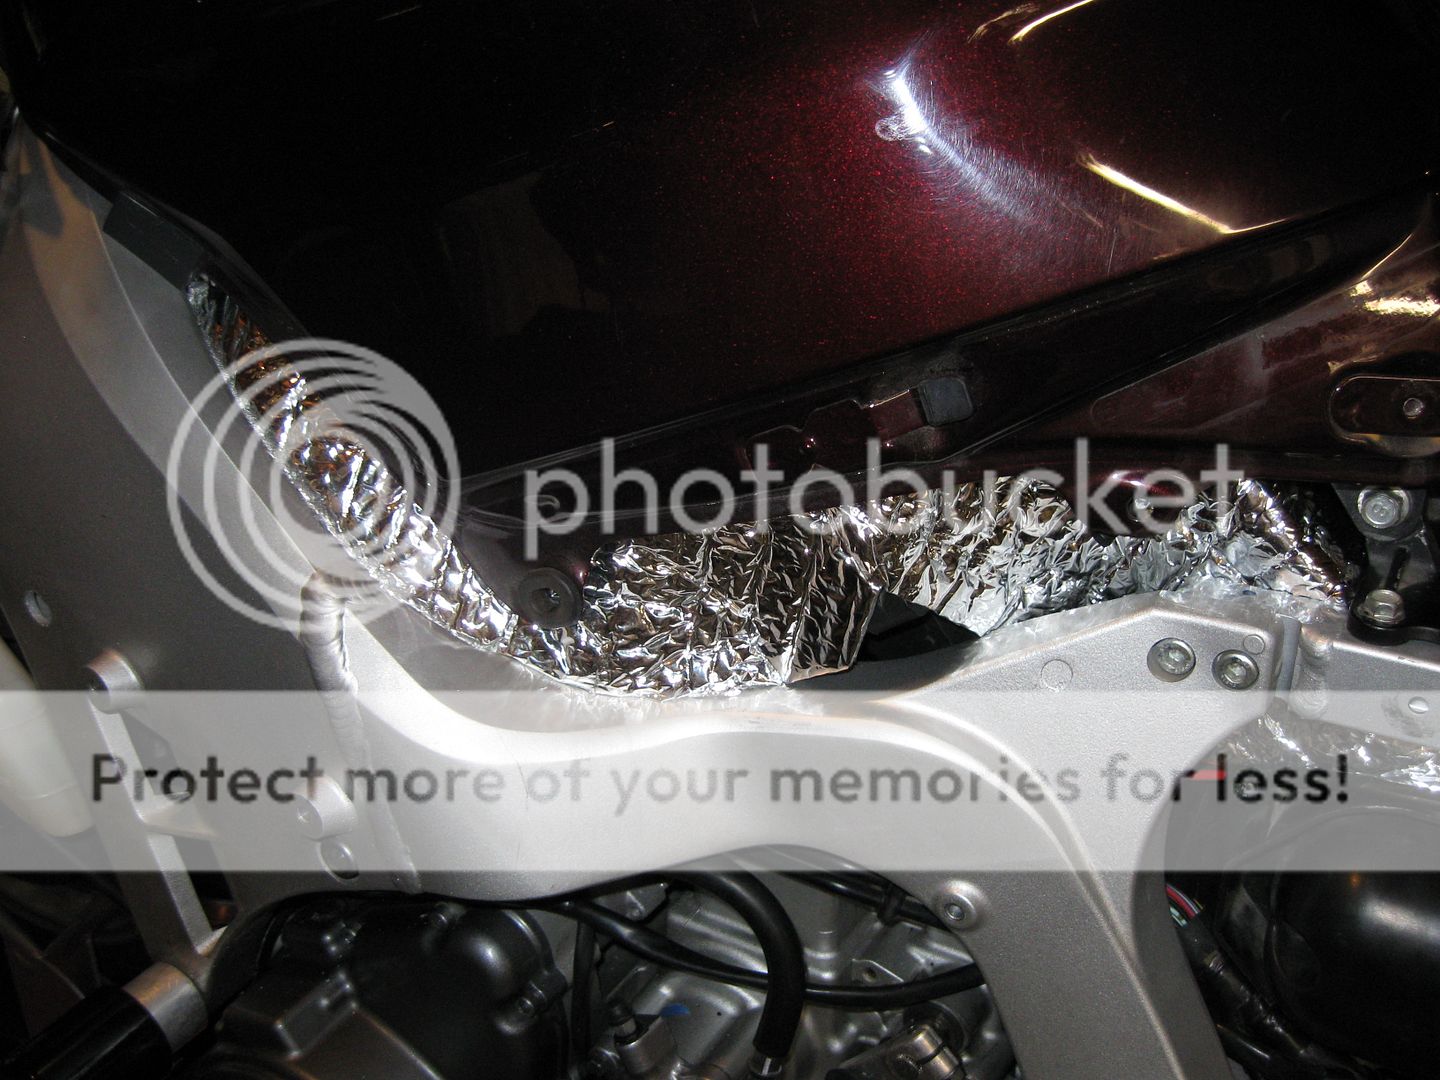
Now. I know Yamaha "redesigned" some stuff and put a "heat sheild" under the tank for the Gen 2s. But I came across this site. Not new I know and some of you have this little gem of a "heat fix". Well, I decided to take a plunge and see about improving even more the summertime comfort of the FJR and possibly make this guy my year round buggy! A few have made strides to help my old Concours, but it's not tolerable for me ride in the heat!
no.gif


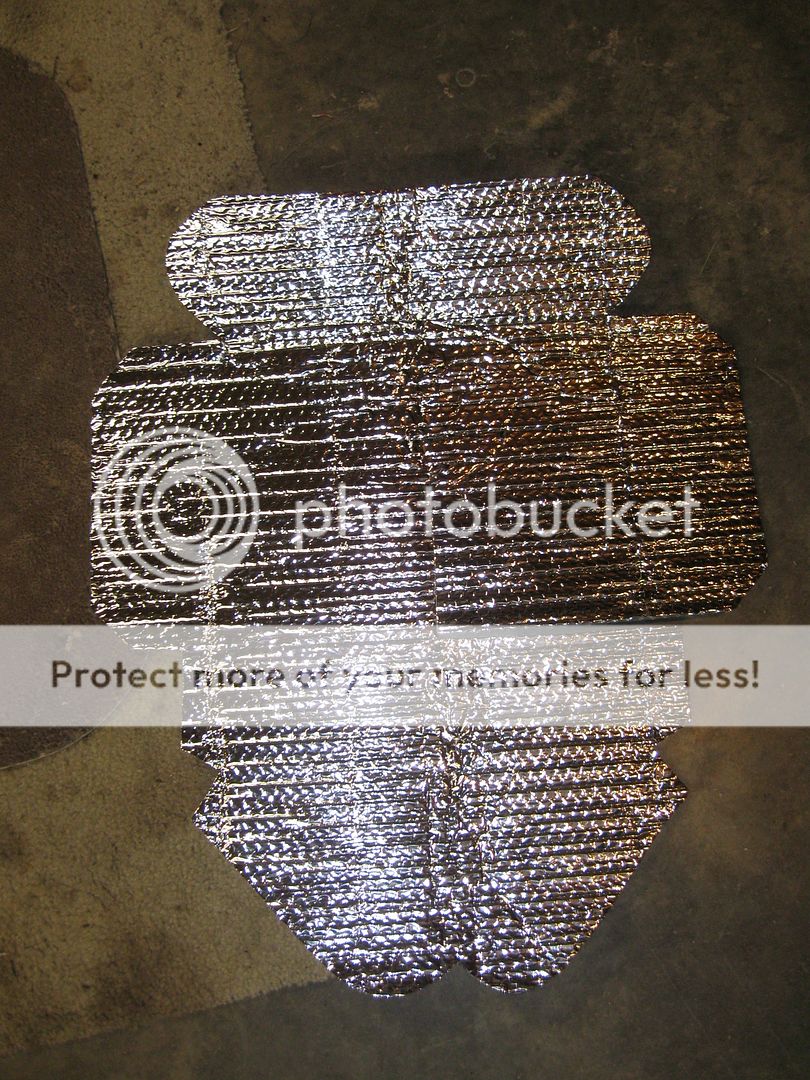
So here we have the SpdZn Heat Fix

FJRB015.jpg


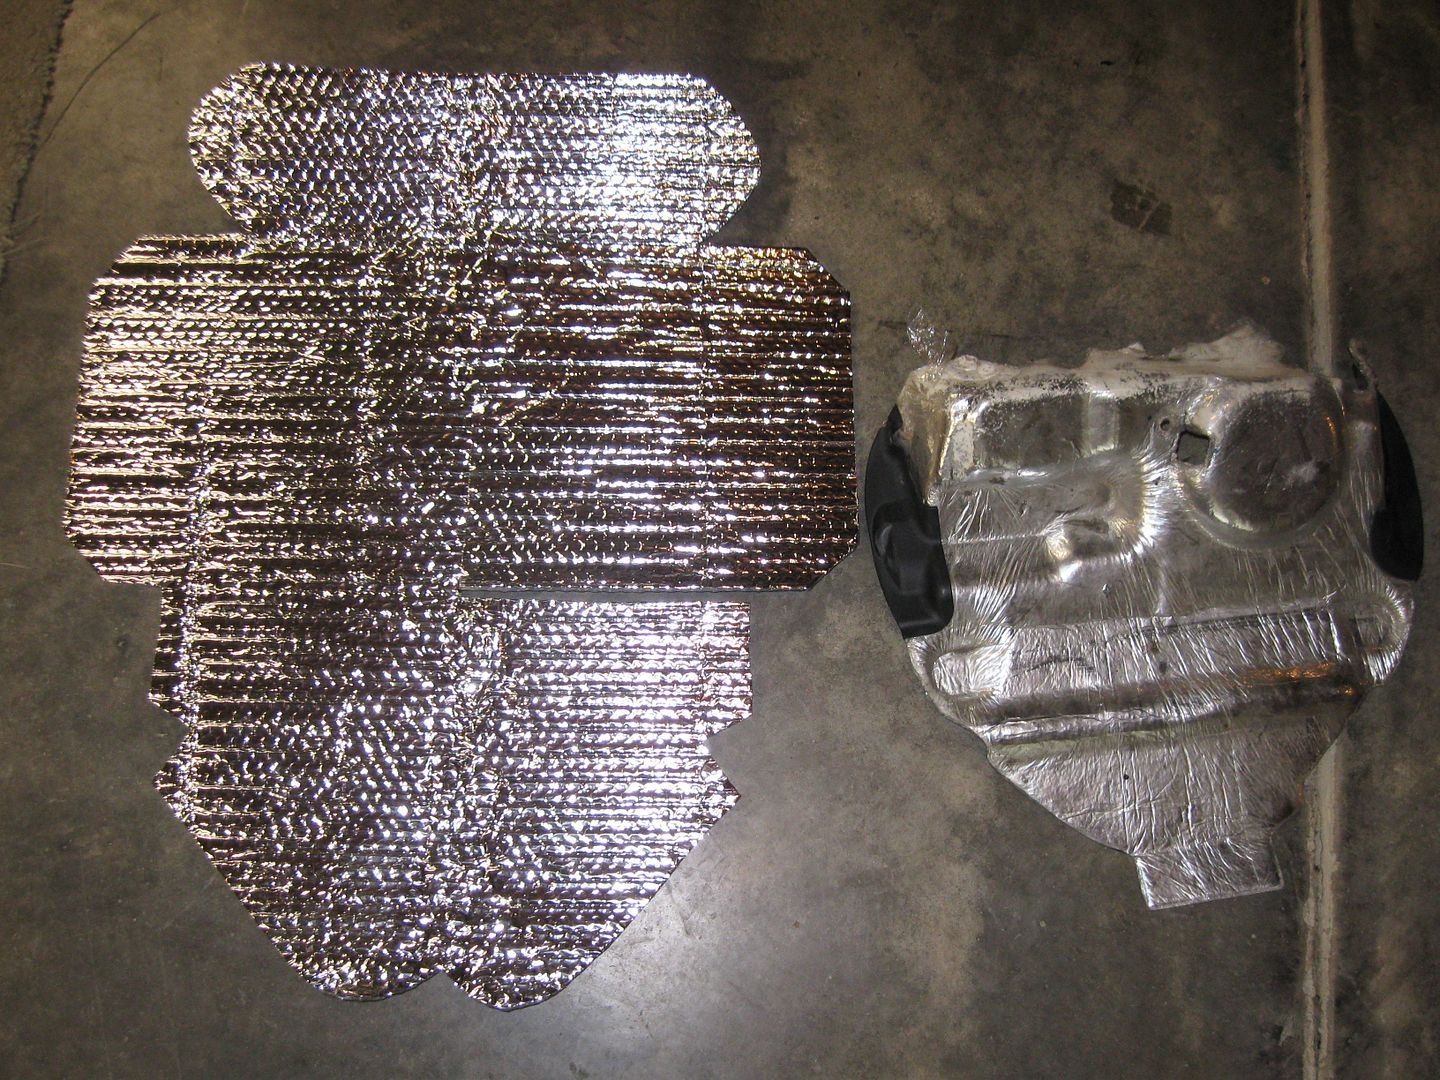
Now let's lay it beside what Yamaha put on top of the engine bay.

FJRB016.jpg


Obviously I invited Doug up to "play" and assist. He says I keep him out of trouble.
popesmiley.png
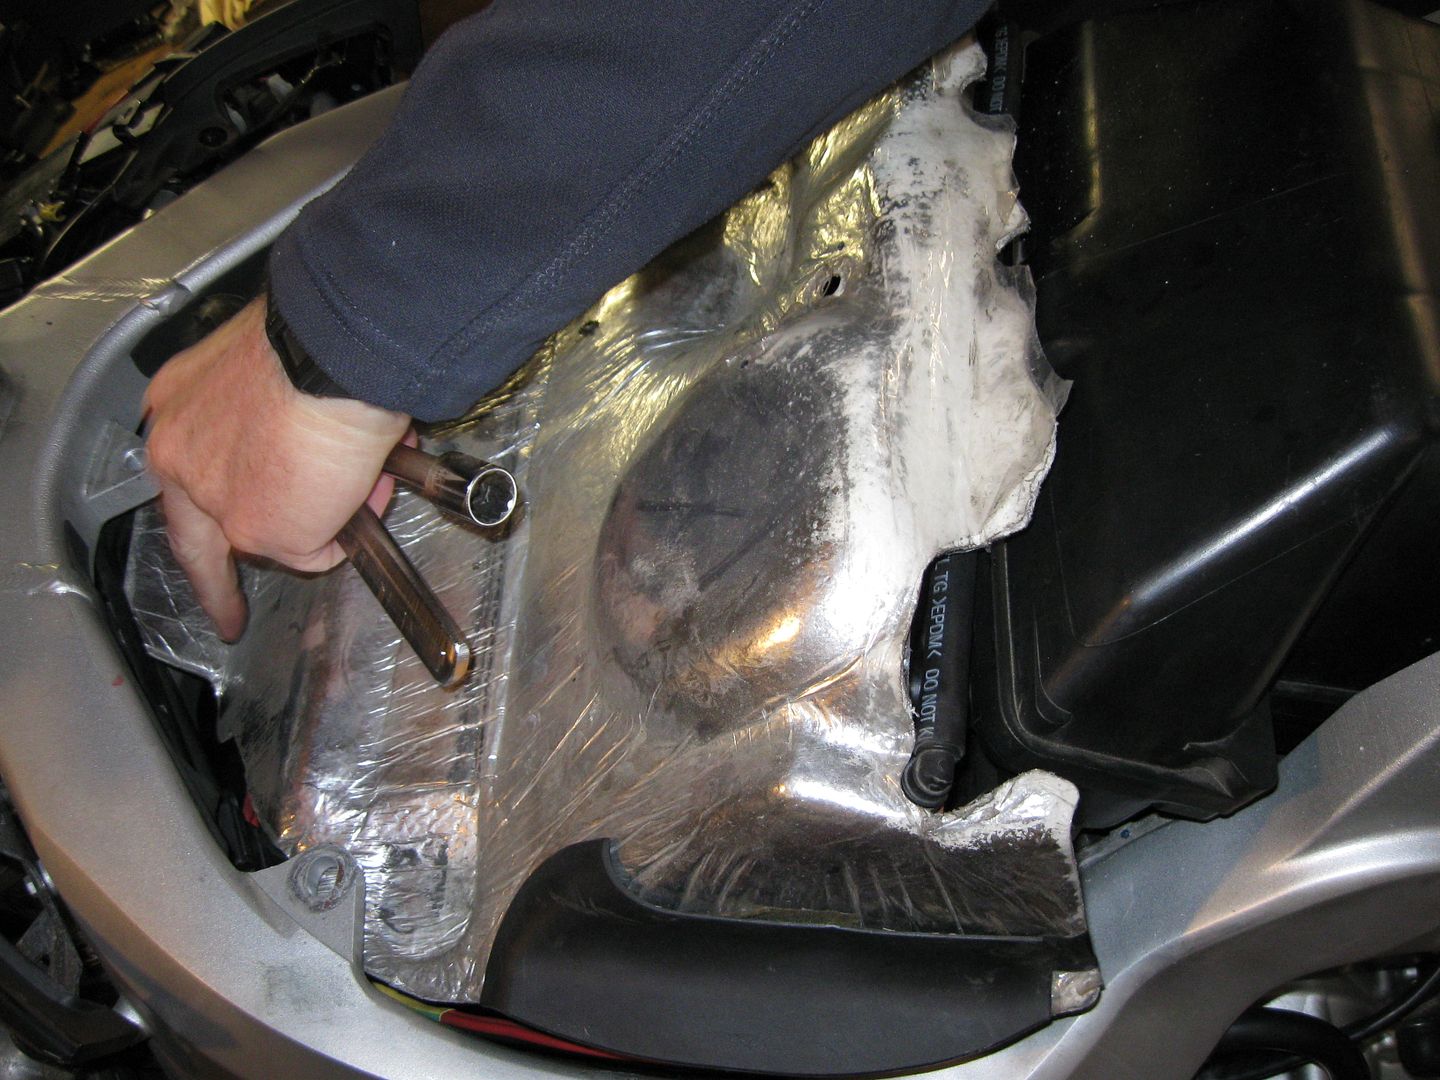
So instead of replacing, I put the stock piece on as intended.

FJRB017.jpg


FJRB018.jpg


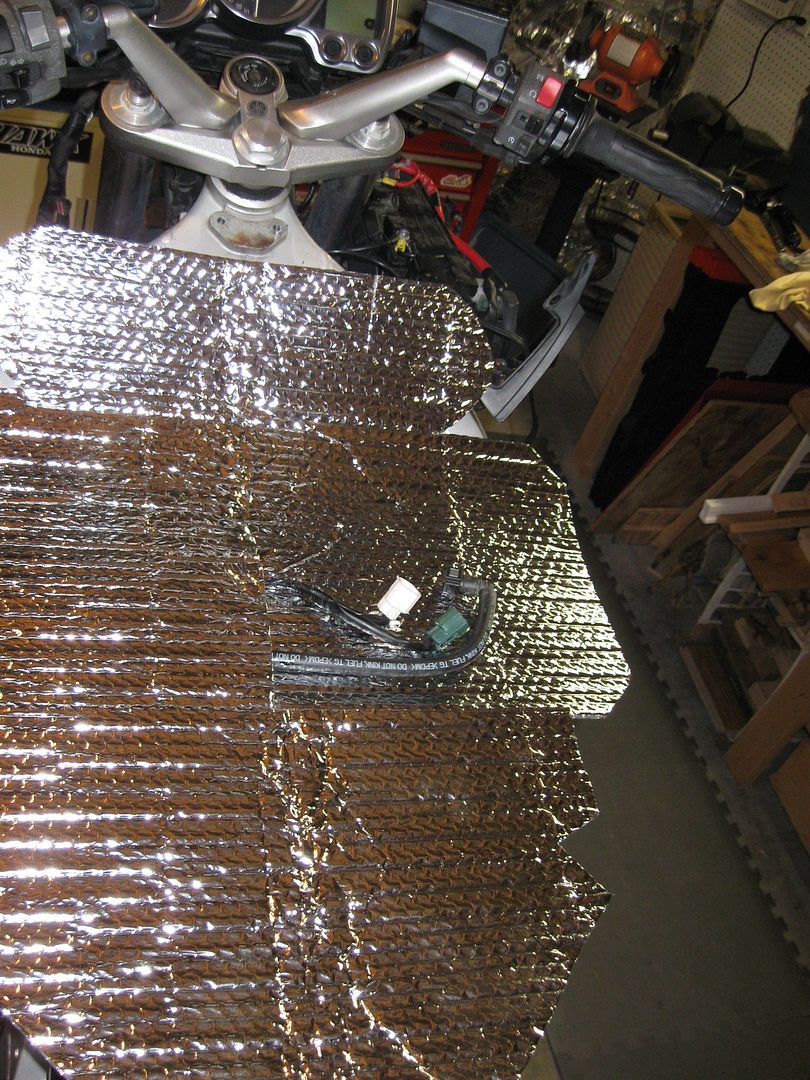
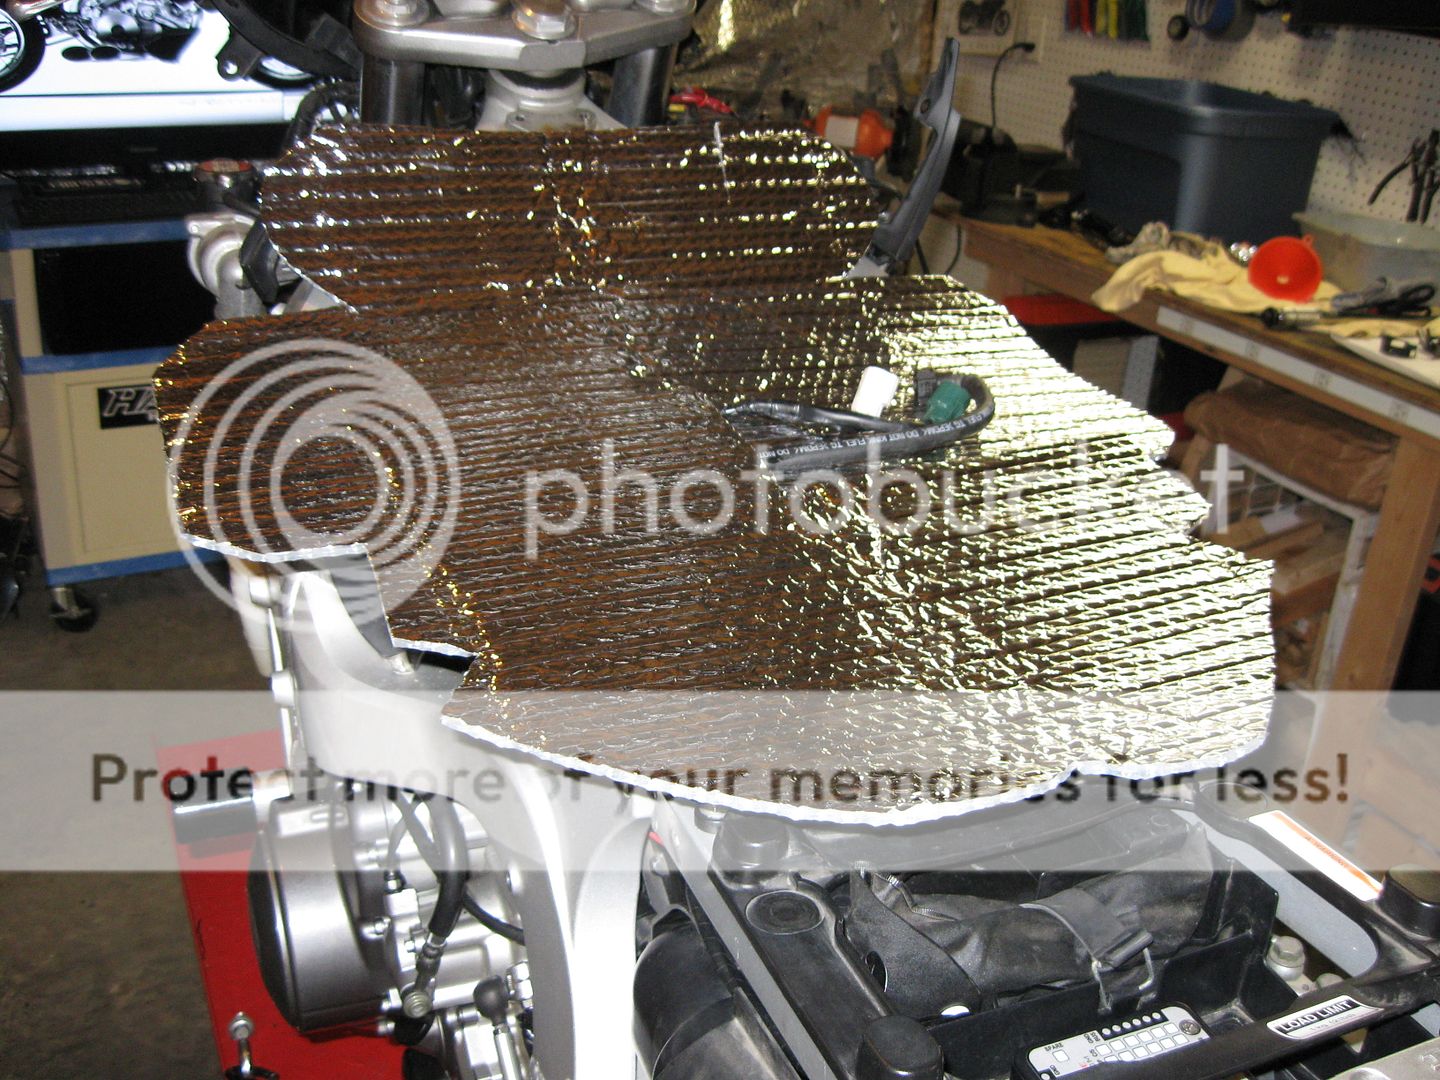
The Speed Zone part gets laid on top for initial fit.

FJRB019.jpg


I know! Solar Panels! A solar powered FJR!
lol.gif
<snicker> ok... if true that could power what... the dash and maybe blinkers? hehe....
haha.gif
ok ok.

FJRB020.jpg


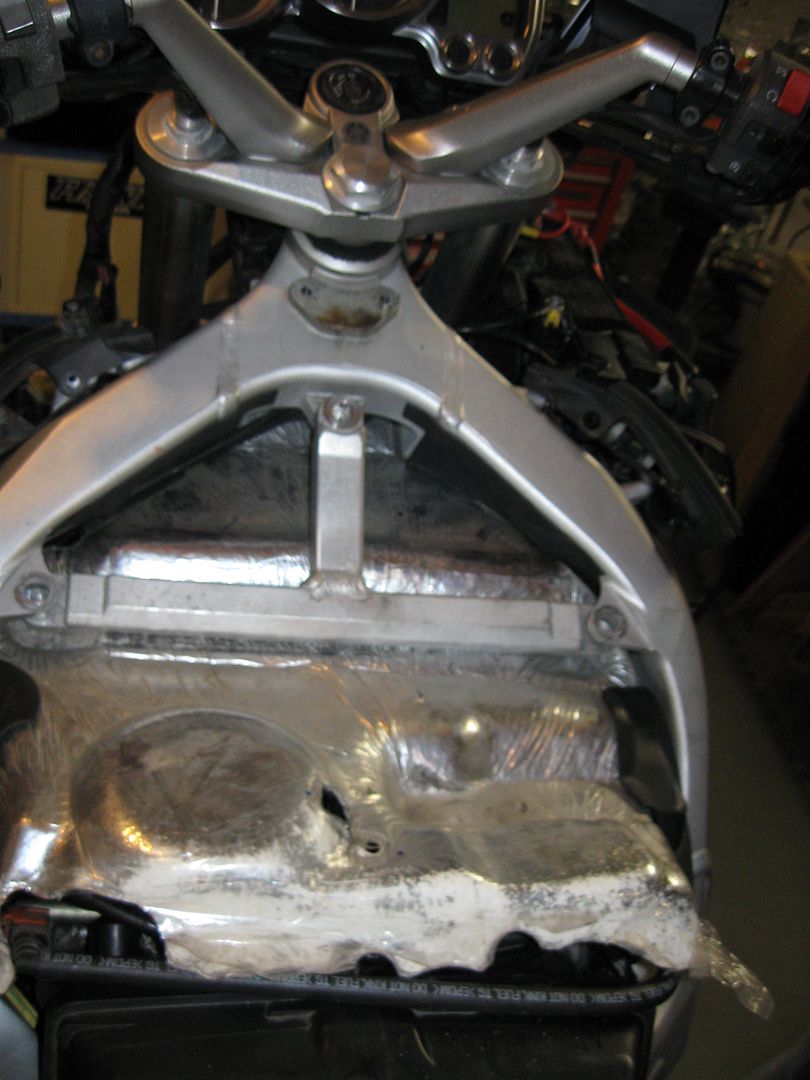
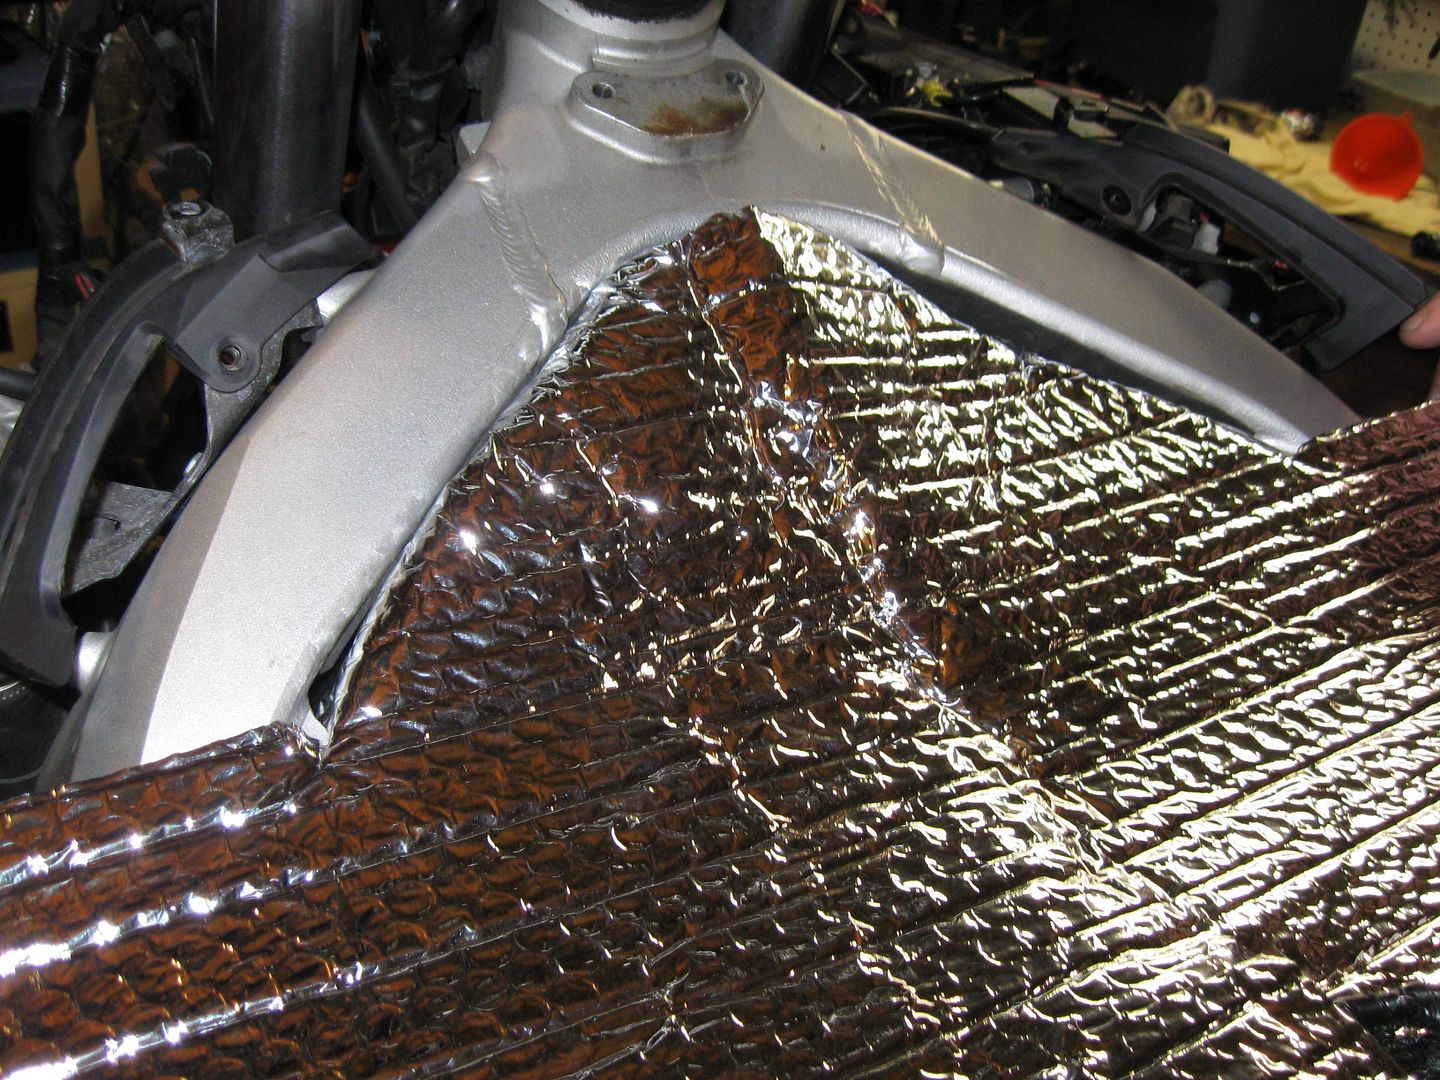
Tucking in the top around the frame. Not much more would fit under the T-bar and I think the instructions said to go over. So over we went!

FJRB021.jpg


Not much needed on detailed instructions needed. Just tuck it in where you can. The back part gave us some head scratching though.

FJRB022.jpg


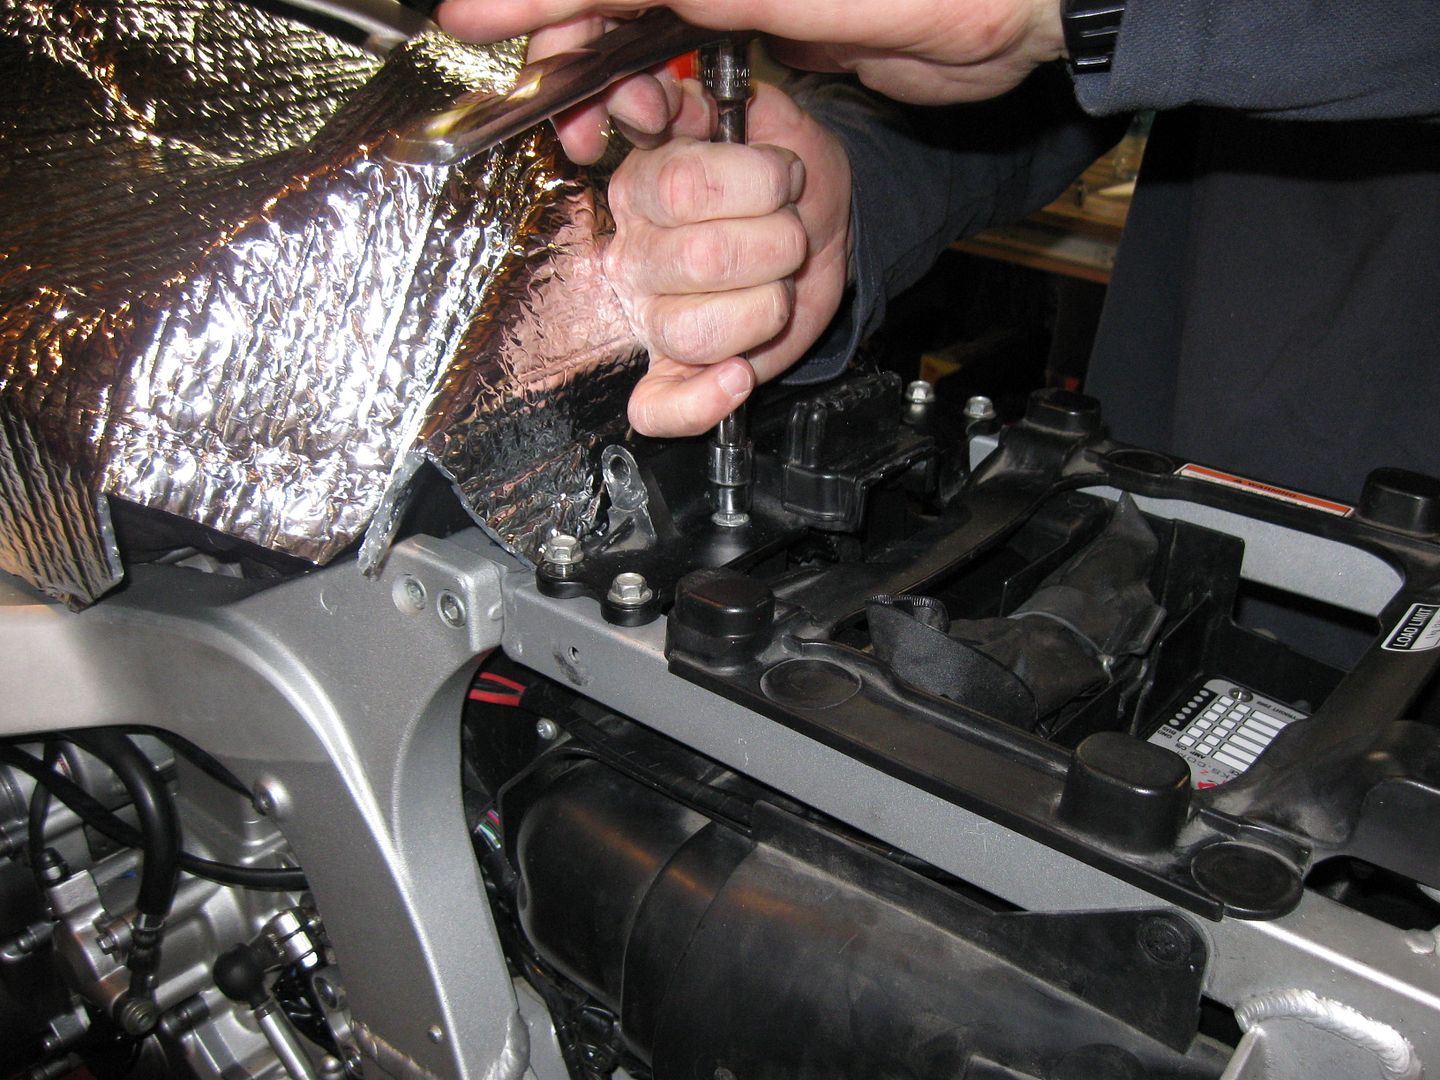
So we removed the tank and seat brackets.

FJRB023.jpg


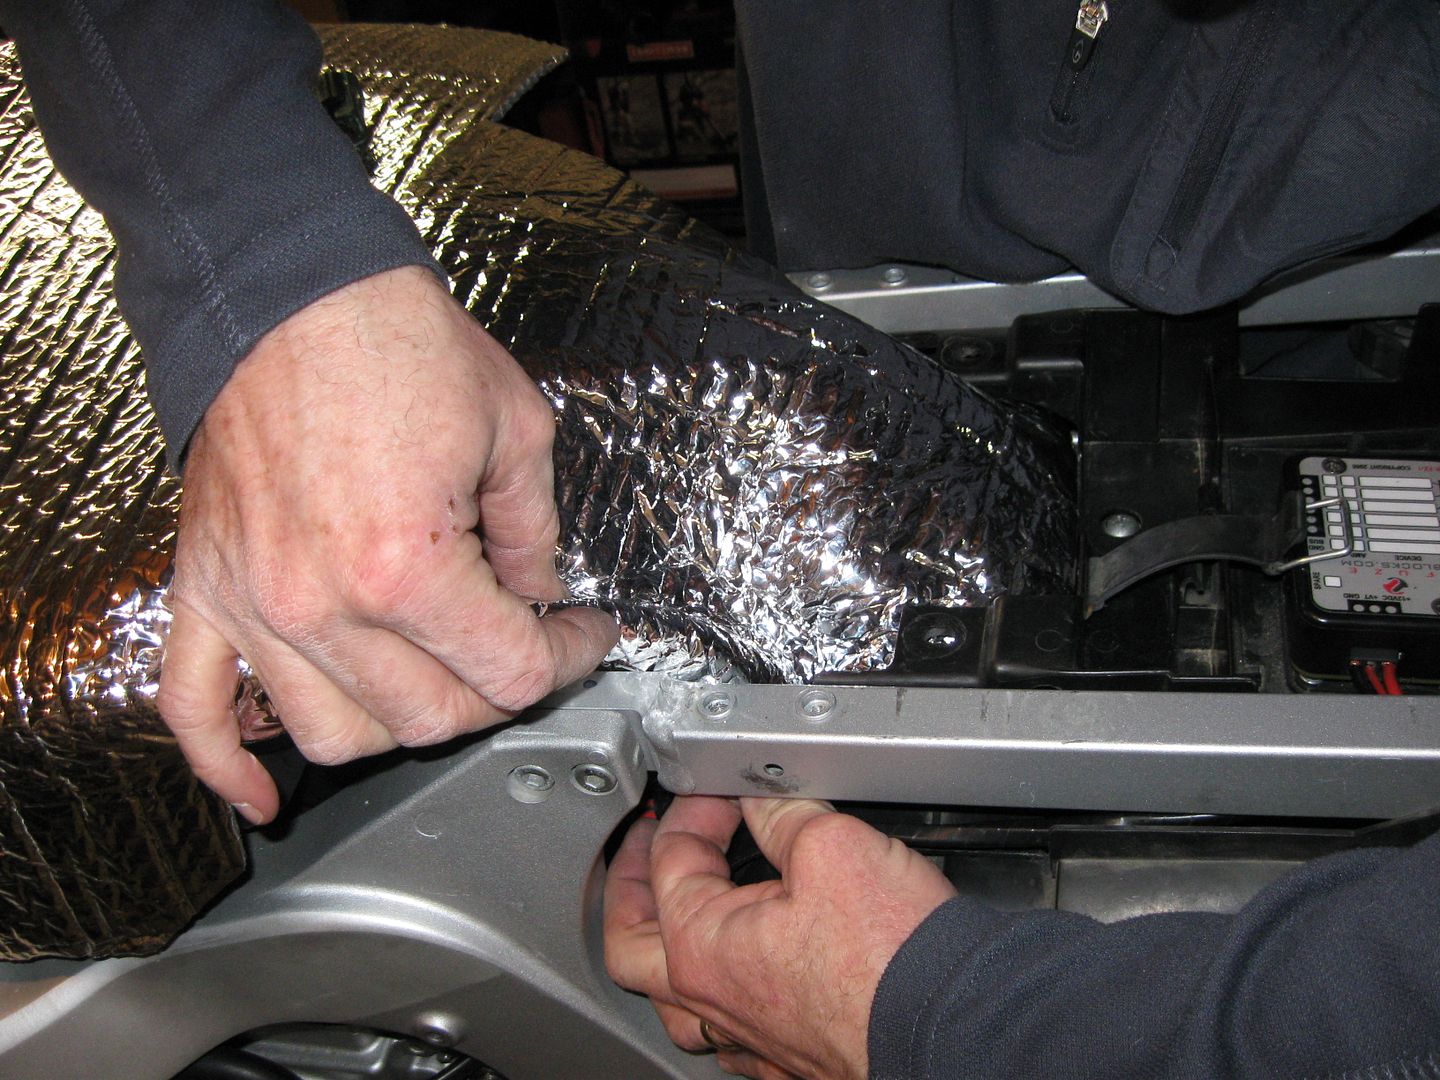
And schlepped it under the center. Doesn't Doug make a great Hand Model?
sarcasm.gif


FJRB024.jpg


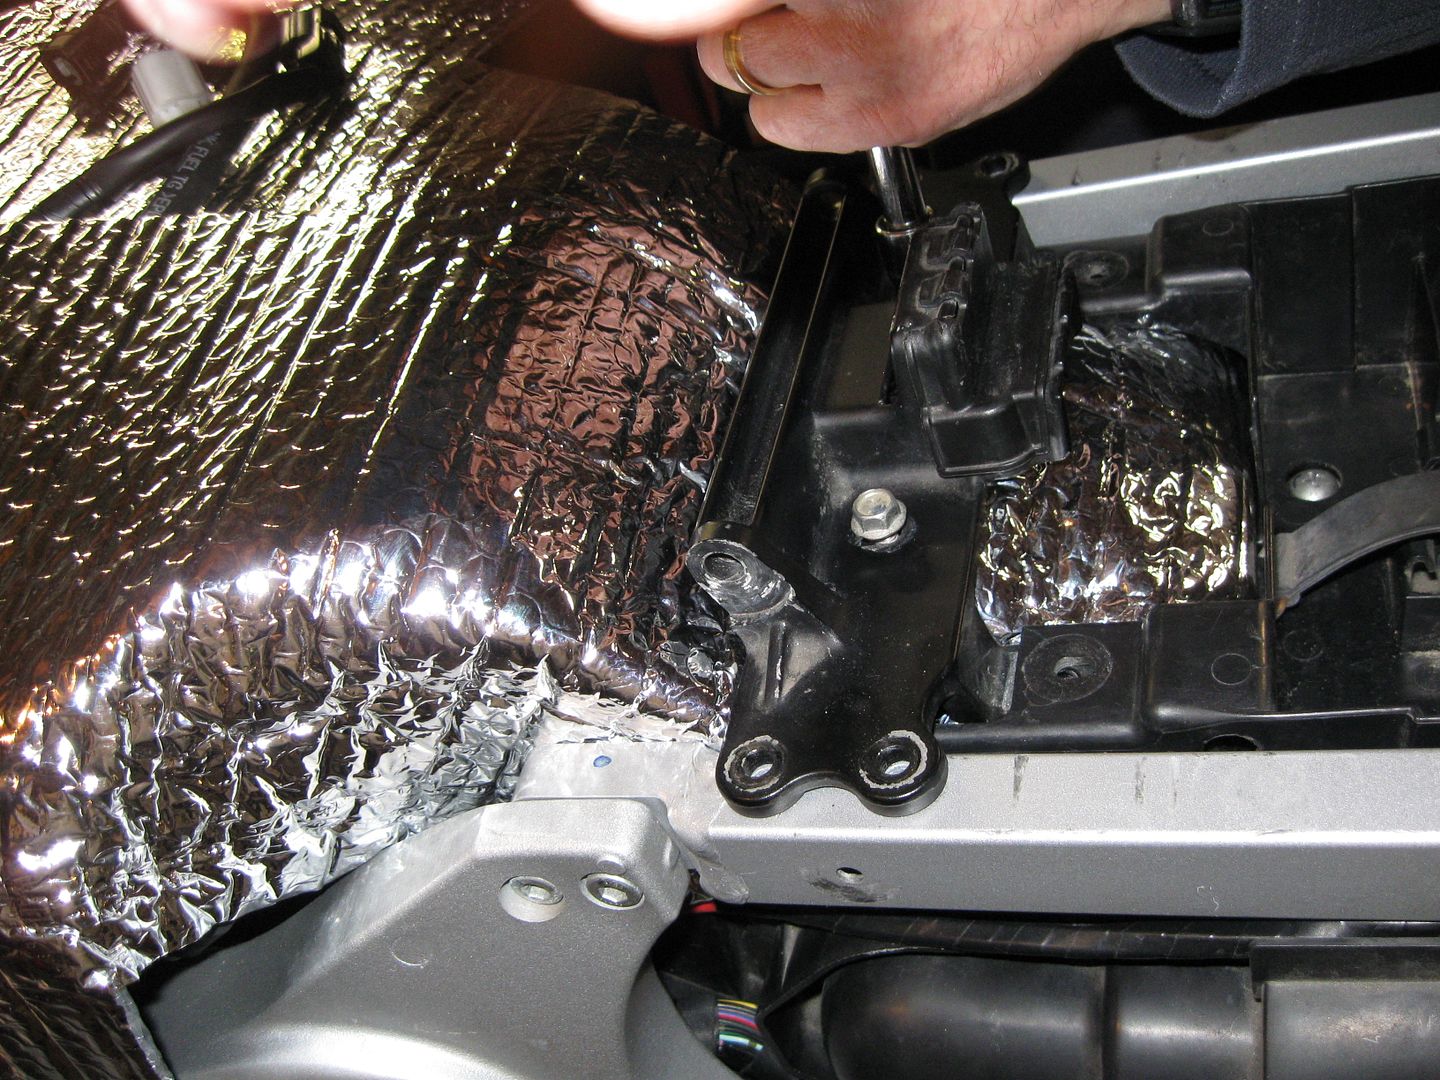
Reinstalled the brackets....

FJRB025.jpg


That right side doesn't stay down to easily. The slits in the material make for easy routing of the cables and tubes that need access to the tank.

FJRB026.jpg


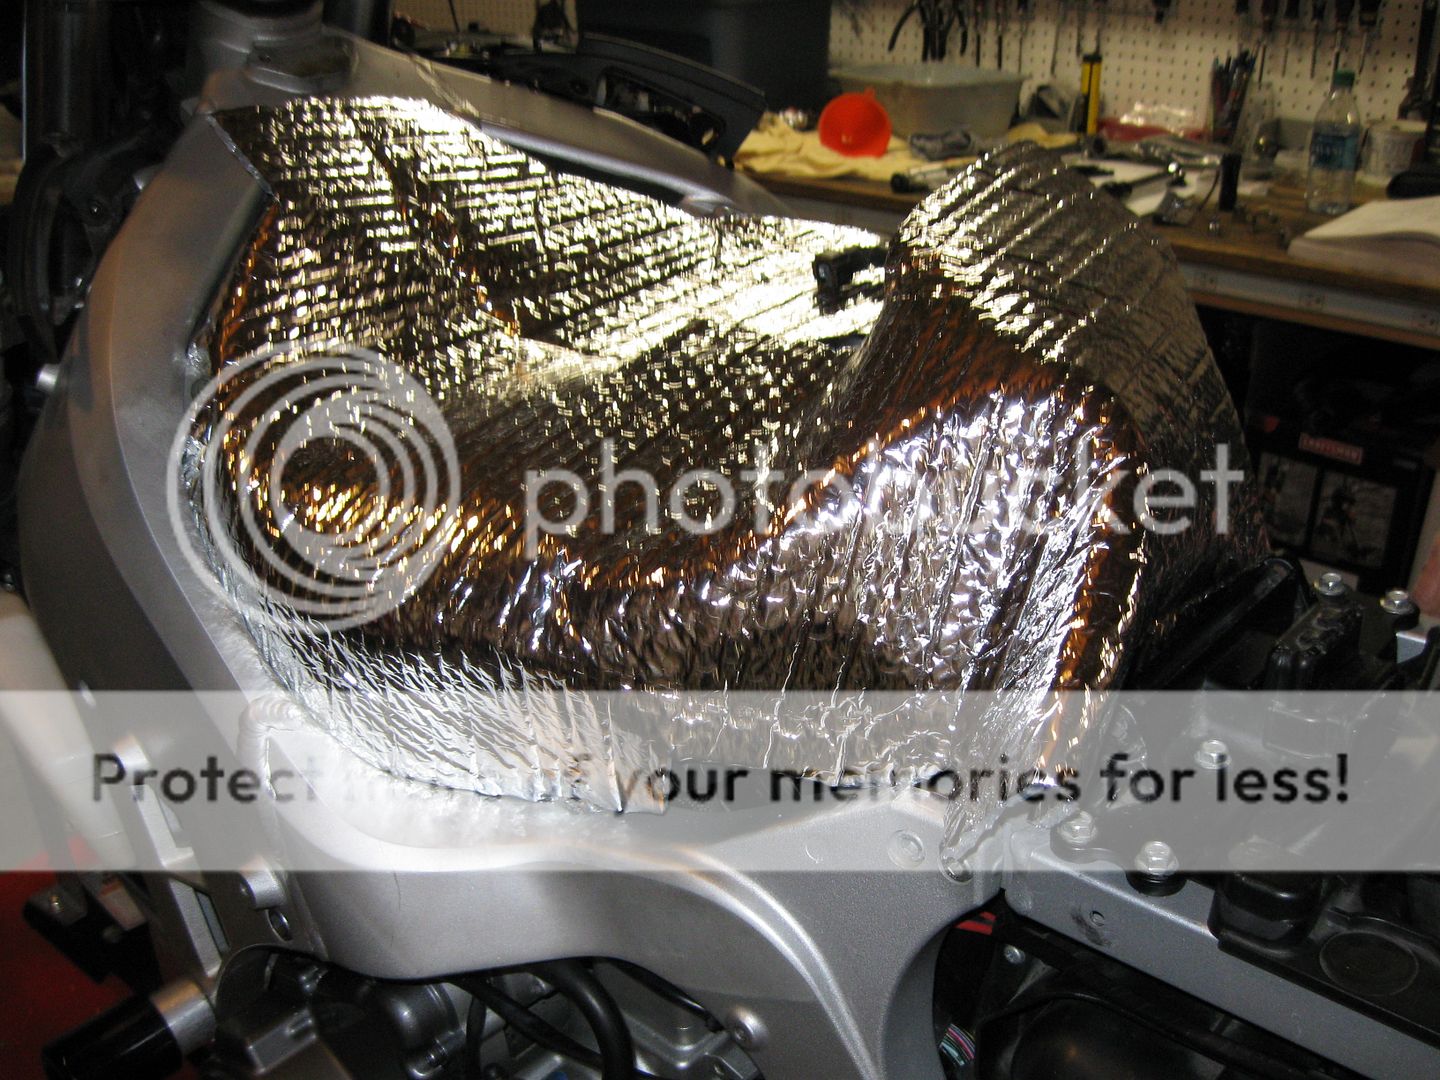
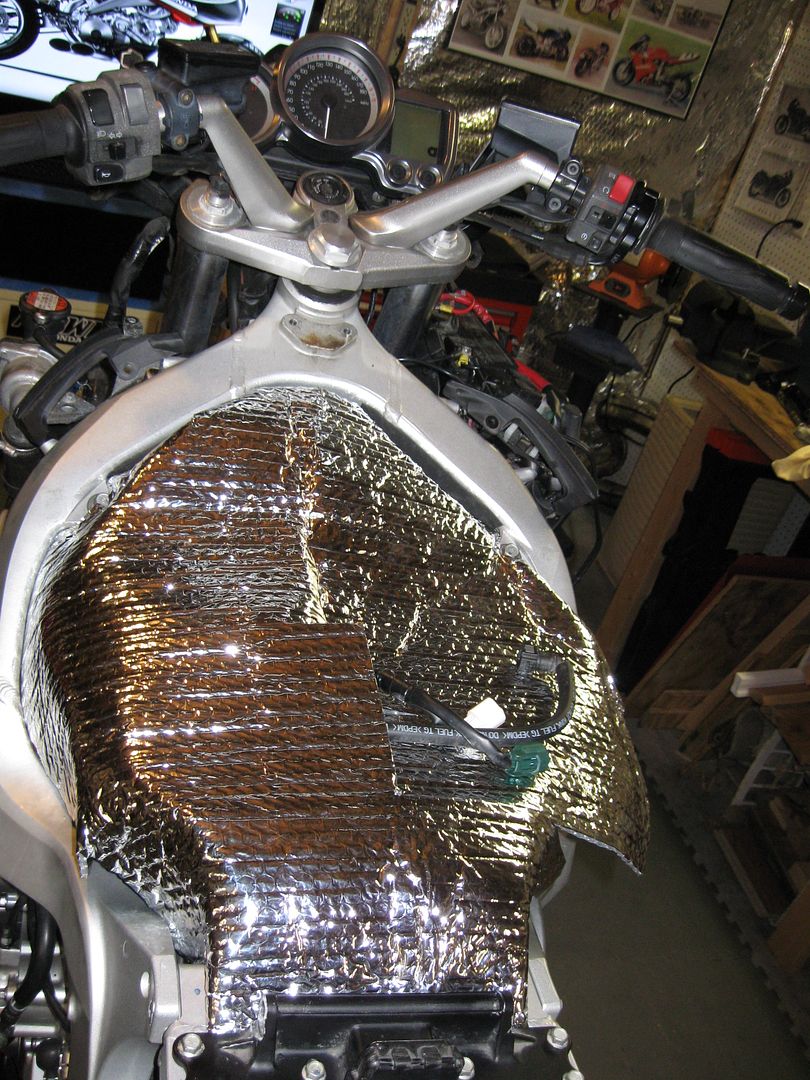
Finished installation on the back.

FJRB027.jpg


The tank fits over everything just fine.

FJRB028.jpg


And I'm not done yet! There's plastic to install!!
 
Top