Streethawk
Well-known member
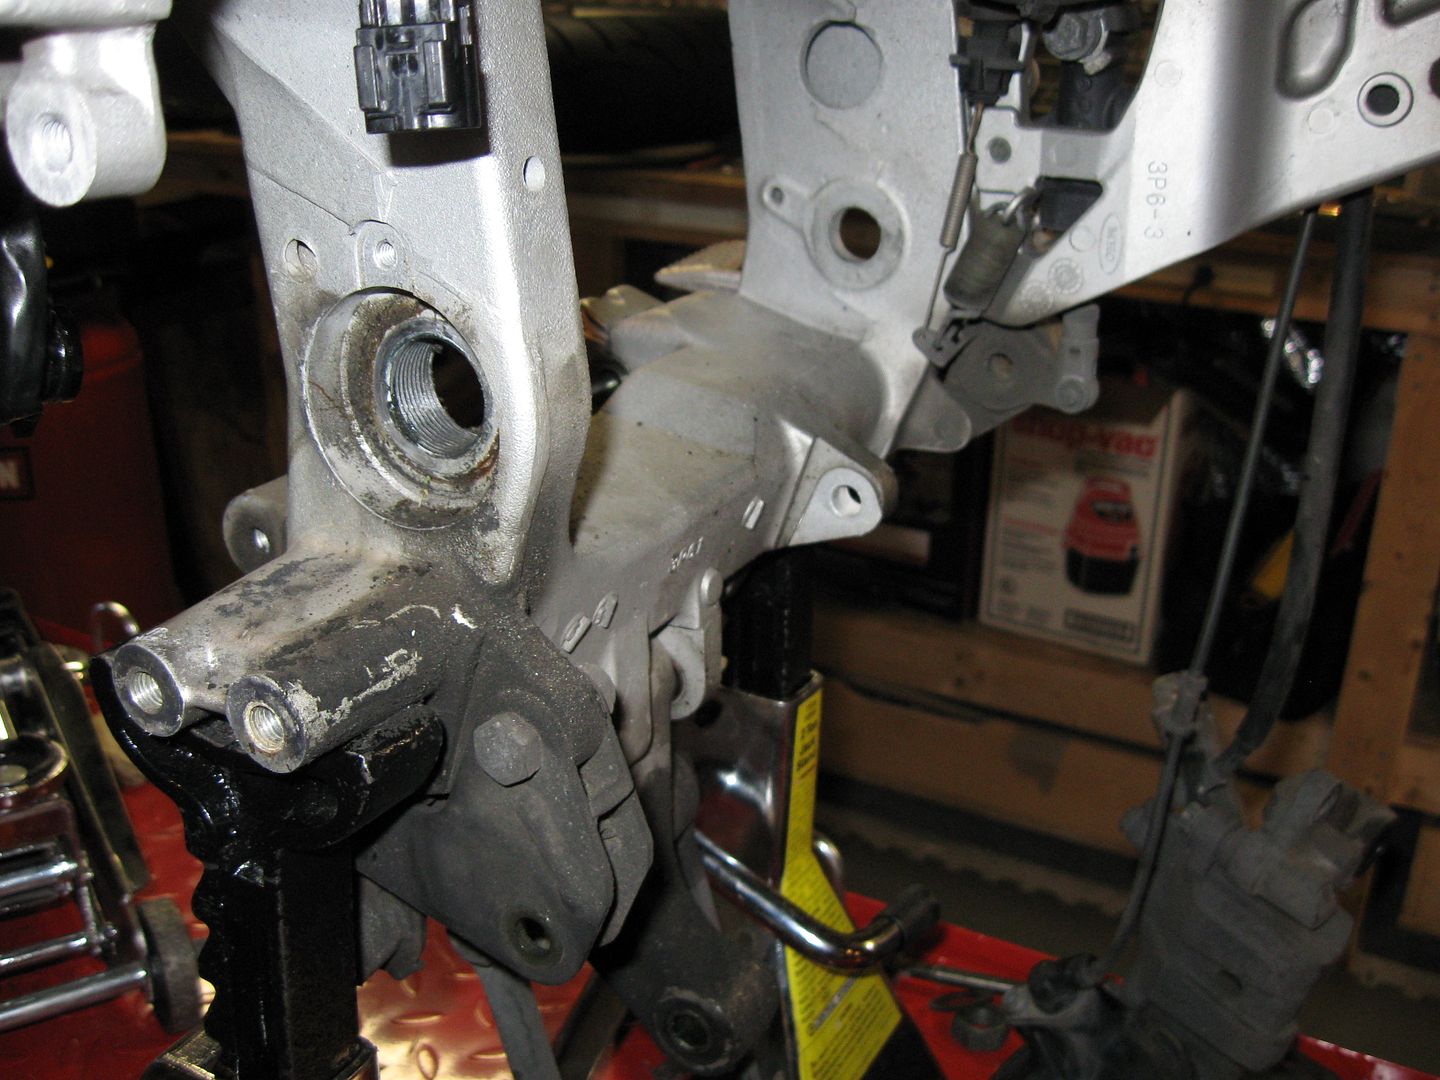
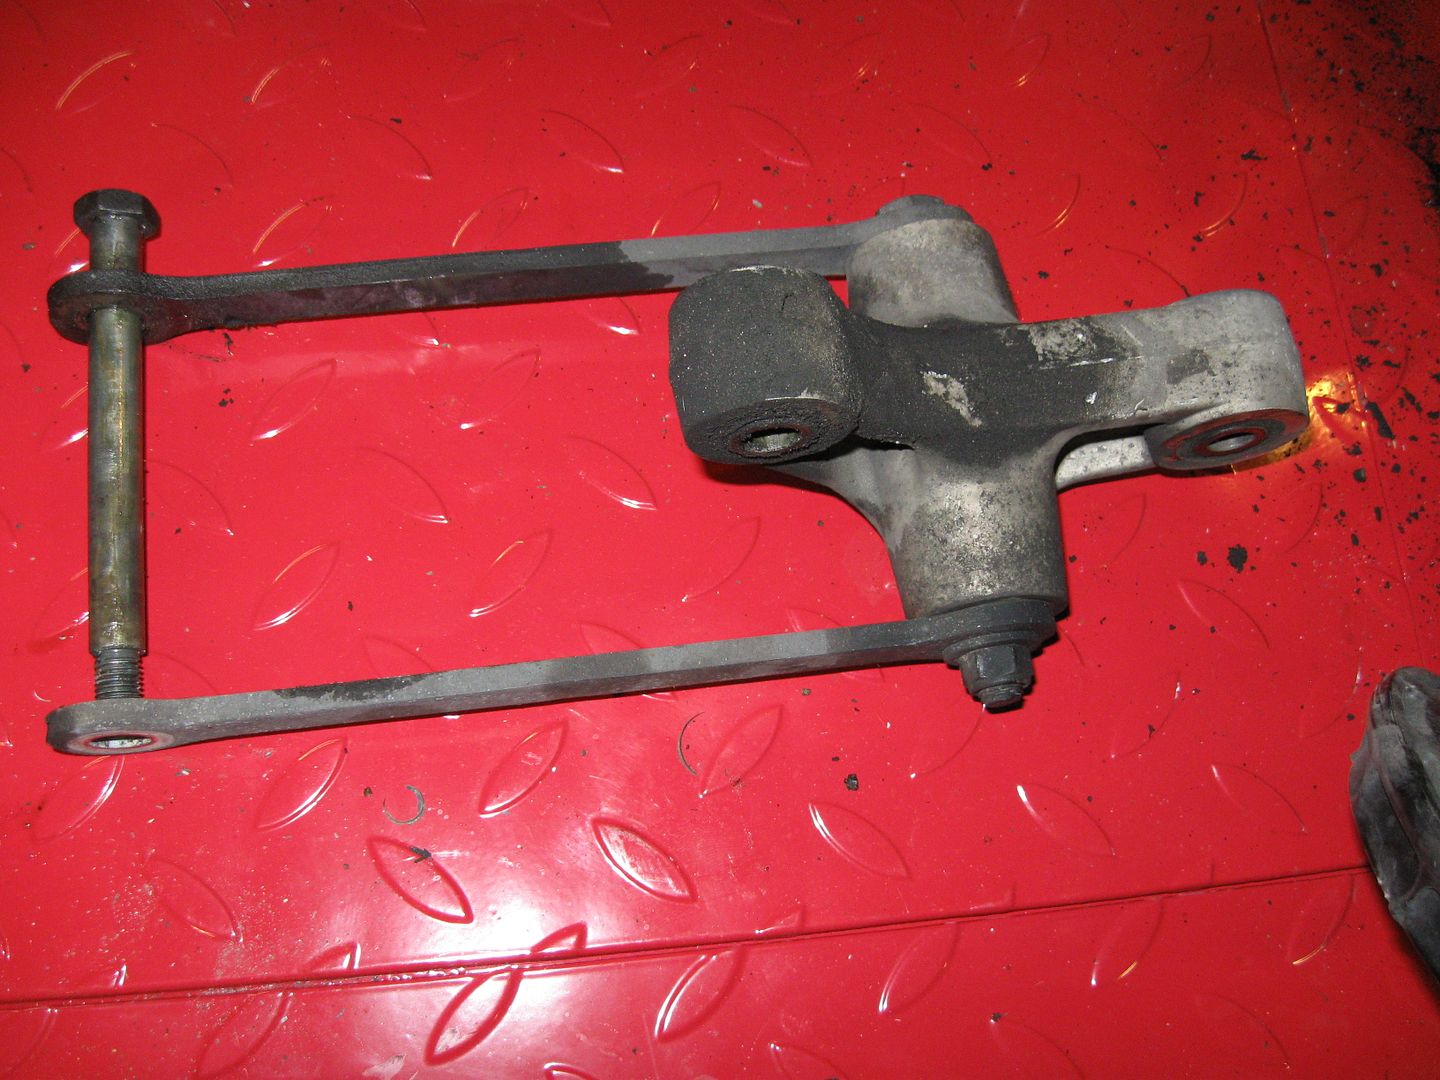
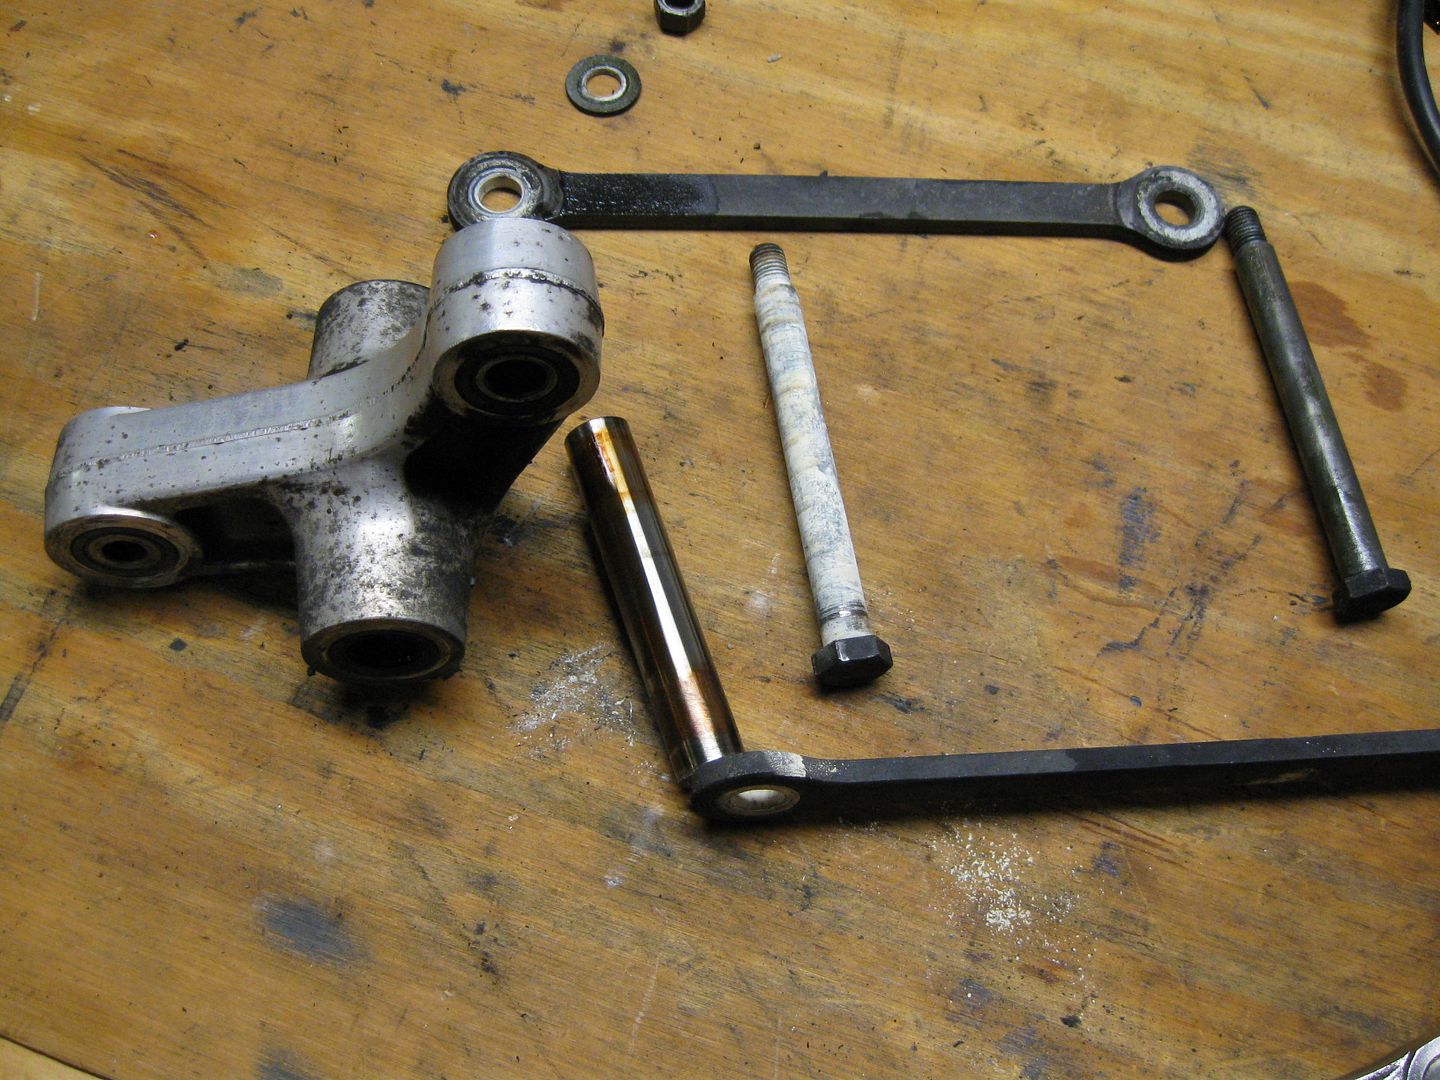
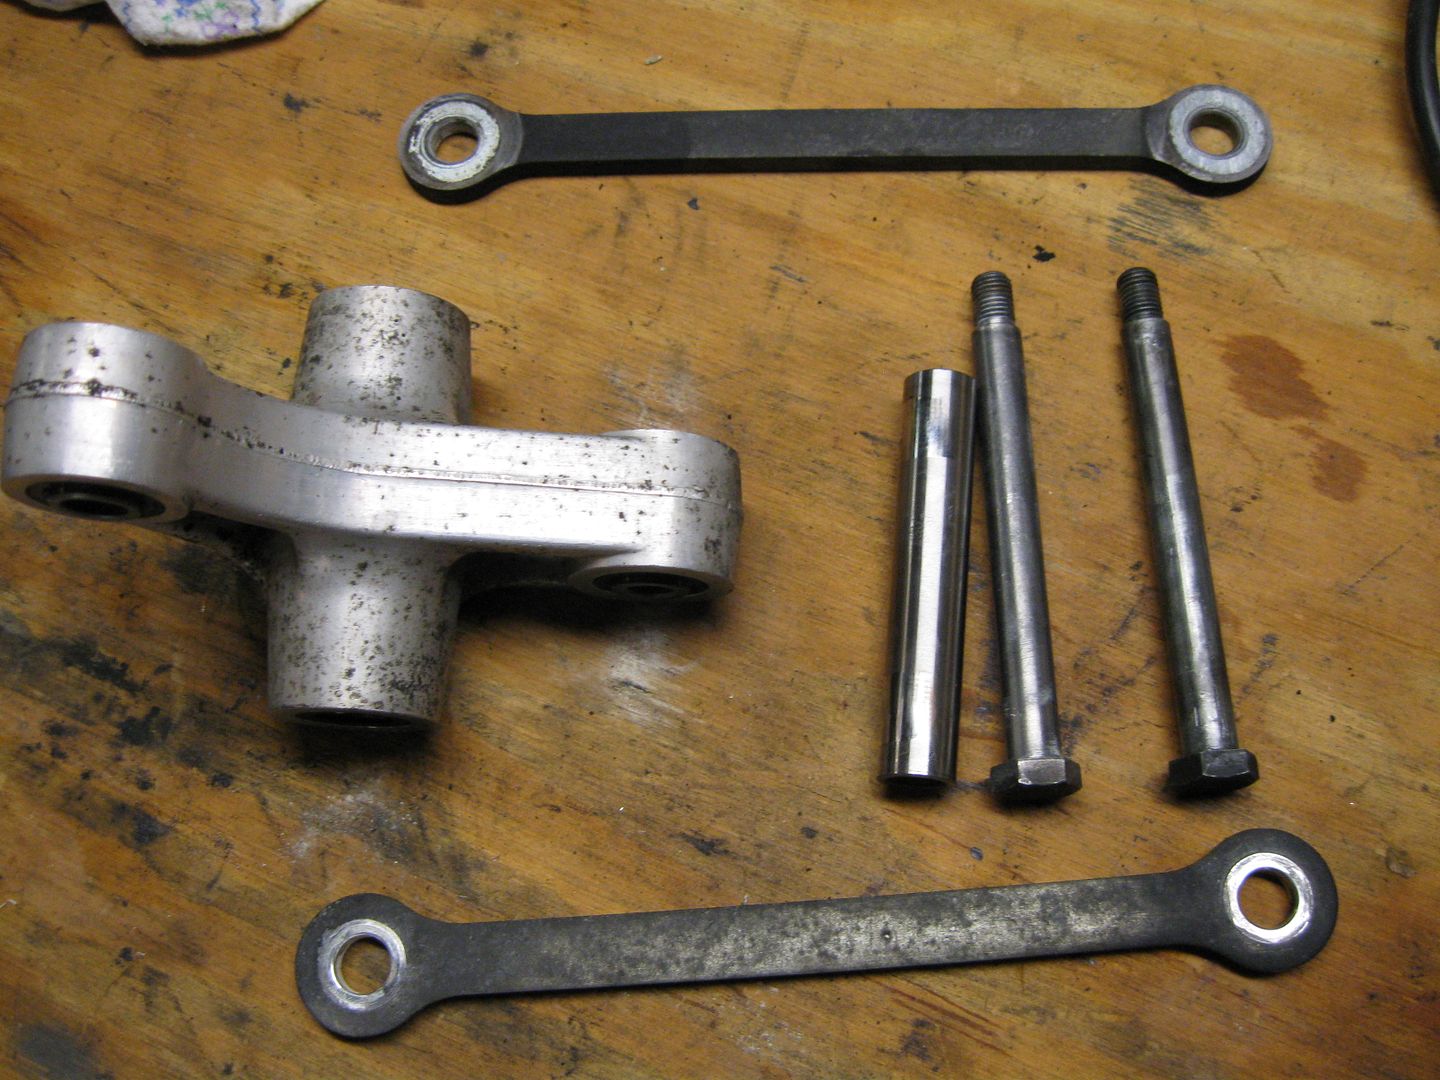
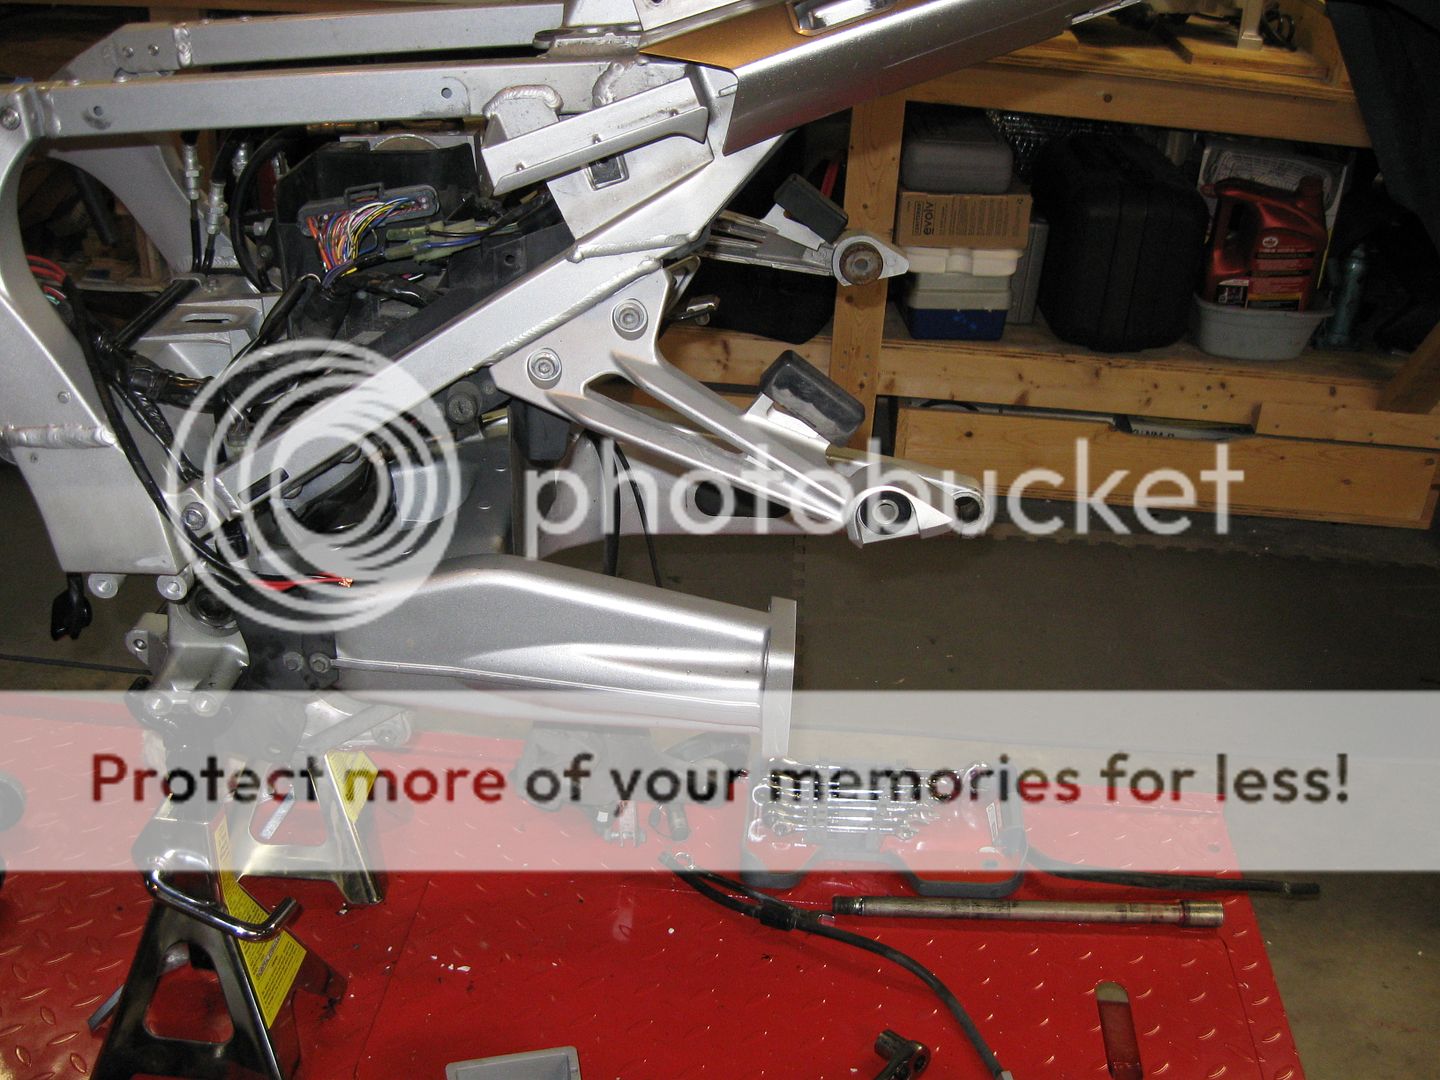
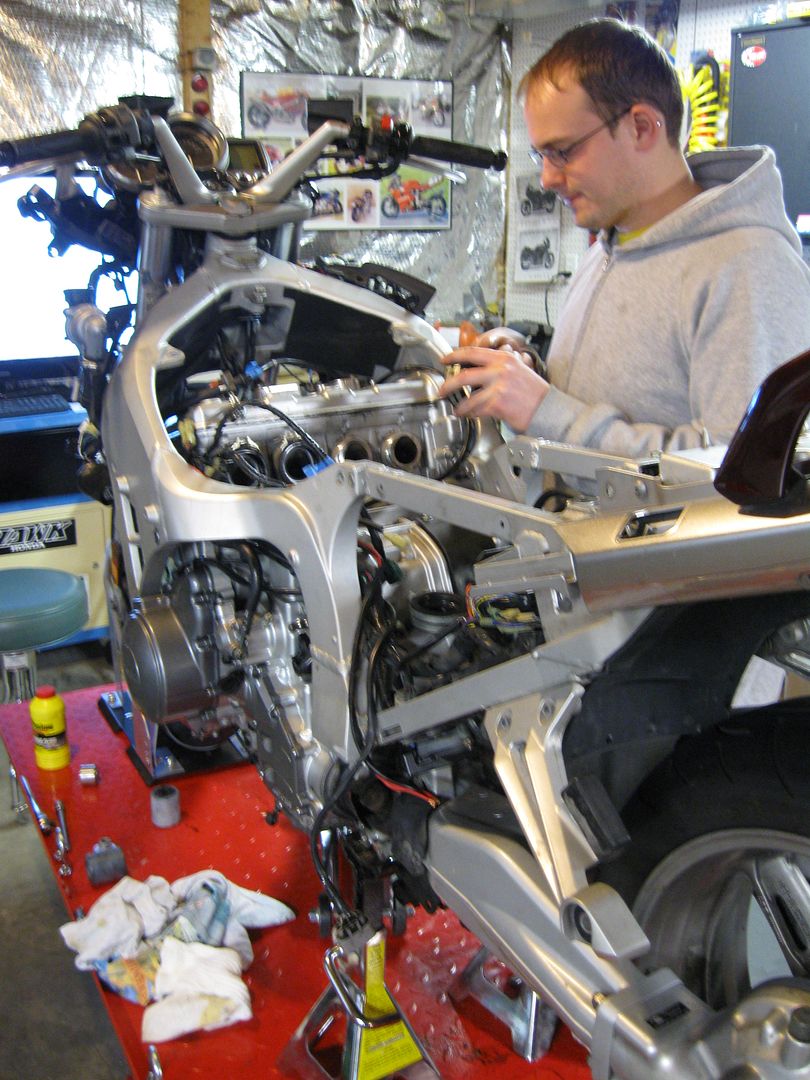
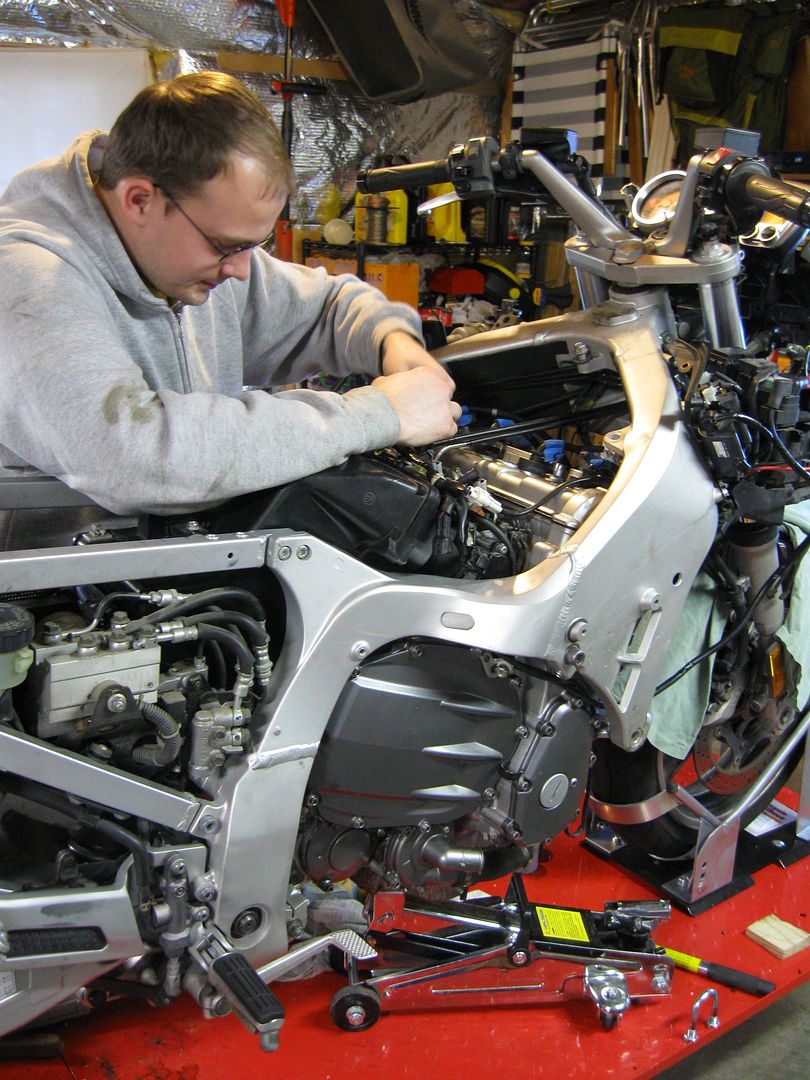
Welcome back! (tick) Work on the engine progressed (finally) this past Sunday. (tick) Along with the swing arm. (tick) Reminder: Winter is just getting started. And with the Holidays coming, we're getting a busy around the Streethawk House! So please have patience on the delay of my postings.
(tick)Let's start with the engine. (tick) Then I'll move onto the swing arm. (tick)
What's with the "tick"s??!!! I'm hearing them in my sleep!
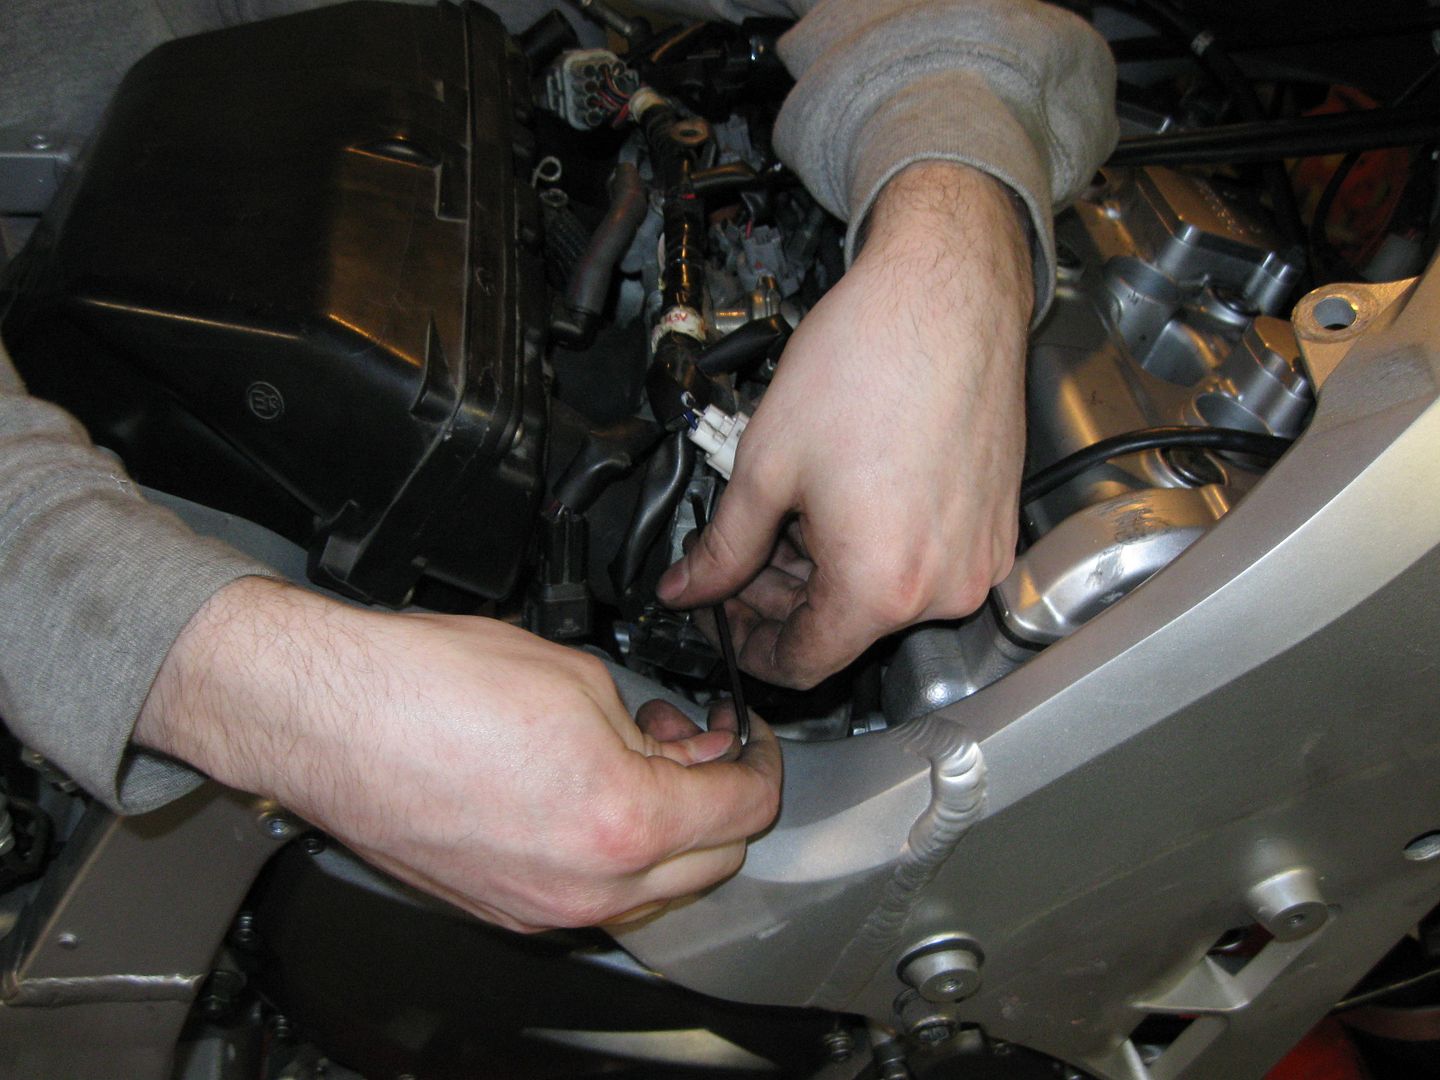
 tick....tick....tick..... No it's NOT a clock. It's Torque Wrench Time! Everything has been torqued down to spec! So for several hours, tick!
ok ok you get the point!
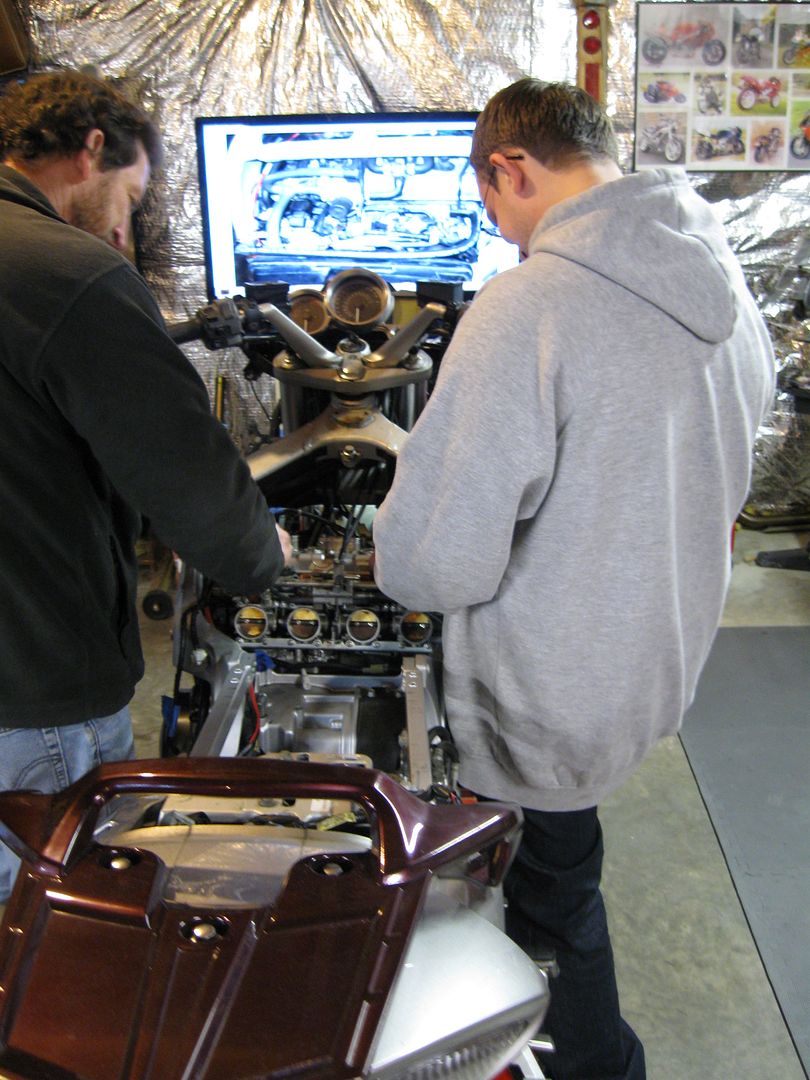
Doug stopped by with tool bag in hand looking every bit the part of the Bike Doctor making a House Call. The time he brought his Lovely Wife along to hang with mine for the afternoon! (sorry no pics of them)
We picked up by installing the oil pump.
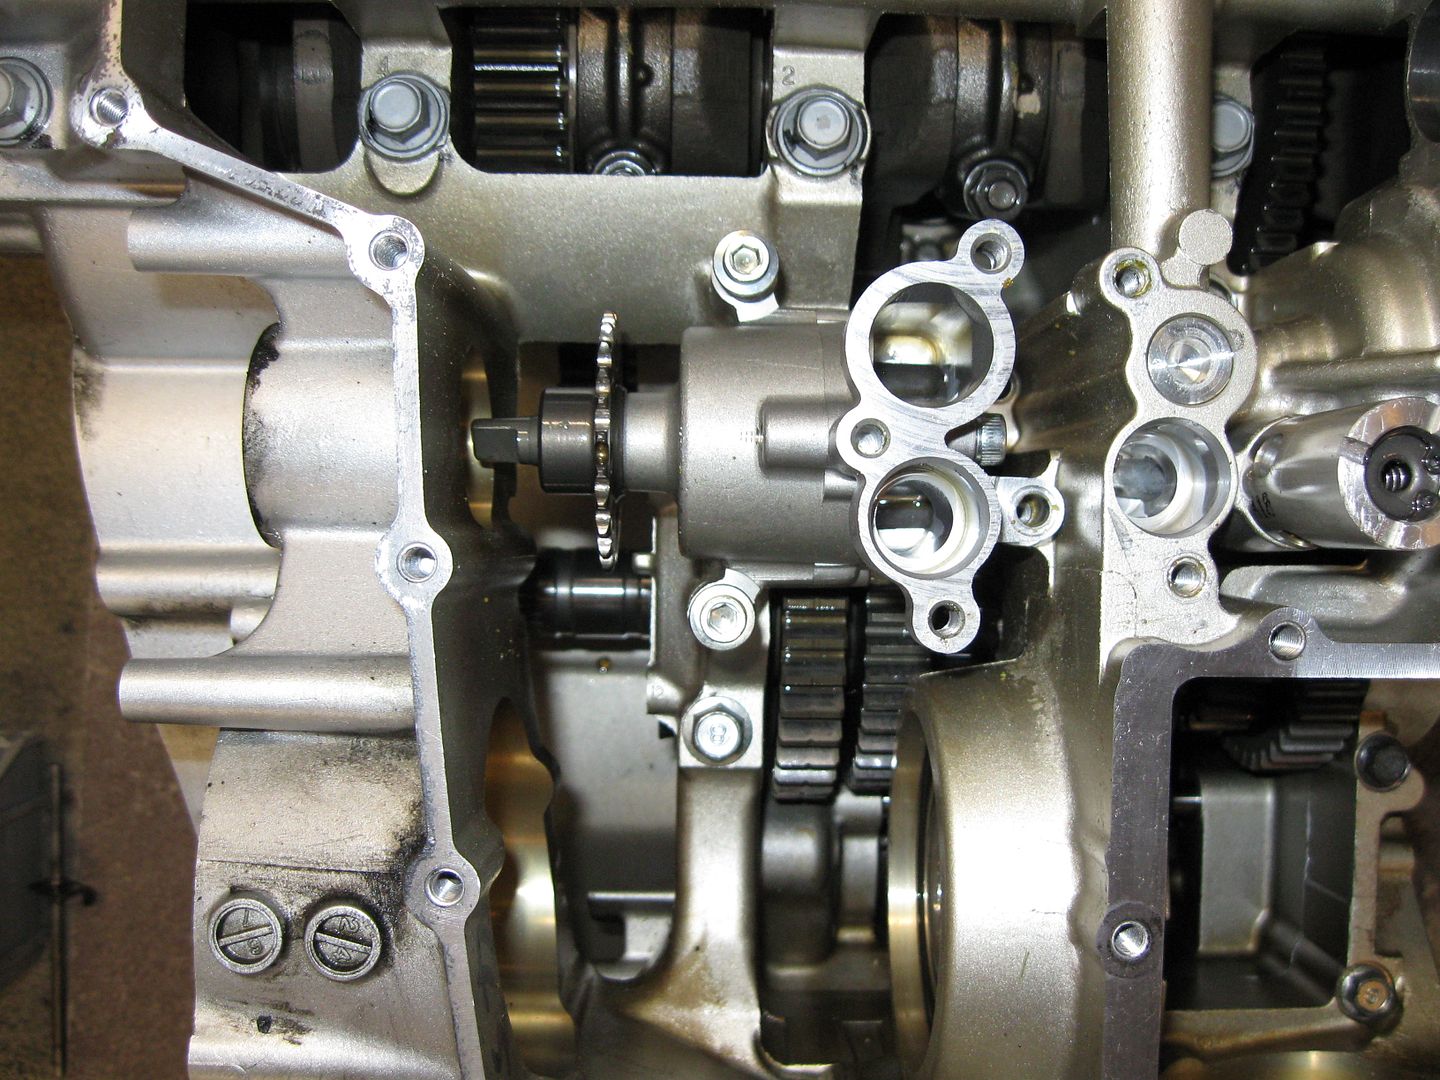
Followed by the chain...
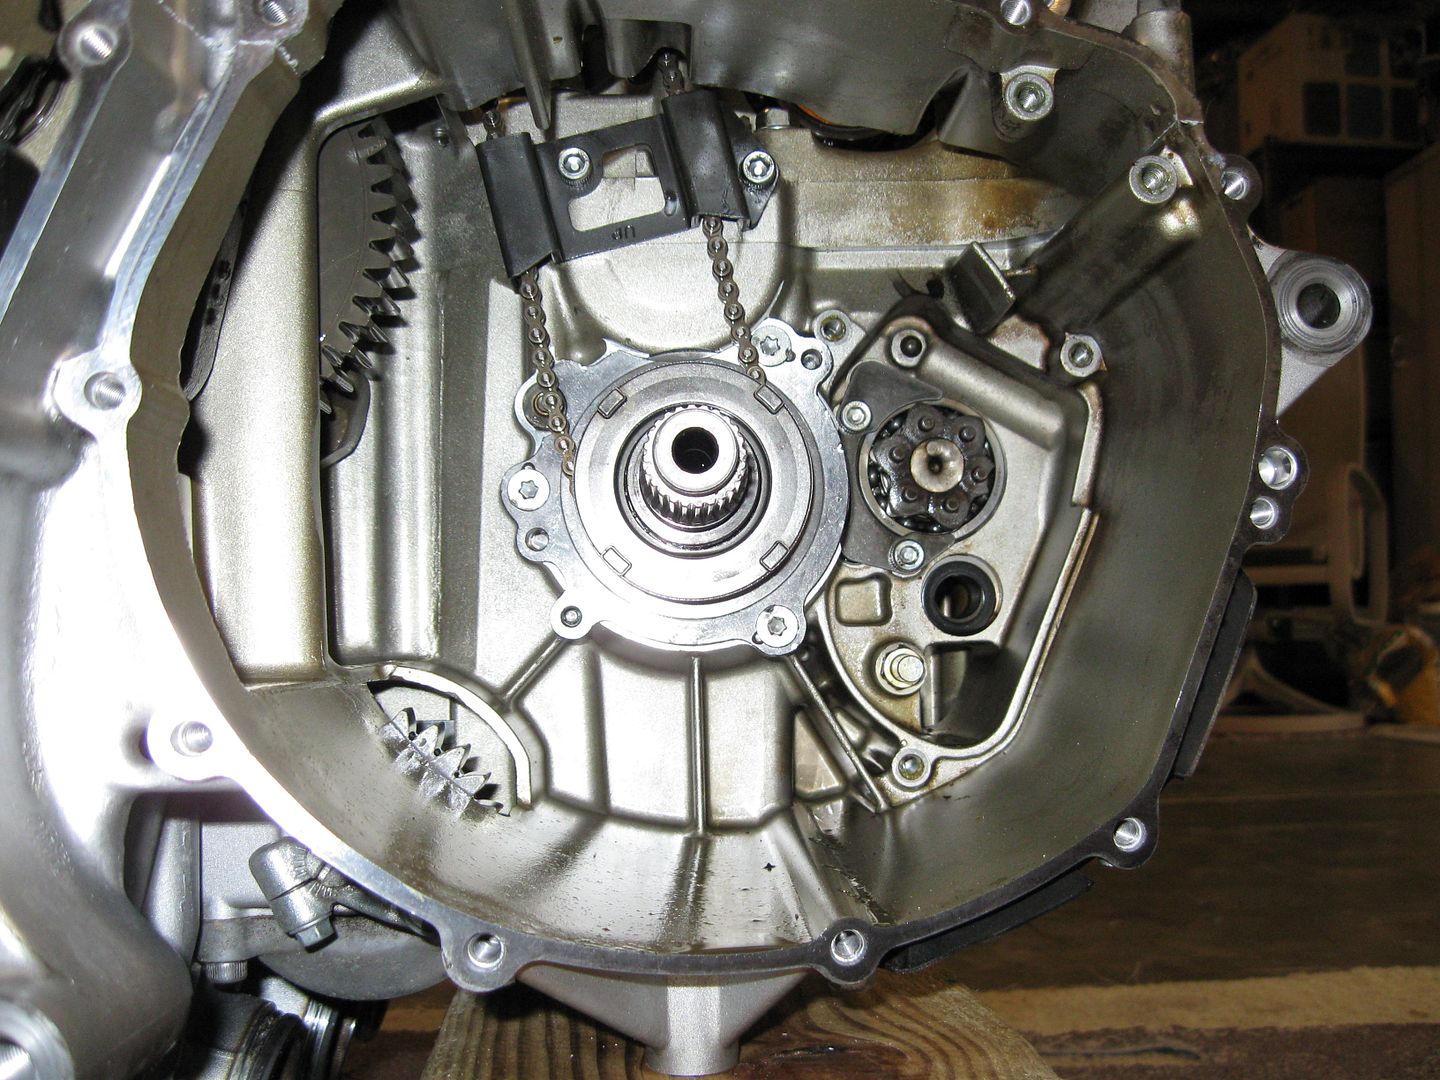
The plumbing next.
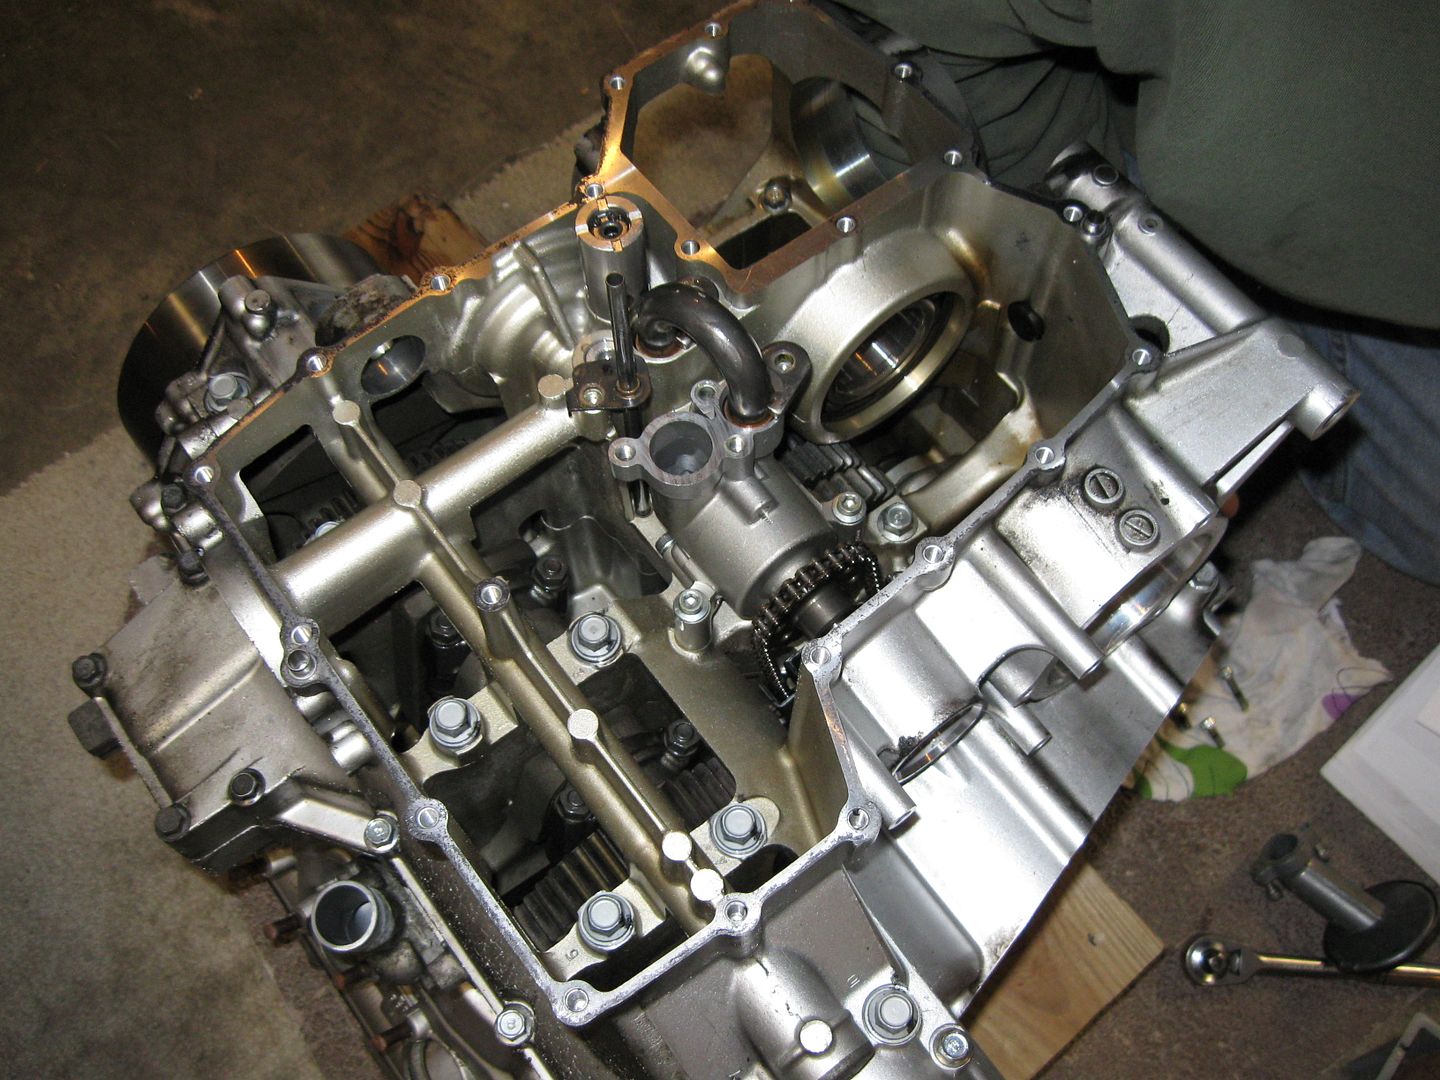
Bolt that sucker down.
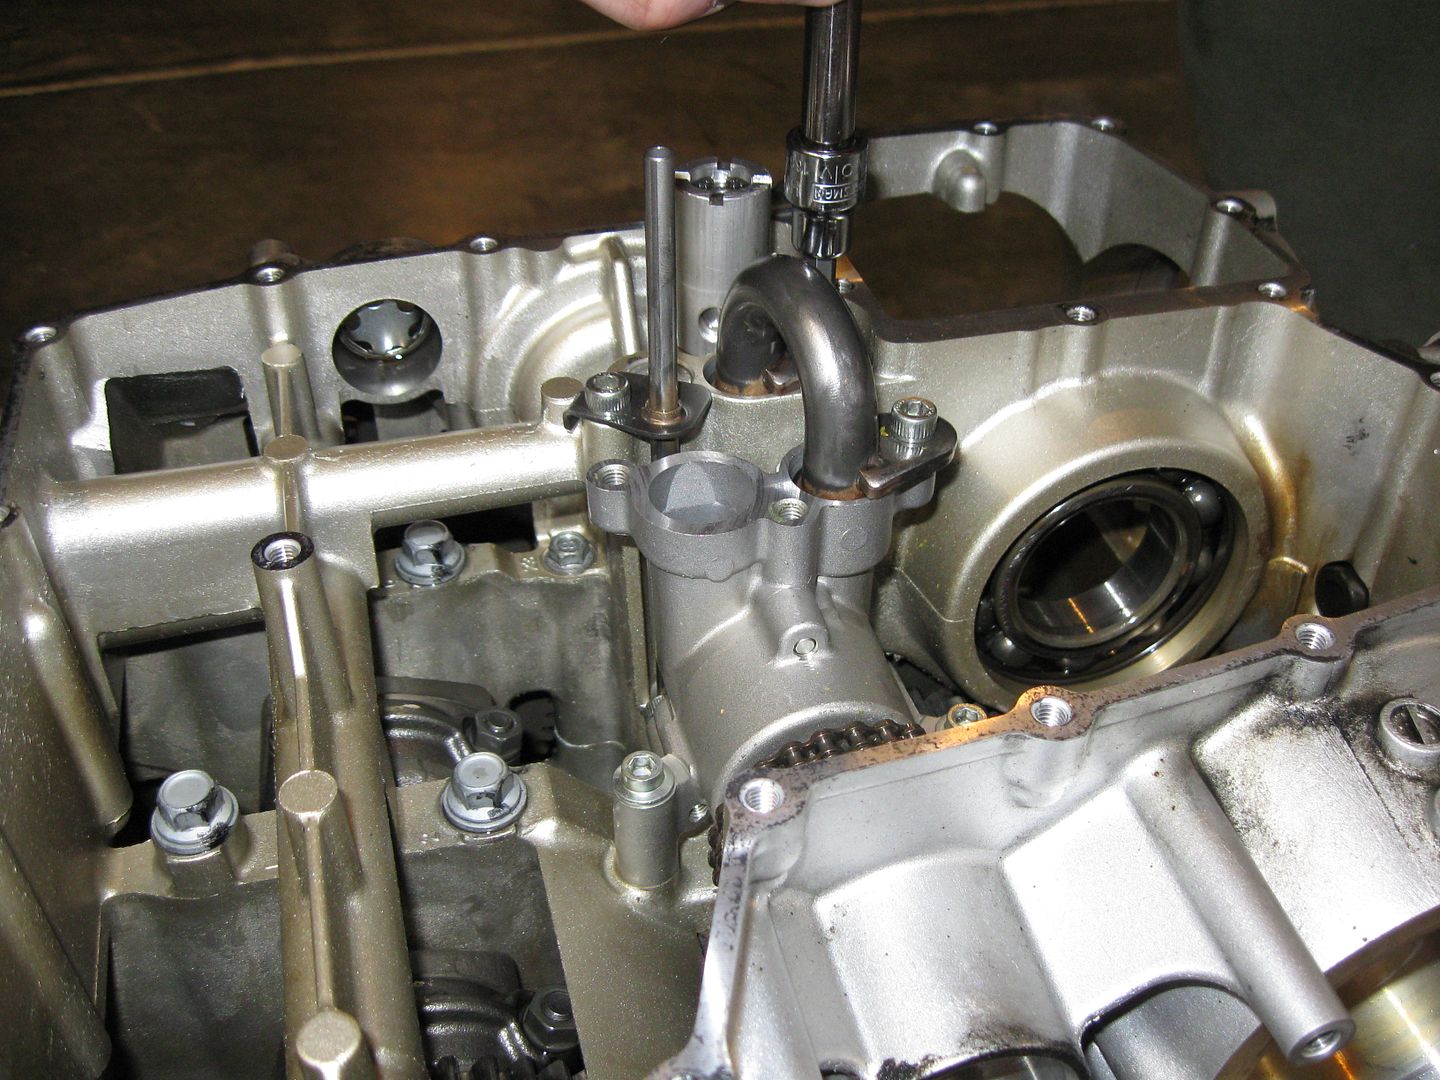
The oil pickup, while not bad, still had little bits of stuff along the edge.
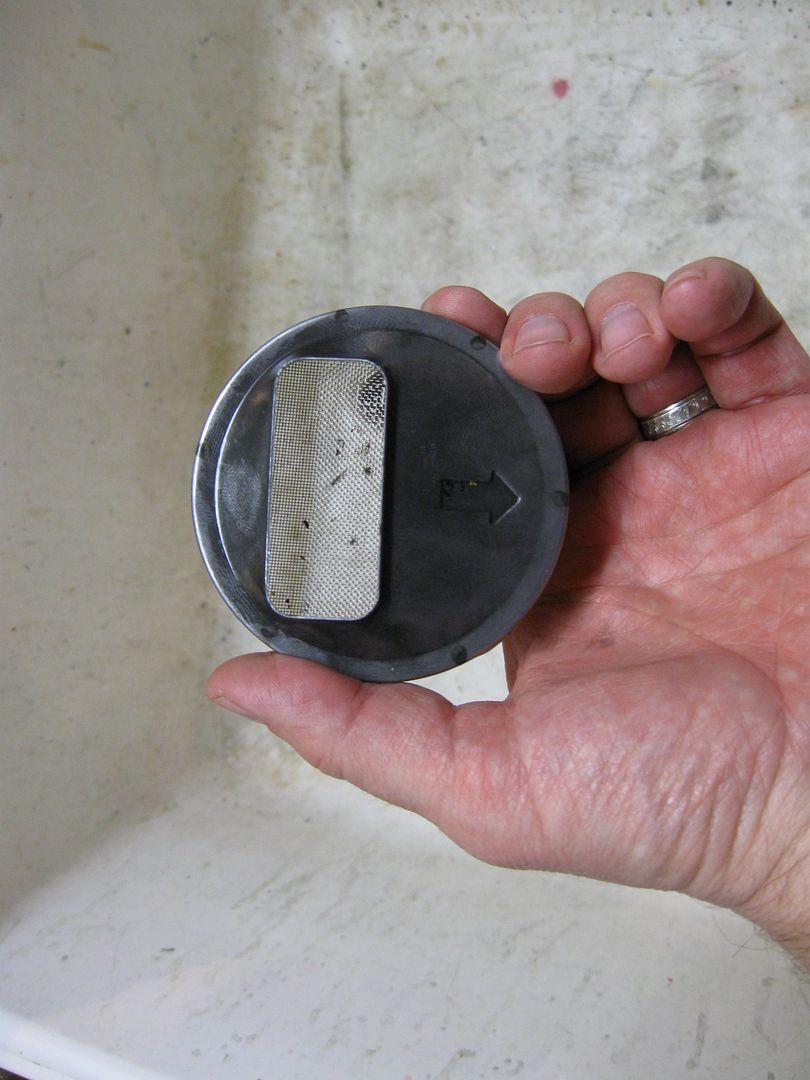
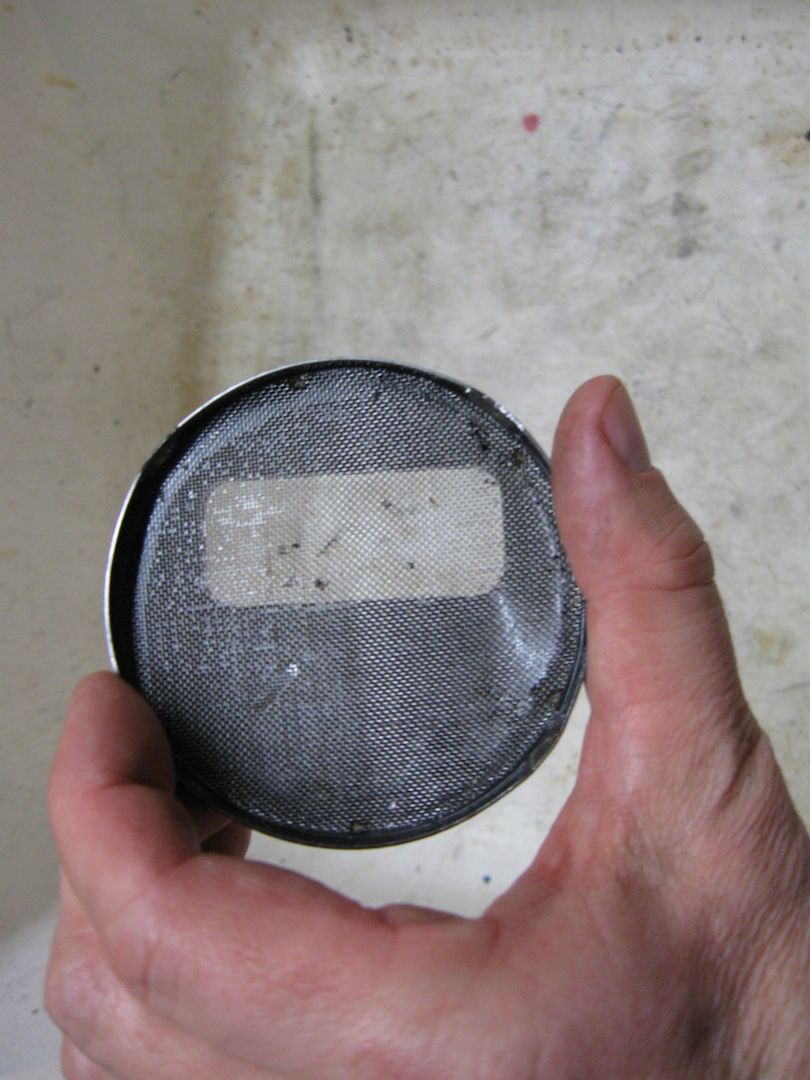
So! Clean up time! I took it to the sink... then to the compressor and back a few times.
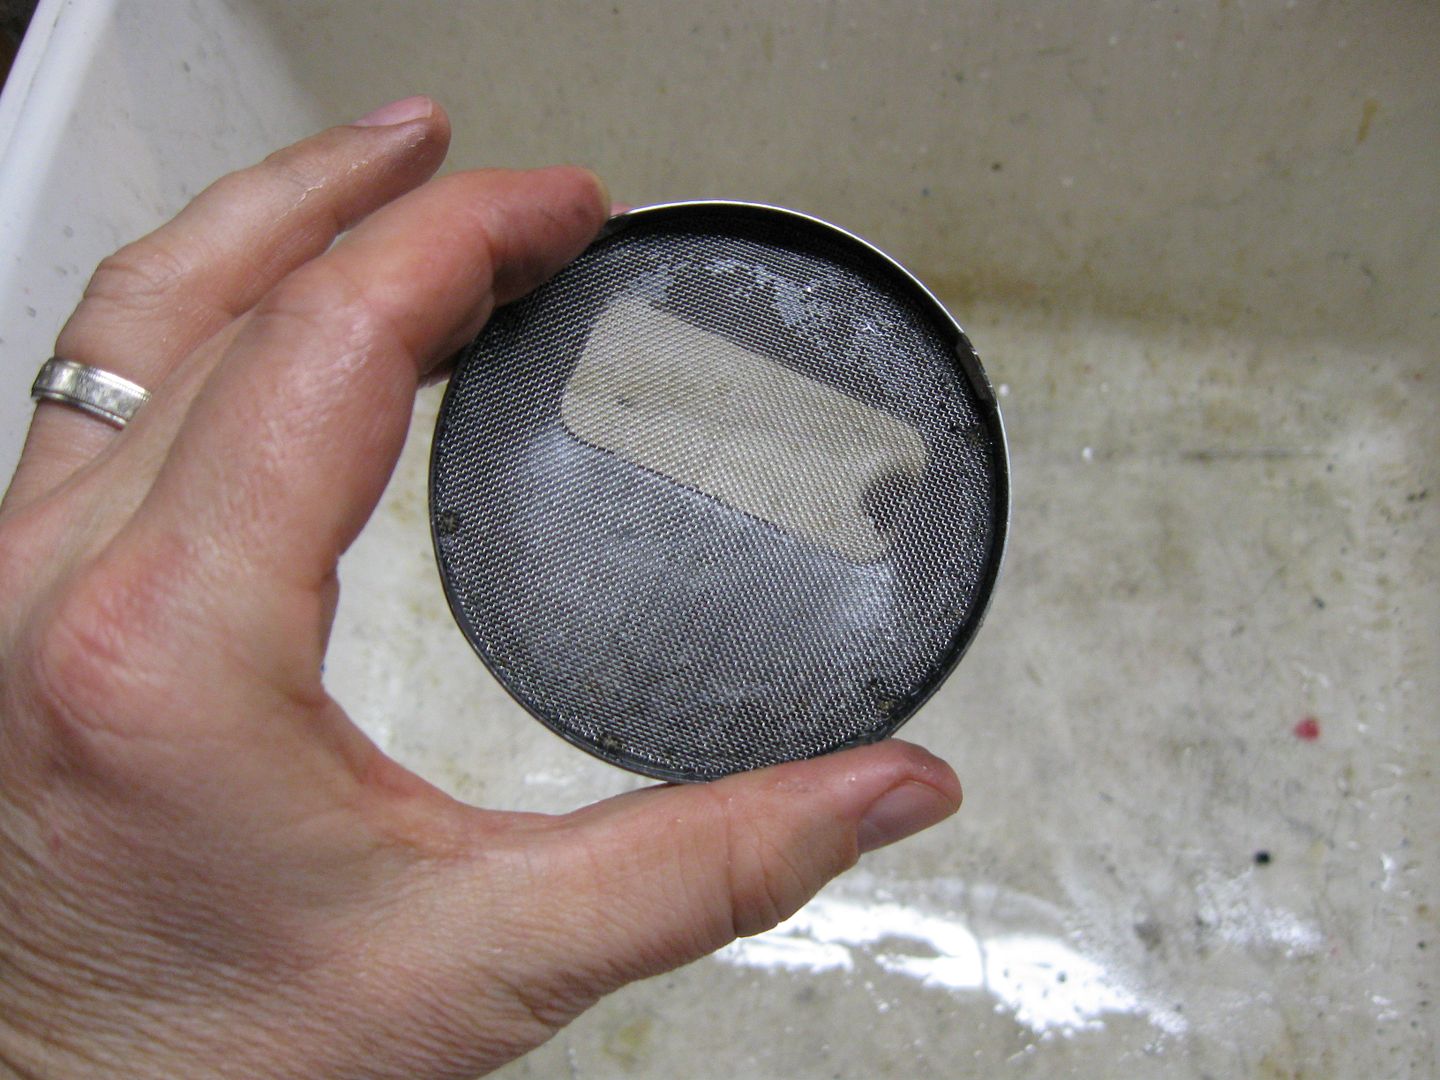
Not exactly new, but much better and acceptable for installation! Pop that puppy in!
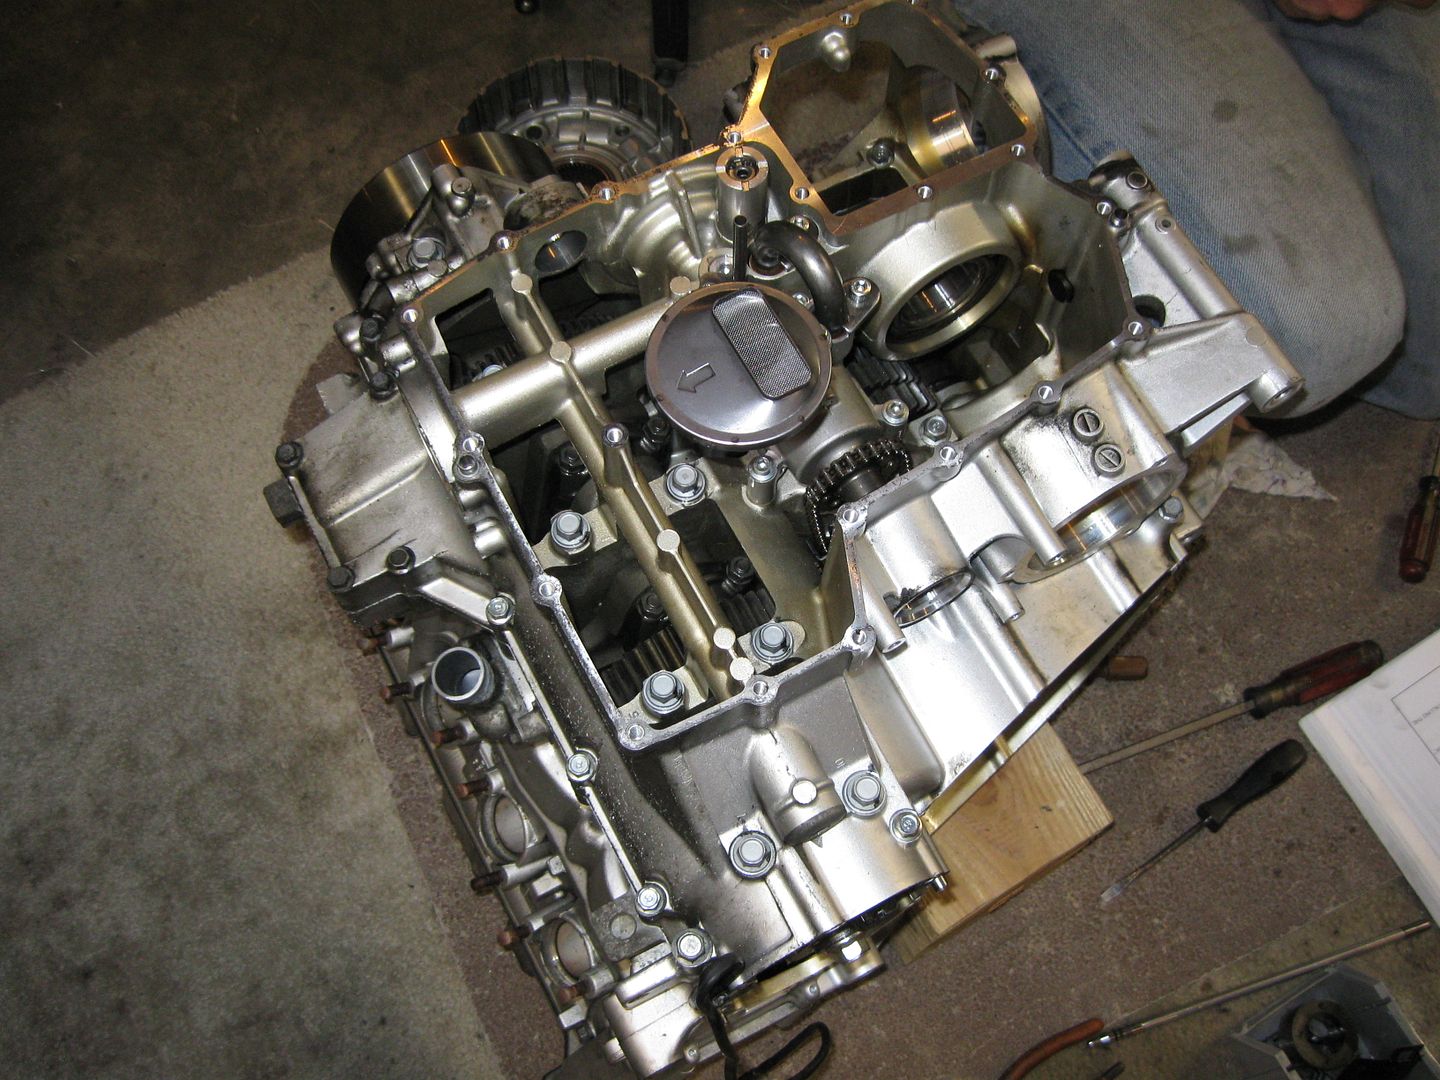
Now we moved down to the clutch basket area. Here, Doug installed and checked the functionality of the shift shaft.
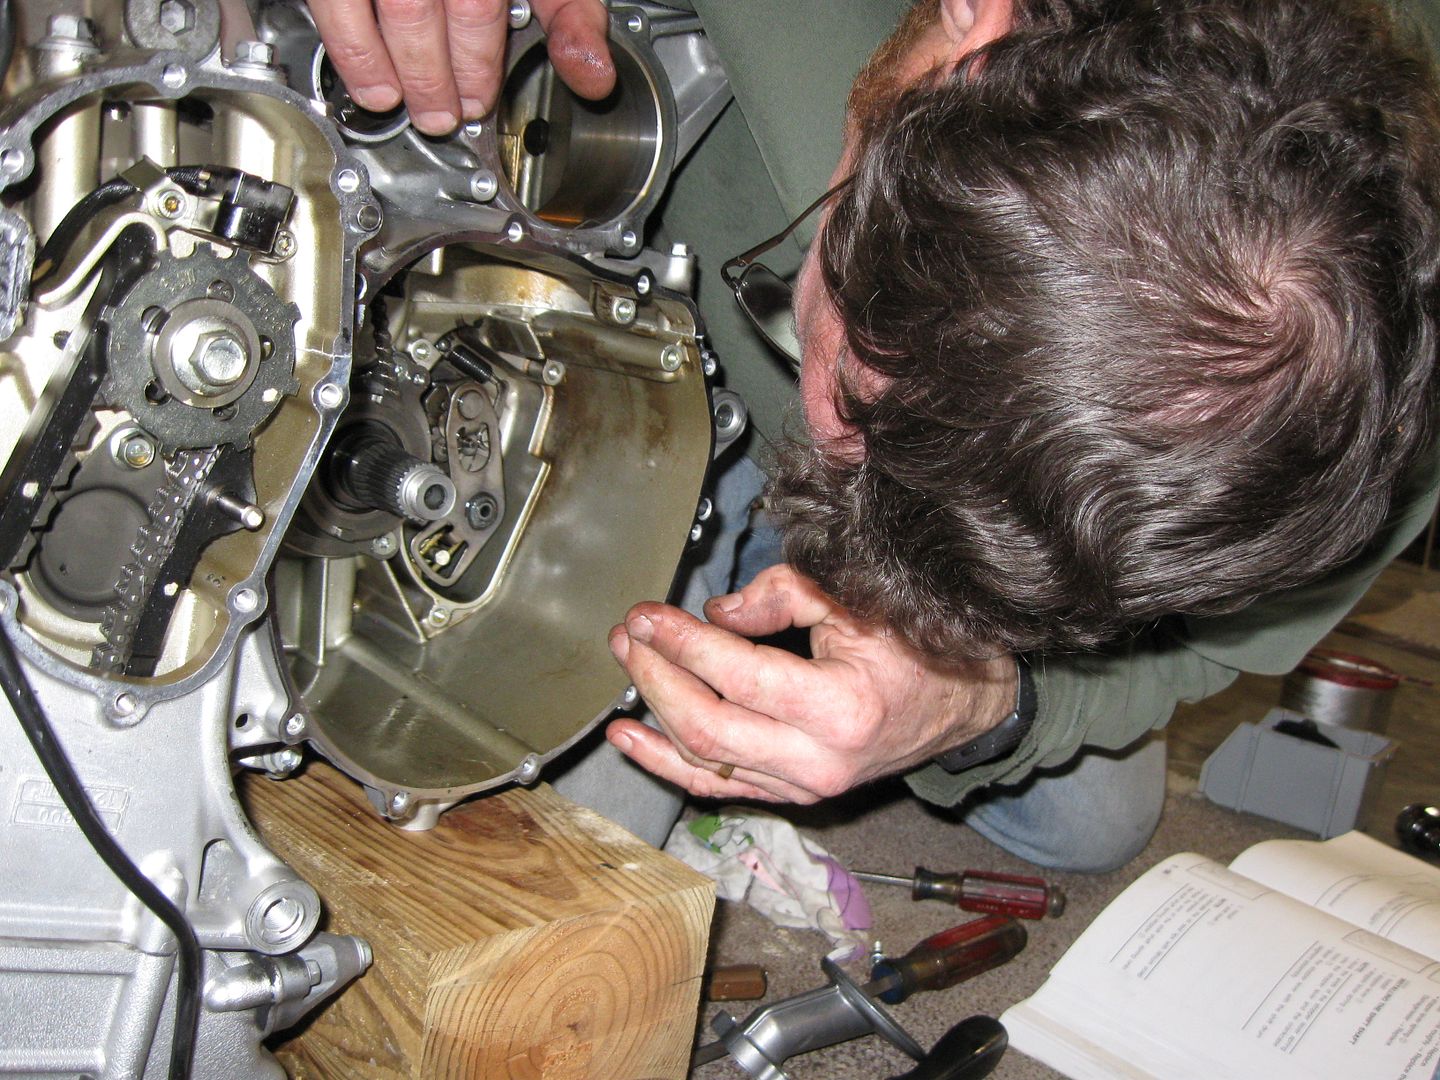
Then we cover it back up.
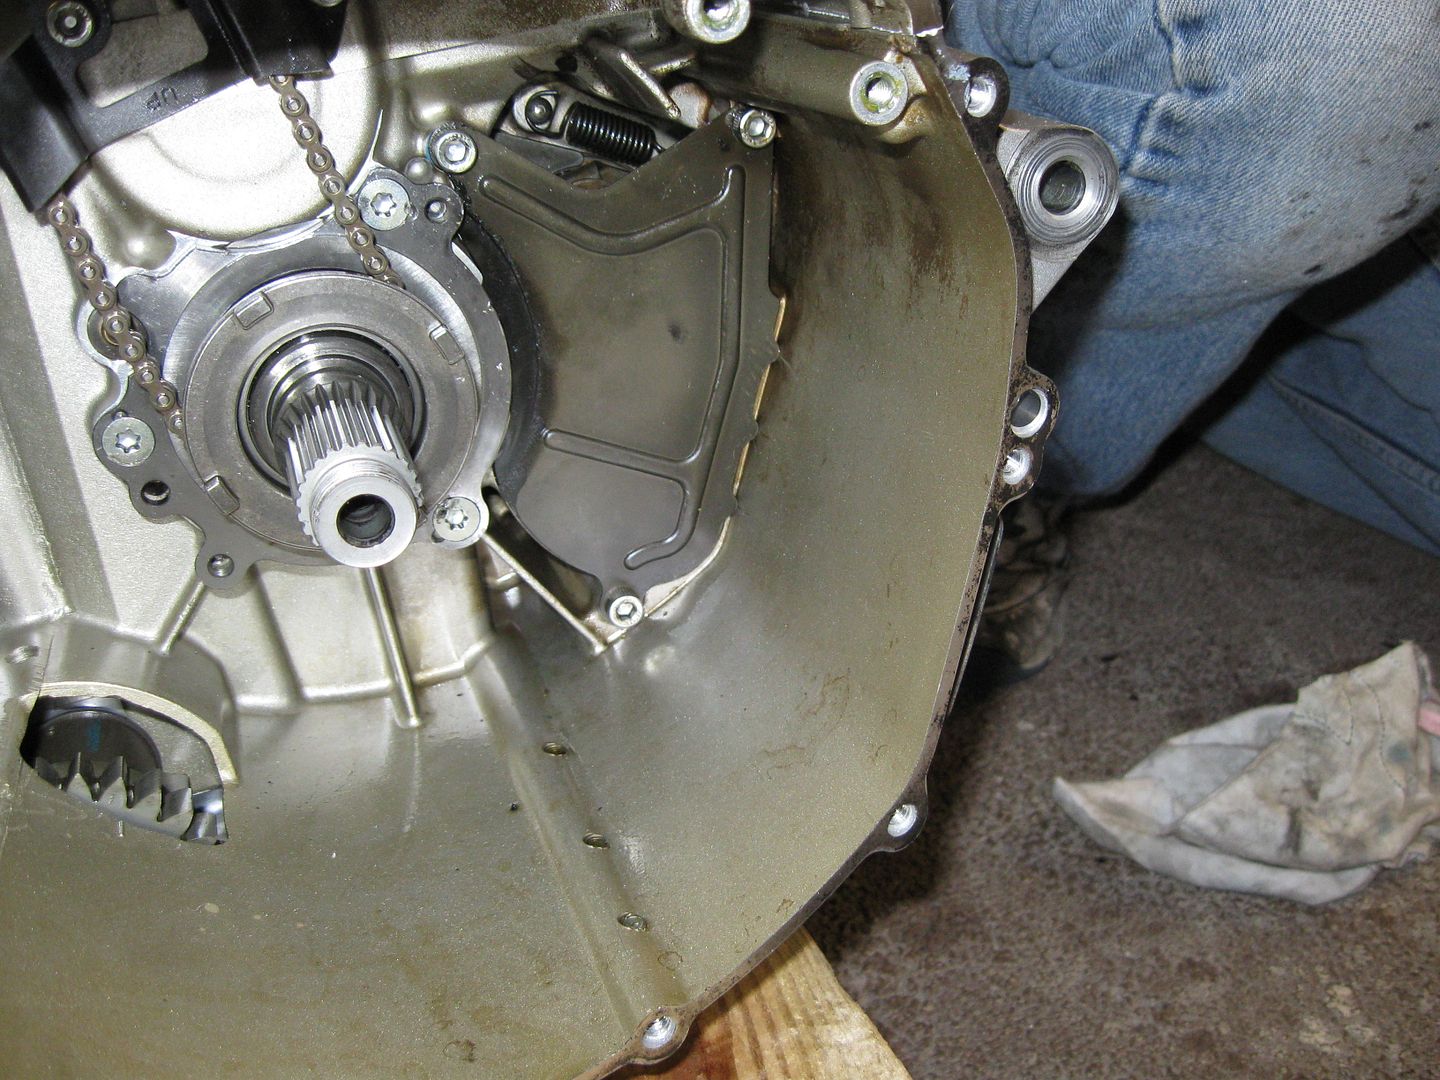
I hear FJRs are pretty smooth running engines... Let's keep that characteristic in tack shall we? The balancer needs to have that dot lined up with the mark on the block (under the rag).
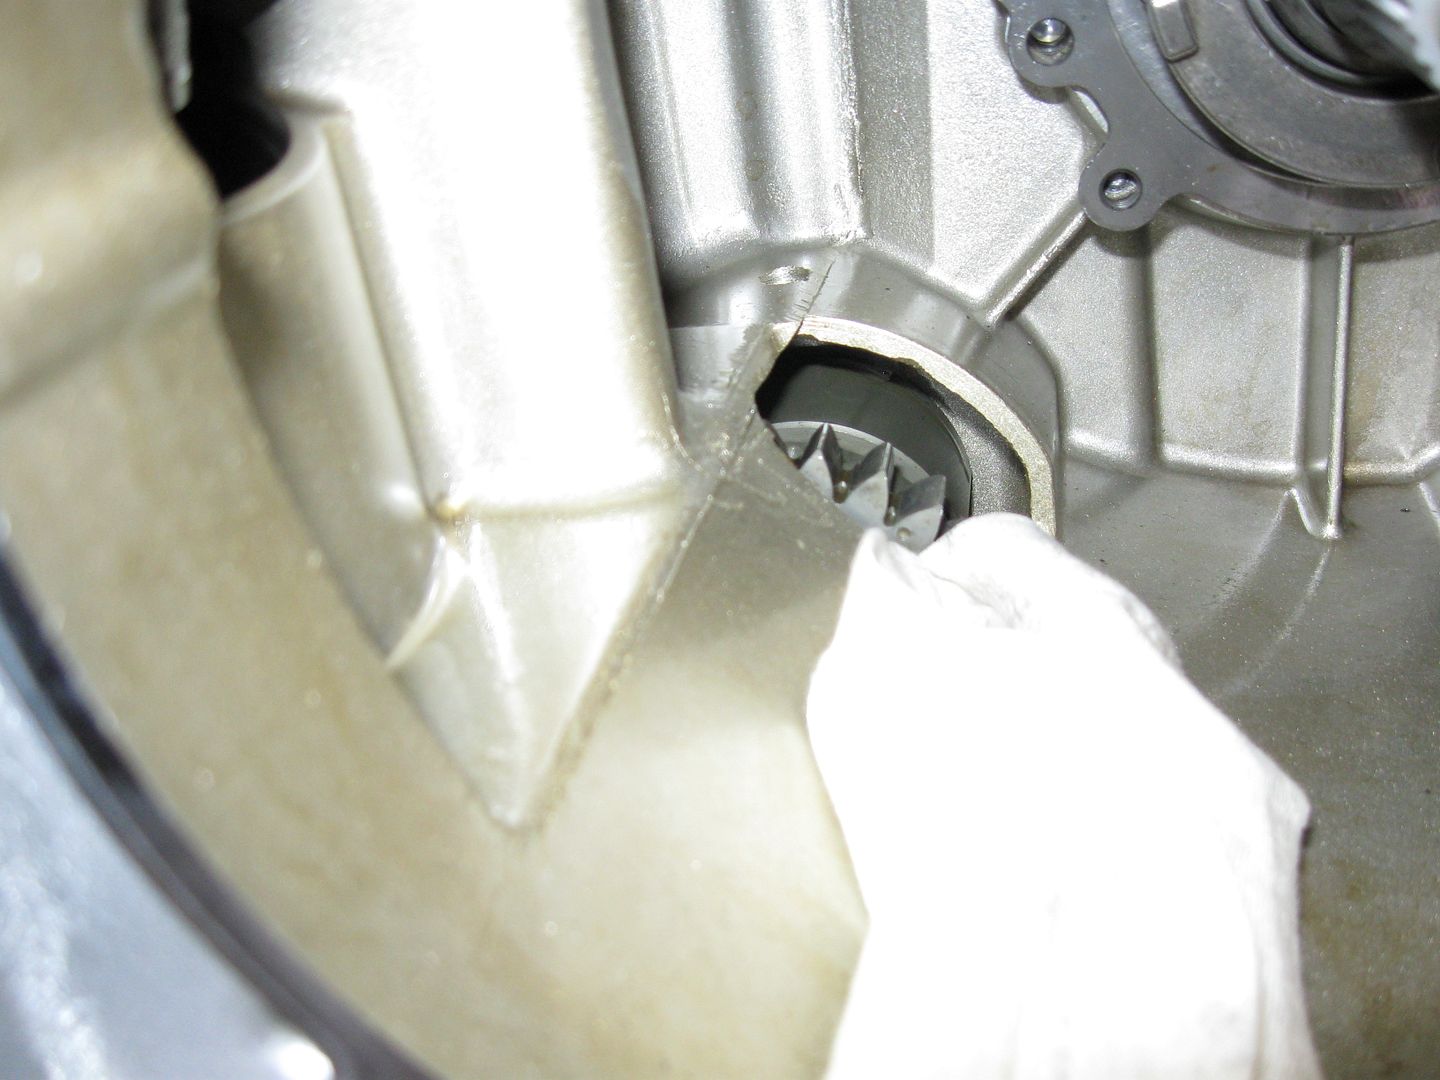
Inserting the clutch basket is a challenge. Lining the spring loaded gears up wasn't an easy task.
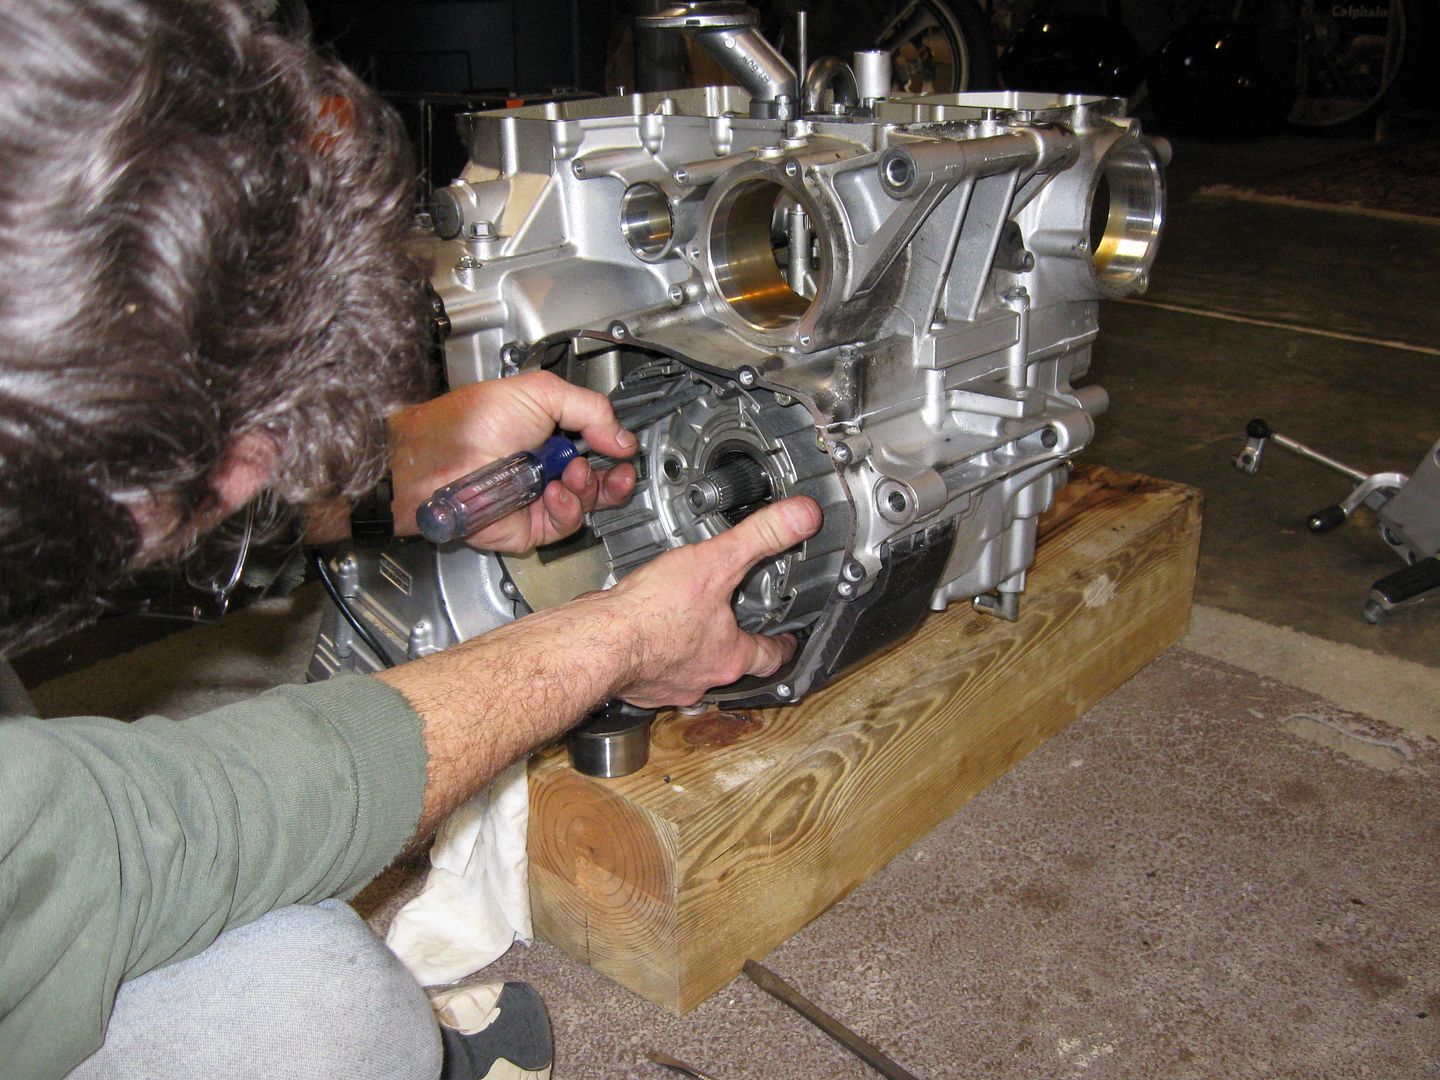
There's a toothed spacer in there that also needs to line up down there.
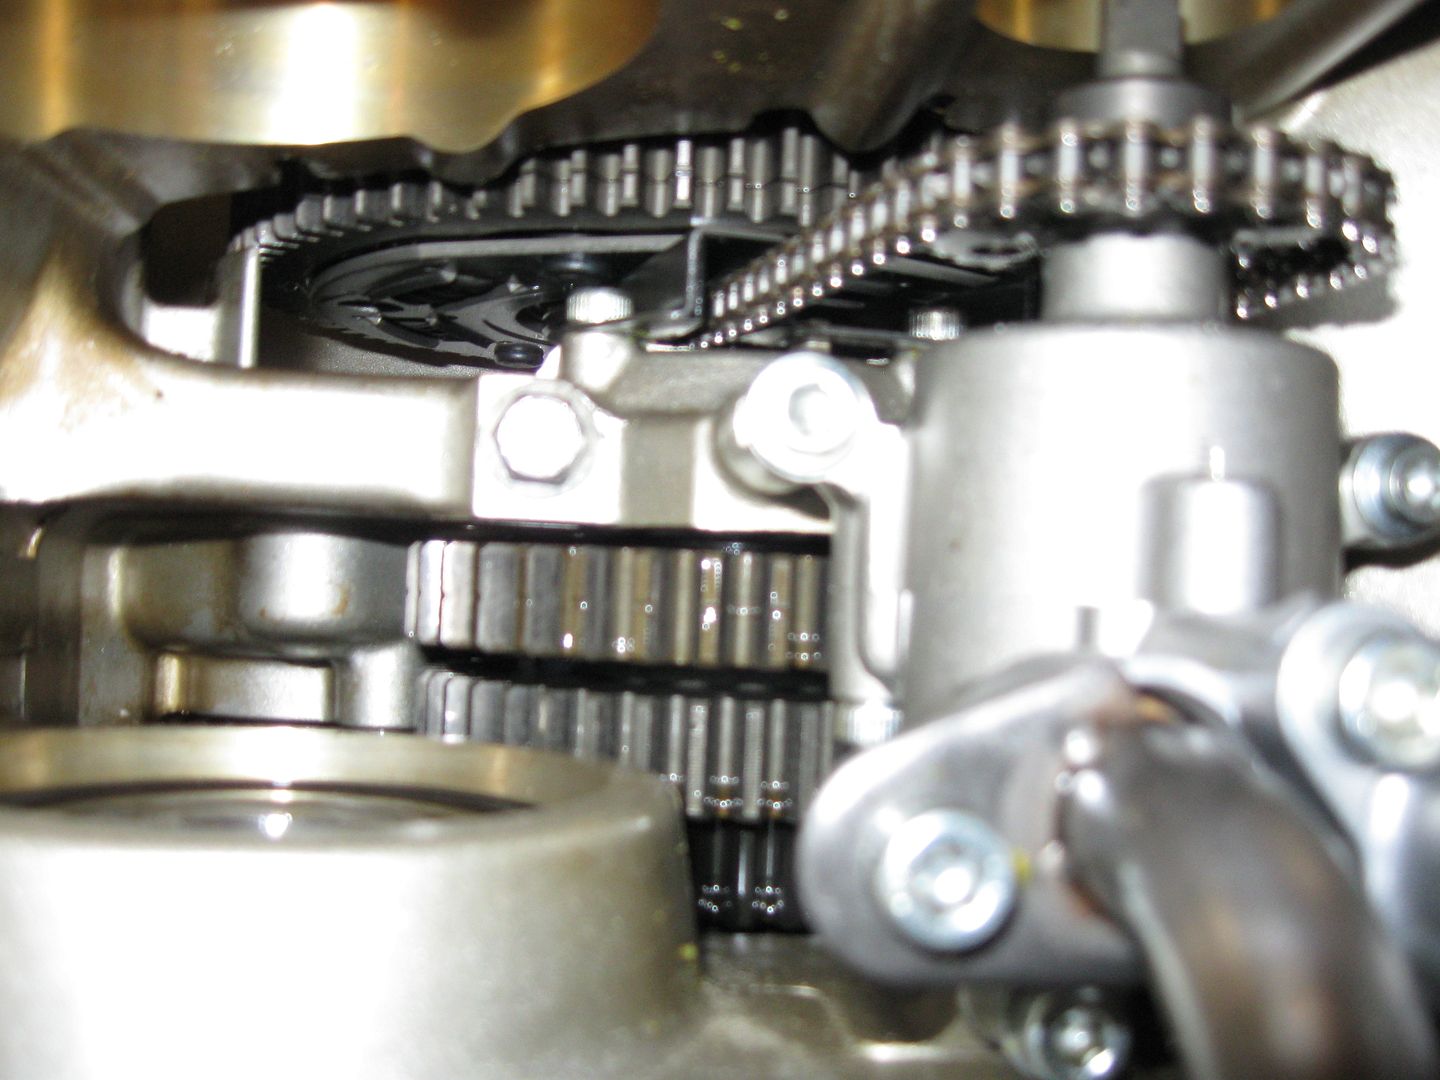
All set in place and snuggly where it belongs!
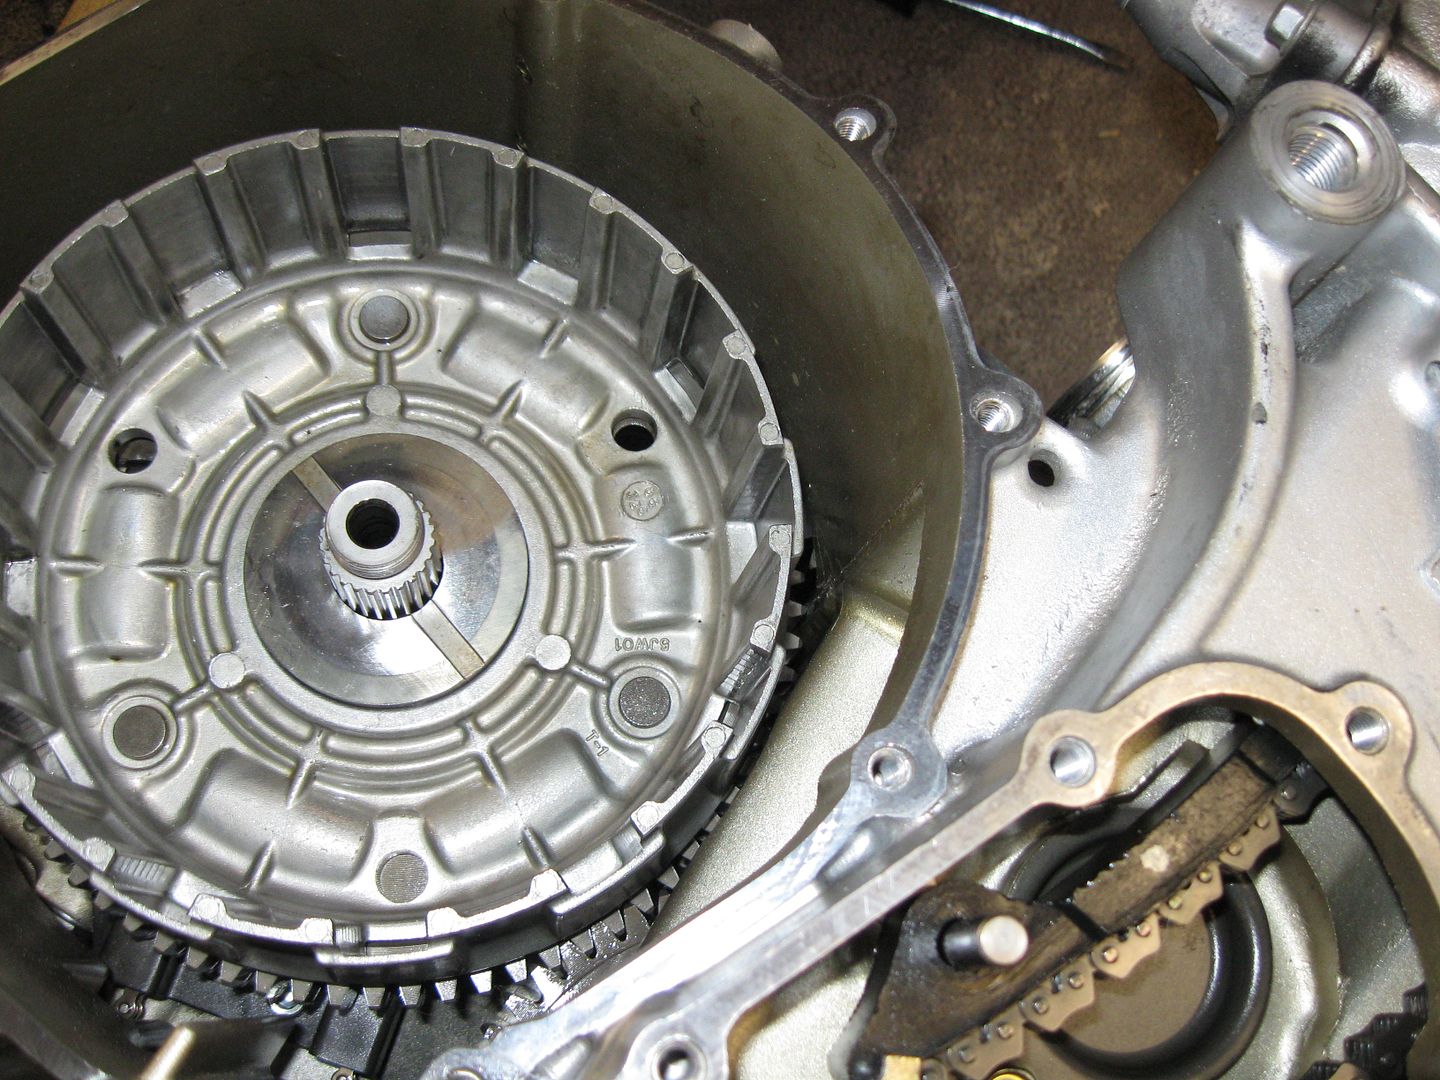
A gentle rollover will assist with the building of the clutch!
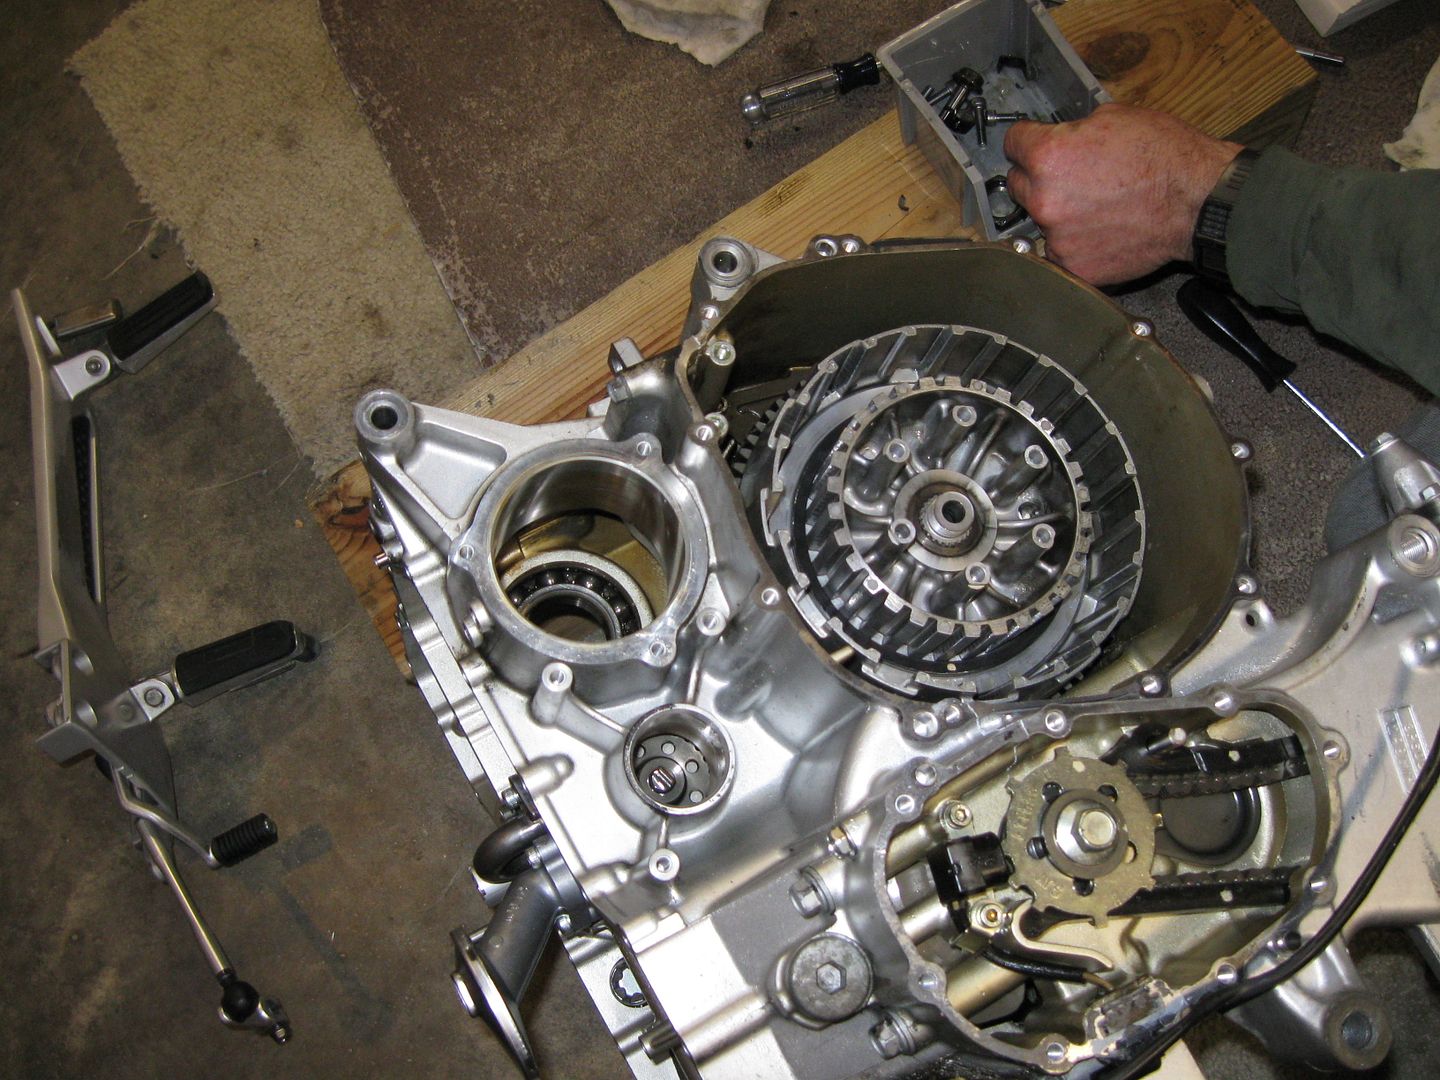
But first, we need to secure everything down. No more rattling parts inside this engine!!

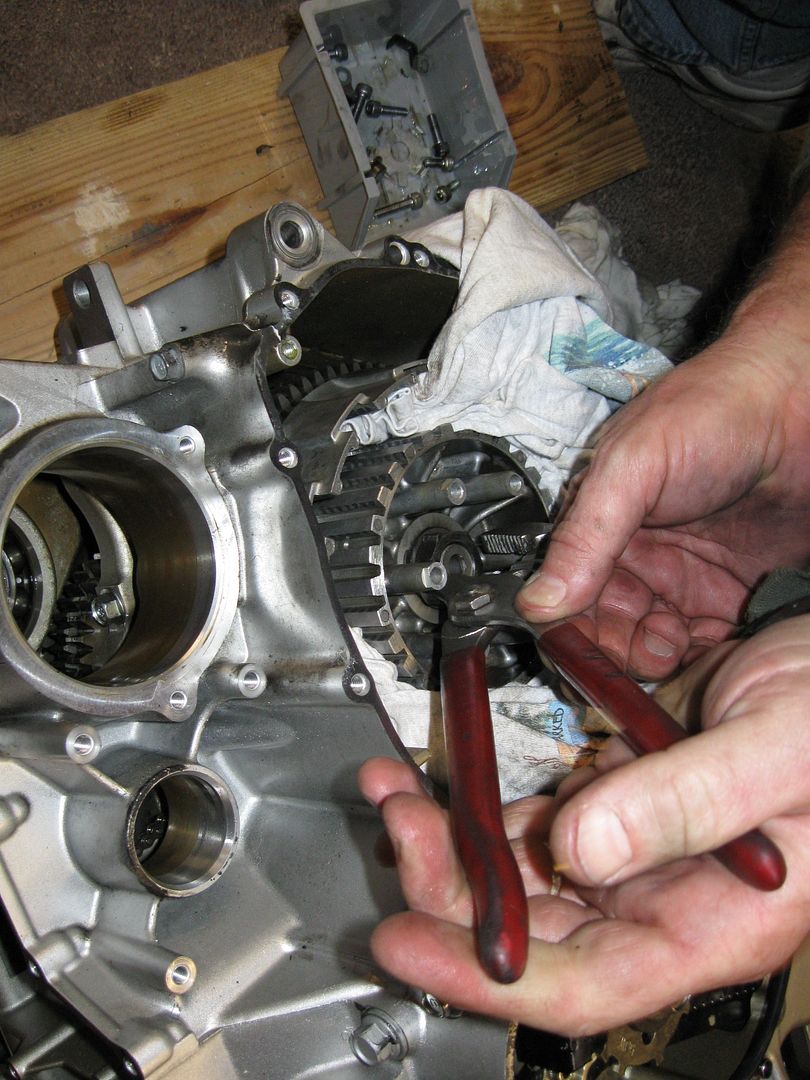
Now we start layering the steels and clutch plates... but not before giving them a little oil bath.
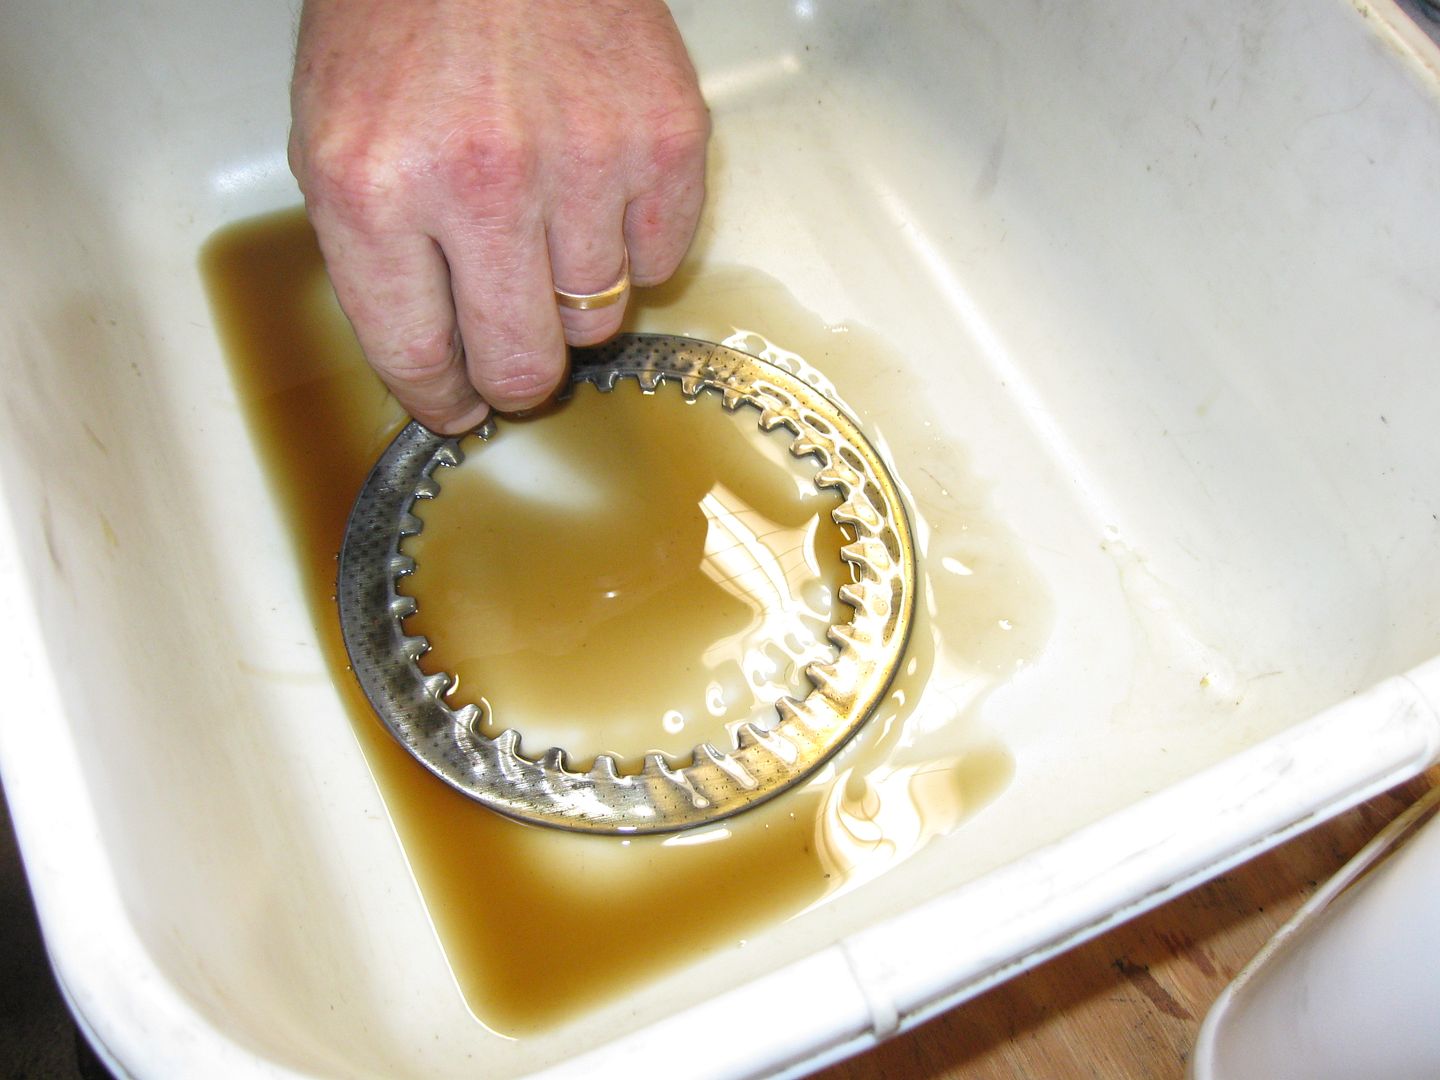
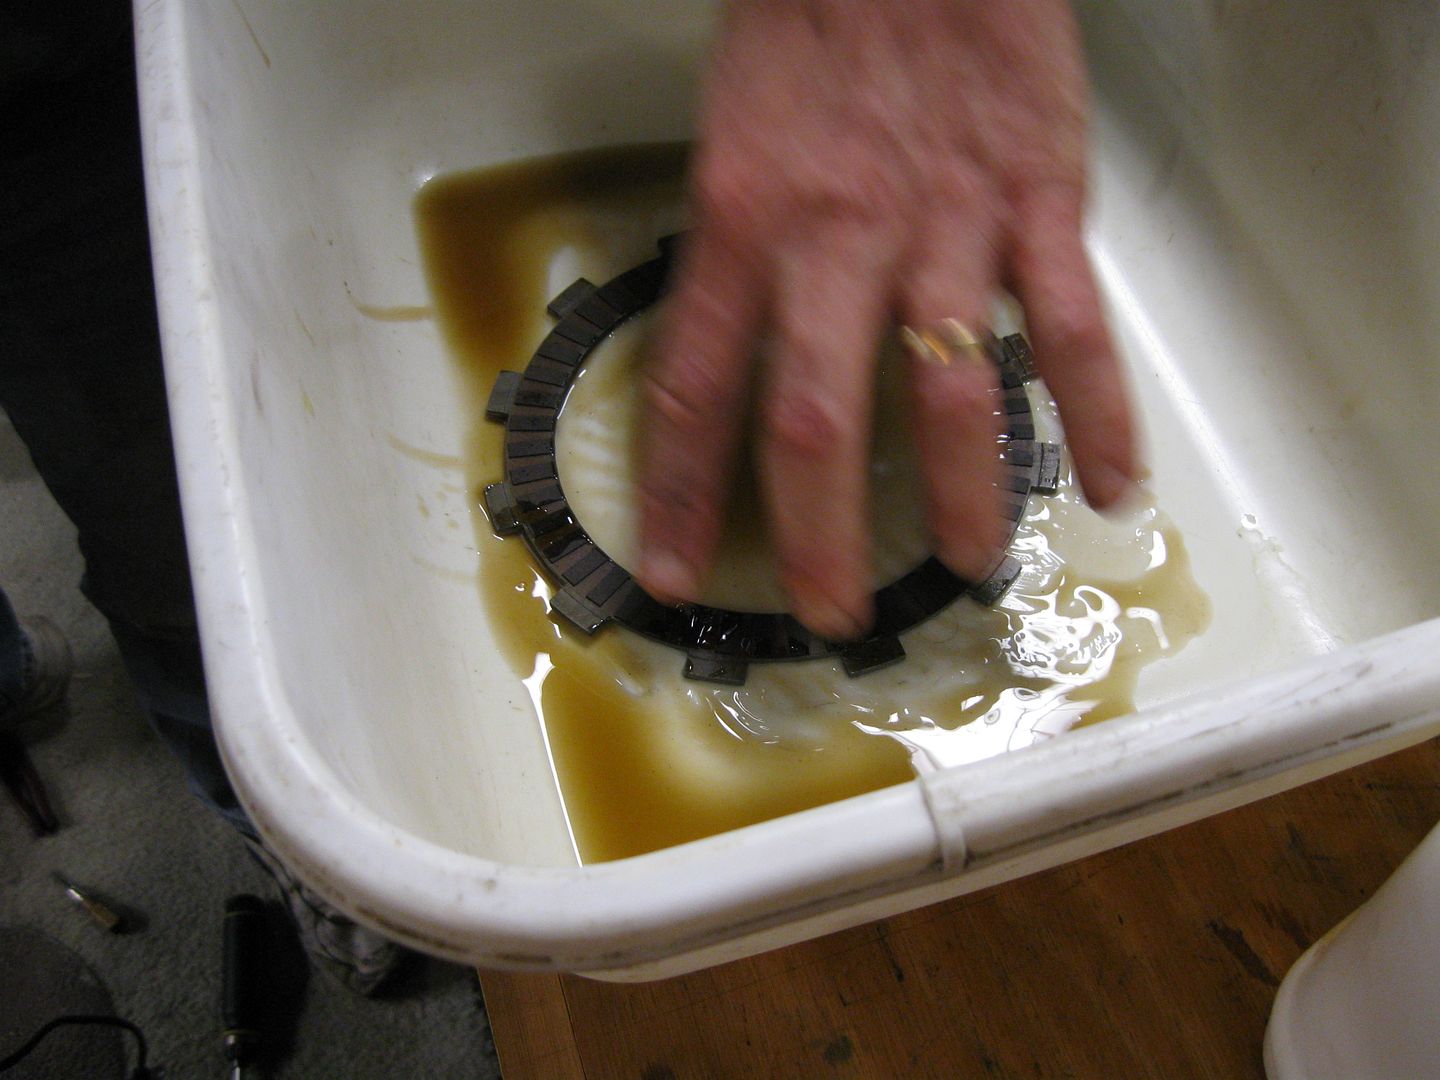
One after the other, each piece gets set in place....
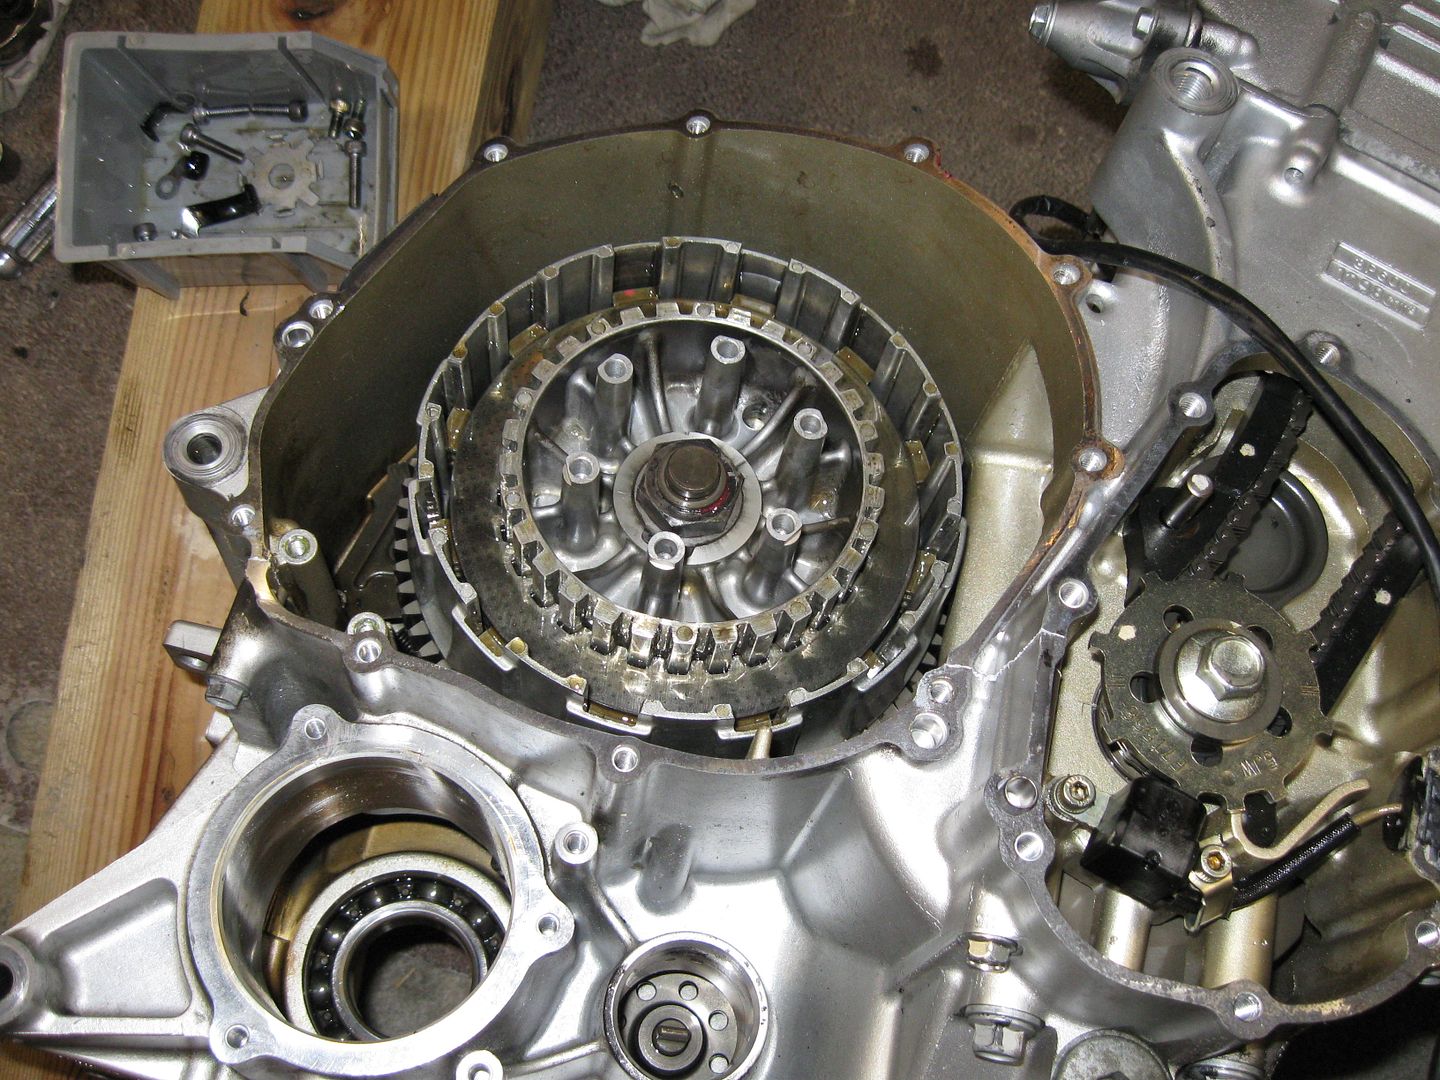
And capped off!
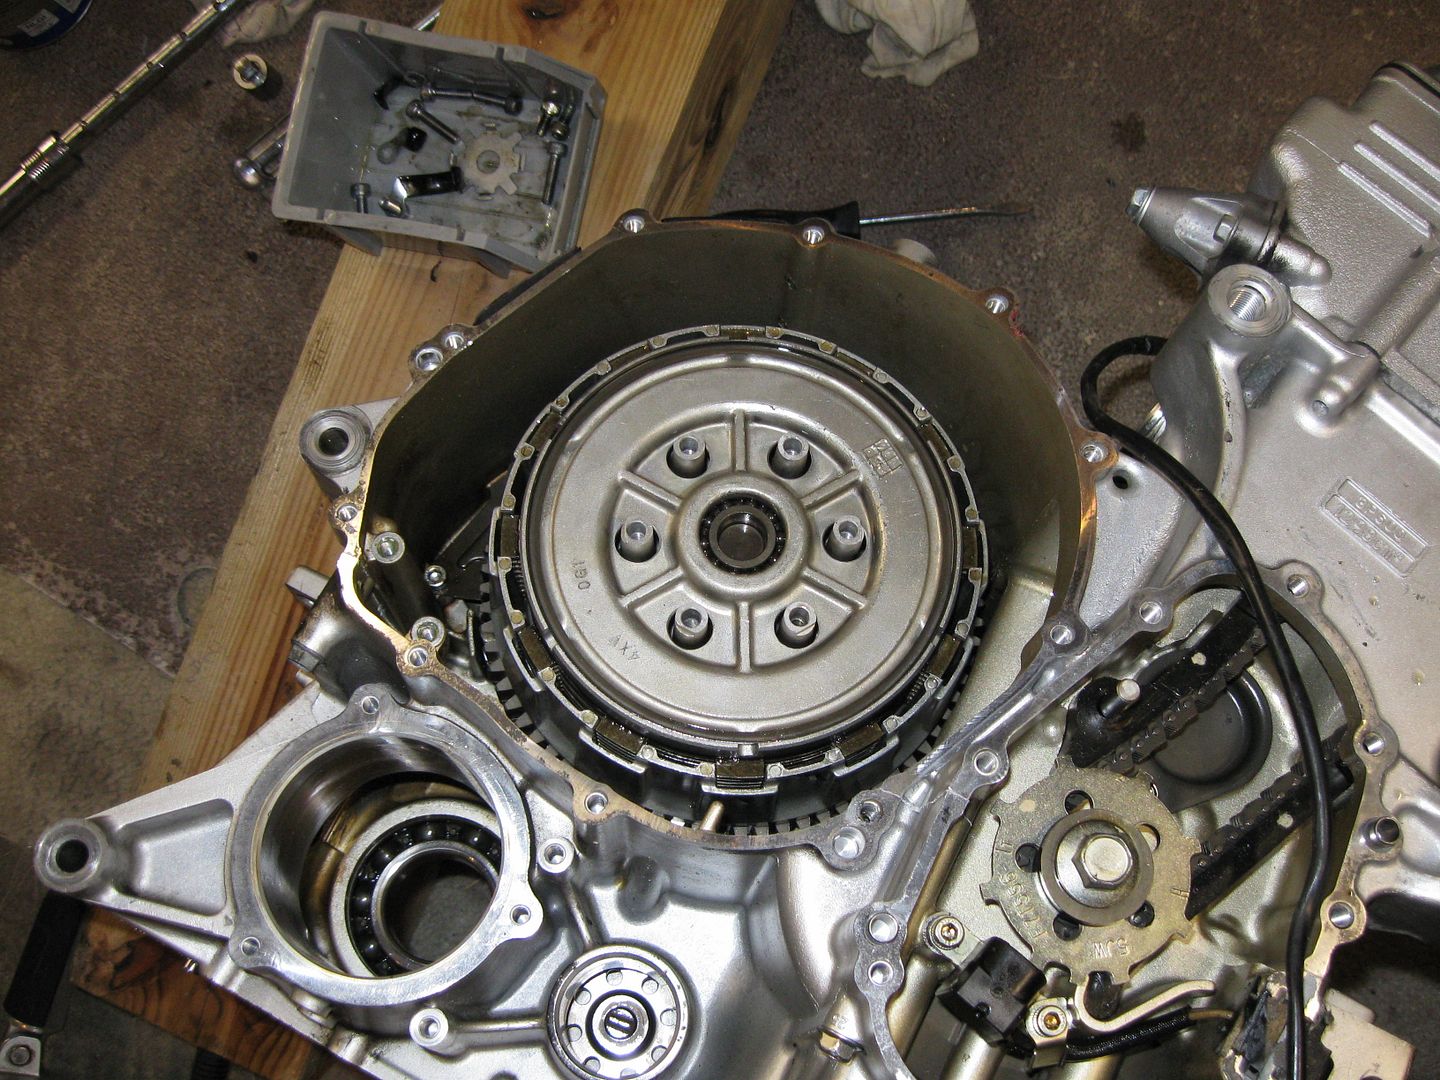
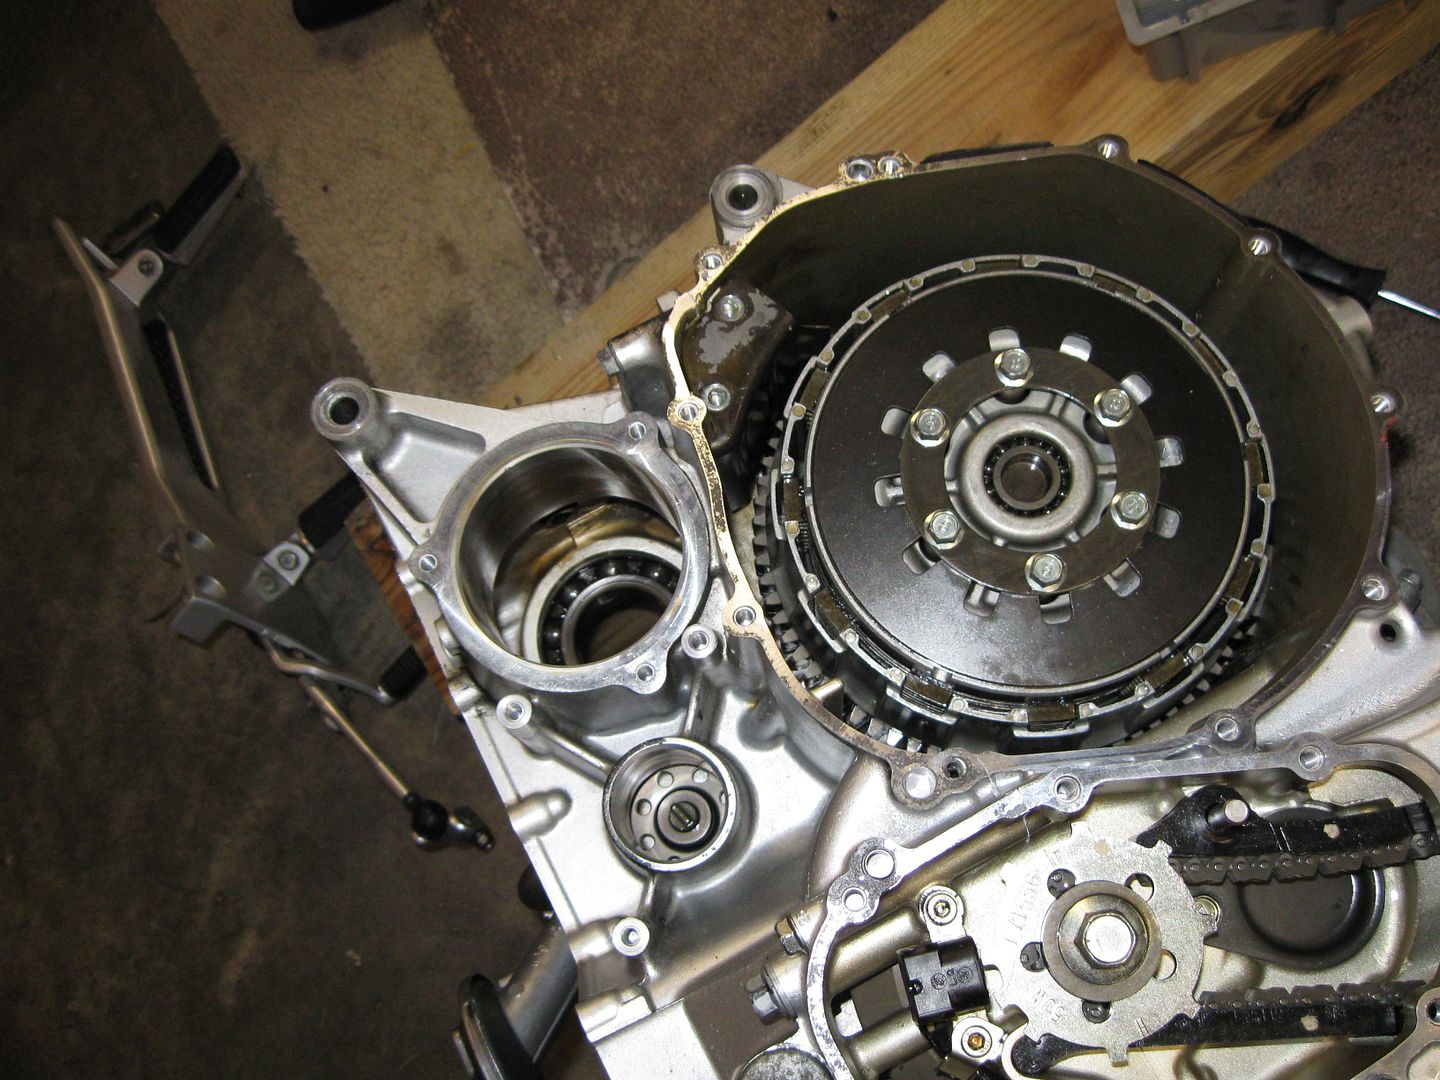
Now bake at 375 for an hour and.... oh that's Lasagna!
 Really this is just a reversal of the tear down (obviously).
Next, let's set the water pump in place and get him secured.
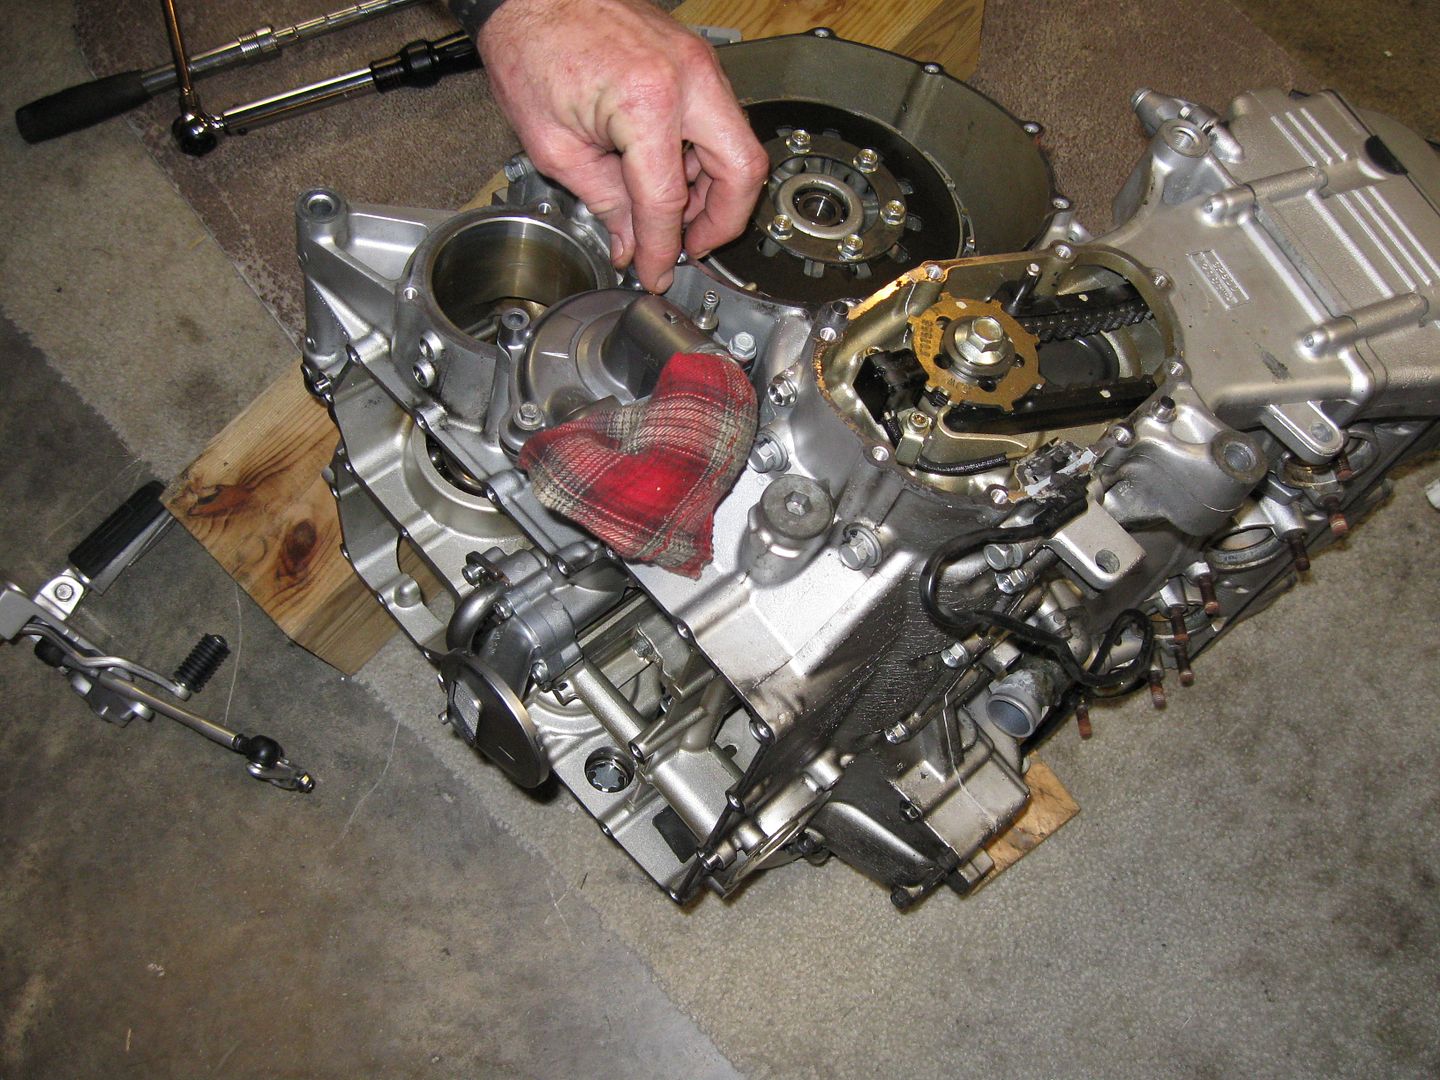
The Middle Gear was set in.
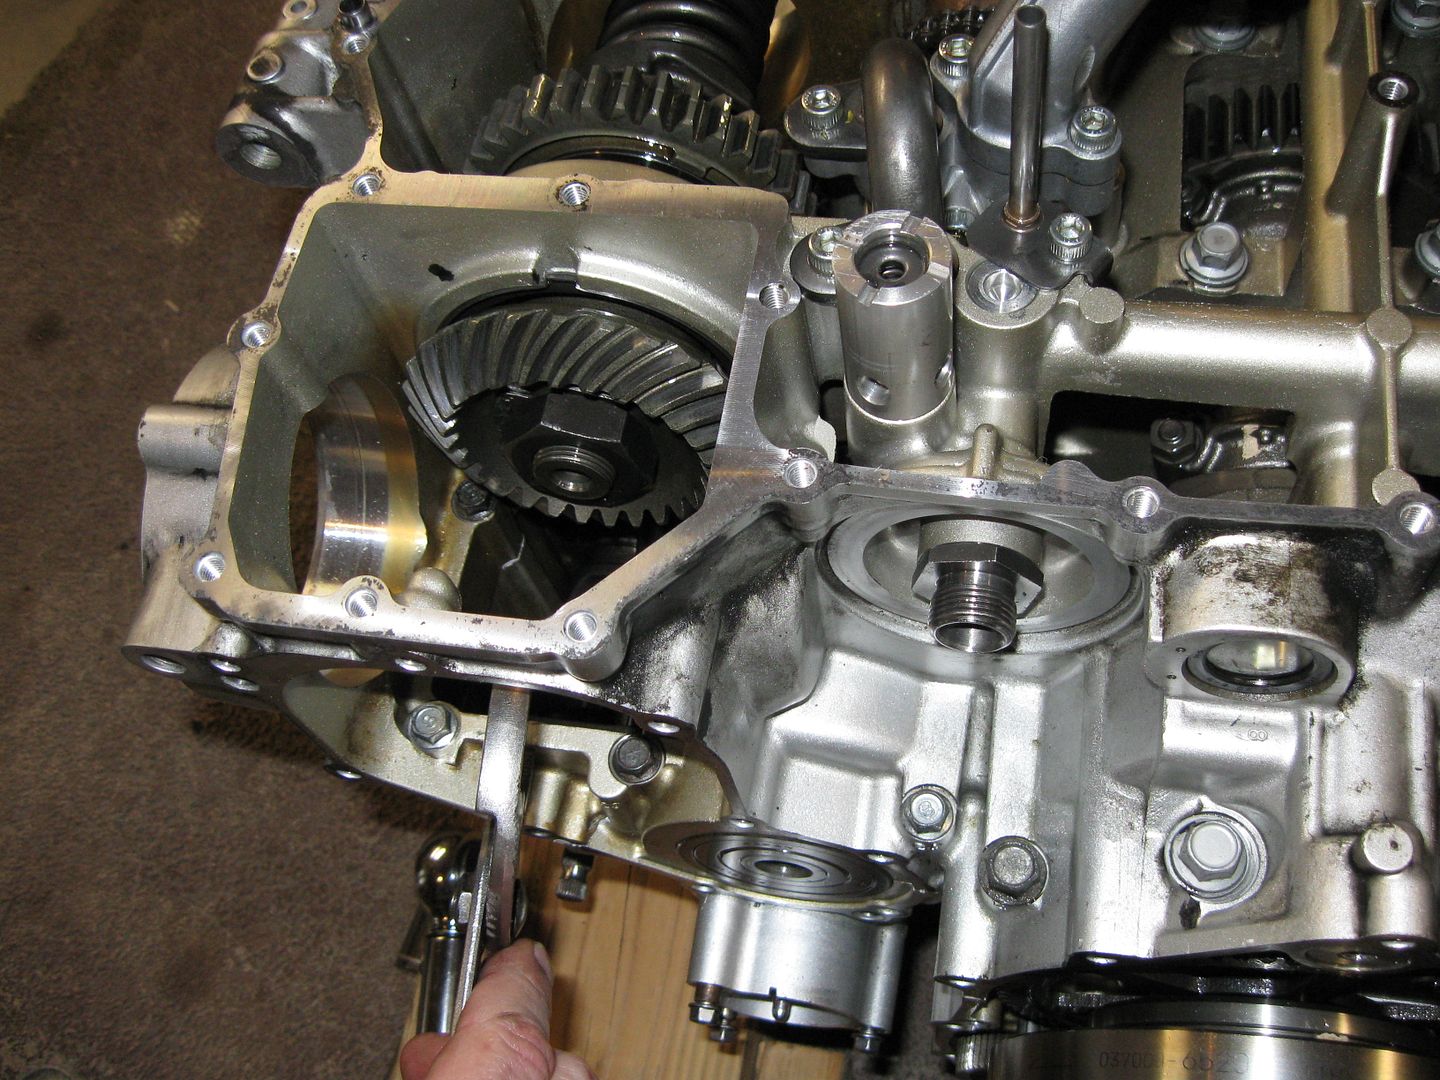
The last gear part (next to the Middle Gear) didn't feel quite right. Doug decided to hit it with the compressor and a little oil - in that order.
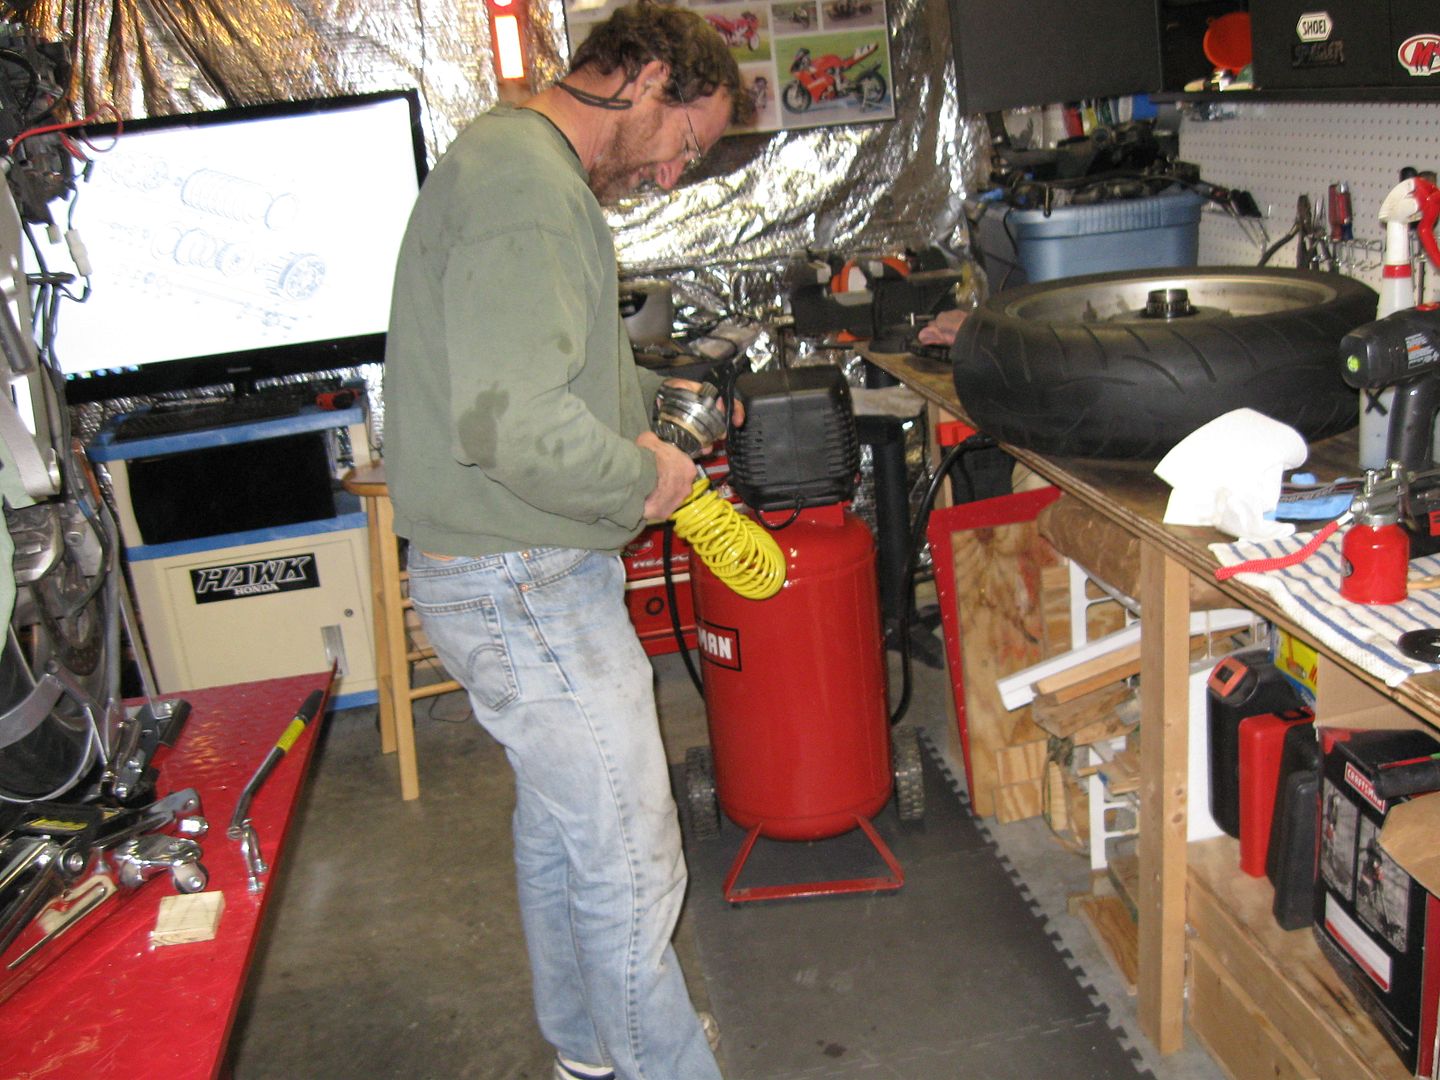
It just felt like some gunk had settled in there somewhere. The main seal on this piece was also replaced. Yeah, he actually put me to work and I had to put the camera down!
 So I didn't get pics of that. Ultimately we cleaned it out enough that both of us were satisfied...
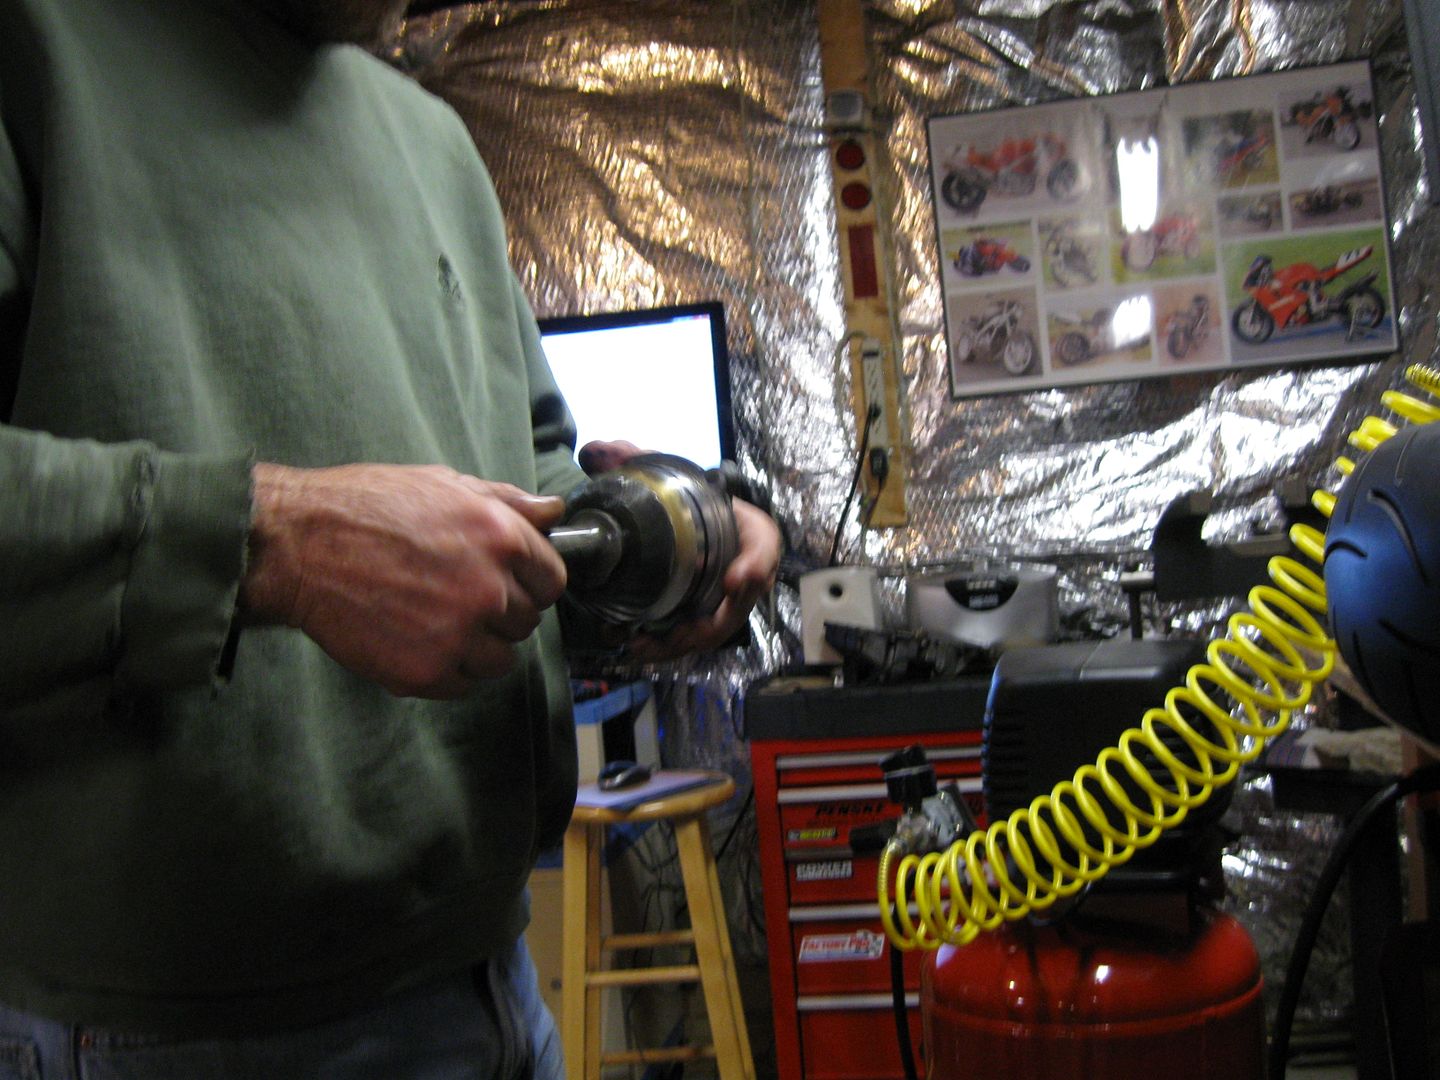
Now, it's ready to be fitted in to it's slot!
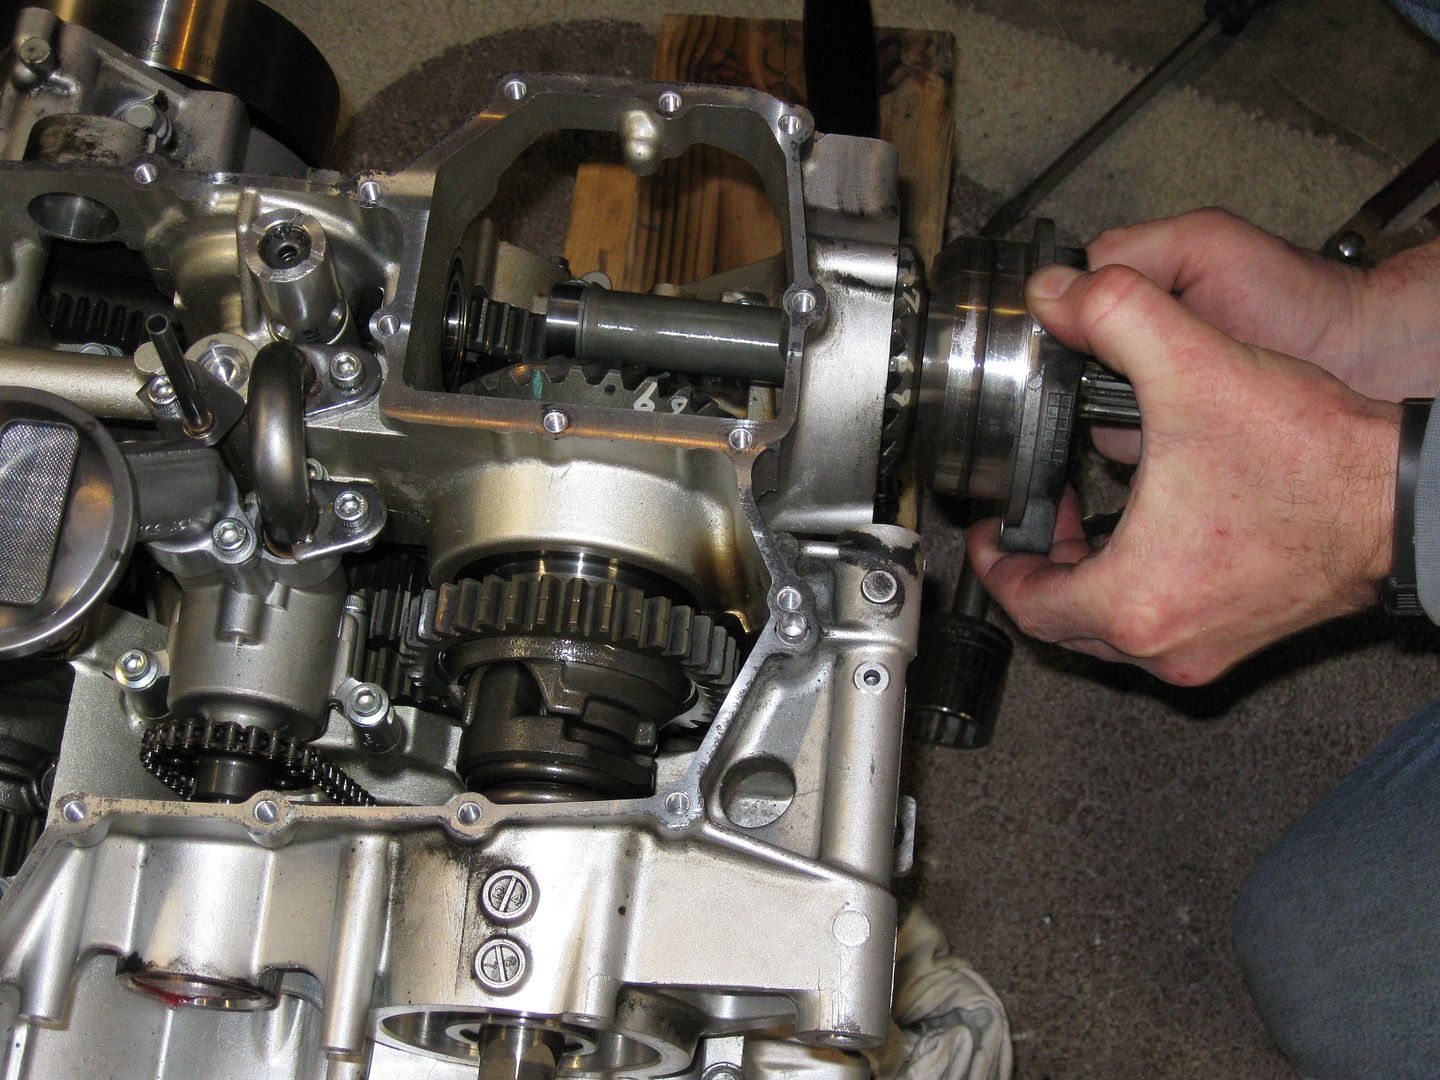
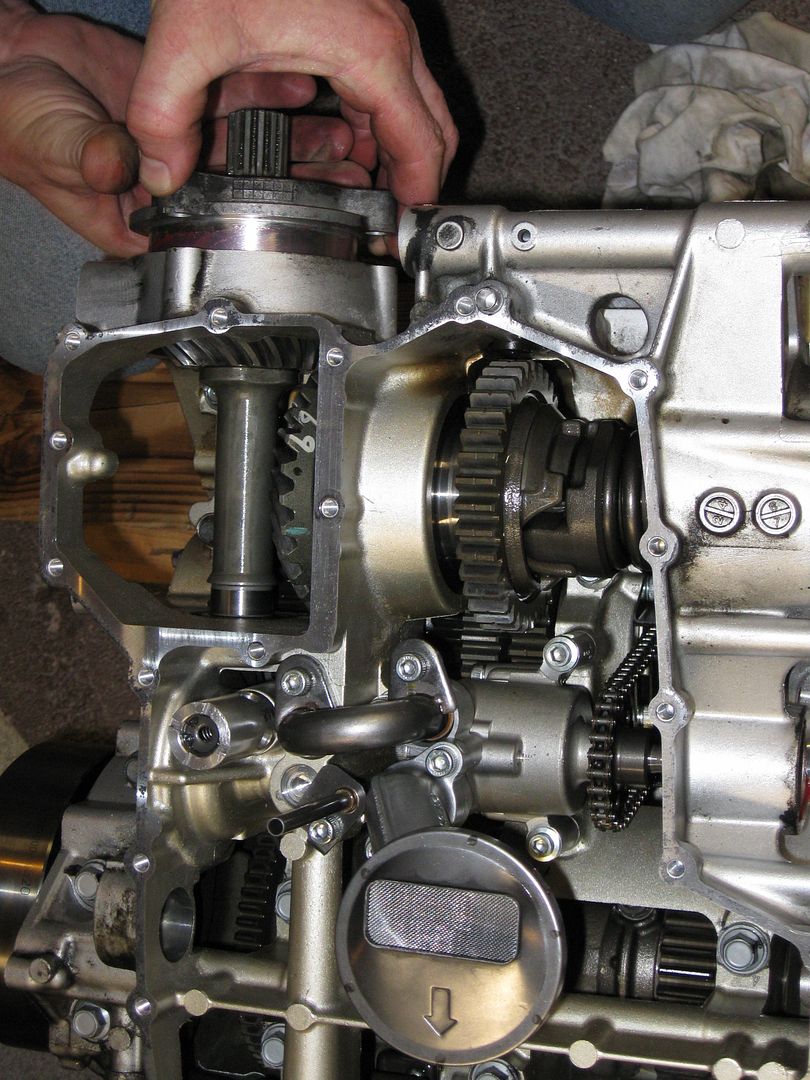
And that crazy cut cover that protects the universal joint has to be bolted down.
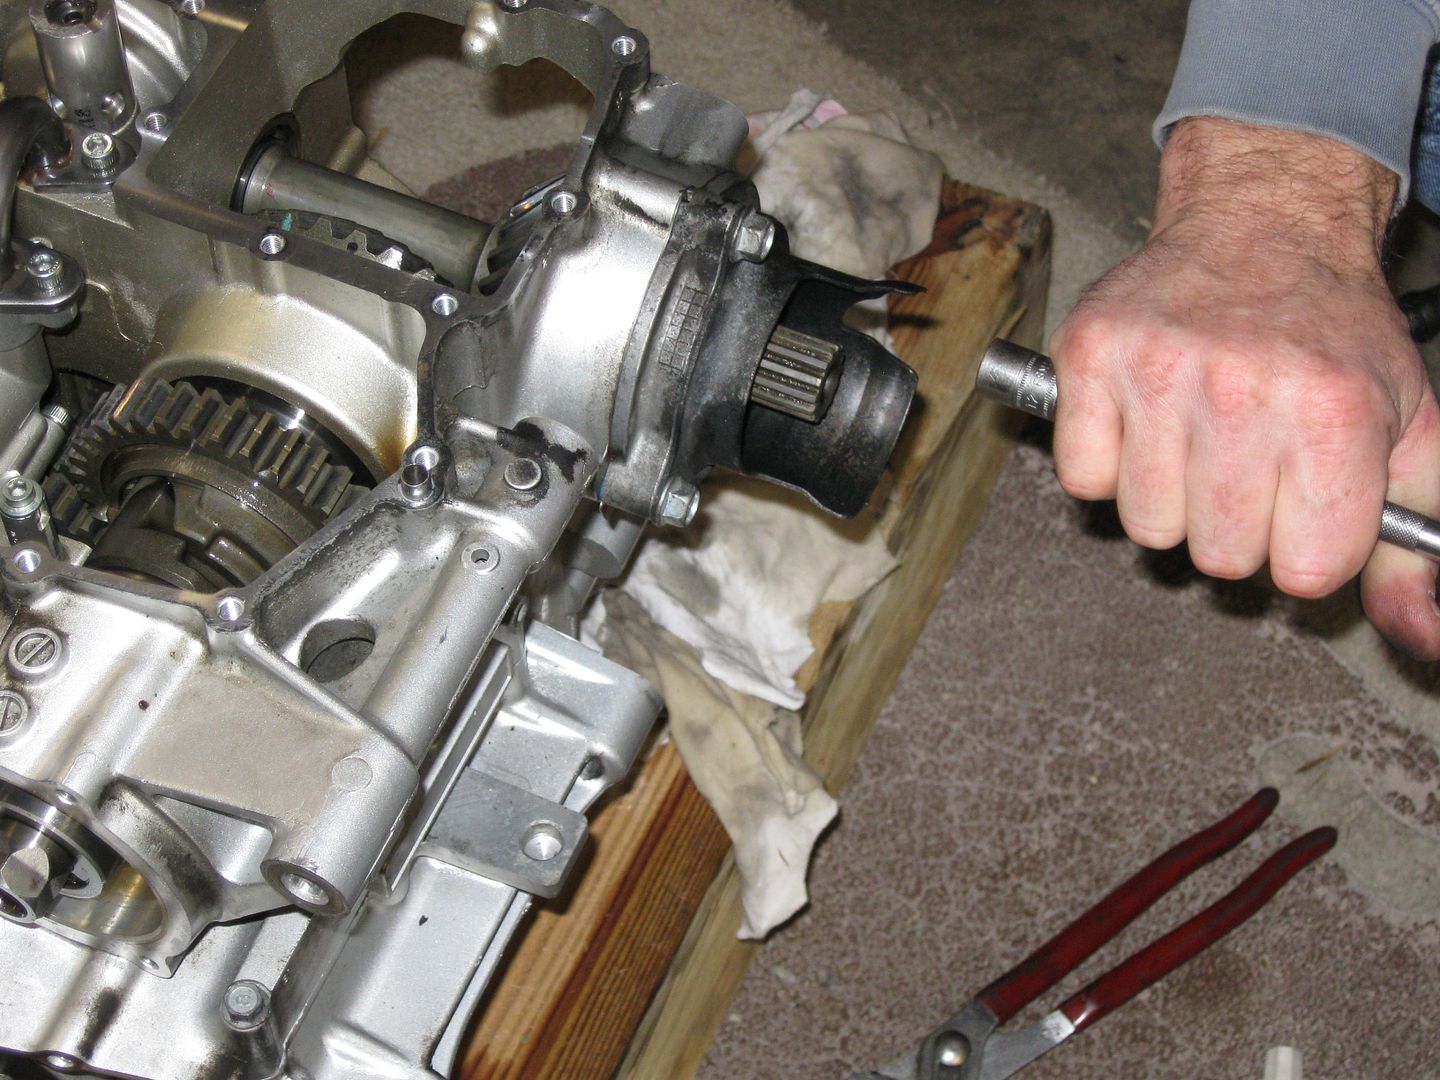
More caps get put on.... remember... tick!
Watch out for the magnet on this one! It sucks the cover in! (oh and the oil pan and clutch cover is back on... no more pics of gears inside!)

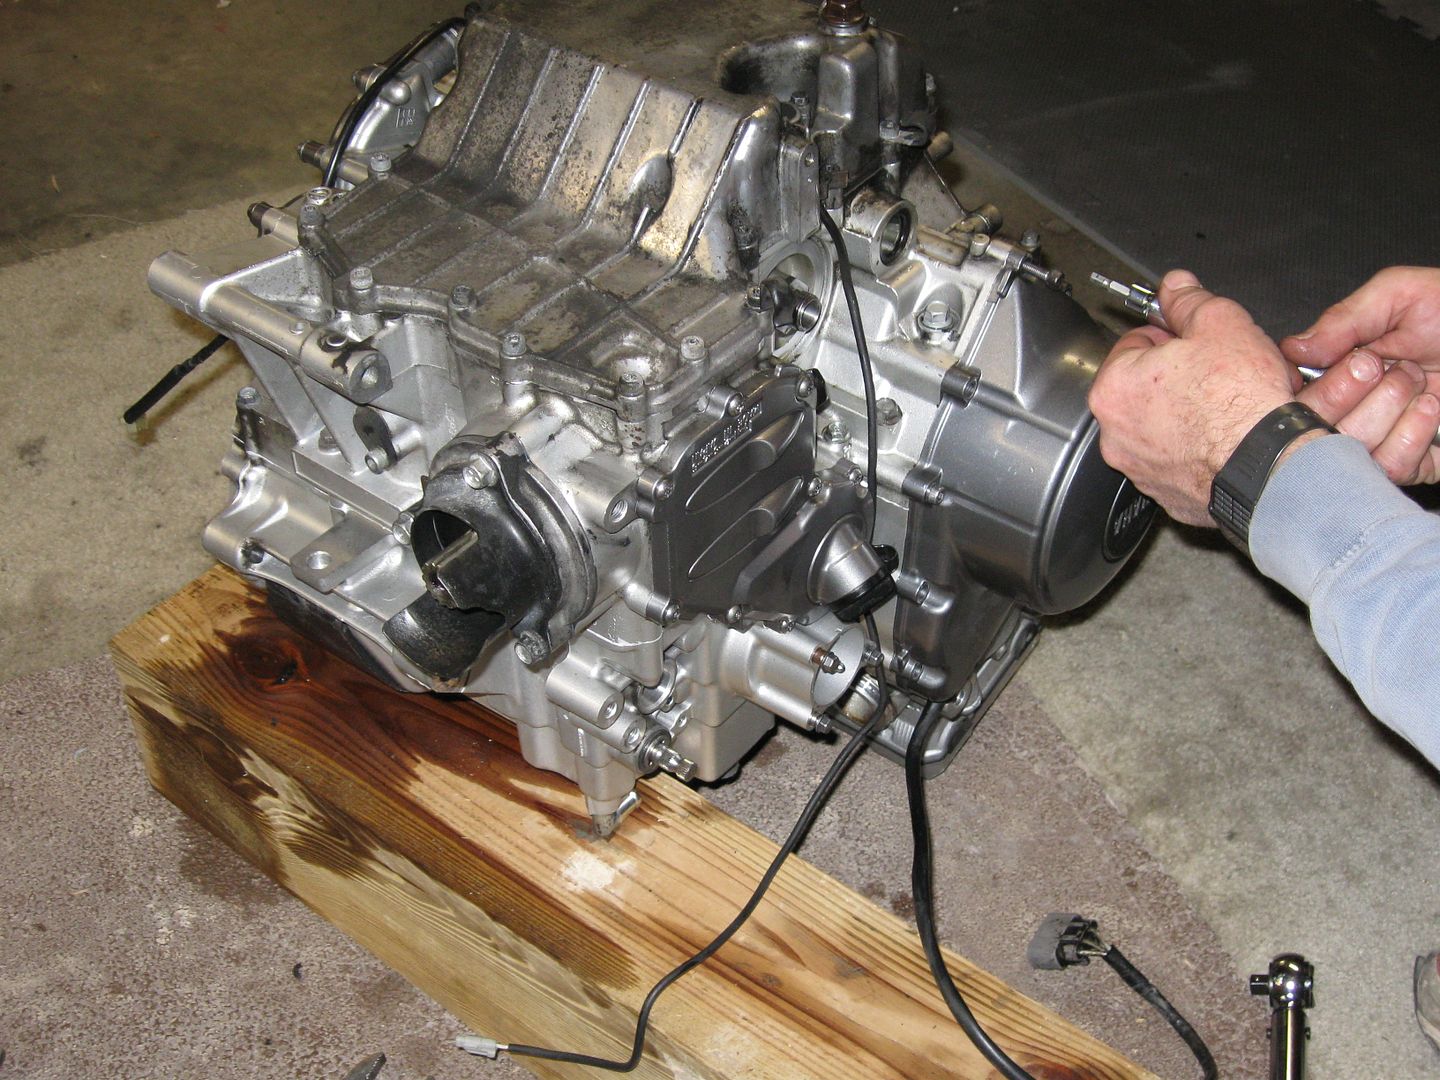
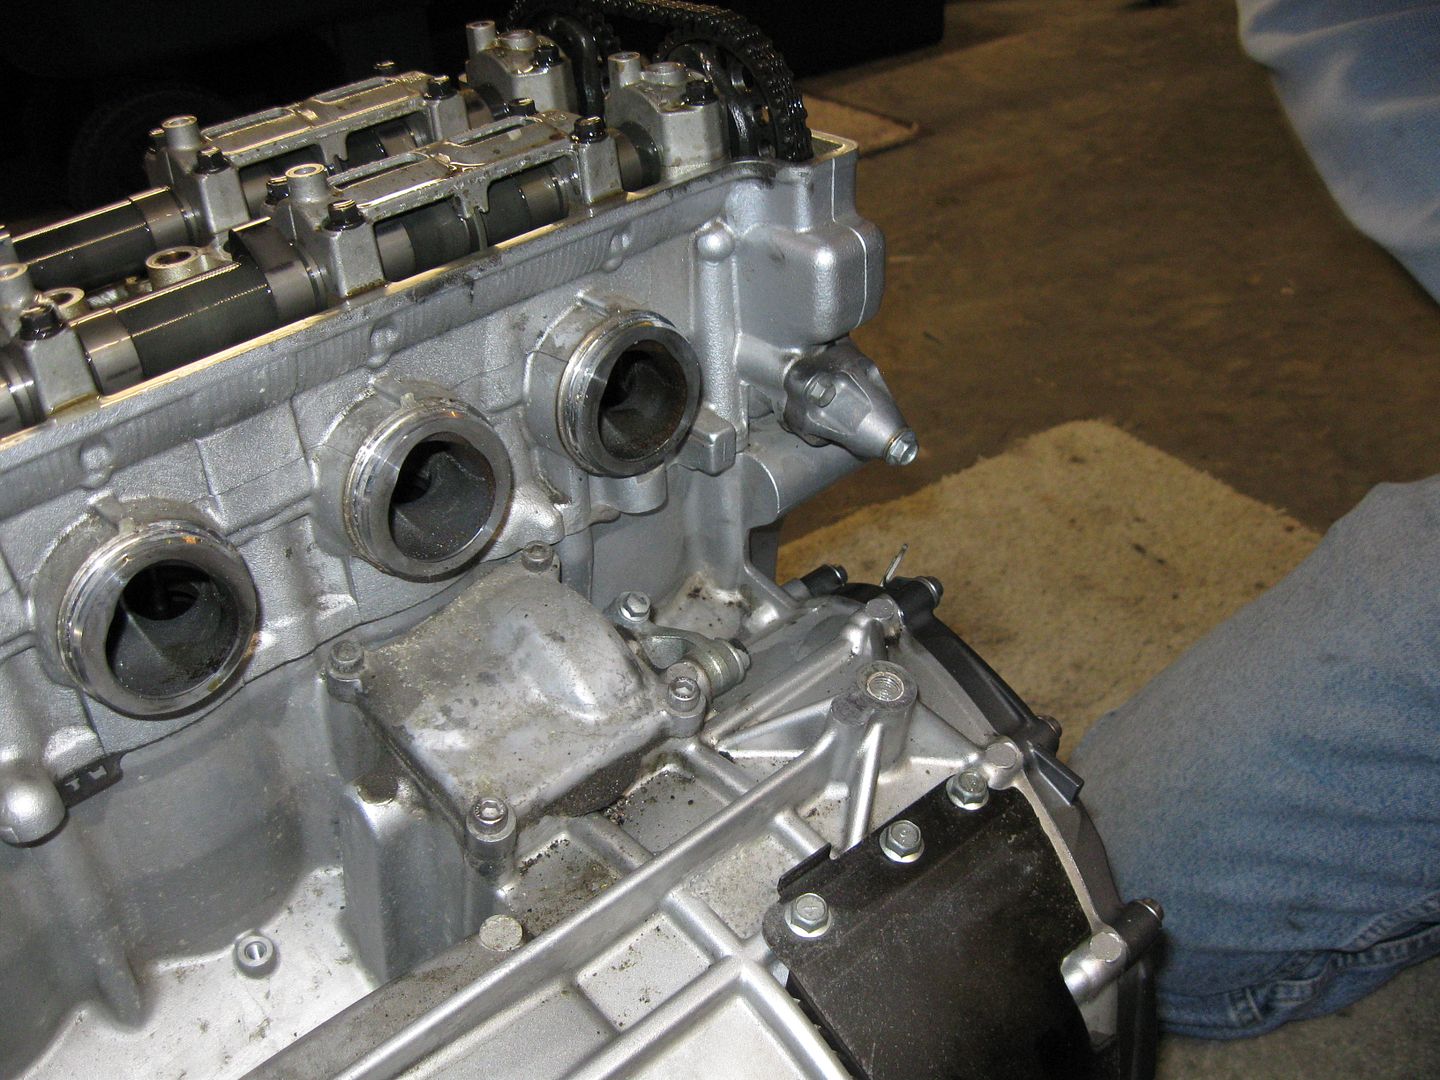
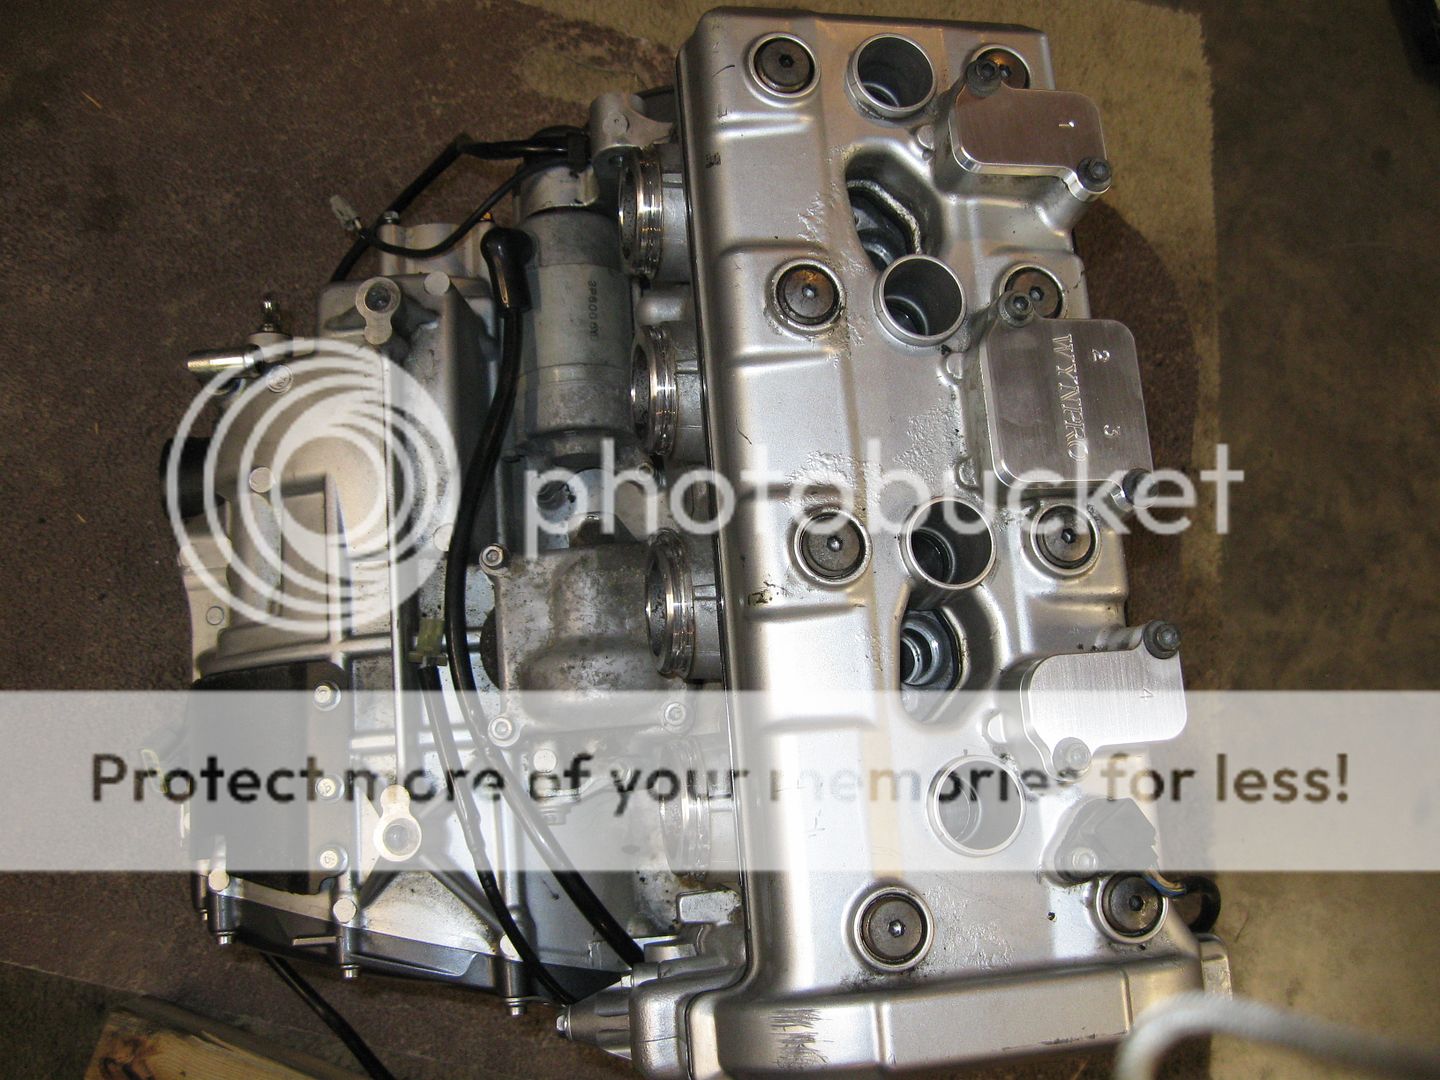
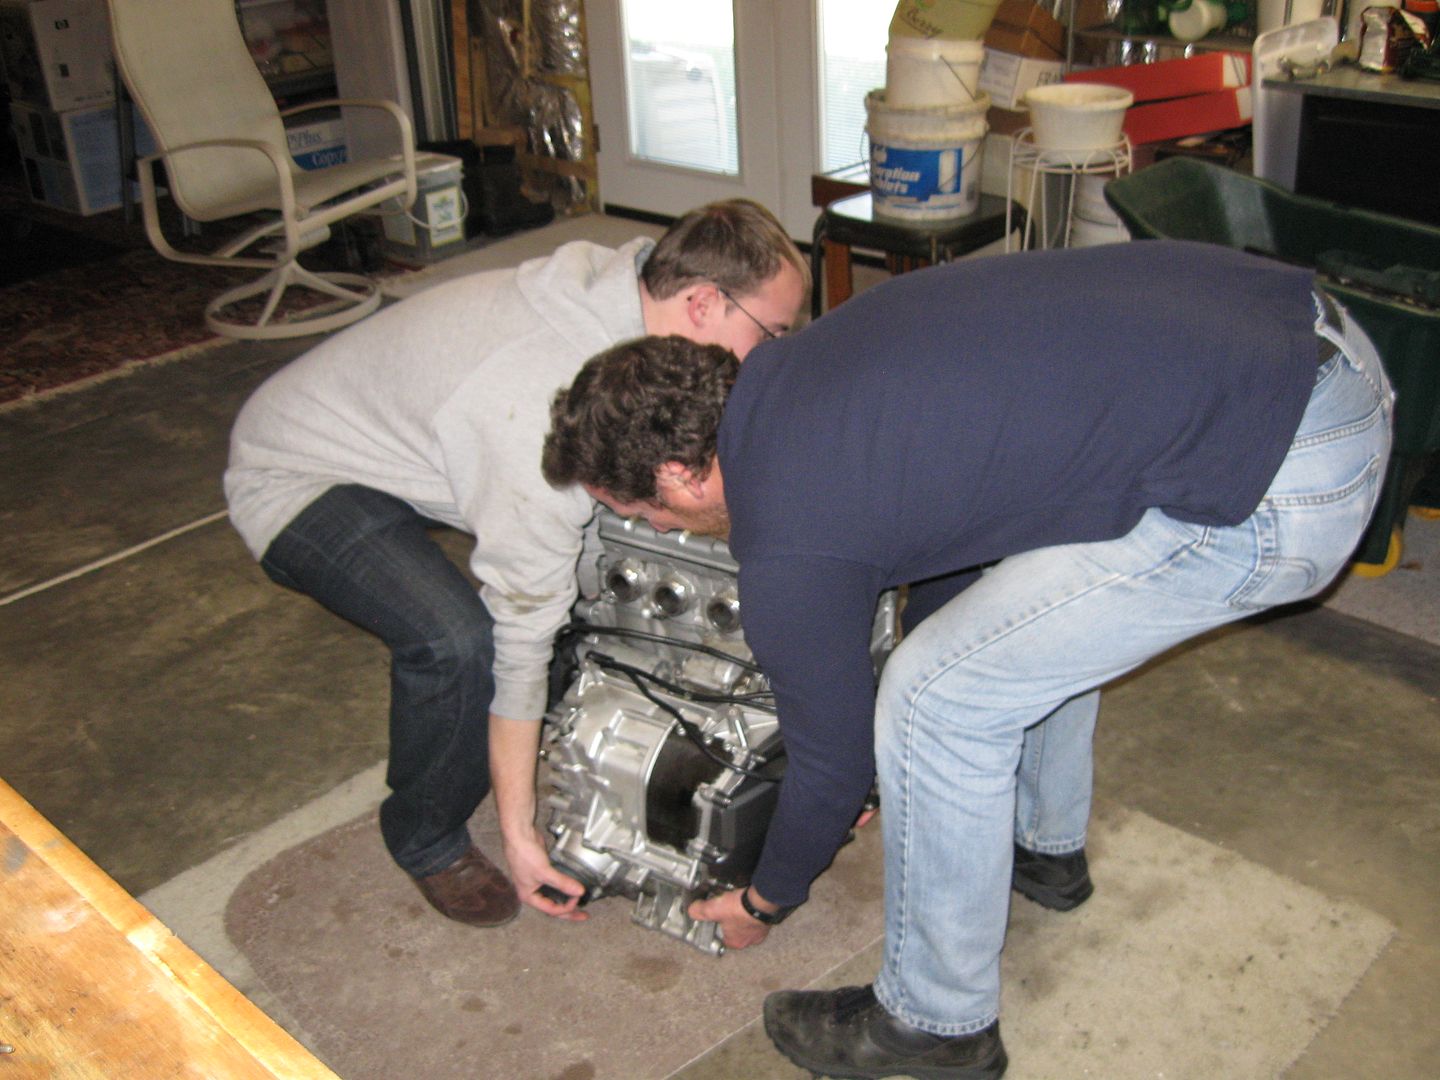
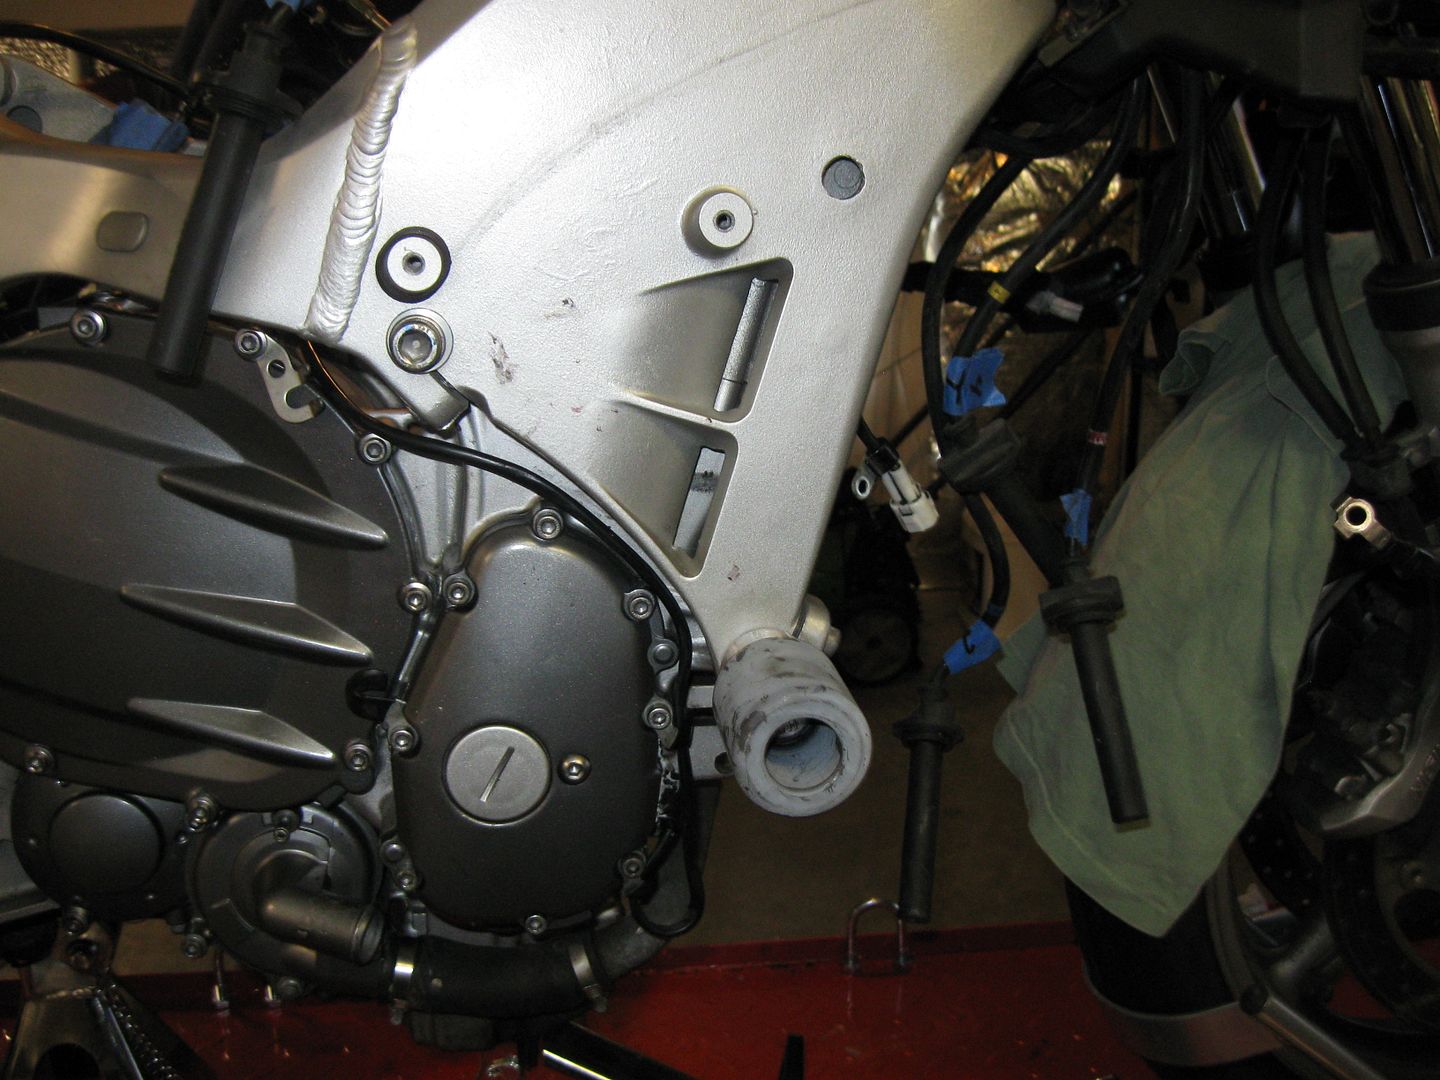
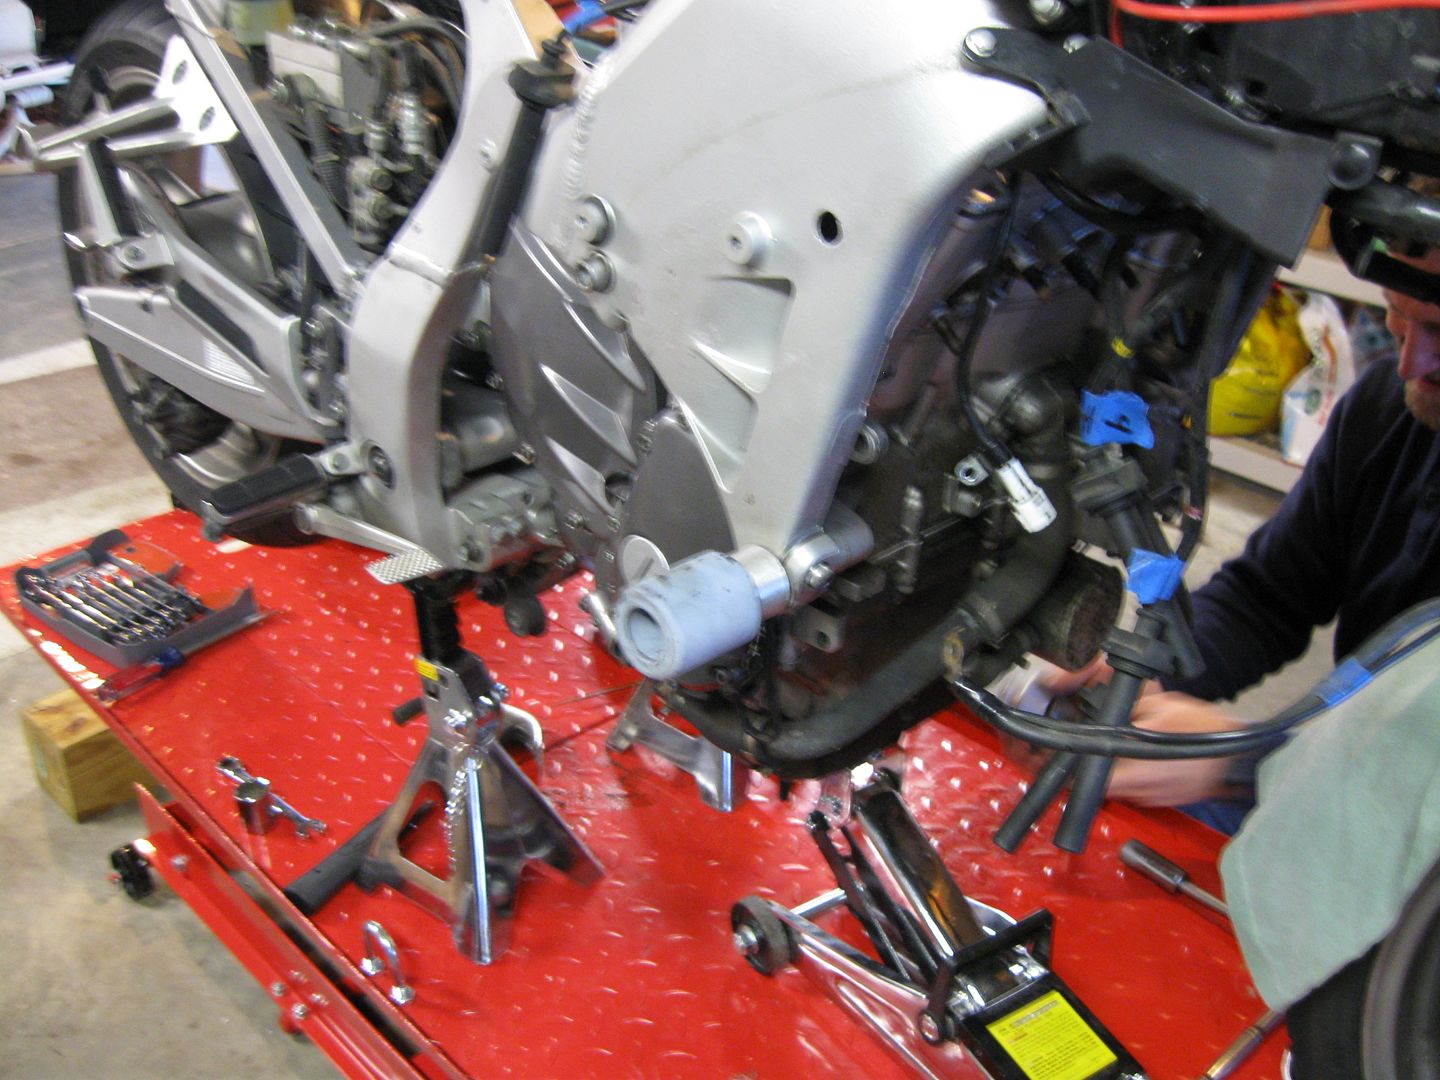
Well, we flipped that puppy over and (inhale) it's about ready to put shoveled back into the frame!
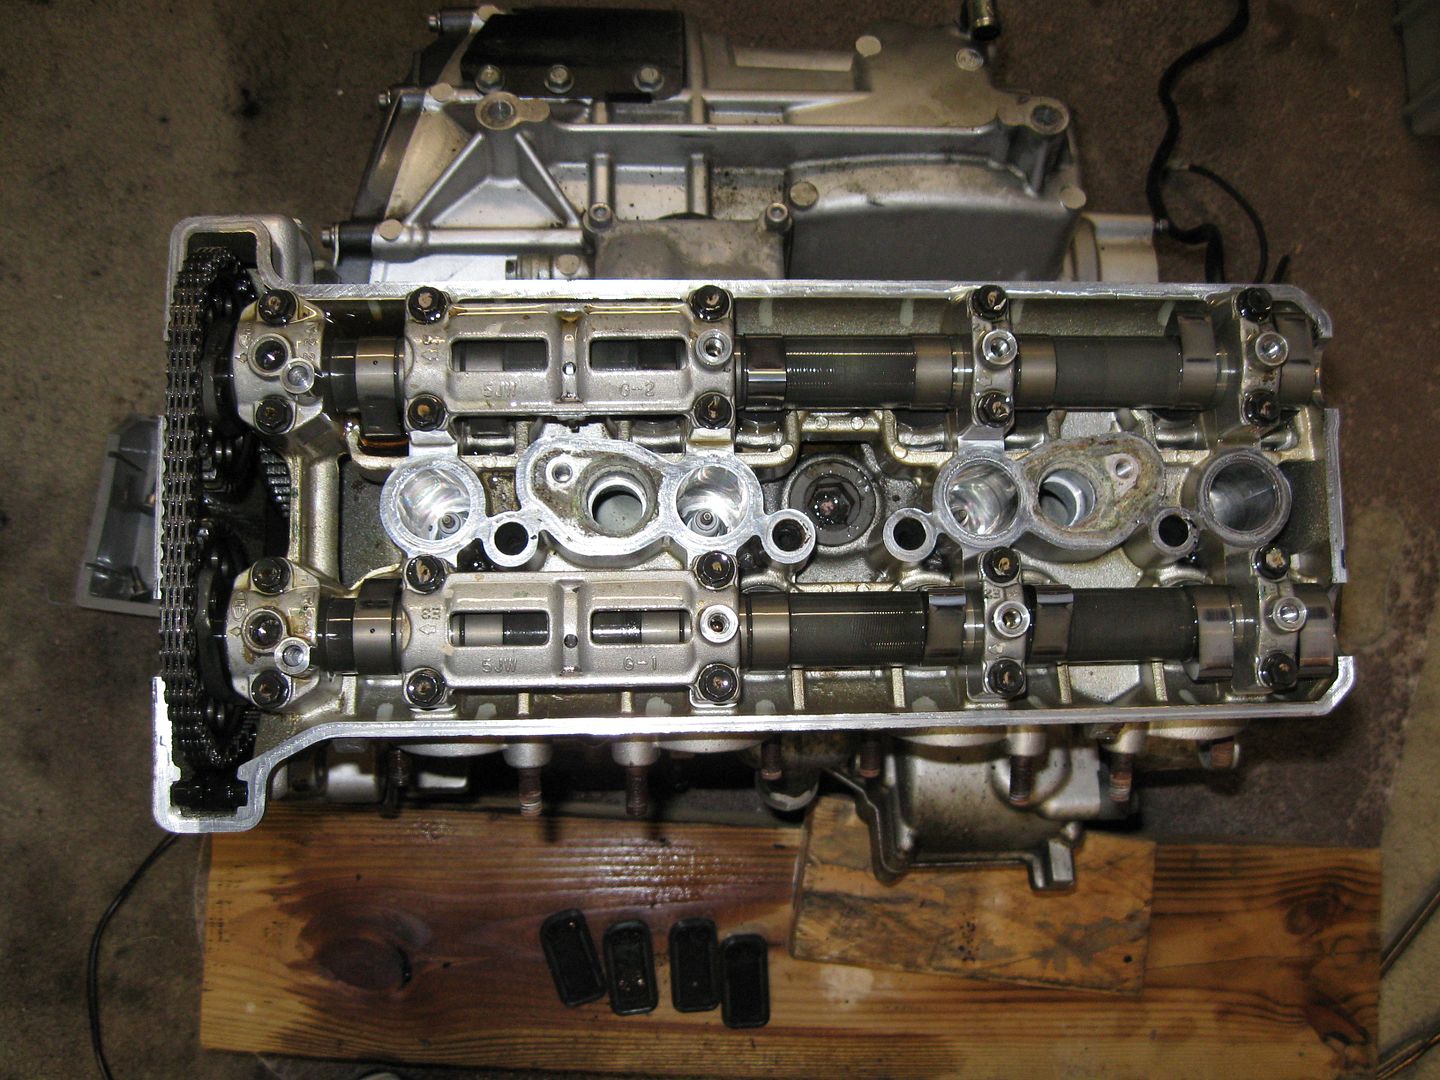
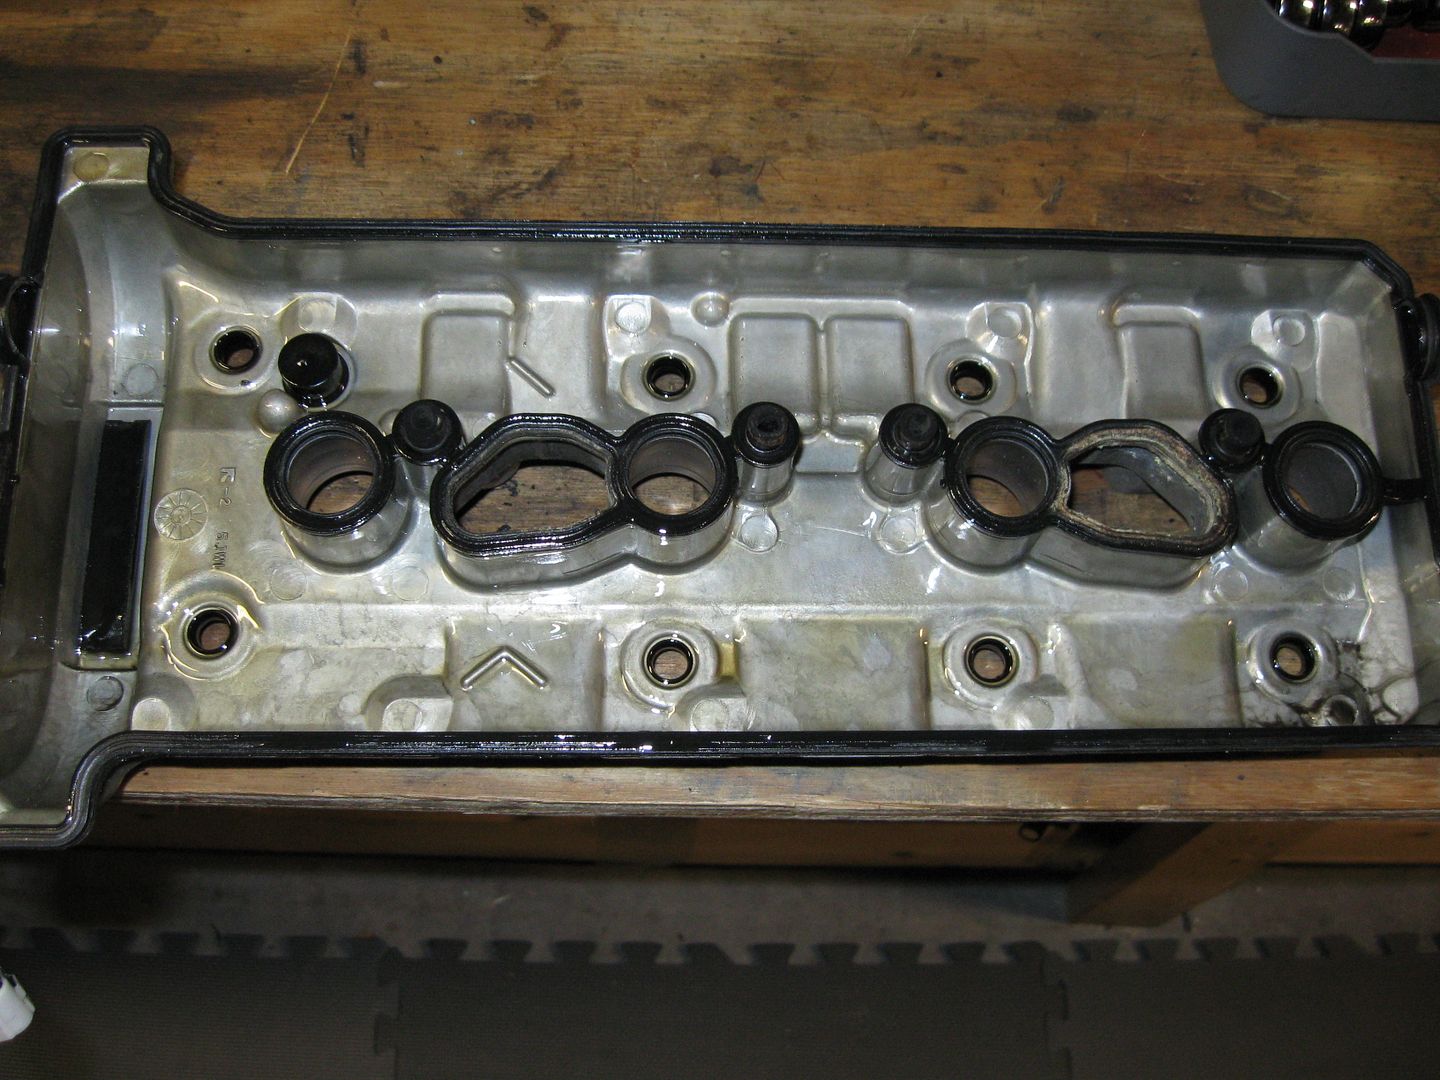
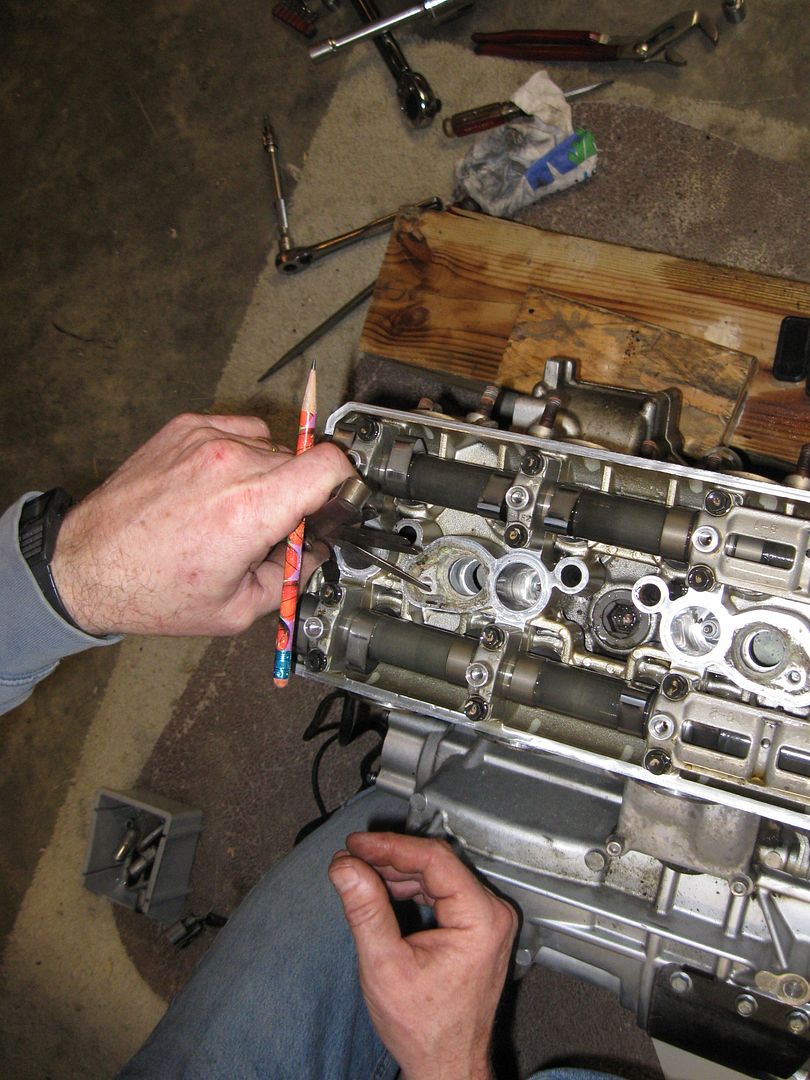
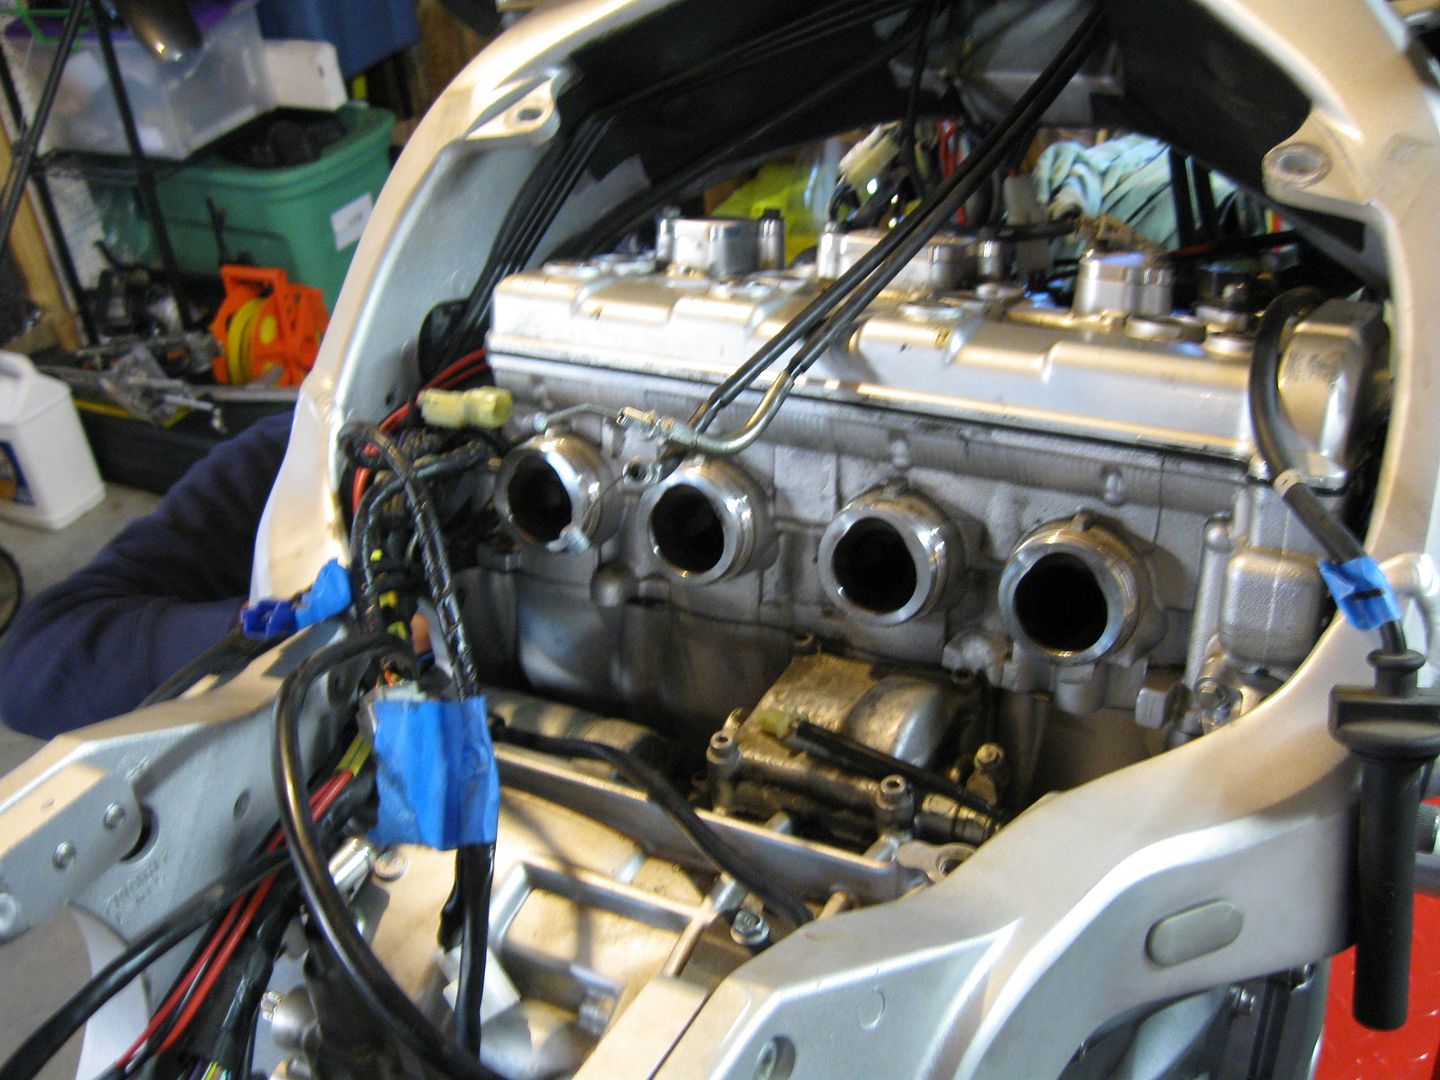
But first! While it's easy to get to, let's check those valves!
(to be continued)
(tick)Let's start with the engine. (tick) Then I'll move onto the swing arm. (tick)
What's with the "tick"s??!!! I'm hearing them in my sleep!
ok ok you get the point!
Doug stopped by with tool bag in hand looking every bit the part of the Bike Doctor making a House Call. The time he brought his Lovely Wife along to hang with mine for the afternoon! (sorry no pics of them)
We picked up by installing the oil pump.

Followed by the chain...

The plumbing next.

Bolt that sucker down.

The oil pickup, while not bad, still had little bits of stuff along the edge.


So! Clean up time! I took it to the sink... then to the compressor and back a few times.

Not exactly new, but much better and acceptable for installation! Pop that puppy in!

Now we moved down to the clutch basket area. Here, Doug installed and checked the functionality of the shift shaft.

Then we cover it back up.

I hear FJRs are pretty smooth running engines... Let's keep that characteristic in tack shall we? The balancer needs to have that dot lined up with the mark on the block (under the rag).

Inserting the clutch basket is a challenge. Lining the spring loaded gears up wasn't an easy task.

There's a toothed spacer in there that also needs to line up down there.

All set in place and snuggly where it belongs!

A gentle rollover will assist with the building of the clutch!

But first, we need to secure everything down. No more rattling parts inside this engine!!

Now we start layering the steels and clutch plates... but not before giving them a little oil bath.


One after the other, each piece gets set in place....

And capped off!


Now bake at 375 for an hour and.... oh that's Lasagna!
Next, let's set the water pump in place and get him secured.

The Middle Gear was set in.

The last gear part (next to the Middle Gear) didn't feel quite right. Doug decided to hit it with the compressor and a little oil - in that order.

It just felt like some gunk had settled in there somewhere. The main seal on this piece was also replaced. Yeah, he actually put me to work and I had to put the camera down!

Now, it's ready to be fitted in to it's slot!


And that crazy cut cover that protects the universal joint has to be bolted down.

More caps get put on.... remember... tick!
Watch out for the magnet on this one! It sucks the cover in! (oh and the oil pan and clutch cover is back on... no more pics of gears inside!)

Well, we flipped that puppy over and (inhale) it's about ready to put shoveled back into the frame!
But first! While it's easy to get to, let's check those valves!
(to be continued)
Last edited by a moderator:


