Cav47
Adventure Seeker
Karl, Do you need some assistance or a garage to work on the bike. If you are still near Moonshine, I can run down and help you right after school. Let me know


I stand corrected. I thought I had read (possibly in this thread) that the clevis was more "universal".. I have no direct knowledge to support that.Actually, I think they may have.

I will do that.Eric is overnighting the original clevis to me here, the new one is not available yet.Karl
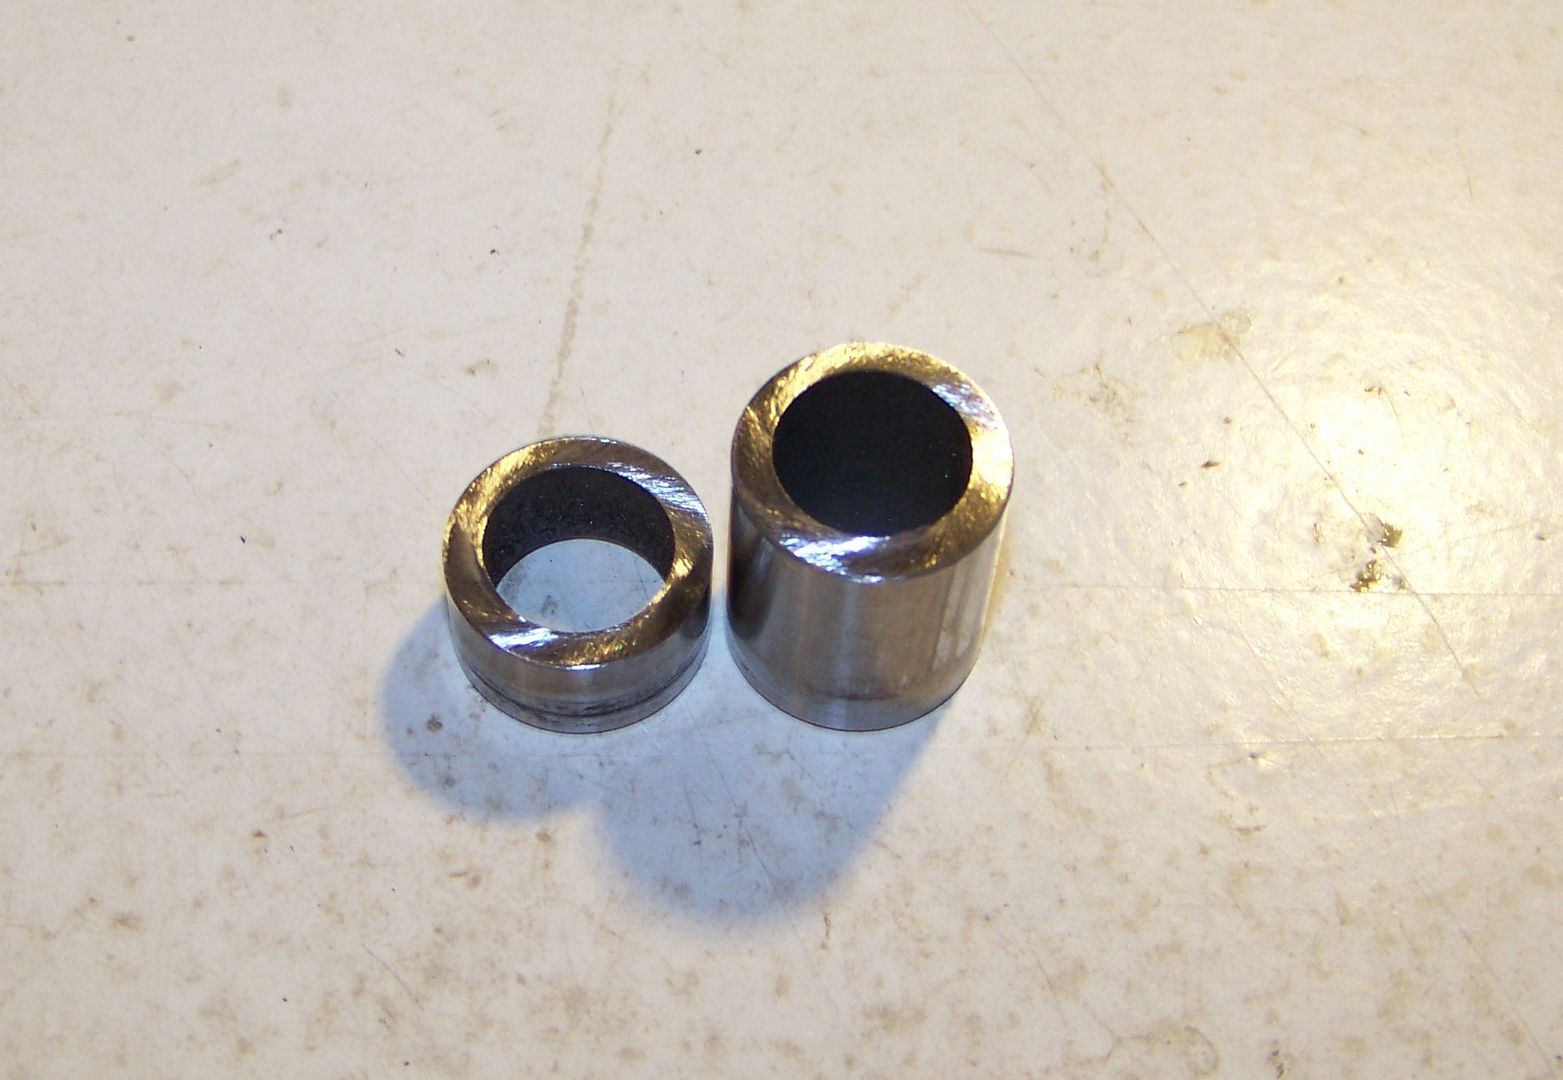
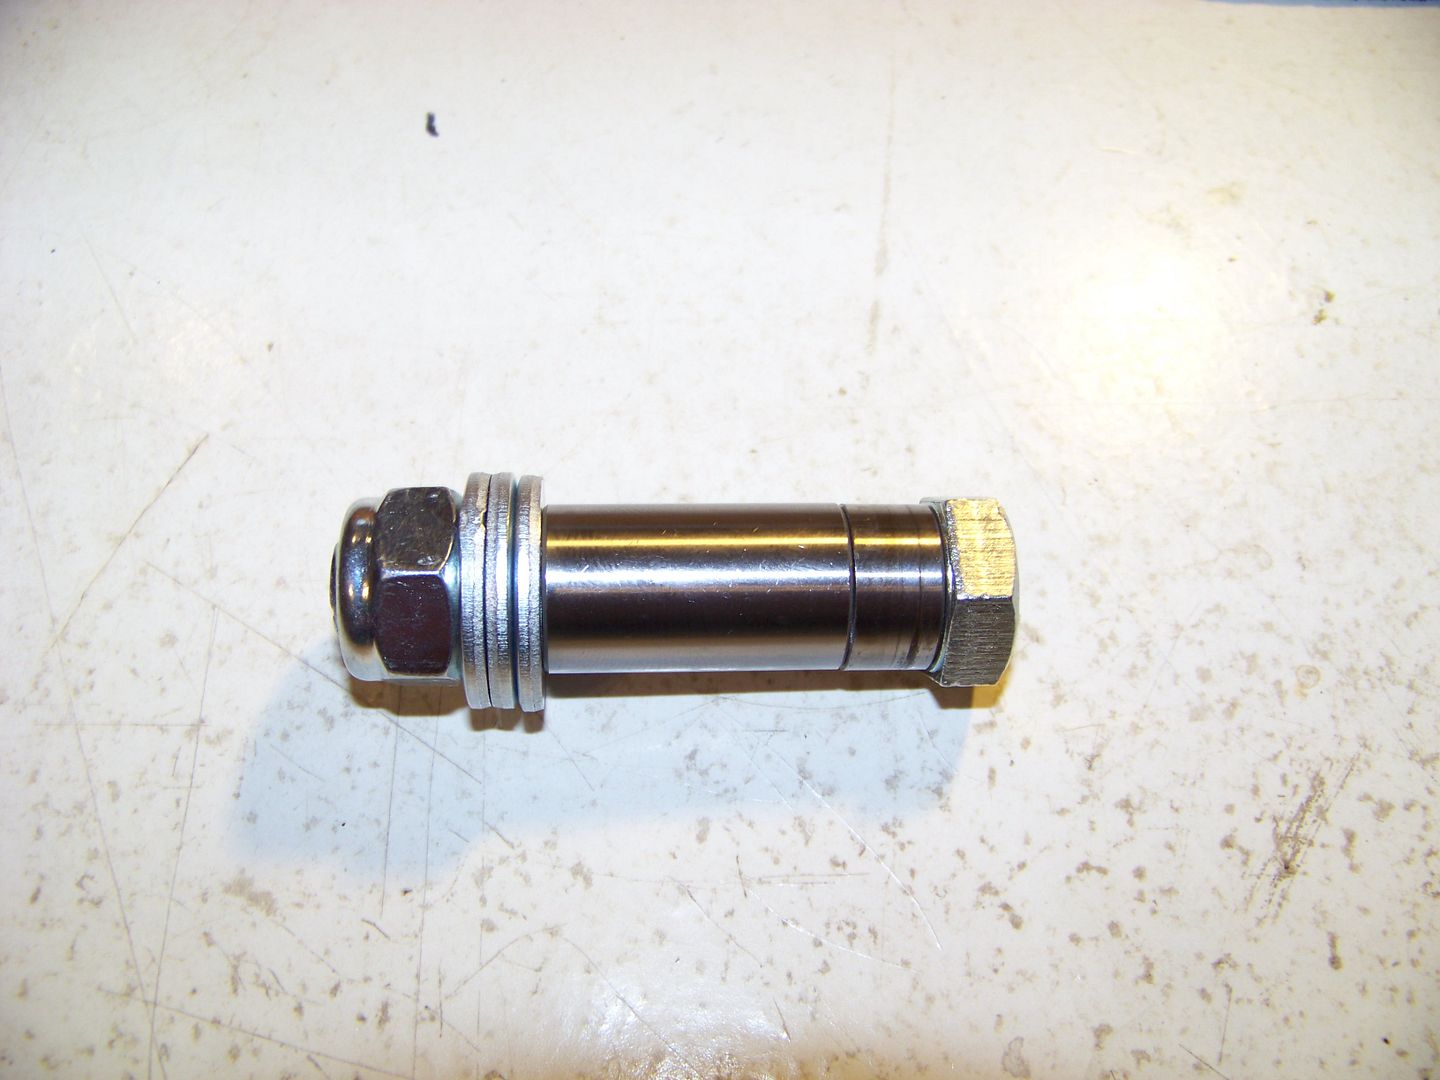
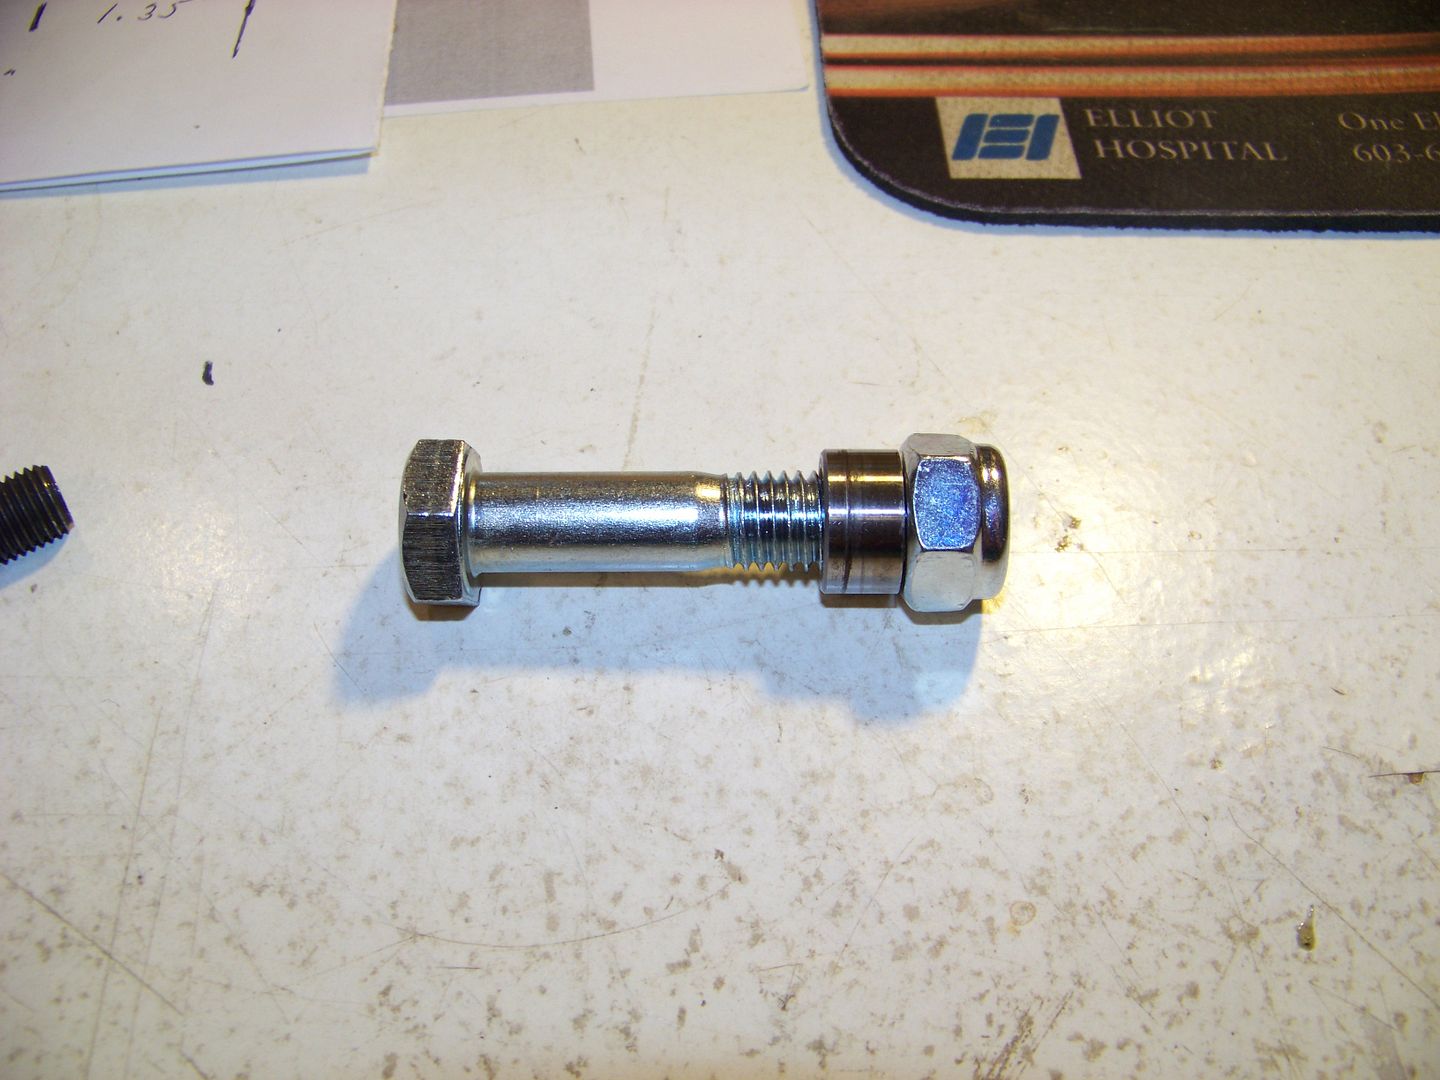
Please take a side by side picture of the old and new design clevis before having it installed. I would love to see what Penske has done to strengthen their part.
Brodie


I'm starting to think the issues with the clevis are a combination of design issues/install issues.I guess I missed that fact. so old design for 1700 mile trip home? If your shop can add some more collar. They can prevent pinching for the 1700 miles. Sure wish Eric would reply to me.. but sounds encouraging. I guess I wonder if there really is a re-design already, or if they plan to have a re-design. And why they think its safe to use the old design.

So, you planning on making it to the SEO Ramble?I don't give a ****. I'm waiting for Penske to send me the fix that appears to be a short time away. In 60000 miles I had to replace the damn clevis once. I can handle a couple more weeks for Clevis-2... hell I still ride a Gen I and have survived the lack of spider failures, cruise controls that only go 80 and LED lights that don't play nice with aftermarket stuff. It seems the replacement to this one will soon be replaced. Carry on.
[img=[URL="https://i68.photobucket.com/albums/i16/Cirquerider/Mobile%20Uploads/2016-10/8799361F-E525-41C1-9158-CA8C565D1FD5.jpg%5D"]https://i68.photobucket.com/albums/i16/Cirquerider/Mobile%20Uploads/2016-10/8799361F-E525-41C1-9158-CA8C565D1FD5.jpg][/URL]
Yes I am...3 weeks after the Ramble. Woohooo!!!You going to Yosemite?
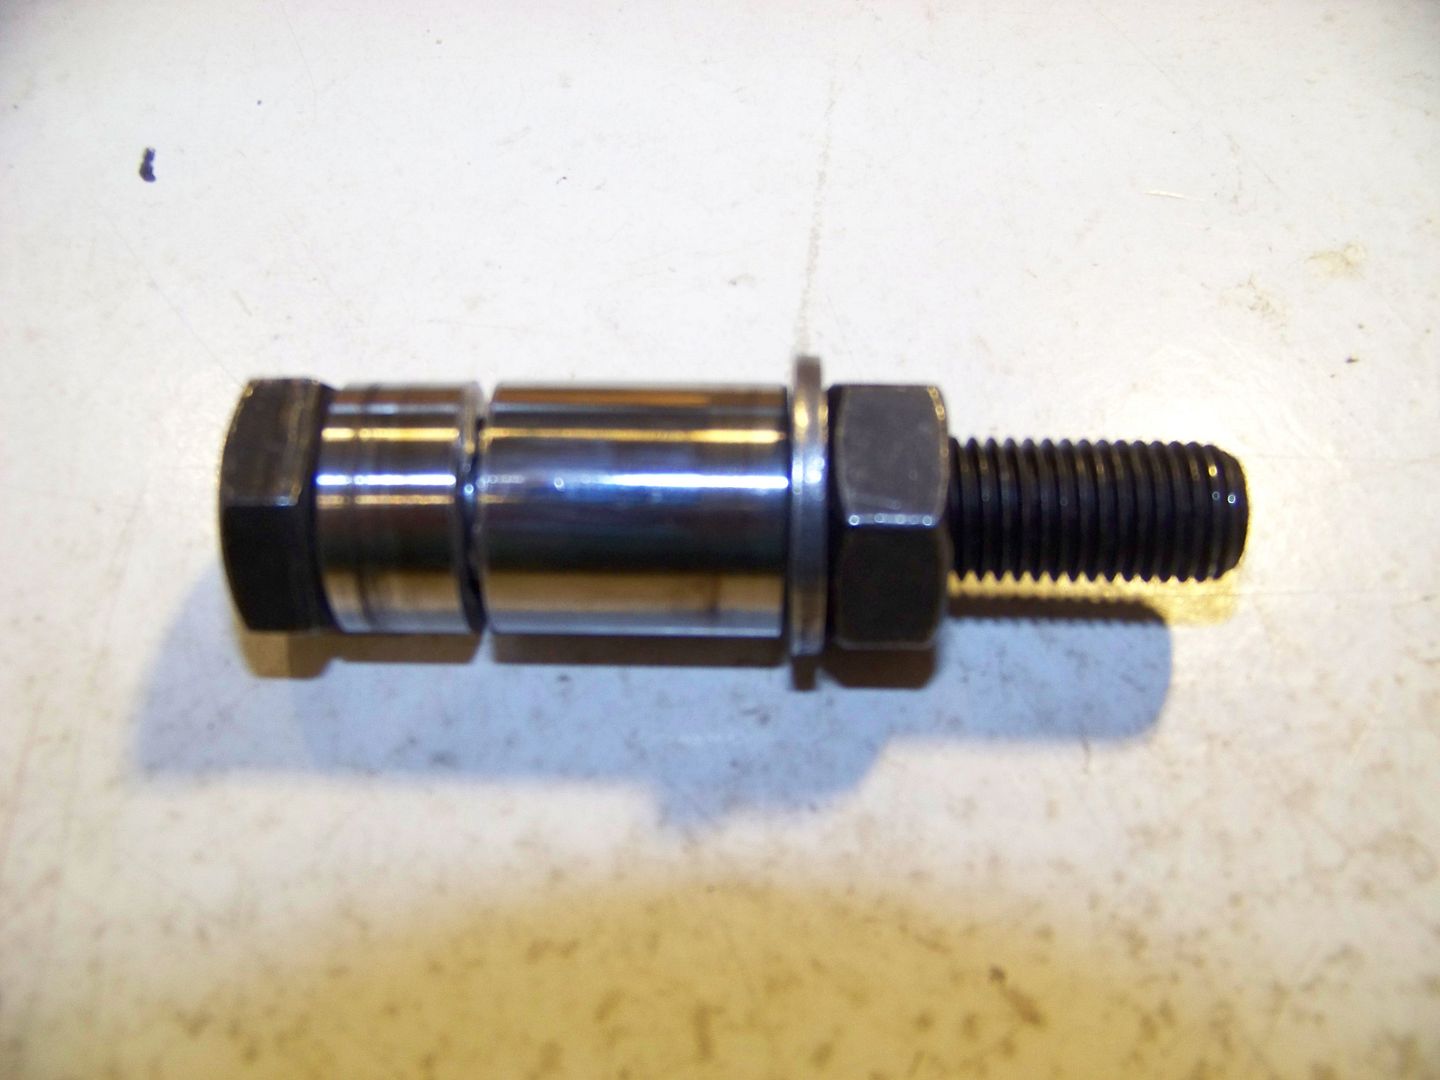
I like the cheap approach. The only downside of that solution is that the 12mm side of the clevis is only supported across about 1/2 of it's thickness. The stock bolt was sized for the steel clevis yoke, which is much thinner. Shaving the inner surface of the bolt head will alleviate two of the problems: It will stop pinching the clevis legs together, and will allow the shoulder to fully engage the 17mm side of the yoke. But the threaded diameter of the shoulder bolt is 10mm, and the unthreaded shank diameter is 12mm, so only the unthreaded part of the bolt that engages the yoke will support that side, and it will not extend fully through the 12mm hole of the alloy yoke. Being alloy, I would want as much support as possible or it will chew up the hole to some extent.Spend the big dollars $4.00 for a new Yamaha bolt [90109-10024-00 BOLT] and take it to a friend or machine shop and have it milled correctly and go on with your life. JSNS


![Decrum Motorcycle Jacket Men - Mens Leather Jacket | [1100065] Austin Brown, XL](https://m.media-amazon.com/images/I/41HqZSRj6LL._SL500_.jpg)


