El Cheapo home-made Smuggler?

Yamaha FJR Motorcycle Forum

Help Support Yamaha FJR Motorcycle Forum:

This site may earn a commission from merchant affiliate links, including eBay, Amazon, and others.

DENCOUCH

Well-known member
Joined
May 5, 2012
Messages
181
Reaction score
20
Location
Salem, OR
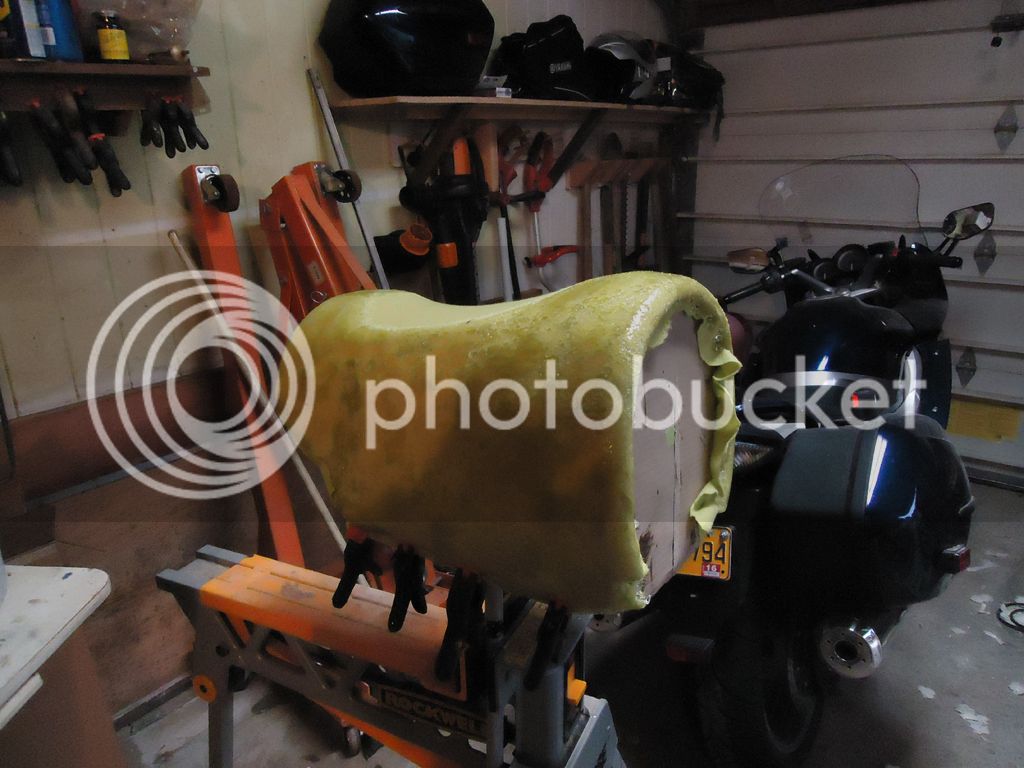
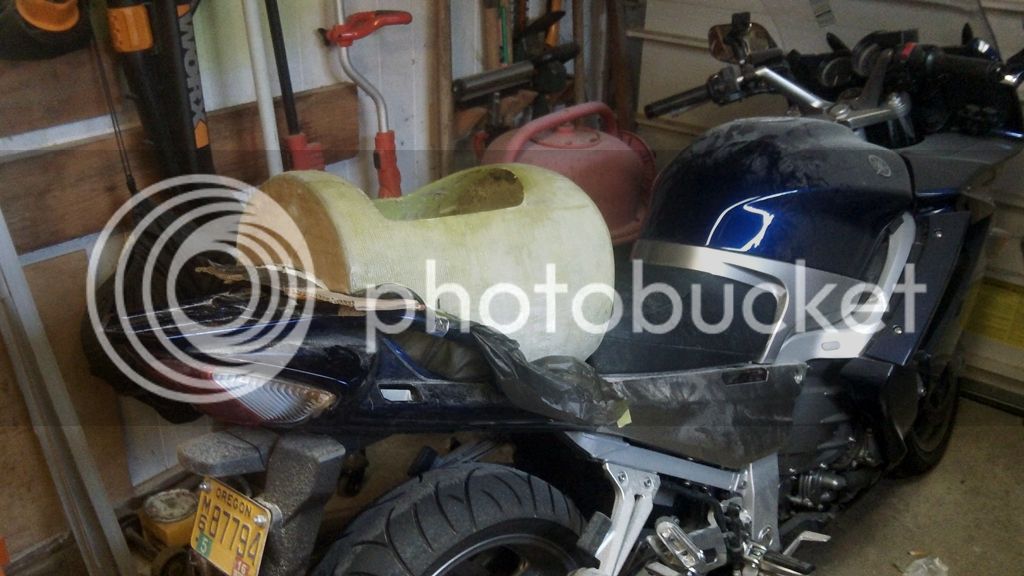
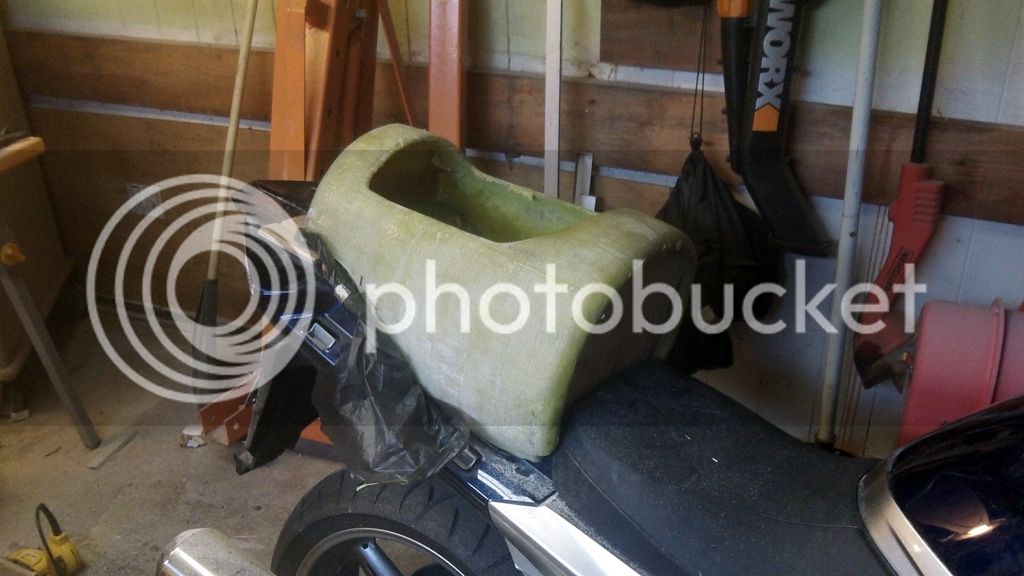
Epoxy resin shell with three layers of glass cloth. Snaps in & out using the stock rear seat mount geometry.

Pix were taken when the shell was being glassed to the mount. Plastic & cardboard are "stray Drip insurance".

bb2_zps69769174.jpg


BB1_zps491987c4.jpg


Wow! Nice work so far. Yeah, if it could make a back rest, hold two 5 lbs. chihuahuas, and not look like a tree stump, I'll get in line.

 
Good idea and great start Den. Add a backrest and integral fuel cell and you'll have something.

Post up pics of the finished product, eh?

--G

 
I like it! Yeah, it does kinda look like a mini 55 gallon oil drum, but it's functional. I used fiberglass cloth to fix a rusted out rear quarter panel of an old 70' VW Bus (yeah, it had curtains and a bed in the back!) so with my limited skills, I might want to attempt something like this too. Thanks for posting pics and feel free to document a step by step process for those of us who'd like to try it. Now, where is that extra rear seat pan I kept for a project like this......

 
Somebody needs to get a busted up real Smuggler and make a mold for Dencouch!! He'd sell a blue gazillion of 'em!
Not a bad idea Howie. I'm wondering how many of us is willing to chip in a few dollars to collectively buy one. Then someone here with some fiberglass skills or a vender can be assigned to make a mold an punch them out at a reasonable price. Where there's a will.......
rolleyes.gif
 
It is a cockpit for my dog "Buddy".

He has let me know in no uncertain terms, that he resents being left behind whenever I go out.

Touring is the only time I have to leave him behind & that is kind of working on me as well... he is my pal, true & blue.

Update: I haven't be able to continue with the glass work because the temp has been in the high 20's.

One of the guys inquired as to how this was initially set up. I used cardboard templates every 1 inch to control the shape as well as check the fit on the bike with the rear seat removed. Once the fit was close, I filled the spaces in between the templates with expanding foam & when the foam had cured, I carved away the excess with a kitchen knife, then sanded the foam to the templates... leaving a "plug".

The mount was constructed of aluminum sheet metal & extrusions, riveted together. Under the mount & utilized springs to maintain tension against the seat latch & to prevent rattles. The carrier fits the same as a stock rear seat, uses the same mounts & detaches as easily as the stock seat.

The plug was stretch-covered with fleece to smooth out the shape & then covered with a brushed-on coat of marine epoxy.

3 layers of fiberglass cloth over the fleece brought out the shell thickness out to the desired thickness.

This is the only pix I took of this process.

pet-carrier_zpse81a3b05.jpg


I have plopped him inside & he appears to be getting the idea that Summer is going to bring some good times.
 
Last edited by a moderator:
Addendum:

I forgot to mention that after the cardboard & foam plug was removed from the shell, the front & rear bulkheads were replaced with 1/8" luan ply & glassed in place for rigidity.


Latest posts

Top