garyahouse
newbs need the forum
HP:
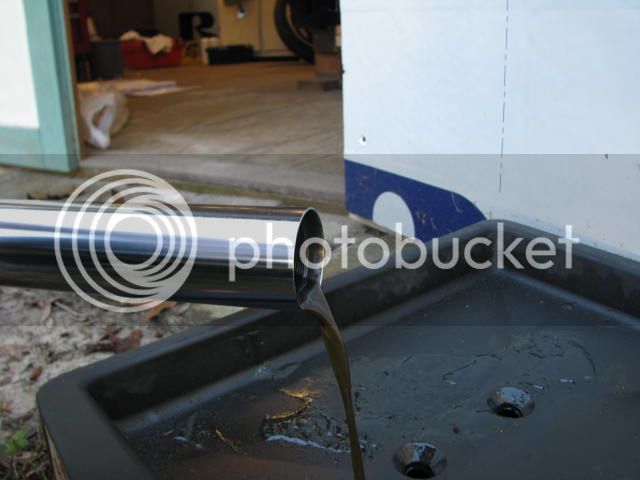
...Yammie 10 wt. fork oil... I think it's BellRay, but I forget. Got 2 quarts. Thanks for the encouragement. In the past I haven't been real brave with this sort of thing but I'm committed. Ughhh, PVC tool? We haven't talked about that yet. How big? Do I recall someone saying 2 inch? Would that be regular "schedule 40" PVC? How long? I'm thinking like 6 inches?
(EDIT: WRONG OIL. DO NOT USE 10 WT. YOU'LL SEE LATER IN THE STORY THAT I HAD TO RETURN IT FOR THE RIGHT STUFF... 5 WT.)
Dave
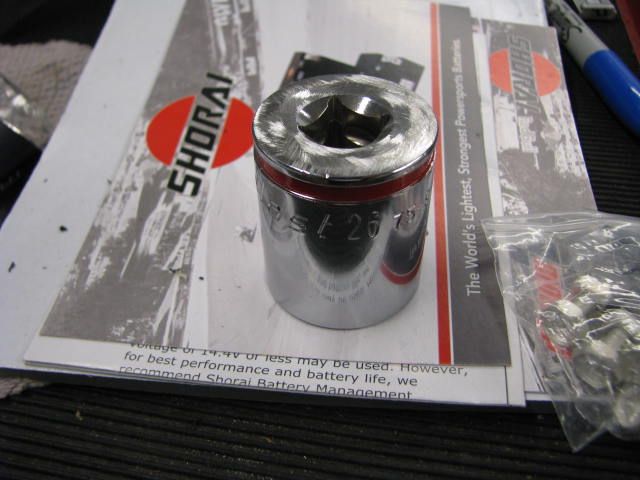
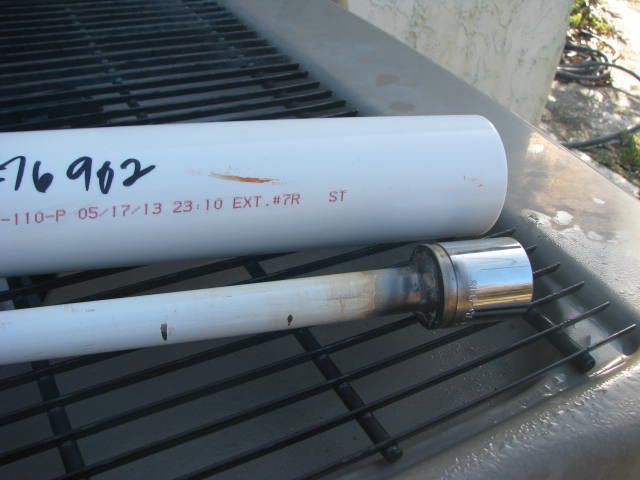
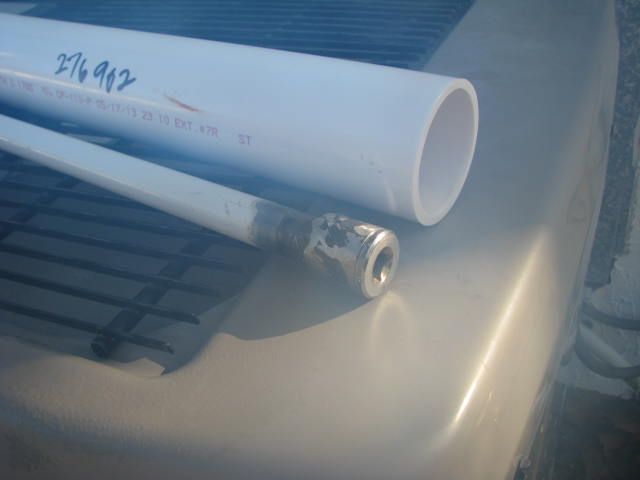
What's the exact length needed? If I drop a 1/2 x 3 inch extension into the end of the 3/4 x 16" pipe, it will "use up" some of the available space meant to clear the damper rod. How much extra space to I have to work with? Machinists are used to working with tolerances. Help me out here. I'm thinking about just welding another socket on the top end... maybe a 3/4 inch... with the square hole facing up to receive the ratchet and during assembly, the torque wrench. However, I have more crummy used extensions than I do crummy used sockets.
Gary
...Yammie 10 wt. fork oil... I think it's BellRay, but I forget. Got 2 quarts. Thanks for the encouragement. In the past I haven't been real brave with this sort of thing but I'm committed. Ughhh, PVC tool? We haven't talked about that yet. How big? Do I recall someone saying 2 inch? Would that be regular "schedule 40" PVC? How long? I'm thinking like 6 inches?
(EDIT: WRONG OIL. DO NOT USE 10 WT. YOU'LL SEE LATER IN THE STORY THAT I HAD TO RETURN IT FOR THE RIGHT STUFF... 5 WT.)
Dave
What's the exact length needed? If I drop a 1/2 x 3 inch extension into the end of the 3/4 x 16" pipe, it will "use up" some of the available space meant to clear the damper rod. How much extra space to I have to work with? Machinists are used to working with tolerances. Help me out here. I'm thinking about just welding another socket on the top end... maybe a 3/4 inch... with the square hole facing up to receive the ratchet and during assembly, the torque wrench. However, I have more crummy used extensions than I do crummy used sockets.
Gary
Last edited by a moderator: