I just noticed that Gary forgot one (important) step. After you drive the oil seal home with the PVC pipe, there is a wire retainer clip that needs to go into a groove on top of the seal. That is what prevents the seal from blowing back out when you get a quick compression from hitting a bump.I had a few more pictures to throw on the forum.Below I'm driving the upper bushing in: I put the new bushing in place, set the old bushing on top of it, and drove it in. I used a custom made washer just on top of the exhaust tube spacer shown here. It was cut to a 1.892 ID and about a 2 1/4" OD. It enabled me to slam the whole assy down with my 2" PVC pipe. Hope that makes sense.
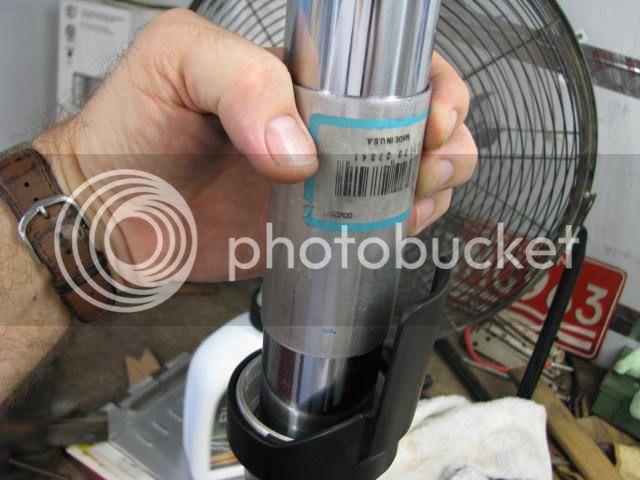
After the bushing was installed, I dropped in the spacer...
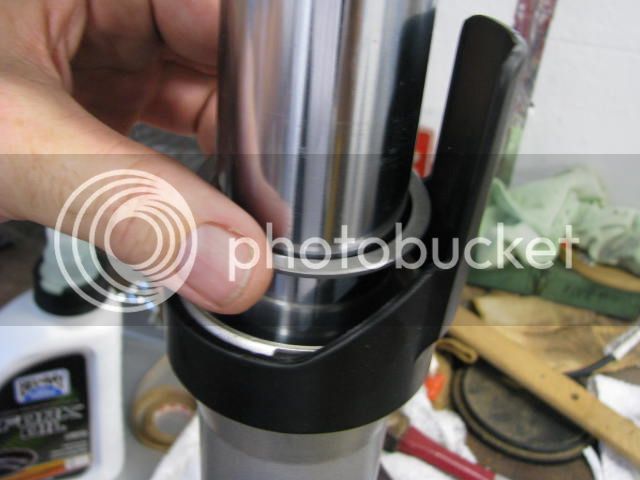
Next I slid the fork seal with a little lithium grease over this baggie (recommended to prevent tearing the seal)
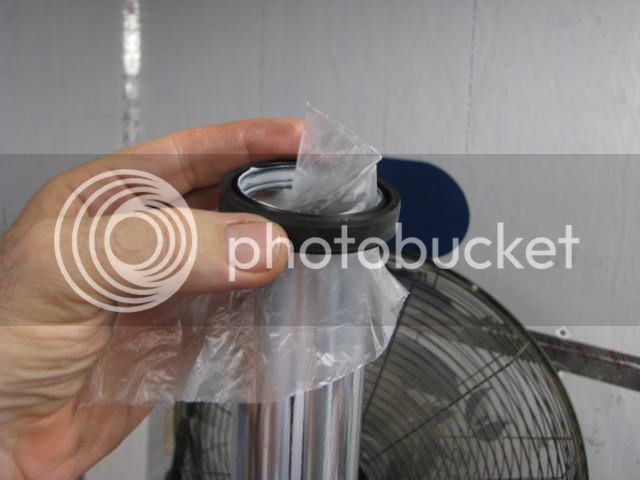
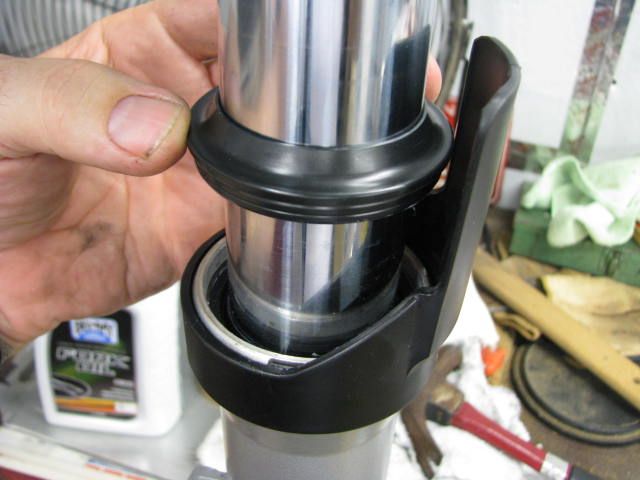
Next I installed the fork seal with my 2" PVC. Notice the coating of white lithium grease.
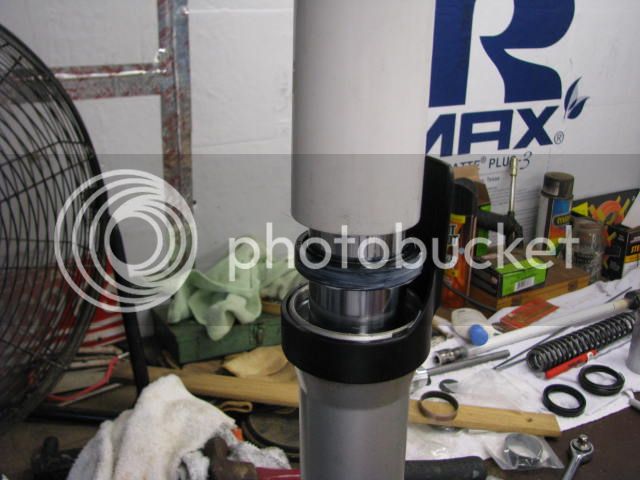
Then I installed the dust seal
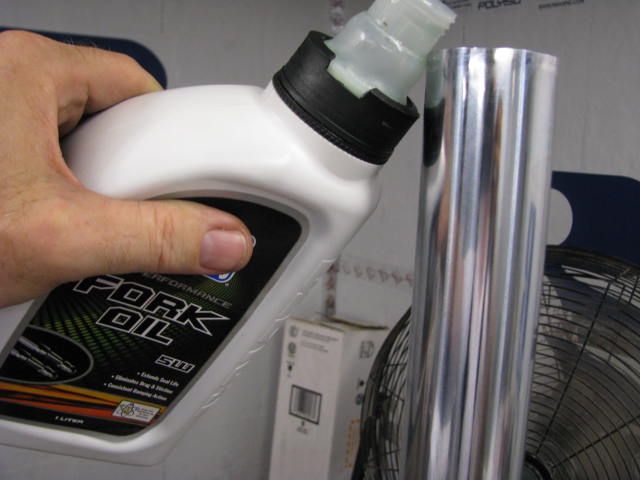
And poured in the oil until it read about 4 1/2 inches below the top of the fork tube, pumped the damper assy up and down, pumped the fork up and down, and let it set 10 minutes to get all the bubbles out. Then I added oil until it reached 3.94 inches (100mm) below the top of the inner fork tube. I used 5 weight BelRay fork oil. It's pretty close in viscosity to the original Yammie oil that came with the bike. It took about 3/4 of a quart to fill each fork leg.
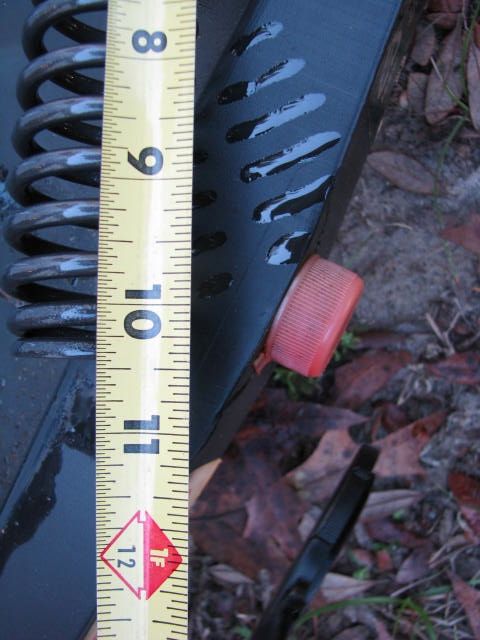
The Springs go in after the oil is filled... make sure the length is at least 10.28" Mine were about 10. 38 or so.
Then I put the top washer on the spring, and the remainder of these parts, in the opposite order that I took them off. One item to be careful about: be sure the threaded rod bottoms inside the aluminum fork cap. I had to grab the threads with a needle nose with a couple small pieces of plastic hose slipped over the ends (so as not to damage the threads). Sorry, no pic of that. But I had to stop the threaded rod from turning in order to get it to thread all the way in to the cap. It doesn't need to be real tight, just get it bottomed properly...
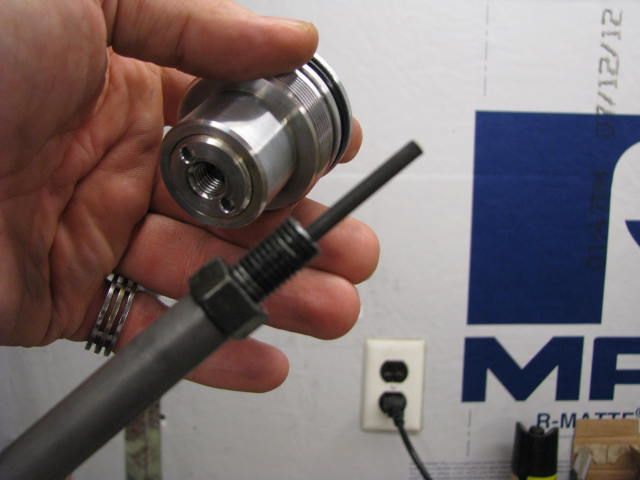
Finally I ran the lock nut up to it and torqued it to the proper setting... except that I used a torque wrench rather than the one shown below. Sorry no actual picture of that.
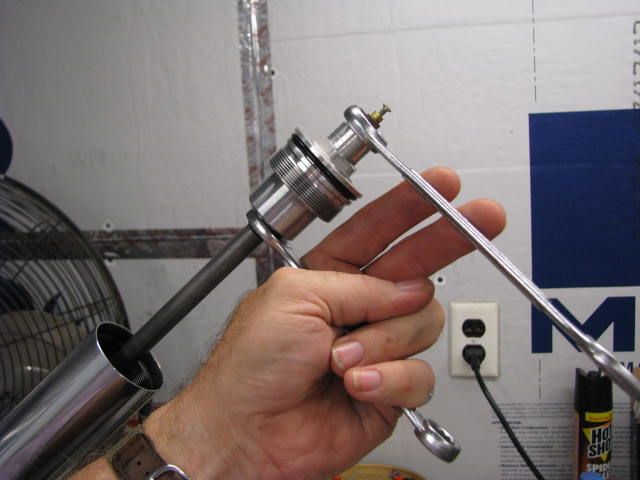
There is so much more to be said, needless to say I didn't do a real good job of documenting every step in order, but I only wanted to provide some pictures to kinda fill in the missing links of just what's inside these forks and what it looks like.
Gary
darksider #44
You are using an out of date browser. It may not display this or other websites correctly.
You should upgrade or use an alternative browser.
You should upgrade or use an alternative browser.
Gen 1 fork rebuild
- Thread starter garyahouse
- Start date

Help Support Yamaha FJR Motorcycle Forum:
This site may earn a commission from merchant affiliate
links, including eBay, Amazon, and others.
rickysnickers
Well-known member
Yeah, I caught that too. I had everything laid out, how it came apart so that I wouldn't miss anything. I appreciate the heads up though 
dugman
Member
Just started my fork seal rebuild today. Thanks to all for the great tips.
dugman
Member
finished my fork rebuild yesterday. I did knock the washer off the nut so I could torque the lower bolt that holds the cartridge in position. Test rode it about 100 miles with no leaks. Used 5w Belray oil. The shocks are more firm than I remembered when the bike was new. Very glad I didn't use 10w. I had lost about 20cm of oil in both forks. Thanks for all the tips in the previous postings. It made my rebuild much easier.
@dugman - The OEM Yamaha (Kayaba) fork oil is very thin stuff. It is really more of a 3 weight oil than a 5 weight, though there is wide variations in how different manufacturers classify the weight of their own oils.
Here is a link to a great online resource that has a chart of many of the more commonly available suspension oils so you can compare the viscosities and get something with the characteristics that you are looking for.
Here is a link to a great online resource that has a chart of many of the more commonly available suspension oils so you can compare the viscosities and get something with the characteristics that you are looking for.
Last edited by a moderator:
Similar threads
Parts For Sale
Tube for gen 2 fork rebuild to seat middle bushing
- Replies
- 11
- Views
- 1K
- Replies
- 47
- Views
- 4K
- Replies
- 10
- Views
- 2K


