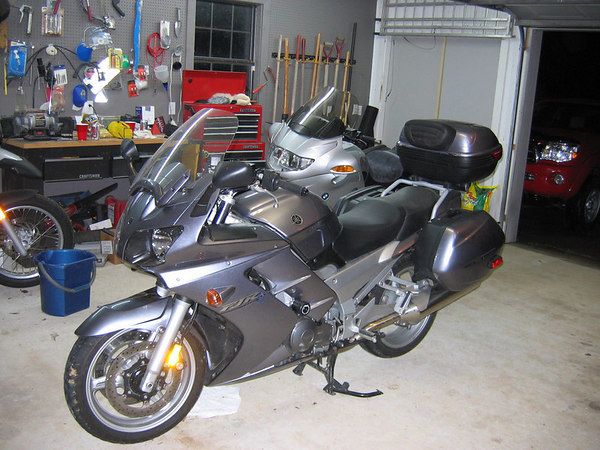
Ok, I am probably going to have to put this together in a couple posts. I am at work so I can only do this when time allows. The pic's start already into the installation process. Both the right and left lower fairings have already been removed at this point. My choice of install locations was on the original left lower existing factory mount bracket, (left as if sitting on the bike) under the glove box.
The first pic is a close up of the right upper fairing (right as if sitting on the bike). Under this right upper black cowel sits the battery. You can see the positive battery (red) post connector cover at the bottom of the pic. Just over the top of the red cover you will see the Bostch relay (this came w/FJRandy's wiring harness) I mounted the relay using the existing bolt in the upper fairing frame. I had to put a washer behind the bolt to fill in a small gap. There appear to be numerous locations to mount this relay out of the way inside this fairing, you could even use a zip tie if you wanted. This place just looked neat and clean to me so I chose to attach it there.
The long red positive unconnected power cord is the other end of FJRandy's harness. I left it hanging there until after I got everything else finished before the final connect. As you might imagine there is a negative lead as well but it's just not seen in this pic. From here I ran the harness back behind the dash (behind the windscreen motor) in the picture, out and down the left side. I ran the harness through the dash before I made any permenant connections of any kind.
The one thing I did not show is a connect FJRandy has built into his harness. This connect will plug into the old (in my case-right horn--that you will remove--since you no longer need) the positive and negative connects from the old horn plug in will connect to the new FJRandy harness. This is necessary to enter the existing electrical loom.
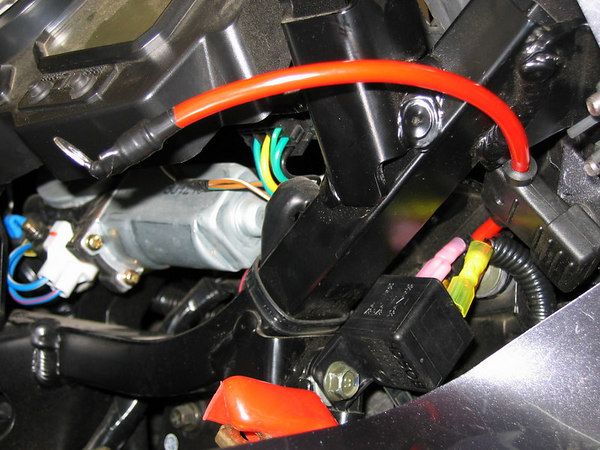
Ok I have edited here. I did not realize the pic below showed the connects to "enter the electrical loom", but they are there. If you look just behind the negative disconnected battery post you will see them, they have pink insulators (just in front of the right front fork) they aren't connected to anything in this pic. These are the connects you attach to the power supply that leads to the right horn. Just unplug the right horn--you will see it below the battery my 04 had a pink/purple wire and a brown wire. I connected FJRandys red wire to the pink/purple and the black to the brown. Then I just took off the right horn--it was no longer connected to anything.
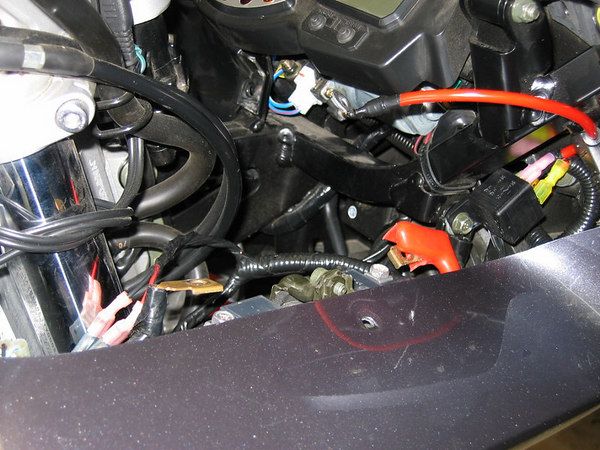
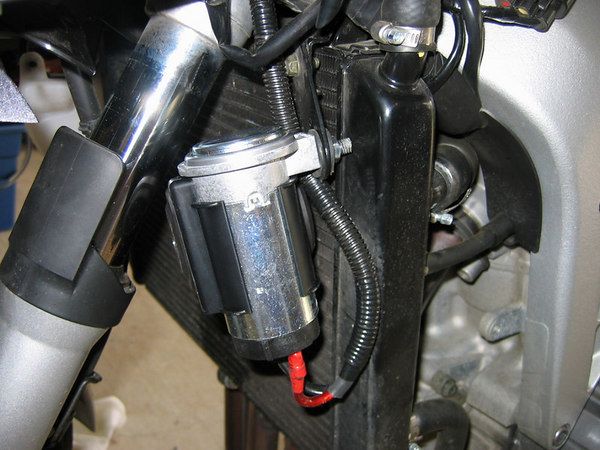
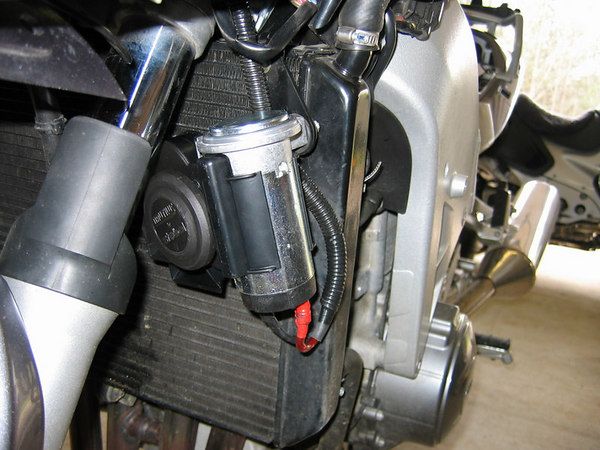
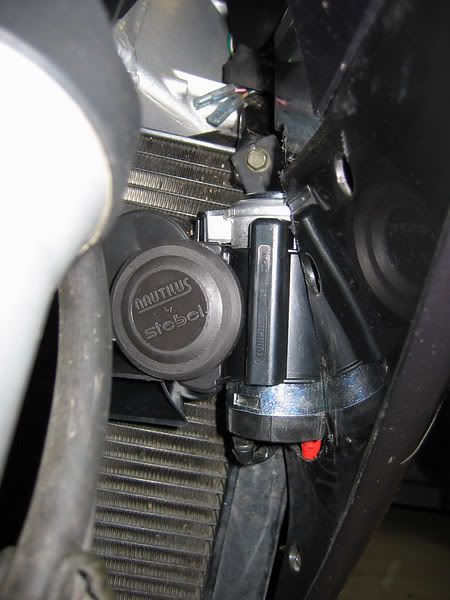
Ok here is the other end of FJRandy's harness. This is the end where I made the connection to the new Nautilus horn. You can see the stock horn is removed and the factory mount bracket. Inside that bracket is a rubber bushing. It is sufficient for the stock horn as they are much lighter in weight. It is insufficient for the Nautilus. I re-enforced by installing a washer (fit to size of the bushing) both on the inside and outside of the bushing. It made a dramatic difference!!!!!!! You may have to bend the stock bracket by pushing in or pulling out, to custom fit your horn.
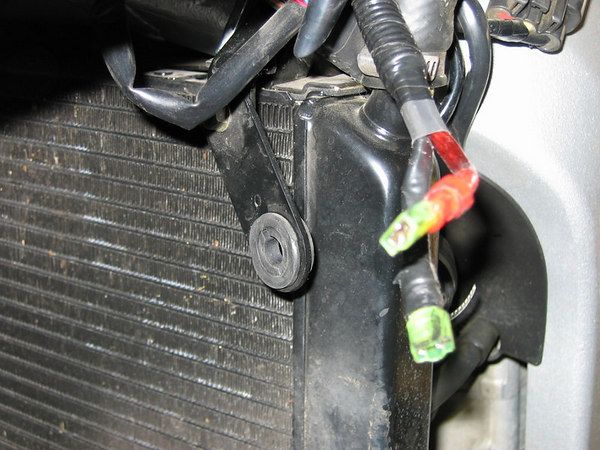
Here is the side view of the new horn, it is mounted vertical---I do not have a superbrace so vertical mount worked fine for me. This pic also does not show the washers I put inside and outside of the bracket bushing. I took the horn off after this pic and installed the washers. I wanted to show this side view because the mount bolt that comes w/the horn is too long. I had to grind the bolt down to shorten the length. I actually took the horn off after this pic and shortened to bolt even more than what is shown in this pic.
Here is another view more from the front of the horn.
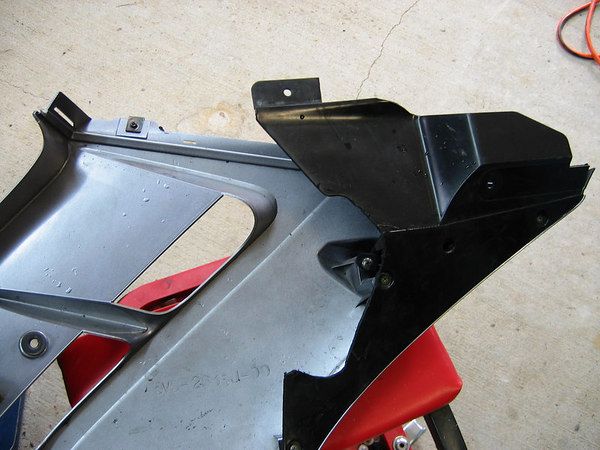
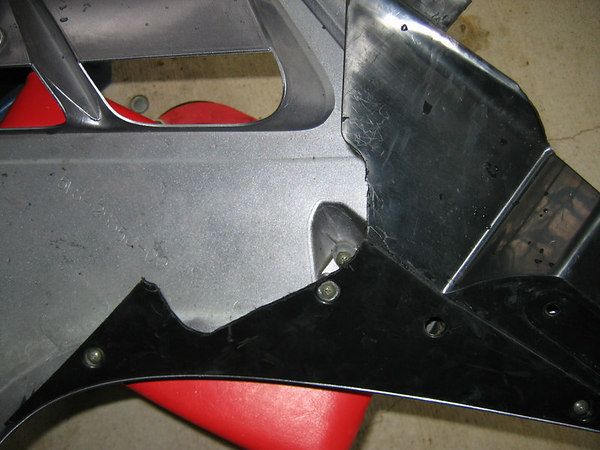
The next two pic's show the inside left lower fairing cowel. I had to use a dremmel tool to cut out the area shown in order to allow room for the larger horn. Now this was about the hardest and most time consuming part of the whole process. Cut a little and re-install--check and mark and re-cut a little more and re-install--check and mark and re-cut----anyway you get the idea what it takes to get a custom fit w/this plastic. I bet I did this a dozen times until I got it just right.
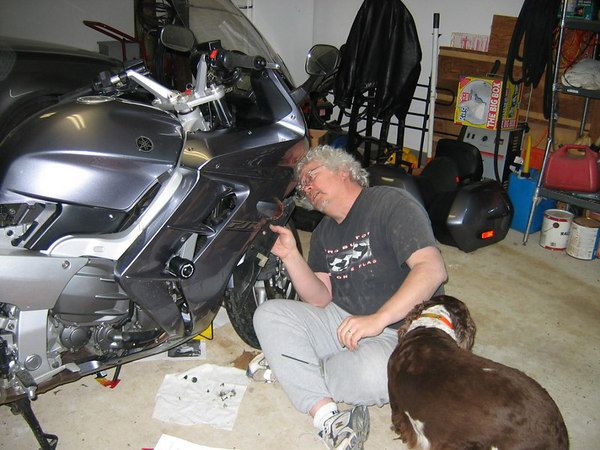
Ok, here you can see my old, fat, curly gray headed ass putting all this back together. Once I got the horn hooked up I made all my connections and did a test


man that's a loud ass horn!!!!!!!!! I tightened up the battery post connections and began made double sure everything I worked on was tight and checked them a second and third time and then started putting the plastic back on.
Here is the last pic of the horn installed w/the lower fairing and cowel in place. The pic of course is taken from the front.
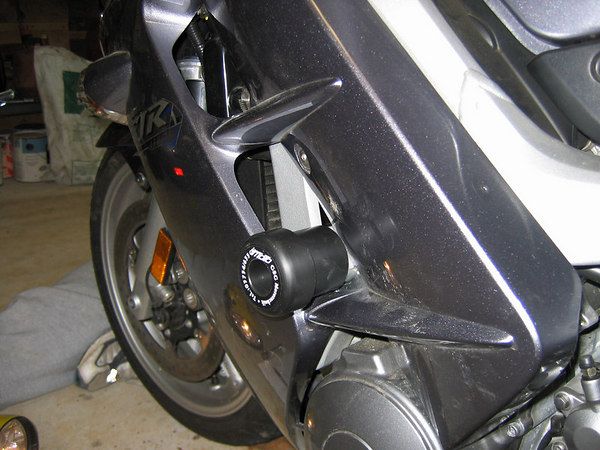
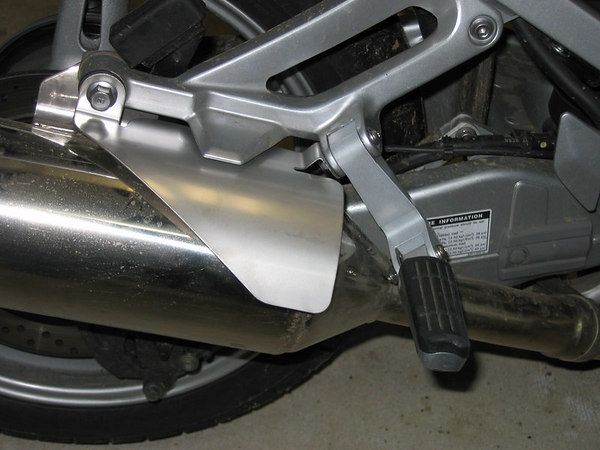
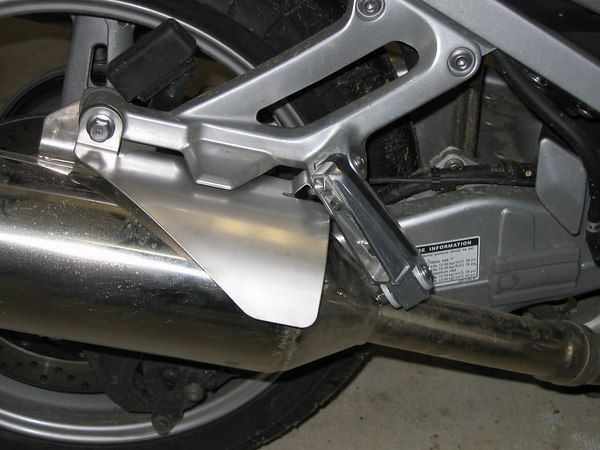
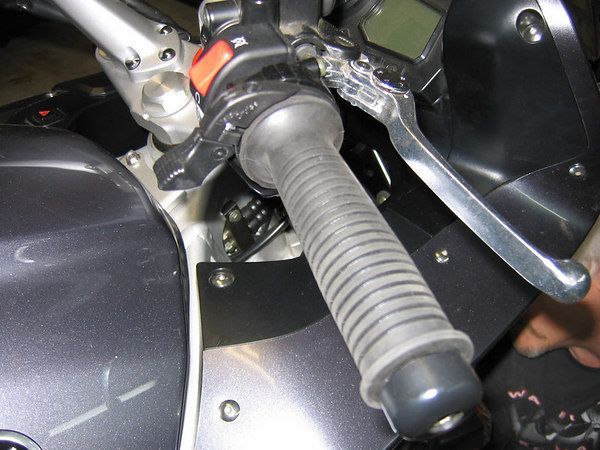
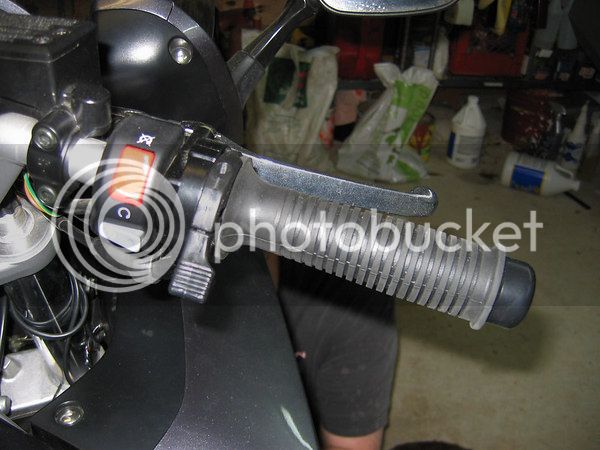
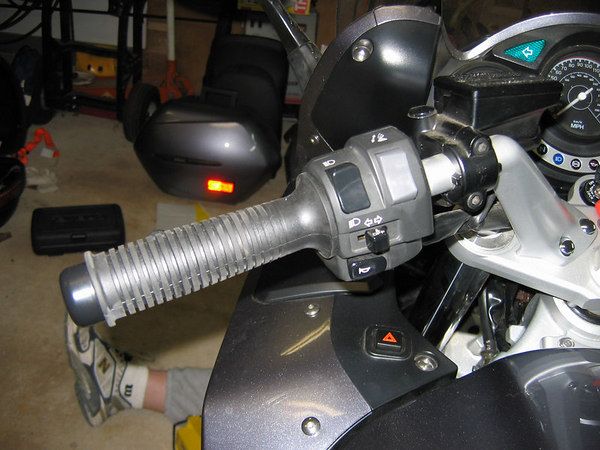
The rest of these are just fun pic's. I also installed that same day w/help of my neighbor, Tray, a set of Moko GSG sliders, passenger leg extenders and muffler guards both from Wildhair, BMW sport grips, vista cruise and heli risers. So here are the sliders:


