Rear shock linkage maintenance

Yamaha FJR Motorcycle Forum

Help Support Yamaha FJR Motorcycle Forum:

This site may earn a commission from merchant affiliate links, including eBay, Amazon, and others.
Excellent post Skooter!
I seem to remember changing all the linkage bearings around 144k and they were completely shot. The linkage had very little movement.

We checked the swing arm bearings and they seemed fine so we left them alone.
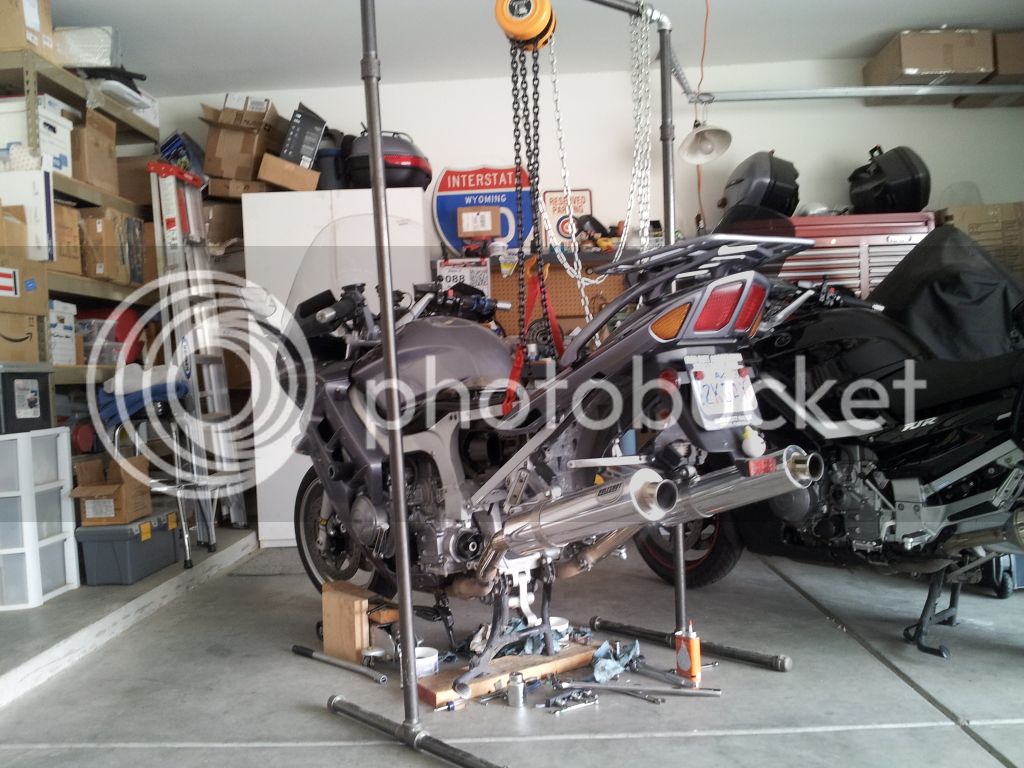
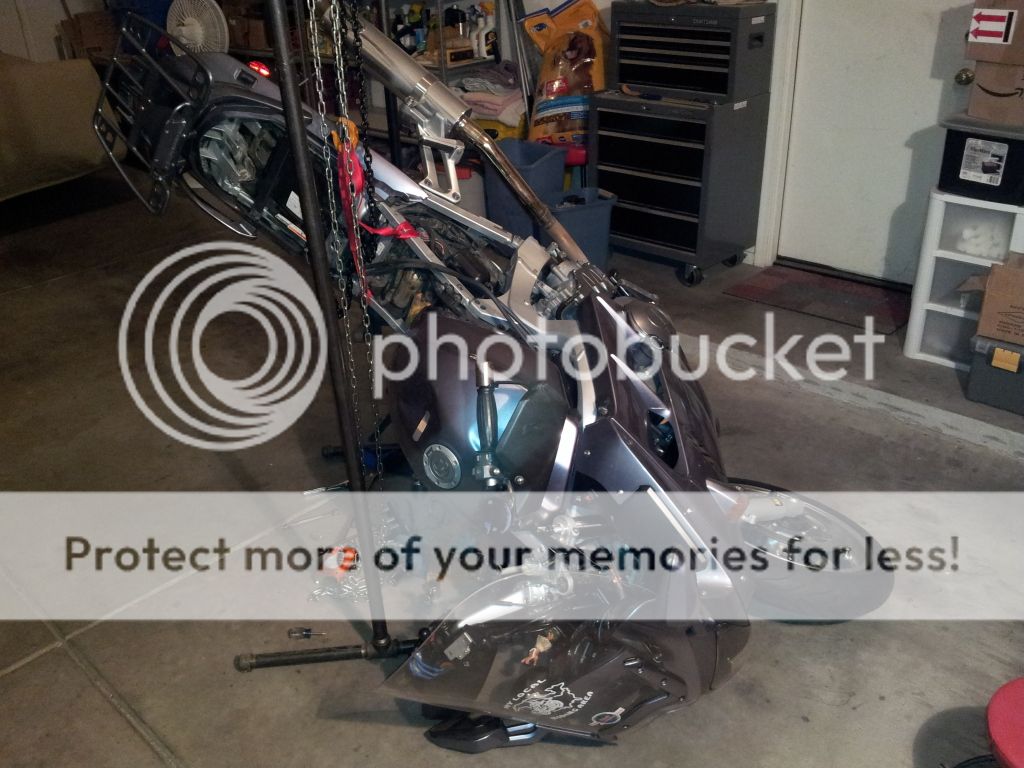
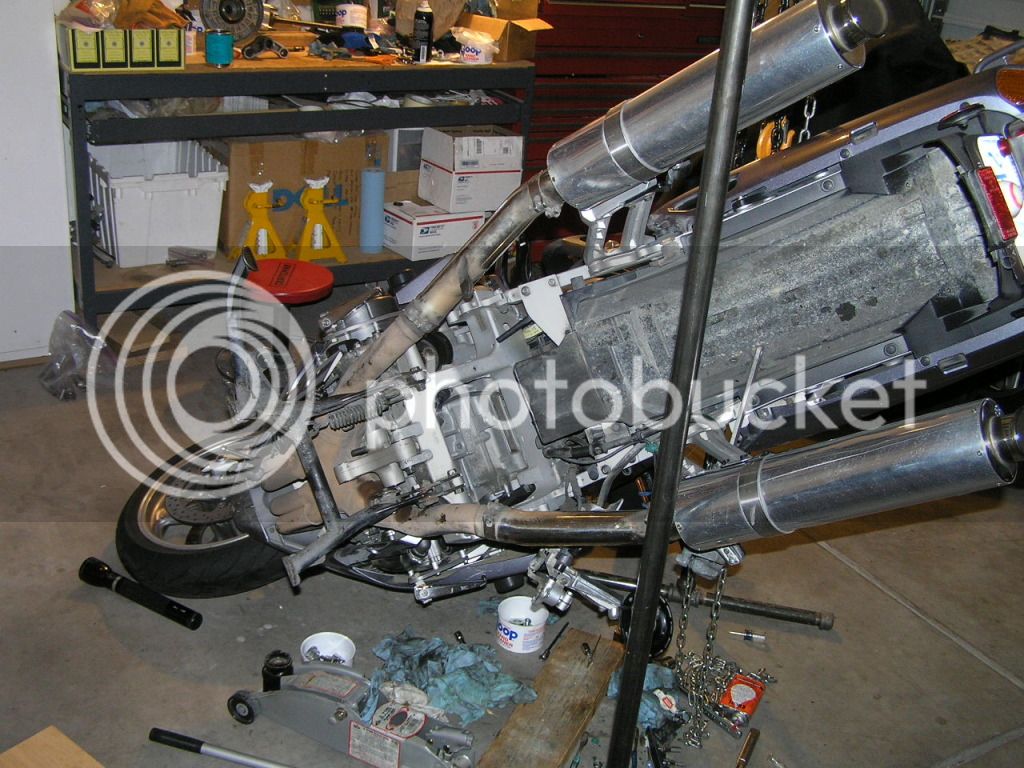
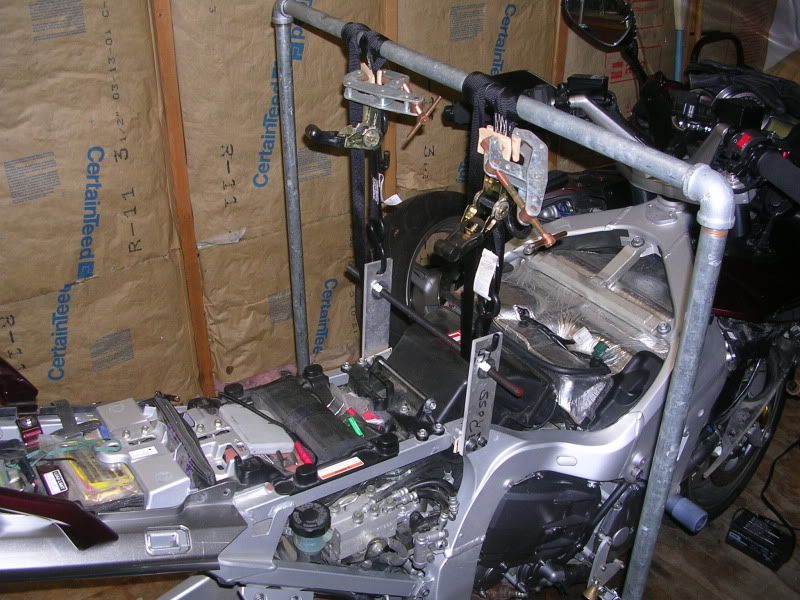
I checked them on my 04 probably a year after I bought it new because there were rumors about very little greasing going on from the factory back then. They were all fine execpt I couldn't get to the top one that needs the centerstand removed. If I hadn't totaled it I would have had to have done this by now. My 08 has a little over 30k on it and I feel like I should check them before things get too grunged up or siezed up. I got to everything but the top without removing the centerstand before. Just have to get a way to suspend the bike and do the whole job this time. Thanks for the info on this thead.

GP

 
Finally tackled this job today. The servicing was way overdue as this was the first time in 50,000 miles. Thanks to this thread, I had a good idea of what to expect. I was able to "spring" the exhaust pipes as previously posted to get the centre stand bolts out without cutting them. Unfortunately, the one left centre bolt was seized and I damaged the bolt head trying to get it out.

The relay arm top bolt collar was not seized which was surprising. However, the relay bearing and collar to the shock needs to be replaced. The collar was stiff and the bearings no longer freely move. There was evidence of bearing marks on the collar. There is no doubt that this bearing would have fully seized in the near future. All the other bearings and collar were in good shape.

I also removed the swingarm and the bearings were in good shape but did need to be regreased. Removing the swingarm definitely made the job of removing the centre stand and relay arm easier.

OEM shock was also removed and I have a new shiny Penske shock waiting to be installed!

 
Unfortunately, the one left centre bolt was seized and I damaged the bolt head trying to get it out.

Here's a little DIY tip: You should always loosen a bolt and nut fastener from the nut end, not the bolt head end, otherwise you'll be fighting the bolt from turning in the assembly in addition to the clamping forces of the nut. Same thing when torquing it up, always torque wrench on the nut end.
Thanks Fred,

I was trying to be clever and save the tube guides on the left side so I could not operate on the nut end as you correctly point out you should do. Combined with the siezed bolt, it was a no-win situation. That baby was going to get mangled. Should have have just cut the tube guide off the centre stand as others have done/posted ( I believe that is what you did) . The tube guide seems to do very little anyway as the tube does not seem like it would flap around or interfere with other components....

I want to thank all previous posters again for all their thoughts and ideas. Certainly made this job much easier even though it was still a PIA.

 
Last edited by a moderator:
Too bad that guy down in Point Clark can't go anywhere Perry. I bet it would have been easier with an extra set of hands.
grin.gif


Did you keep your Penske in a shock sock?

I do not have a shock sock. Is it something that I should get/install?

If so, any recommendations on what/where I should purchase? I purchased the Penske 8983 with remote reservoir from GPS Suspension 2 years ago but I believe they are no longer in business... I noticed that Traxxion Dynamics sells a sock.. Is that the sock you are using?

Too bad that guy down in Point Clark can't go anywhere Perry. I bet it would have been easier with an extra set of hands.
grin.gif
rolleyes.gif


Yes traxxion sells shock socks for like $20. I think it would be a waste of money on a trackbike or even a commute bike, but touring bikes give theirs shocks hell and even though the FJR's shock is pretty well protected it's a very good investment.

 
Yes traxxion sells shock socks for like $20. I think it would be a waste of money on a trackbike or even a commute bike, but touring bikes give theirs shocks hell and even though the FJR's shock is pretty well protected it's a very good investment.

Not sure why?

 
Slow progress continues to be made. And sometimes, it even comes with a bit of drama!
crazy.gif


Borrowed a friend's Sky Hook to get to the meat of the job.

20130211_131646_zps4cc83fda.jpg


Good news: I found a way to make access to the C-stand and relay arm REALLY easy.

Bad news: It was NOT a planned event.
no.gif
fie.gif
realmad.gif


.

.

.

.

.

.

.

.

.

.

20130211_204230_zpsc0bce890.jpg


poster_oops.gif


Fuck me to tears.

But as I said, easy access to the work area!!!
punk.gif


P1010236_zpsa3cfe5e9.jpg


I blame it on Yamaha's battery location. That extra weight up there was the straw that broke the camel's back tipping it over. No doubt if I had one of those fancy-schmancy lightweight Shorai batteries up there, this wouldn't have happened!

Got some neat new 'character' scratches to remind me of what a complete BONEHEAD I am. Ahhhhh....... a day in the life of SkooterG..........

Let's be CAREFUL out there folks!

 
Last edited by a moderator:
I was afraid something like that would happen and that's why I made my set-up

DSCN6010.jpg


I got the drift from some folks thought it was a waste time, oh well.

Bummer that happened, next time use two lifting deals one to each side of the sub frame. Won't be near as likely to tip also take the tank off as there is a lot of weight there that is higher than the battery.

 
ShooterG finds a new way to lay an FJR down.........will wonders never cease? I use a Class A stepladder to suspend the back of a bike, I'm surprised that no one else does because that is pretty stable way to do it.

 
I was afraid something like that would happen and that's why I made my set-up
DSCN6010.jpg


I got the drift from some folks thought it was a waste time, oh well.

Bummer that happened, next time use two lifting deals one to each side of the sub frame. Won't be near as likely to tip also take the tank off as there is a lot of weight there that is higher than the battery.
+1, single point for the hook is unstable, 2 support point is better. sorry this happened to you, hope there is not much damage to your bike.

 
I just use two separate ratchet straps from the Sky Hook Cross bar to the two subframe rails.

[edit] Panman, I hope it wasn't me that gave you the feedback that your bracketry was overkill. In retrospect, I think it may have been. I certainly didn't mean it that way. Any rigging or on-the-fly tooling like yours is always a great idea. My point was only that it can be done more simply, and within the gerry-rigging skills of most owners (Apparently Skooter excepted
not_i.gif
). Not that your method isn't totally superior.

I'm guessing that Skootie looped his soft straps from the frame rails through the chain-fall's hook and it slid inside the hook maybe?

 
Last edited by a moderator:
Top