LDRydr
A Homeless Nomad
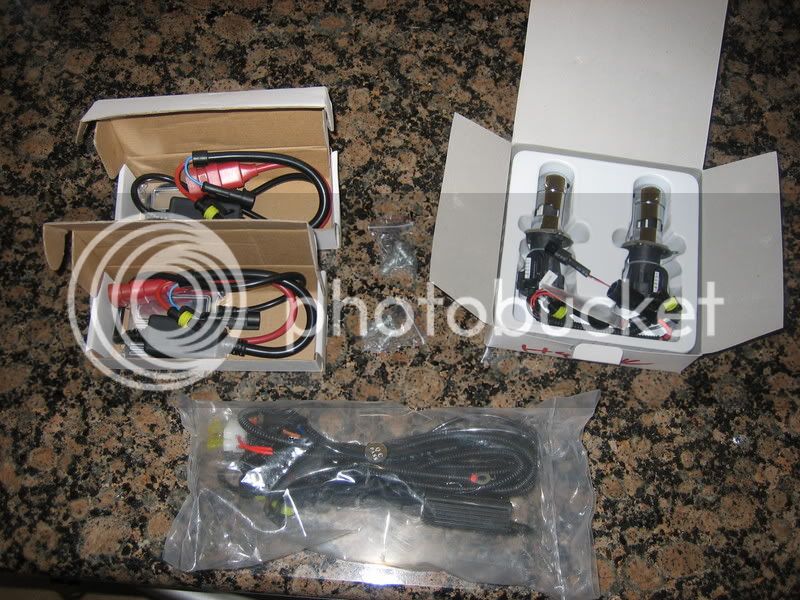
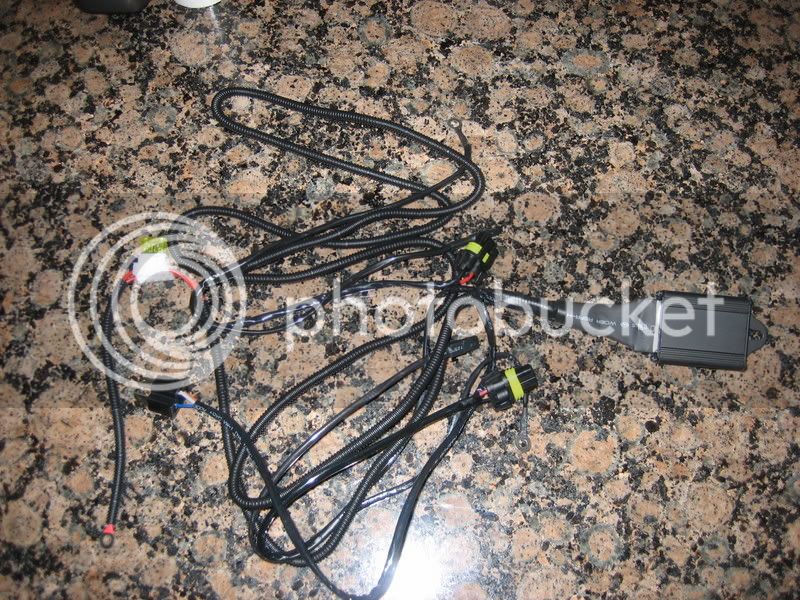
Just got the reply from the seller on the shipping. A pair of low-beam only H4, a pair of compact ballasts, all needed wiring, $149 delivered. He didn't respond on my question of pricing for the High/Low setup. Guess I'll be ordering a set of the low-beam only to be used with my Soltek's. Now if only my brackets were hereI asked him for a price for a pair of low-beam only 4300k H4's with the super small ballasts and needed wiring, got a reply for $149 but he didn't say if it included shipping so I emailed him back asking. I also asked him about a price for a package with the small ballasts and Bi-Xenon's. No reply yet. And it sounds like he's legit if IndianaTom got goods from him.If I decide to convert to an HID setup do I need to buy one or two conversion kits?Would that be H-4 kits?Plus the slim ballasts.
The e-bay site in this thread sells the kits for $39.95 plus $40 for shipping.
The slim ballasts are $39.99 plus $15 shipping.
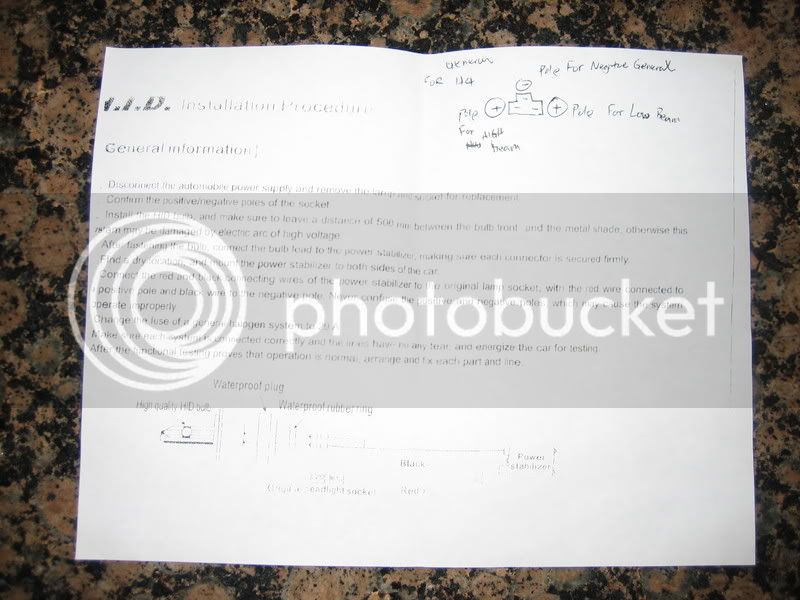
I don't really know much about this setup,anyone that can tell me exactly what I need I'd appreciate it.
I've read the other comments of whats needed but would like to make sure.
It might not hurt to send him an email and ask if he has any H4 hi/low telescoping kits with the slim ballasts. Perhaps he can sell you parts and save you some cash as opposed to buying a full kit with fat boys, and then buying extra slim ballasts.
Dennis

Dennis
Last edited by a moderator: