I just got back home (7:30pm) from my ride in at Bill Mayer Saddles
:yahoo: :yahoo: :yahoo: WOW WHAT A DIFFERENCE!!! :yahoo: :yahoo: :yahoo:
If you are even thinking about doing it, get on the phone monday and CALL HIM! 1-800-242-7625 OR EMAIL:
[email protected]
I got home from work yesterday, washed the bike and put myself to bed. Got to sleep around 8pm only to have the alarm wake me up 4 1/2 hours later. Took a shower, packed up and left at 1:30 for a 5 hour trip from Milpitas (San Jose) to Ojai. Got there in time to get a deli sandwich from the local grocery store and show up right at 7:00 - as planned. One other gentleman, from Los Angeles, riding a BMW RS rolled in about 10 minutes after me. Bill was out at the time so his crew welcomed us and got the process started.
We filled out a form - name, address, bike/model/year, our weight (be honest), inseam, what type of work desired (solo seat, both seats, leather/vinyl - smooth or basket weave) and what we liked and disliked about our current seats. I believe it's the same form you will fill out online if you send your seats in. We were then asked to go out to our bike and sit on it in our normal riding position, both feet up on the foot pegs and holding on to the handle bars. A crew member was holding the bike upright as the center stand was not deployed. This gave the sculptor a chance to visualize how to start the carving and where to place the foam core. Based on seeing your riding posture (picture), your honest weight, and inseam measurement a core of the proper foam density is selected from stock.
I must say Bill trained his crew well. They worked hard on our seats to get them just right. When the old fabric was stripped off and the electric knife made the first cut I looked at my new friend and said "Well... I guess we're committed now - no going back!" He just smiled.
After a few reference marks are made to the old seat foam a large scallop is made to set in the foam core. About 20 minutes later the initial carving is done and he took us back out to our bike to see how close he got to his goal. What he was looking for was ride height, level, any major adjustments to be made before gluing the core in place. it took a couple of times before he was satisfied. By the way, because I'm so tall I sit back against the ridge formed by the rear seat. He had to do some carving on it to make room for the new driver seat shape.
After gluing the seat was handed to another gentleman to build up the gaps and shape the seat smooth. A couple of test fits and he asked me to take a 15 minute ride up route 33 (what a fun road) to see where the hot spots were. He listened intently when I gave him my impressions. It seems my tail end is rather boney, he had me sit, reach under and locate the troublesome spots and point them out to him - twice. Another twenty minutes later the seat was shaped with two hollows and ready for another test ride.
Bill showed up as I was dismounting from the second ride. He introduced himself and checked up on his crew's work. Being satisfied with what he saw he spent some time shooting the breeze with me. He's a rider from way back and knows all the old tricks for keeping warm and comfortable when it gets cold on the ride ( it
was cool coming in this morning ). You couldn't meet a nicer gentleman, I felt I could spend all afternoon just shoot'n the breeze with him.
Once we were satisfied with the shape of the foam it was time to get it covered. I had earlier decided to add the heating pad ( it's only money ) and choose to cover it with leather. I've had several custom seats built for my Ascot in the past, the Quality on this piece is first rate! The stitching looks nice and even, no extra tight seams, no wrinkling. This seat will last me a very long time - IF - I take the extra effort to care for it. Being leather it can dry out and crack. They provided me with a bottle of leather cleaner/conditioner with the instructions to apply a dollar size amount to my palm, rub my hands together and then massage it into the leather. Do it the night before, don't do it in direct sunlight, let the conditioner penetrate the pores of the leather. After a couple of applications the skin should feel soft and somewhat waxy. Treated this way any water should bead up and roll right off. Bare in mind, the seat is now pan shape - it will tend to pool water, don't let that stay like that. The old seat was shaped like a log and didn't have that problem. Bill suggested if you expect rain while parked and don't have a cover, carry a trash compactor bag and slip the seat into it and pop it back on the bike. A compactor bag is sturdier than a standard trash bag.
One note about the heated seat... two options are offered, on/off, and hi/low/off. Pictures on the website also show the switch built in the side of the seat. While that can be done on some seats, the switch and mounting plate are rather large, there's just not enough room for it on our FJR seats. Plan to mount the switch on a body panel. Also, if space is a premium opt for the on/off switch style, the hi/low/off switch wire harness looks like three times as much bulk as the on/off switch harness. You can always hook up a rheostat to the on/off harness and get much finer control.
Now the ride.
I ride Master Yoda style. On the old seat I sat with a natural arch to my lower back. I placed myself back against the ridge formed by the rear seat. This posture places my thighs on the front portion of the drivers seat. It's a neutral riding position for me. One reason the old seat worked out well was this position spreads the contact area across a wide area. Being 6'6" my reach spanned the distance easily and wasn't a stretch. I could hold on, I could ride no hands - my posture did not change. My other riding position is to hook my heels on the passenger foot pegs, move forward on the seat thereby lowering my knees into the heat stream from the engine. Either position seems natural to me and I rode thousands of miles like that. Another location for my feet is for my heel on the passenger peg and my toe on the driver peg, size 16AAA boots span the distance. I also have a CalSi XXtall windshield which I rise up 3/4 travel. I had to make sure the new seat places me around the same level.
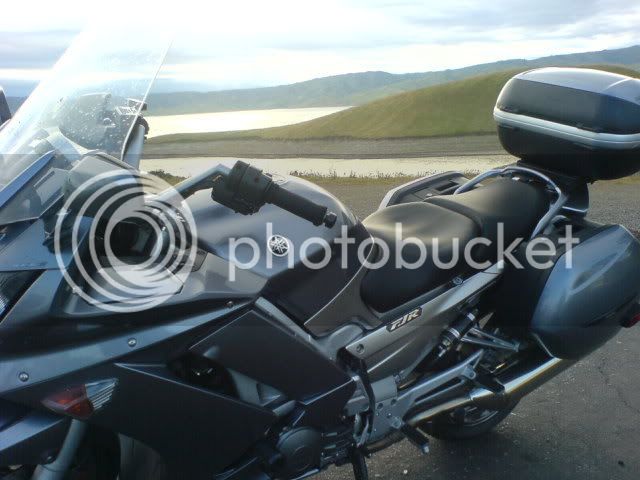
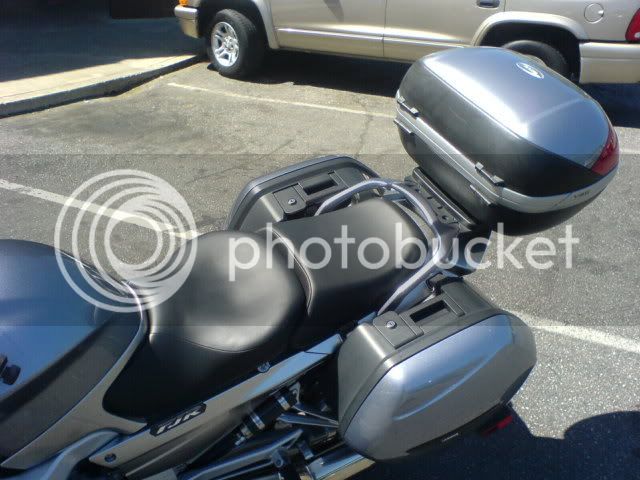
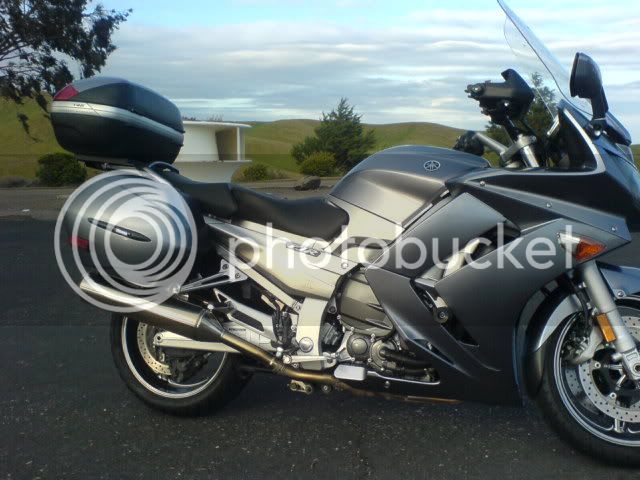
Mission accomplished! The new seat rides no higher. It's a little wider up front but my long legs still let me flat foot the bike. The seat is shaped in such a way that if I place myself Master Yoda style I can ride all day without any hot spots. I do need to set my handlebars to the rear position, currently it's at mid point. If I sit with my feet on the front pegs and sit forward the seat tells me to get back where I belong. I can still hook my heels back there and scoot up and it feels ok. I rode almost nonstop from Ojai, save for gas, over 300 miles and I could go for a lot longer distance. This was after an early morning run the same distance. Major improvement! I think it's money well spent. I only hope the Starcom digital I just received will perform as well.
I am one happy camper! Many thanks Gregory for arranging this group buy. It sure worked for me.
Pictures...
One more thing, if you do plan to schedule a ride in, take the time to ride route 33 east from Ojai, you won't be disappointed - What a sweet road! :biggrinsmiley:
Brodie


