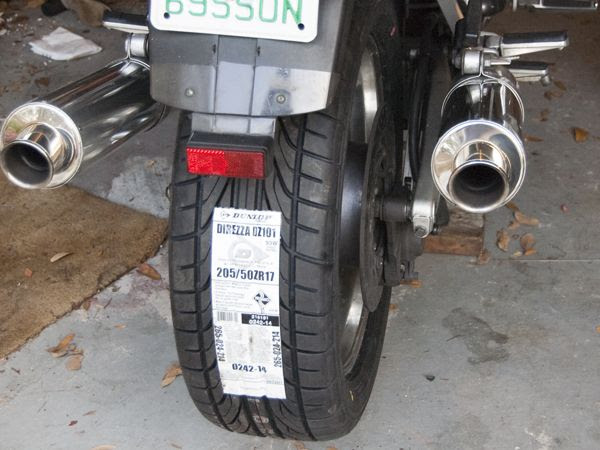
Darth Walter here, reporting from north Florida!
Tire arrived at work this morning, took it and the wheel to my pals at Doc's Tire Repair in Lynn Haven, they didn't even bat an eye on mounting it. 20 bucks, 10 minutes, done.
Got it home after work, had at it. Of course I
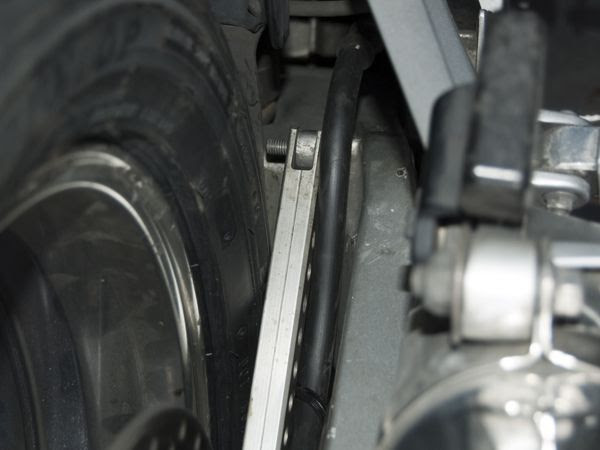
had to try the stock torque arm in its stock location, just in case it cleared.

It cleared, but by the thickness of my smallest couple of feeler gauges! Not gonna run it that way:
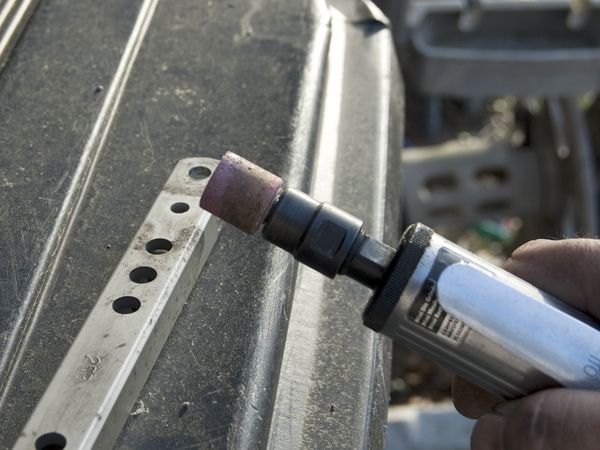
It occured to me to just move it so it fit on the outside of the mounting points rather than straddling them, but it doesn't clear the swing arm. It isn't by very much, but it interferes. So:
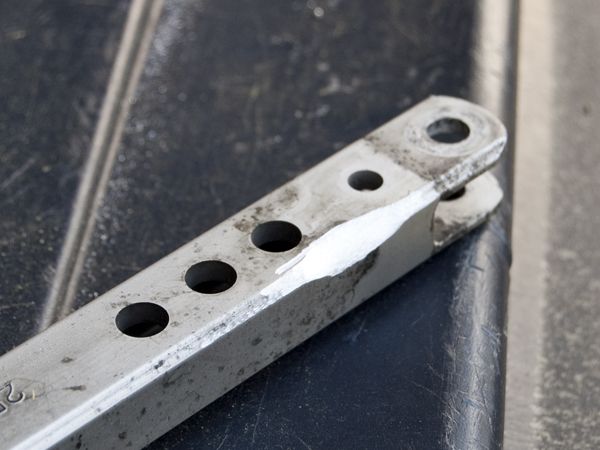
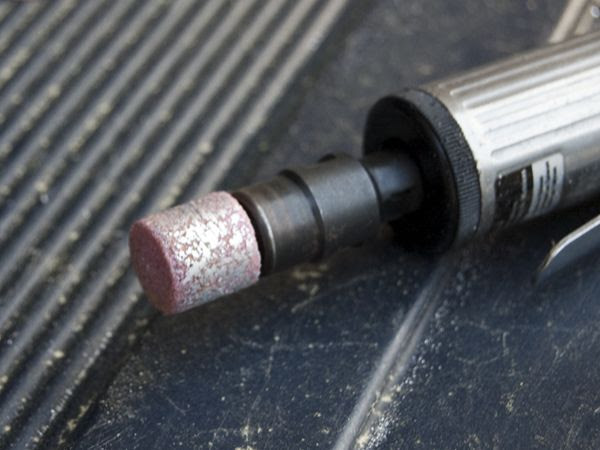
That's right, out comes the grinder! A couple minutes and a stone clogged with aluminum, and I have an intact torque arm I can reuse if I ever go back to the Light Side (or sell the bike.)
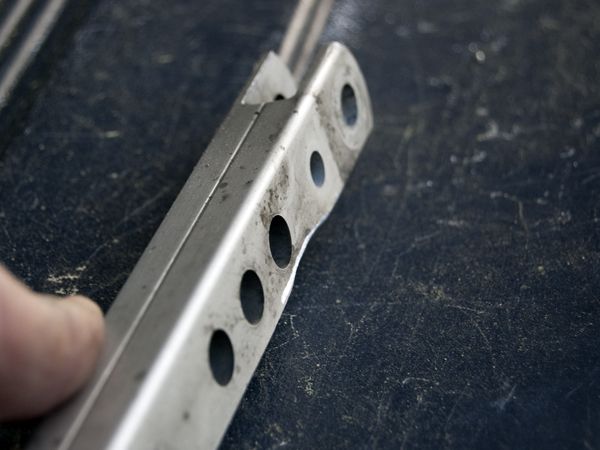
This is all it took to clear the swingarm!
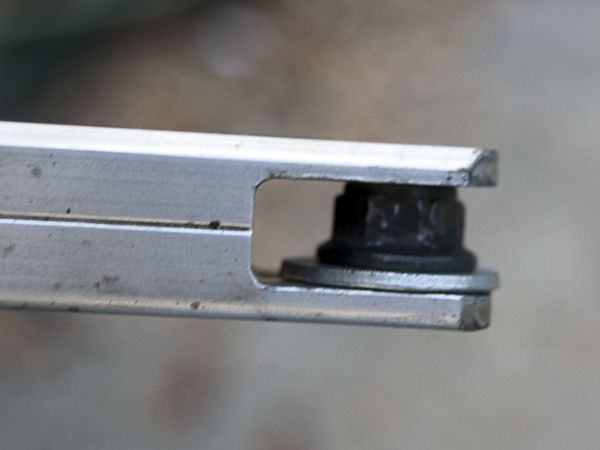
I was planning to insert the bolts from the wheel side and put the nuts inside the torque arm, so I could tighten them down without squishing the tangs on the torque arm. Problem is, the threads don't go far enough on the bolts for that. Just a couple millimeters, not even that. Dug around a bit, came up with this: a washer just the right thickness to make the washer and nut a fairly tight fit in the end of the torque arm:
By trial and error I had to get the assembly sequence right, because those bolts are hard to reach; as a matter of fact, the top one is dang near impossible with the wheel in place.
(The alternate plan of running the bolts from the same side, so you can reach them, doesn't work because they aren't long enough to reach all the way through, and I would have had to come up with a couple of spacers to keep from squshing the torque arm tangs.)
So: Set the top of the torque arm first, tighten it down but not fully, and have the arm sticking up as far as it can to clear the tire as it comes in.
Mount the wheel into the final drive.
Slide the axle through the swingarm, the spacer washer, the caliper, the big spacer, the wheel, and through the other side of the swingarm. Tighten the axle nut finger tight, not torqued yet.
Bolt the clip back onto the torque arm, the one the brake hose passes through to keep it off the tire.
Lower the torque arm into place. You kinda have to squeeze it past the brake hose, but it goes. Reach through and start the bolt at the bottom end of the torque arm.
Now from the left side of the bike reach through the wheel and tighten the bolt at the bottom of the torque arm. Apply a final tightening to the one at the top, too. I had to grip my hex key with a pair of pliers to get this done.
Torque the axle nut and the pinch bolt, tap the rear brake pedal to put the pads back against the disc, and it's done!!!
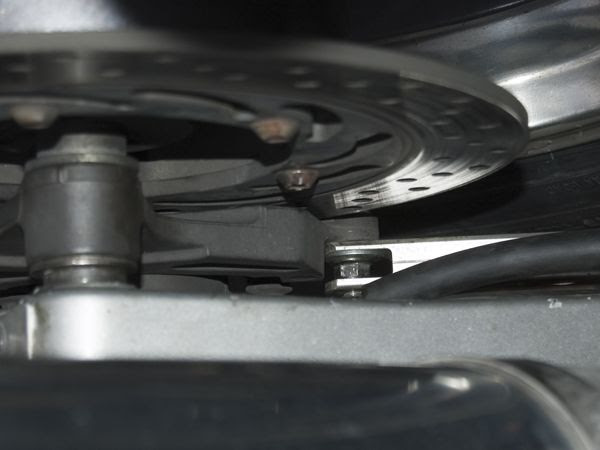
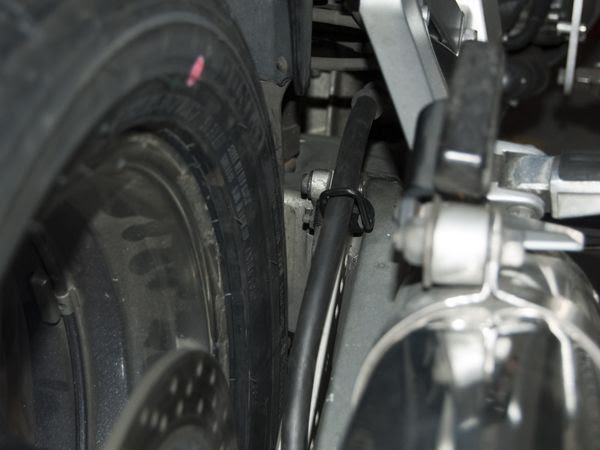
Bottom end of the torque arm:
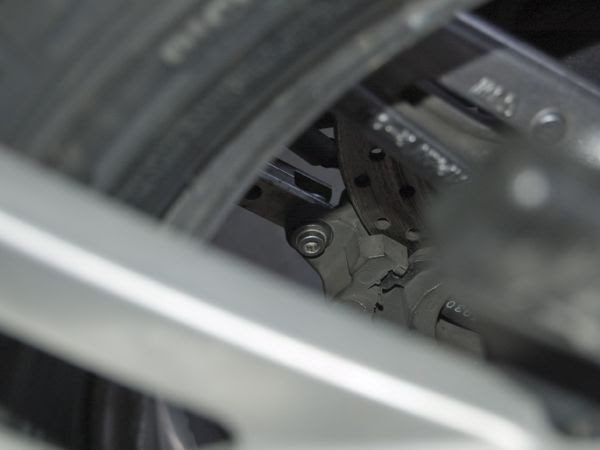
Looking through the wheel at the caliper, from the left side:
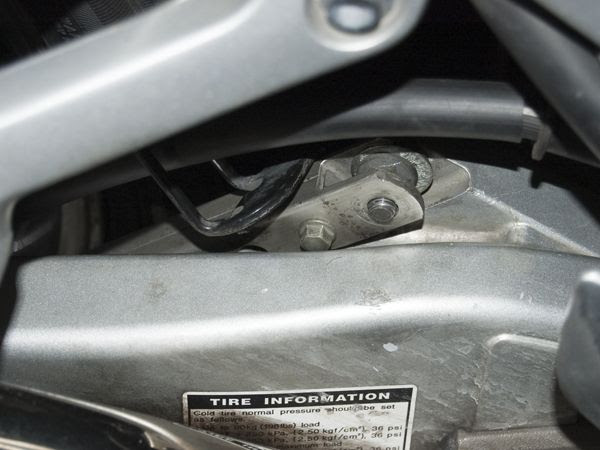
Top end of the torque arm:
This one was supposed to show the clearance against the swingarm, but I can't quite get the camera in there good.
As reported by others, the feel at just off upright is odd, but easy to accomodate. It's not much different than adjusting to a bike with a different rake than another. You kinda have to push it through that initial tip-in, and as it's coming back up, it really
wants to center itself.
And although I didn't believe it when Howie told me, the bike will
not stand up by itself on the tire!
Alright!! Assign me a number, already!!! And we need a signature icon!!!! Somebody artistic get on that, OK?


