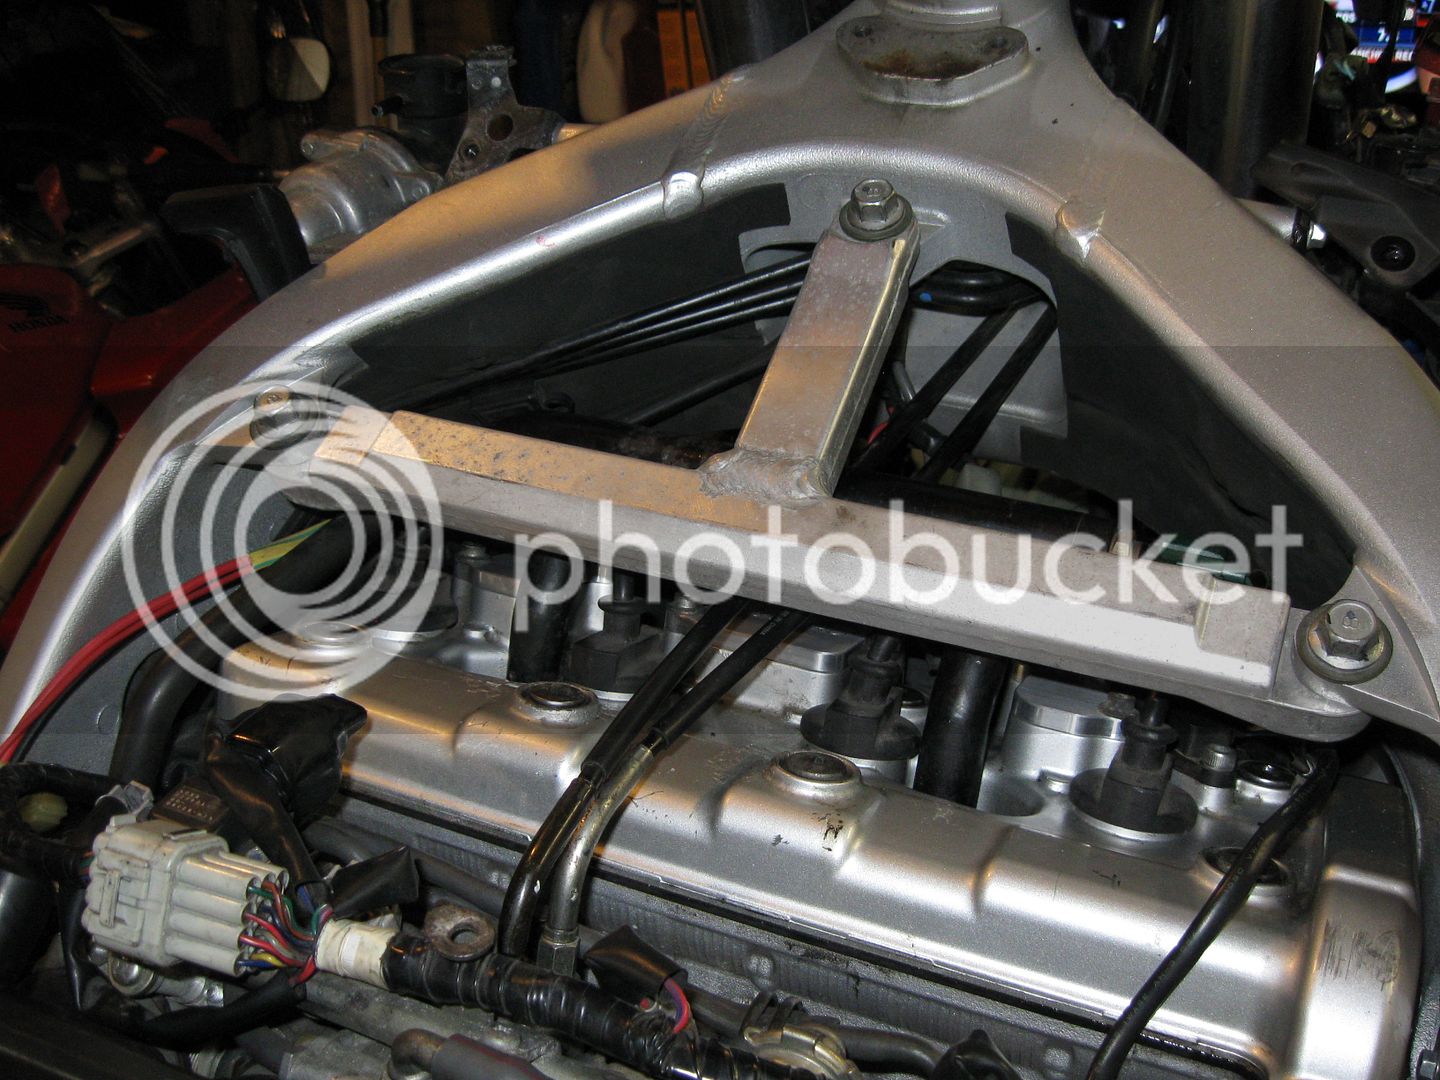
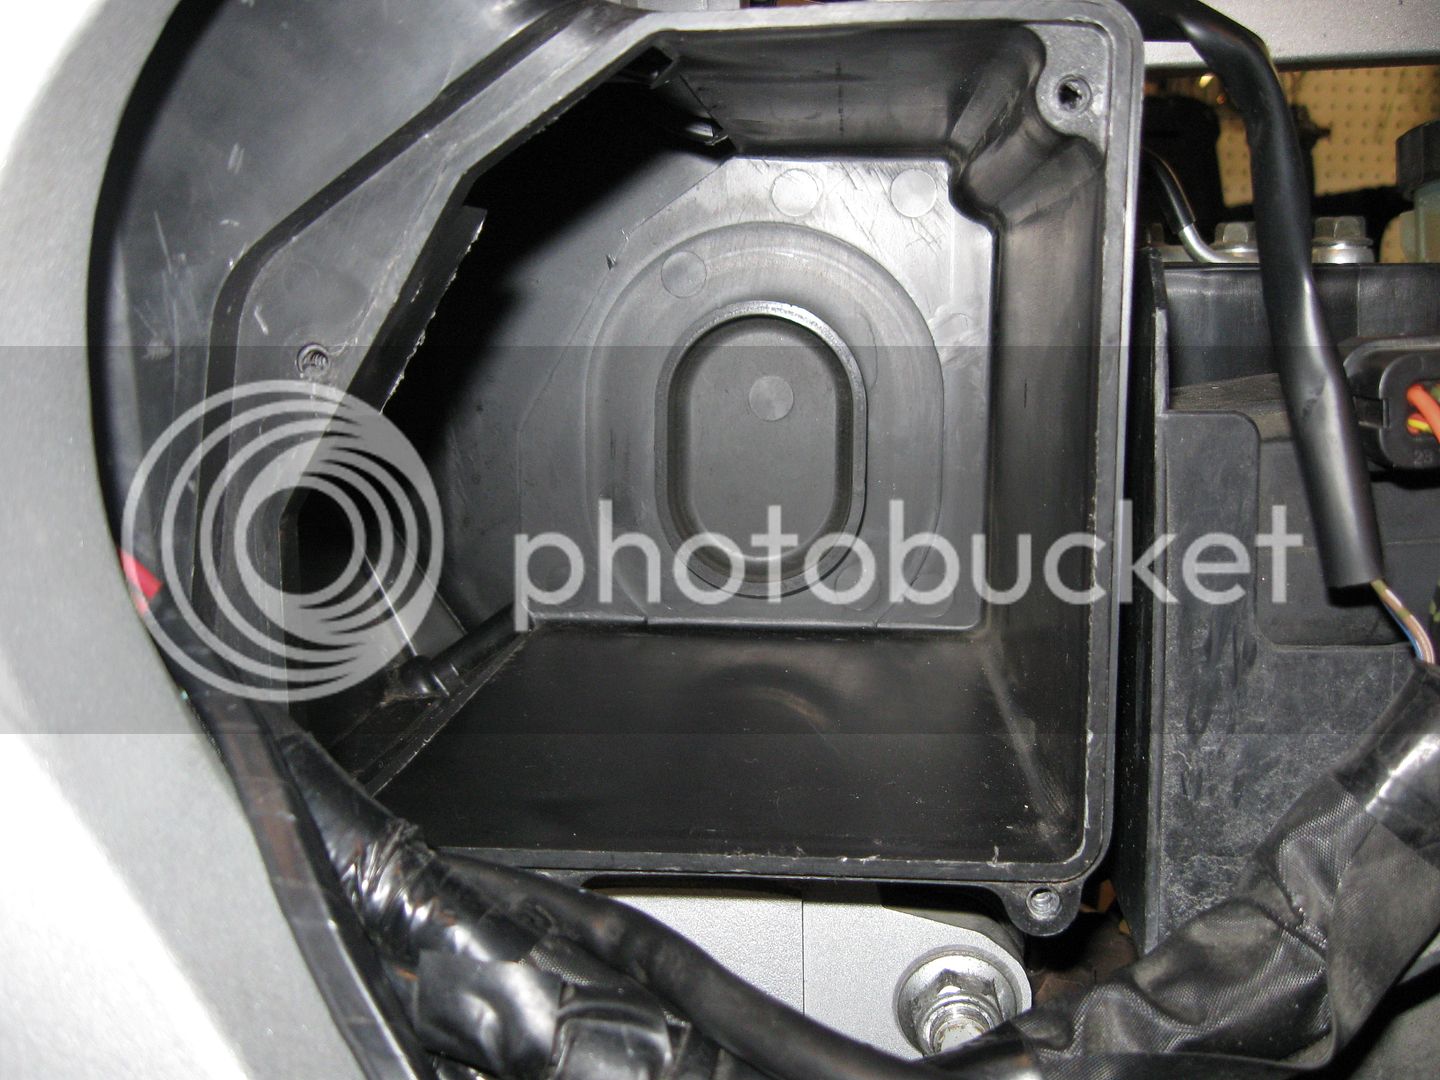
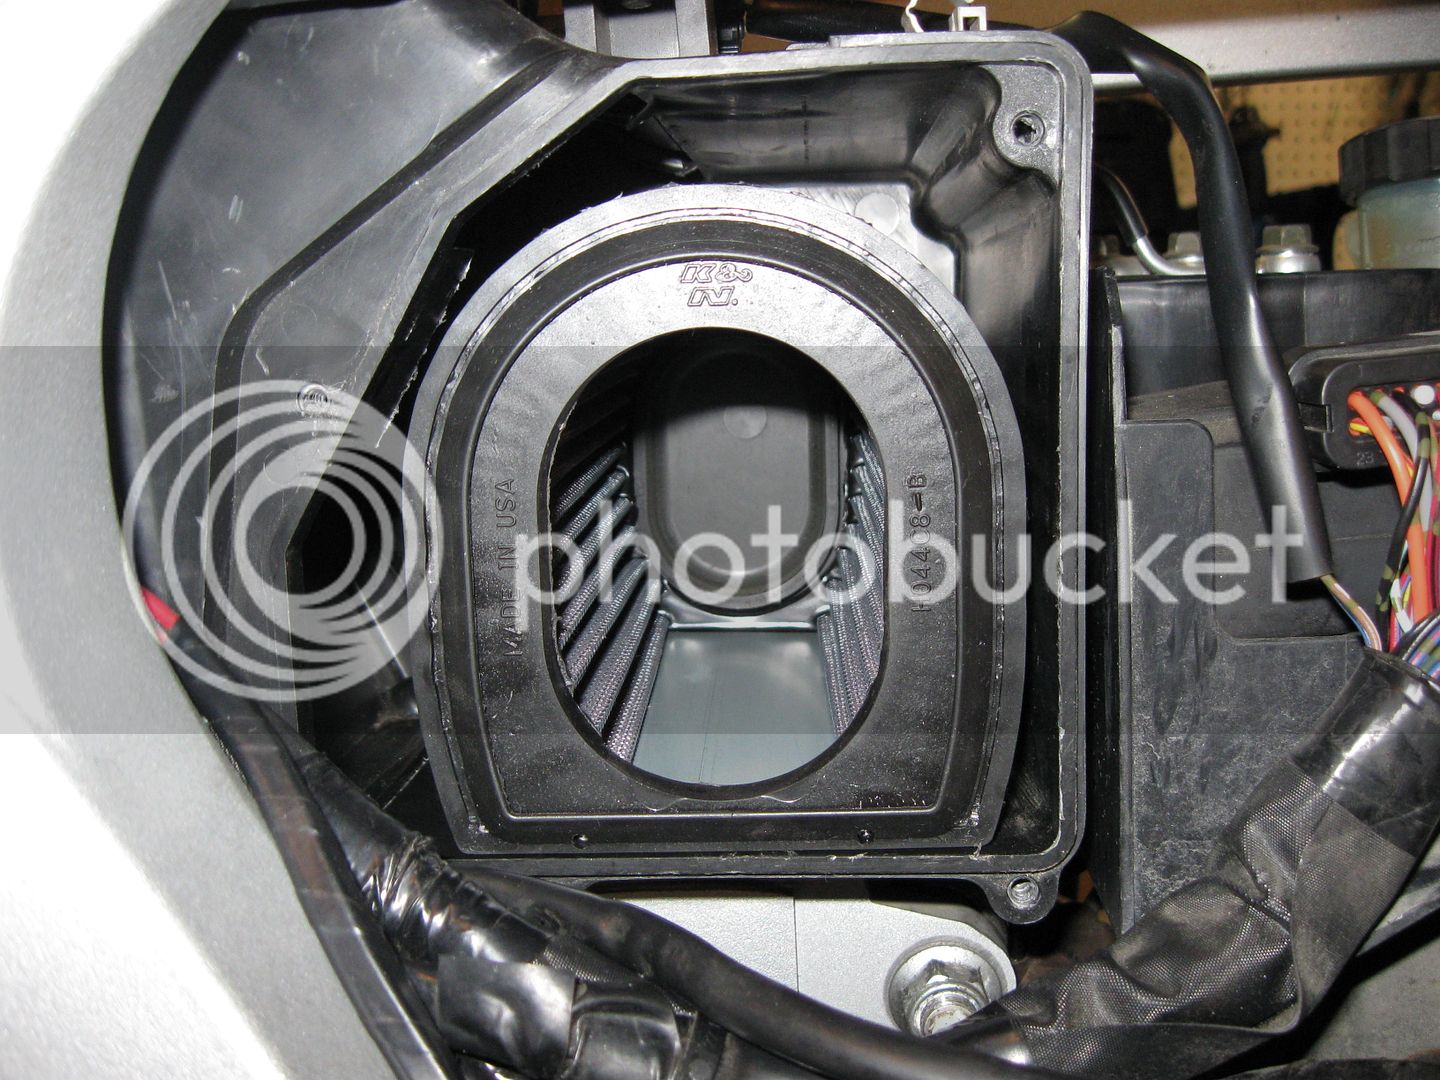
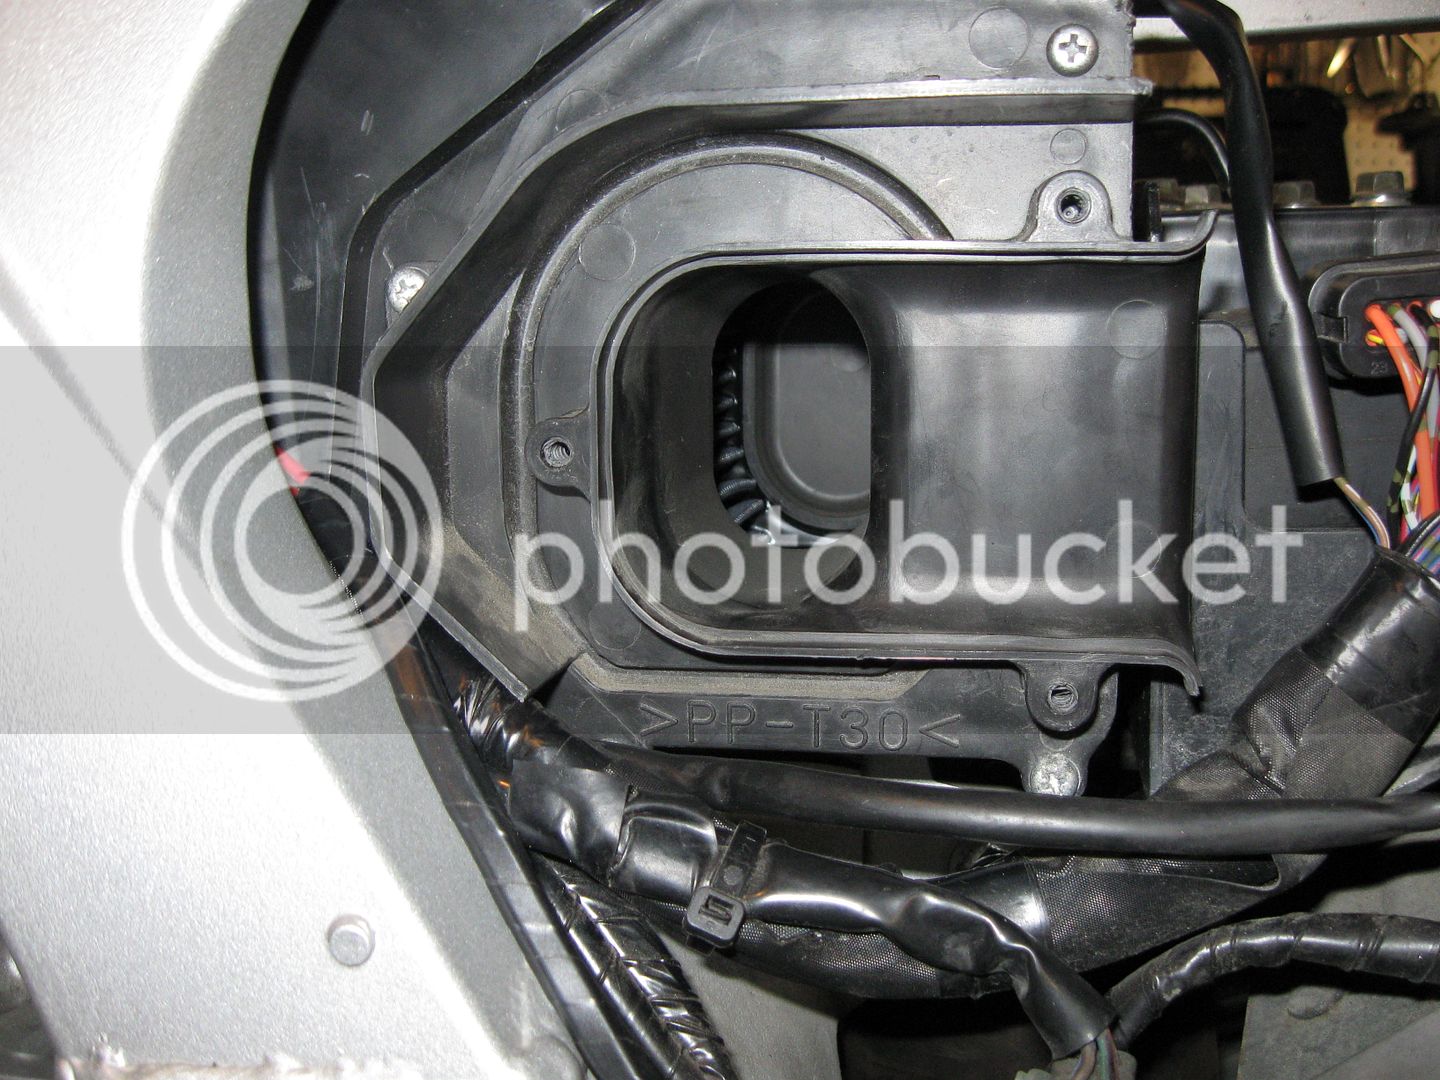
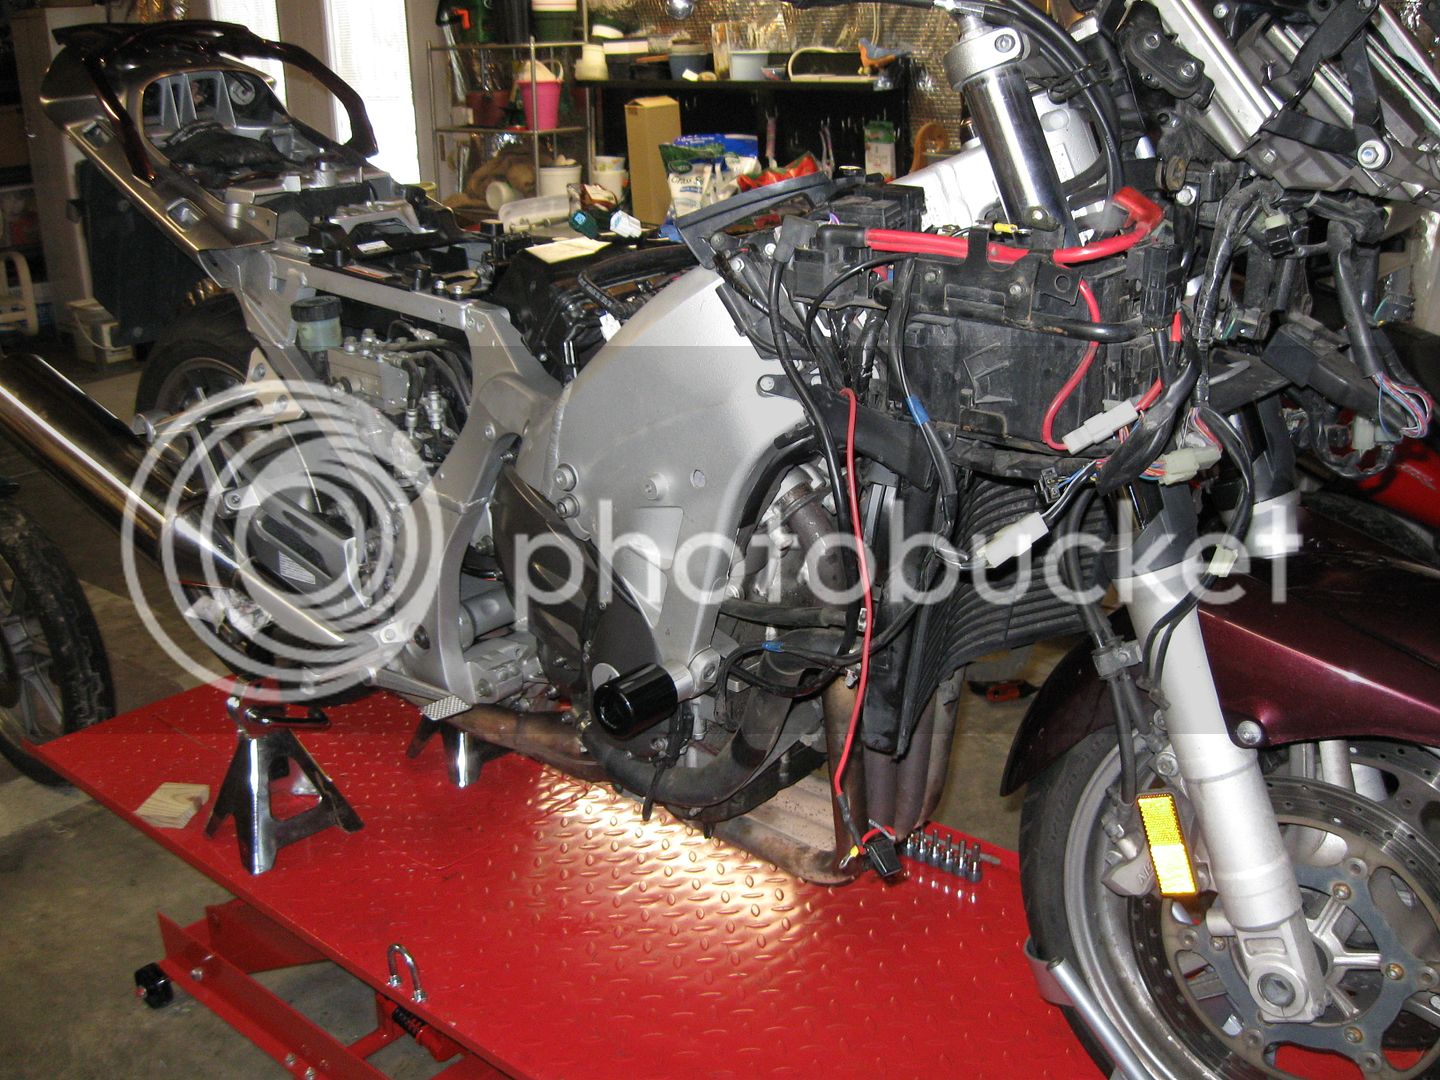
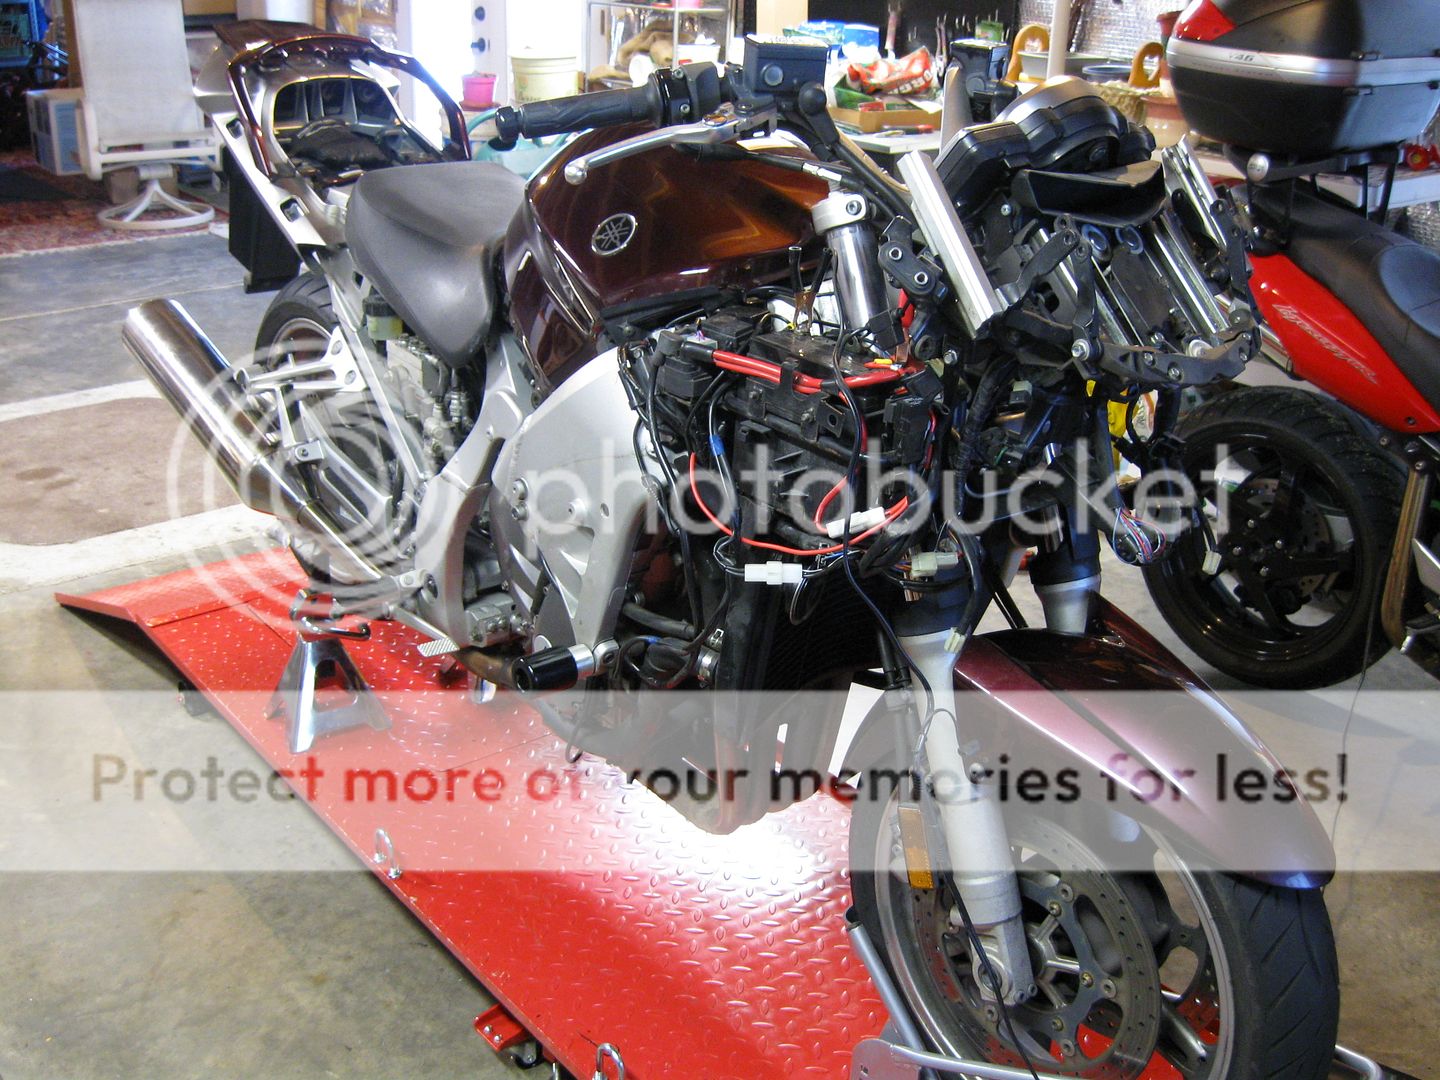
Progress continues and while the "end" of this project is near, I'm still taking my time. Partly because I'm very distractable! Old Man Winter seems to think the Mid-Atlantic needs to pay it's dues. So we're being treated to what Michigan calls a "mild" winter!
About 12 inches of snow fell this week and some freezing rain is being released from the clouds this Saturday morning. Possibly ending as snow this afternoon. The delay in updates was caused by slow delivery of parts.... possibly due to weather!
So let's begin this update! When I'm done, I'm heading back downstairs to continue working on my FJR!
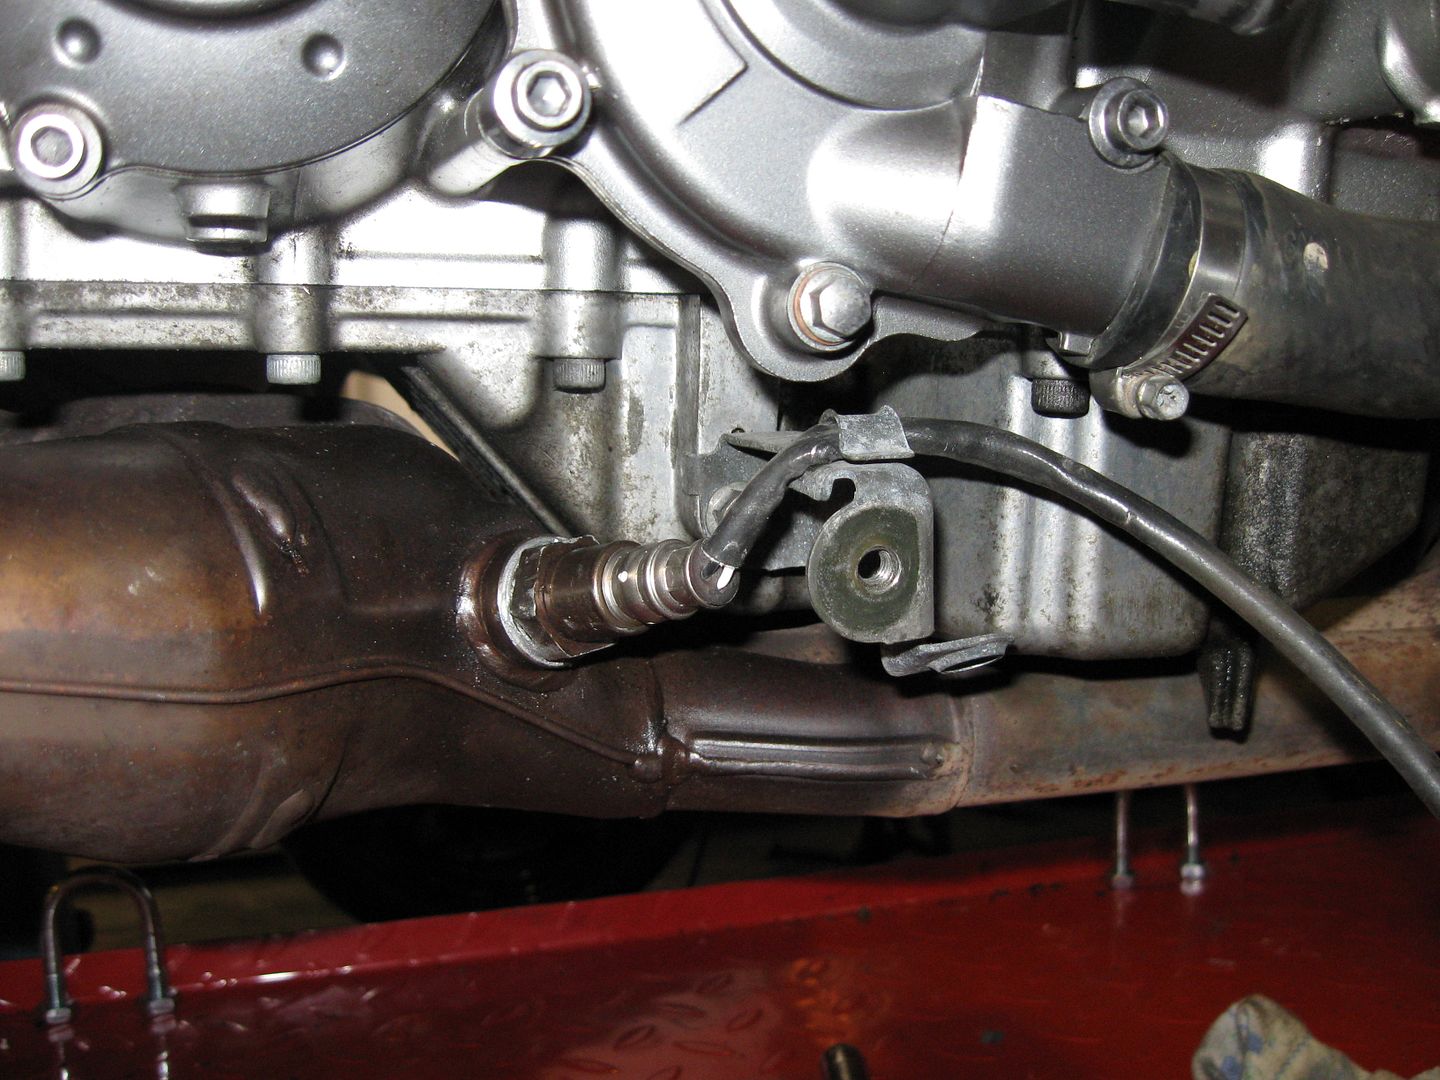
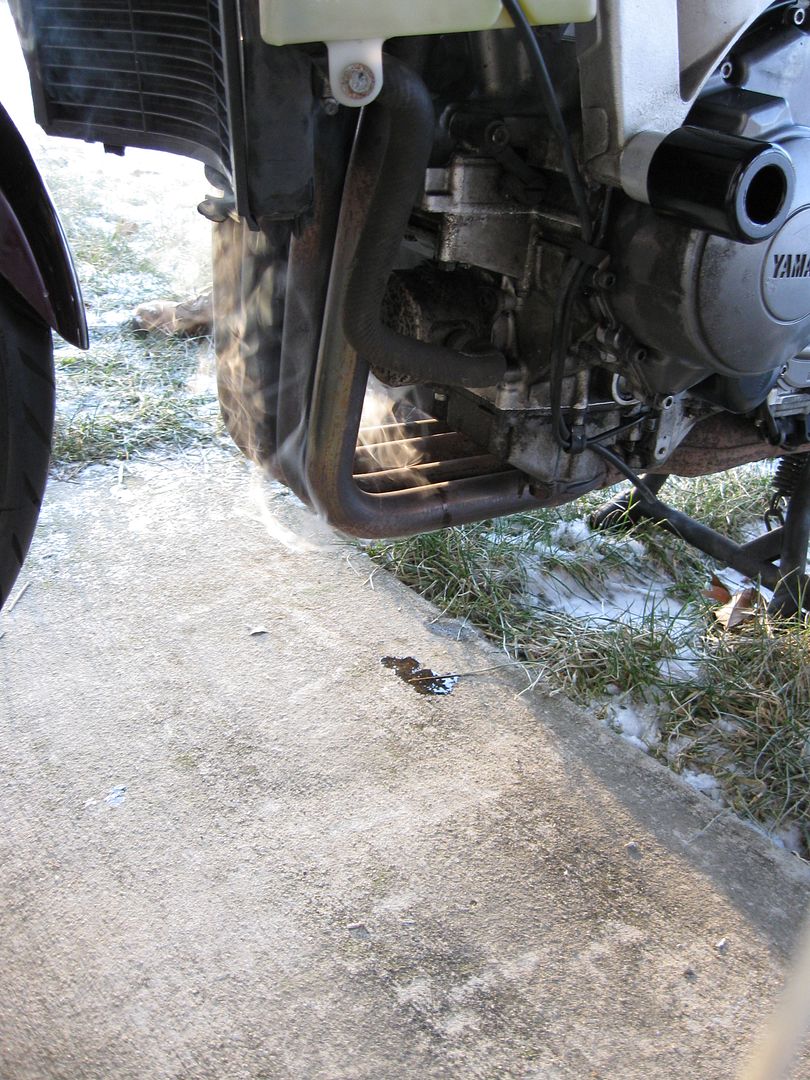
You'll remember that while the FJR is running now, it's weeping some oil out of the oil cooler.
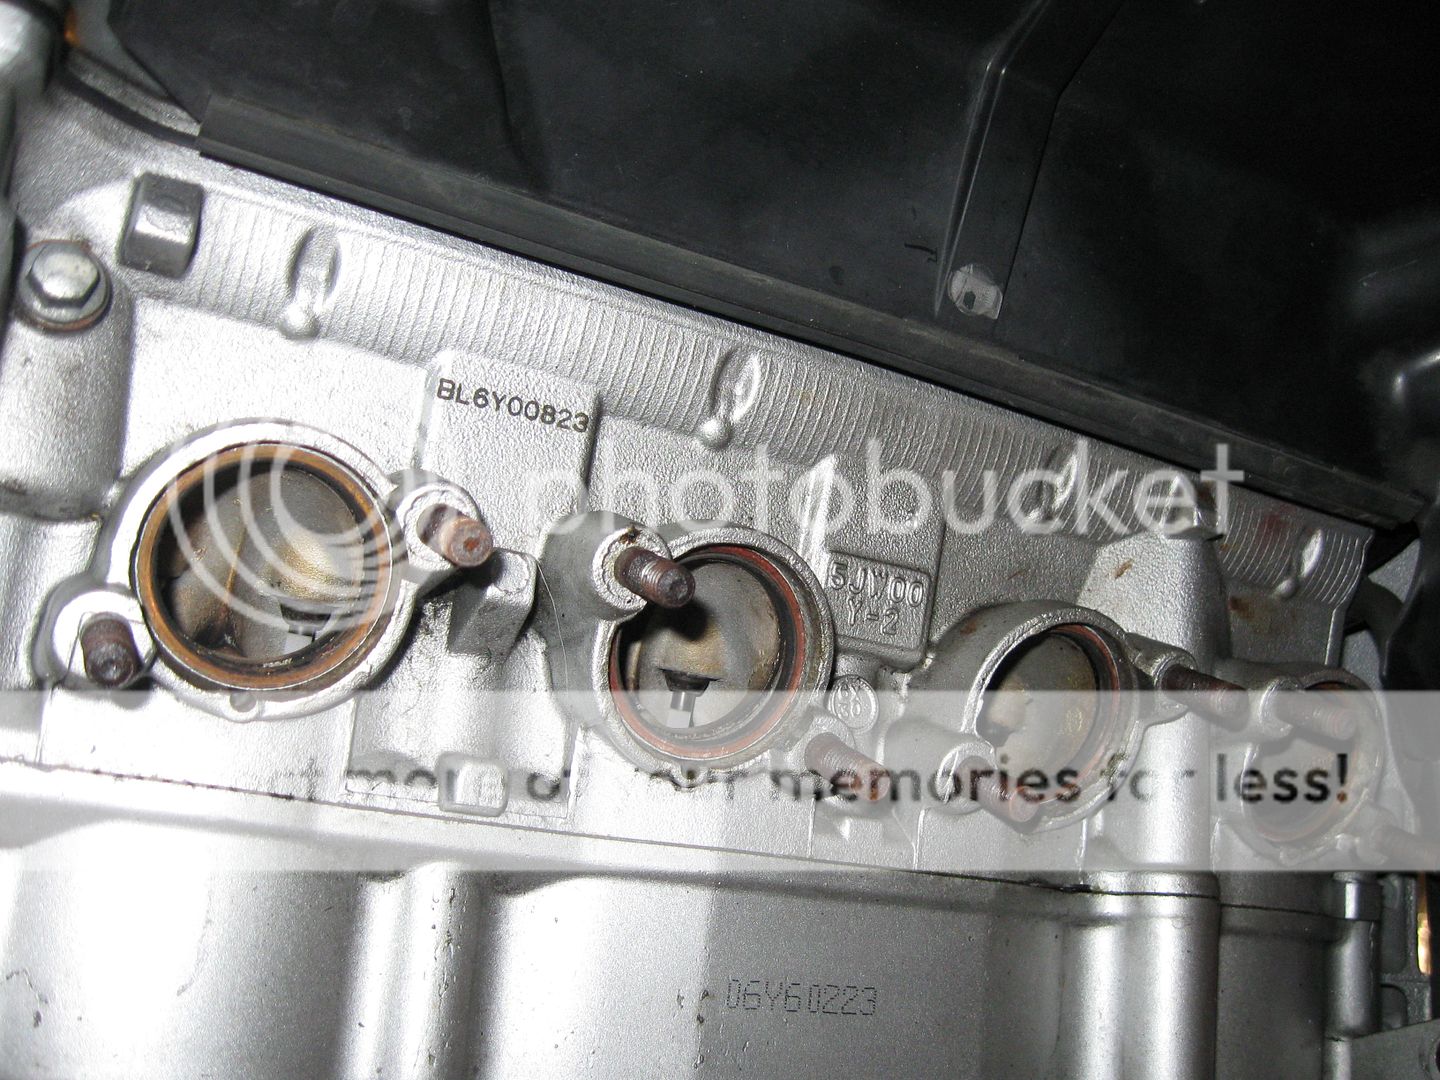
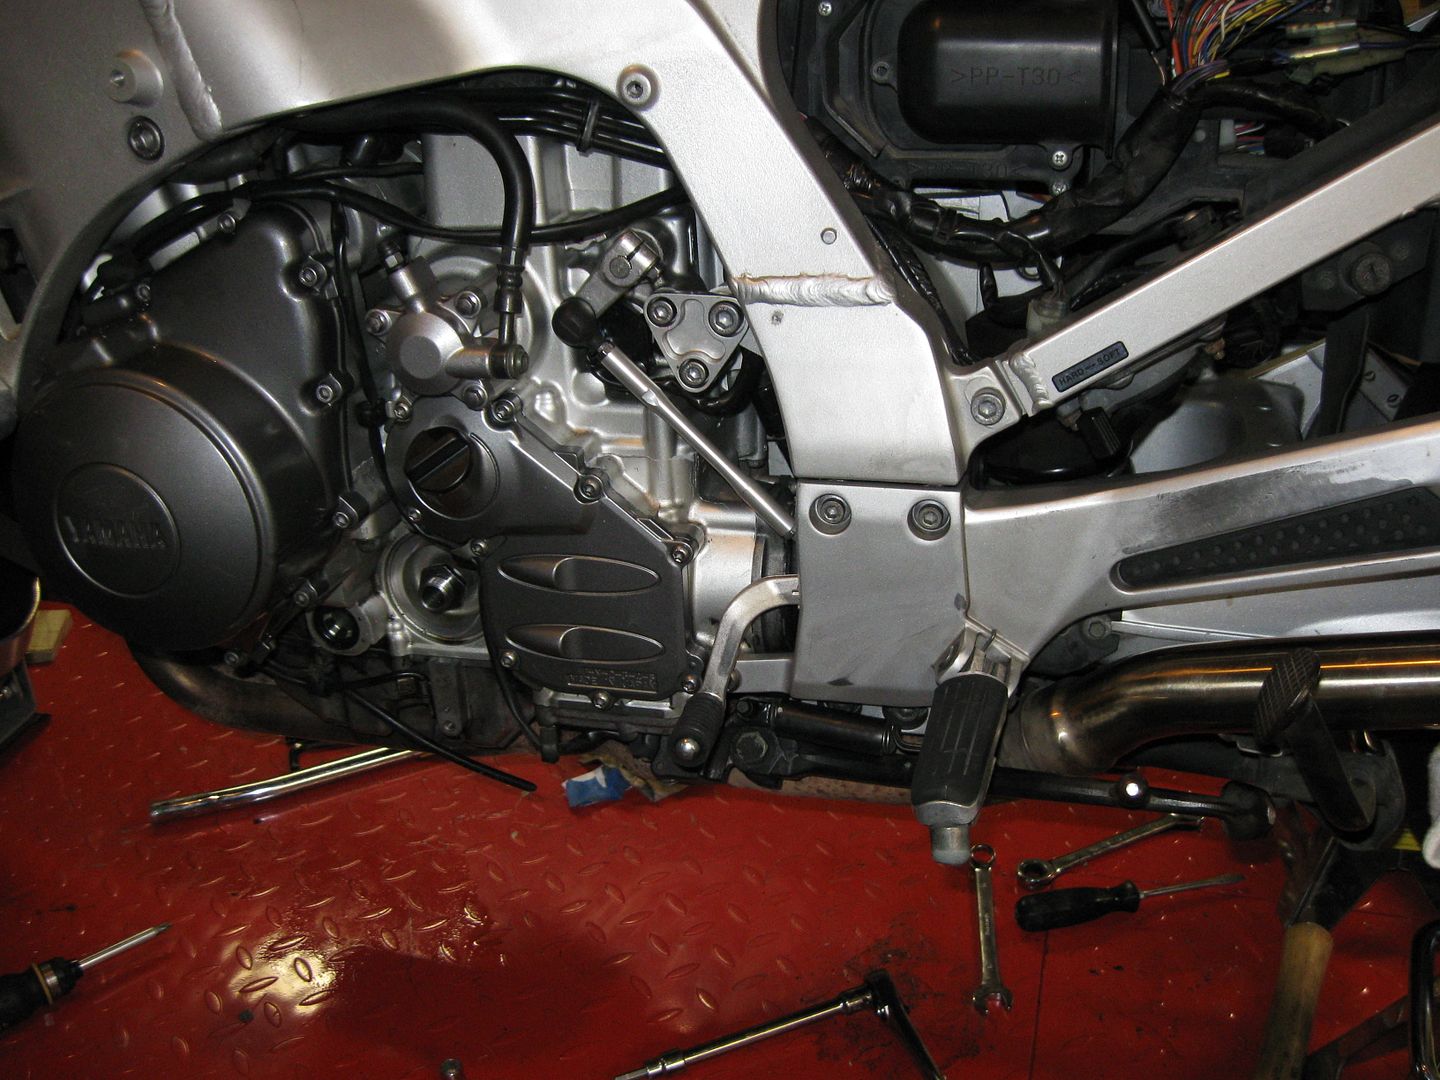
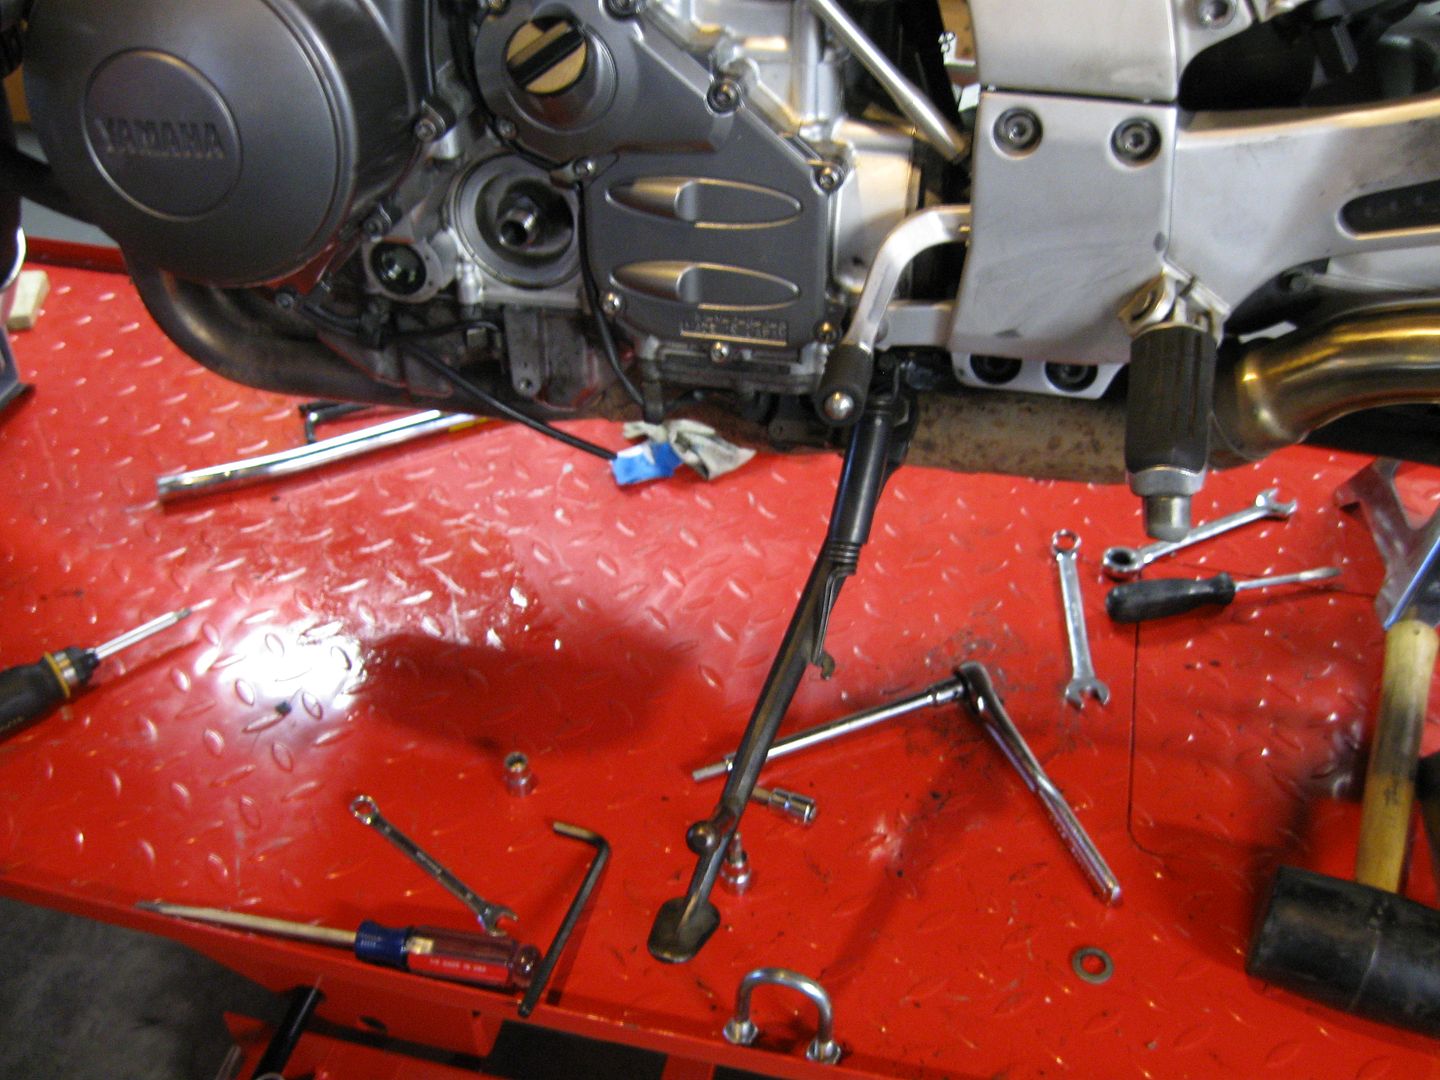
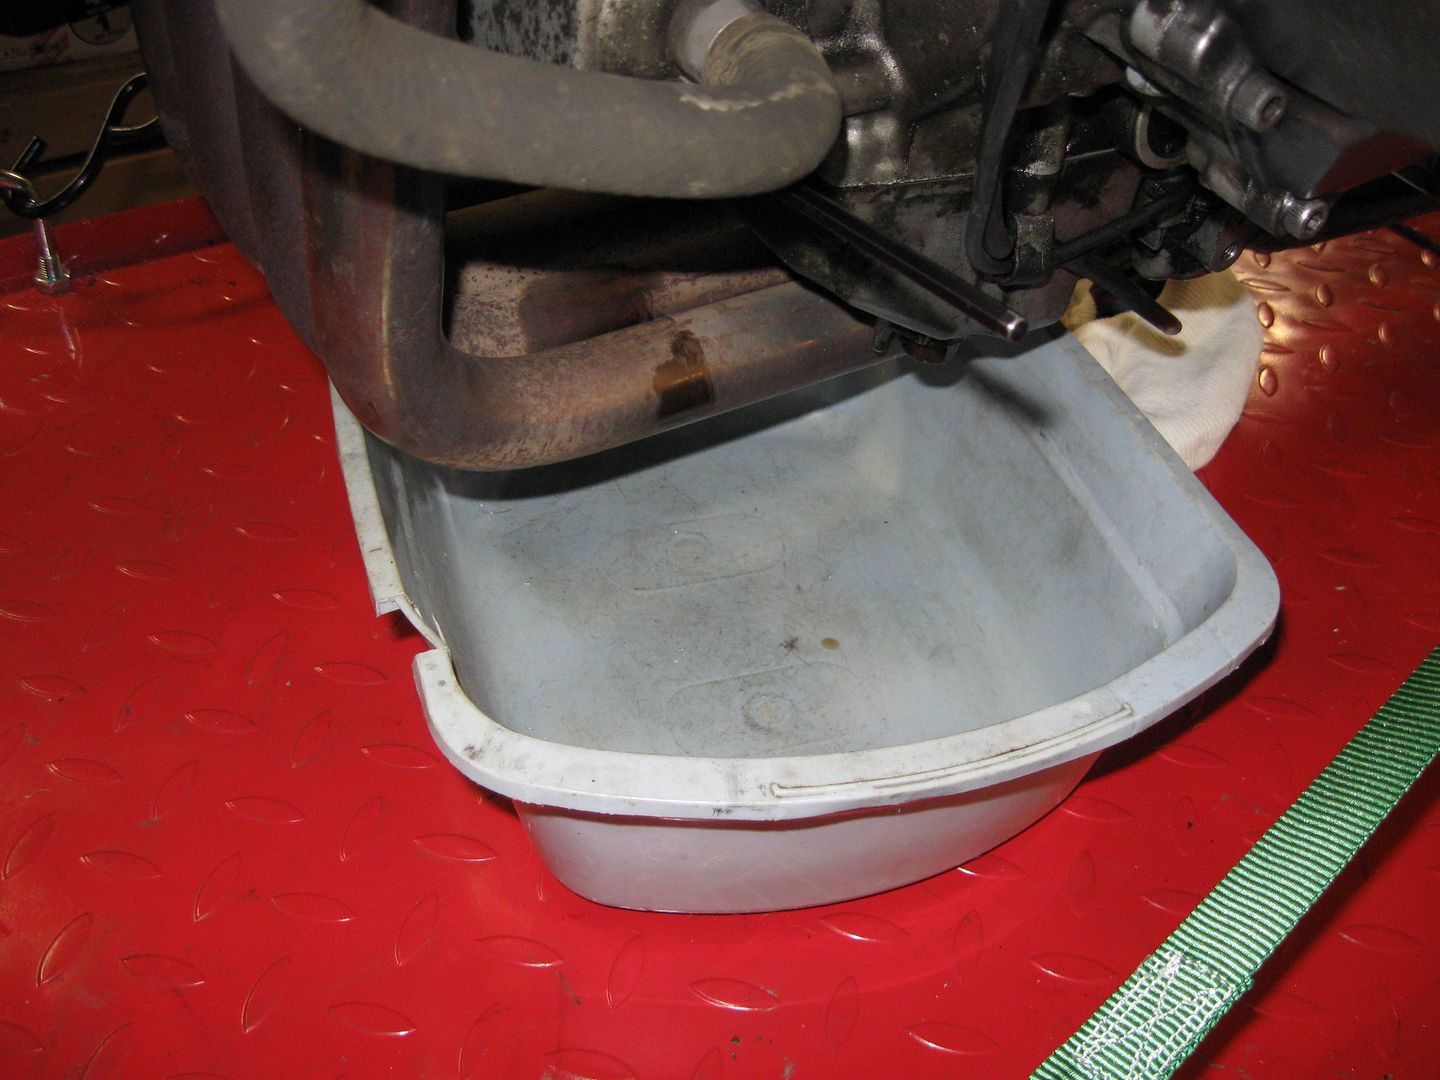
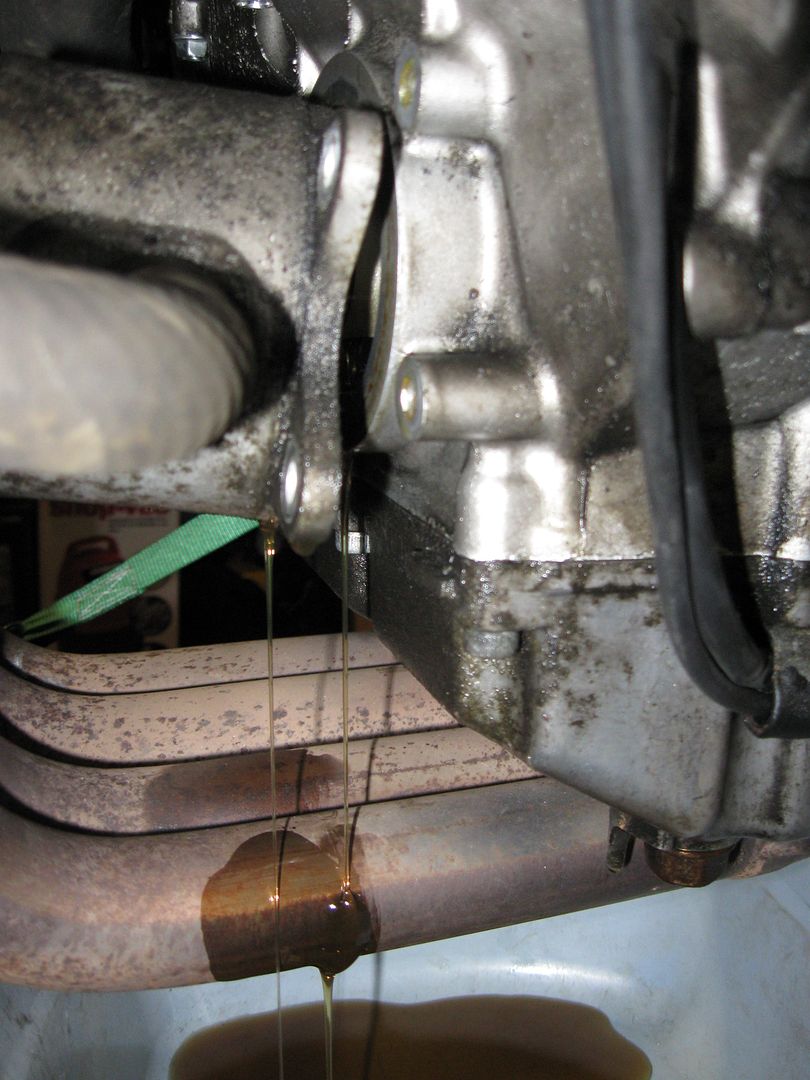
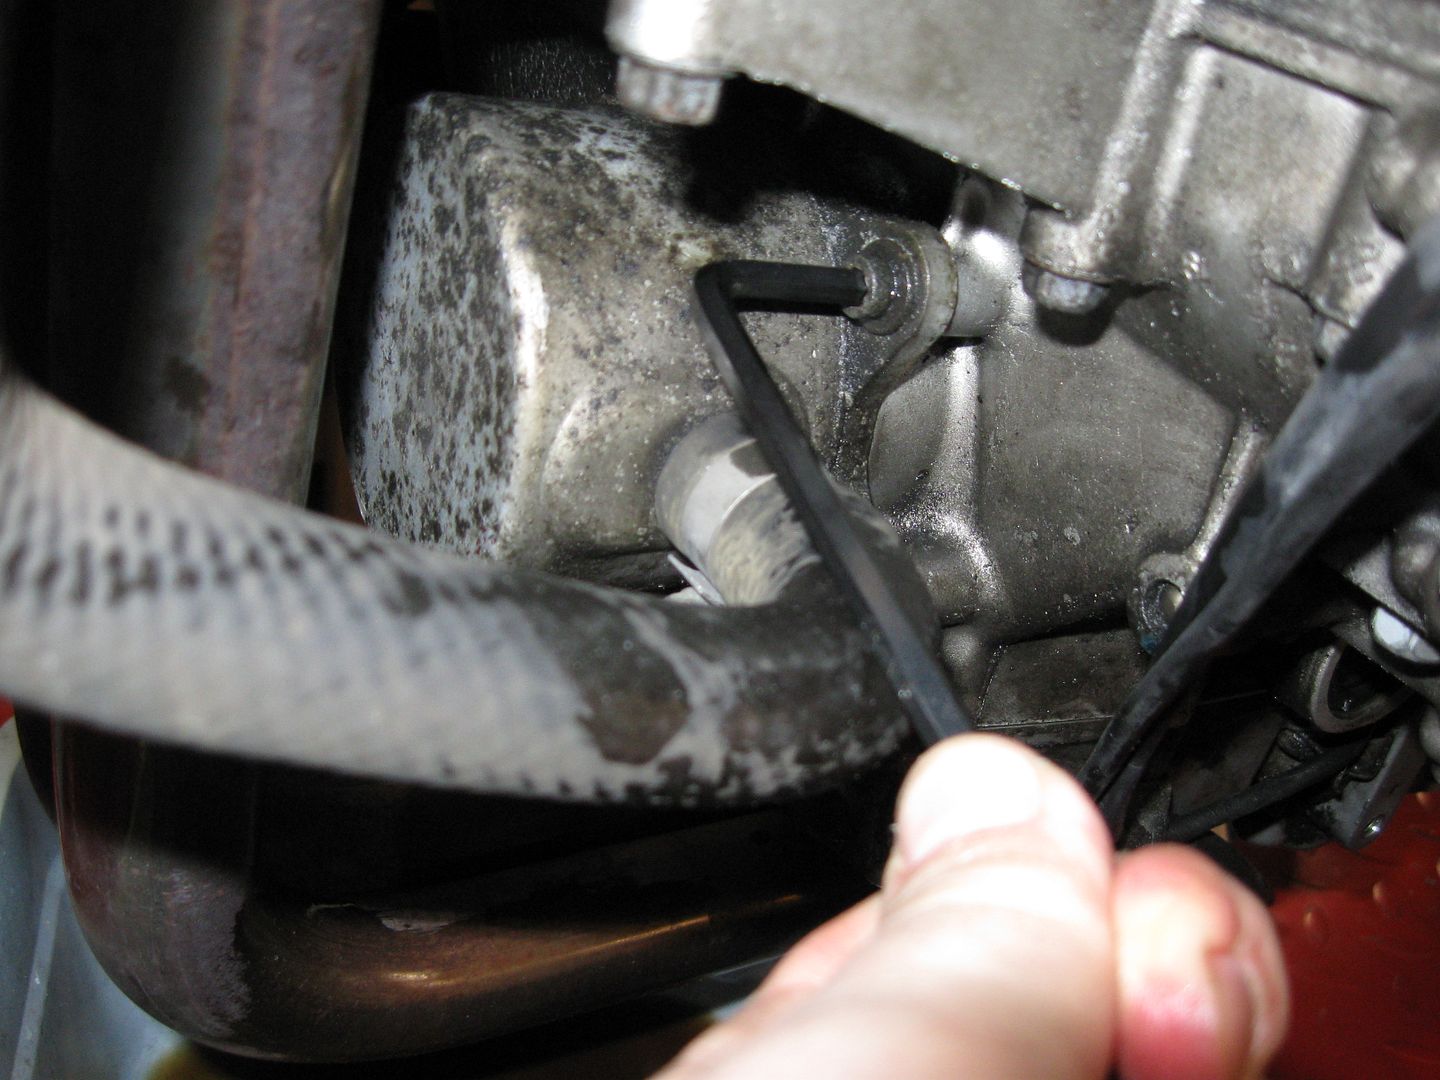
Well, Doug and I put it back on the stand/lift and I decided to see how much oil would come out if I just removed the cooler. I didn't want to drain all the oil again. A pan got put under and the allen wrenches came out.
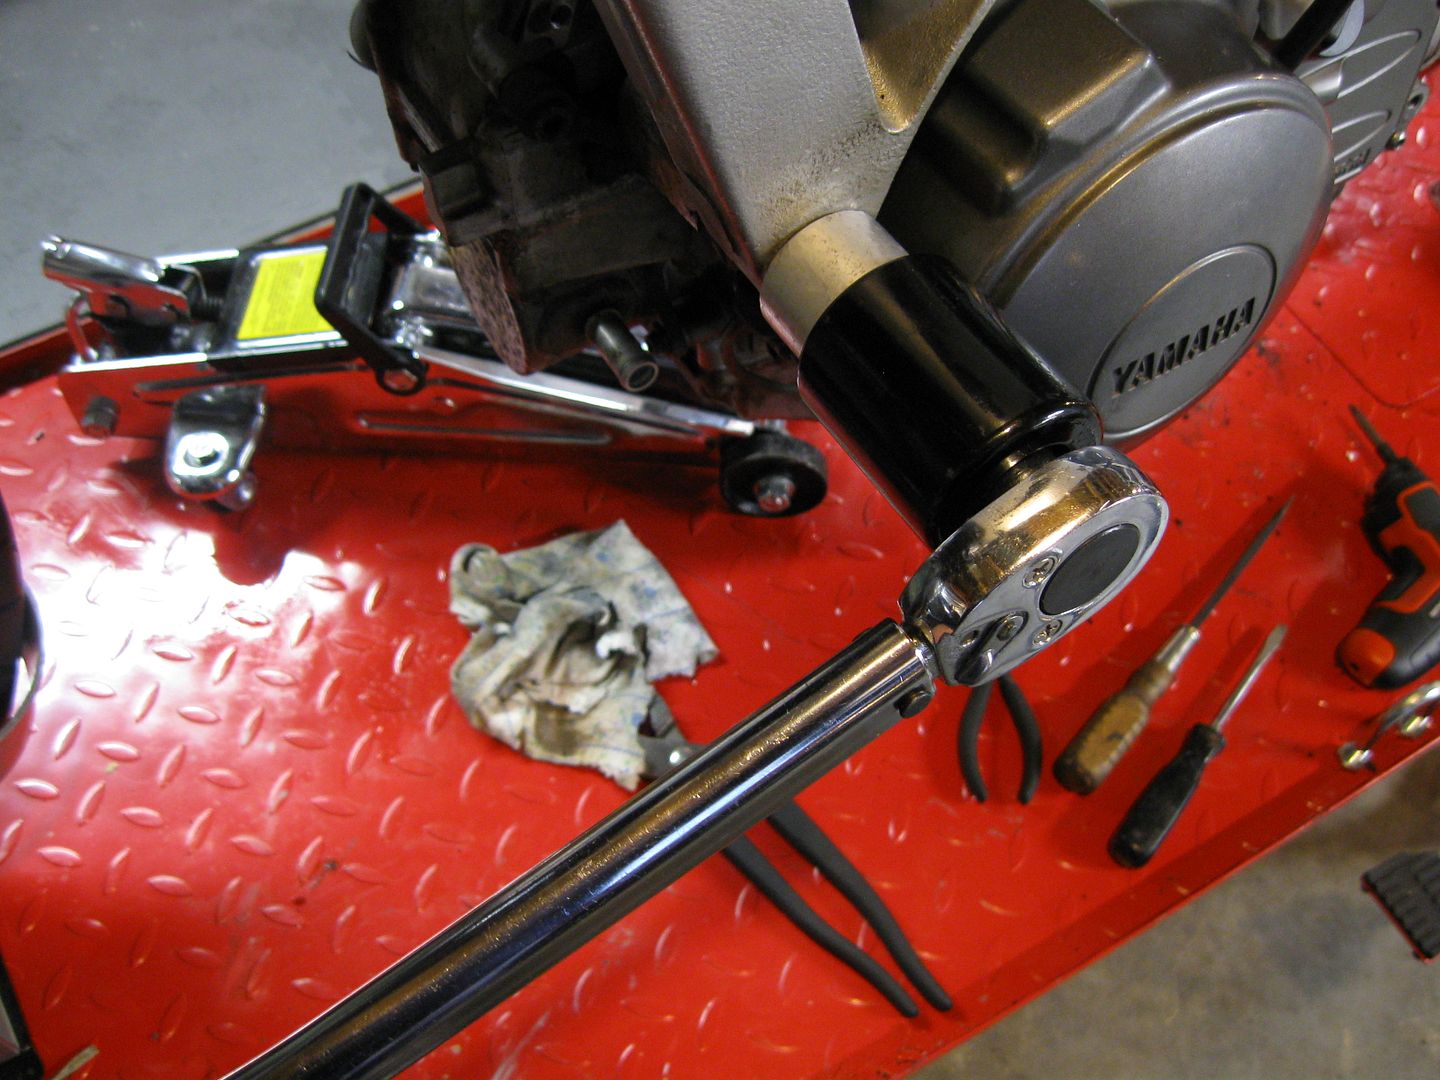
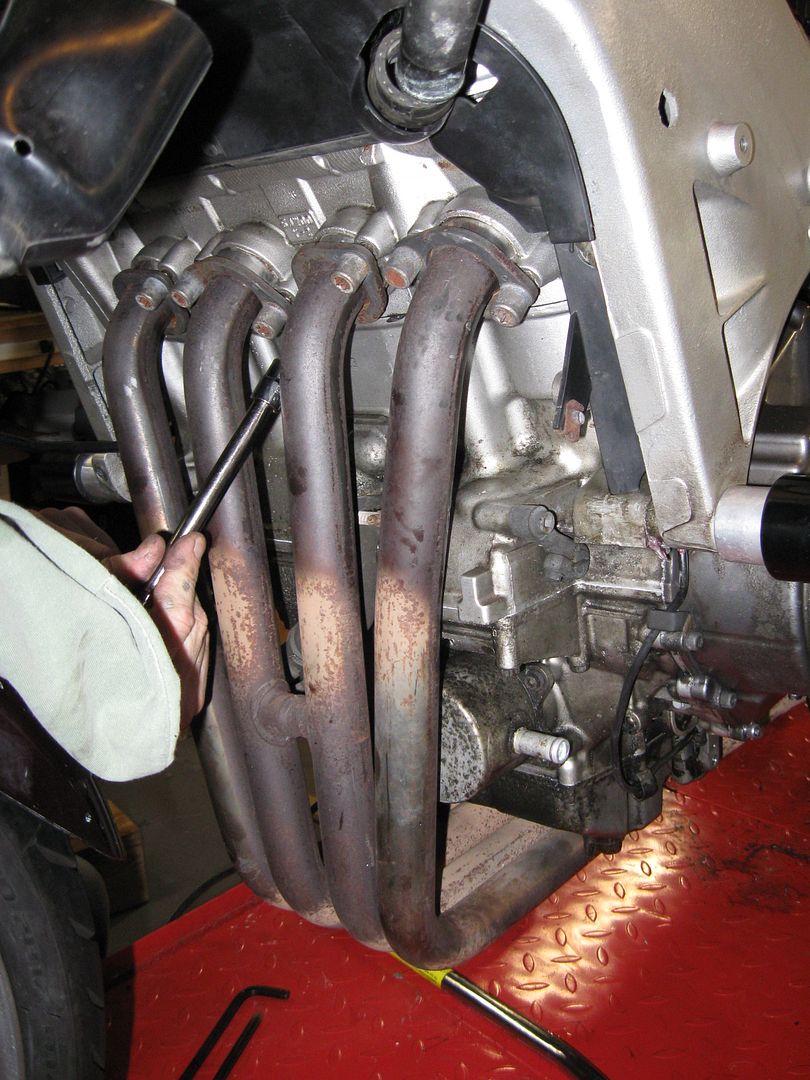
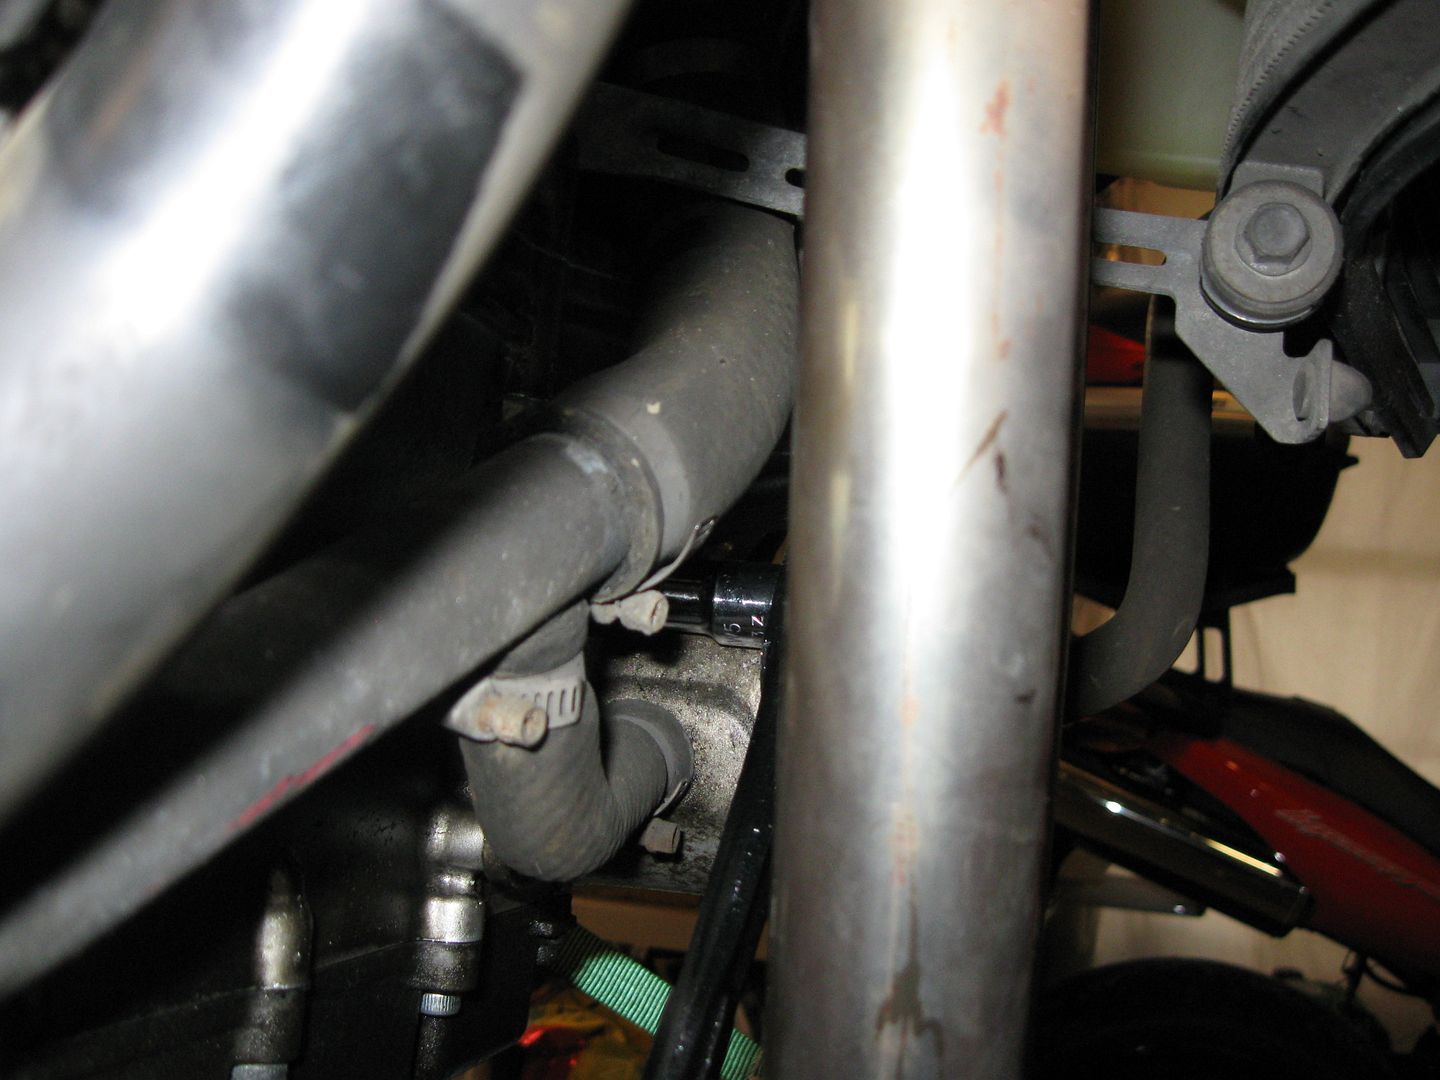
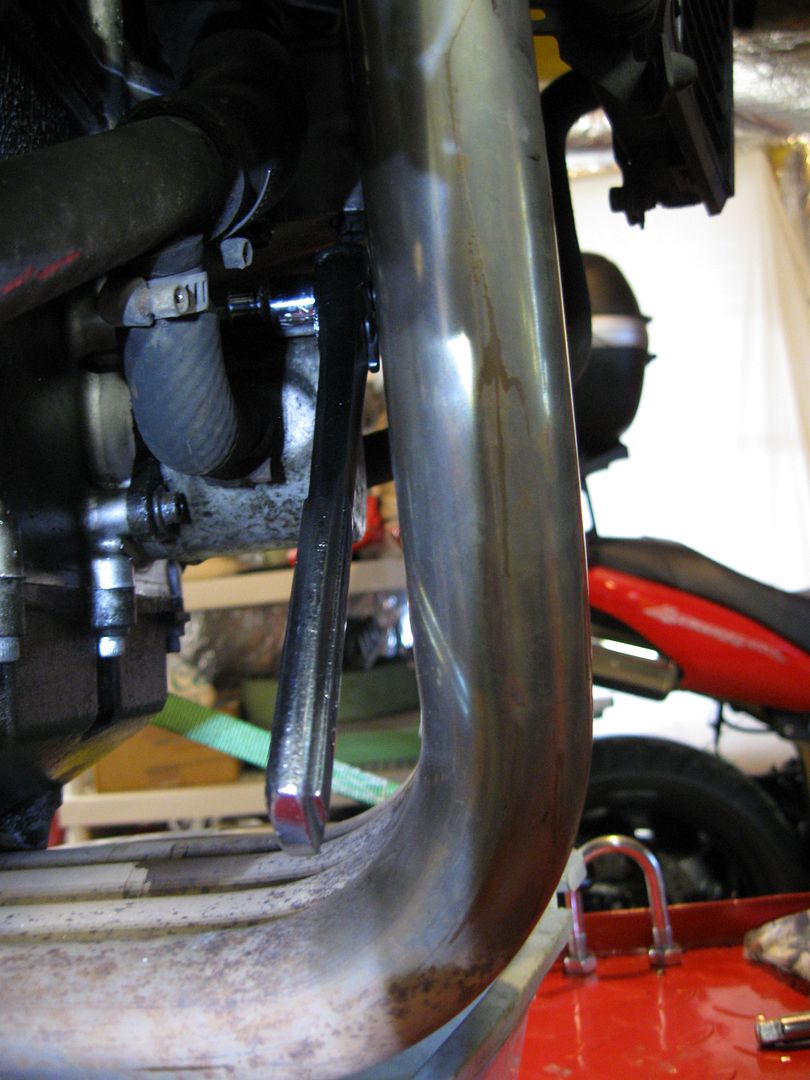
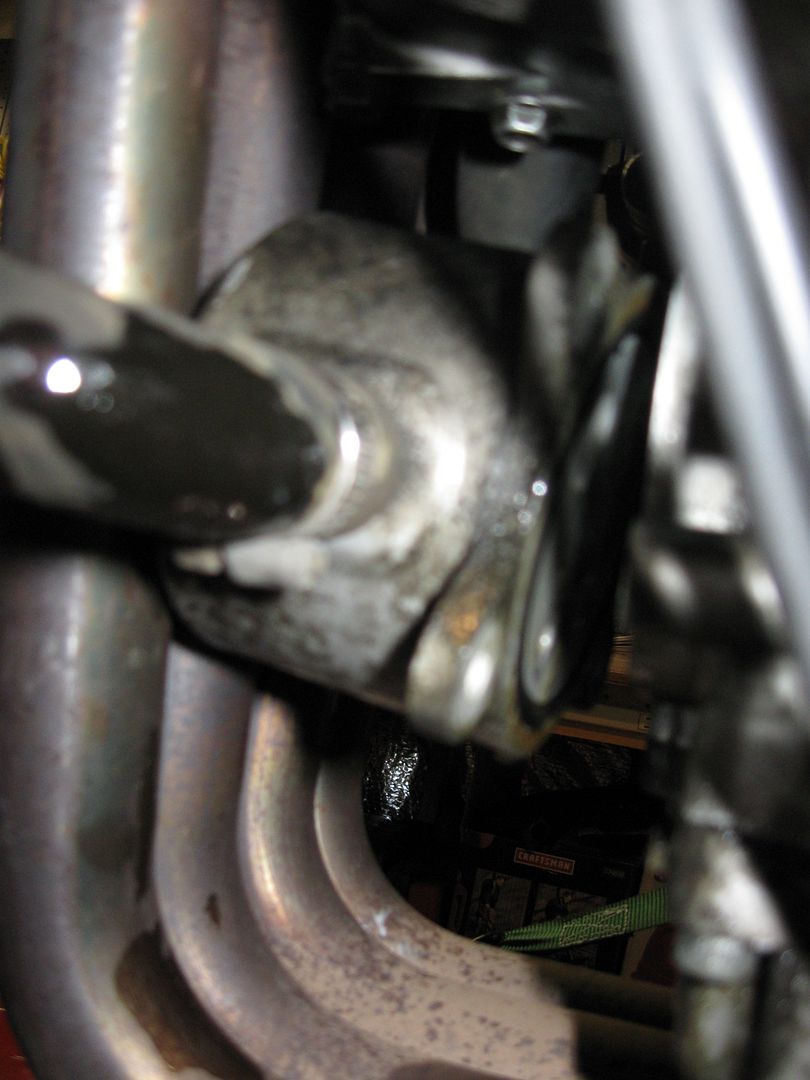
The ratchet was needed as well to slip back behind the exhaust. The angle got a little gnarly even with ball end allens.
One, two, three and four and we have separation!
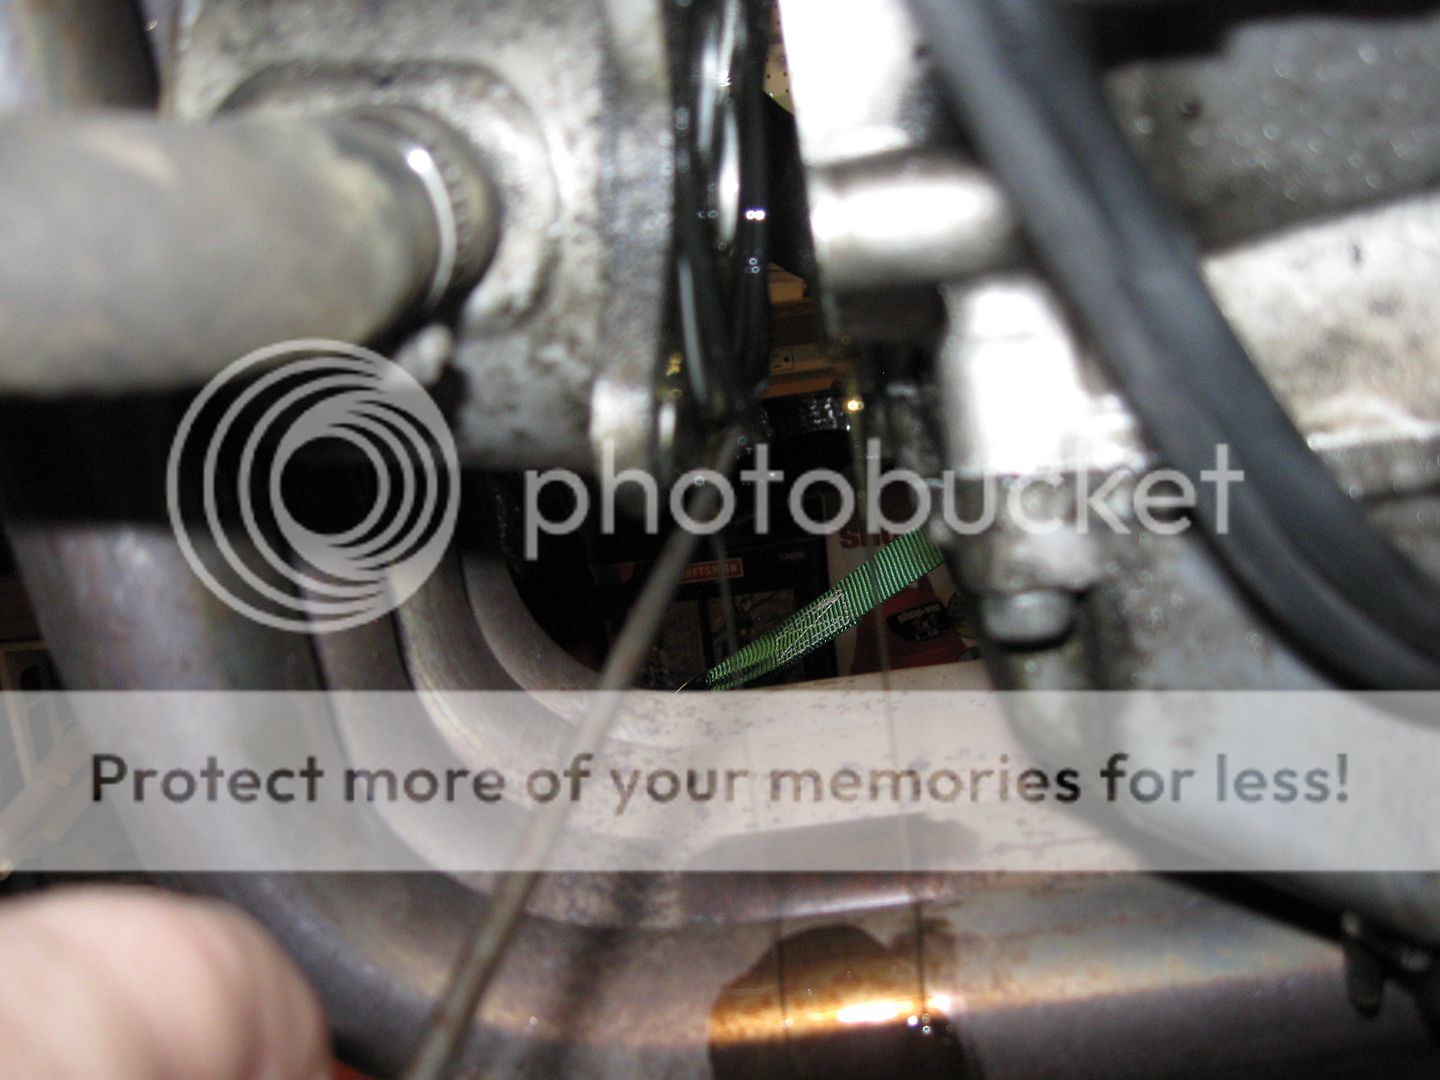
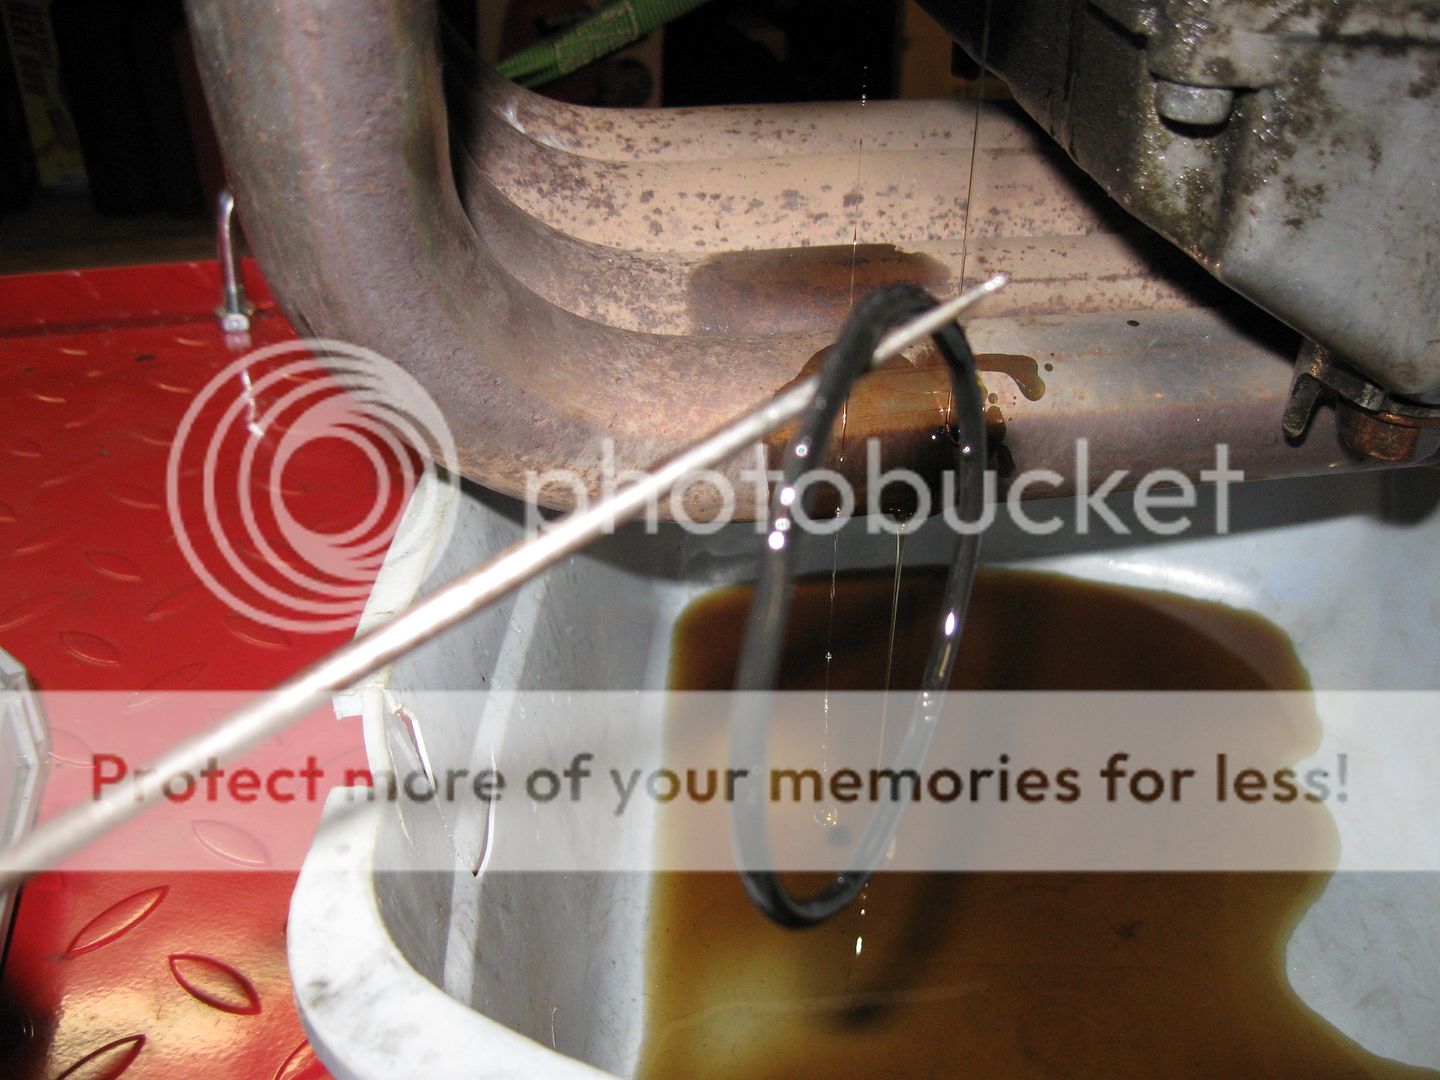
Just enough room to pull it away and reach in to remove the o-ring.
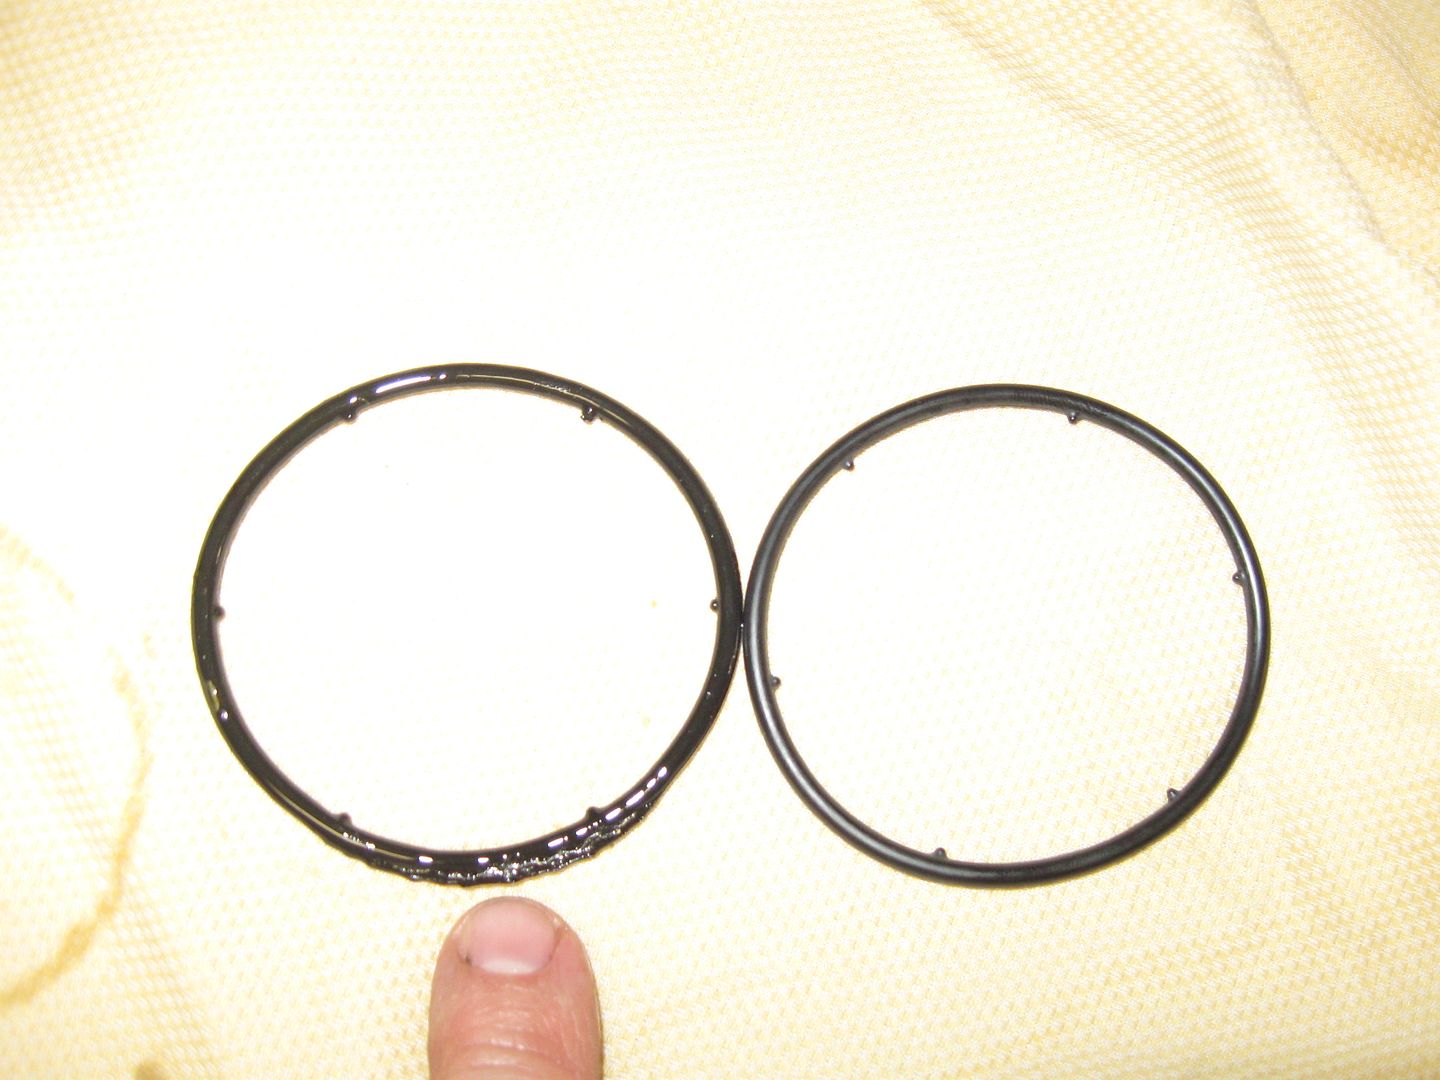
Well, well, well, I think we have a little issue with the old O-Ring. You think? (hint: look at my finger
) - sorry I put on my Smarty-Pants this am. The new ring is to the right.
Doug and I aren't sure that was a pinch from our re-assembly or if perhaps a previous mechanic did it and it sealed ok until WE came along. It looks a bit melted.... No matter, it's job is done.
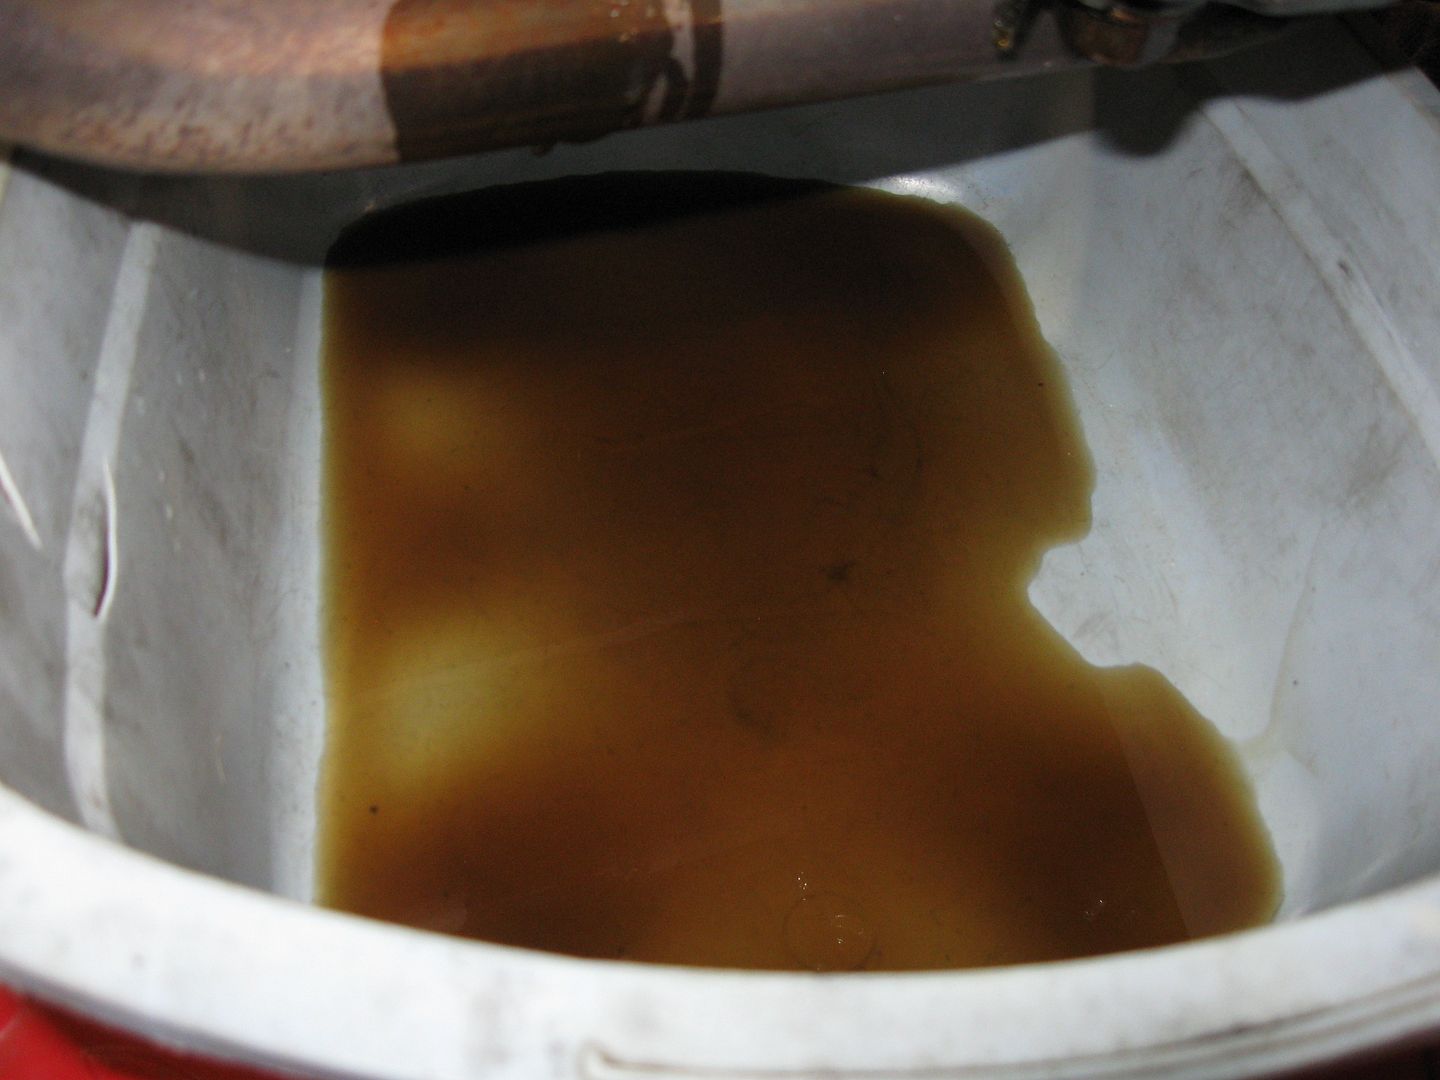
As for the oil....
That's it! Not much came out thankfully.
Another apology for my crappy point and shoot camera with auto-retard focus.
Here's the new O-Ring going into place.
Another one, two, three and four. The allen bolts go back and are properly torqued. click-click-click... and click!
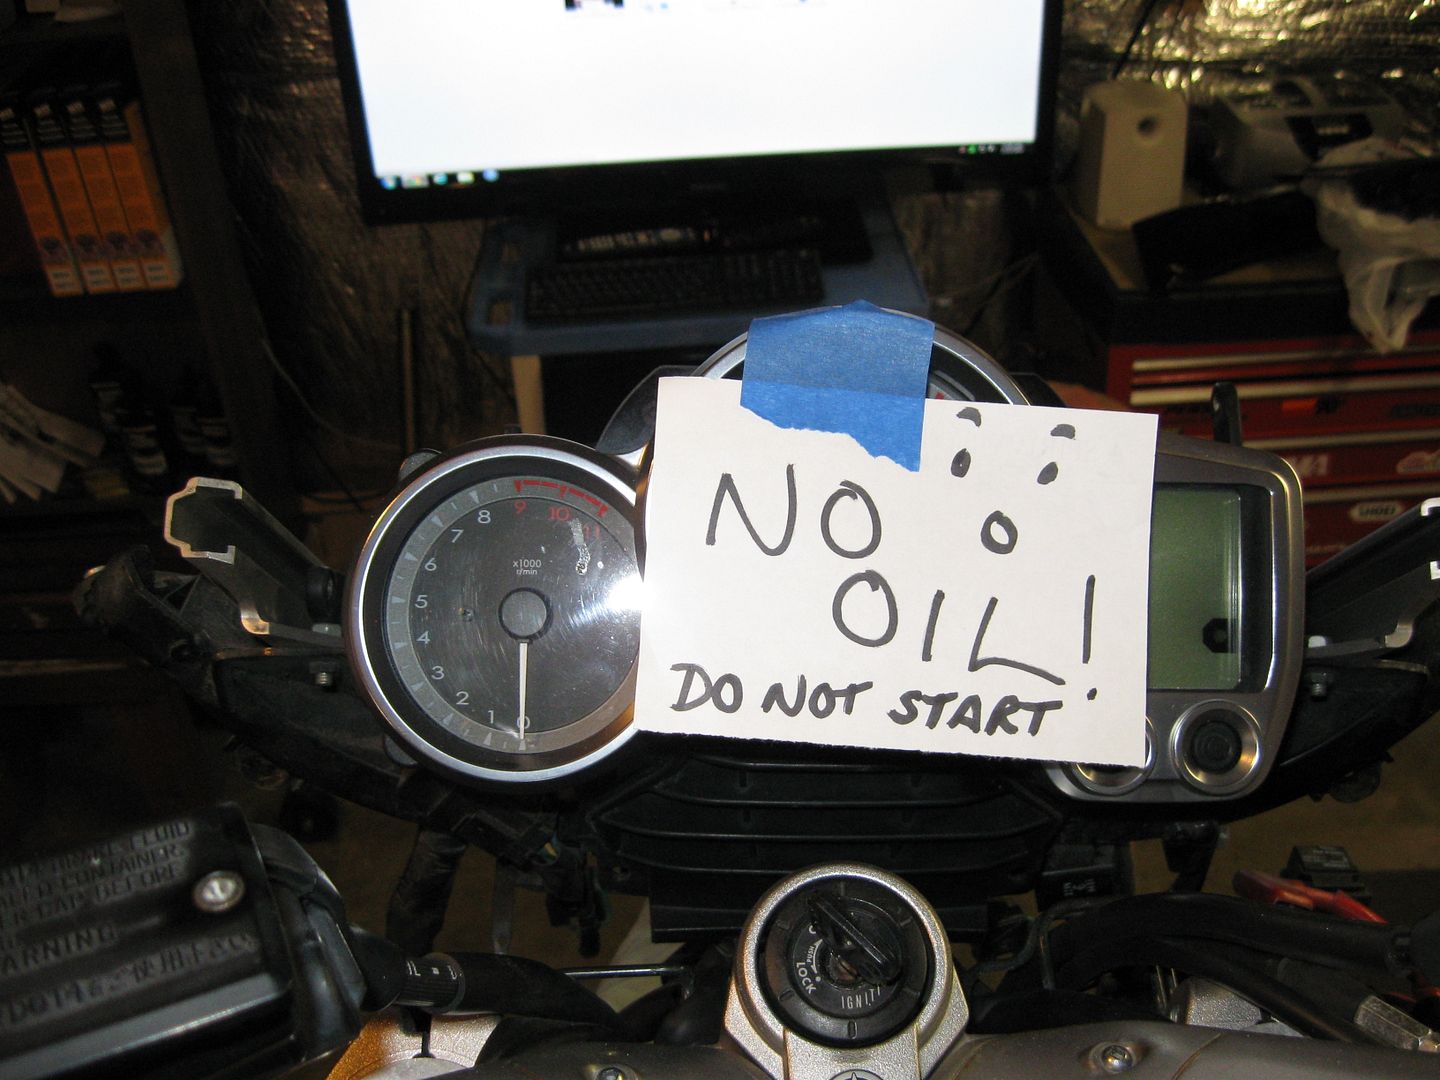
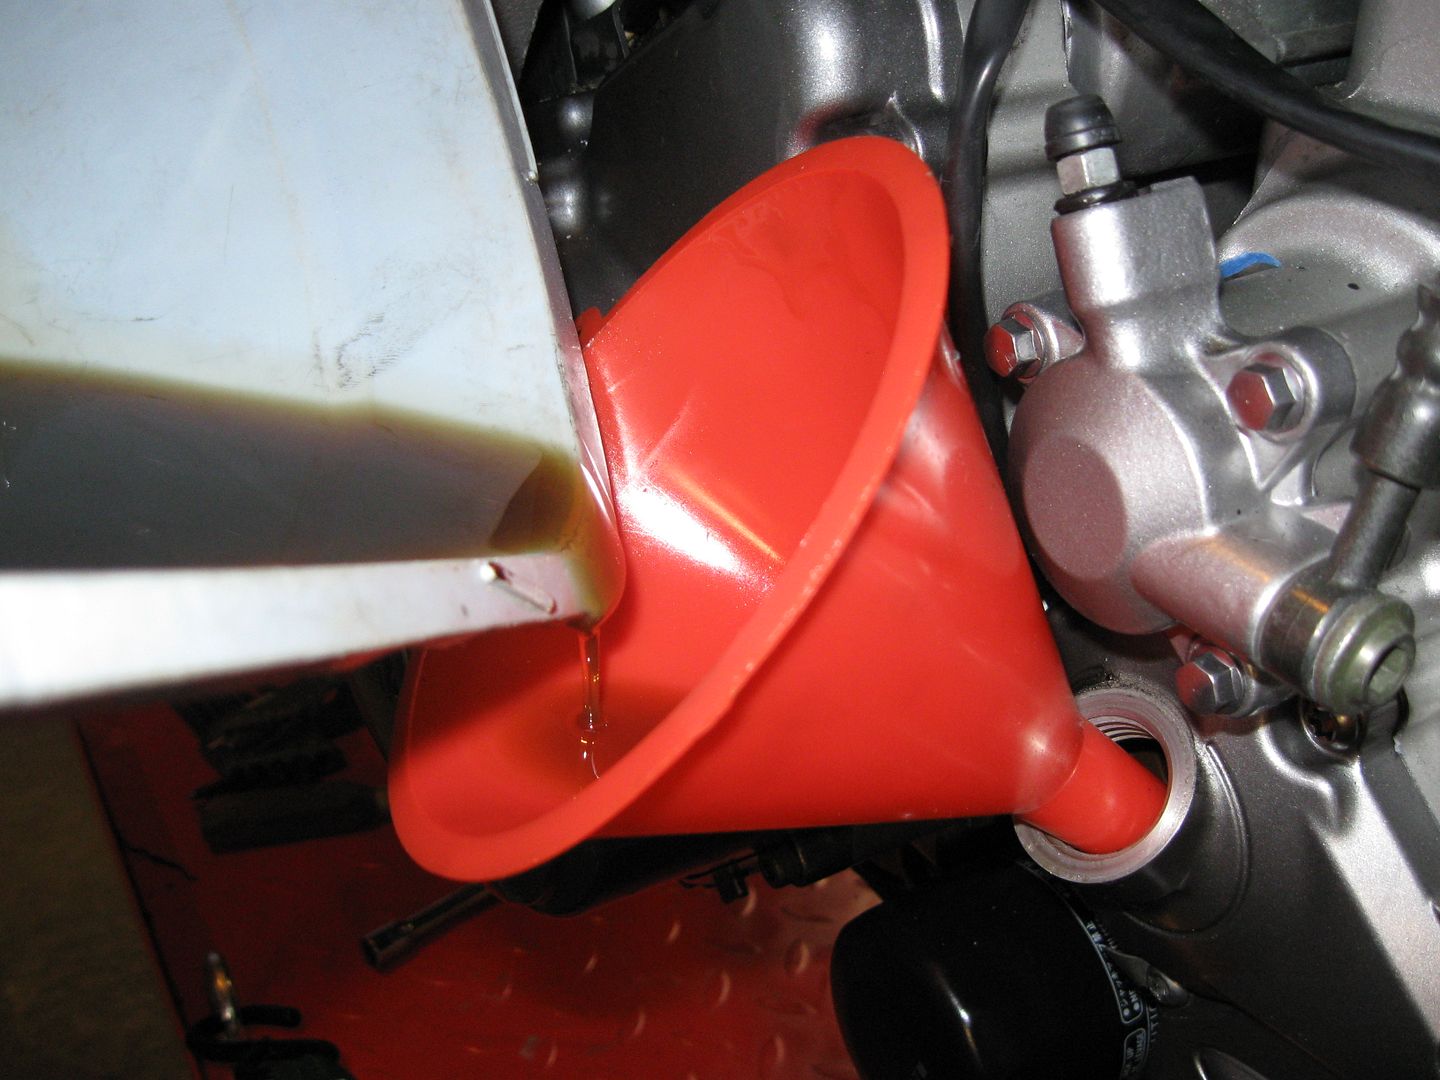
The bin was scrubbed clean before use and oil has maybe 20 miles on it (and looks clean with no pieces swimming around) so back in it goes!
Now. I know Yamaha "redesigned" some stuff and put a "heat sheild" under the tank for the Gen 2s. But I came across
this site. Not new I know and some of you have this little gem of a "heat fix". Well, I decided to take a plunge and see about improving even more the summertime comfort of the FJR and possibly make this guy my year round buggy! A few have made strides to help my old Concours, but it's not tolerable for me ride in the heat!
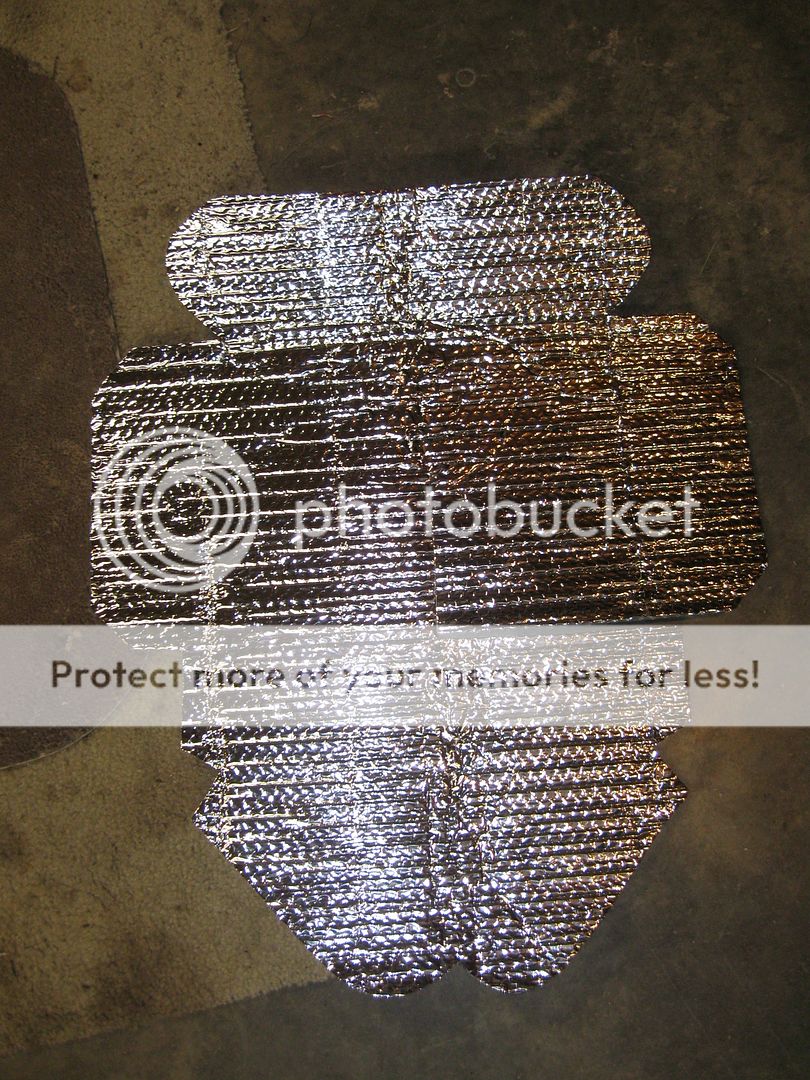
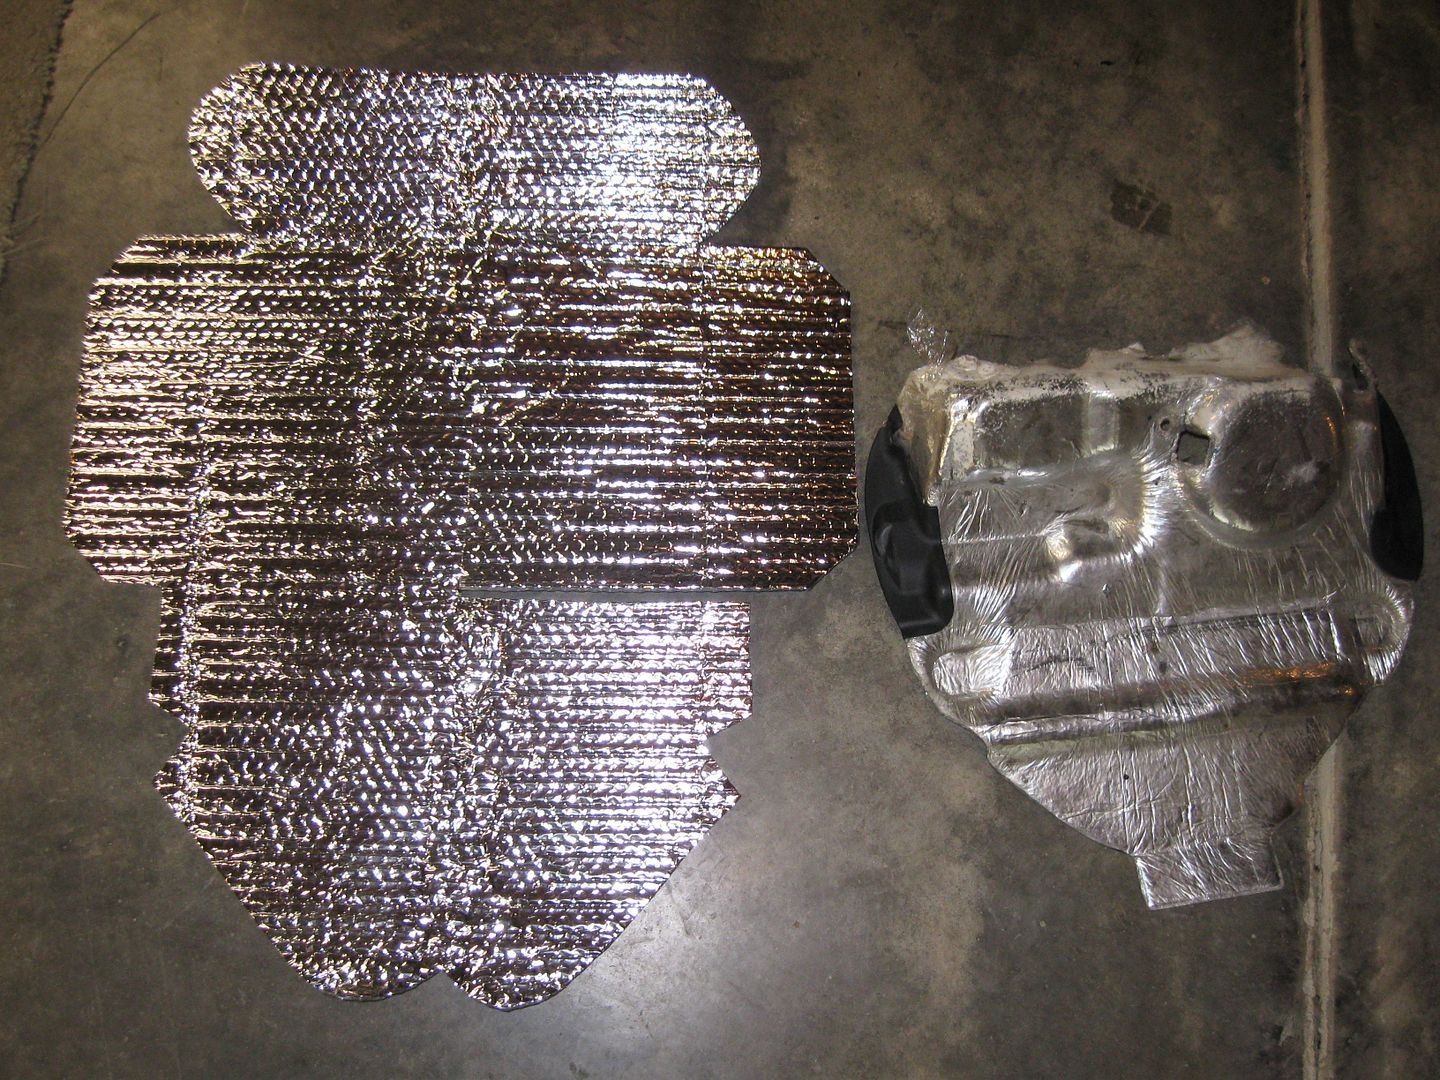
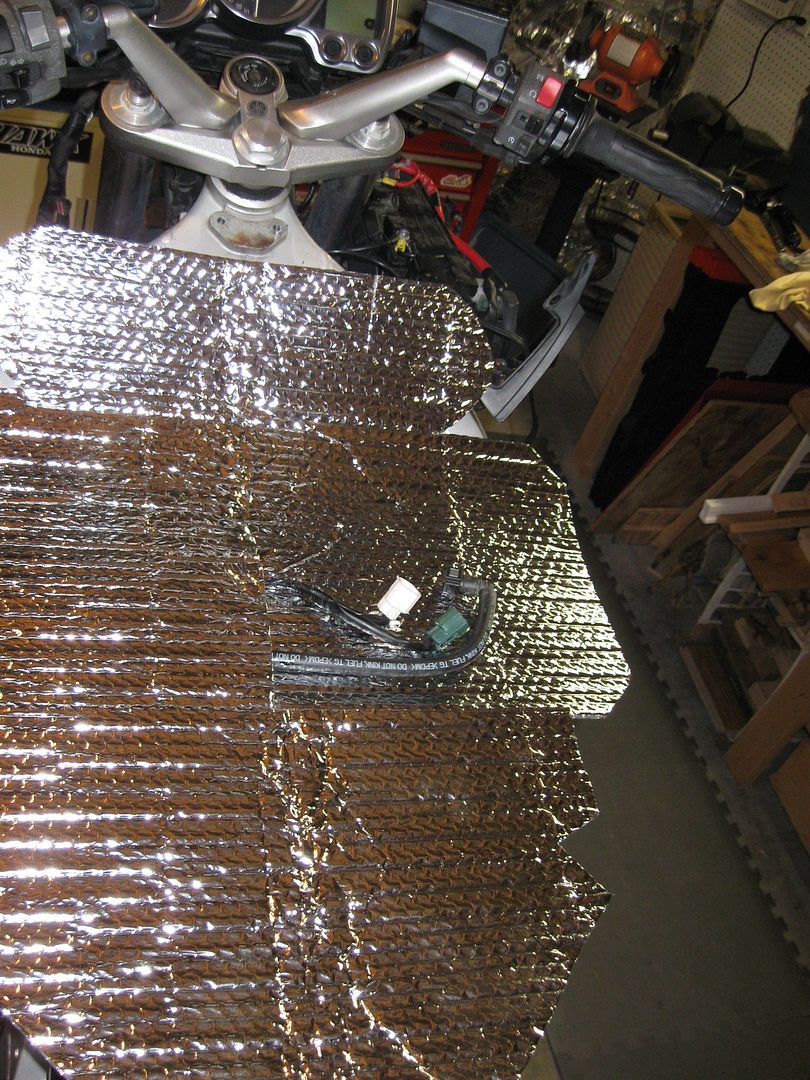
So here we have the SpdZn Heat Fix
Now let's lay it beside what Yamaha put on top of the engine bay.
Obviously I invited Doug up to "play" and assist. He says I keep him out of trouble.
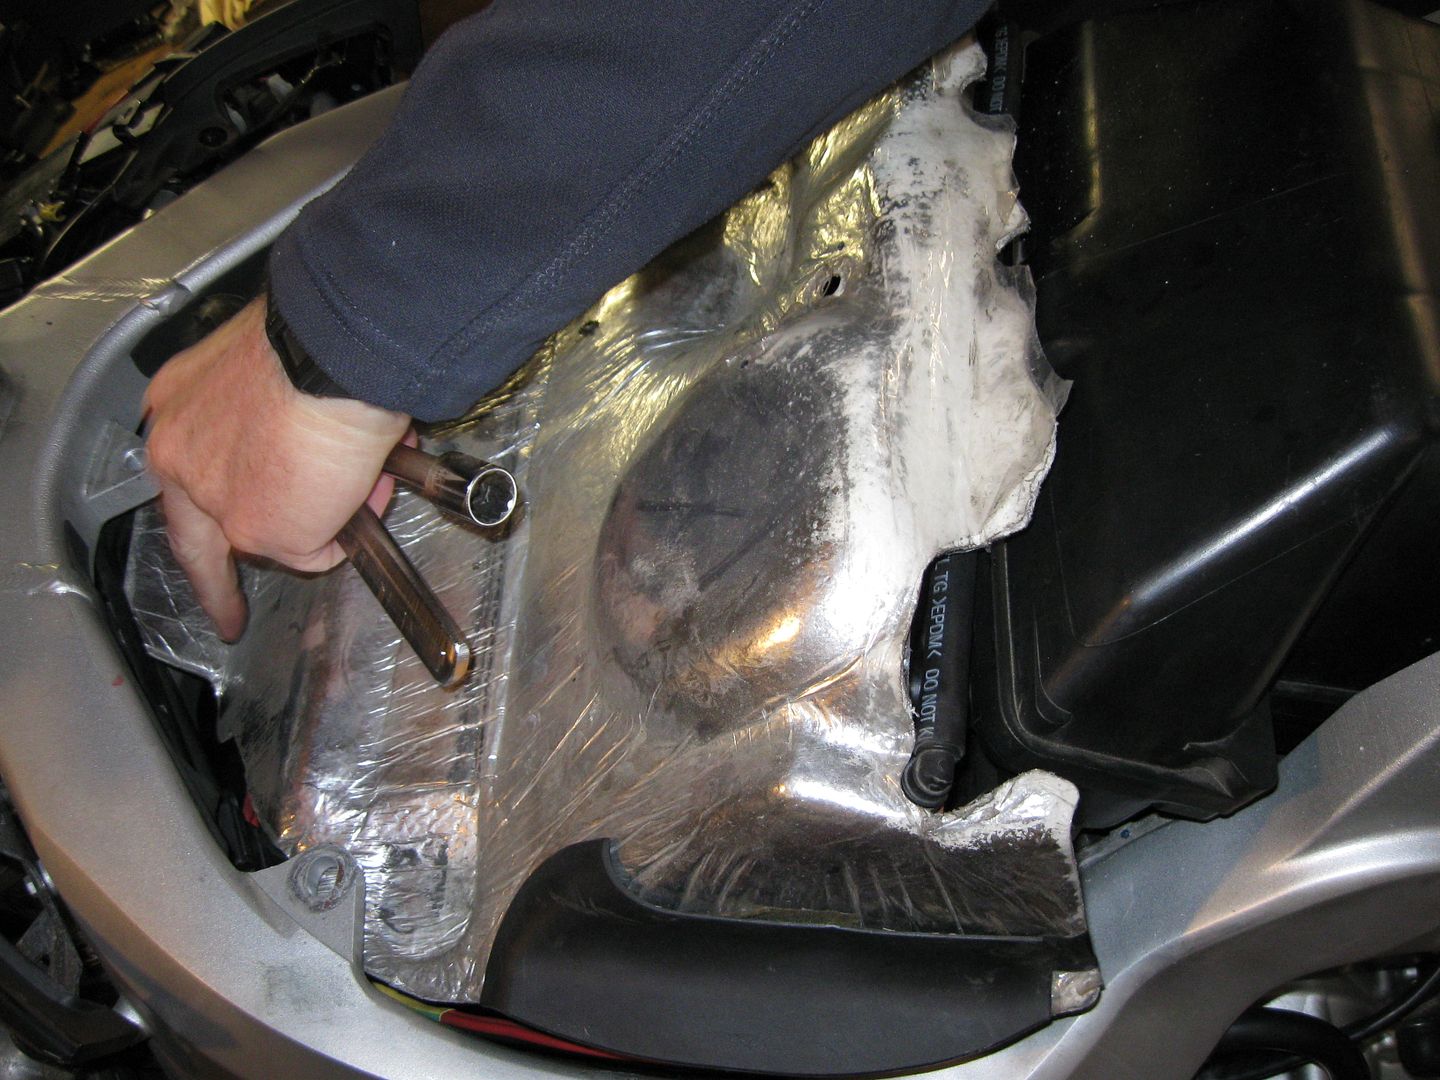
So instead of replacing, I put the stock piece on as intended.
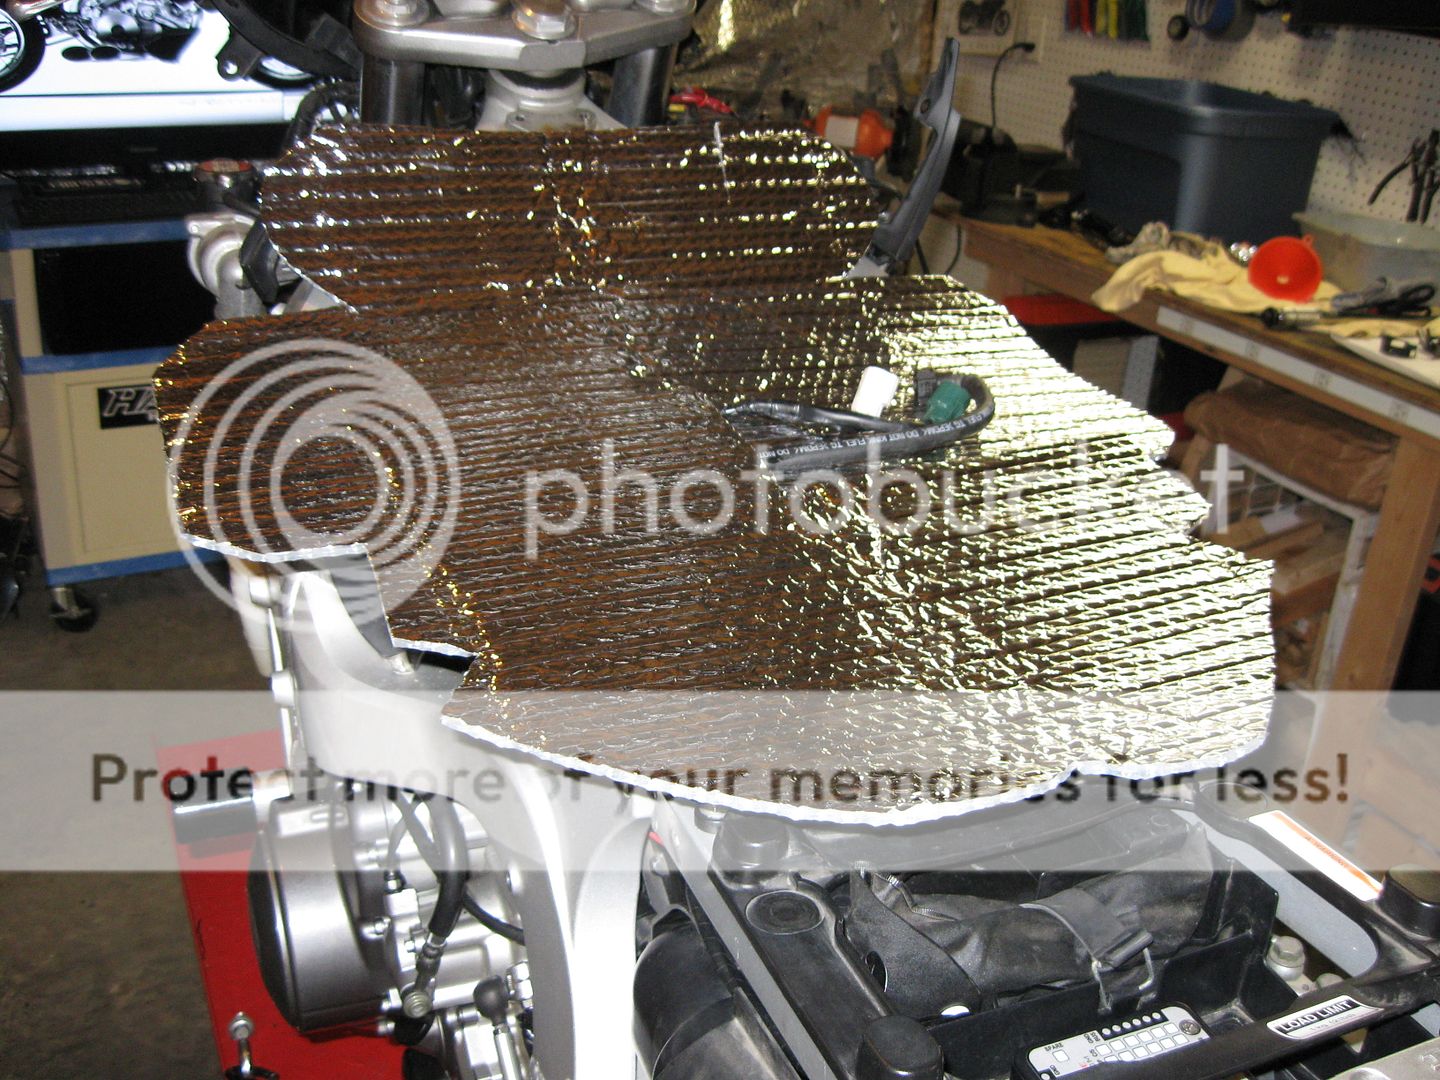
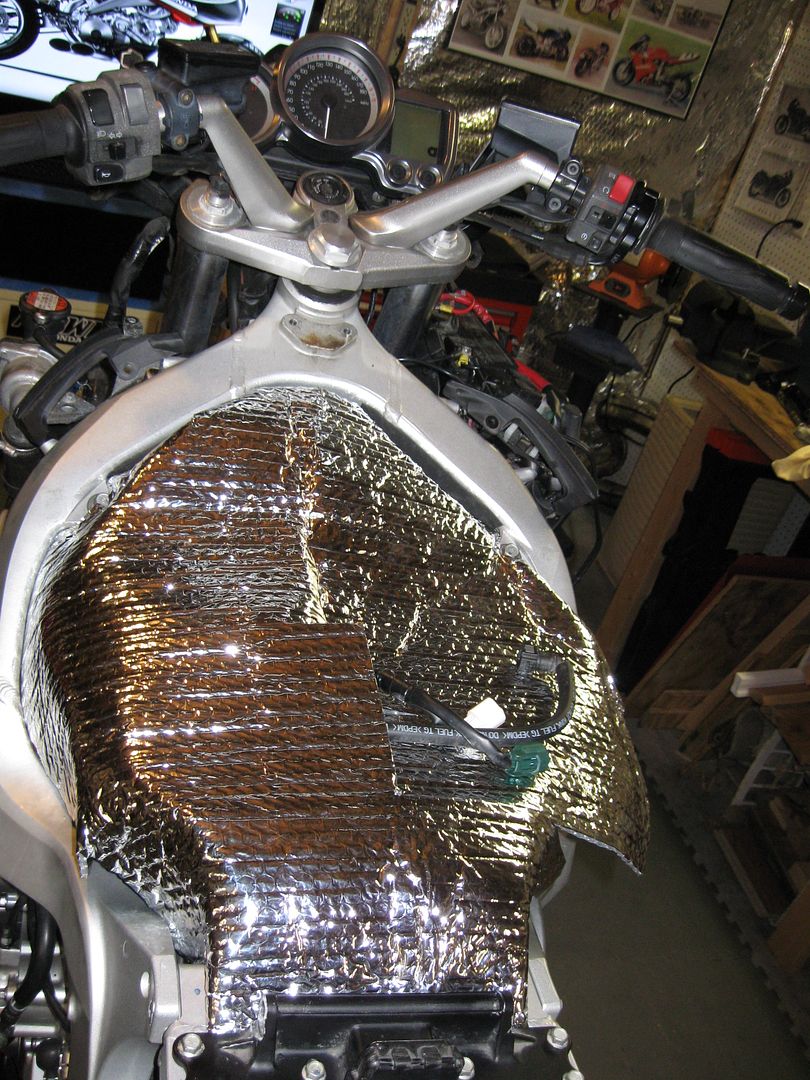
The Speed Zone part gets laid on top for initial fit.
I know! Solar Panels! A solar powered FJR!
<snicker> ok... if true that could power what... the dash and maybe blinkers? hehe....
ok ok.
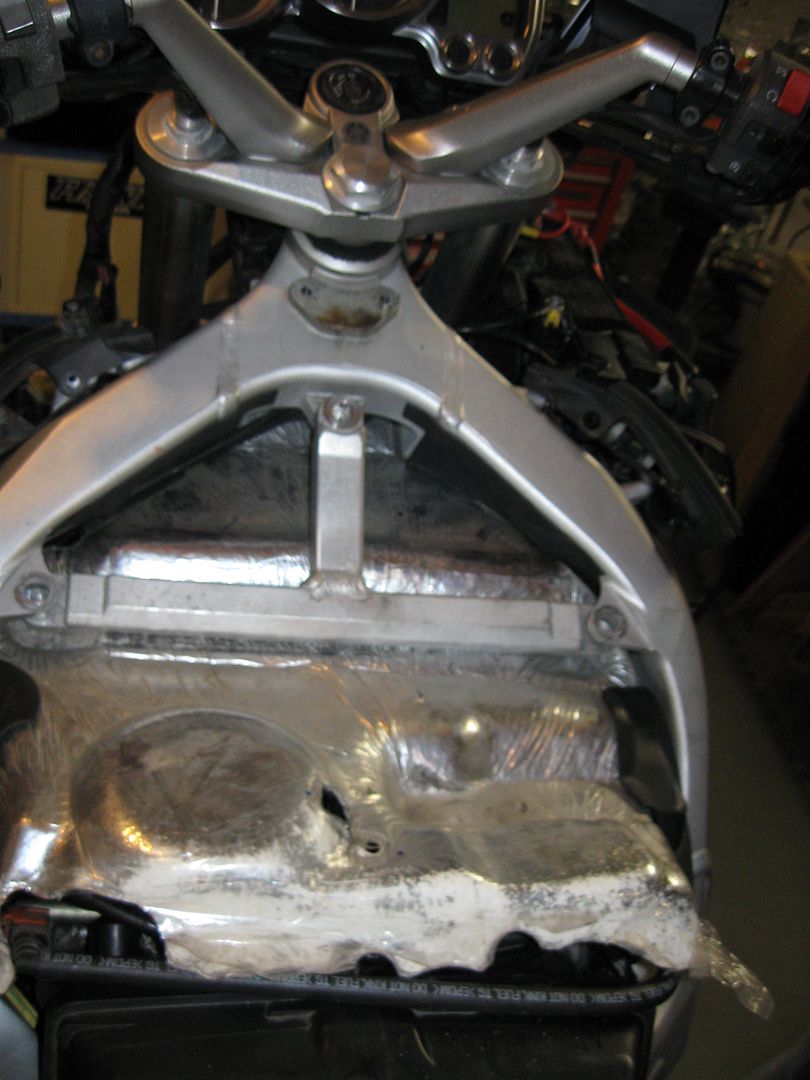
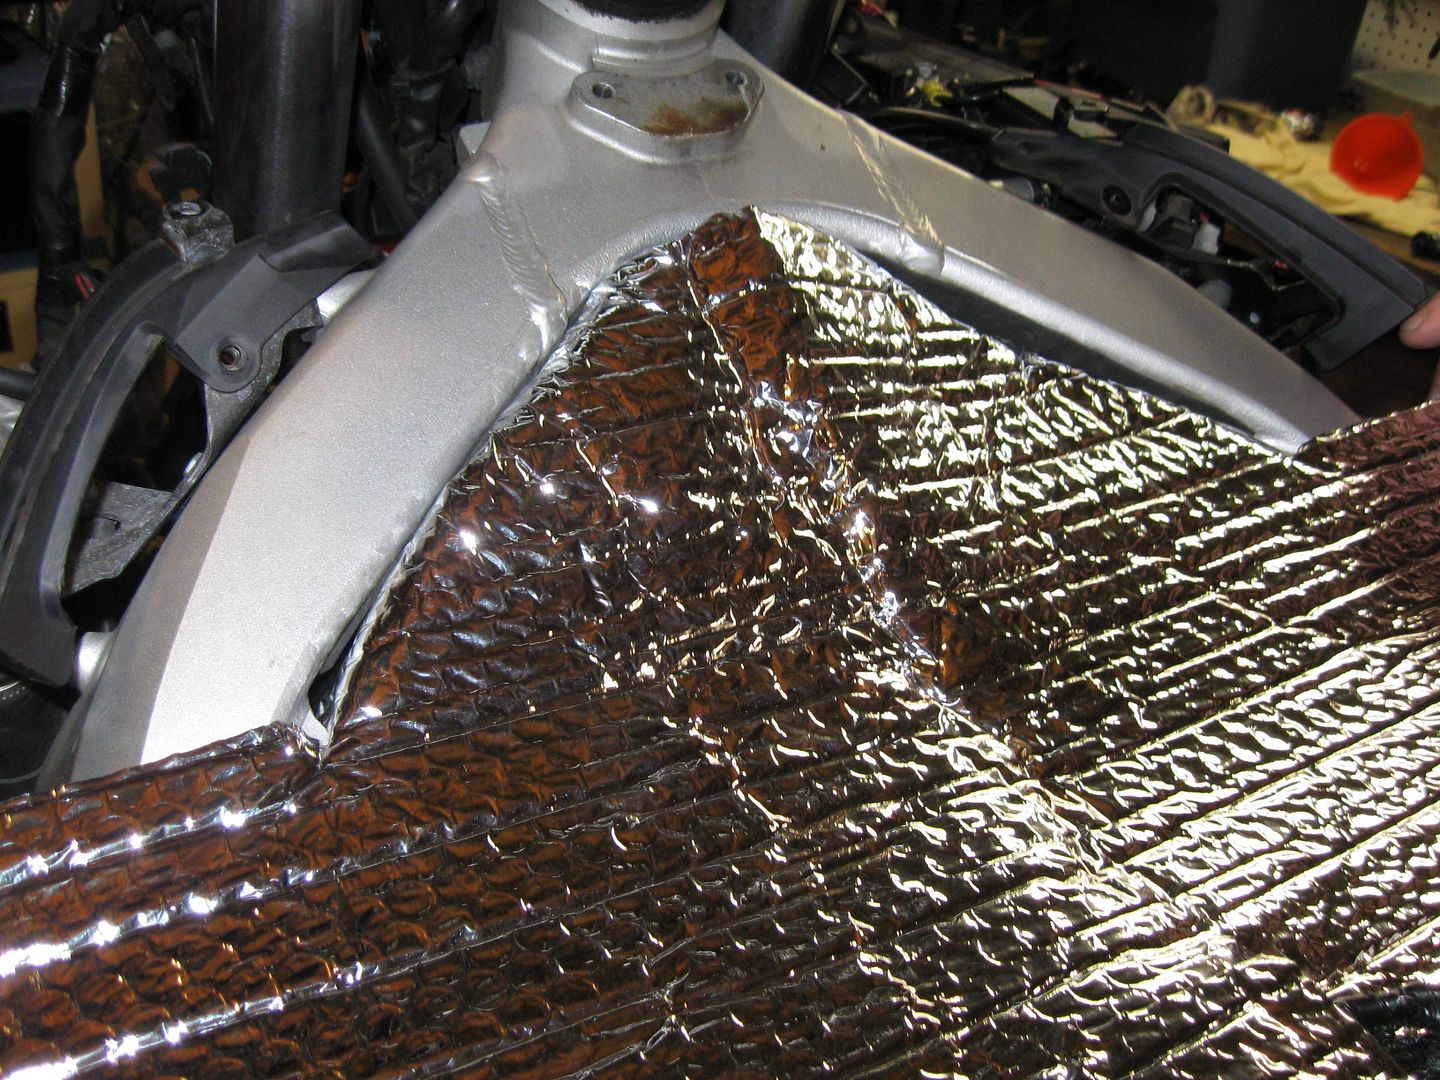
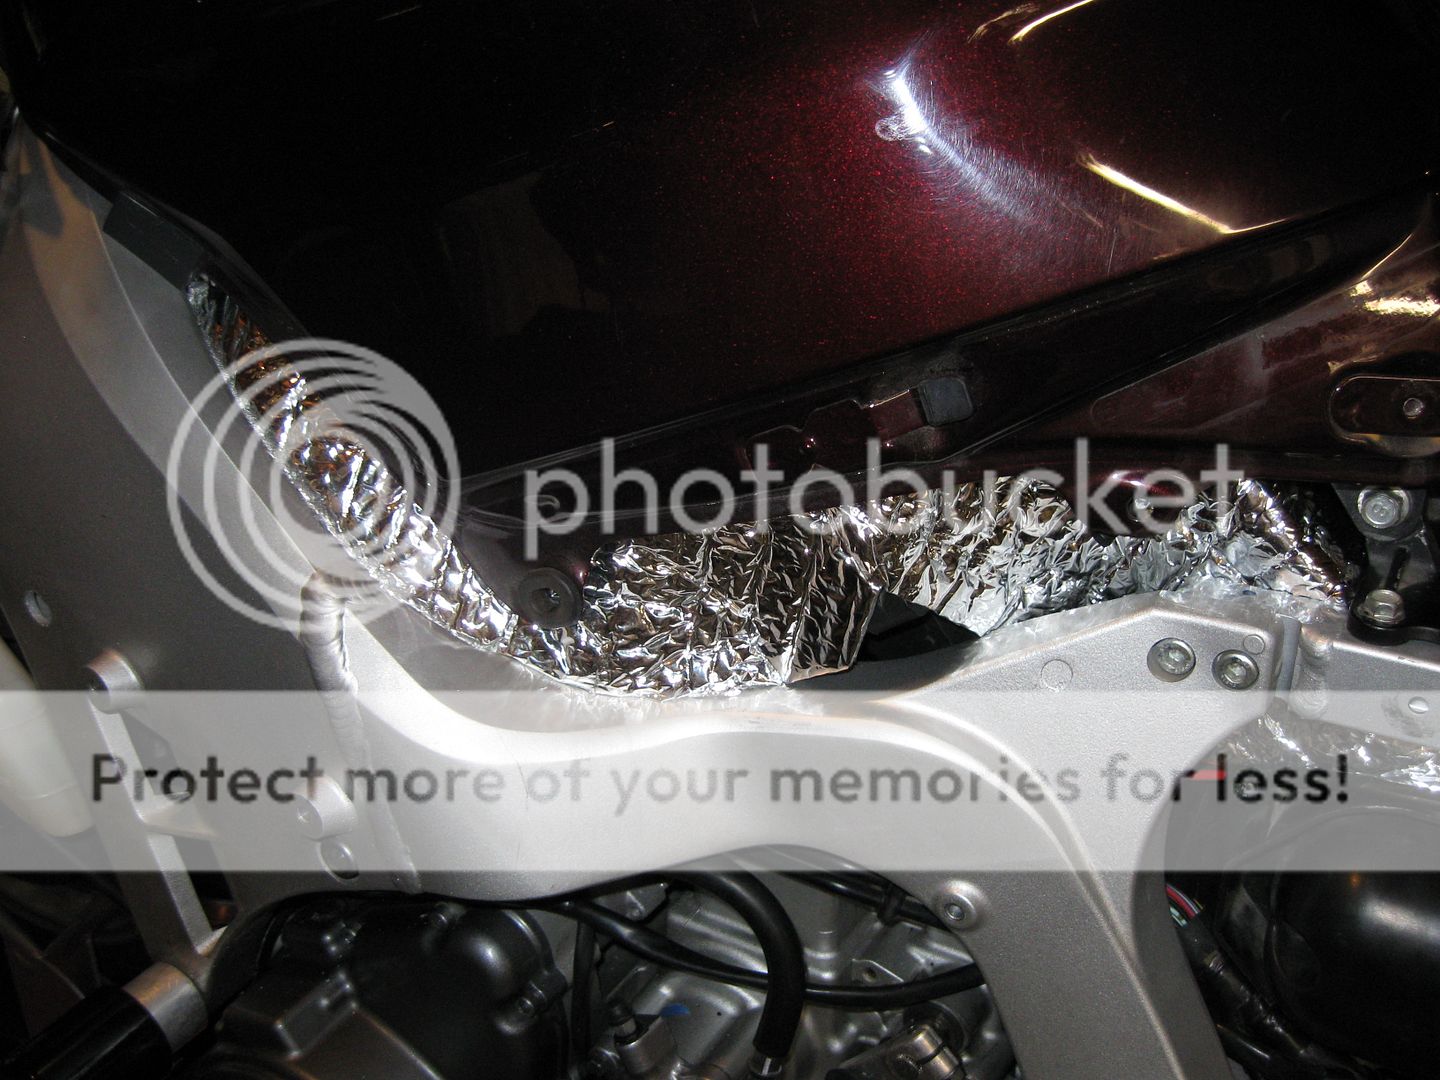
Tucking in the top around the frame. Not much more would fit under the T-bar and I think the instructions said to go over. So over we went!
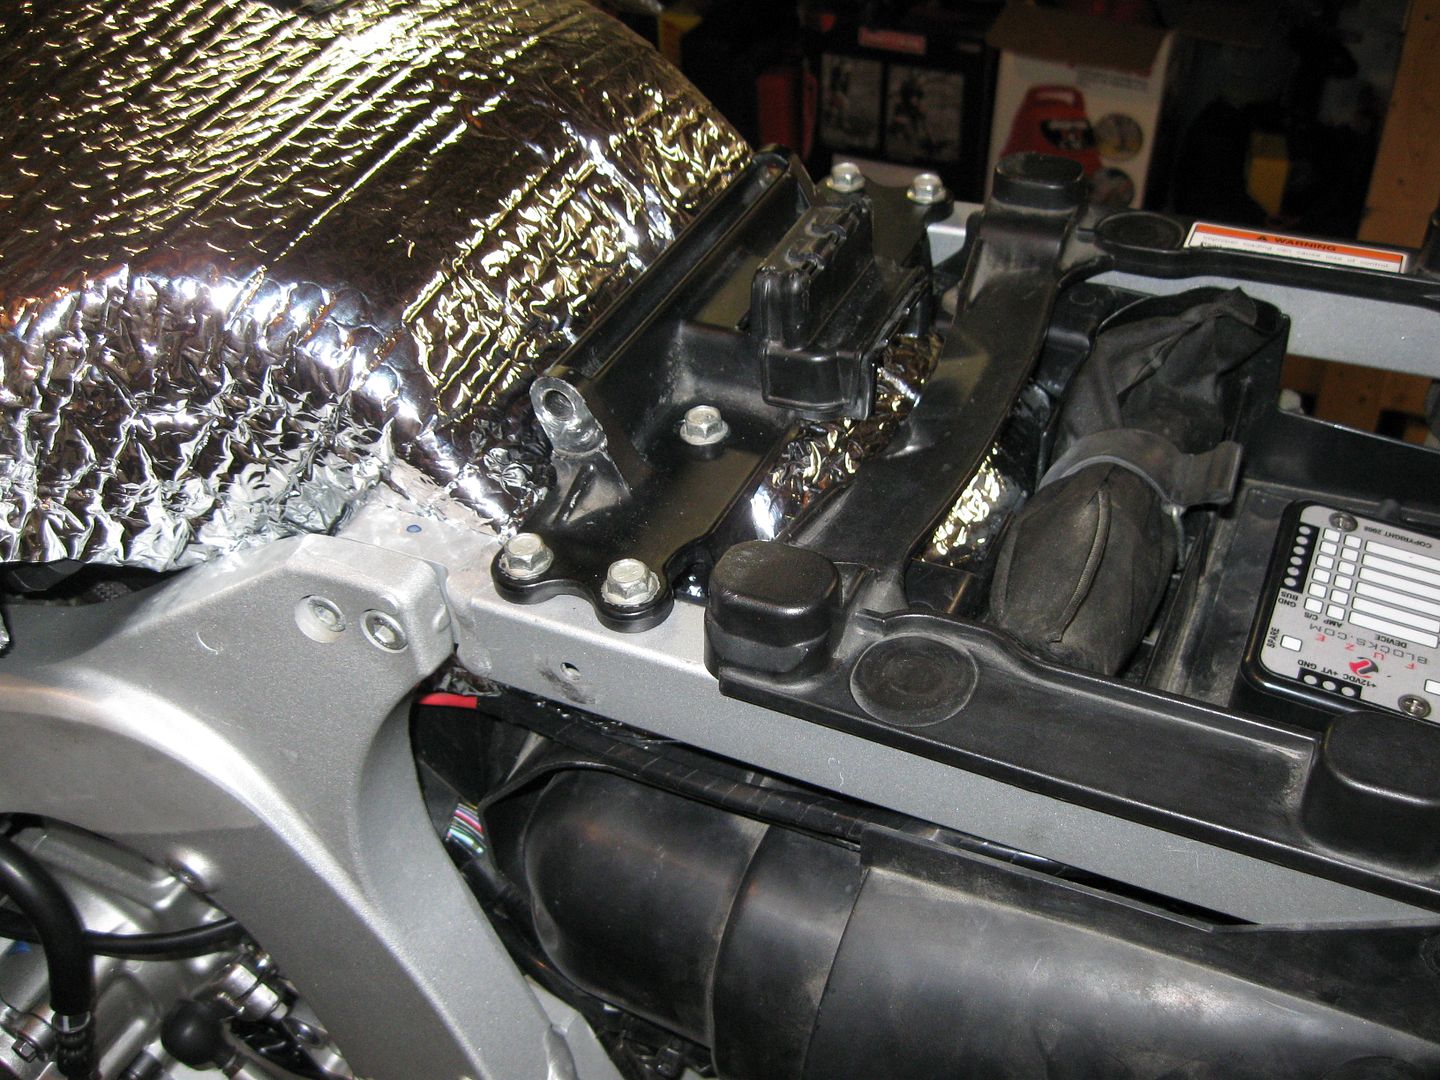
Not much needed on detailed instructions needed. Just tuck it in where you can. The back part gave us some head scratching though.
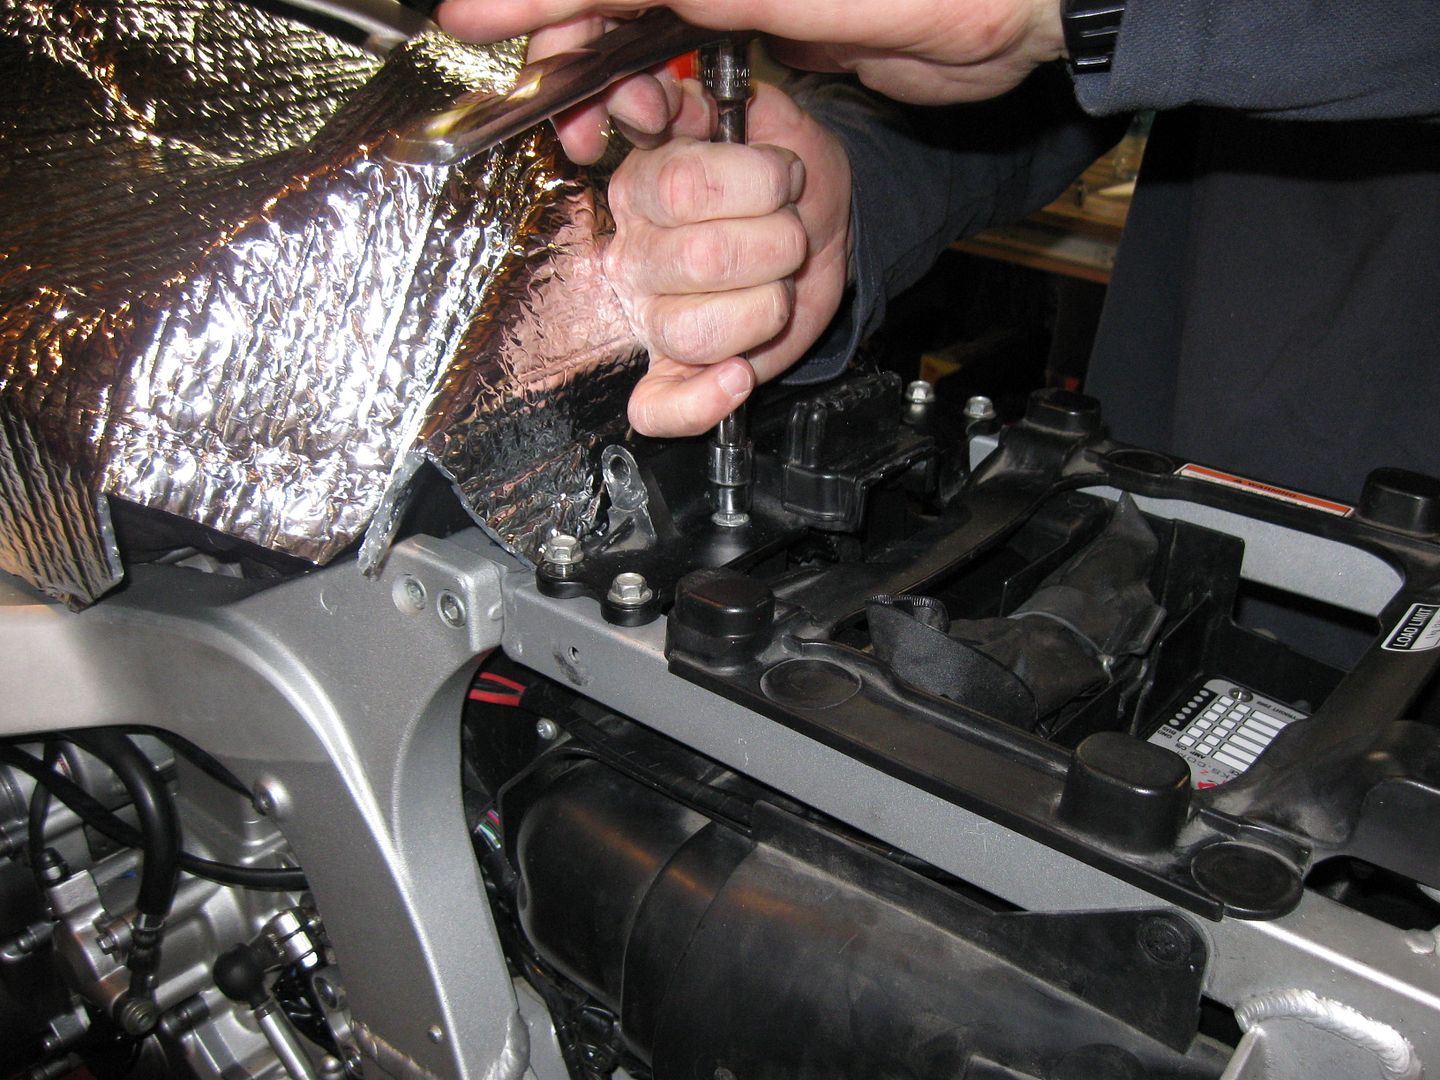
So we removed the tank and seat brackets.
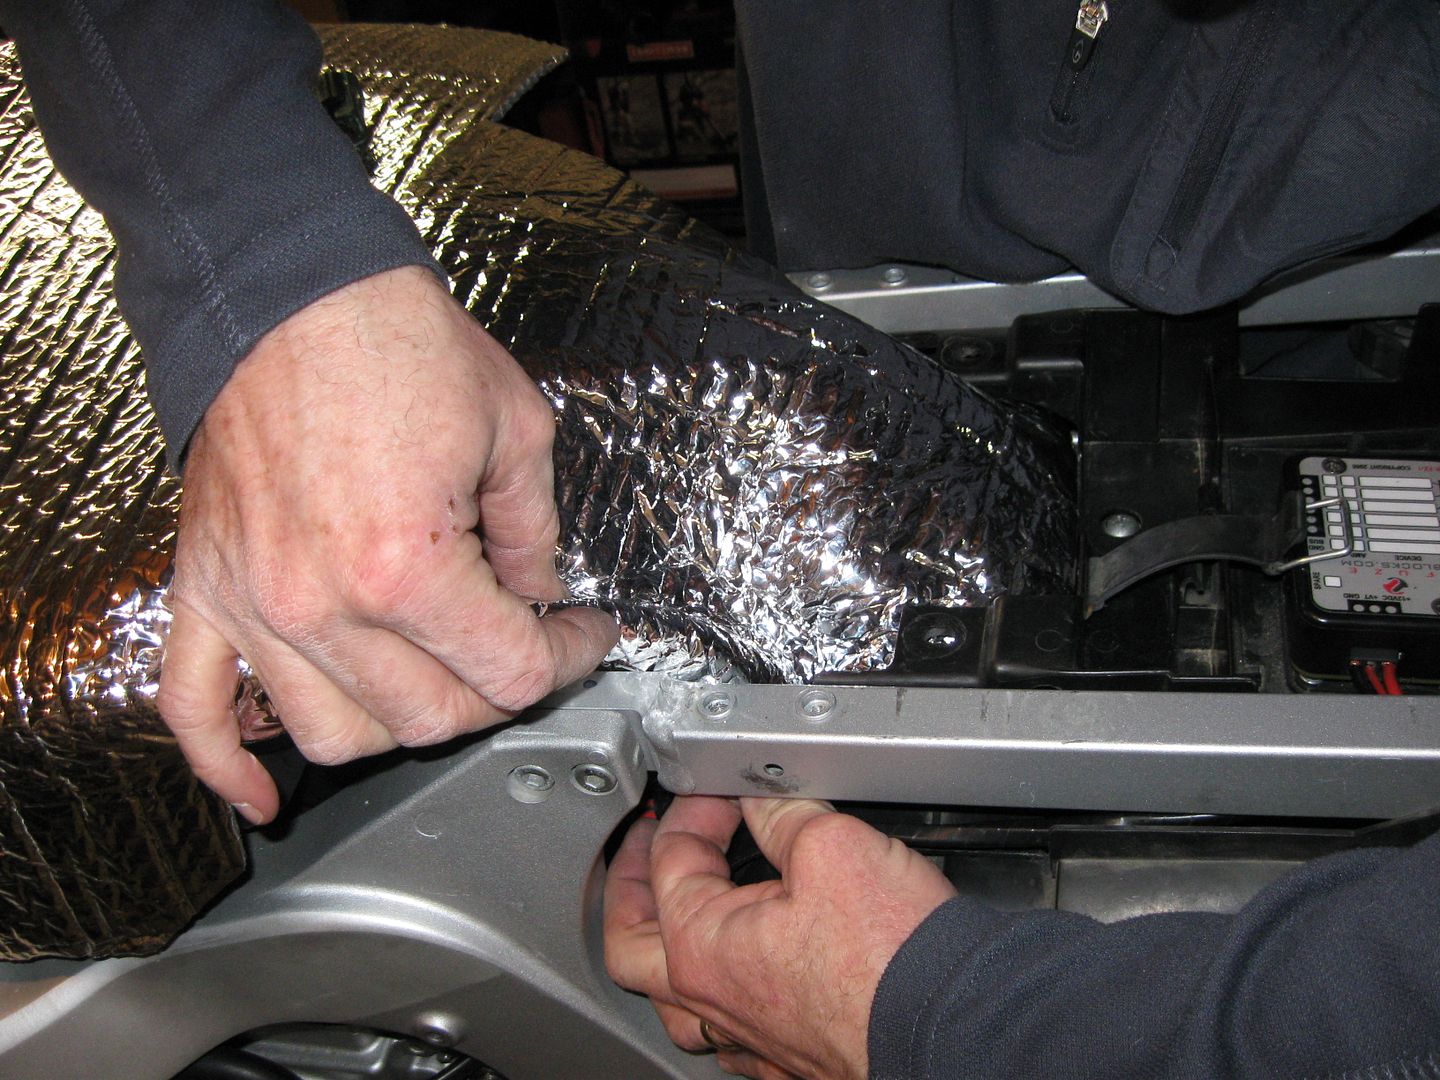
And schlepped it under the center. Doesn't Doug make a great Hand Model?
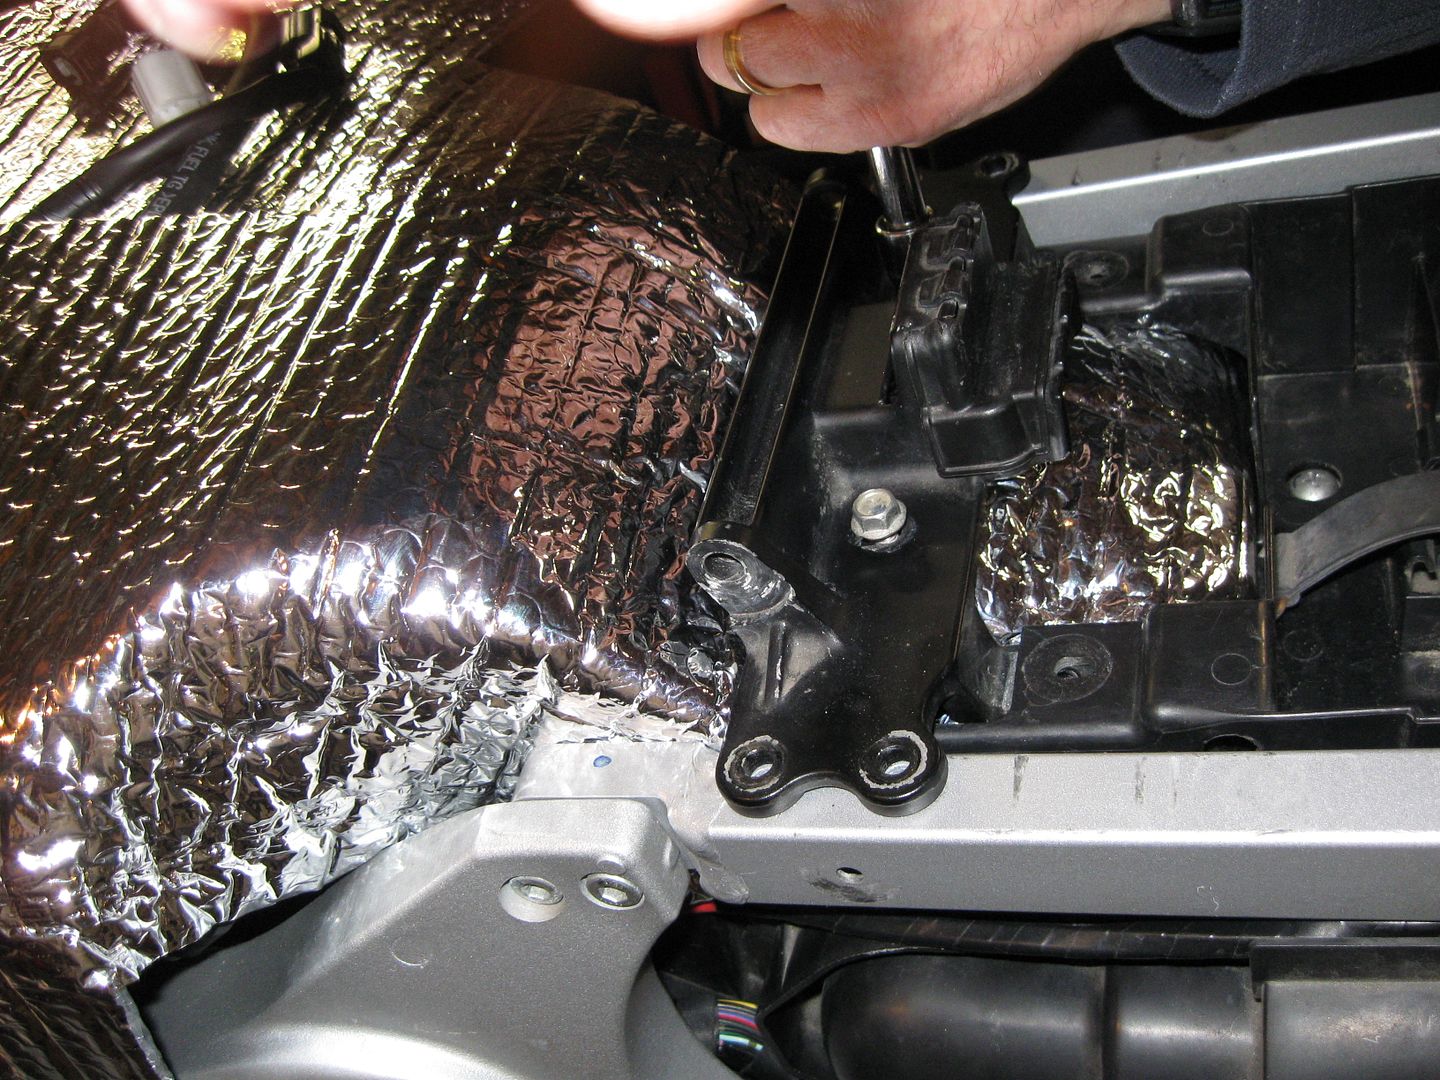
Reinstalled the brackets....
That right side doesn't stay down to easily. The slits in the material make for easy routing of the cables and tubes that need access to the tank.
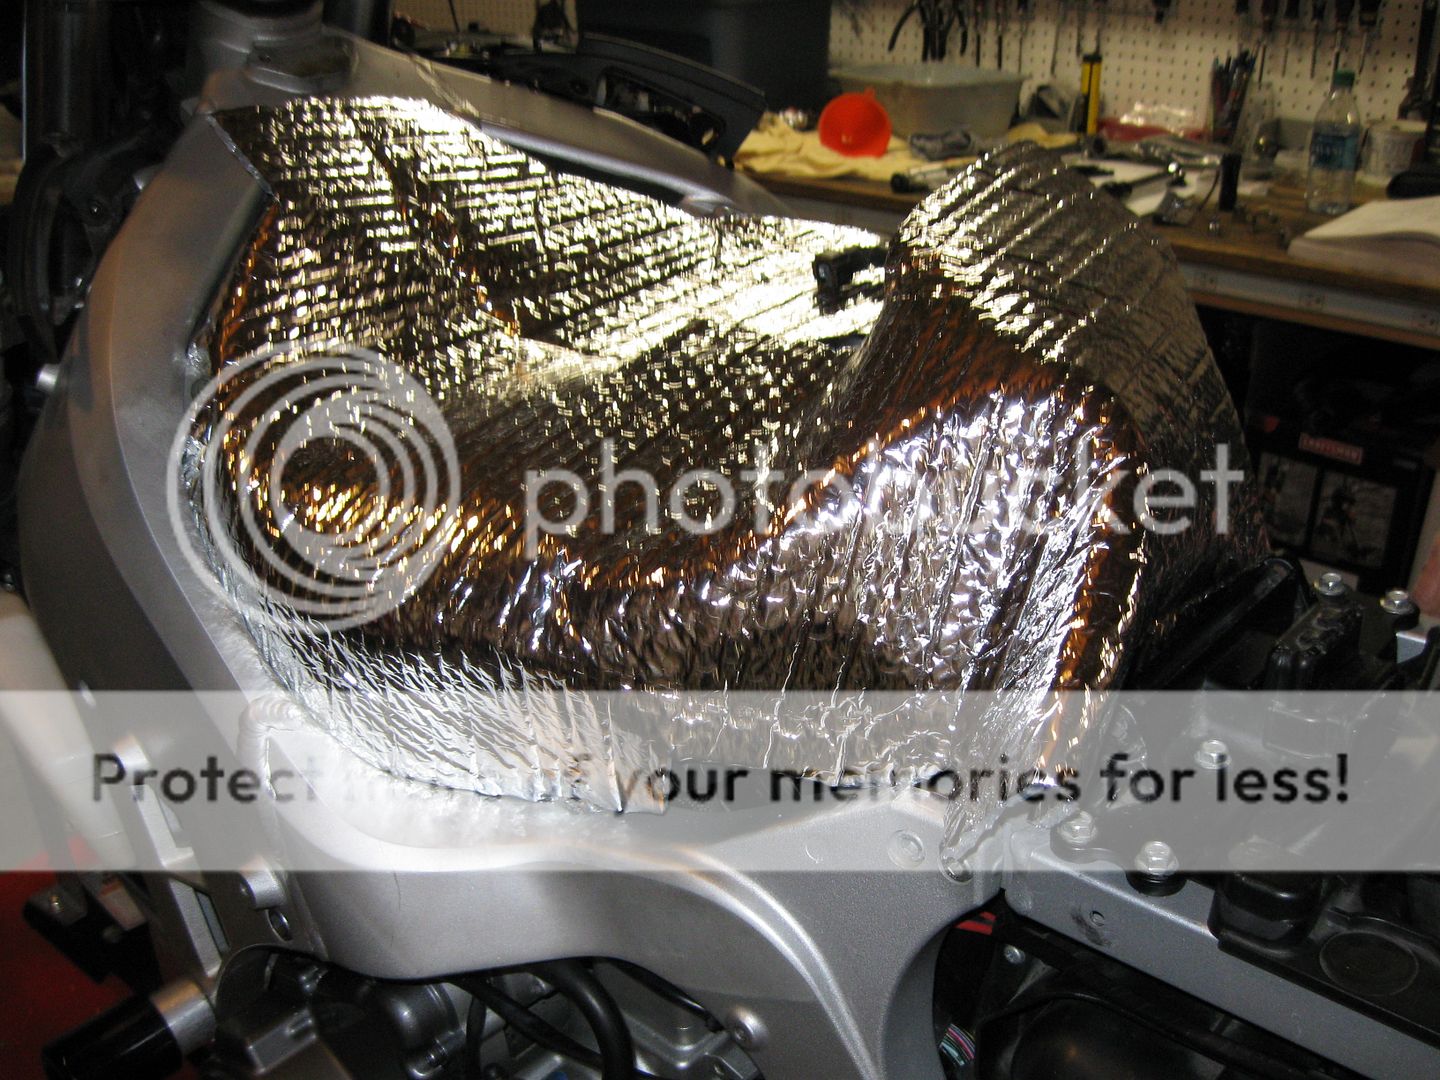
Finished installation on the back.
The tank fits over everything just fine.
And I'm not done yet! There's plastic to install!!
