grumpypoos Gen 1 transmission repair

Yamaha FJR Motorcycle Forum

Help Support Yamaha FJR Motorcycle Forum:

This site may earn a commission from merchant affiliate links, including eBay, Amazon, and others.
I might add on that image that the other teeth that appear to be there out beyond that arrow (be it red or blue.... :) ) are the reflection of those parts on the inside wall of the engine case. When I first looked at it before posting, I was thinking, "What the hell is that OTHER gear??!?!!"

 
I have confirmed I only have one punched hole :( so much for Harley Davidsons new prototype. Now I gotta cancel my meeting!!!!

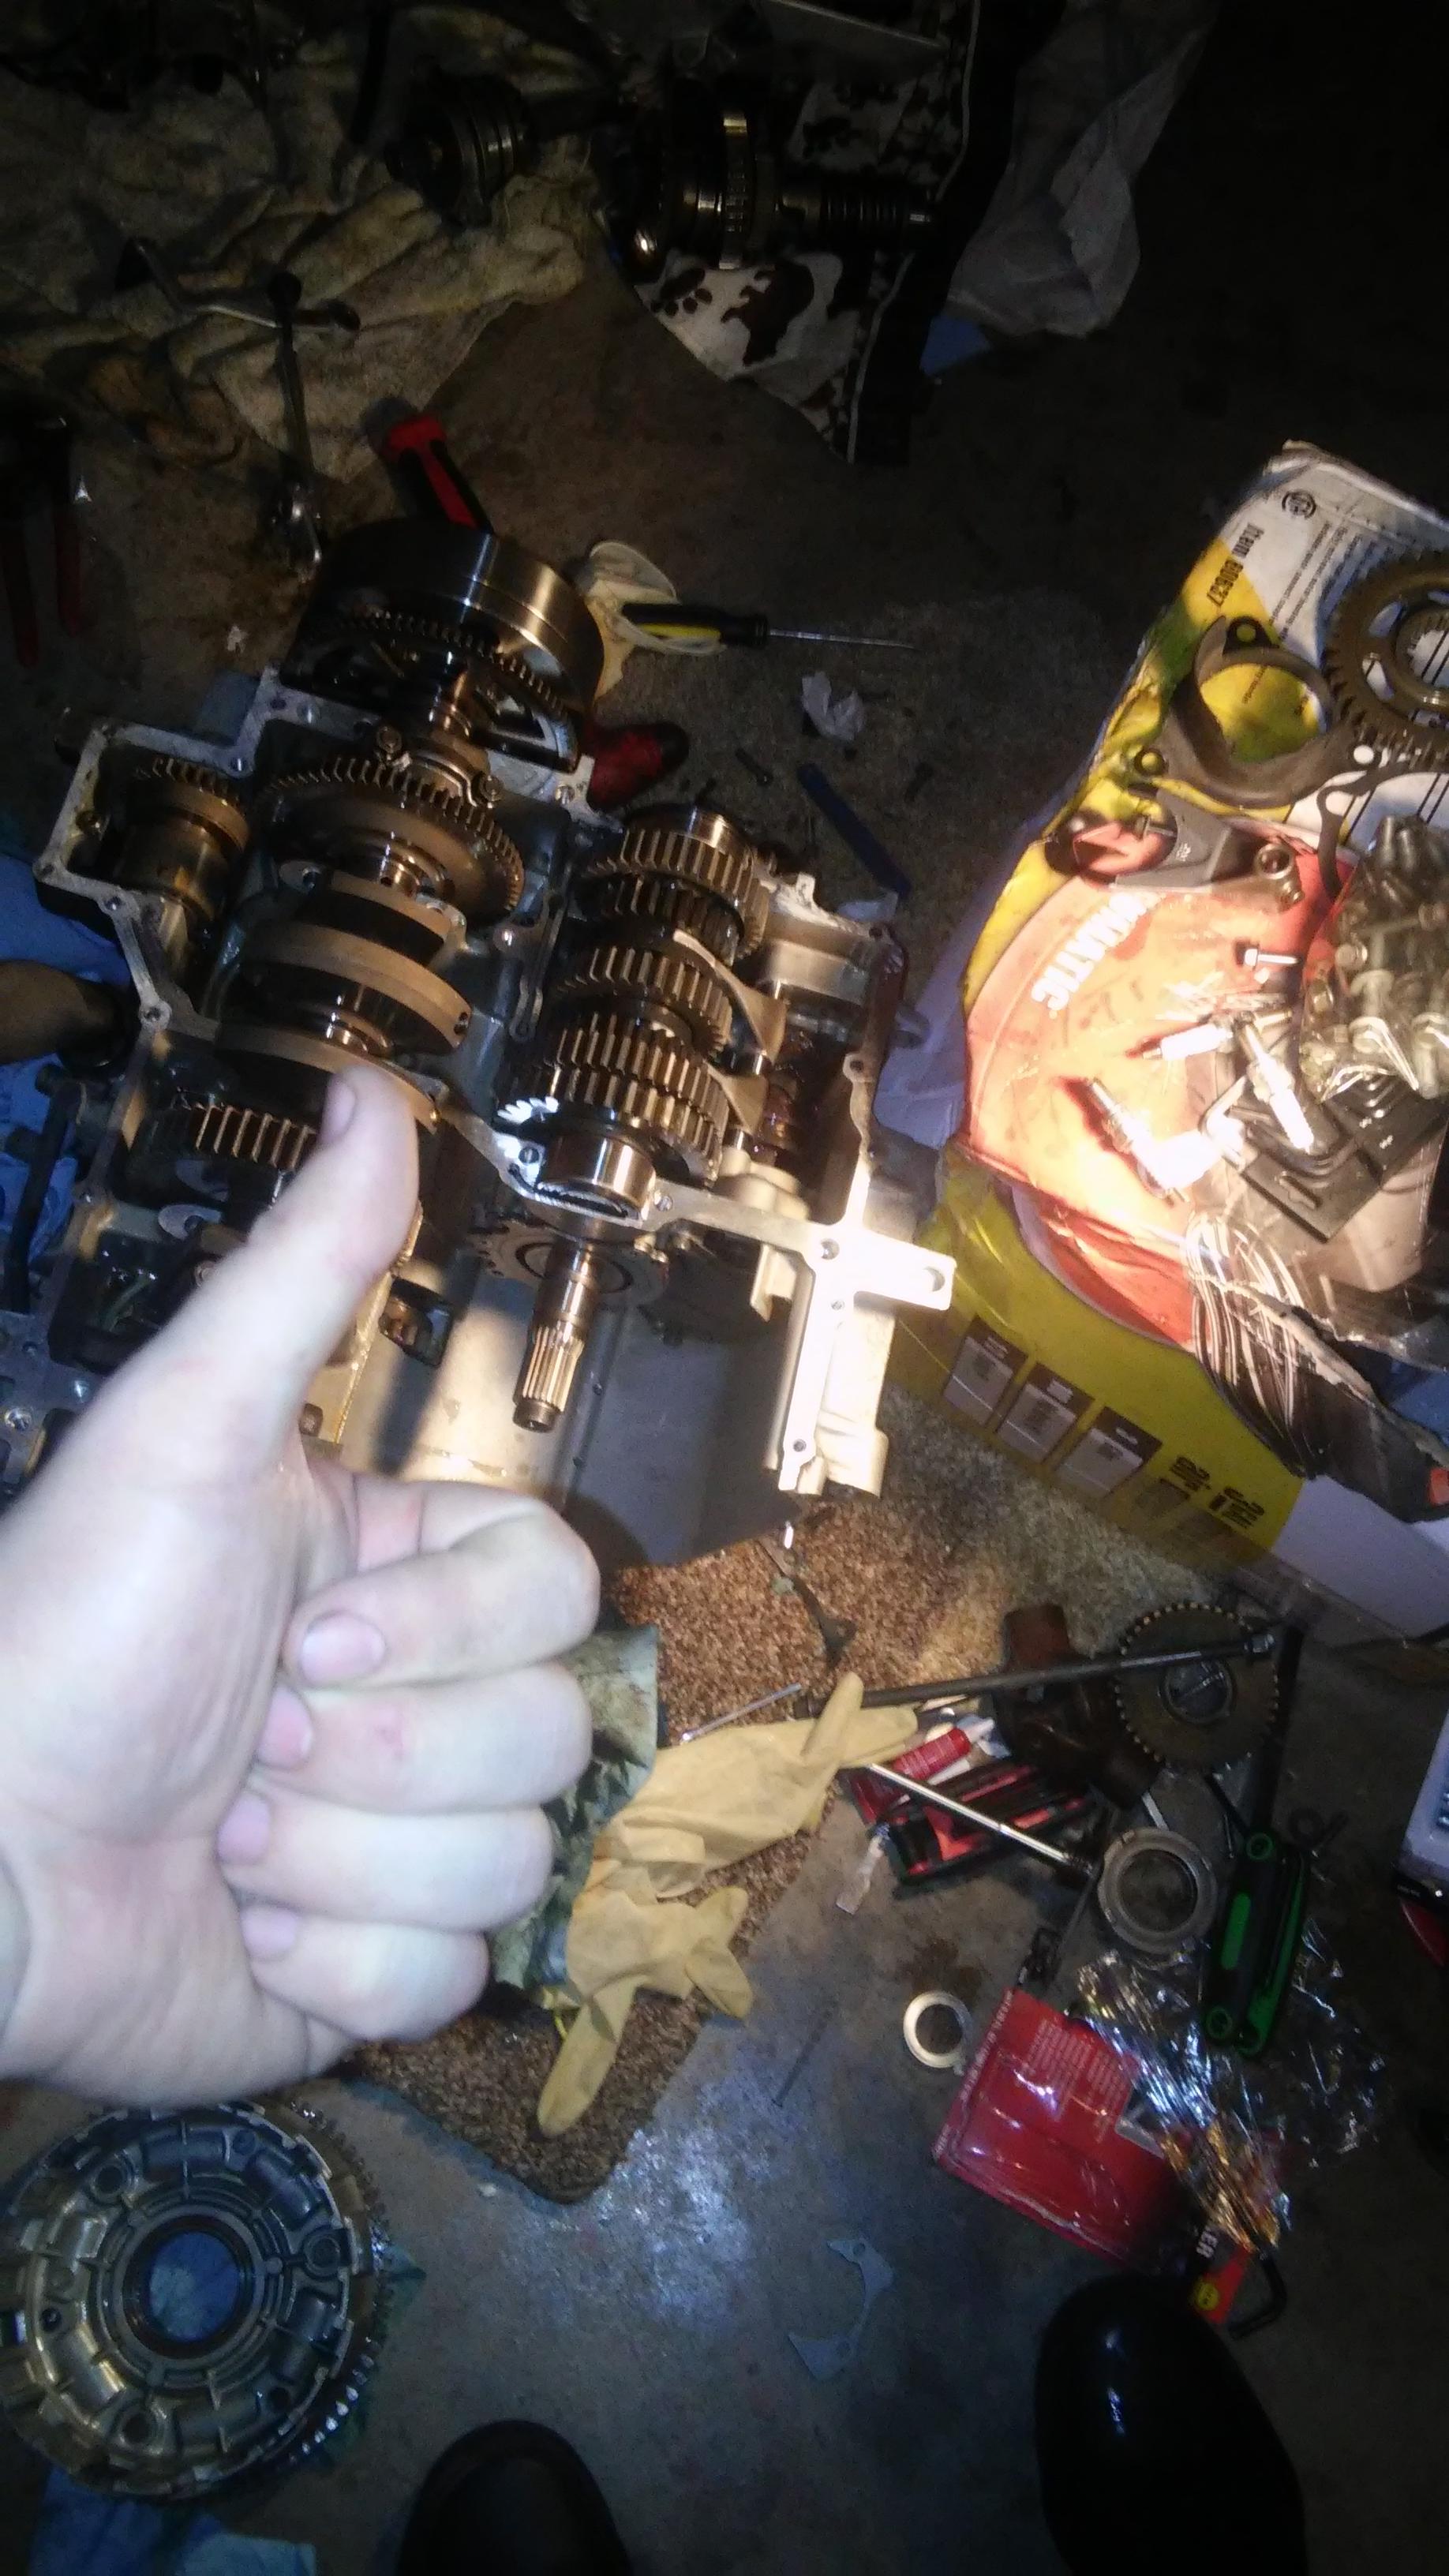
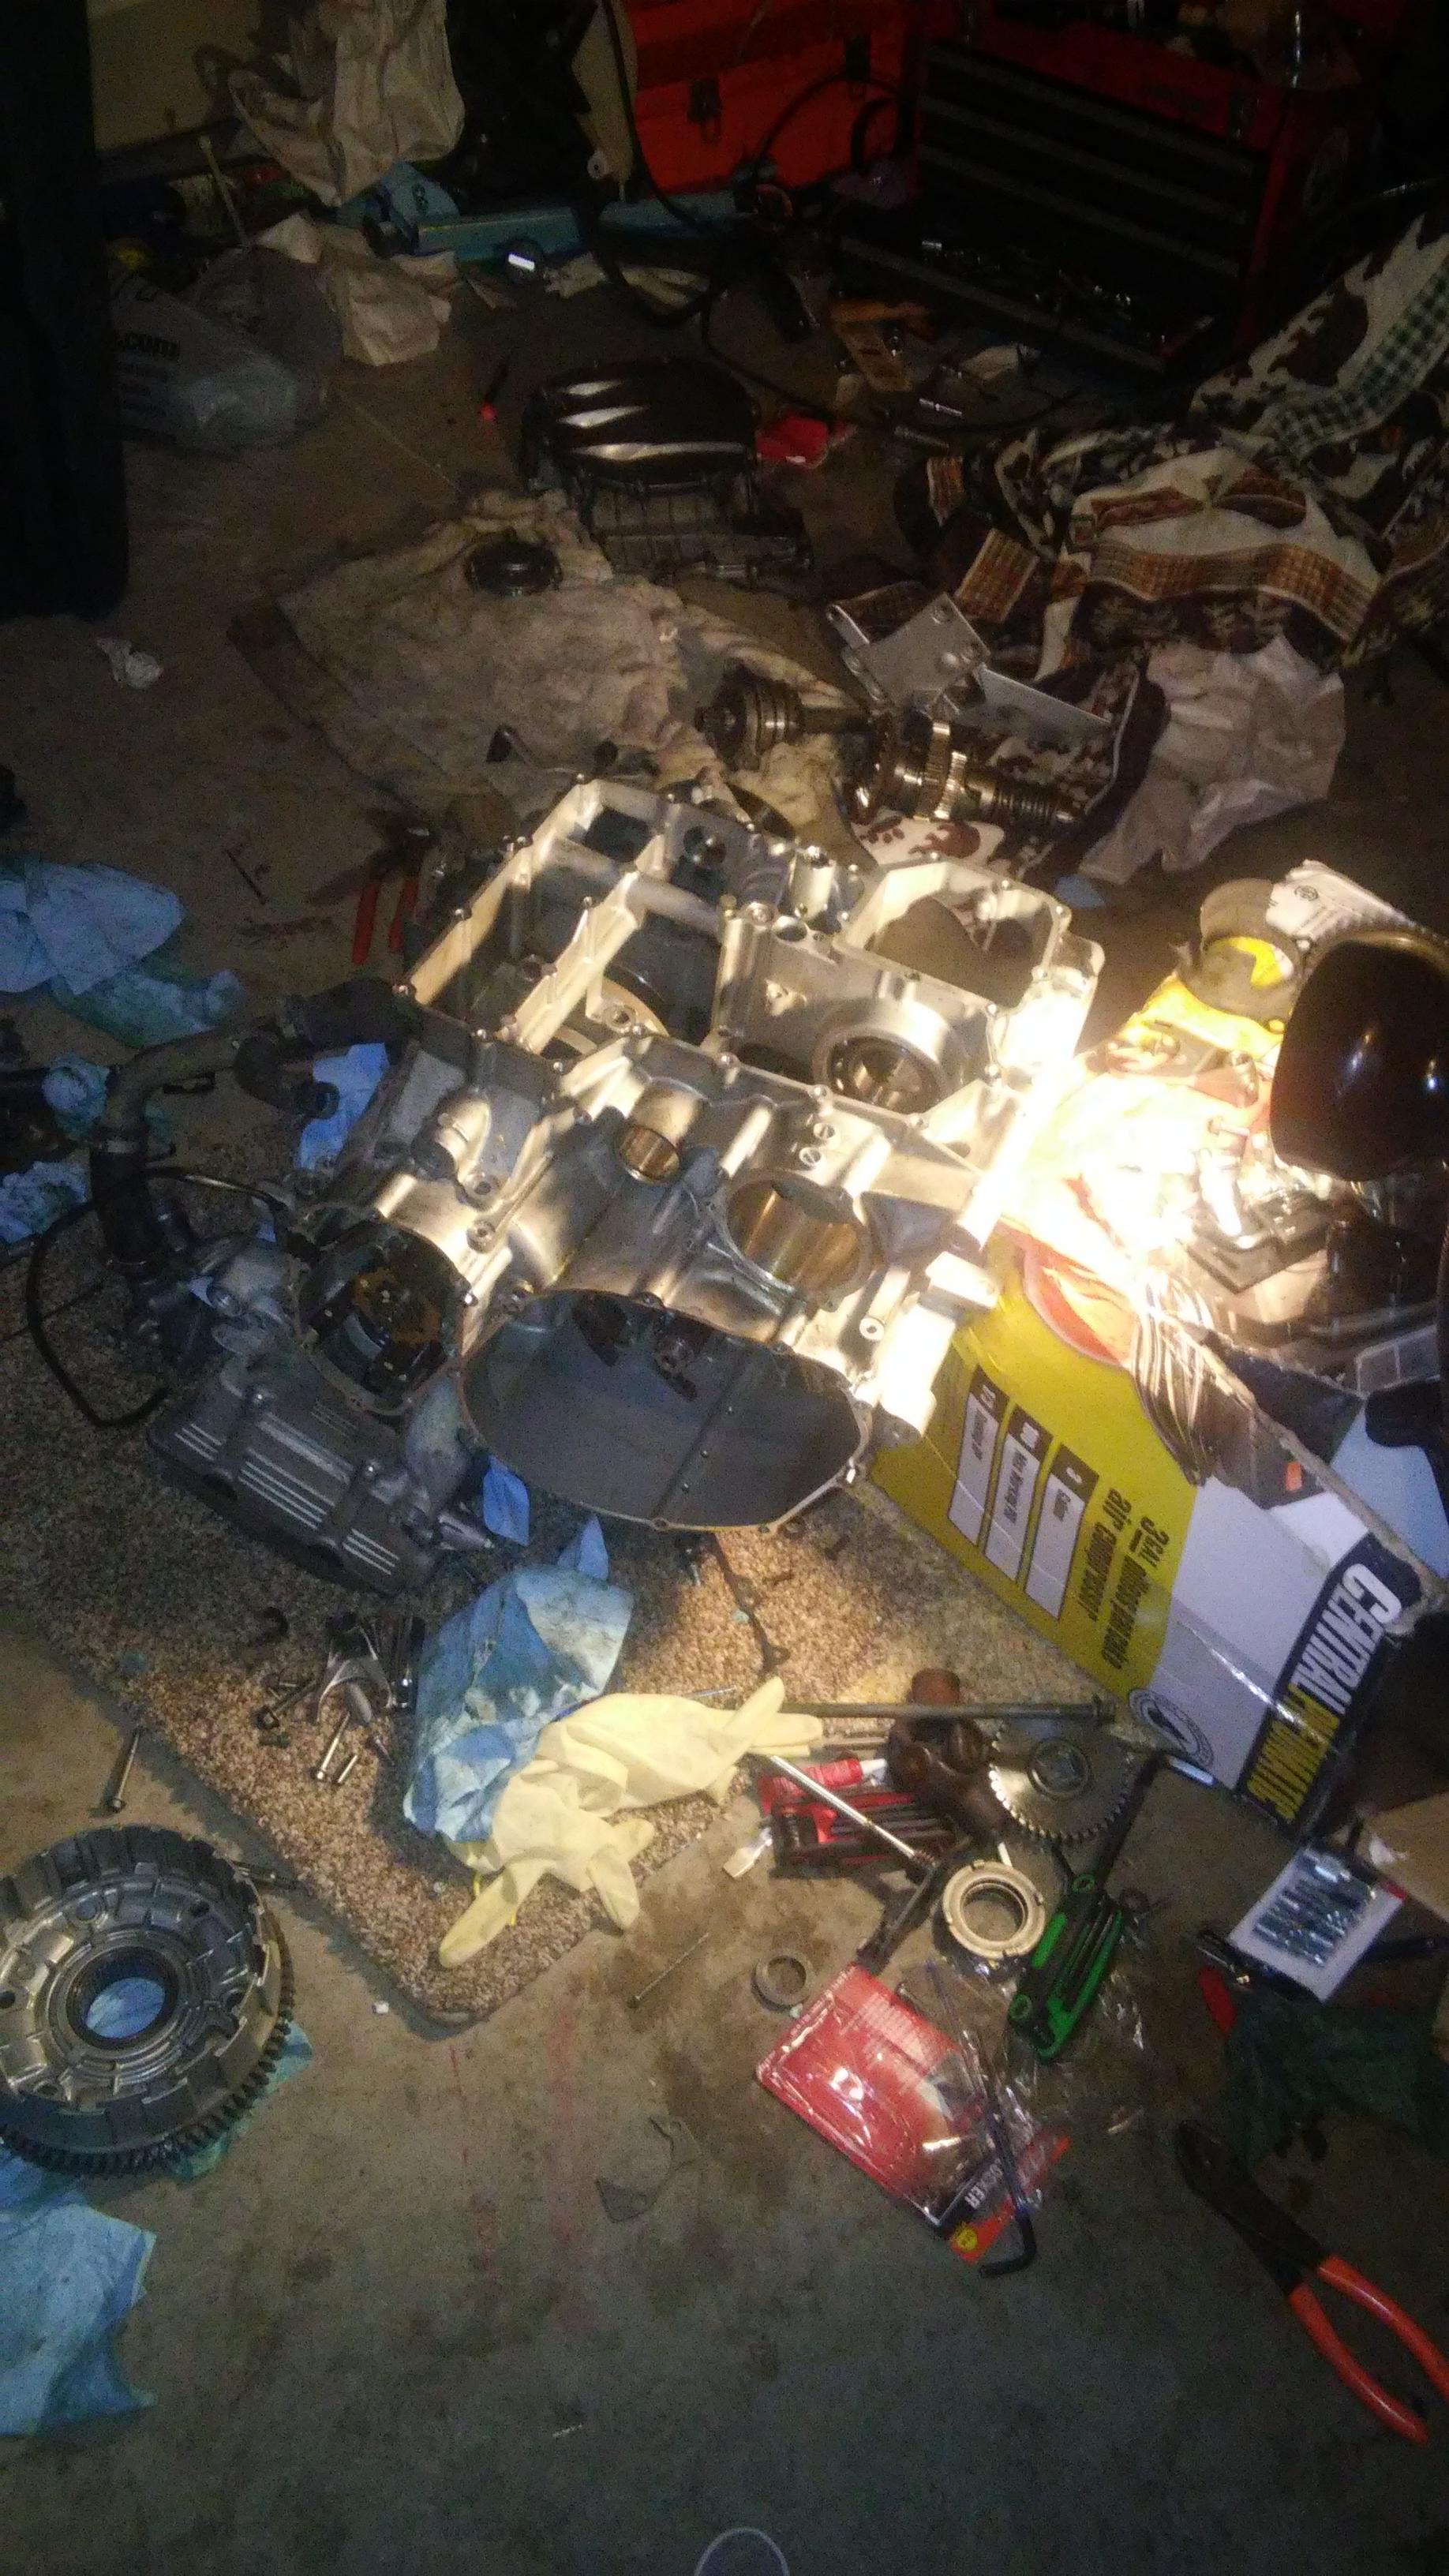
In other news got the trans installed for the last time cleaned the head installed the shift shaft and that's it for the two hours I've been dicking around. I've loctited every bolt because I can. Pics?

A job well done

kmlfIXJ.jpg


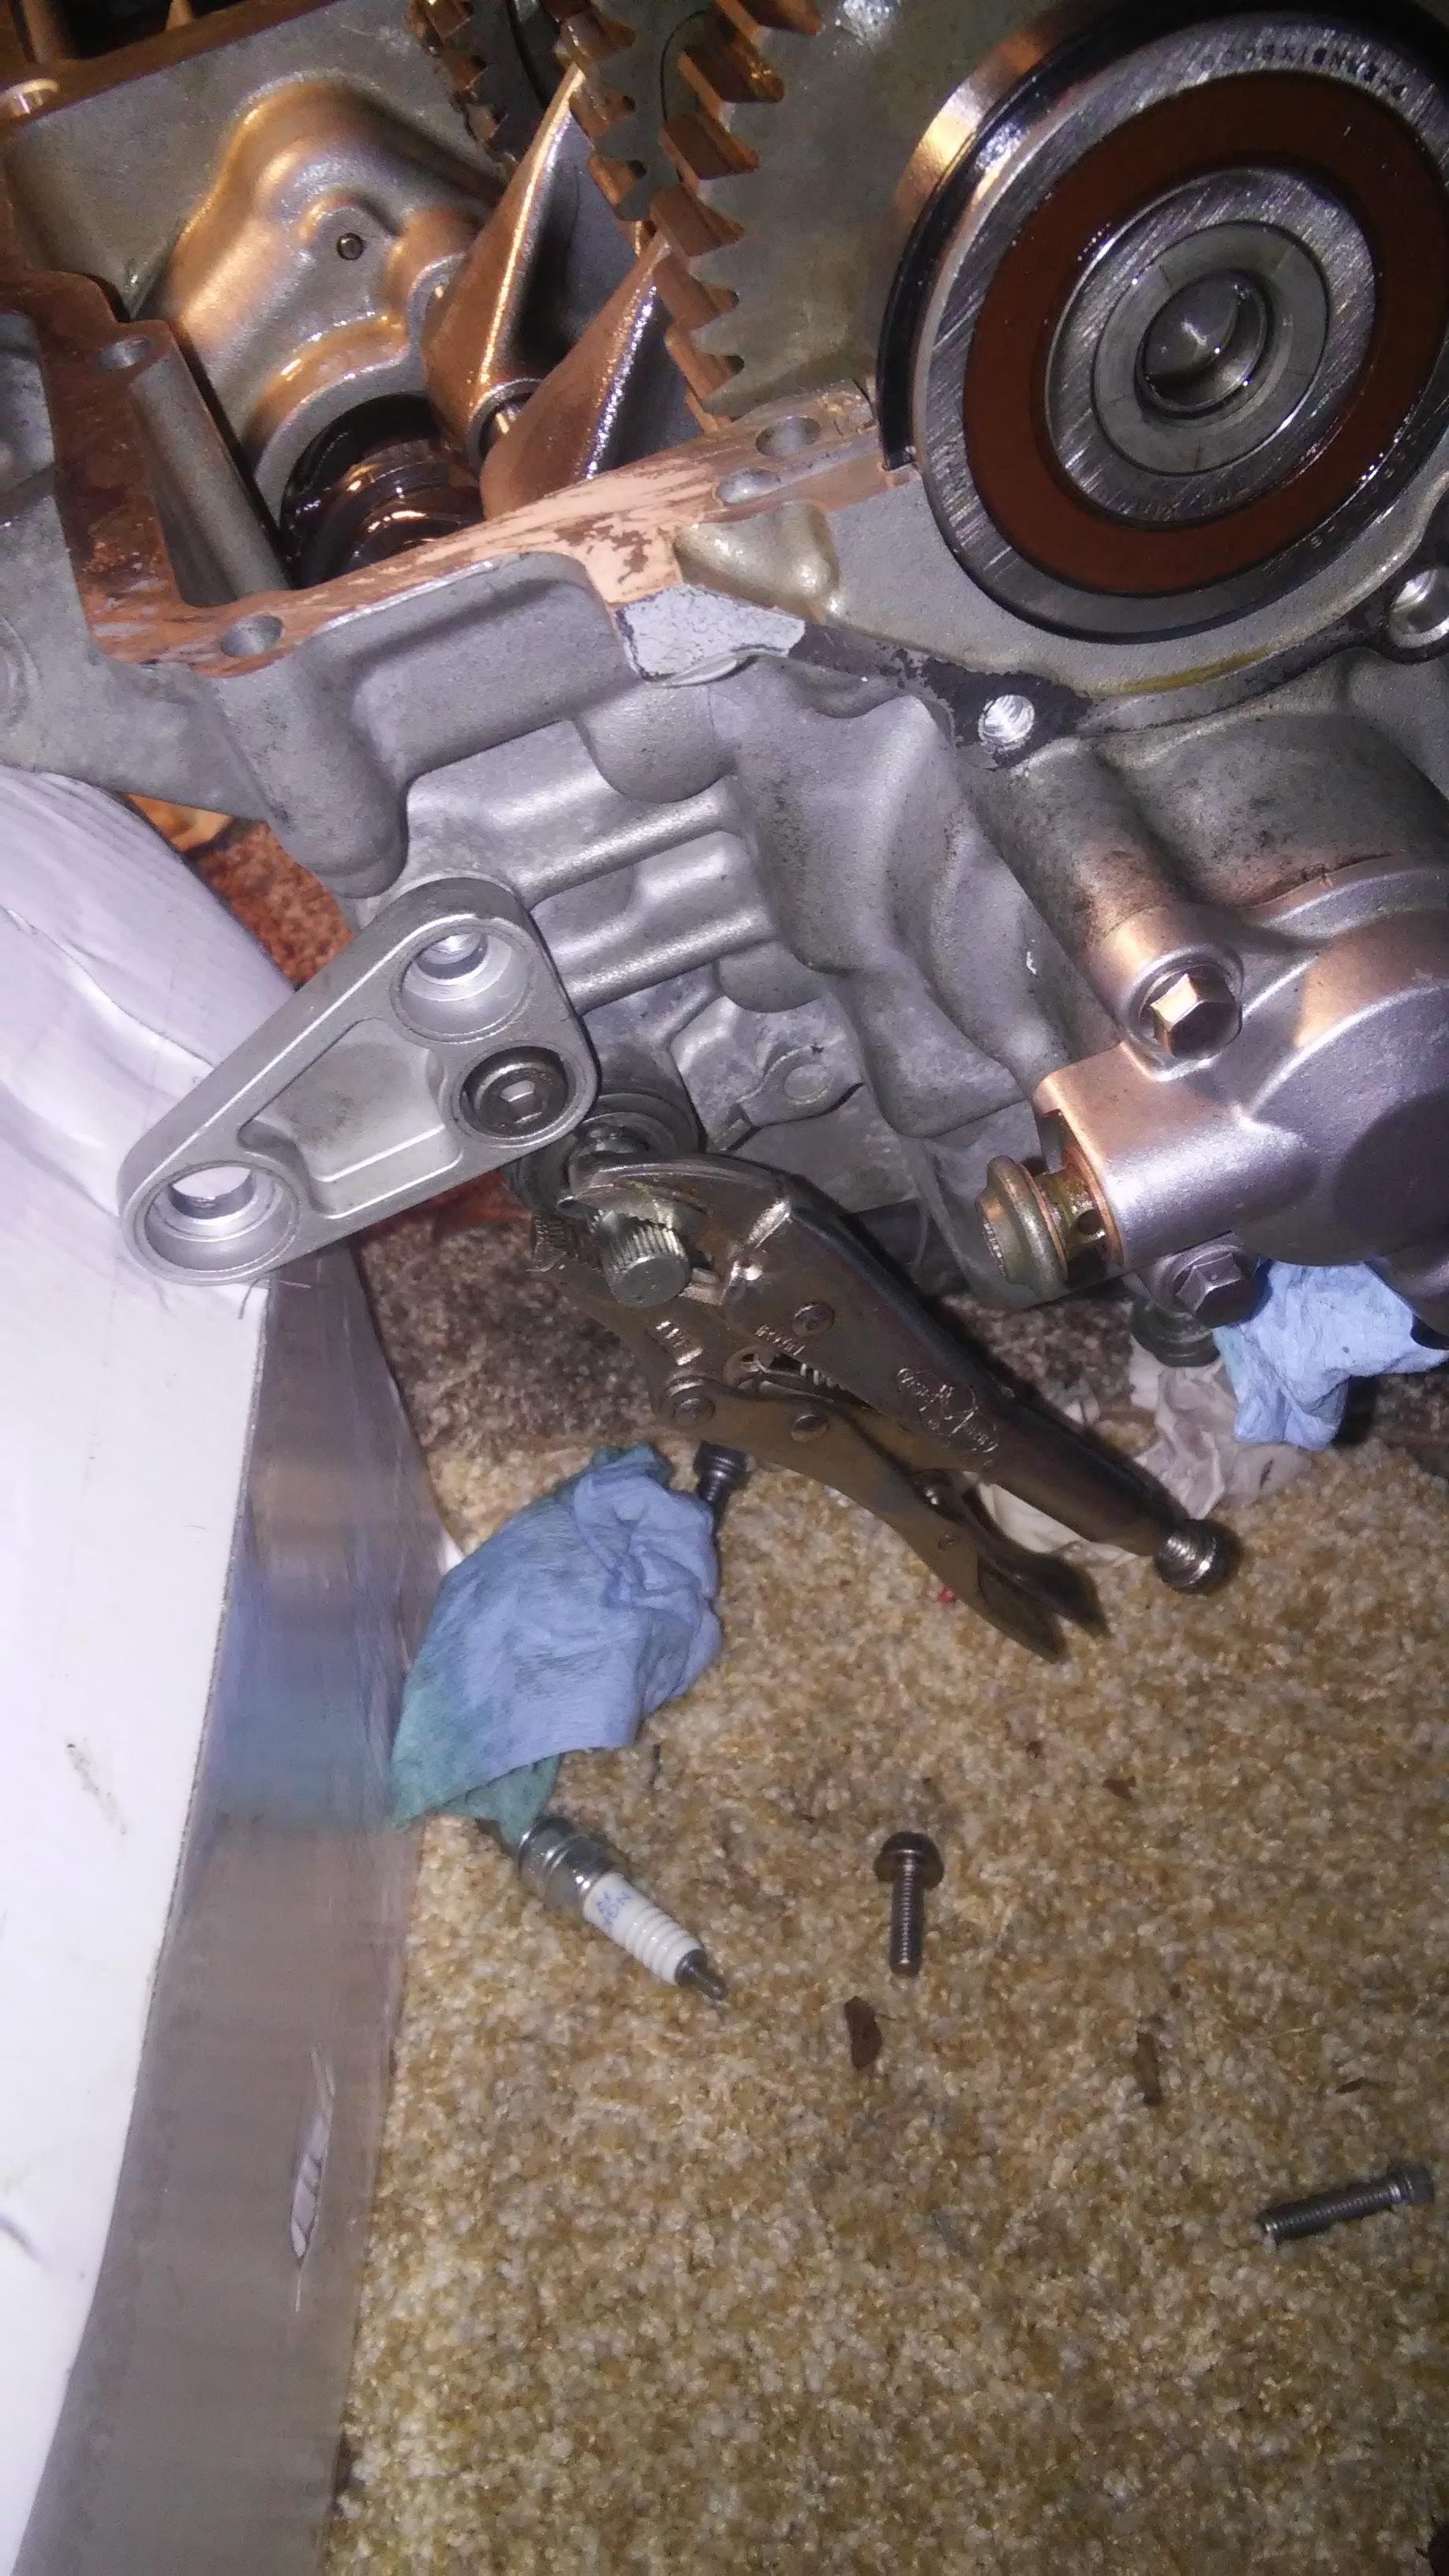
A shot of the shift shaft. Yes the clip and washer is on there :)

LthlJ7G.jpg


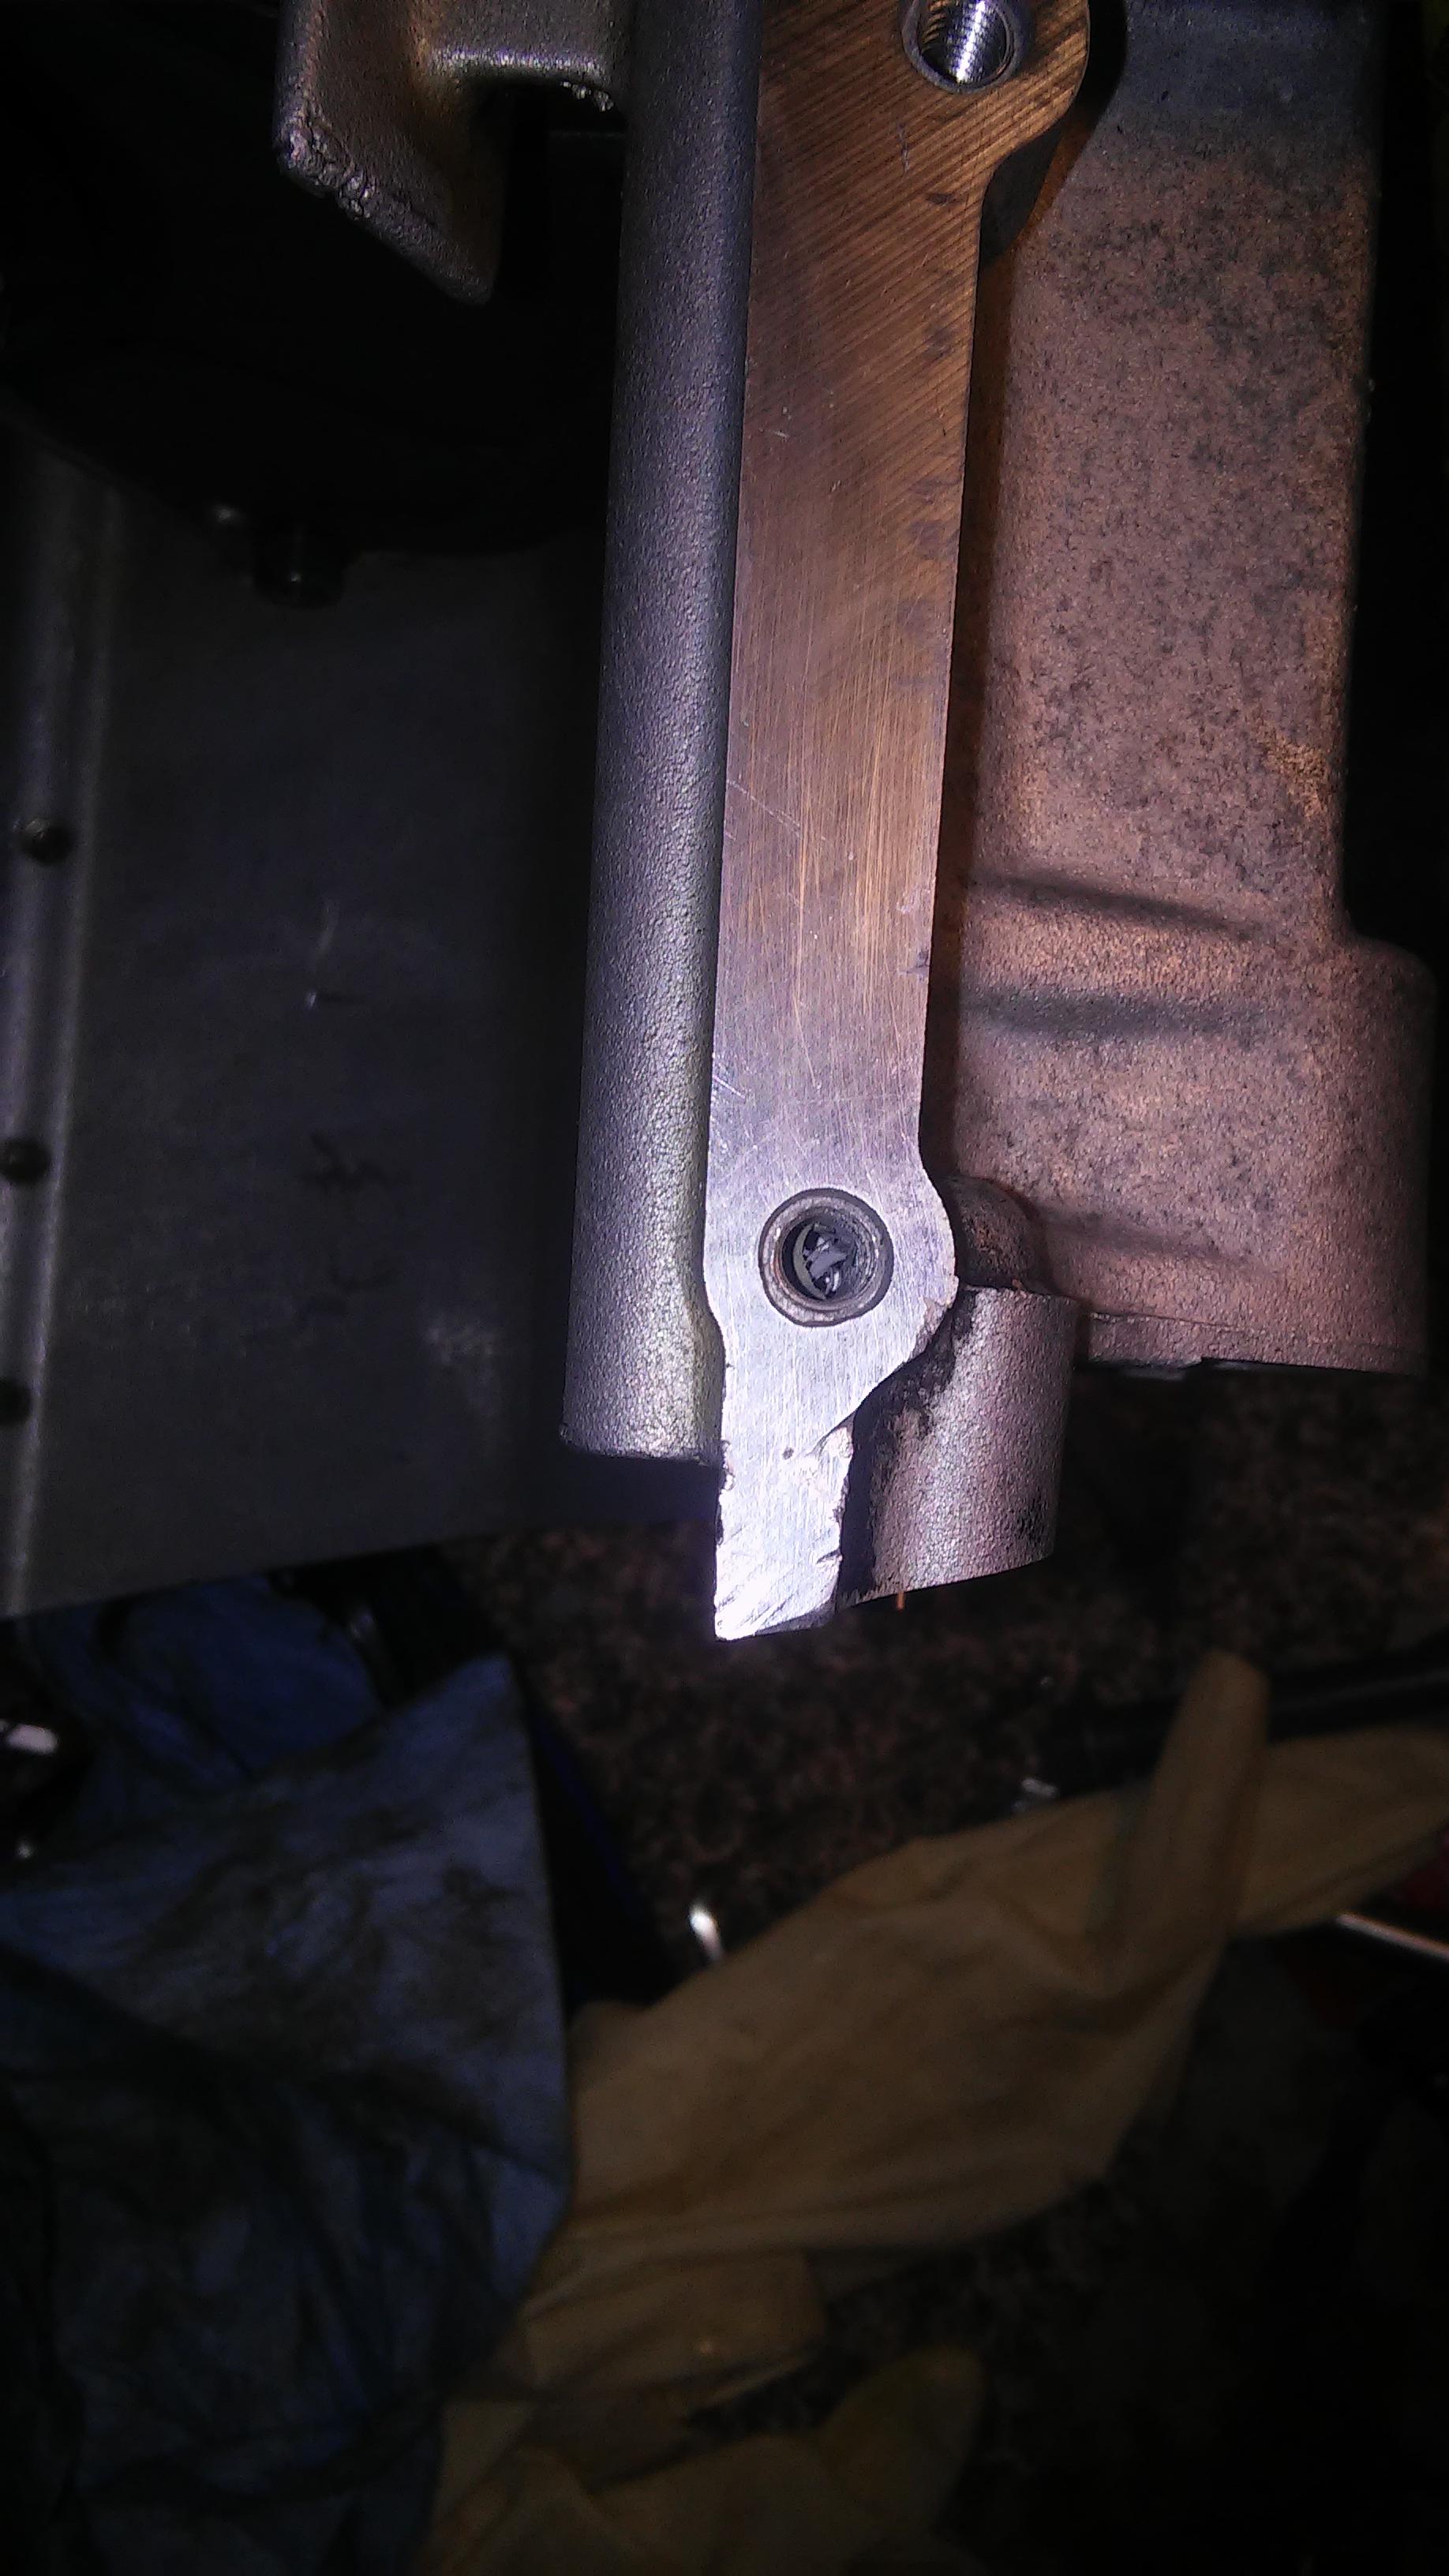
Here is the damage I found the to surface there are multiple spots like this.

OvkBix5.jpg


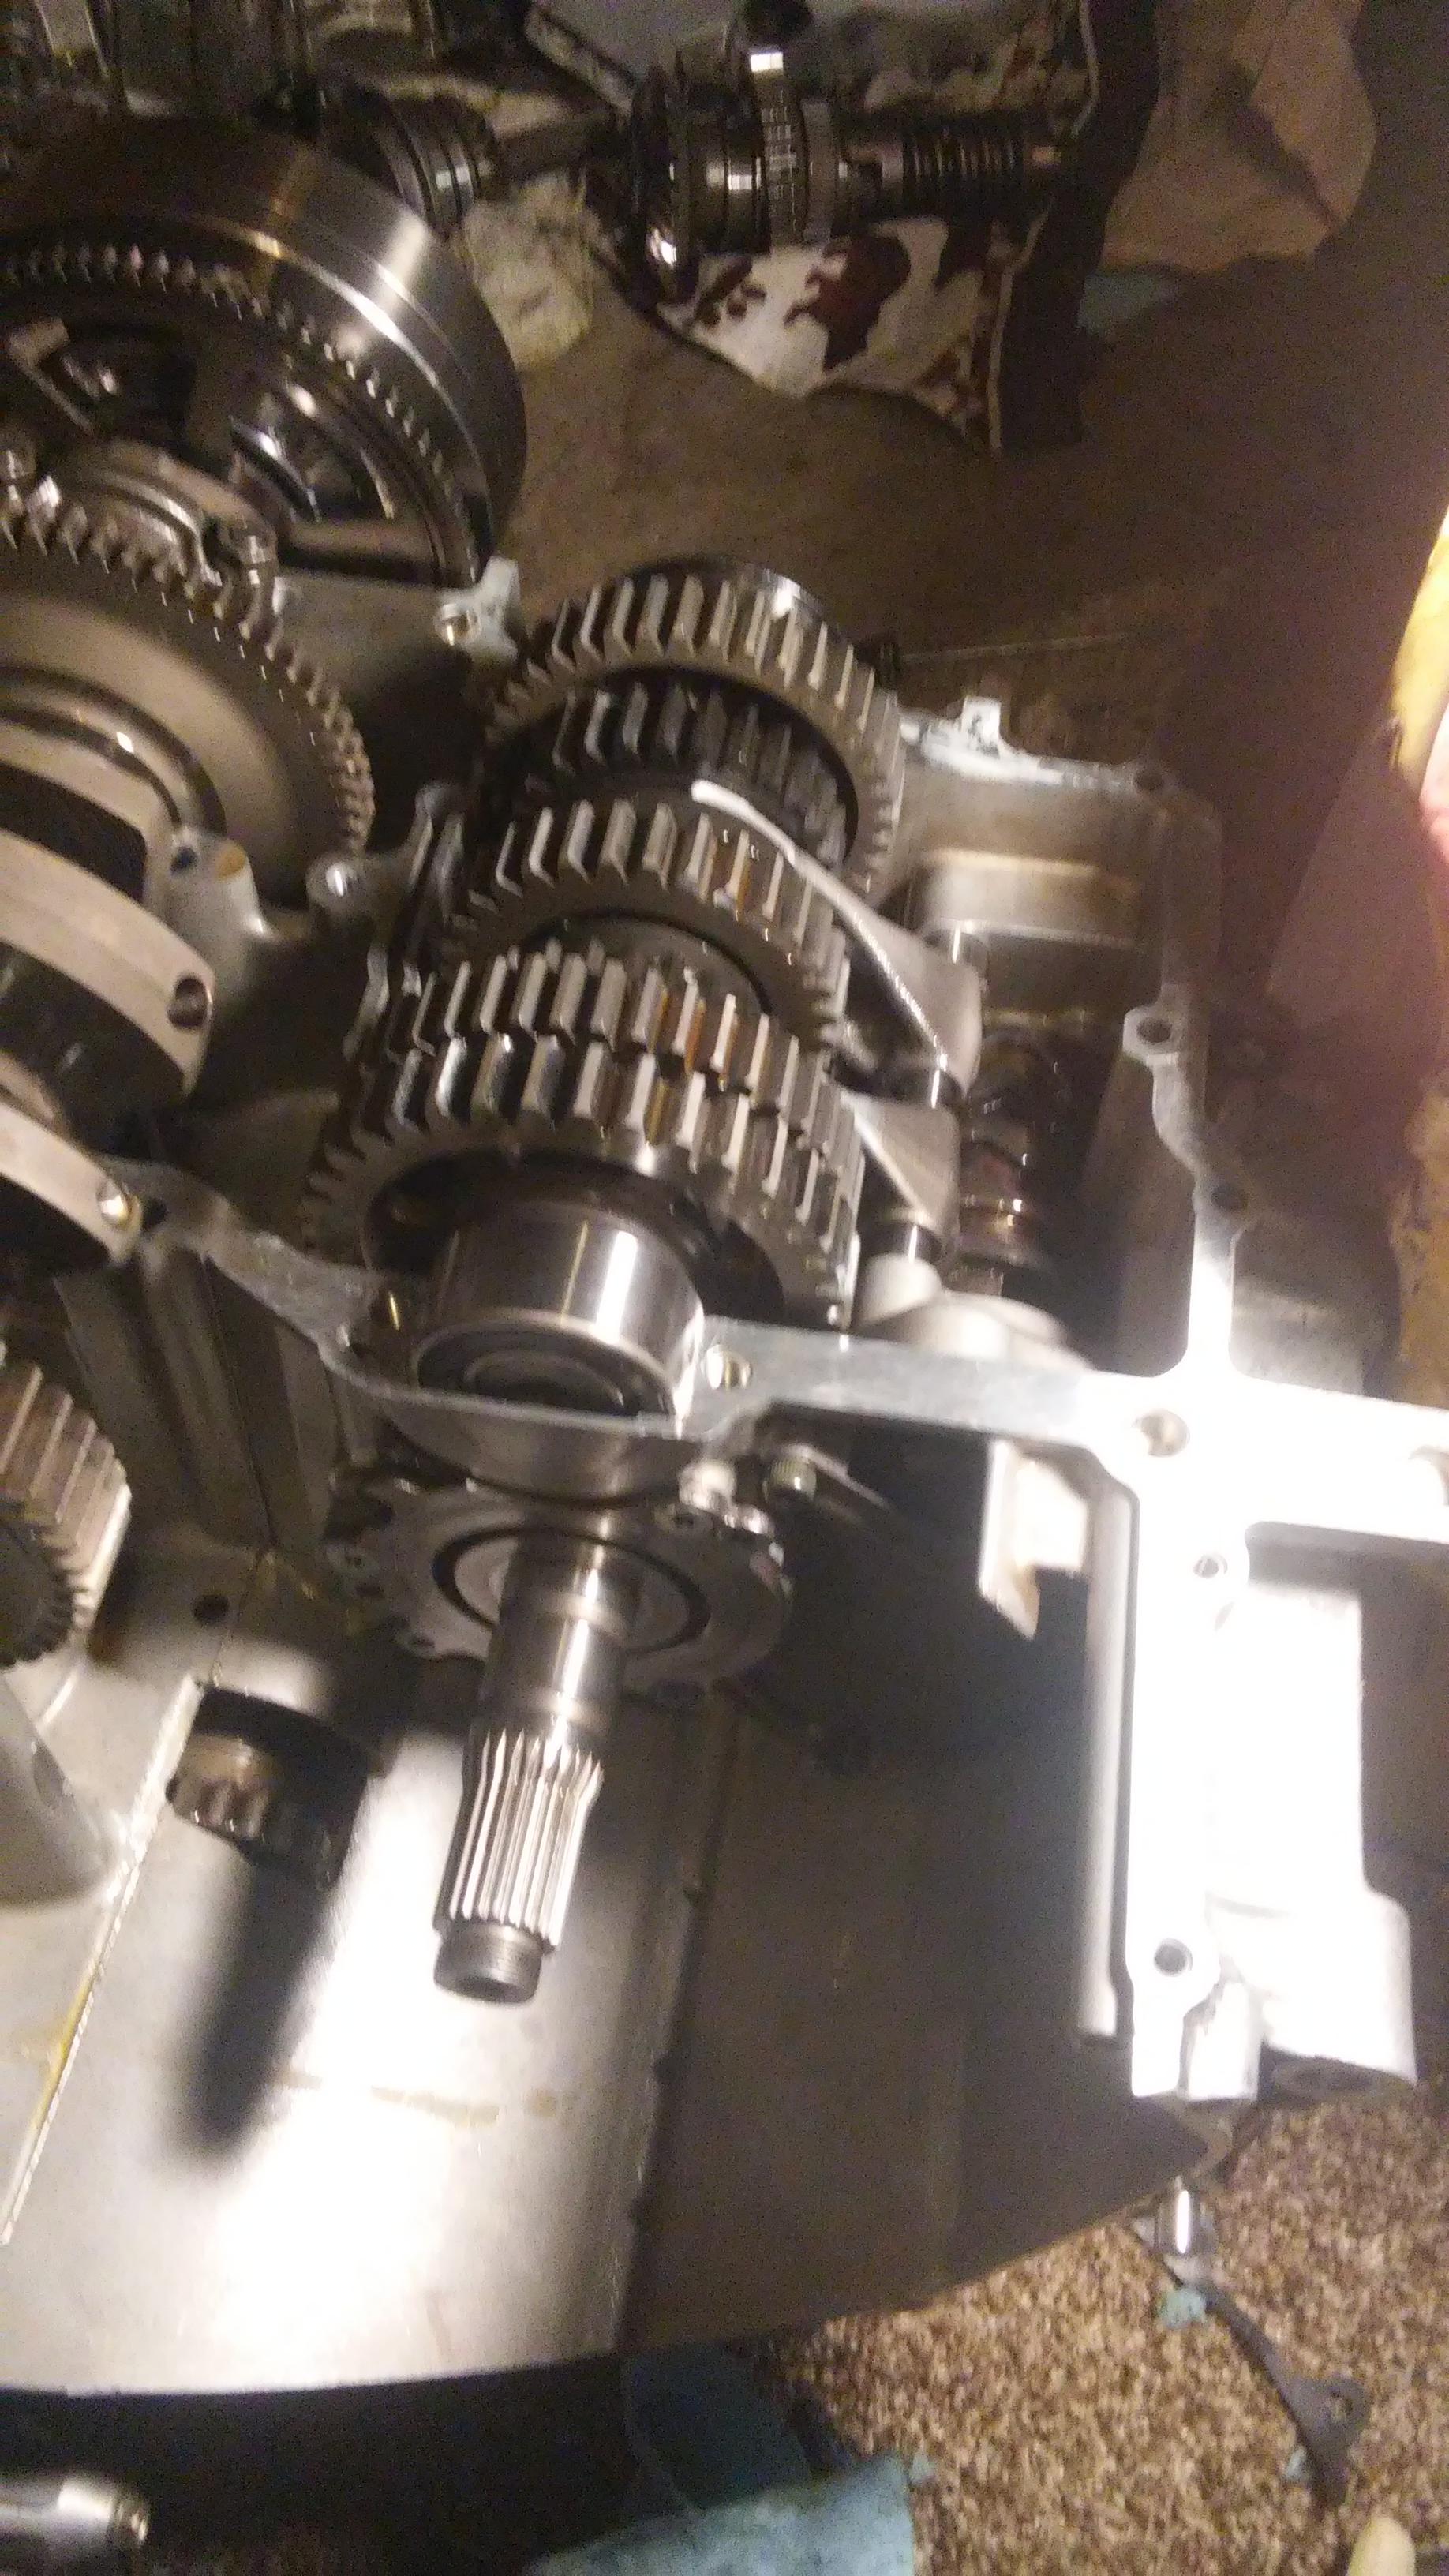
One last shot of franken-tranny

2JpGT6E.jpg


Interesting fact!

Shannon from Freedom Powersports in Hurst gave me a call this morning (I called yesterday to see what the hell caused this type of wear!)

He told me that he has been going back and forth with the insurance company to see if they would cover this. They told him to have me bring the engine in and file a claim. Unfortunately I already fixed it and have begun putting it back together. He told me to send pics of ALL the broken pieces (which I promptly did). He said if the warranty covers it i'll get reimbursement for all my work @ $99.00/hour I think it's like 22 hours to do this. Plus NEW parts from Yamaha (whatever that price may be).

Must say it would be AWESOME if this turns out to be true. We shall see though. Sounds like Freedom and the Warranty people feel like doo doo and want to make this right. VERY VERY EXCITED. Unless of course it doesn't happen then of course still VERY VERY EXCITED to get this put back together.

 
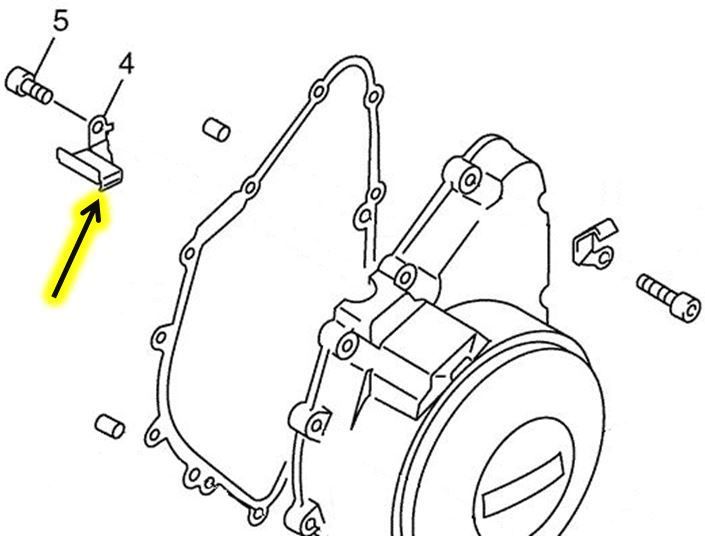
I notice that the rotor which spins inside the stator has a groove cut in it from the bracket in the stator cover that hold down the wires that go to the R/R. The bracket has a large Phillips head screw; be sure it is bent 90° or it may lathe in a deeper groove.

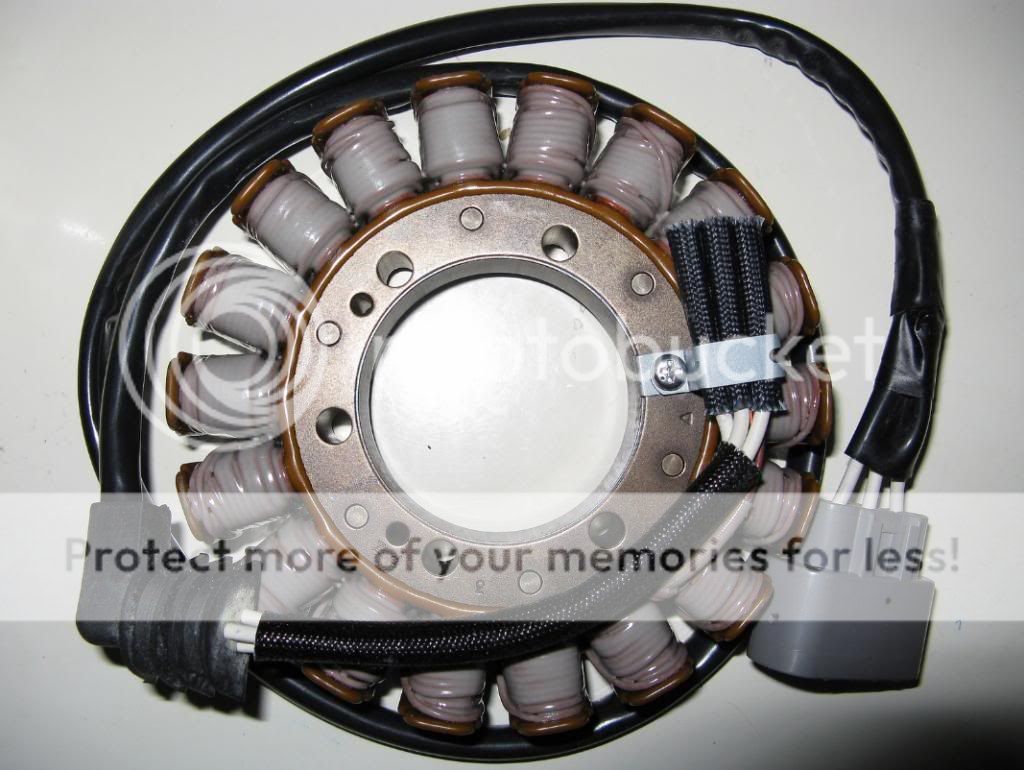
Take a look in the stator cover and be sure that the stator windings are white/tan indicating OEM parts. Aftermarket stator windings starts off life blue and turns black coffee color with heat.

kmlfIXJ.jpg


Last edited by a moderator:
I notice that the rotor which spins inside the stator has a groove cut in it from the bracket in the stator cover that hold down the wires that go to the R/R. The bracket has a large Phillips head screw; be sure it is bent 90° or it may lathe in a deeper groove.
Take a look in the stator cover and be sure that the stator windings are white/tan indicating OEM parts. Aftermarket stator windings starts off life blue and turns black coffee color with heat.
Hrm I will say the Stator is Dark Tan certainly not black by any means.

I was wondering why there was a cut in the Generator wheel!! I assumed it was normal and moved on. I will take a look when I work on it this evening.

If all goes accordingly Cases get put back tonight!!

 
This is the OEM stator = what you want:

Stator_zpsc0f35468.jpg


ElectroSport High Output Stator = you do NOT want this:

DSCN3506.JPG


In the upper left corner by the orange sealant is the Phillips screw which holds down the wire bracket. Look down inside the case where the bracket makes a 90° bend and make sure it is a pretty exact 90° because the force of the wires pulling against the bracket tends to bend it up and into the rotor. The FSM calls for sealant at the black rubber wire feed-thru, you want to be sure that the rubber piece is well sealed or you will have an ugly oil leak.

 
Interesting fact!
Shannon from Freedom Powersports in Hurst gave me a call this morning (I called yesterday to see what the hell caused this type of wear!)

He told me that he has been going back and forth with the insurance company to see if they would cover this. They told him to have me bring the engine in and file a claim. Unfortunately I already fixed it and have begun putting it back together. He told me to send pics of ALL the broken pieces (which I promptly did). He said if the warranty covers it i'll get reimbursement for all my work @ $99.00/hour I think it's like 22 hours to do this. Plus NEW parts from Yamaha (whatever that price may be).

Must say it would be AWESOME if this turns out to be true. We shall see though. Sounds like Freedom and the Warranty people feel like doo doo and want to make this right. VERY VERY EXCITED. Unless of course it doesn't happen then of course still VERY VERY EXCITED to get this put back together.
Excellent news. Showing them the old gears should be enough to get their attention. If they do pay, don't be surprised if they pay you book hours rather than actual time spent.

 
Yea I'm not trying to get my hopes up about it. I've been let down entirely way to much from these folks.

In other news

What's going to happen tonight?

More cleaning

No torque wrench so cases will not go on till I get paid.

I'm so close to being done!!!!

My question to the forum is as followed. Should I clean the head and reseat the valves?

 
"My question to the forum is as followed. Should I clean the head and reseat the valves? "

You are this far into it, I would clean the head up also.

Canadian FJR

 
Last edited by a moderator:
Since you asked, my vote is to go ahead with anything you think you need. Hopefully, you'll never have easier access, and with the way the previous owner was with the shifter and the signs of previous intervention you've had, it just makes sense to at least check everything.

 
So I looked over that abrasion in the generator wheel. I'm not certain that isn't supposed to be there. It's WAY to clean of a cut for a screw or something else to do it. The tabs are perfect no sign of hitting anything.

The stator is OEM tobacco brown.

I'm highly considering getting this engine in like new condition on the inside. The only thing I'm concerned about is the head gasket surface. FJR use an unbelievable finish that MUST be attained. That would easily add another week. Unless of course I did bend a valve then it's gotta come off anyways.

Choices choices forum.

 
So I looked over that abrasion in the generator wheel. I'm not certain that isn't supposed to be there. It's WAY to clean of a cut for a screw or something else to do it. The tabs are perfect no sign of hitting anything.
The stator is OEM tobacco brown.

...
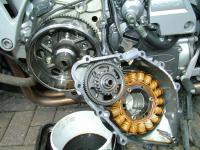
Picture shows my '06 stator and rotor, colour of the OEM stator is obvious (it's a darker brown where hidden by the gear-wheel - which is incorrectly positioned in the picture).

(Click on image for larger view)


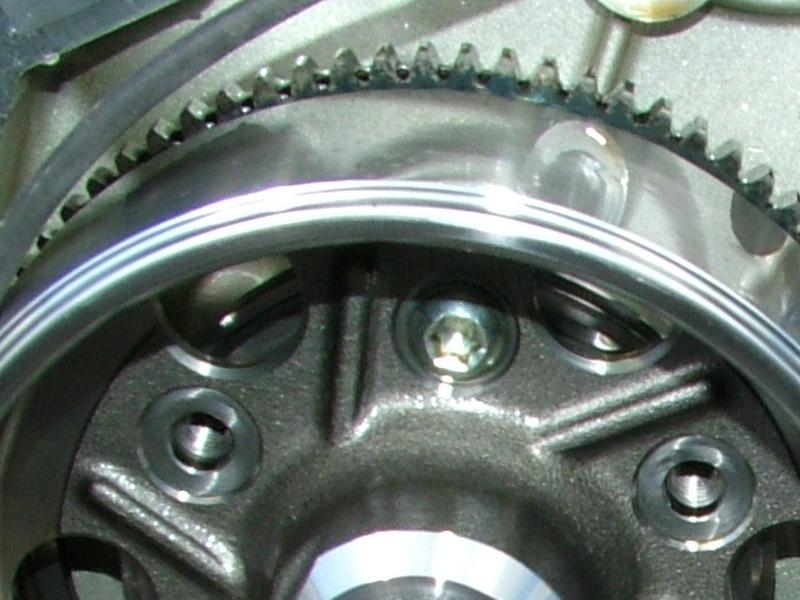
Blowup to show the rotor surface (best picture I have), most of the surface is completely smooth, just the "front" edge grooved.


This little side topic has taken more thread space than needed, I was just pointing out a way to avoid (additional) damage to the rotor. This is the last post from me on this little diversion from the main topic of the thread.

In the following illustration, the lip of the wire bracket (#4) was exactly aligned with the scoring line on my rotor, it was a little lathe tool.

Stator%20Wire%20Hold%20Down_zpsj5qvtjqs.jpg


I would not pull the head unless you need to fix something in there. The valves and seats seem to wear slowly and a valve adjustment easily compensates for that.

 
I would not pull the head unless you need to fix something in there. The valves and seats seem to wear slowly and a valve adjustment easily compensates for that.
A valve check/adjustment is never easier than when the engine is sitting on the floor or workbench.

 
I'm highly considering getting this engine in like new condition on the inside. The only thing I'm concerned about is the head gasket surface. FJR use an unbelievable finish that MUST be attained. That would easily add another week. Unless of course I did bend a valve then it's gotta come off anyways.
Choices choices forum
If it ain't broke, don't fix it.

 
Until you do a compression/leakdown check and find issues, you have no reason to pull the head. If turning the engine over at the crankshaft bolt goes all the way around without anything other than normal compression resistance (and nothing punches through the side of the block) then there's no need to yank the head "just because."

But do those checks before stuffing the motor back into the bike!!!
smile.png


EDIT: I just realized I said to do the compression check with the engine out of the bike, to make doing the head work (if needed) easier to start.

Obviously you'd need to have the covers back on it so it holds the oil you'd have to put in it, and you better strap that thing down and brace it before putting voltage on that starter to turn it over!!! :) You're not going to need water, but don't forget the oil cooler and filter.

Maybe do the compression/leakdown after getting it back in the frame, but not so far along in reassembly that you'd want to commit suicide rather than pull it back out if you had to. Get it in the frame, put the side covers and oil cooler and filter on, put some oil in it, connect the big ground and starter cables. Make sure no other hot wires are laying around loose (I don't think there would be) and connect the battery back up. You won't need throttle bodies, cooling, exhaust, and all that until you're sure it's staying in.

 
Last edited by a moderator:
Been awhile since I updated last!!!

Not much progressed has been made. Just cleaning things up.

Here is the list I hope to accomplish tonight.

1. Put cases back together (This is happening no matter what!)

2. Install waterpump (easy)

3. Install Oil Cooler (easy)

4. Install Oil pump (easy)

5. Install Clutch Assembly (Difficult)

I'll probably spend a great deal of time getting the clutches in. The goal is to have this put back together and ready to ride by Monday - March 7th.

Stay tuned for pics!

 
Top