PhilJet09
Nondescript FJR Hierarchy Displayed
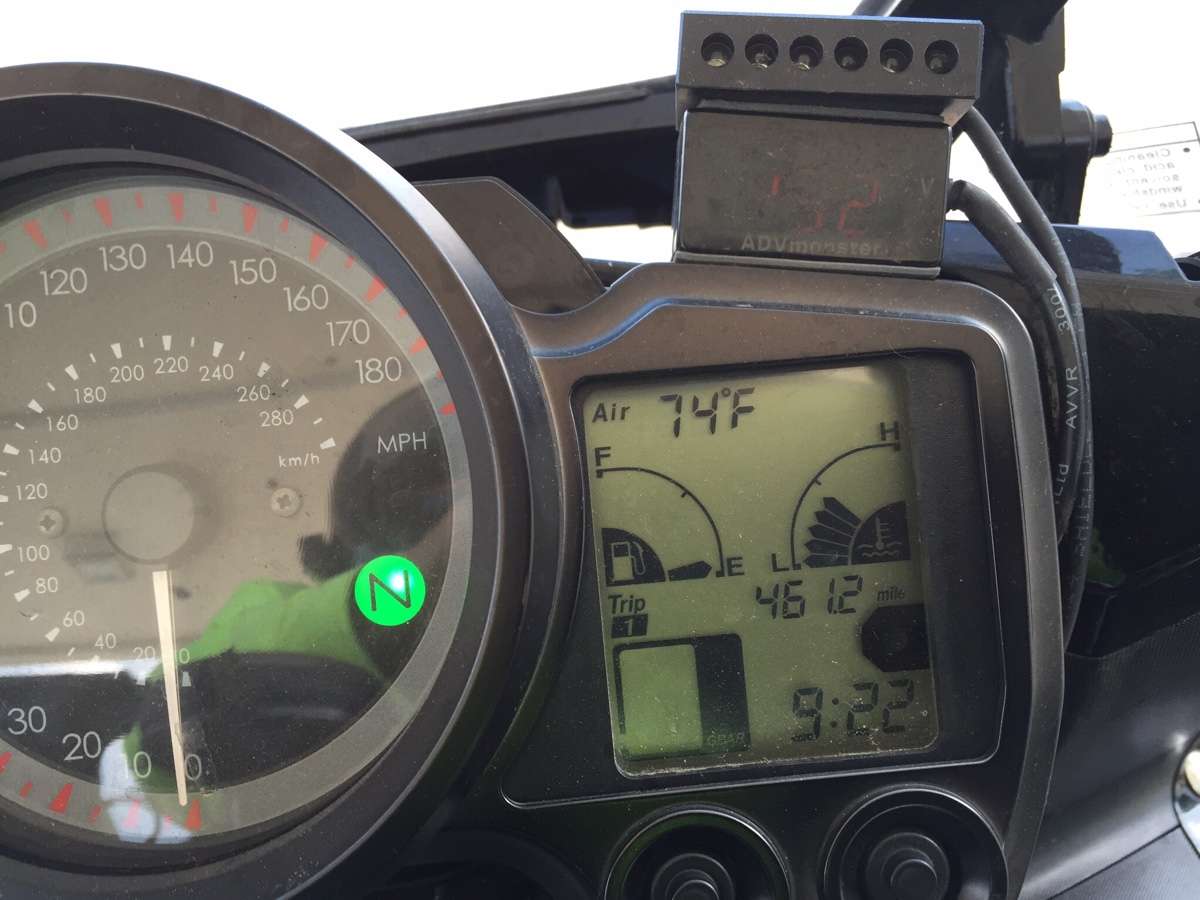
Put gas in it. First time in this many miles:


Redo that clutch bleed. I'm betting you pulled a little air. It doesn't take much to FUBAR the whole thing.Routine stuff, or so I thought. Replaced engine oil and filter. Check. Replaced front brake fluid. Check. Replaced clutch fluid. Check. Removed clutch lever to clean grunge out of bushing and lube. Check. Now my clutch doesn't release as in, other than neutral it's still about 3/4 of the way into gear with the clutch lever pulled in. W T F?
Yeah, that's what I'm thinking. Unfortunately I haven't been back to it yet to find out. With 2 days of rain gone and another 2 days forecast I've been in no hurry.Redo that clutch bleed. I'm betting you pulled a little air. It doesn't take much to FUBAR the whole thing.
It's been gorgeous up here but I've been taking the truck to work. Getting work done on the garage and I can't (easily) get my bikes out. Well that and the FJR is over at Jims places about 25km away.Rode to work...WooHooo!!!


Me too, after a couple days of wimping out in light rain. I haven't gotten a inspection sticker yet either so that has a little to do with it.Rode to work...WooHooo!!!
Fracking oil spiller.Changed the oil.
THEN
Cleaned up the oil spill.
Some
days...................................................
The first time is always the hardest. Sometimes you are better off using the pry bar to get the last little bit of the rear tire on. Yeh, it can be a bitch on the rears but it is worth it in the long run. Practice makes perfect.Yesterday, I used my new to me No Mar tire changer to install those new T30 GTs in my garage. HOLY ****!! I got the old tires off easy enough. Installing that rear tire was a muther. I almost gave up and took it to my dealer. My wife said to do that 3+ times. Haha...I was getting pissed. I know there is a lot of technique involved, but since this was my first time, I have very little technique. I re-watched a video, added some more lube and it popped right on. That dammed tire didn't take any weights for balance. I hope that's real and not something I FUBAR'd. I lined the yellow dot up with my marked heavy spot, so let's see.
The front went on without any drama, and only took 14grams to balance. It took me forever to do the whole thing, but first time is always hard. I'm hoping to get enough practice that I get good at it. If not, I'm gonna be pissed that I spend all that money getting set up. Haha...
I got done so late that I didn't have time to test ride it as I picked up an OT shift this morning for another guy. I was tired and a hair sore. Haha...I'll ride it today and see if she's smooth. Gawd, I hope so. If not, some stuff is going to come up for sale here very soon!!
+1, Gunny; JSNS, Boom!Just dreaming about it since I've been recovering from surgery since February due to a stupid ass off road dirt bike accident on my BMW GS. Hoser yamafitter and Goober rushes have always said that I ride enduro dirt just about as well as RadioHowie ***** Manatees, which has to be a rolling freaking disaster! JSNS!
That bushing does not appear in the parts diagram. It seems to be part of the lever itself. That is the bushing that is not included/part of the aftermarket levers. The hole is smaller and just fits around the pivot screw.Re-bled clutch fluid, mucho gooder now. Replaced rear brake fluid. Replaced front rear & rear rear brake pads. Cleaned/lubed drive shaft splines & universal joint.
I want to replace 2 small components at the clutch lever, both brass/bronze. One is the bushing the fluid plunger goes in. No problem, p/n 3GM-26455-00-00, #4 in the diagram. The second part I want to replace but am having a helluva time finding is the bronze bushing in the handle, the one the vertical shoulder bolt goes thru to hold the lever assy on. Anyone?
I was hoping that was not the answer. Guess I'll have to make one.That bushing does not appear in the parts diagram. It seems to be part of the lever itself. That is the bushing that is not included/part of the aftermarket levers. The hole is smaller and just fits around the pivot screw.Re-bled clutch fluid, mucho gooder now. Replaced rear brake fluid. Replaced front rear & rear rear brake pads. Cleaned/lubed drive shaft splines & universal joint.
I want to replace 2 small components at the clutch lever, both brass/bronze. One is the bushing the fluid plunger goes in. No problem, p/n 3GM-26455-00-00, #4 in the diagram. The second part I want to replace but am having a helluva time finding is the bronze bushing in the handle, the one the vertical shoulder bolt goes thru to hold the lever assy on. Anyone?
Rbentnail,I was hoping that was not the answer. Guess I'll have to make one.That bushing does not appear in the parts diagram. It seems to be part of the lever itself. That is the bushing that is not included/part of the aftermarket levers. The hole is smaller and just fits around the pivot screw.