TomInPA
Well-known member
AJ, as I said before, these can be installed without removing the nose cone. We might spend some quality phone time if you want.
You can become a Supporting Member or just click here to donate.

Ooooooooooooooooooh. I didn't understand it that way. I just thought after getting the nose off the connectors would plug into the light sockets. Hell Tom, I may have to send you a case of good beer if you end up saving me a trip.AJ, as I said before, these can be installed without removing the nose cone. We might spend some quality phone time if you want.
I don't need a lot of help with that :lol:or ride to Justin's and keep him liquored up.
Sounds like a cheap date for ya AJI don't need a lot of help with thator ride to Justin's and keep him liquored up.
The lights will power from the battery with the provided single ring connector and inline fuse. I prefer that connection for the HID lights over a fuze block. The bulbs actually separate from the base. So you remove the old bulbs (pull off the 3-prong connector on the halogen lights, remove the rubber boot and unclip the bulbs and remove). With a 1/4 counterclockwise turn separate the HID bulb from the 3-prong base and install the base into the socket of the headlight and lock it with the clip. Install the rubber boot, then insert the bulb into the base and turn 1/4 turn clockwise to lock. That leaves the wires free that will clip into the provided harness. We can cover how to route the wiring harness with wire ties, and hide those G4 ballasts using Velcro. The connections are fool proof and the HID harness plugs into one of your H4 connectors and that connection triggers the relay in the HID harness. What that means is all the load comes straight from the battery, and all the OEM wiring does now is trigger the relay for the lights and Hi/Lo solenoid.Ooooooooooooooooooh. I didn't understand it that way. I just thought after getting the nose off the connectors would plug into the light sockets. Hell Tom, I may have to send you a case of good beer if you end up saving me a trip.AJ, as I said before, these can be installed without removing the nose cone. We might spend some quality phone time if you want.
Either way, I'm gonna get a fuseblock and get that set up. I have done it for others, I have just been too cheap and lazy to do it myself on my bike. All I have wired are the heated grips, my GPS, and a 12volt plug with breaker. I think I'll leave the plug wired directly to the battery, but move the GPS, grips, and lights to the fuse block. Unless, I don't even have to power them that way. Do they plug into the harness or is there some wiring mojo I have to go through?? As I think about it, I'm thinking it has to be the harness for the high/low switch to work, and for the lights to work as the OEM lights do when turning on the bike.
After I get these, I'll start making phone calls. I'll either kidnapp Patch and force him to do some work, or ride to Justin's and keep him liquored up.
FYI - when handling the bulbs, do not touch the actual "bulb". Any grease left from your fingers can cause an early demise for them.The bulbs actually separate from the base. So you pull off the 3-prong connector on the halogen lights, remove the rubber boot and unclip the bulbs and remove.


I did some research on them a bit ago and came across some videos. LED's are extremely directional and they do not work in a standard reflector well. What I got from the videos is that they are extremely bright to look at, but don't throw much light at all. Here's an example.After reading the latest of this thread last night, I began researching. I stumbled into LED headlight conversions. I know next to nothing about it, but it got my curiosity up.
Dropped them in the mail yesterday, priority. You should have them beginning of next week....After I get these, I'll start making phone calls....


It's yours! PM answeredI'd love to try out a Joe Rocket jacket with a zip-in liner. PM sent.
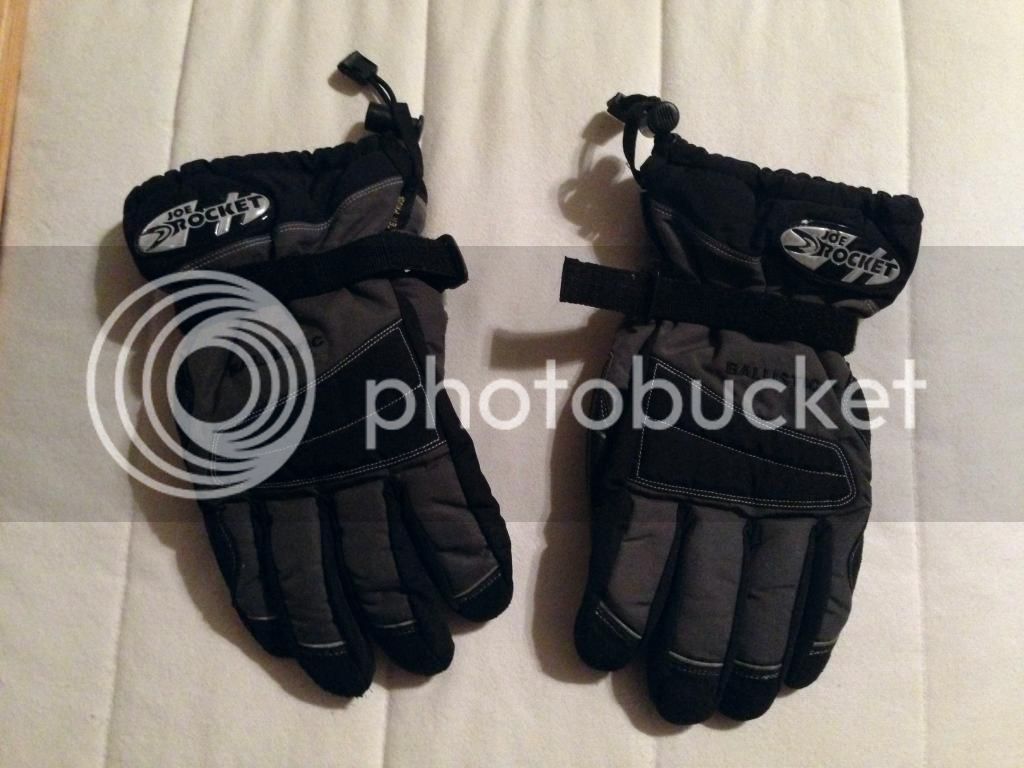
These sure look nice!Ok, I don't even want to talk about how long it's been since I received some thread and some windshield screws. Instead, let's talk about gloves.
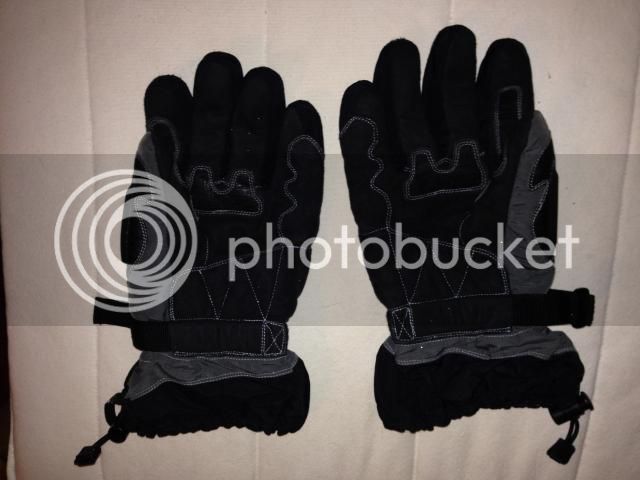
Joe Rocket Ballistic Gloves X-Large
These are some warm gloves and supposed to be waterproof. I have worn them in a bit of rain but nothing sustained and long-lasting. They're used but in really good shape.
FREE to a good home. Free shipping CONUS
Fuzzy cell phone shots...

