08FJR4ME
-WYNPRO-
I like the nutty look. Kinda Harlyish to me. You can add the leather tassles to your BBQ utensils too.
Dave
Dave
Last edited by a moderator:


")


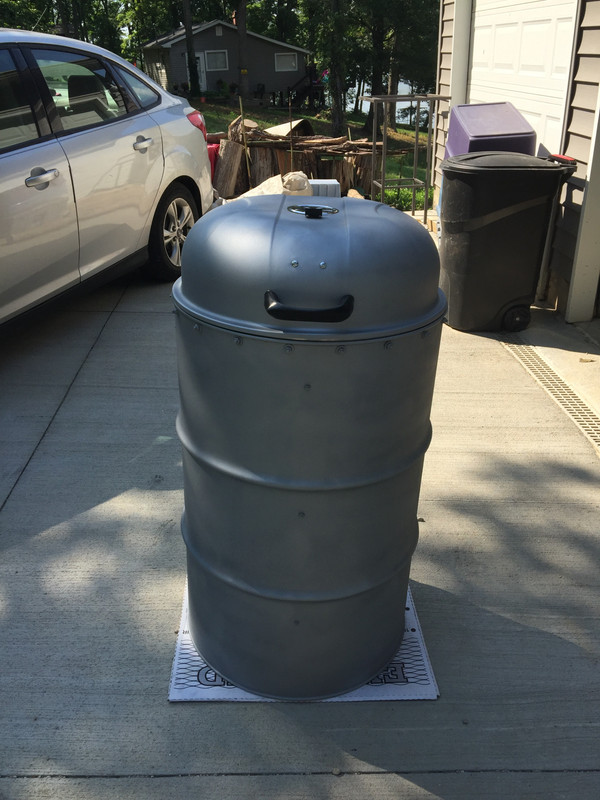
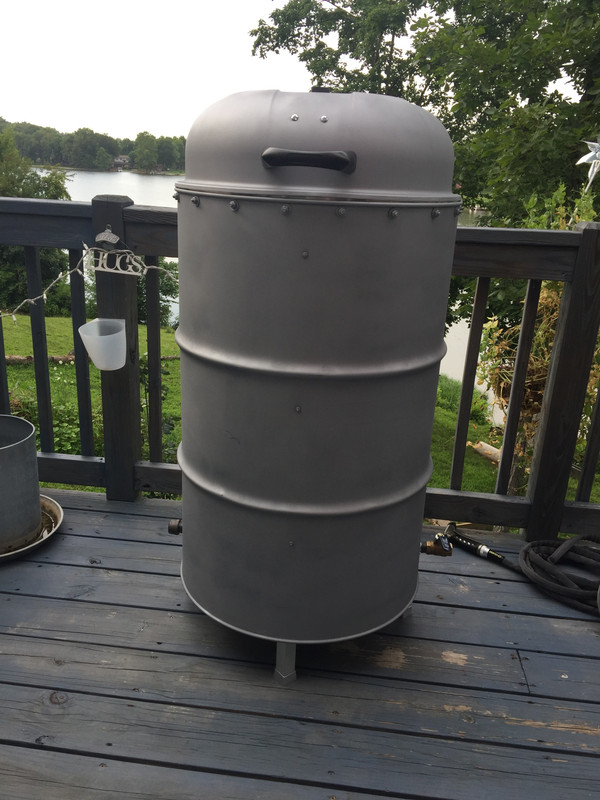
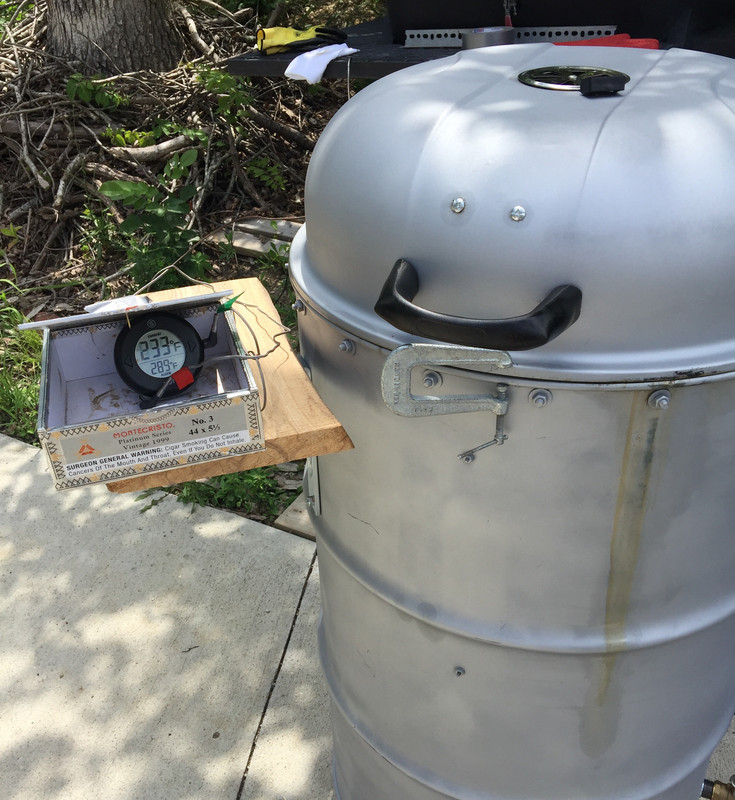
Thanks! I've been designing it in my head for two weeks. Everything has so far gone as planned, other than the issue with lid size. Only thing to bitch about was the crazy hot weather I had to endure to work on it.That is one fine looking rig!!

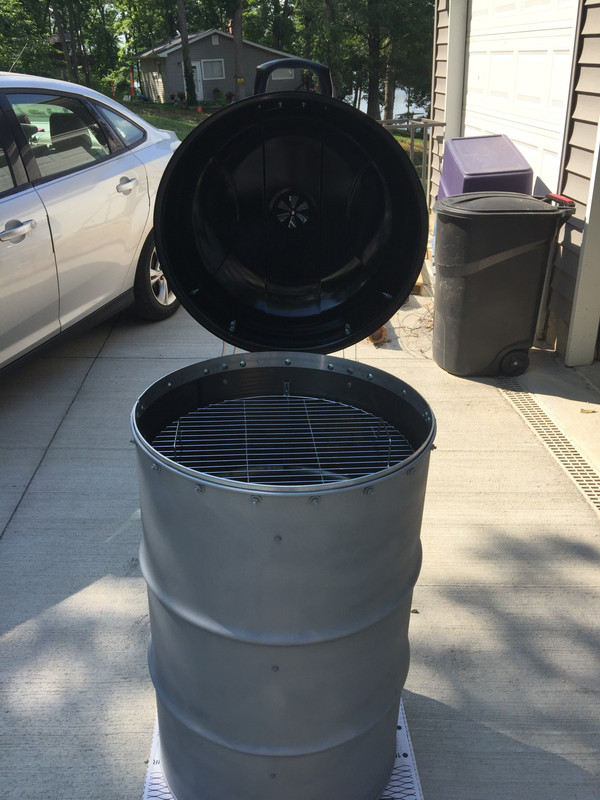
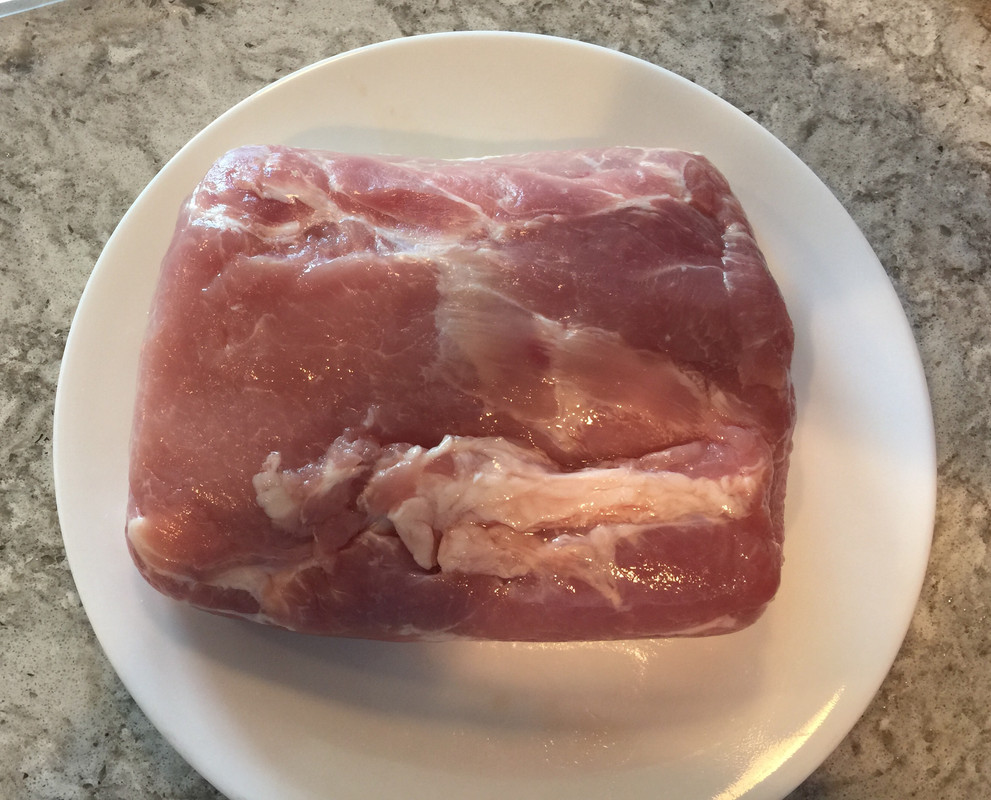
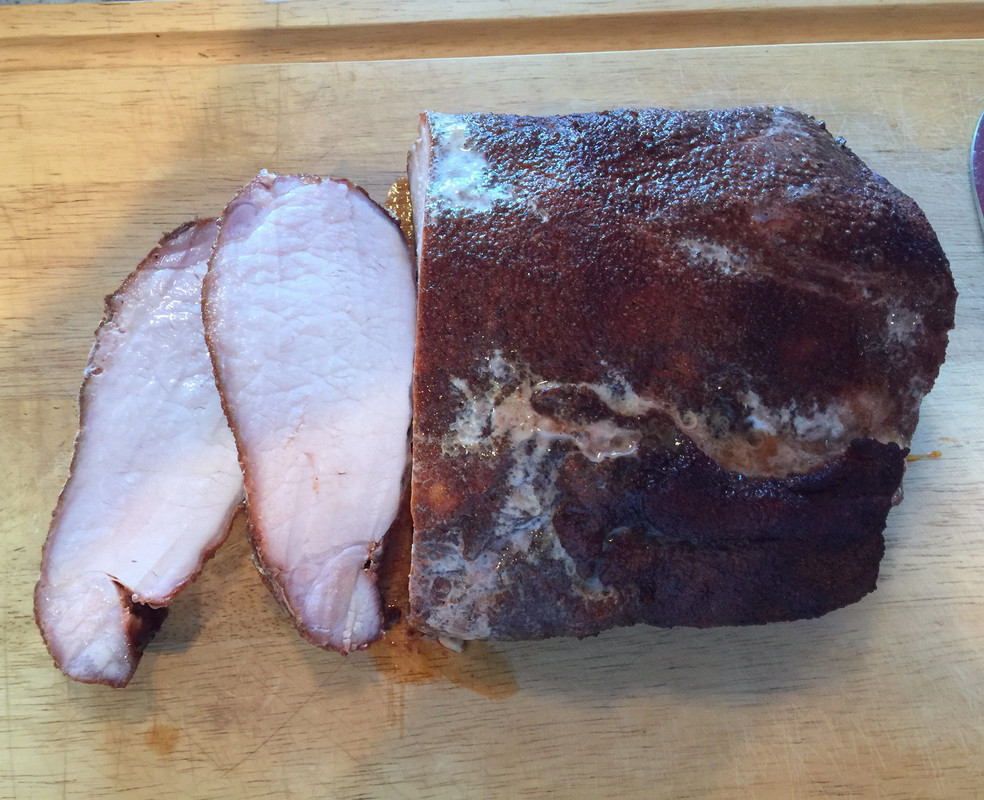
Right with you on that, I've got a nice little 3lb boneless pork loin here to be the UDS's first victim:You know, theres no reason not to drop some piece of meat on the smoker while you are seasoning it. Kill 2 birds, and all that.
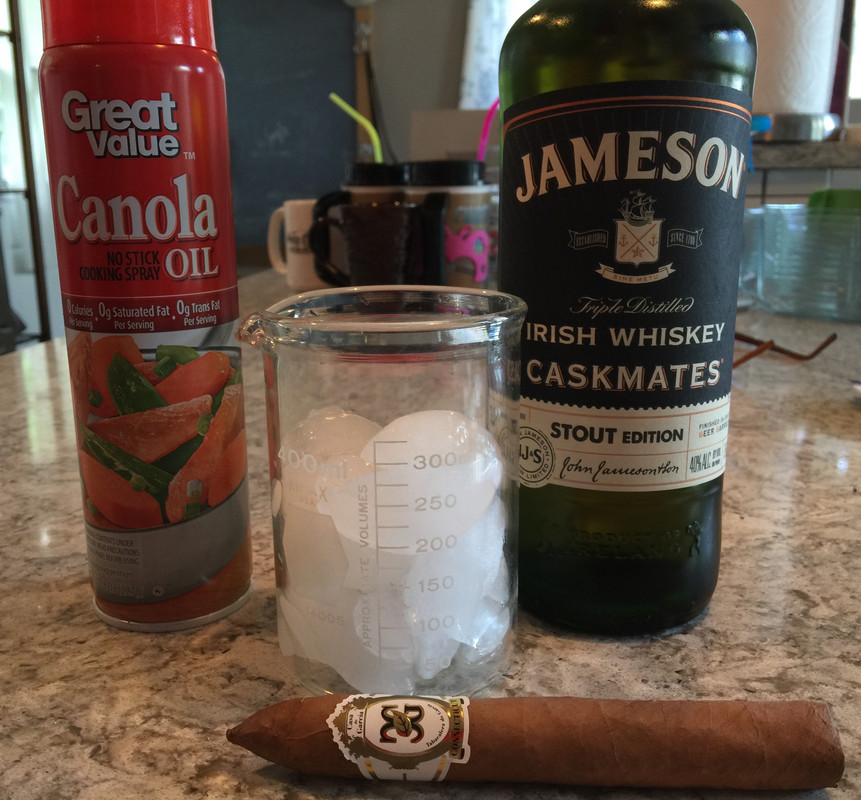
What do they call a whiskey and Canola oil beverage?Don't forget the smoking essentials....


![Decrum Motorcycle Jacket Men - Mens Leather Jacket | [1100065] Austin Brown, XL](https://m.media-amazon.com/images/I/41HqZSRj6LL._SL500_.jpg)